
Super Smash Bros. Ultimate Guide Ness
Brawler Arsenal
Grounded Attacks
Neutral Attacks
Neutral Attacks
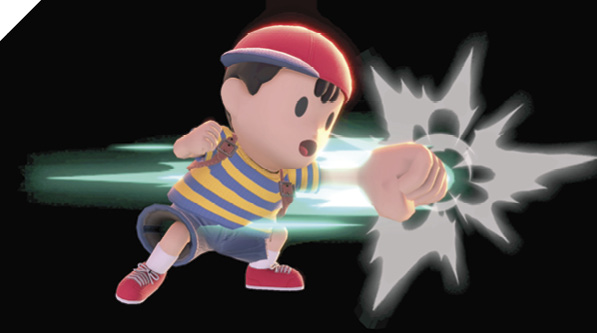
Ness attacks quickly with a short-range punch-punch-kick combo. The first jab is quick, not as fast as someone like Zero Suit Samus or Mario but barely behind them. It’s a great out-of-shield option to retaliate up close. Ness is punishable if enemies block neutral attack hits, but they have to react fast to punish him after just one or two blocked punches (it’s much easier for people to react if you do all three attacks, finishing with them blocking the kick).
At low percentages, his neutral attack combo doesn’t knock victims off-balance, so they stay on their feet nearby. Keep this in mind and go after them immediately for more ground offense. At medium damage or more, this knocks them away like most neutral attack combo finishers.
Dash Attack
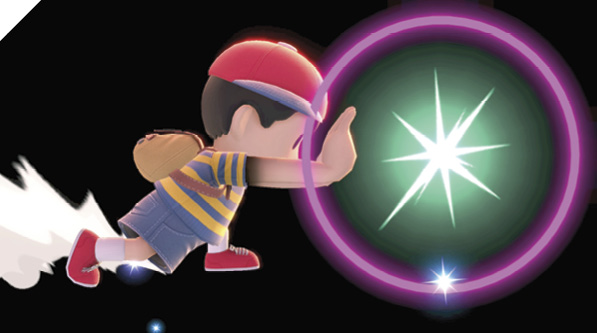
While running, Ness uses brainpower to attack in front, projecting PK energy in three quick blasts. The first strikes right in front of Ness, and each subsequent blast hits slightly farther away. It’s kind of like Duck Hunt smash attacks that way. The third and final dashing PK hit has good knockback, launching victims off their feet. This offers a juggle chance even if only the third hit connects.
When using a dash attack deep into someone, aiming to be flush against them with the first hit, Ness usually passes through them if they block! If they’re facing Ness during dash attack, this greatly increases his safety afterward, since he moves to their backs. If you dash in and get dash attack blocked later, during the second or third blast, Ness is wide open if they drop shield and attack right away.
Defensive Attacks
Tilts
| Move | Damage | Note |
|---|---|---|
|
Side tilt |
10 |
Can be aimed slightly up or down. |
|
Up tilt |
7 |
Max damage on hands. Pops foes into potential juggle position. |
|
Down tilt |
4.5 |
Max damage at knee. |
Side Tilt
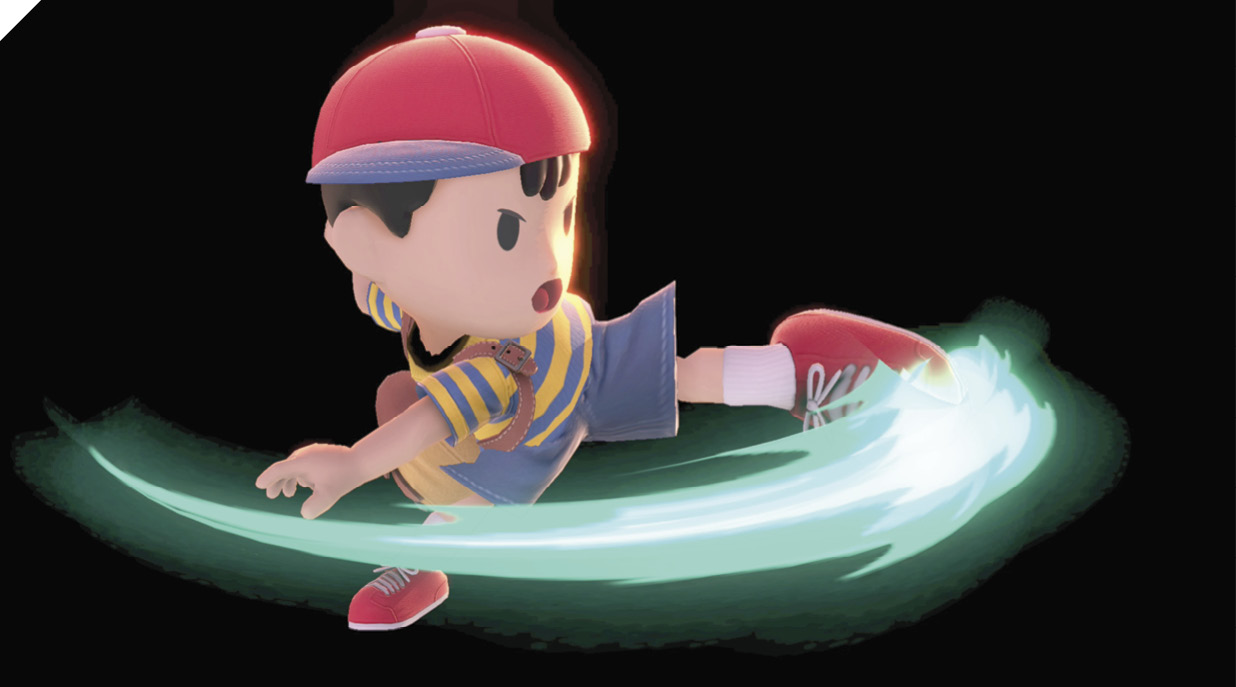
Ness spins forward to attack with a tough side kick. Ness might be small, but his damage isn’t. This dishes out respectable damage with a decently fast hit, and it can be aimed slightly up or down. The downward version’s hitbox is perfect for kicking at a recovering enemy’s fingers just when they lunge for a safe ledge. Like Ness’s neutral attack combo, side tilt doesn’t knock foes off their feet until medium-damage percentages.
Up Tilt
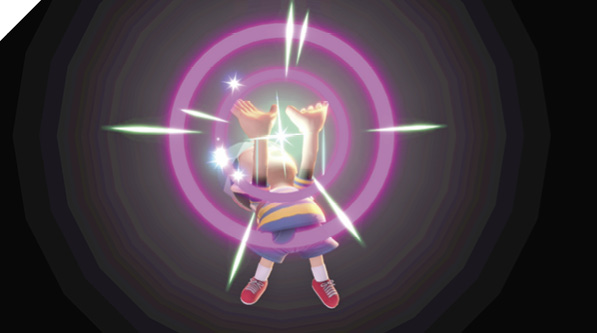
Ness makes a little hop up while punching upward with both palms. This is a fast attack for a tilt, hitting even faster than Ness’s grab up close (though not as fast as his neutral attack or down tilt). This attack has decent coverage to his sides if enemies are up close on the ground, but the main hit (and max damage) is around his hands, aimed upward. Nailing someone with up tilt (whether they’re airborne or standing next to Ness) launches them into the air. At low to medium percentages, you can usually combo up tilt into itself two or three times quickly before jumping to hit foes in midair after. Enemies might hit or grab back up close when blocking up tilt, but they have to be quick, like reacting to blocking Ness’s first two neutral attacks.
Down Tilt
Ness kicks the ground in front with a low kick that’s incredibly fast and safe for a tilt. This down tilt hits just as fast as Ness’s first neutral attack, almost instantly, and can combo into itself if used repeatedly in close. Five or six rapid down tilts at point-blank range on a foe who fails to block quickly adds up to 20% damage or more!
Down tilt deals more damage closer to Ness, at the knee, but the range extends to slightly past his foot. His foot is angled slightly downward, so this move can be used to aim for a recovering enemy’s hands just as they try to lunge for a ledge, like a side tilt aimed down-forward (note that although side tilt takes longer to swing, it’s active for twice as long as down tilt, so it can be a bit easier to time aiming for ledge-graspers with side tilt down-forward).
With its blazing speed and almost nonexistent lag, down tilt is also exceedingly safe when blocked. A foe who tries to strike back after shielding down tilt will lose to an immediate Ness grab attempt or another down tilt; a foe who tries to cancel shielding with a grab attempt can be thwarted by down tilting, then jumping or dodge-rolling.
Smashes
| Move | Damage | Note |
|---|---|---|
|
22-30.8 |
Bat invincible. Max damage and knockback at tip. Reflects projectiles. |
|
|
Up smash |
13-15.6 |
Double-sided attack. Knocks foes into potential juggle position. |
|
Down smash |
1, 10-1.2, 12 |
Double-sided attack. Small hitbox behind while charging. |
Side Smash
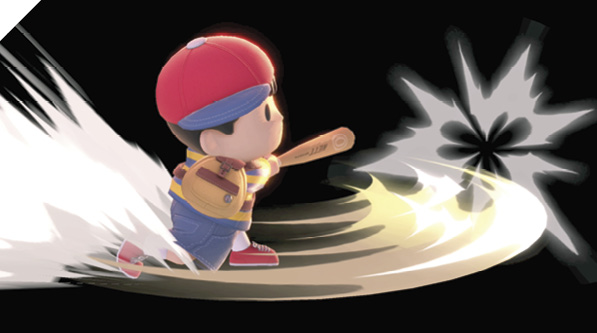
Swing, batter batter! Ness uncorks one of the strongest knockout moves in the game, a home-run swing that can reflect incoming projectiles. There’s an invincible hitbox in front of Ness just before and during the bat’s hitting frames, giving the bat overwhelming priority against enemy attacks in that area, while also deflecting ranged attacks and sending them back faster and stronger than they arrived.
Side smash is somewhat sluggish to start, hitting in about a third of a second, uncharged. Take this into account when swinging for incoming shots or going for the fences attacking foes. The invincible deflection area is about the same size as Ness himself, but in front of him; the bat’s hit area is just the bat itself. So it’s lenient for reflections, but not for direct hits on opponents.
Damage is highest at the tip of the bat, but it’s still decent farther down toward Ness’s hands. On a solid hit, victims are hurtled fast, low, and far! If blocked, side smash deals heavy shield damage.
Up Smash
During up smash, Ness shows off his yo-yo skill by whipping the stringed weapon in an arc that covers all around him like a rainbow. The yo-yo’s active hitting period starts out at Ness’s front foot and rotates up over his body, ending up behind him.
The initial hit at his feet is decently fast for a smash, and about twice as fast to hit someone in front as side smash. The yo-yo stays out a long time, hitting upward about a third of a second after start-up, and hitting behind Ness about a half-second after start-up.
So it’s a full-coverage move, but it’s really only quick right in front, where you’re probably going to use neutral attacks, down tilts, and grabs most of the time. If someone standing in front shields against up tilt, they’re basically guaranteed any punishment they want against Ness, since they can drop shield while he’s still traveling through the upward/backward parts of the swing—it’s a bit sluggish to reach its upward and backward hitting frames. Still, it’s an attack that covers every direction but downward, which is always useful. In party battle modes there can be enemies approaching from all sides, and the ability to swing without risk at people on ramps or low platforms just above is invaluable.
Down Smash
Showing off his yo-yo control, Ness starts this double-sided down smash attack by “walking the dog” behind him. Yup, this is the rare clear-out attack that hits to the back first. It’s also unique in that there’s an attack while charging the smash: start down smash and hold the input, and Ness makes the yo-yo spin in place behind him. If someone’s standing in this area, it can hit them several times before the attack is even released, like some “flurry” neutral attack finishers.
Upon release, Ness sweeps the yo-yo across his back to the front side. Charged or uncharged, the initial yo-yo hitbox appears behind Ness at the same time. If releasing down smash uncharged, the yo-yo’s forward-hitting portion occurs about half a second later. The point is, just like up smash is slow to hit behind Ness, down smash is slow to hit in front of Ness.
The quick, low-hitting, chargeable backward start-up gives down smash niche use as an aggressive attack while running. Run right into someone, pivot by tapping the other direction, then immediately down smash. This can be used to aggressively charge at someone while also covering directions above and backward. It can even end up catching them if they dodge-roll through the initial portion and end up on the other side of Ness. If they block the initial backward yo-yo walking and you release the attack, Ness is very vulnerable (like an inverse of having up smash’s frontal hitbox blocked). But if you back-turn directly in front of someone and charge down smash all the way before release, the chipping hits of the yo-yo spinning in place combine with the actual attack on release to almost totally deplete their shield. If they’ve sustained any shield damage blocking other stuff right before this, they’ll probably have their shield shattered, dizzying them!
Grabs
| Move | Damage | Note |
|---|---|---|
|
1.3 |
— |
|
|
Front throw |
11 |
Forward throw. |
|
Back throw |
11 |
Backward throw. |
|
Up throw |
10 |
Launches foes into potential juggle position. |
|
Down throw |
0.5x3, 1.5, 4 |
Bounces foes into potential juggle position. |
Grabs
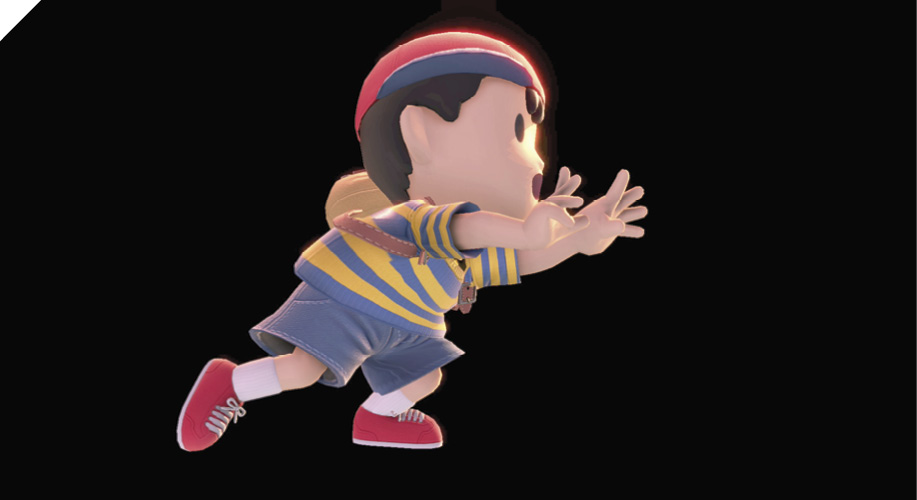
Ness’s grab speed is very good, just short of the fastest grabs in the game. He can set up grab attempts easily with his down tilt attack, which serves as a safe, perfect tick move before grabbing. At any damage percentage, front throw has terrific forward knockback, throwing victims a long way and securing KOs at higher percentages. Back throw doesn’t hurl them far at low percentages, allowing for immediate close-range pressure. At medium damage and higher, its throw distance is more like front throw’s, giving great KO and offstage-toss potential.
For up throw, Ness flings foes upward using the power of his mind, leading to pressure and juggles as they tumble. Down throw inflicts some quick fire damage on the ground before popping them up in front, allowing for closer juggles. If someone is standing nearby while Ness pins his throw target and roasts them, they can take incidental damage from the flames.
Aerial Attacks
Aerials
| Move | Damage | Note |
|---|---|---|
|
11 |
— |
|
|
Forward air attack |
1.5x3, 5.5 |
— |
|
Back air attack |
15 |
Max damage early. |
|
Up air attack |
2.5x3, 5 |
Launches foe into potential juggle position. |
|
Down air attack |
12 |
Neutral Air Attack
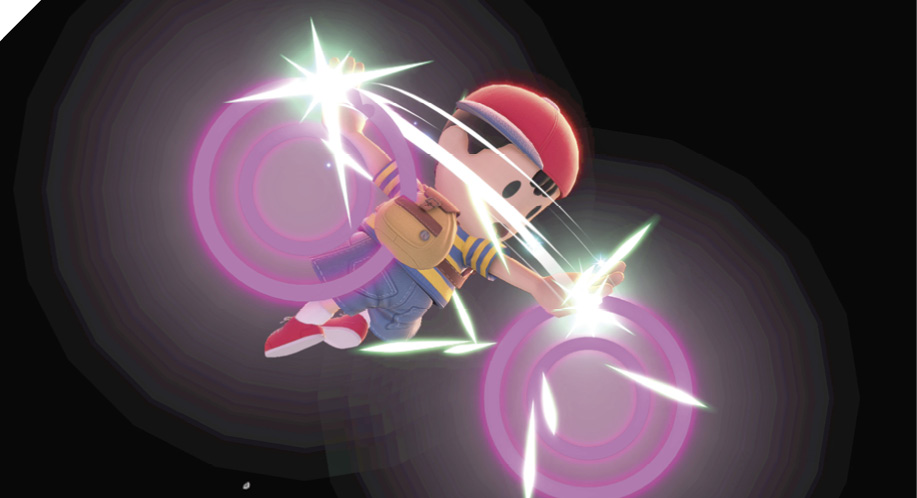
Ness extends his hands to either side and spins. His hands and body all have hitboxes around them, so this attack has good coverage all over. His arms are tilted forward, so it’s aimed slightly diagonally downward. It’s quick to start hitting, with max damage during the earliest spin. The attack persists for a sixth of a second, with the latter half dealing less damage and knockback. The active period (not hugely long, but enough to work with) and hitboxes all over Ness’s body allow this to be used right above targets before fast-falling to drag the move into them.
Forward Air Attack
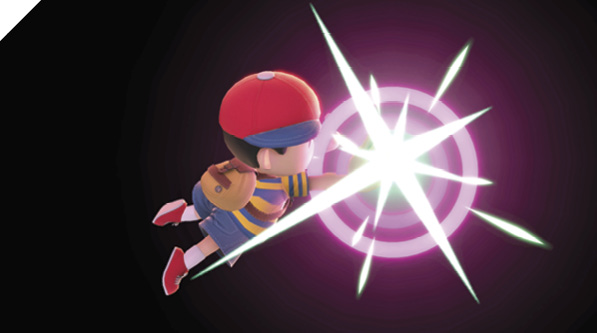
Ness holds his hand in front, striking with PK energy four times. The first three hits are small, with most of the damage coming from the final hit. The extended hitting period makes this good for firing at airborne targets ahead of Ness, but it’s hard to use against enemies on the ground. When falling with forward air attack to strike air-to-ground, use it a little early so you whiff the first hit or two above your target before striking with later hits.
Back Air Attack
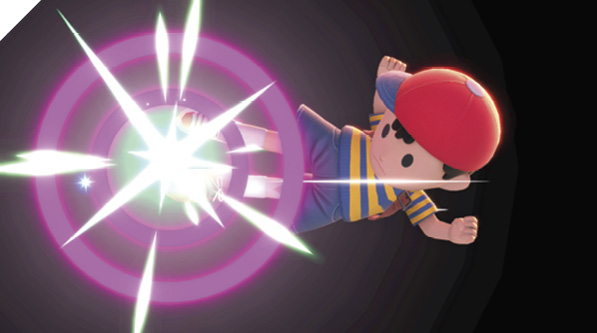
This backward-aimed dropkick is powered up by Ness’s psychic skills. Hitting with good aim early in the attack is very strong, with great knockback strength and damage. Ness’s legs persist as hitboxes after the PK power disappears, though with lower damage and knockback.
Up Air Attack
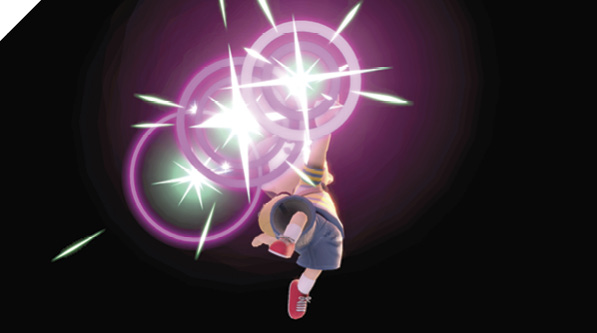
A determined Ness points to the sky above him, sweeping his hand back-to-front for PK coverage across upward angles. This hits above and behind him first, before dragging forward to the front. The initial hitbox appears quickly, but without coverage straight up or up-forward. The PK blasts get there before too long, hitting up-forward with about the speed of a typical smash move. Enemies struck by up air attack get launched upward, where you can pursue them for more attacks.
Ness is short, and the hitbox for this isn’t too high above his body, which means it can be used air-to-ground also, if desired. Time it slightly earlier than you might think so the final hit launches your target just before Ness touches down. If you time it too late, Ness lands before making it to the launching part of the attack.
Down Air Attack
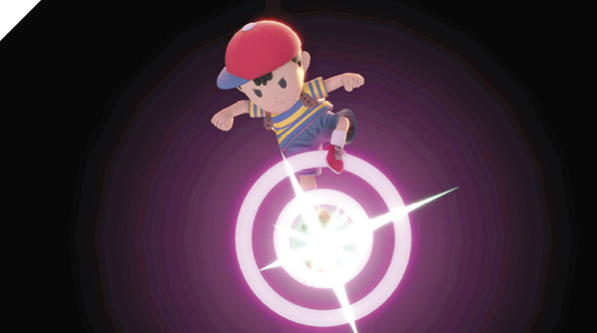
Ness aims straight down with a kick that might look slow and unimpressive, but is backed by his PK force. With a clean hit, down air attack can meteor smash opponents, spiking them straight down to bounce off the stage or plunge down a drop-off.
It’s his slowest air attack to hit, by far, taking a third of a second to become active, but it’s easy to aim, thanks to the single strong hit. It does the most damage right on activation, with a meteor smash effect. It dishes out less damage if the latter active frames connect, popping foes up instead of spiking them.
Special Moves
Specials
| Move | Damage | Note |
|---|---|---|
|
Neutral special |
11-25 |
Detonates on button release. Hold left or right to direct energy. Charging increases damage. |
|
Side special |
6, 1x5-16 |
Firebolt detonates on impact. |
|
Up special 1 |
10 |
Move control stick to direct PK Thunder. If used in midair, lag until landing. |
|
Up special 2 |
25 |
Strike Ness with PK Thunder to send him rocketing the other way. Lag until landing. |
|
Down special |
4 |
Absorbs incoming energy projectiles, replenishing Ness’s health. Small physical hit on activation. |
Neutral Special: Pk Flash
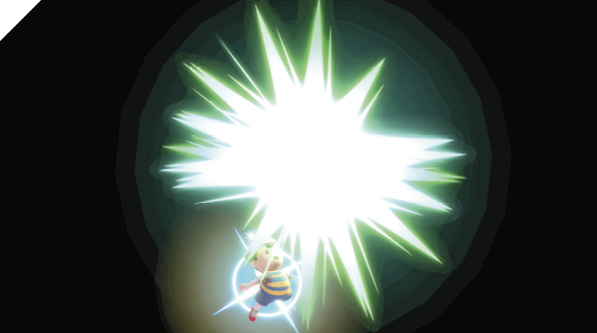
Ness focuses his energy, sending forth a pulsing projectile. Hold down the Special button and move the control stick left or right to direct this projectile, which arcs out slowly for up to almost two seconds. The pulsing energy moves until one of three things happens: you release the button, it hits a surface, or its travel time runs out. Whichever happens, the energy explodes, hitting a large area with a high-damage flash. The longer PK Flash exists, the higher the damage whenever it finally goes off.
PK Flash is interesting, because you have to aim and detonate it manually. It doesn’t go off just because an opponent overlaps the controllable energy ball. Since it arcs up and away from Ness before falling, enemies on level ground can rush in at Ness, under the orb. But if you’re on a lower floor of a multitiered stage, PK Flash can travel up through platforms to hit them.
If used in midair, PK Flash slows Ness’s falling speed while he’s focused on directing the energy. High in the air offstage, you have time to drop a PK Flash bomb before recovering with self-directed PK Thunder.
Side Special: Pk Fire
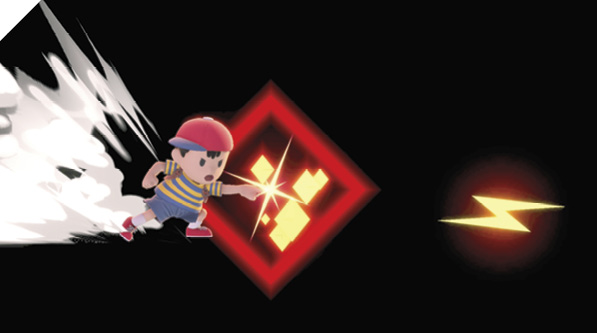
On the ground, Ness throws a small bolt of fire energy horizontally. In the air, he throws it at a 45-degree angle downward. The range on the firebolt is decent, about the length of two dashes. Thrown from either air or ground, if the firebolt strikes an enemy, it explodes into a brief conflagration, inflicting lots of low-damage hits as it roils. Someone grazed by PK Fire takes at least five burning hits, leading to a special that does 11% damage total. Depending on where it hits them and how much they shuffle while being seared, PK Fire may stack up as many as 16 extra hits, exceeding 20% damage total.
Up Special: Pk Thunder
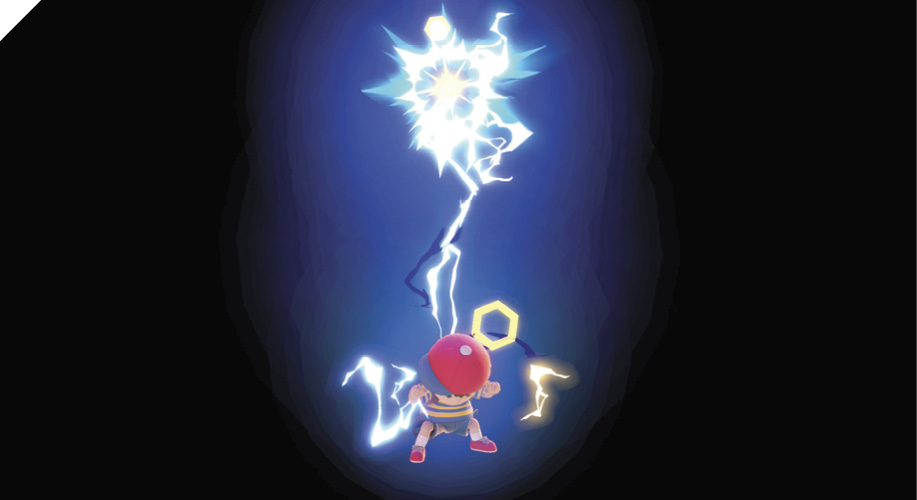
Ness’s most infamous move can be used several ways. It’s a controllable shot that can hit enemies directly or strike Ness to make him into an even more powerful projectile, and it also powers his recovery plays.
On activation, Ness employs his psychokinetic powers to send forth a sparking, snaking bolt of lightning. While this twisting blue projectile is active, Ness stands still (or floats slowly, if started in midair), crackling with mental effort.
PK Thunder can be steered around the stage with the control stick. A small arrow appears next to Ness, helping you aim. While it’s moving, driving PK Thunder into an opponent shocks them, dealing 10% base damage and knocking them off their feet. The head of the snaking thunderbolt disappears if it hits anyone, but if enemies pass through the thunderbolt’s tail, they take a little damage without dissipating PK Thunder.
PK Thunder can be used as a controllable, far-reaching projectile. Activate it, then steer it straight for foes, looking to hit them head-on. Depending on the stage’s layout, Ness may be able to pepper enemies with PK Thunder from a relatively safe position, moving it around impediments and platforms to seek out desired targets.
PK Thunder is also Ness’s only recovery tool when the hero of EarthBound finds himself over the edge. Launch PK Thunder and fly it around Ness in a tight circle, hitting him on the opposite side of the way you want him to go. On impact, the energy of PK Thunder launches Ness quickly, making the boy into a temporary projectile of incredible power. Hitting someone with electrified Ness deals a whopping 25% damage early (and still 21% on a hit during later active frames), sending them sailing in the other direction with harsh knockback. It takes some finesse to target Ness with his own PK Thunder to make him launch the other way with accuracy, but it’s vital for playing Ness well.
PK Thunder is also a powerful edge-guarding weapon. There’s the obvious approach, standing on a stage edge and launching PK Thunder to fly it toward someone trying to get back onstage. Nail them in midair to cut their flight short. However, there’s a sneakier way to use PK Thunder against endangered targets offstage. Fire PK Thunder and fly it around them, instead of right into them. Your goal is to surround them with the tail, which can hit them without snuffing out the projectile. Think of PK Thunder’s tail like a little wall you can fly around, putting it into recovering players’ paths.
Down Special: Psi Magnet
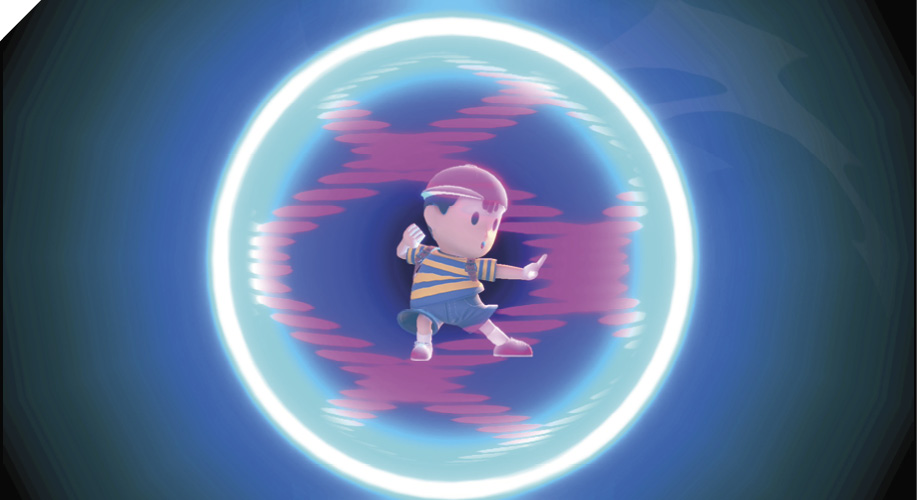
Bracing himself, Ness conjures a sphere of absorption power. Any energy moves that touch this field are negated, refilling a bit of Ness’s health. This is great against fighters like Samus and Wii Fit Trainer, who build their game plans around powerful chargeable projectile specials. It even works wonders against another Ness or Lucas, should they attack with their PK-powered shots.
PSI Magnet isn’t technically just an absorption move. There’s a small attack hitbox around Ness shortly after activation. If you hold the input down, making PSI Magnet persist as long as desired, this hit “pulses,” occurring over and over. It’s not a huge deal, and it certainly doesn’t outstrip neutral attack and down tilt as Ness’s main physical attacks up close, but it has some intentional use when edge-guarding, or when absorbing a shot from a foe on one side while others close in from other directions.
Final Smash: PK Starstorm
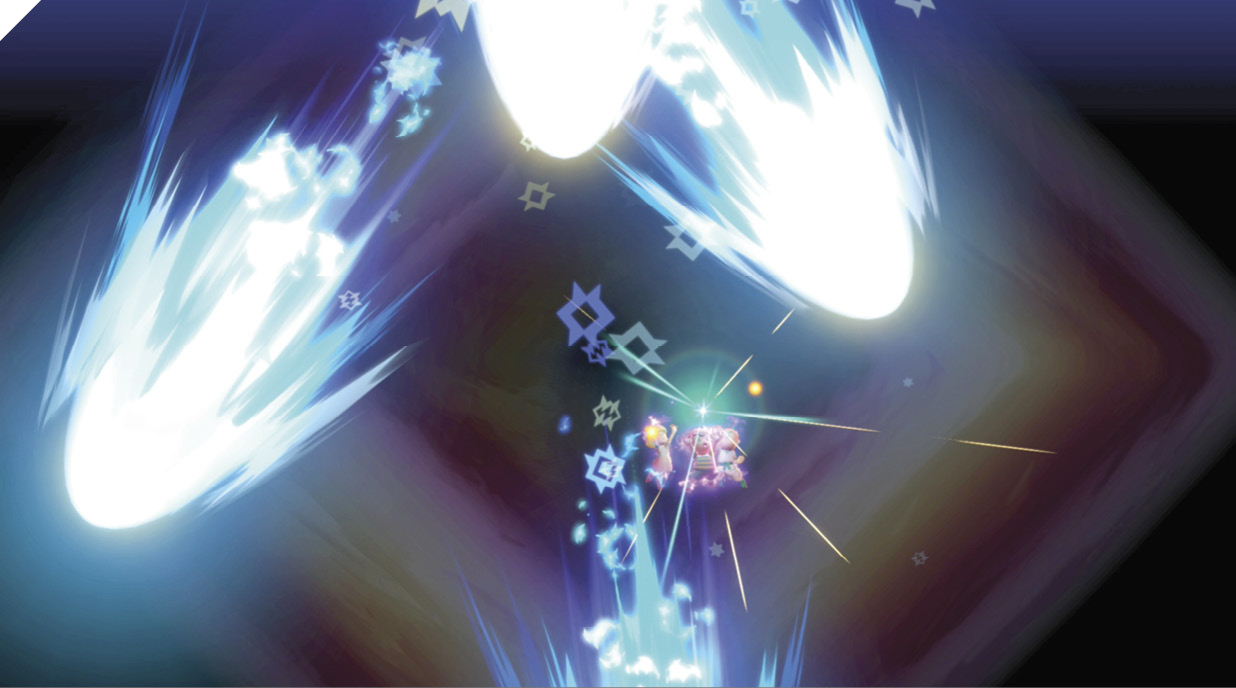
Joined with friends Paula and Poo, Ness unleashes a meteor shower using their combined PSI powers. Holding left or right slightly aims the shower of projectiles from the heavens. There’s no safe place under where the energetic bolides fall!