
Super Smash Bros. Ultimate Guide Ken
Brawler Arsenal
Grounded Attacks
Neutral Attacks
Neutral Attacks
| Move | Command | Damage | Note |
|---|---|---|---|
|
Standing light punch |
Neutral attack tap |
1.5 |
Chains into another light punch at point-blank range. Chains into target combo outside point-blank range. Cancelable with special moves. |
|
Target combo |
Neutral attack tap x3 (4 if up close) |
1.5, 1.5, 1.5, 5 |
Begins with two jabs when executed at point-blank range. |
|
Inazuma Kick |
Neutral attack hold |
6, 6 |
Early hit pops up. Later hit knocks away. |
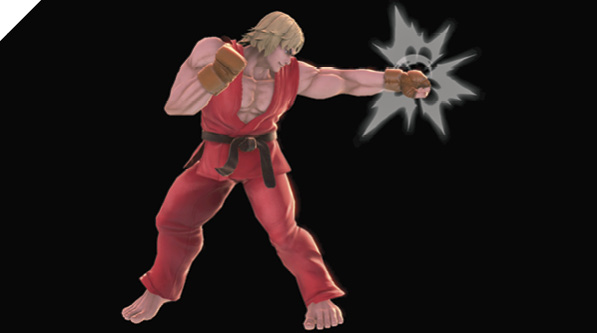
Ken sticks out a swift jab with his left hand (when facing right). Ken’s neutral attack is a quick jab that functions conventionally as a combo-starter, quick punish attack, and close-range poke.
While it can be applied in a variety of scenarios, it differs from other fighters’ neutral attacks with its relatively strict input requirement. Like Ryu, Ken has retained much of his normal attack arsenal from the Street Fighter series, which means he can use light, medium, and hard versions of his move set. Because medium and hard normal attacks are performed by holding the Attack button while light attacks are executed by quickly tapping and releasing the button, using Ken’s jab can prove difficult in certain situations. For example, shielding a foe’s attack and responding with a buffered light attack is exceptionally unforgiving since, if you’re not precise with your timing, you may perform an unwanted buffered medium attack instead of your faster jab.
Generally, if you’re in range of your neutral attack, it’s best to go with a shield grab as your punisher attack right after blocking.
Neutral Attack Combo (Target Combo)
Ken’s Street Fighter target combo is a three-hit sequence, beginning with a jab, transitioning into a right-handed body blow, then finishing with a fierce left hook.
Up close, this “auto-combo” requires four Attack inputs, as Ken starts the sequence with two jabs before leading into the body-blow follow-up. From past point-blank range, Ken executes the body blow into hard punch sequence after a single jab. The body-blow attack is cancelable with any special move, so you’re not limited to finishing the combo with the final basic Attack input. For instance, up close, you can go for neutral attack, neutral attack, neutral attack canceled into  + Attack (hold) for a fancy high-damage hit-confirm combo.
While this target combo is relatively simple to execute, it’s generally unsafe if shielded, particularly the body blow and hard punch portions. If you finish the entire target combo against a shielding foe, they can almost always score a guaranteed buffered neutral attack punish (or shield grab). Thanks to Ken’s special-cancel ability, you can get around this weakness by calling out your opponent’s retaliation. By special-canceling the body blow (the third Attack input while up close) with Focus Attack, you can absorb the incoming “punish,” punishing the punish with your Focus Attack kick release!
Neutral Attack Hold
Ken extends a leg skyward, then transitions into an axe kick, chopping down enemies in front of him. Ken’s “overhead” medium kick, also known as Inazuma Kick, is performed with a long-press neutral attack command, and doubles as an anti-air and defensive attack. It starts with a vertical hitbox and ends with an axe swing downward. While it doesn’t excel as an anti-air or horizontal poke, it’s moderately effective against enemies coming down from directly above or in front of you. But Ken has much more effective specialized attacks for these scenarios (close hard punch for anti-air and standing medium kick for horizontal pokes).
Dash Attack
| Move | Damage | Note |
|---|---|---|
|
12 |
Early hit deals more damage. Launches up and away. Late hit launches directly above for a follow-up. |
While running, Ken delivers a flying kick attack, similar to his jumping roundhouse kick, that launches foes up and away. Although Ken’s dash attack leaves you extremely exposed and vulnerable to retaliation if blocked or dodged, it starts incredibly quickly and, if spaced correctly, rewards you with a huge payoff.
Ken’s flying kick can launch in two ways: If you hit the early high-damage window, the foe is launched up and away. If you hit with it later on as the attack lingers, it launches the foe straight up into the air. This vertical launch allows you to follow up with a guaranteed up air combo (canceled into fierce Shoryuken for maximum damage).
Defensive Attacks
Tilts
| Move | Command | Damage | Note |
|---|---|---|---|
|
Close light punch |
Up tilt tap |
2 |
Slight pop-up. Chainable with close light punch. Cancelable with special moves. |
|
Close hard punch |
Point-blank neutral attack hold OR up tilt hold from any range |
12 |
Launches directly above. Cancelable with special moves. Upper-body intangibility on start-up. |
|
Standing medium kick |
Side tilt tap |
6.8 |
Launches up and away slightly for potential follow-up. Kicking leg intangible. |
|
Close medium punch |
Point-blank side tilt tap |
6 |
Cancelable with special moves. |
|
Standing hard punch |
Side tilt hold |
10 |
Launches away. |
|
Crouching light kick |
Down tilt tap |
1.6 |
Chainable into crouching light kick or crouching medium kick. Cancelable with special moves. |
|
Crouching medium kick |
Down tilt hold |
7 |
Knocks up and away. Deals more damage with inner hitbox. Cancelable with special moves. |
Up Tilt Tap
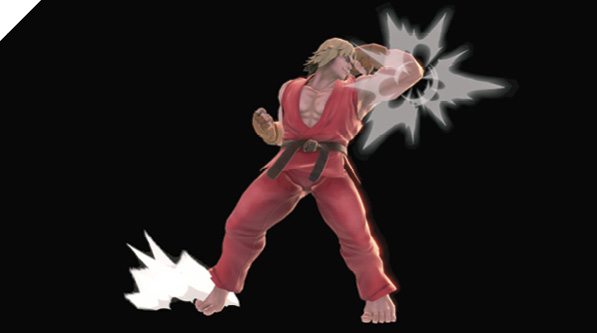
Ken quickly performs an elbow strike that pops enemies into an airborne state (Street Fighter players will recognize it as his close standing jab). This attack is similar to his neutral jab attack, but slightly slower with less reach. While its range and speed may seem inferior to standing light punch, the pop-up effect of close light punch makes it a much more versatile attack. It can be used to harass enemies while providing safe hit-confirm opportunities against both grounded and airborne foes. Close light punch should be one of your staple moves, prioritized over other attacks while you’re in close proximity.
As an anti-air, you can follow up with jumping light kick or heavy Shoryuken. This combo is made much easier against high-damage-percentage targets.
Up Tilt Hold / Close Neutral Hold
Ken’s close standing fierce attack from the Street Fighter series is a powerful left-handed uppercut that launches his foe into the sky. This attack is an incredibly effective anti-air thanks to its upper-body intangibility as Ken thrusts his fist above his head. This up tilt long-press attack is generally much safer to use than his Shoryuken special move, particularly against air dodges. It can be special-canceled as long as you make contact with it, potentially scoring a follow-up Shoryuken juggle. It’s unsafe when shielded, but since it’s special-cancelable, you can avoid punishment by canceling its ending lag with Tatsumaki Senpukyaku directed away from the enemy. Alternatively, you can go for a bait setup by canceling it with Focus Attack (release as soon as you absorb your foe’s retaliatory strike).
Side Tilt Tap
Ken delivers a quick leg thrust to the enemy’s midsection. This kick is a fast poke with intangibility around Ken’s extended attacking leg, making it effective for stuffing and beating out other grounded combatants. It isn’t special-cancelable and doesn’t naturally provide combo opportunities. While it’s effective for its niche use, you generally don’t use it often because of the fast-paced, aerial-based nature of combat.
Close Side Tilt Tap
Ken drives his right elbow into the opponent. At point-blank range, inputting a side tilt tap attack results in Ken’s close medium punch instead of standing medium kick. This attack is special-cancelable. But combos such as close medium punch canceled into heavy Shoryuken can be tough to pull off in a real match against elusive opponents. In most up-close situations, target combo and standing light punch are much more practical tools.
Side Tilt Hold
Ken’s side tilt long-press attack is a direct right-handed fierce punch (also known as a standing hard punch). Connecting with the fist portion (essentially at its maximum range) causes extra damage. Overall, it’s an unremarkable attack because it lacks speed, cancelability, and range. You get much more damage and utility out of Ken’s faster cancelable attacks.
Down Tilt Tap
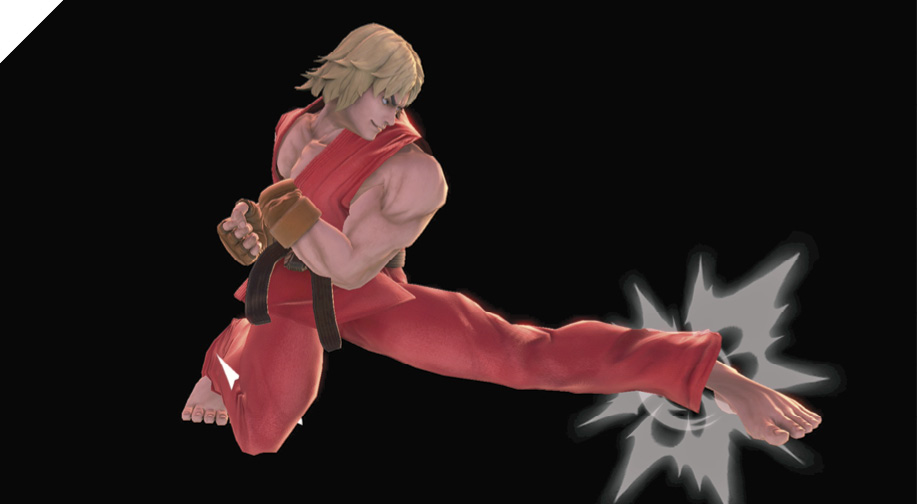
Ken prods the enemy’s foot with his own in this quick low-profiling foot attack. Since high and low blocking (shielding) doesn’t exist in SuperSmashBros.Ultimate as it does in Street Fighter, this attack’s utility lies in its chainable property rather than as an avenue of breaking an opponent’s defense. Essentially, this lightning-fast “low” attack functions similarly to standing light punch, thanks to its chainable properties. You can chain multiple crouching light kicks that can then chain into a crouching medium kick, which can be canceled into a special move, resulting in a true Street Fighter combo (such as crouching light kick, crouching light kick, crouching medium kick, Hadoken).
Down Tilt Hold
Ken crouches low and attacks the opponent’s feet with a far-reaching foot thrust. Veteran Street Fighter players will recognize this as “low forward” or “crouching medium kick.” This cancelable attack boasts respectable range (relative to Ken’s other attacks). On hit, it pops up the enemy, providing moderate combo opportunities, such as with crouching medium kick canceled into Hadoken.
Smashes
| Move | Command | Damage | Note |
|---|---|---|---|
|
Standing hard kick |
16 |
Launches away. |
|
|
Crouching hard punch |
Up smash |
17 |
Launches directly above. Deals more damage early, first hitbox. |
|
Crouching hard kick |
Down smash |
16 |
Knocks away. Deals more damage with tip. |
Side Smash
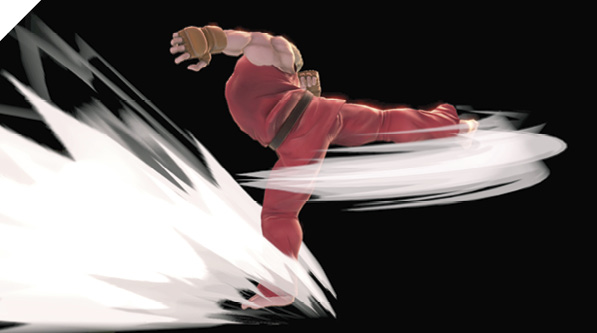
Ken delivers a heavy spinning roundhouse kick to the enemy’s midsection. It sports decent range and damage. Unfortunately, Ken’s smash attacks cannot be special-canceled. In certain situations, side smash can be used to punish extraordinarily unsafe whiffs, or as a charged move while edge-guarding a ledge. Take caution with these types of smash attacks, as they leave you vulnerable to reprisal.
Up Smash
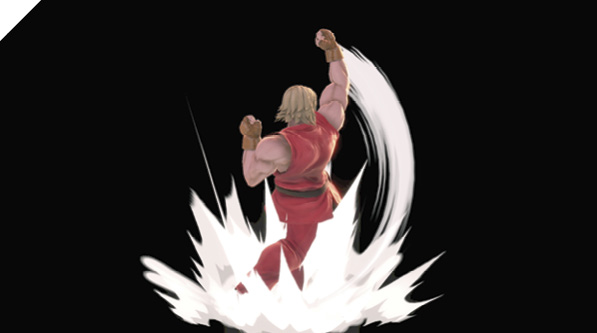
Ken performs his well-known alternative anti-air—a vertical uppercut from the crouching position, also recognized as a crouching hard punch. This move is a strong anti-air attack with an intangible hitbox around Ken’s extended arm. While it’s an adequate anti-air, it isn’t cancelable, making it generally inferior to close hard punch, which functions similarly.
Down Smash
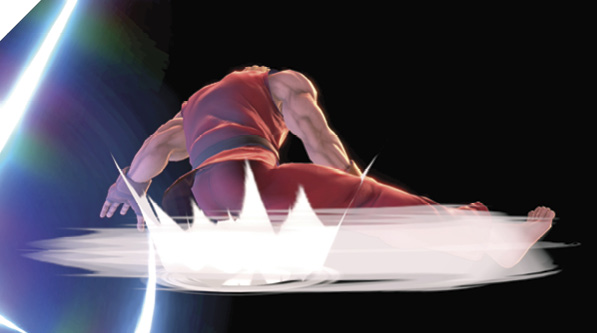
Ken sweeps the floor in front of him with his dominant leg, knocking foes away.
Ken’s Street Fighter sweep is standard fare for a down smash attack, but doesn’t cover his rear. This move is best left unused, especially since it’s not cancelable while being easily punished by sharp and ready foes.
Grabs
| Move | Damage | Note |
|---|---|---|
|
1.3 |
— |
|
|
Front throw |
9 |
Forward throw. |
|
Back throw |
12 |
Backward rolling throw. |
|
Up throw |
8 |
Launches directly above. |
|
Down throw |
6 |
Launches up and away slightly, allowing for follow-up attack. |
Grabs
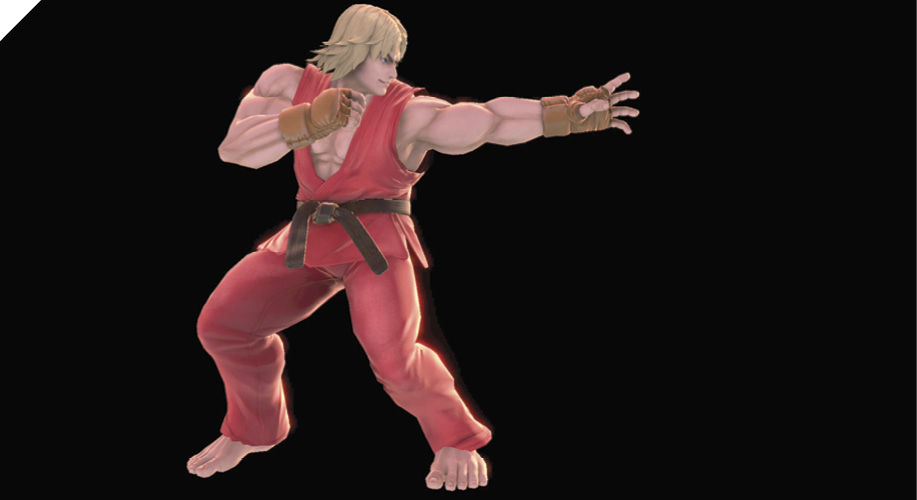
Ken quickly grabs a nearby foe and puts them into a mixed martial arts guard position where he can follow up with one of four throw options. Ken’s tumbling back throw deals the most direct damage out of a grab, but for optimal damage, down throw followed by holding up tilt (close hard punch) canceled into Shoryuken deals a massive amount of damage against 0% opponents (at higher-damage percentages, you can potentially follow up with an air attack combo).
Ken’s up throw is a vertical toss, giving him an opportunity to mix up the descending enemy with anti-air juggle combos, such as with up air.
The other two grab and throw options for Ken are lackluster. Forward throw deals low damage, though it gives you a chance to mount a follow-up offense.
It’s important to note that since buffering light attacks may be difficult for Ryu and Ken (because of how their medium long-press attacks work), buffering grabs is your next best defensive option in up-close situations.
Aerial Attacks
Aerials
| Move | Command | Damage | Note |
|---|---|---|---|
|
Jumping medium kick |
8 |
Can cause standing hitstun on grounded hit. Deals more damage with lower hitbox. Cancelable with special moves. |
|
|
Jumping hard kick |
Forward air attack |
14 |
Launches up and away. Cancelable with special moves. Deals more damage with tip. |
|
Neutral jumping hard kick |
Back air attack |
16 |
Launches away. Cancelable with special moves. |
|
Jumping light kick |
Up air attack |
6.5 |
Knocks up slightly for potential follow-up. Cancelable with special moves. |
|
Jumping hard punch |
Down air attack |
12 |
Knocks up for potential follow-up. Can meteor smash. Cancelable with special moves. |
Neutral Air Attack
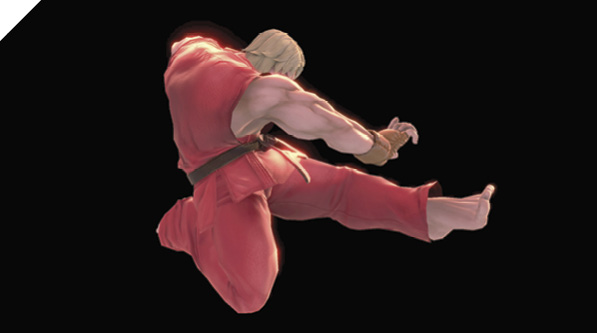
Ken extends a moderately quick kick from the air. Ken’s neutral air attack is his SF-style jumping medium kick (with cross-up trait included!). It’s a solid air-to-air and air-to-ground attack with respectable reach. Its active window is relatively short, so unlike Ryu’s jumping neutral attack, you need to time it accurately. Its recovery is short enough so that you can do two jumping neutral air attacks in one normal-height jump—one during your ascent and one during your descent—a safe and effective poking/walling attack pattern.
Short hop into a well-timed jumping medium kick while fast-falling makes for an effective air-to-ground pattern as well, both defensively and offensively, especially in conjunction with Focus Attack cancels against shielding foes.
Neutral air attack has low air lag, so you can stick it out multiple times in a single jump.
Forward Air Attack
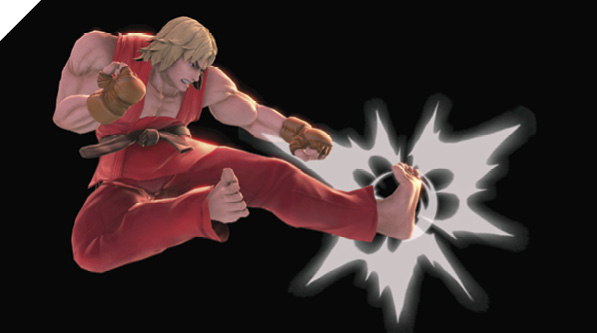
Ken delivers a jumping hard kick attack from the air. Ken’s jumping front attack (jumping hard kick) is similar to his jumping neutral attack. It deals more damage and has a high-damage sweet spot around his extended foot. It makes for an excellent descending attack while fast-falling on top of the opponent, although neutral air attack is preferable in most practical cases.
Back Air Attack
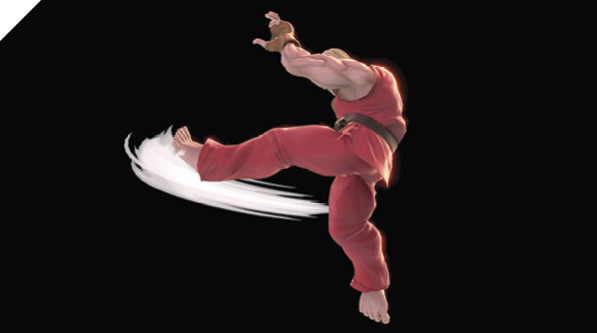
Ken jumps into the air and delivers a weighty rear roundhouse kick. While this is his back air attack, most SF players will recognize it as his neutral jumping roundhouse kick.
This attack deals the most damage out of all of Ken’s aerial options, but requires accurate spacing and timing due to its low active-frames window and particular horizontal hitbox. It can be used aggressively as a reverse air rush (run, pivot, back air).
Up Air Attack
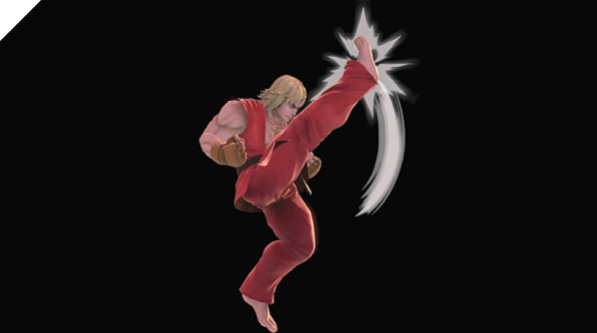
Ken quickly performs an aerial “crane” kick, thrusting his right leg into the air. This incredibly fast aerial air-to-air move is a staple attack in your arsenal when it comes to aerial combat. Its vertical hitbox is designed to deal with foes above you, great for taking advantage of “juggling” falling opponents, giving you an excellent air-to-air harassment tool. It also makes for a decent combo follow-up to close light punch (up tilt tap into quick jumping up air).
Down Air Attack
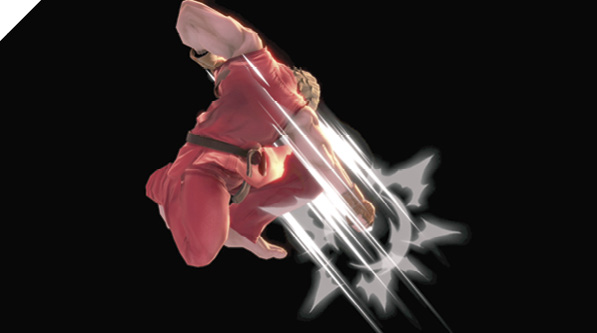
From the air, Ken descends on the opponent with a hefty fist thrust, striking them down, familiar to Street Fighter players as jumping fierce punch. While this air attack doesn’t feature the range and active window of Ken’s jumping kick attacks, it allows for more damage opportunities, such as off of a Focus Attack crumple-stun opener. If you connect with a jumping hard punch on a grounded opponent, the pop-up hit effect provides ample hitstun for follow-up combos. An example of a combo sequence is: jump above an opponent, pop them up with fast-falling down air, juggle with close light punch (up tilt tap) or close heavy punch (up tilt hold), then cancel into heavy Shoryuken.
Ken’s down air attack is the quintessential meteor smash. Like Ryu’s down air, it spikes and plummets airborne foes, making it your optimal attack for knocking out opponents over a pit or ledge.
Special Moves
The strengths of the following attacks depend on how long the Attack button is held upon execution. Hadoken, Tatsumaki Senpukyaku, and Shoryuken each have three levels: weak, medium, and strong. Performing these attacks with the special Street Fighter directional inputs rewards you with higher damage and other beneficial properties.
Short hold: Activates quickly and leaves you less vulnerable.
Long hold: Powerful and has a long reach.
Variable Strength Street Fighter Specials
| Move | Command (When Facing Right) | Damage Totals (Light/Medium/Heavy) | Note |
|---|---|---|---|
|
Hadoken |
Neutral special OR |
4.5 (5.6) / 5 (6.2) / 5.5 (6.8) |
Deals more damage when performed with control stick sequence. Limited to one Hadoken projectile on-screen at a time. |
|
Tatsumaki Senpukyaku |
Side special OR |
6 (6.9) / 12 (13.9) |
Deals more damage when performed with control stick sequence. Airborne intangible during hits. |
|
Shoryuken |
Up special OR |
13 (15.6) / 14 (16.8) / 15 (20) |
Deals more damage when performed with control stick sequence. Brief invincibility on start-up. |
 + Attack (hold button to increase power level)
 + Attack (hold button to increase power level)
 + Attack (hold button to increase power level) OR
  + Attack
Neutral Special: Hadoken
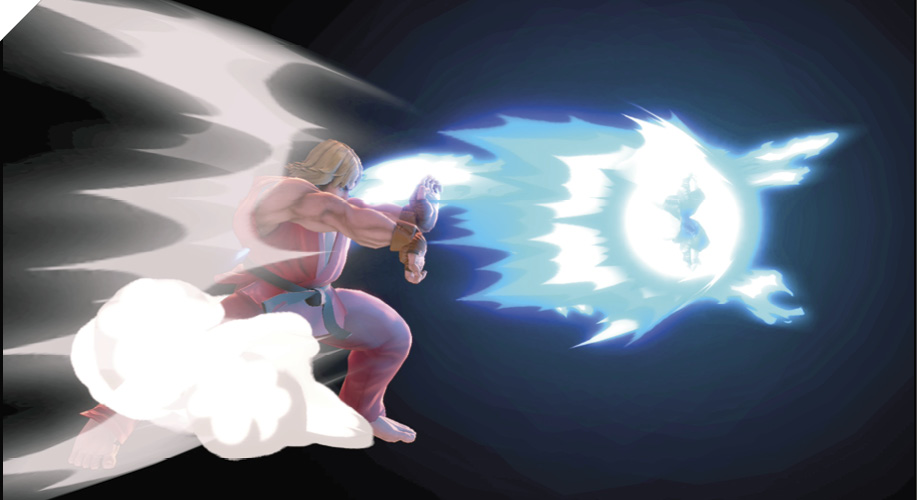
Ken summons and fires an energy wave (“fireball”) across the battlefield. There are three separate strengths and speeds for the two methods of executing the iconic Hadoken projectile. Performing Hadoken “manually” with quarter-circle forward ( + Attack) motion rewards you with a bigger fireball (better hitbox), along with higher damage. You should almost always use the full-command version since the motion doesn’t interfere with movement (at least not as much as the Shoryuken and Tatsumaki Senpukyaku motions do).
The longer the Attack button is pressed when performing Hadoken, the faster and stronger the projectile becomes. The light version generally provides the most utility since, more often than not, slow-moving projectiles are more difficult to deal with. Hadoken is one of your best edge-guarding attacks, as it puts out a dangerous obstacle for a recovering foe to get past while they try to break your edge-guarding posture.
Side Special: Tatsumaki Senpukyaku
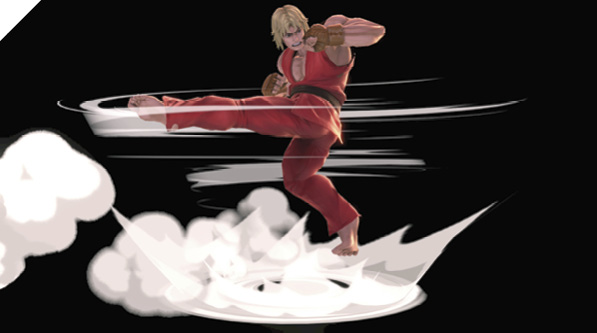
Ken becomes a human hurricane, flying forward with a flurry of spinning kicks. Tatsumaki Senpukyaku is a multi-hit, multifunctional hurricane kick. It can be used as a gap-closing horizontal-mobility option, a combo-finisher, and an escape.
Although it’s unwise to throw this out randomly as a fishing attack, it makes for a good method of traversing the field quickly, either to recover onto a ledge or as a retreating tactic (canceling your normal attacks with a runaway reverse Tatsu, for instance). The longer the Attack button is held, the farther you travel and the more damage you deal in total, assuming all of your kicks connect (although this is rare in most practical scenarios). While the Street Fighter command version deals more damage, performing the quarter-circle back ( + Attack) motion can result in undesired movement, so using the easier side special command is preferable in most cases.
Up Special: Shoryuken
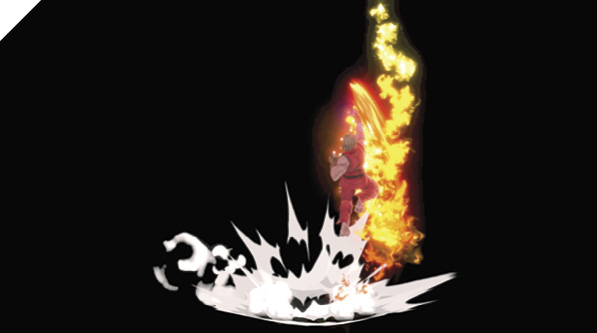
Ken flies into the air with a jumping uppercut, also known as the Shoryuken (or “Rising Dragon Fist”). Ken’s iconic uppercut special doubles as an anti-air and ledge-recovery tool. Shoryuken power level determines the height Ken flies into the air, as well as the total damage of the attack. Like Hadoken and Tatsumaki Senpukyaku, the longer you hold the Attack button upon executing the attack, the higher the resulting power level.
Inputting the Street Fighter command ( + Attack) not only rewards you with higher damage but also complete start-up intangibility, blowing through all opposing attacks. This is a major difference between performing manual Shoryuken and up special, although the latter is much easier and should be used for ledge-grabbing and double/triple-jumping purposes. You can also use the Street Fighter IV-style “shortcut” motion by inputting
  + Attack to more easily execute a true Shoryuken. This is particularly important for performing crouching light kick canceled into Shoryuken hit-confirm combos.
Shoryuken is an outstanding anti-air that deals an incredible amount of damage, but can be considerably dangerous to use. While descending from the attack, Ken is almost completely helpless—you can modify your trajectory slightly, and you’re vulnerable to reprisal until your feet hit solid ground. A misplaced Shoryuken off a ledge can mean your death, so mind your surroundings!
Other Special Street Fighter Moves
| Move | Command (When Facing Right) | Damage | Note |
|---|---|---|---|
|
Focus Attack |
Down special (chargeable) |
12 / 17 (max charge) |
Breaks shield when charged fully. Causes crumple-stun effect when charged (released after Ken flashes white). |
|
Nata Otoshi Geri |
|
10 (15 with Inazuma Kick) |
|
|
Oosoto Mawashi Geri |
|
10, 10 (Inazuma Kick) |
Inazuma Kick follow-up deals bonus shield damage. Minor intangibility on leg. |
 + Attack (hold to follow up with Inazuma Kick)
 + Attack (hold to follow up with Inazuma Kick)
Down Special: Focus Attack
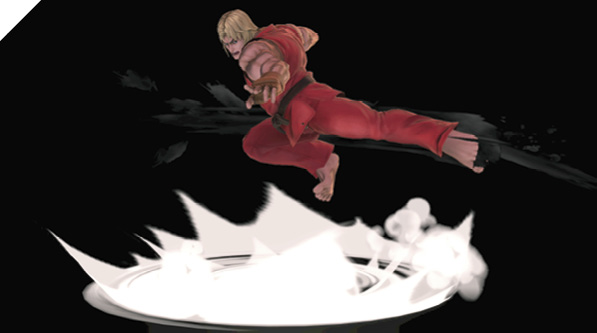
Ken swings his dominant leg back, posturing and charging up a powerful kick while becoming resilient against an incoming attack. This is recognized as Ken’s Street Fighter IV Focus Attack. Focus Attack is performed using down+Special and can be charged. While charging the attack, you can absorb up to one hit, so it essentially behaves as a parrying counterattack.
There are three distinct Focus Attack power tiers. The first tier (releasing the attack anytime before Ken flashes white) deals high damage and knocks away foes hit by the kick. Charging just past Ken’s flash point powers up the attack to cause a crumple-stun on enemies you hit, leaving them vulnerable to a follow-up attack or combo sequence. The third, and maximum, power level not only inflicts crumple-stun, but also breaks through enemy shields. While charging, Focus Attack can be dash-canceled by tapping forward, forward ( ) or back, back (
 ) quickly on the control stick. This technique gives you an added level of mobility, allowing you to dash away to safety.
As many of Ken’s normal attacks are special-cancelable, Focus Attack makes for an incredible special-cancel tool, adding an extra offensive dimension to your tool kit. Against a shielding foe, you can cancel your jumping and grounded normal attacks with Focus Attack to bait the opponent into counterattacking, then release the Focus Attack when their hit is absorbed.
An effective tactic with both Ken and Ryu is aerial Focus Attack baiting. Much of SuperSmashBros.Ultimate is fought through aerial skirmishes, jockeying for position with intelligent short hops and short hop attacks. Since Ryu and Ken can Focus Attack while airborne (something they couldn’t do in Street FighterI V!), you can take advantage of your jump’s momentum in conjunction with the absorption effect of the Focus Attack, essentially injecting a parry into your aerial aggression. It’s also relatively safe, thanks to being able to dash-cancel out of its charge animation (although it’s only dash-cancelable once you land on your feet). The direction of your Focus Attack release can be altered by simply holding the desired direction upon release of the Attack button.
Nata Otoshi Geri
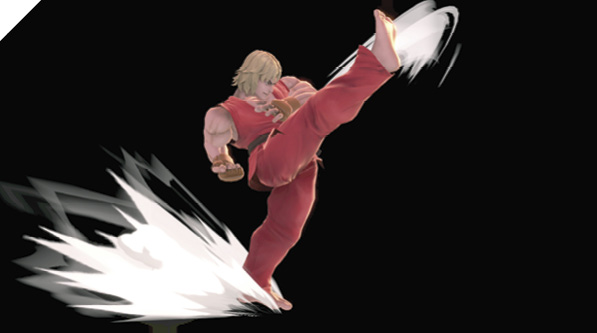
Ken performs a swift two-hit reverse heel kick. This kick can only be performed with a special command ( + Attack), with the ability to transition into an Inazuma Kick if the Attack button is held down. This follow-up version of the Inazuma Kick differs from the normal neutral attack hold in that it deals much more block damage, making Mata Otoshi Geri most effective as a block string ender in order to punish your opponent’s shielding habit with a potential shield-break stun.
Oosoto Mawashi Geri
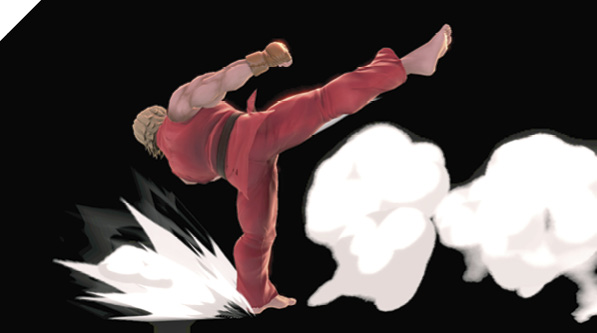
Ken delivers a powerful roundhouse kick to the opponent’s face, sending them flying away. Like Nata Otoshi Geri, this roundhouse kick can only be done with a special command ( + Attack), and functions similarly. The most notable difference is that it knocks enemies farther away on hit. The Attack button can be held upon execution to transition into a shield-breaking Inazuma Kick. Both Nata Otoshi Geri and Oosoto Mawashi Geri are best used as special cancels from Ken’s normal attacks (like down tilt hold and neutral auto-combo).
Final Smash: Shippu Jinraikyaku / Shinryuken
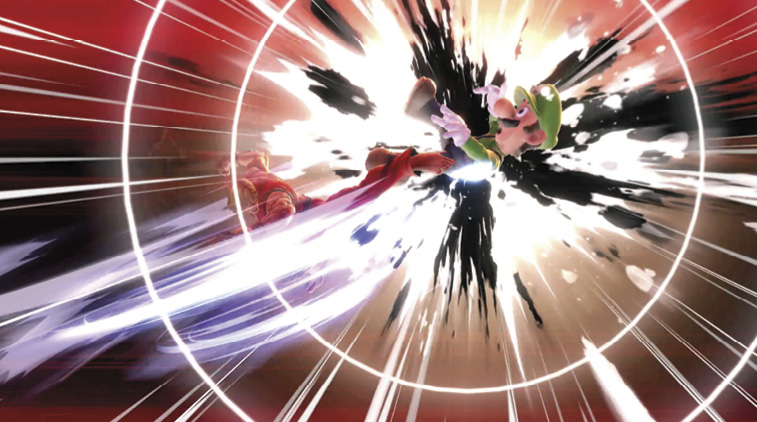
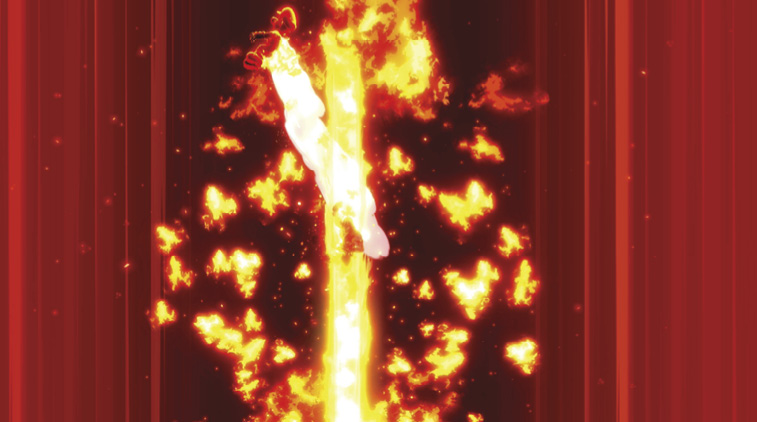
Ken twirls around, then rises with Shinryuken, dealing damage to opponents by tossing them into the air. If the opponent is close to Ken, the attack becomes Shippu Jinraikyaku, instead unleashing a flurry of kicks.