
Super Smash Bros. Ultimate Guide Simon / Richter
Brawler Arsenal
Grounded Attacks
Neutral Attacks
Neutral Attacks
| Move | Damage | Note |
|---|---|---|
|
Neutral attack 1 |
2 |
— |
|
Neutral attack 2 |
2 |
— |
|
Neutral attack 3 |
0.5x7, 2.5 |
— |
|
Neutral attack hold |
1.5 |
Rotate control stick while holding whip. |
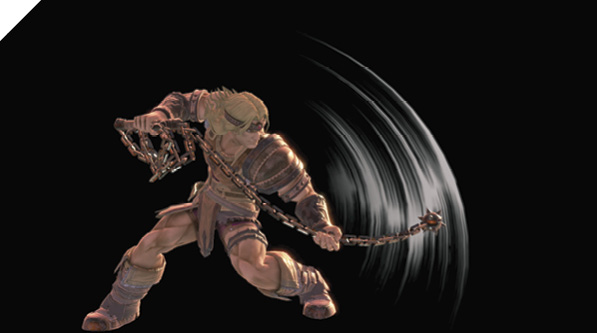
The Belmonts attack at close range with a short section of their whip, holding back most of its length wrapped around the other arm. It’s not as fast as many other fighters’ neutral attacks; the Belmont neutral attack is about as fast as most fighters’ tilts. Simon and Richter whip the head of the weapon back and forth for the first two hits. After the first two swings connect, a third attack input leads to the rapid-fire capper, a spinning whip attack that ends by launching the victim a short distance away.
This is a good combo when foes leave small openings nearby, and for fighting back after shielding close attacks. Watch out if you’re fighting more than one opponent, because the third attack takes some time to rack up all eight hits. While you juggle one challenger, you’re a sitting duck to others. On the other hand, when battling alongside teammates, holding your victim so long with the basic combo gives allies plenty of time to line up attacks to hit right after the spinning-chain finisher.
For Belmont’s classic freehand whip technique, press and hold down neutral attack. Once the whip is dangling freely, move the control stick around to redirect it. Imagine you’re dragging the chain length around with the morning star tip. You can keep this up as long as you like, if no one interrupts. If engaged against a close-range adversary, spinning the chain around rapidly can juggle them in place several times before they’re knocked away. Whipping the held chain around can also deflect incoming items and projectiles before they hit. When edge-guarding after throwing challengers off (and chasing them with a Cross), try dangling the whip at the edge and swinging it around against recovering enemies. Although the hits don’t do much damage or knockback individually, the constant, flexible hitbox of the extended whip can interfere with enemy efforts to grasp or rise from ledges.
Dash Attack
| Move | Damage | Note |
|---|---|---|
|
1.7x5, 3.5 |
— |
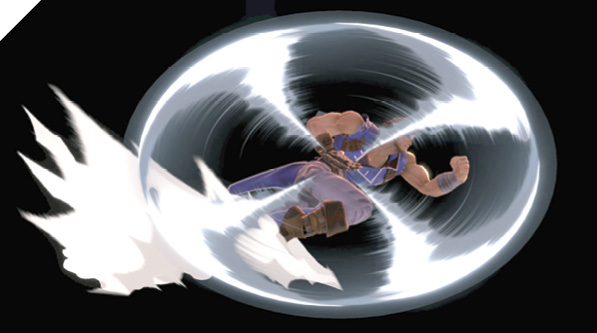
While sprinting, the Belmonts can twirl the vampire-killer whip in a tight circle alongside, hitting foes in all directions during the forward movement. The whip rotates briefly around the hunter, creating hitboxes at the diagonals; the final whip rotation covers the whole hunter’s body in a tight circle. The progression of hit areas is similar to neutral air, except that Simon/Richter is moving along the ground.
Defensive Attacks
Tilts
| Move | Damage | Note |
|---|---|---|
|
Side tilt |
12 |
10 on chain, 2 on arm. |
|
Up tilt |
10 |
2 on arm. |
|
Down tilt 1 |
5 |
Slide kick. |
|
Down tilt 2 |
7 |
Side Tilt
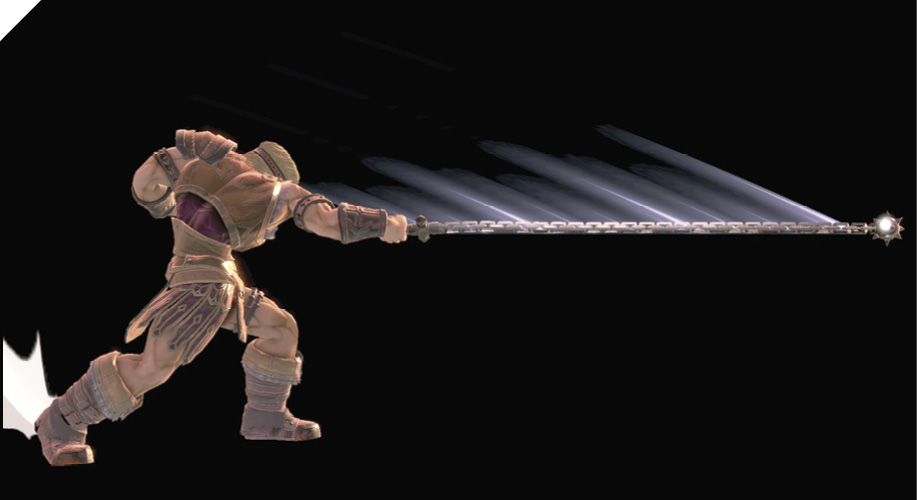
The vampire hunter whips straight forward with a basic far-reaching whip strike. The damage is higher at the tip, and a lot lower if used against close-range targets, where only Simon or Richter’s arm connects. Although this attack has decent range, the slow speed and laggy vulnerable position on the ground mean it’s better to aim short-hopping front/back air attacks at grounded or low-altitude enemies, angling the hopping whip swings diagonally as needed. Hopping adds a little extra start-up over doing side tilt on the ground, but has slightly more range and is a lot more flexible in terms of follow-up options and general evasiveness and mobility.
Up Tilt
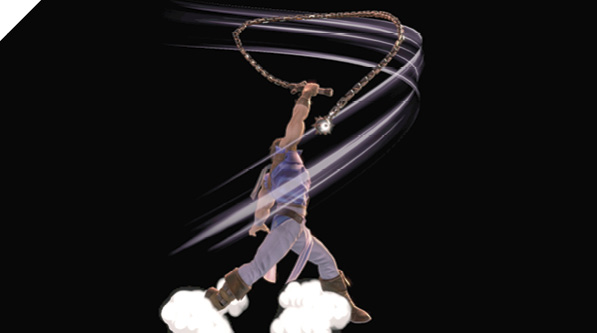
The whip is whirled just above Simon or Richter’s head, covering airspace above them. The hitbox on this whip attack is shaped like a T, so it’ll miss standing foes next to Belmont, but is great as anti-air or when juggling tumbling targets. On contact it pops enemies straight up, allowing you to go for a combo. For example, at lower percentages, performing an immediate Uppercut (up special) will catch them and carry them upward.
Down Tilt
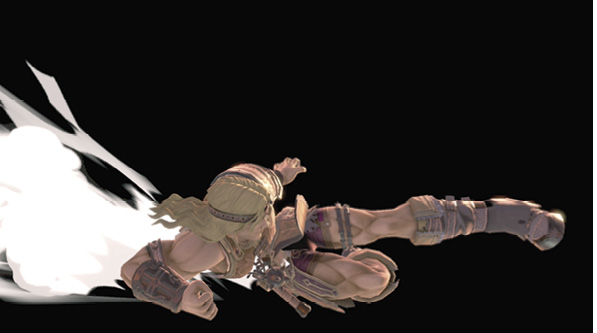
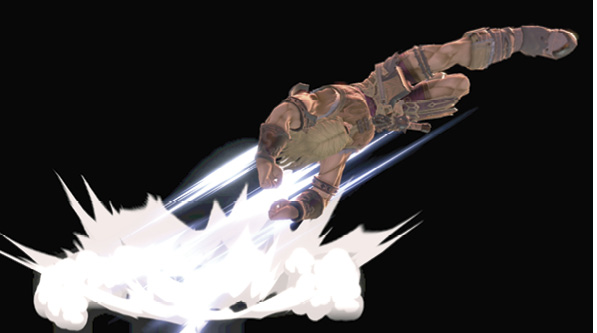
It’s not just about whip-swinging with the Belmonts. The brothers have a fast, forward-moving slide kick, which has an optional second part. During the initial slide kick along the floor, pressing the Attack button again makes Simon or Richter launch from their low-profile slide kick into a leaping vault kick, serving as both a quick-movement tool and a long-reaching knockdown kick. If you want just the vault kick for whatever reason, tap the Attack button twice immediately to cut the slide short and go straight into the upward-arcing vault kick portion. Either way, this gives Simon and Richter another forward-rushing option besides their whip-spinning dash attacks.
Sliding into someone with the slide kick before transitioning to the vault kick will score a two-hit combo while popping a target up. Simon and Richter can even plow through multiple fighters at once, dealing solid damage while dragging them all along.
Facing away from someone moving in, down tilt into its follow-up can even be used as a makeshift evasive move, letting you slide and leap away quickly.
Smashes
| Move | Damage | Note |
|---|---|---|
|
18-25.2 |
16-22.4 on handle half of whip, 14-19.6 on arm. Tilt stick slightly diagonally to angle whip. |
|
|
Up smash |
16-22.4 |
14-19.6 on hand half of whip. |
|
Down smash |
16-22.4 |
14-19.6 midwhip, 12-16.8 near handle. |
Side Smash
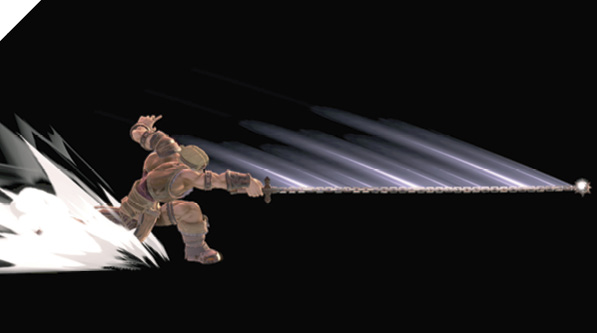
The whip-slingers’ side smash is a much more powerful and far-reaching version of side tilt, whipping straight forward. Like all whip strikes, damage and knockback are best at the tip. Side smash is slow to start up, so use it from as far as possible to avoid leaving Belmont totally vulnerable up close. Like with side tilt, the damage is lessened on foes close to Simon or Richter, but the damage penalty isn’t anywhere near as bad.
Right after the side smash input, angle the stick diagonally up or down to slightly angle the whip swing. This can be helpful edge-guarding, to fine-tune aim at someone drifting back to the ledge. The best way to ensure a KO is to keep their fingers away from grasping reach, after all.
Up Smash
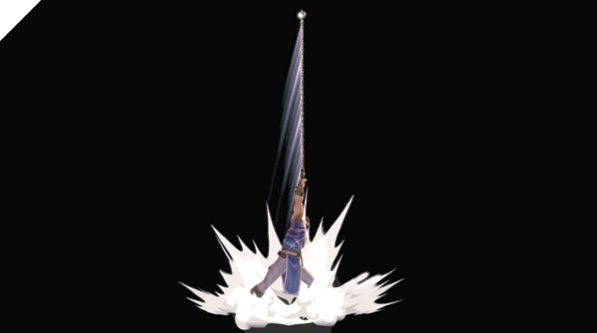
Dracula’s perennial antagonist swings the whip straight up for a far-reaching vertical strike. While up tilt provides generous coverage against any airborne threats incoming at low altitude, up smash requires more precision. Its hitbox is a thin line extending up from the hunter. Because of this, take care when sniping at fliers above Simon or Richter. It’s extremely risky to use a slow up smash attack and miss, which might result in the intended target landing next to Belmont while he’s still lagging from the attack. Instead of overcommitting to up smash, it’s usually better to either directly engage the enemy air-to-air with neutral air attack, or move out from under them so angled forward air/back tilt attacks and Axe special moves can shoot them down from off-center.
Down Smash
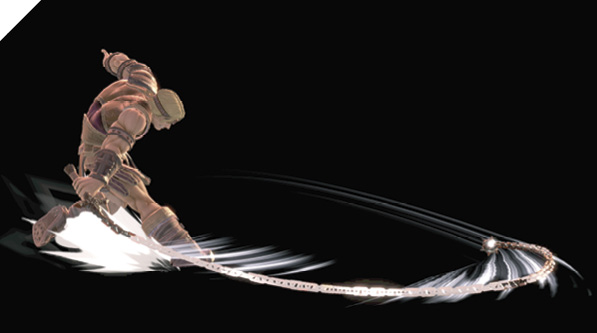
The Belmonts’ most useful smash attack starts with a toe-targeting whip slash in front, then spins around to repeat the hit to the back. Not only does this cover both sides with a powerful clear-out hit, but it’s not painfully slow for a smash attack, coming in slightly below average. This is their most reliable option when caught at close range against multiple assailants.
Grabs
| Move | Damage | Note |
|---|---|---|
|
1.3 |
— |
|
|
Front throw |
7 |
Forward throw. |
|
Back throw |
7 |
Backward throw. |
|
Up throw |
6, 4 |
Whips foe upward. |
|
Down throw |
8 |
Bounces foe forward. |
Grabs
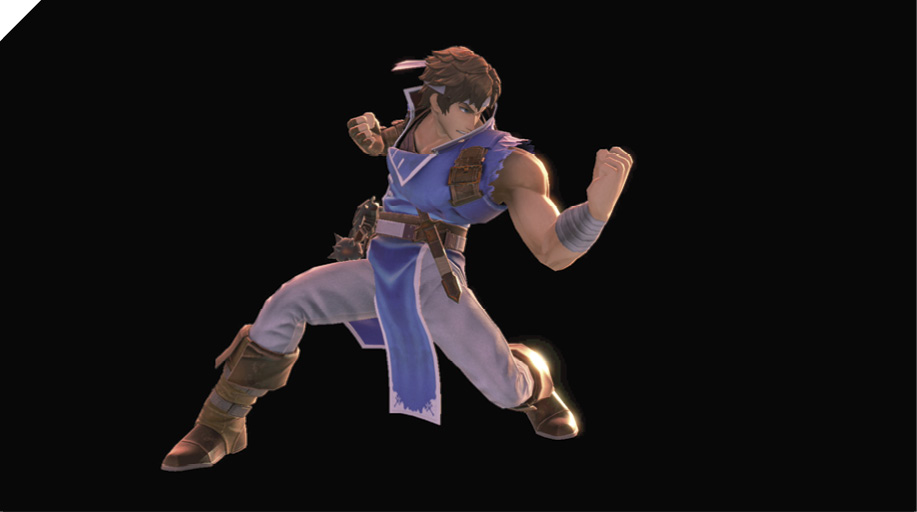
Belmont grab attempts are a bit slower than for most brawlers, taking twice as long as, say, Mario when laying hands on a point-blank opponent. And since their close-range neutral attacks are also below average in speed, this puts Simon and Richter in the same class as heavyweights like Bowser and Donkey Kong when grappling and poking in close quarters.
You won’t get much mileage out of basing a rushdown game with the Belmonts on getting in close and trying for grabs and neutral attack combos. But their far-reaching tilts and smashes can open the way for an effective dash-grab game plan. First, condition enemies to be worried about down tilt slides, short-hopping diagonal front/back air attacks, and a barrage of special moves. This paves the way for occasional edgy grabs, dashing/running/empty-jump fast-falling in to snag them while they expect a whip strike or sliding/diving kick.
Front and back throw are great for tossing an enemy toward one edge or the other intentionally, especially when they have high damage built up. Down throw bounces them forward off the ground, serving as a different kind of front throw that you can follow with an immediate down tilt into vault kick for an extra hit. From up throw, juggle follow-ups are possible, like jumping into up air or Uppercut (up special), or staying on the ground and shooting with up smash.
Aerial Attacks
Aerials
| Move | Damage | Note |
|---|---|---|
|
1x6, 4 |
— |
|
|
Forward air attack |
12 |
10 on whip, 2 on arm. Whip can be aimed diagonally up or down. |
|
Back air attack |
12 |
10 on whip, 2 on arm. Whip can be aimed diagonally up or down. |
|
Up air attack |
12 |
10 on whip, 2 on arm. |
|
Down air attack |
7 |
Bounce off into another jumping state on contact. |
Neutral Air Attack
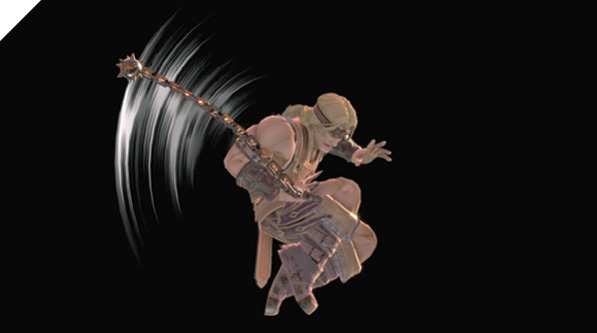
Like neutral attack on the ground, this is the shortest-ranged option in the Belmont aerial arsenal. Either fighter spins his whip around in a tight wheel, creating a blender of hits. The active hitboxes as the whip’s head whirls around are found on the diagonal corners around Simon and Richter; the move’s threat area is an X around the fighter, not a cross.
The lengthy active period of neutral air attack gives it uses that the other Belmont whip attacks lack, with their generally very brief active periods. You can use neutral air attacks like (for example) Dr. Mario’s fast-falling neutral air, leaping above an intended target, activating neutral air attack, then tapping down on the stick to fast-fall into them. Neutral air lasts so long that this works against standing foes even if you double-jump above them first.
Forward And Back Air Attack
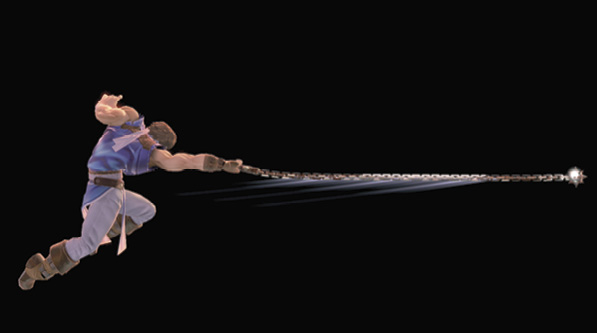
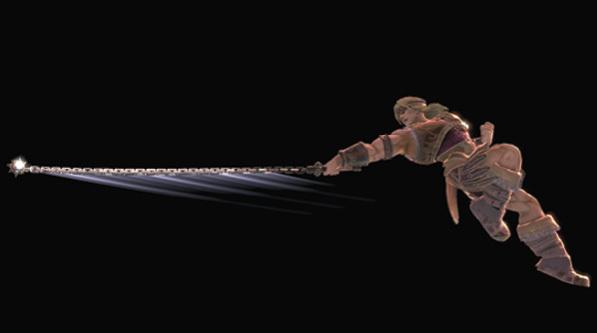
Simon and Richter use a long-range whip swing, like side tilt on the ground. Also like side tilt, this is below average in speed for an attack of its kind, but more than makes up for it with huge range and knockback potential.
Forward and back air pokes for Simon and Richter can be aimed at an angle by performing the moves with diagonal inputs. Max-range, short-hopping front/back air swings, performed with downward diagonals, are better ground-poking tools than mere side tilts. Going air-to-air, few fighters can compete with a Belmont precisely targeting their air movement with angled forward/back air attacks.
Since side air attacks for either Belmont are basically identical no matter which way they’re facing, reverse air-rushing tactics aren’t necessary to playing them.
Up Air Attack
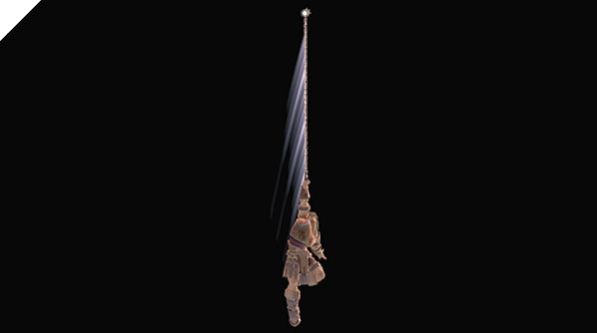
Simon or Richter lashes out straight up with an aerial whip swing. This is a lot like up smash on the ground, but far less vulnerable, if only because you can steer in midair or perform other actions afterward, instead of being stuck on the ground during recovery lag on up smash. On top of that, performing a short-hopping up air attack (easily done with up on the control stick plus the Attack and Jump inputs at once) actually hits straight up a tiny bit faster than an uncharged up smash, and with more reach.
Down Air Attack
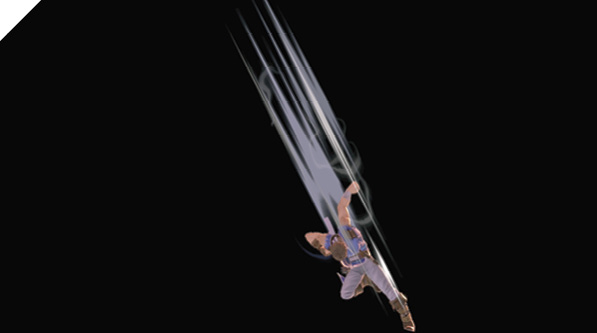
Like down tilt, this provides a bit of footwork to add to all the whip attacks. Simon or Richter halts aerial movement entirely for a second, gathering tension, before rocketing down-forward with a dive kick. On contact, whether hit or shielded, Belmont bounces off like he’s hit a trampoline. From the bounce, Belmont is simply back to an airborne state, and can perform any air actions as normal, even using down air attacks back-to-back for repeated dive kicks. This can combo, if the victim doesn’t tech or roll away.
Special Moves
Specials
| Move | Damage | Note |
|---|---|---|
|
Neutral special |
15 |
Input left or right to affect Axe trajectory. Axes pass through terrain. |
|
Side special |
6-8 |
5 after changing direction. |
|
Up special |
2, 1.5x4, 6 |
Intangible just after starting until he launches upward. |
|
Down special |
2.4-2.8, 1.4x8 |
— |
Neutral Special: Axe
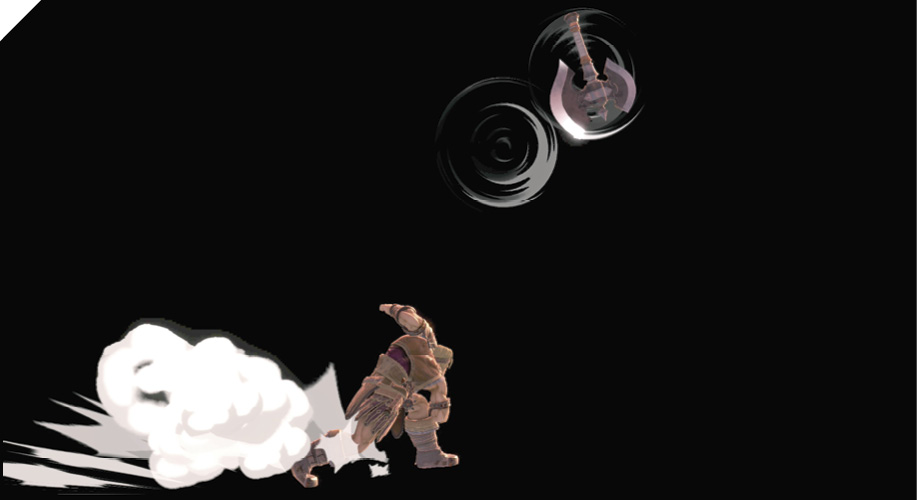
Belmont hurls a heavy Axe on a wide, alterable arch. Simply tap the Special input for a normal Axe toss, or hold left or right just after starting the move to stretch the arc slightly in that direction, shortening or extending overall reach.
Axes travel on an unusual path, and pass through solid obstacles! This means that Axes make effective weapons against opponents on platforms above or below, even if the floors in between aren’t passable by fighters.
Unlike the Belmonts’ other special projectiles, there’s nothing stopping you from throwing more than one Axe at a time.
If you’re facing the opposite direction from where you’d like to throw the Axe—a common occurrence—you can use a tight execution trick to turn around midthrow. Tap neutral special to start an Axe throw, then immediately tap the control stick in the other direction. It’s easy to tell if this works because you’ll throw the Axe in the desired direction. This works on the ground or the air. On the ground, it’s great for turning during an Axe throw without inadvertently producing a dash. In the air, it’s great for jumping away from enemies but then still raining Axes down on them.
Side Special: Cross
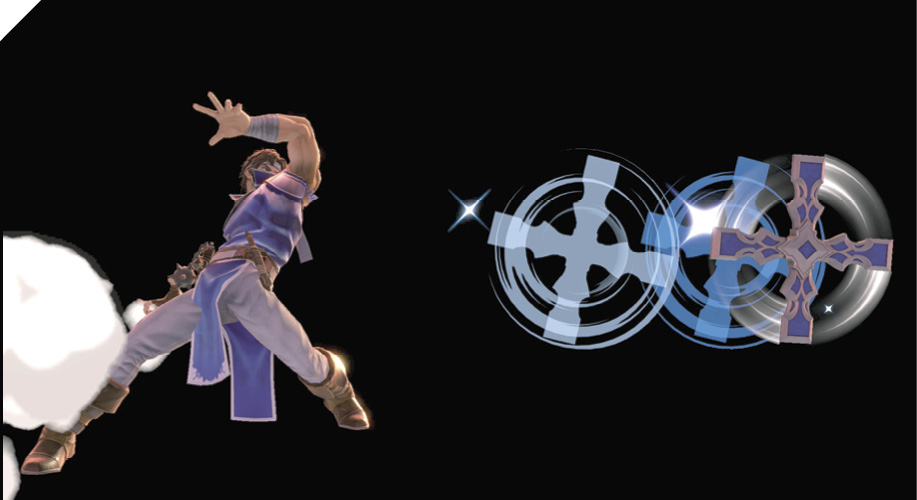
The most tried-and-true defense against the unholy hunger of vampires also turns out to work pretty well against denizens of the Mushroom Kingdom, Brinstar, Pallet Town, Altea, and so on. Simon or Richter flicks the Cross out along with variable speed and power: tap the stick to one side plus the Attack input together for a max-speed, max-power Cross, like executing a smash attack; perform it more like a tilt attack (with a partial side press, or holding a side direction ahead of time) for a slower, weaker Cross.
The special weapon of treated wood set at right angles goes spinning along a straight path, eventually slowing before reversing and traveling in the direction it was thrown from. The Cross continues until it leaves the screen or comes back in contact with the vampire thrower who hurled it. Another Cross cannot be thrown until the original disappears (whether it’s caught or flies off-screen).
Crosses can be used effectively several different ways. Although more than one Cross can’t be on-screen at once, you can get a Cross and Holy Water going at the same time, controlling lots of space. Throw Crosses straight at enemies when there are several fighting it out at once; the period where the Cross is slowing down before reversing direction is particularly potent, because it essentially claims that part of the screen for the Belmonts for a second. The fast (tapped) Cross goes almost all the way across the screen before returning, while a slow Cross goes about halfway. To advance on foes far away, throw a slow Cross in the other direction, jump over it on the return trip (so you don’t catch it and make it disappear early), then follow in behind it aggressively. Naturally, Crosses are terrific when edge-guarding, interfering with foes’ attempts to return to the safe haven of a ledge.
Tossing a Cross in midair has a useful secondary effect: it turns Simon or Richter around. You normally can’t jump facing away from a foe, then throw Holy Water in their direction, but you can if you throw a Cross at them to turn in midair first.
Up Special: Uppercut
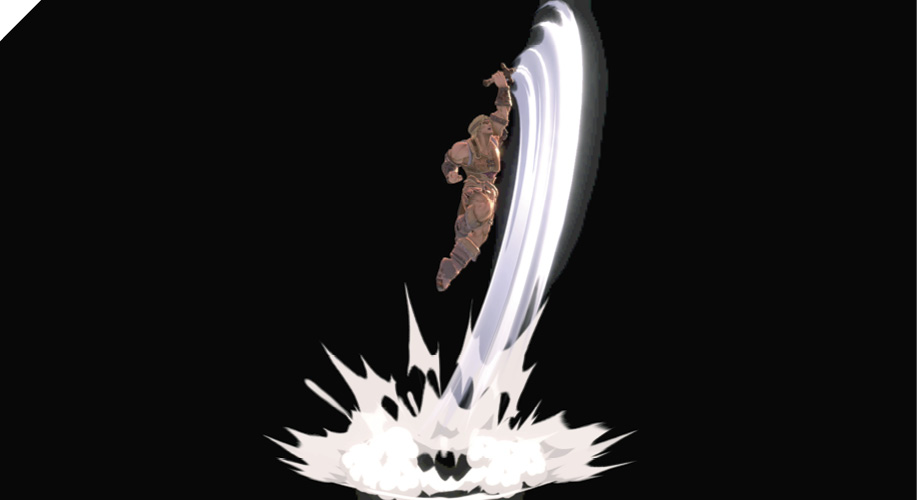
Simon and Richter rocket upward with a high-reaching special punch. Upon activation, the attack hits very quickly, with a little period of intangibility around the first striking frame. After this launching hit, Belmont travels upward for a moment, launched foe lofted upward too, before transitioning into the finishing multi-hit section of the move.
Uppercut hits only a tiny bit slower than the Belmont neutral attack, and with much more priority around the initial hit, so it’s Simon and Richter’s most powerful close-range move. The caveat is, of course, that they’re really vulnerable to punishment if they miss, as they lag until landing from the punch.
Down Special: Holy Water
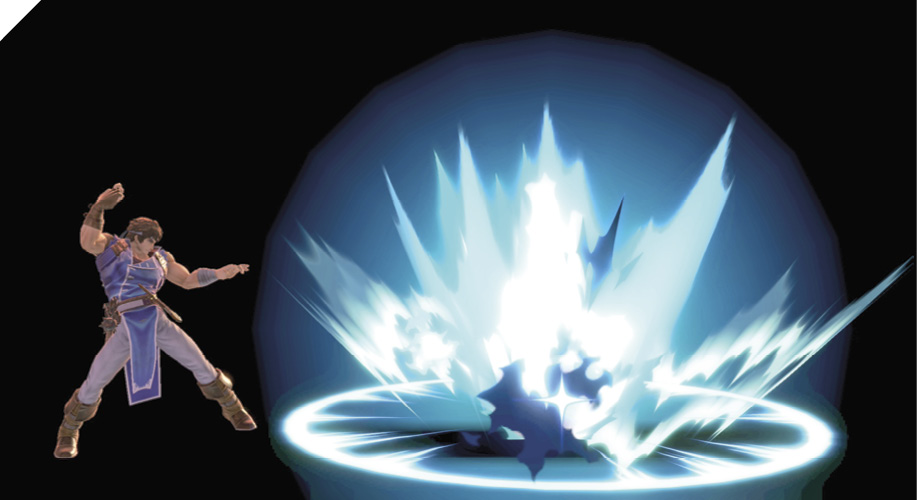
The Belmonts underhand-toss a vial filled with flammable water. The bottle itself is a projectile capable of hurting targets along the way. Once it hits a surface (or enough enemies in midair), it shatters, spewing explosive liquid over a small radius. A brief pillar of flame erupts, repeatedly striking and damaging anyone caught within. Simon’s vials cause a gout of red flames, while Richter’s flames are an icy-looking (if surely not very cold) blue.
Only one Holy Water vial can be active at a time. Holy Water flames briefly dominate an area, and if someone is caught within, you can rush forward and add hits to the combo, like by performing a neutral attack combo or close-range Uppercut.
As much as possible, try to keep a Cross and a flaming vial of Holy Water active on-screen together. The combination of a multi-hit threat in one place while another threat bisects the screen, not to mention their long-reaching whip pokes, gives the Belmonts terrific stage control.
Holy Water is one of the few specials that can’t be reversed just as it begins. Once you tap down special, Holy Water is being tossed in whichever direction the Belmont is already facing. Make sure you’re facing the right direction first on the ground. In midair, you can easily toss a Cross to change facing directions, or use the facing-switch trick to redirect an Axe toss just after it starts, then throw Holy Water in the desired direction.
Final Smash: Grand Cross
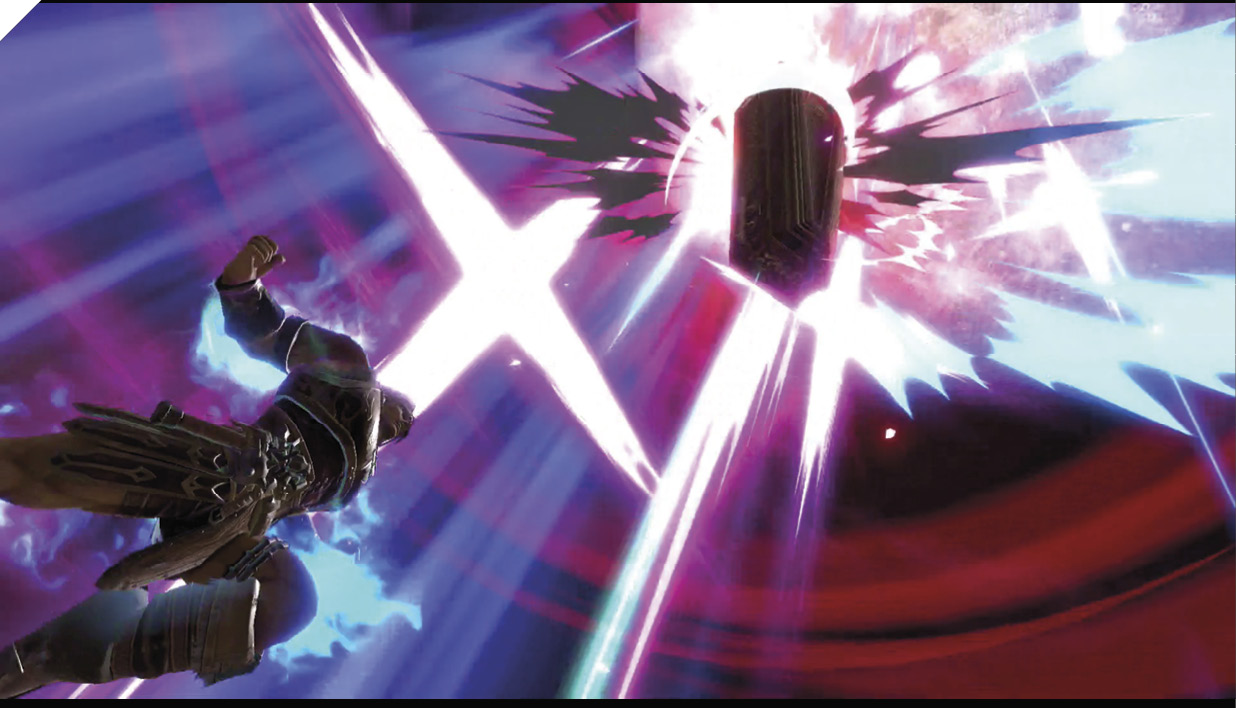
Simon and Richter briefly share some of the horror of the Transylvanian nightmares they’ve experienced with the other brawlers onstage. Dracula’s coffin appears midscreen and opens wide, sucking in anyone nearby within a big radius. Multiple enemies can be imprisoned at once, taking heavy damage while trapped inside.