
Super Smash Bros. Ultimate Guide Mii Fighters: Brawler
Brawler Arsenal
Grounded Attacks
Neutral Attacks
Neutral Attacks
| Move | Damage | Note |
|---|---|---|
|
Neutral attack 1 |
1.8 |
— |
|
Neutral attack 2 |
1 |
— |
|
Neutral attack 3 |
0.5x10+, 2 |
Hold input for continuous attacks. |
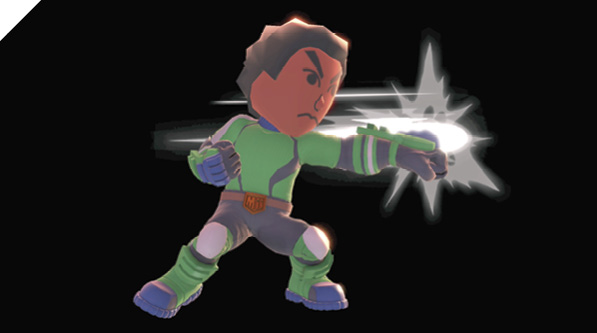
The Brawler is a martial arts specialist, so you can expect a good neutral attack combo. The first hit is lightning fast, and the rest happens automatically if you repeatedly press the Attack button. The third neutral attack in a combo unleashes a rapid-fire blur of punches, which you can prolong by holding down an Attack input. The enemy eventually drops out of the combo if you let this go more than twice as long as the normal amount of hits. The third attack finishes with a launching kick if the enemy doesn’t fall out of the punch flurry.
Dash Attack
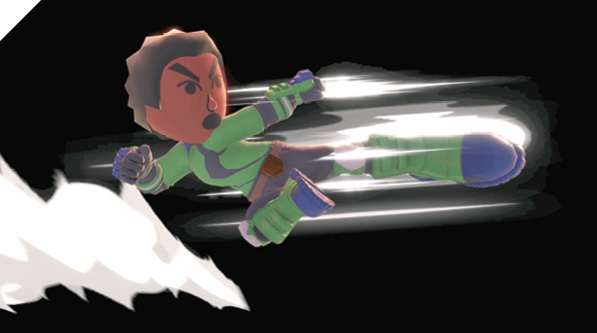
The Brawler takes a short leap forward and performs a jump kick just off the ground. The kick comes out quickly and does good damage, though a little less if you hit late in the attack’s active period.
Defensive Attacks
Tilts
| Move | Damage | Note |
|---|---|---|
|
Side tilt |
8.5 |
Can be angled up or down slightly. Upward variant does most damage. |
|
Up tilt |
6 |
Launches foes into potential juggle position. |
|
Down tilt |
8 |
— |
Side Tilt
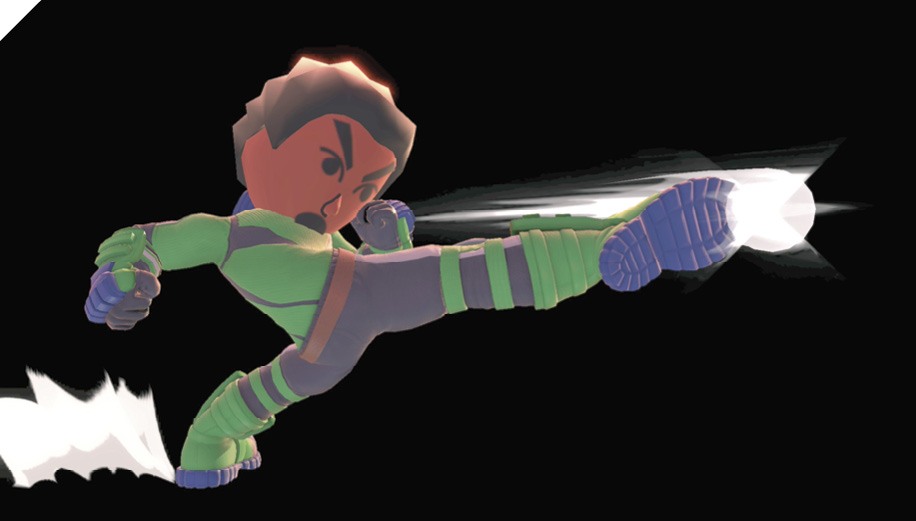
This typical side kick can be aimed slightly up or down. The upward-aimed side tilt does the most damage, followed by the downward-aimed side tilt; the standard side tilt kick does the least of the three.
Up Tilt
Mii Brawler fires with a close-range uppercut, capable of warding off airborne foes and popping victims into a juggle position. The hitbox in front at the start is good, so there’s no need to worry about whiffing against point-blank enemies like with some up tilts.
Down Tilt
Mii Brawler’s down tilt is a sweep with great range that pops up foes into juggle position even at 0% damage. Follow up with upward-aimed side tilt, or an up special juggle.
Smashes
Side Smash
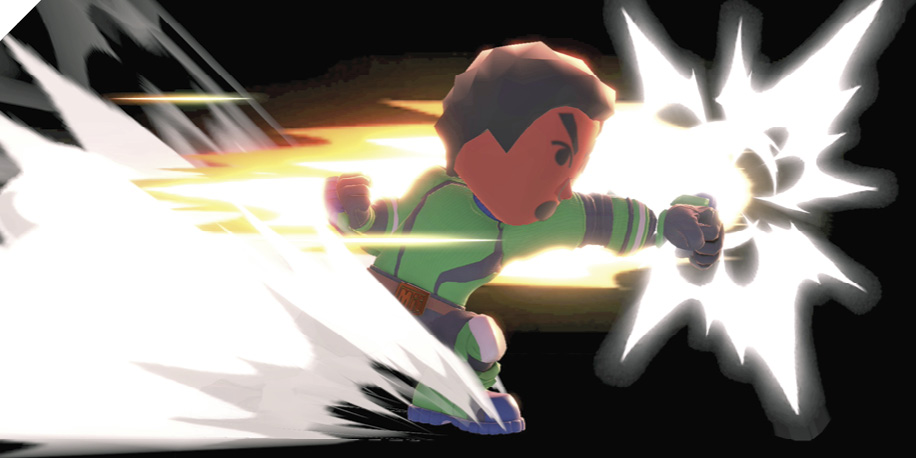
Mii Brawler attacks with a straight-armed punch. Hold up or down before the attack to angle it up or down slightly.
Up Smash
A quick wheel kick upward hits first in front before rotating to cover upward and then backward angles. Wider coverage than up tilt when aiming for jumpers, short hoppers, and foes standing on ramps and low platforms.
Down Smash
Mii Brawler punches in front and kicks out behind, striking both front and back. This clear-out move is about as quick to hit as Soaring Axe Kick and Head-On Assault, not in Thrust Uppercut territory but serviceable.
Grabs
| Move | Damage | Note |
|---|---|---|
|
1.3 |
— |
|
|
Front throw |
9 |
Forward throw. |
|
Back throw |
4, 5 |
Backward throw. |
|
Up throw |
11 |
Throws foe into potential juggle position. |
|
Down throw |
2, 4 |
Bounces foe off ground into potential juggle position. |
Grabs
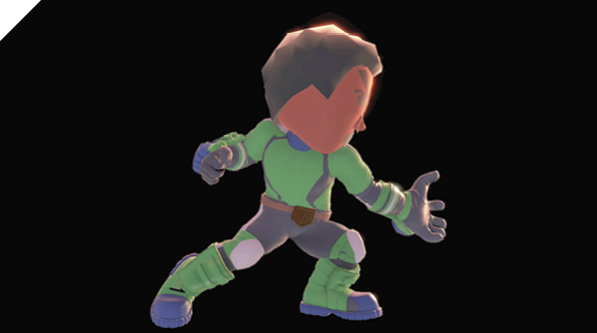
Mii Brawler’s grab is fairly quick, just short of matching the fastest grab animations. Options from the grab are standard: front or back throws to get foes nearer to stage edges and to outright KO high-damage victims, and up/down throws to set up juggle combos. Mii Brawler’s throw game can be made more robust by equipping the Suplex and Counter Throw specials, which grant dashing and parrying throw options.
Aerial Attacks
Aerials
| Move | Damage | Note |
|---|---|---|
|
10 |
Damage lessened after start. |
|
|
Forward air attack |
5, 6 |
— |
|
Back air attack |
12 |
— |
|
Up air attack |
8 |
— |
|
Down air attack |
13 |
— |
Neutral Air Attack
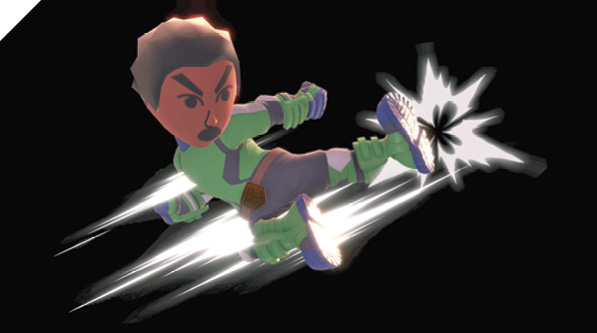
Mii Brawler sticks one leg out for a fair bit of time while floating in midair. This is a lot like Mario’s neutral air attack, and goes well with fast-falling tactics.
Forward Air Attack
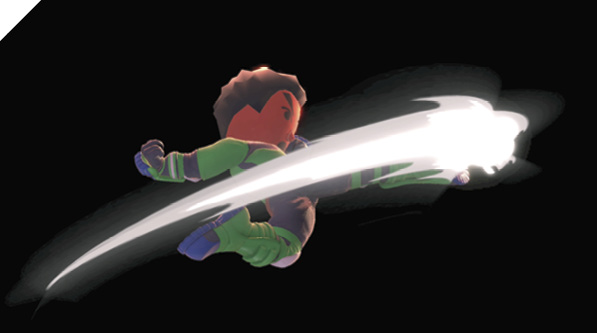
The Brawler lashes out in midair with two quick kicks, kind of like some air attacks from Zero Suit Samus, Captain Falcon, and Fox. You can aim to hit at hopping height by short-hopping with forward air attack, then use fast fall to drag the second hit down on standing opponents.
Back Air Attack
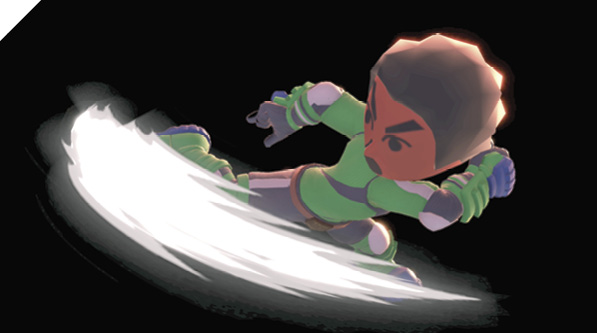
The Brawler kicks quickly backward with one leg, like Donkey Kong. Great for reacting to fighters coming up from behind when you’ve already jumped and committed to a direction in midair, or when used paired with movement tricks like reverse air rushes.
Up Air Attack
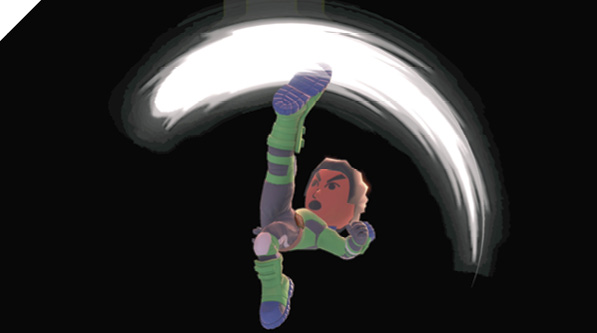
Mii Brawler spins backward with a typical upward-aimed wheel kick. This can go toe-to-toe with airborne targets above, and juggle tumbling targets.
Down Air Attack
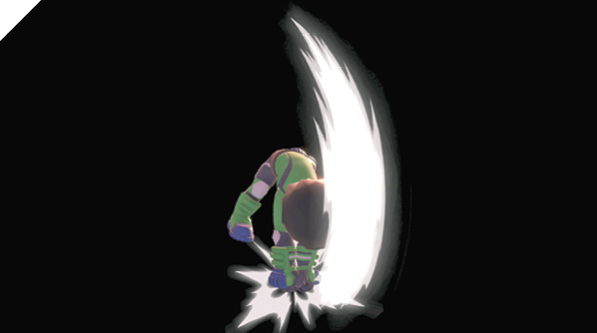
The Brawler strikes straight down with a double-fisted hammer blow. This requires precision to aim with the brief active period, but the reward can be extremely worth it. On a successful hit, this will meteor smash opponents straight down.
Special Moves
Specials
| Move | Damage | Note |
|---|---|---|
|
15 air, 11.2 ground |
— |
|
|
Neutral special 2: Flashing Mach Punch |
0.3x21, 9.5 |
Does five punches on whiff. Transitions to full combo on hit. |
|
25 |
28 damage if direction changes after move begins. |
|
|
Side special 1: Onslaught |
2, 1.5x6, 5 |
Transitions to auto-combo if first attack connects. |
|
Side special 2: Burning Dropkick |
13 |
Flames aren’t just for decoration. |
|
Side special 3: Suplex |
3, 15 |
Rushing throw attack. |
|
Up special 1: Soaring Axe Kick |
4, 3, 6 |
Launching flip kick can be followed with diving axe kick. |
|
Up special 2: Helicopter Kick |
3, 1.5x4, 6 |
Legs intangible during kicks. Can be steered slightly left or right. |
|
Up special 3: Thrust Uppercut |
0.8x5, 9 |
Hold forward or backward for a far or close-range uppercut. |
|
Down special 1: Head-On Assault |
6, 16 |
Only does the second portion used in midair. |
|
Down special 2: Feint Jump |
7 flip hit, 10 dive kick hit |
Legs intangible during jump takeoff. |
|
Down special 3: Counter Throw |
14 |
Counter special with intangible portion. Transitions to Counter Throw if attack connects. |
Neutral Special 1: Shot Put
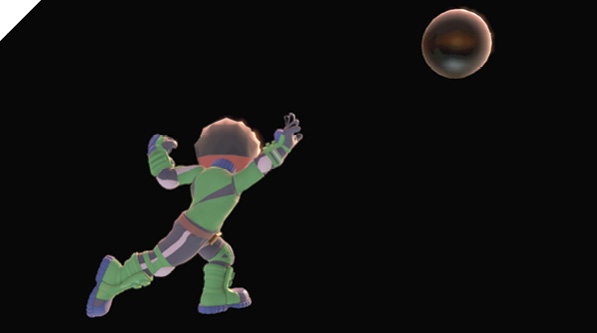
Mii Brawler hefts a Shot Put they’ve somehow kept pocketed, then hurls it forward. It doesn’t arc upward very high or far—it’s basically a bowling ball, after all—and quickly descends. The heavy projectile has extra-high knockback and is especially good tossed off of stage edges toward foes trying to float back up.
If you find yourself in midair and wanting to hurl a Shot Put backward, tap neutral special, then immediately tap the control stick in the opposite direction.
Neutral Special 2: Flashing Mach Punch
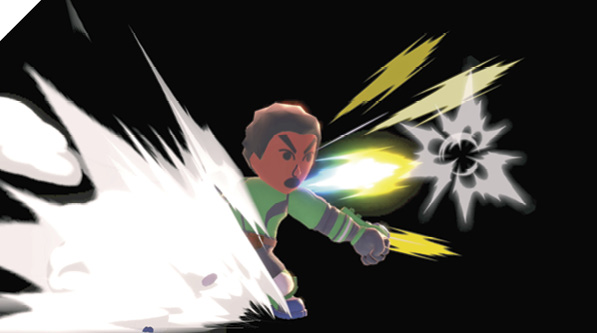
The Brawler takes some exploratory punches at the space right in front of them, punching rapidly five times. If any of those hit, Mii Brawler tacks on 16 more light punches before finishing with a launching uppercut. If the first five punches whiff, or if they’re shielded, the attack simply ends.
The first time Flashing Mach Punch is used in midair, it temporarily slows the Brawler’s falling momentum. This gives it extra use as a stalling tool to make your airborne trajectory less predictable.
Neutral Special 3: Exploding Side Kick
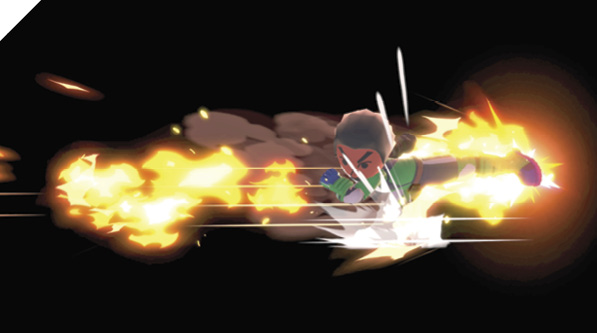
This heavy-hitting side kick takes just short of a full second to charge up. When it’s ready, the fighter kicks automatically, and you can’t cancel or store the charge. If you have time to get it out, it’s tremendous, but it’s easy for the enemy to see coming if they’re not stunned or otherwise preoccupied.
As a neutral special, the input starts the charging kick in whichever direction Mii Brawler is facing. Tap the other direction on the control stick to turn the kick around before it hits. This slightly increases damage.
Side Special 1: Onslaught
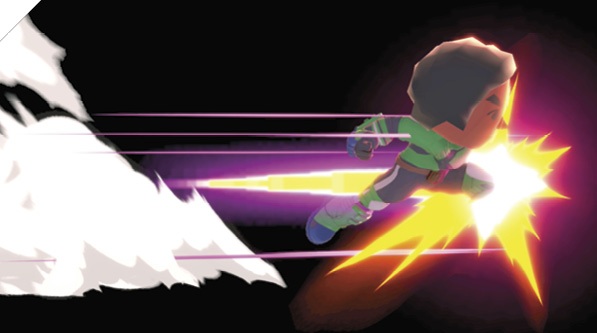
The fighter rushes laterally about the length of two dashes. On hit, the charge becomes a brief auto-combo. The power of the final hit is higher when you’ve got lots of damage built up!
As a sideways-rushing move, this has use both as a sudden attack, and as an extra recovery tool when trying to make it back to safe ground.
Side Special 2: Burning Dropkick
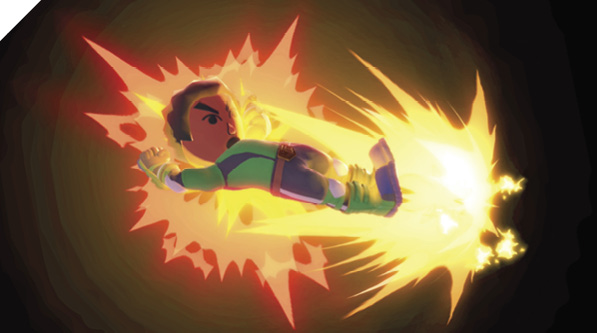
Mii Brawler hops a bit laterally, about as far as during Onslaught, striking with a fiery two-legged kick. On hit or shield, the Brawler bounces off with a backflip.
This is a quick single-hit alternative to Onslaught. Since it’s a flaming move, it can detonate bombs and destroy flammable objects.
Side Special 3: Suplex
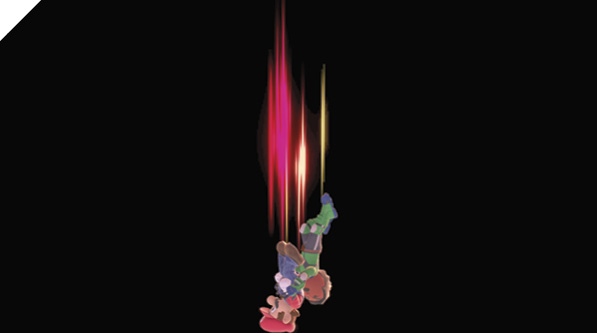
The Brawler dashes forward with a weak rushing attack. If that attack hits, Mii Brawler lifts the victim and crashes down with a powerful slam. This is great to catch people by surprise, and to add extra oomph in sideways juggle combos. Beware using this out over pits or near stage edges; if you Suplex someone and carry them straight down off an edge, both players lose a stock, but Mii Brawler’s KO is considered the first one. Suplexing someone into a pit during a last-stock situation will mean you lose.
Up Special 1: Soaring Axe Kick
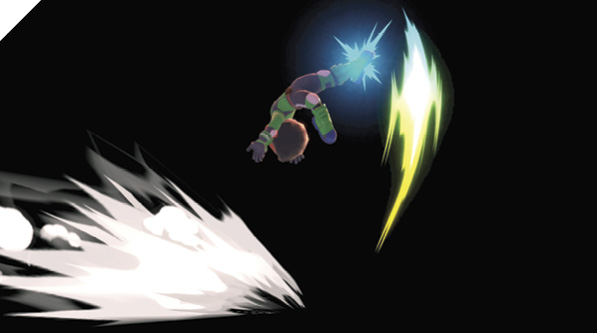
Upon activation, the Brawler soars upward with a launching kick. This is good for low-altitude juggles, and offstage when lunging back toward a safe ledge. It’s not useful as a reversal. Initially, this kick just hits directly next to the Brawler as they kick and rise. To transition into a plunging axe kick, press the Special button again at the top of the kick’s ascent. If the first portion picks someone up, the second portion will carry them down. The second kick does the most damage on a direct plunging hit, but also hurts anyone caught too close to the impact zone.
Using up special from below causes the Brawler to grasp a ledge above; using up special into the dropping axe kick finisher can grab a ledge if you’re facing it while plummeting, but you must be precise. This can be useful for slashing at someone edge-guarding on firm ground near the ledge; you’ll knock them away, then grab the ledge, gaining the brief intangibility period.
Both the rising launcher and falling axe kick can be slightly steered left or right.
Up Special 2: Helicopter Kick
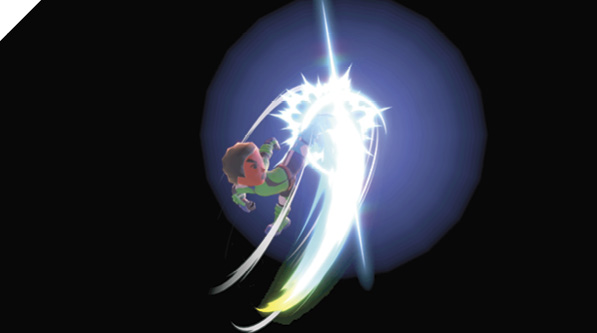
Mii Brawler springs upward with a series of rising spin kicks. Both legs are intangible during this attack, adding to the move’s priority. It’s a tiny bit faster to hit than Soaring Axe Kick or Head-On Assault, so slightly better for reversing enemies up close, but it’s still not one of the faster up specials (for that, you want Thrust Uppercut).
Up Special 3: Thrust Uppercut
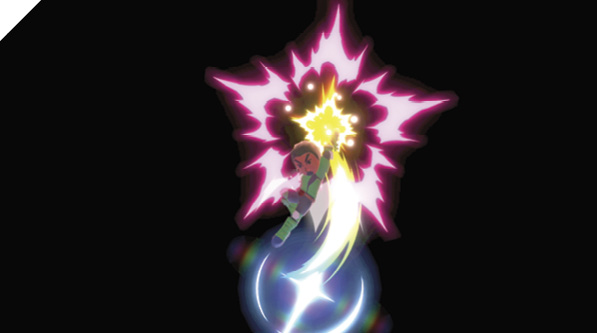
The Brawler does their best impression of Street Fighter’s Ken Masters, rocketing off the ground with a flaming uppercut. If you’re looking for a close-range defensive/anti-air special, this hits faster than any other Mii Brawler option. It’s just a bit slower than a standing neutral attack, and even faster than tilt attack pokes. Hold back immediately after activation for an uppercut straight up; hold forward for a far-reaching one, like Ken’s fierce Shoryuken!
Down Special 1: Head-On Assault
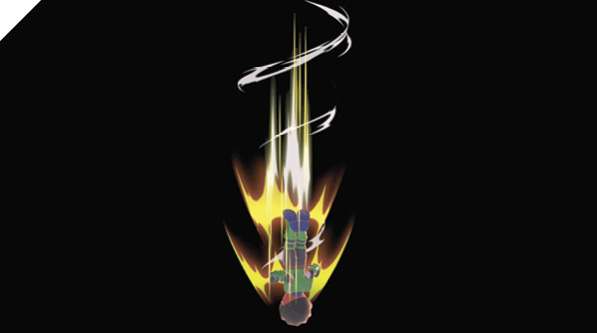
This flipping launch kick into diving head attack starts a bit like the Soaring Axe Kick up special and is slightly faster if you’re looking for a reversal. The overall damage if the whole thing hits is quite high. When using Head-On Assault from the air, the Brawler simply plunges down with the dive-bomb portion.
This is a great special, with the only downsides being the heavy lag after slamming into the ground, and the danger of misusing it near a stage ledge and plummeting straight down.
Down Special 2: Feint Jump
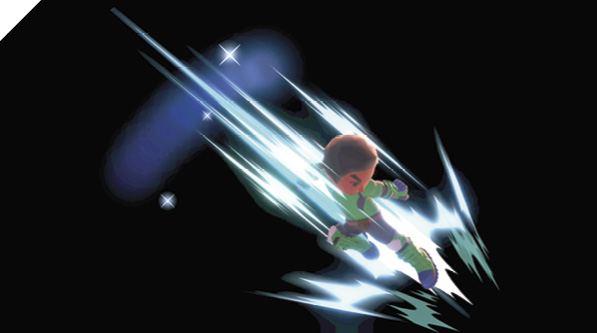
Upon the initial down special input, the Brawler flips forward in the direction they’re facing. They land with their back to the original direction, like during a forward dodge roll. If they fall on an opponent from the forward flip without an air input, they bounce off their head like a footstool jump, dealing some damage. Input Attack or Special during the forward flip, and the Brawler suddenly dive kicks from wherever they are. A neutral attack or special input results in a dive kick back in the direction the flip started. To dive kick forward out of the front flip, hold forward during the neutral or special input.
This is a great multipurpose special, serving functions as a recovery tool, alternate jump, and diving kick in either direction.
Down Special 3: Counter Throw
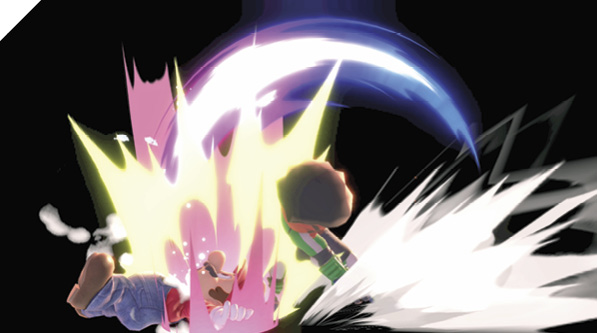
The Brawler raises an arm into a defensive “catch” stance, briefly intangible during this. If foes up close touch Mii Brawler during the parry animation, they get swept up into the follow-up throw. Very few combatants have special move throws, let alone rushing special-move throws, so this can be hard for enemies to deal with.
Final Smash: Omega Blitz
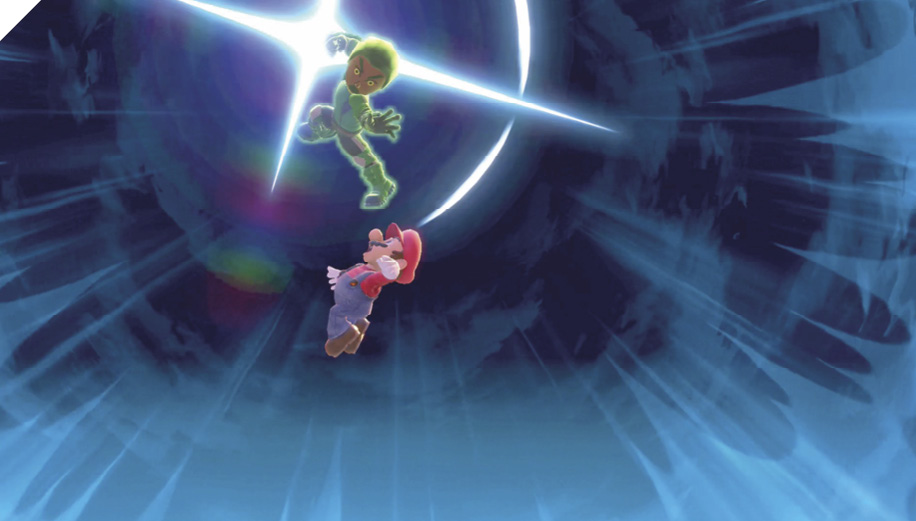
With Final Smash energy built up, Mii Brawler is ready to execute an overwhelmingly powerful close-range combo. Just make sure targets are at point-blank range before going for it. If two or more enemies are close together, even better. They can all get swept up into Mii Brawler’s ultimate attack at once.