
Super Smash Bros. Ultimate Guide Zelda
Brawler Arsenal
Grounded Attacks
Neutral Attacks
Neutral Attacks
| Move | Damage | Note |
|---|---|---|
|
Neutral attack 1 |
2.5x2 |
Hold or tap on hit for next attack. |
|
Neutral attack 2 |
0.2x8, 3 |
Hold for continuous attacks. |
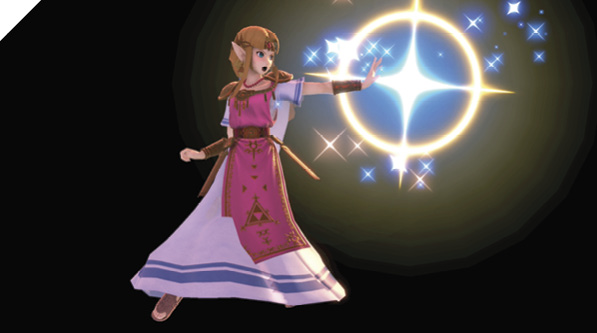
On an initial input, Zelda jabs straight ahead, magical energy twinkling around her arm. Relative to the rest of the cast, this punch isn’t fast or slow; it’s in the middle. The hitbox is mostly along the underside of her outstretched arm, but there’s another one around her forward knee. This prevents the jab from whiffing up close against someone tiny—like a crouching Pichu, for instance.
Either hold the Attack button or tap it during neutral attack 1 to follow up with the next stage, a rapid-fire series of weak hits, followed by a straight jab that knocks victims low and away. Like with most attacks of this kind, you can release the input for a minimum number of hits, dealing 9.6% base damage with the two-input neutral attack combo. Or you can hold down the input to keep the light-hit flurry going as long as desired, though if you hold it too long, the enemy will be slowly pushed away, so the final punting hit misses on release. The max you’ll probably be able to get in most cases is about 23 hits for 12% damage.
Dash Attack
| Move | Damage | Note |
|---|---|---|
|
12 |
Knocks foes up and away. |
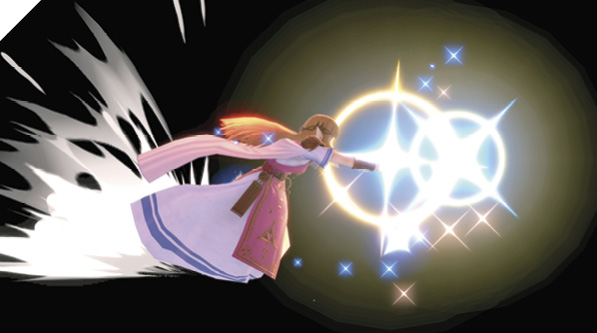
Zelda leans forward with a palm strike using both hands, projecting mystic energy ahead of them. The initial hit is pretty fast for a dash attack, with max damage and knockback potential concentrated in the air ahead of her palms, at the tip of the magic flash. Hitting closer in deals less damage with less knockback. After the initial arm jut, the hitbox persists for a few frames as a weaker hit that still knocks victims away. If enemies shield this, Zelda is extremely punishable.
Defensive Attacks
Tilts
| Move | Damage | Note |
|---|---|---|
|
Side tilt |
12 |
Knocks foes away on sweet spot hit. Can be aimed slightly up or down. |
|
Up tilt |
7.2 |
Launches foe into potential juggle position. |
|
Down tilt |
5.5 |
Knocks enemies down at medium to high percentages. |
Side Tilt
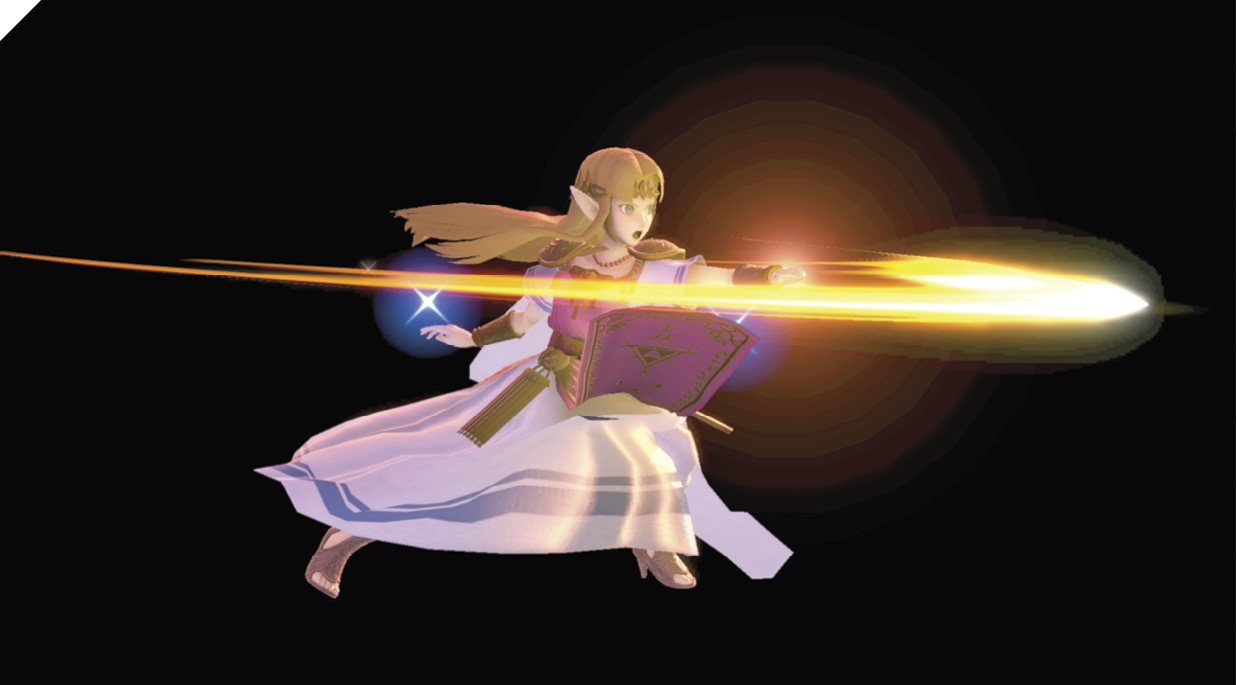
The princess attacks with an arm slash in front. This is relatively slow to hit for a side tilt, almost like a side smash with above-average speed. It can be aimed up or down by angling the control stick a bit during execution. This is noteworthy among side tilt attacks for knocking targets away even at low percentages. The sweet spot right at the slash’s tip deals the most damage and knockback, but like with her dash attack, this requires precision aim.
Zelda is at a big disadvantage after this move is shielded, but if you aim to hit with the sweet spot at the tip, a blocking enemy who goes for a grab or neutral attack out-of-shield will whiff, because Zelda is too far away.
Up Tilt
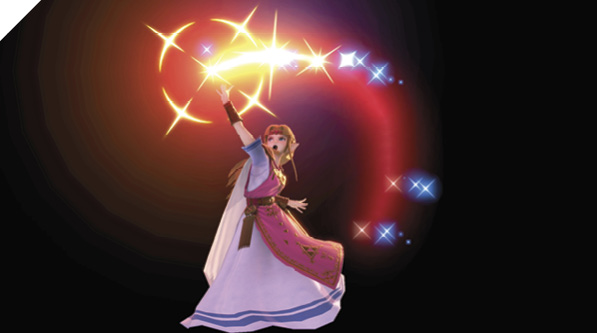
Zelda sweeps in a rainbow arc front-to-back, covering three angles. She hits in front first, much faster than her side tilt or grab attacks. She then sweeps through upward directions, ending with her arm hitting straight backward—the attack takes just shy of a third of a second. As a clear-out attack that hits to the back, this isn’t fast, but it’s a nice bonus. Although it’s not quick to hit behind, enemies that shield up tilt behind Zelda aren’t guaranteed punishment against her; she can shield or jump away immediately after up tilt before a grounded foe’s out-of-shield gambit connects. But if someone in front blocks the beginning of up tilt, Zelda is extremely vulnerable, since they can hit her back while she’s still going through the backward-aimed portion.
On hit, enemies are popped up into a juggle-vulnerable position above. At low percentages, Zelda can usually combo two or three up tilts in a row before going for jumping attacks. Naturally, it’s also ideal for swinging at airborne foes above, whether as anti-air or to keep a juggle going.
Down Tilt
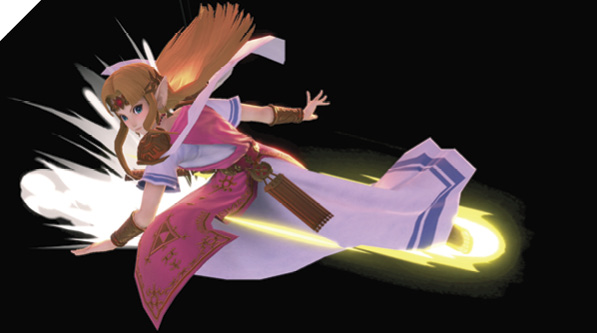
The princess juts out a low kick that reaches forward a bit, though not quite as far as her neutral attack. She crouches down during the move, which can help her avoid incoming attacks. This is active fast for a tilt attack, over twice as fast as side tilt, just a hair slower than neutral attack.
At low percentages, down tilt doesn’t lead to anything; it just kicks aggressors back a bit. At medium percentages and higher, it trips victims into a tumbling knockdown! This gives Zelda an opening to rush in and pressure with a dash attack against their tech, as one example.
When down tilt is shielded, Zelda is safe from retaliatory neutral attacks if she blocks right after the kick ends. If an enemy with a fast grab cancels their shielding with a grab attempt, though, she’ll get caught.
Smashes
| Move | Damage | Note |
|---|---|---|
|
1x4, 13-1.4x4, 18.2 |
Knocks foes up and away. |
|
|
Up smash |
2x4, 0.8x2, 5-2.8x4, 1.1x2, 7 |
Knocks foes into potential juggle position. |
|
Down smash |
12 front, 10 back-16.8 front, 14 back |
Double-sided attack. Knocks enemies down at medium to high percentages. |
Side Smash
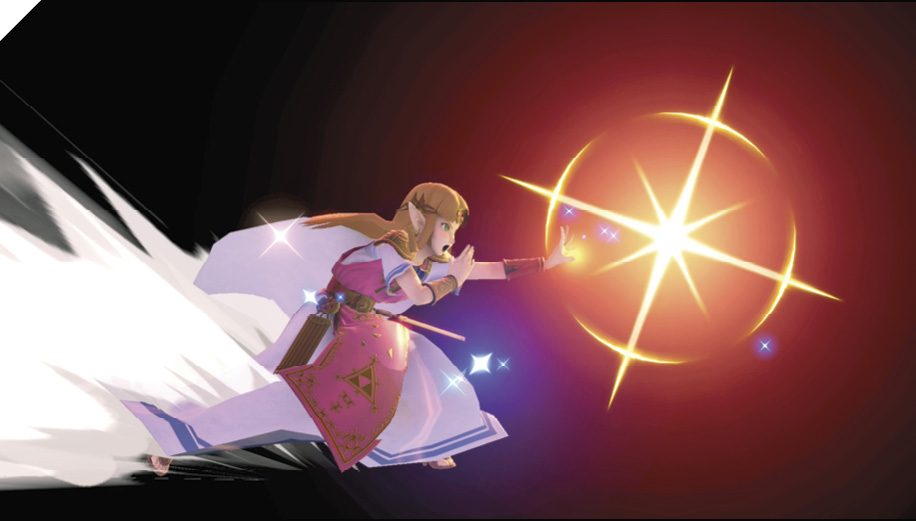
The princess extends forward both arms and creates a multi-hit swirl of energy in front of her hands. After several weaker hits, a powerful final blow ejects victims out of her grasp. This is different from moves like dash attack and side tilt in that you don’t have to worry about aiming with the mystic sparks past her hands—anywhere along her arms deals the same damage.
In practice this is a slightly slower, beefier version of side tilt, without the ability to be aimed, and without the need to worry about aiming with the tip. If foes shield and strike back, Zelda isn’t technically safe, but they’ll likely be pushed back enough for an instant neutral attack to whiff in the space between fighters.
Up Smash
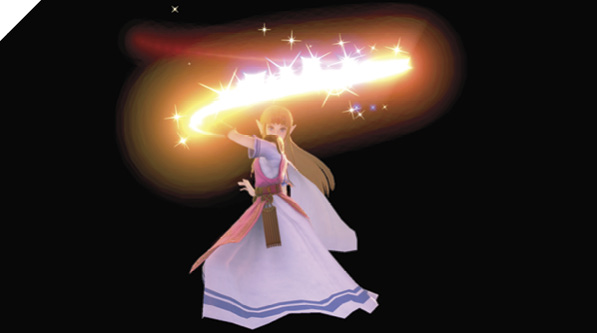
Zelda conjures a shower of sparks directly above her head, holding enemies who get caught within for several hits. There’s a hitbox around Zelda’s torso, so it’s possible to catch point-blank standing foes with this, but it’s primarily aimed upward, with an umbrella of hitboxes above her head where the sparks twinkle. Up smash is quicker to hit anti-air angles than up tilt, which has to go through the forward part of its travel before she’s slapping upward. It’s a reliable option for warding off jumping enemies and for batting tumbling targets back up.
Zelda is punishable if a standing enemy blocks properly against up smash, holding their shield up until after the very last hit. But they might drop shield early, eager to strike back, which makes later hits catch them.
Down Smash
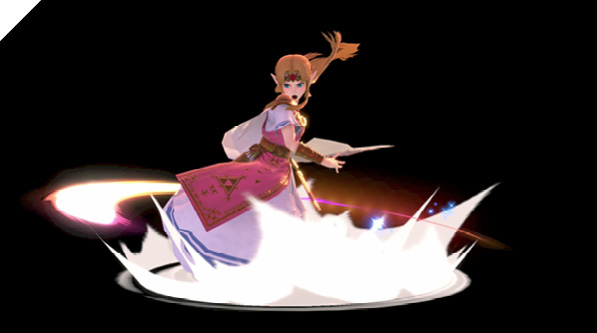
Zelda sweeps to both sides with a quick kick, first hitting directly in front with the same speed as down tilt before spinning to kick behind. The front kick deals a little more damage than the backward-aimed follow-up. At medium-damage percentages or higher, both kicks knock foes away fast. Zelda is easily punishable if they shield, though, whether in front or behind.
Grabs
| Move | Damage | Note |
|---|---|---|
|
1.3 |
— |
|
|
Front throw |
10 |
Forward throw. |
|
Back throw |
12 |
Backward throw. |
|
Up throw |
11 |
Hurls foes into potential juggle position. |
|
Down throw |
1.5x4, 2 |
Grabs
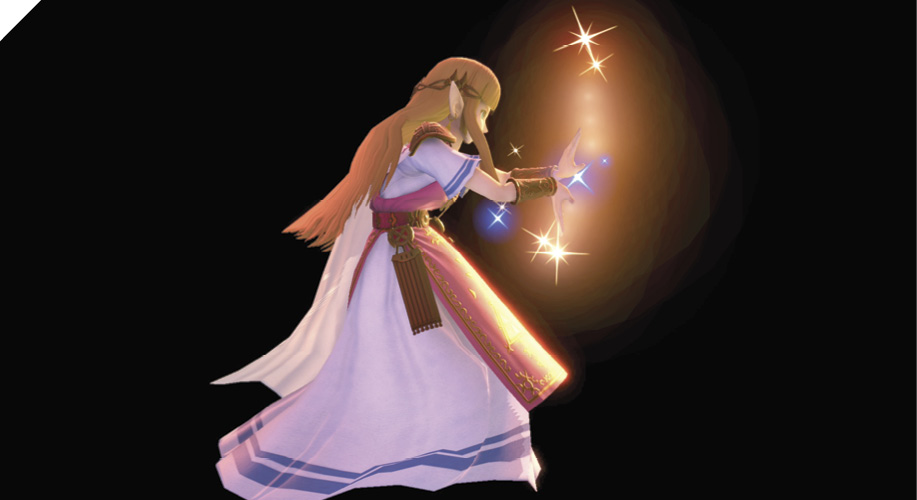
Zelda’s grab is abnormally slow of someone of her size and weight, taking longer to grab than most heavyweights. It’s not quite tether-grab-grade slow, but it’s close. The reach is good, at least, extending a bit past her grasping hands. If you grab after running and pivoting, her grab is a bit slower, but has even more range. A good defensive option against onrushing aggressors is to run away, pivot, then grab.
Once a target is in Zelda’s clutches, use front throw and back throw to hurl them toward the closest stage edge. Up throw and down throw both lead to combo chances, potentially using her powerful forward air and back air attack sweet spots. Up throw flings them straight up above, while down throw bounces them off the ground, so any juggle (like with immediate jumping back air attack) will be behind Zelda.
Aerial Attacks
Aerials
| Move | Damage | Note |
|---|---|---|
|
2.5x4, 5 |
— |
|
|
Forward air attack |
20 |
Huge damage and knockback on sweet spot hit. |
|
Back air attack |
20 |
Huge damage and knockback on sweet spot hit. |
|
Up air attack |
17 |
Knocks foes into potential juggle position. |
|
Down air attack |
16 |
Huge damage and meteor smash on sweet spot hit. |
Neutral Air Attack
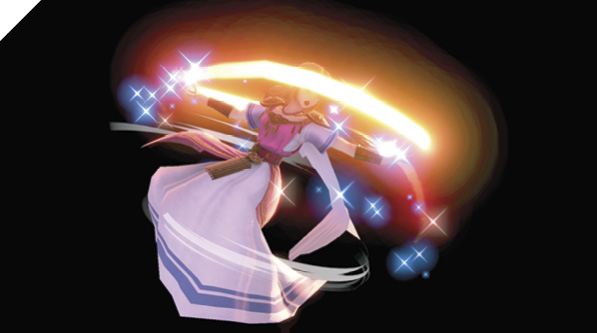
The princess twirls quickly in midair, arms hitting to both sides. Neutral air attack, forward air attack, and back air attack all hit initially at the same speed, but while front/back air have incredibly strong first-active-frame sweet spots, later hits are much weaker and the hitboxes don’t persist for long. There’s also lots of end lag on both attacks. Neutral air attack, on the other hand, hits front and back at once and lasts a long time, about a fourth of a second. You can safely stick out neutral air attack right above enemies, then fast-fall into them, or leap upward toward other jumpers, sticking neutral air out in advance so it’s active when Zelda meets her target.
Forward Air Attack
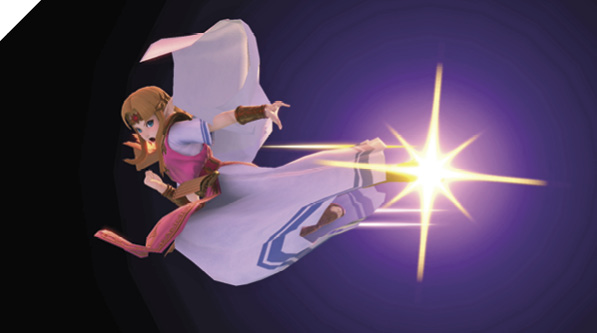
The princess sticks her leg out in a precise frontal jump kick. There’s an incredible sweet spot at the very tip of the kick right upon activation, dealing a whopping 20% damage with heavy knockback! The accuracy needed for this damage is extremely precise, though. If you hit deeper with the kick on the initial frame, or strike with later frames of the attack, it deals much less damage: between 4% and 8%.
Forward air attack has a lot of lag after use, so it doesn’t lend itself well to low-altitude attacks, like during short hops or as a jump-in from higher altitudes. It also doesn’t work for “walling” strategies some fighters employ, jumping up and down while sticking out a high-priority forward air or back air over and over again. But if you can aim well on air-to-air hits, this move has tremendous damage and KO potential.
Back Air Attack
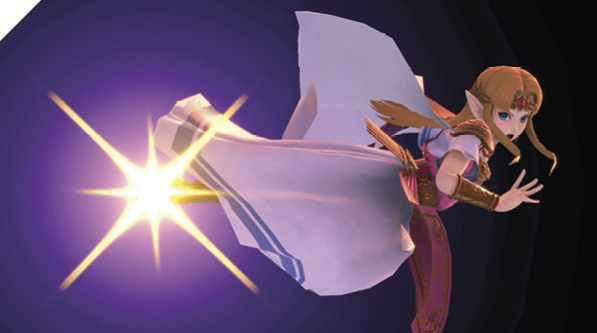
Back air attack is just like forward air, only aimed behind Zelda. It hits with the same speed, so there’s no timing penalty for aiming the kick backward. This move also has a hugely damaging sweet spot at the tip, right when the kick begins. Deeper or later hits with this kick deal only 4% damage. Just like forward air attack, this has a lot of end lag in midair, and landing lag if used near the ground.
Up Air Attack
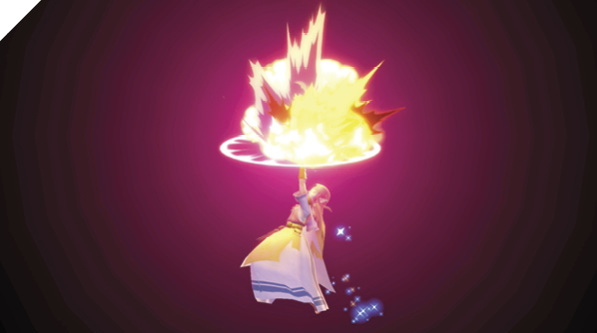
After a lengthy jumping windup period, Zelda aims upward with a magical flaming blast. This is kind of like using a jumping smash attack in terms of speed. The hitbox is well above Zelda in midair, beyond where she points her upstretched arm. Anyone hit by this takes severe damage while being popped upward, vulnerable to more attacks.
If you catch an airborne enemy low to the ground with up air while descending, you can usually jump immediately upon landing and hit them again before they can recover, a devastating two-hit combo! However, since Zelda’s reach is so high above, it’s not suited for using last-moment before landing against standing enemies, unlike some up air attacks.
Down Air Attack
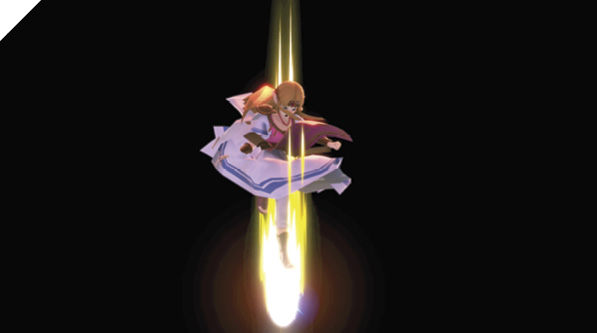
Zelda aims downward with a powerful stomp, hitting in about the time it takes for up air to hit upward. Down air attack is much more lenient for aim, though, since her kick persists as a hitbox for a sixth of a second, instead of the eyeblink explosion of up air.
Down air attack, like many other Zelda moves, has a precise sweet spot that deals way more damage and knockback right when it first hits. If you hit precisely with the very beginning of down air attack, it acts as a meteor smash, kicking foes straight down into the abyss or bouncing them off the stage into juggle position. Later frames deal less damage, but at least still interfere with enemy actions.
Special Moves
Specials
| Move | Damage | Note |
|---|---|---|
|
Neutral special |
2x3, 5 |
Briefly intangible near start. Reflects projectiles. |
|
Side special |
3.5-14 |
Hold input to charge projectile and make it last longer. Release for detonation. Use control stick to direct shot. |
|
Up special |
6, 12 (10 on ground) |
Hold control stick to aim warp after input. Hitboxes on disappearance and reappearance. |
|
Down special |
4.7-14.1 |
See table. |
Phantom Slash
| Assembly Stage | Attack | Damage |
|---|---|---|
|
No gauntlets |
Short-range kick |
4.7 |
|
Gauntlets, no sword |
Short-range punch |
6.6 |
|
Sword, no chest piece |
Short-range sword slash |
8.5 |
|
Sword with chest piece |
Midrange sword chop |
11.3 |
|
Chest piece and shield |
Midrange sword chop |
12.2 |
|
Helmet |
Long-range upward-sweeping sword |
14.1 |
Neutral Special: Nayru’s Love
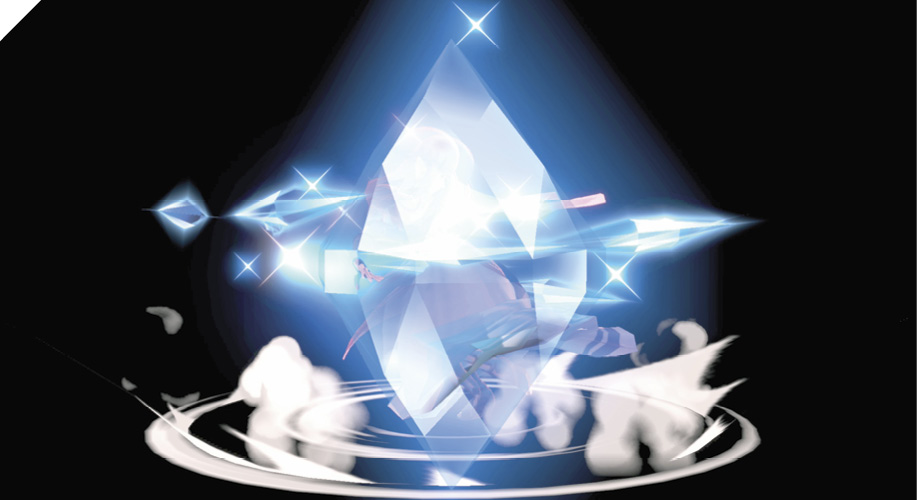
Zelda spins in place, surrounded by a temporary crystal shield. The spinning crystals serve as an attack, hitting to both sides with speed analogous to a somewhat fast smash attack, shredding anyone for several hits, ground or air. But this move’s main purpose is projectile reflection. Starting early in the move and lasting for half a second, any projectile that collides with the crystal becomes Zelda’s, redirected at her challengers! There’s a brief period of intangibility for the princess near the beginning, helping give this priority against projectiles about to hit her early in start-up.
Zelda’s falling momentum is halted briefly when using this in midair, giving it extra use as an offstage recovery tool. It doesn’t help you return to safety, but it gives you a bit more time to act. It can even reflect projectiles foes use to try to knock you farther from safety, or slap away foes air-to-air who chase you out over the edge, while still giving you time to use Farore’s Wind afterward.
Side Special: Din’s Fire
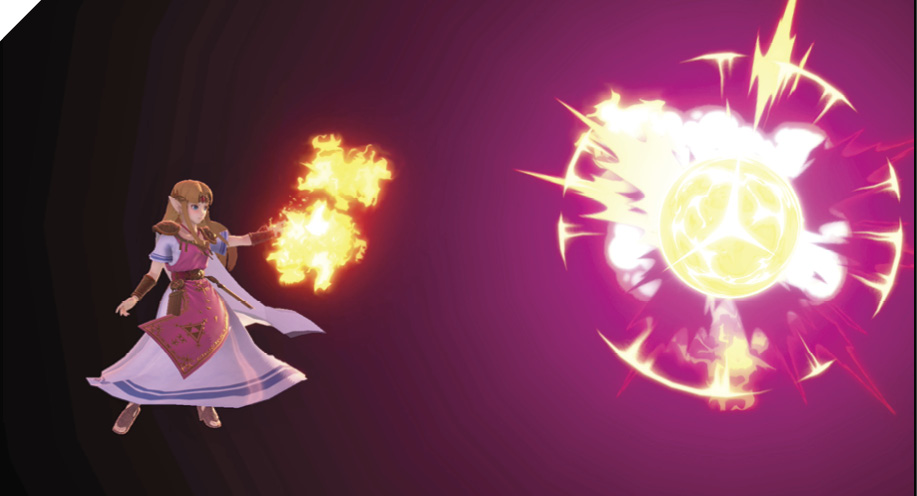
Input side special to make Zelda cast a magical fireball, which drifts forward as long as you hold the input (up to a point). While holding the input, Din’s Fire grows in strength, and can be curved up or down with the control stick. It’s not as controllable as Ness’s PK Thunder, but Din’s Fire can be swerved around minor obstacles to hit someone on the other side.
Whenever you release the input, Din’s Fire swells and explodes, creating a local hitbox wherever it’s detonated. Using this attack requires precision, because it doesn’t detonate just because you steer it into something. You have to release the button with appropriate timing.
If using this in midair, Zelda falls normally while controlling the fireball, but she can act again after her lag ends. Hurling Din’s Fire at the stage is a way to clear out edge-guarders before zipping back to the stage with Farore’s Wind.
Up Special: Farore’s Wind
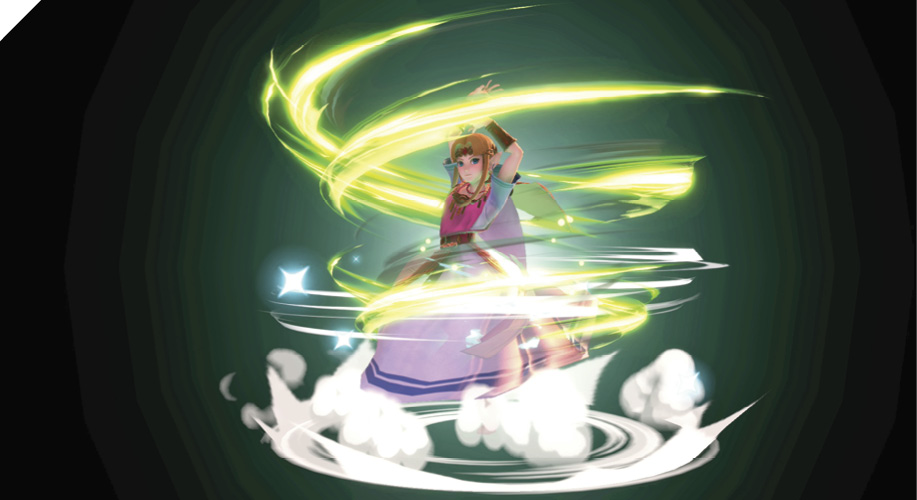
Zelda twirls and vanishes, warping quickly to a new location in any direction. There’s a brief hitbox both when she disappears and when she reappears; the vanishing hitbox is the same in the air or on the ground, but the reappearance hitbox is slightly stronger in the air than when warping to the ground.
Immediately after input, hold the control stick in the desired direction to zip that way. Zelda is intangible while warping, so she can’t be interrupted, and travels clean through any kind of attack. Farore’s Wind is her main recovery tool, and adds an uncertainty in enemies about which direction she’ll travel. If you direct Zelda’s warp downward into the ground, she doesn’t just reappear on the ground when it blocks her warp trajectory; she slides laterally for as long as the warp has left to go. Be careful using Farore’s Wind to warp downward to the ground near stage edges, as she can slide right off while invisible, reappearing off the stage!
The initial spin and vanish hit is quick, slightly slower than down tilt or down smash. The reappearance hit is a half-second later. Opponents standing nearby (or hovering just above in midair) during Farore’s Wind’s vanishing hit are launched high in the air. It’s possible for this launching hit to combo into the reappearance, if you warp at an upward angle to hit their body, but it’s unlikely (this works best if they’re positioned around Zelda’s head when she launches them and vanishes).
Down Special: Phantom Slash
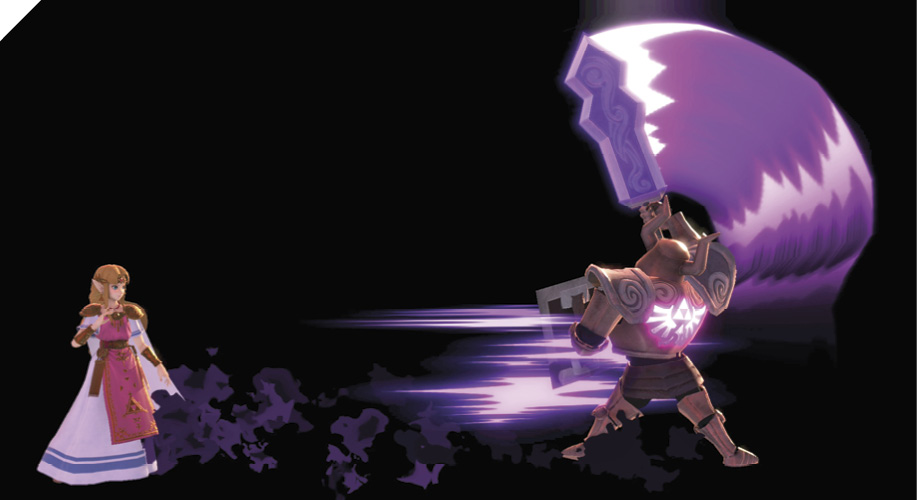
Zelda summons a phantom set of mystic armor, which constructs itself piece by piece right behind her. With no further input after down special, Zelda is occupied for a little over one second with the mental effort of conjuring the phantom suit of armor, then she can act again. The completed phantom suit idles for just under another second, finally striking two seconds after the move is initiated. This gives Zelda almost one second to work with in between finishing her conjuring and when the suit strikes. She can huddle behind the knight and use it as a shield, or move in to pressure, knowing she’ll be backed up by the suit of armor’s swing.
Though you can treat this as basically an assist that takes a second to build, then strikes in another second, it can be triggered earlier. Pressing the Special button again while the suit of armor is coming together sends it in for an immediate attack. The type of attack depends on how much of the suit is constructed when Zelda sends it forth. Being able to send the suit out prematurely can deter foes from imagining they can just rush in and hit Zelda while she’s building her helper.
The fastest attack is a front kick, triggered if the suit still lacks gauntlets. Once the gauntlets are affixed, the suit instead goes with a straight punch. With a sword in hand, the suit travels farther with a horizontal sword slash. Once the chest piece appears, the sword attack becomes a longer-reaching downward chop. Finally, once the knight’s shield appears, the resulting attack is full strength.
The knight is fully assembled before a second has elapsed (a third of a second before Zelda can act normally, if you don’t trigger a premature swing), so you don’t have to wait the full two seconds for the knight’s full-power swing.
Final Smash: Triforce of Wisdom
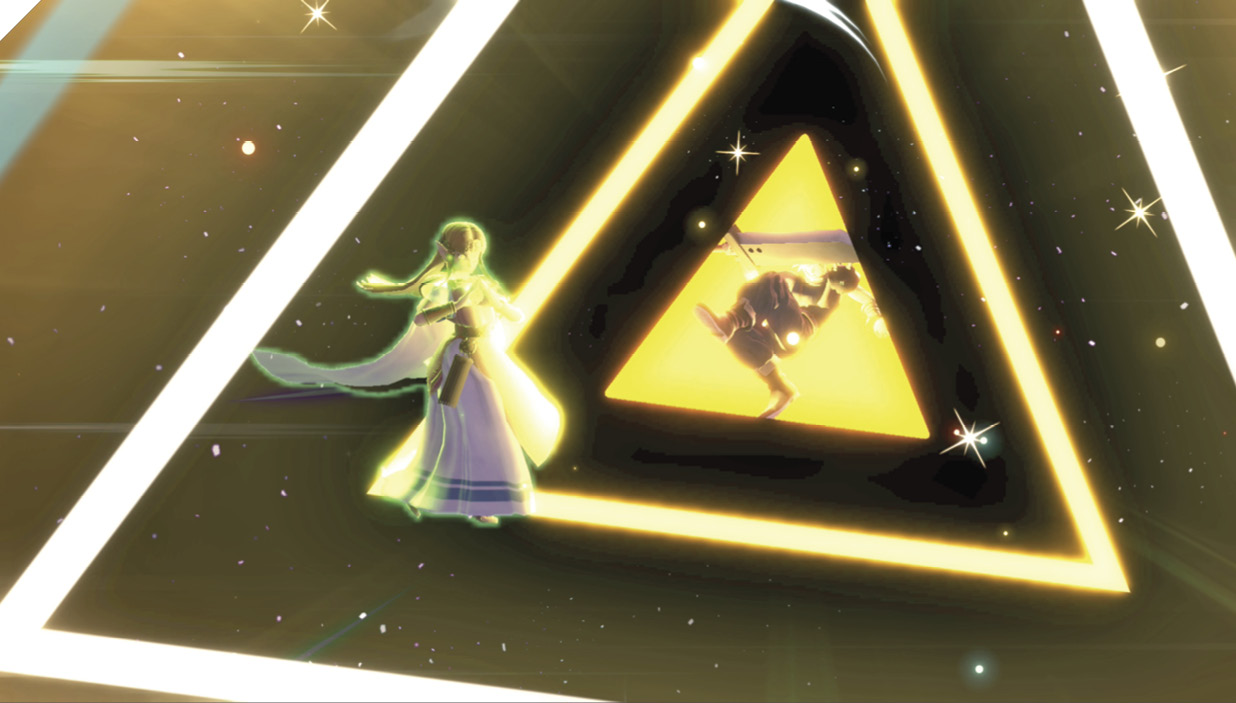
With the energy from a Smash Ball, Zelda is capable of unleashing the power of the legendary Triforce. The Triforce appears before her like a huge icon, repeatedly damaging anyone nearby inside a big radius. Opponents who have extremely high damage (over 100%) are KO’d by the Triforce outright!