
Super Smash Bros. Ultimate Guide Rosalina & Luma
Overview
Rosalina and Luma are a unique pair of fighters with their own mechanics. Rosalina’s partner is a star treated as a separate fighter with its own separate attacks, its own health pool, and its own hurtbox (i.e., its body interacts with other players and can be attacked).
The duo’s fighting style centers around reactionary defense, control, and midrange zoning, using Luma as a barrier between Rosalina and her foes. A strong Rosalina-and-Luma player can be extraordinarily frustrating to fight against since approaching them is much different from approaching conventional fighters.
In most matchups, your goal with Rosalina and Luma is to use Luma’s attacks to poke at enemies, ensuring that Luma is always between Rosalina and your opponent. Rosalina and Luma are floaty fighters with below-average ground mobility, so you want to play a reserved, defense-heavy style, focusing on reacting to your opponent’s aggression rather than rushing in yourself. To apply pressure, deploy Luma in a forward position by using Luma Shot.
You can almost always attack with Luma even if Rosalina is busy, such as during Rosalina’s Launch Star recovery special, when you’re being hit, and during Luma’s Luma Shot recall. There are a few exceptions to this rule: Luma can’t attack during the brief window while Rosalina is being launched and when Rosalina is being thrown. Learning how to manipulate Luma without control of Rosalina is crucial, as it can turn a disadvantage into an advantage. For instance, if Ganondorf grabs Rosalina with his Flame Choke, it leaves Luma free to act, so you can execute an up smash (even if Rosalina is subdued), launching Ganondorf in the air, essentially punishing him for successfully grabbing your Rosalina!
Rosalina’s attacks deal the most damage, while Luma’s attacks have much more launching and knockback power. You can adjust the way you attack when Rosalina and Luma are together. If you need to finish off an opponent, or if you want to remain as safe as possible, aim with Luma. Otherwise, hitting with Rosalina and Luma simultaneously racks up the most damage. While Rosalina is heavily reliant on Luma, her solo attacks are nothing to sniff at. Rosalina’s up tilt, up air attack, and down air attack all extend a halo projectile that covers vertical space well, so she has little problem playing a strong juggle-trap game. And her front and back air attacks are powerful air-to-air and air-to-ground tools with surprising priority, often beating out foes challenging her in the air and on the ground.
Luma is a fragile star. It can be attacked and defeated from taking too much damage. It’s also susceptible to being knocked offstage; if an enemy hits Luma over an edge, it doesn’t ledge-recover with Rosalina. Without Luma, Rosalina becomes much more vulnerable, and you have to rely on her solo attacks. Usually, your best strategy in these cases is to stall as well as you can, playing carefully and evading the enemy. This generally means you may have to sacrifice stage ground, but gaining Luma back is usually worth it.
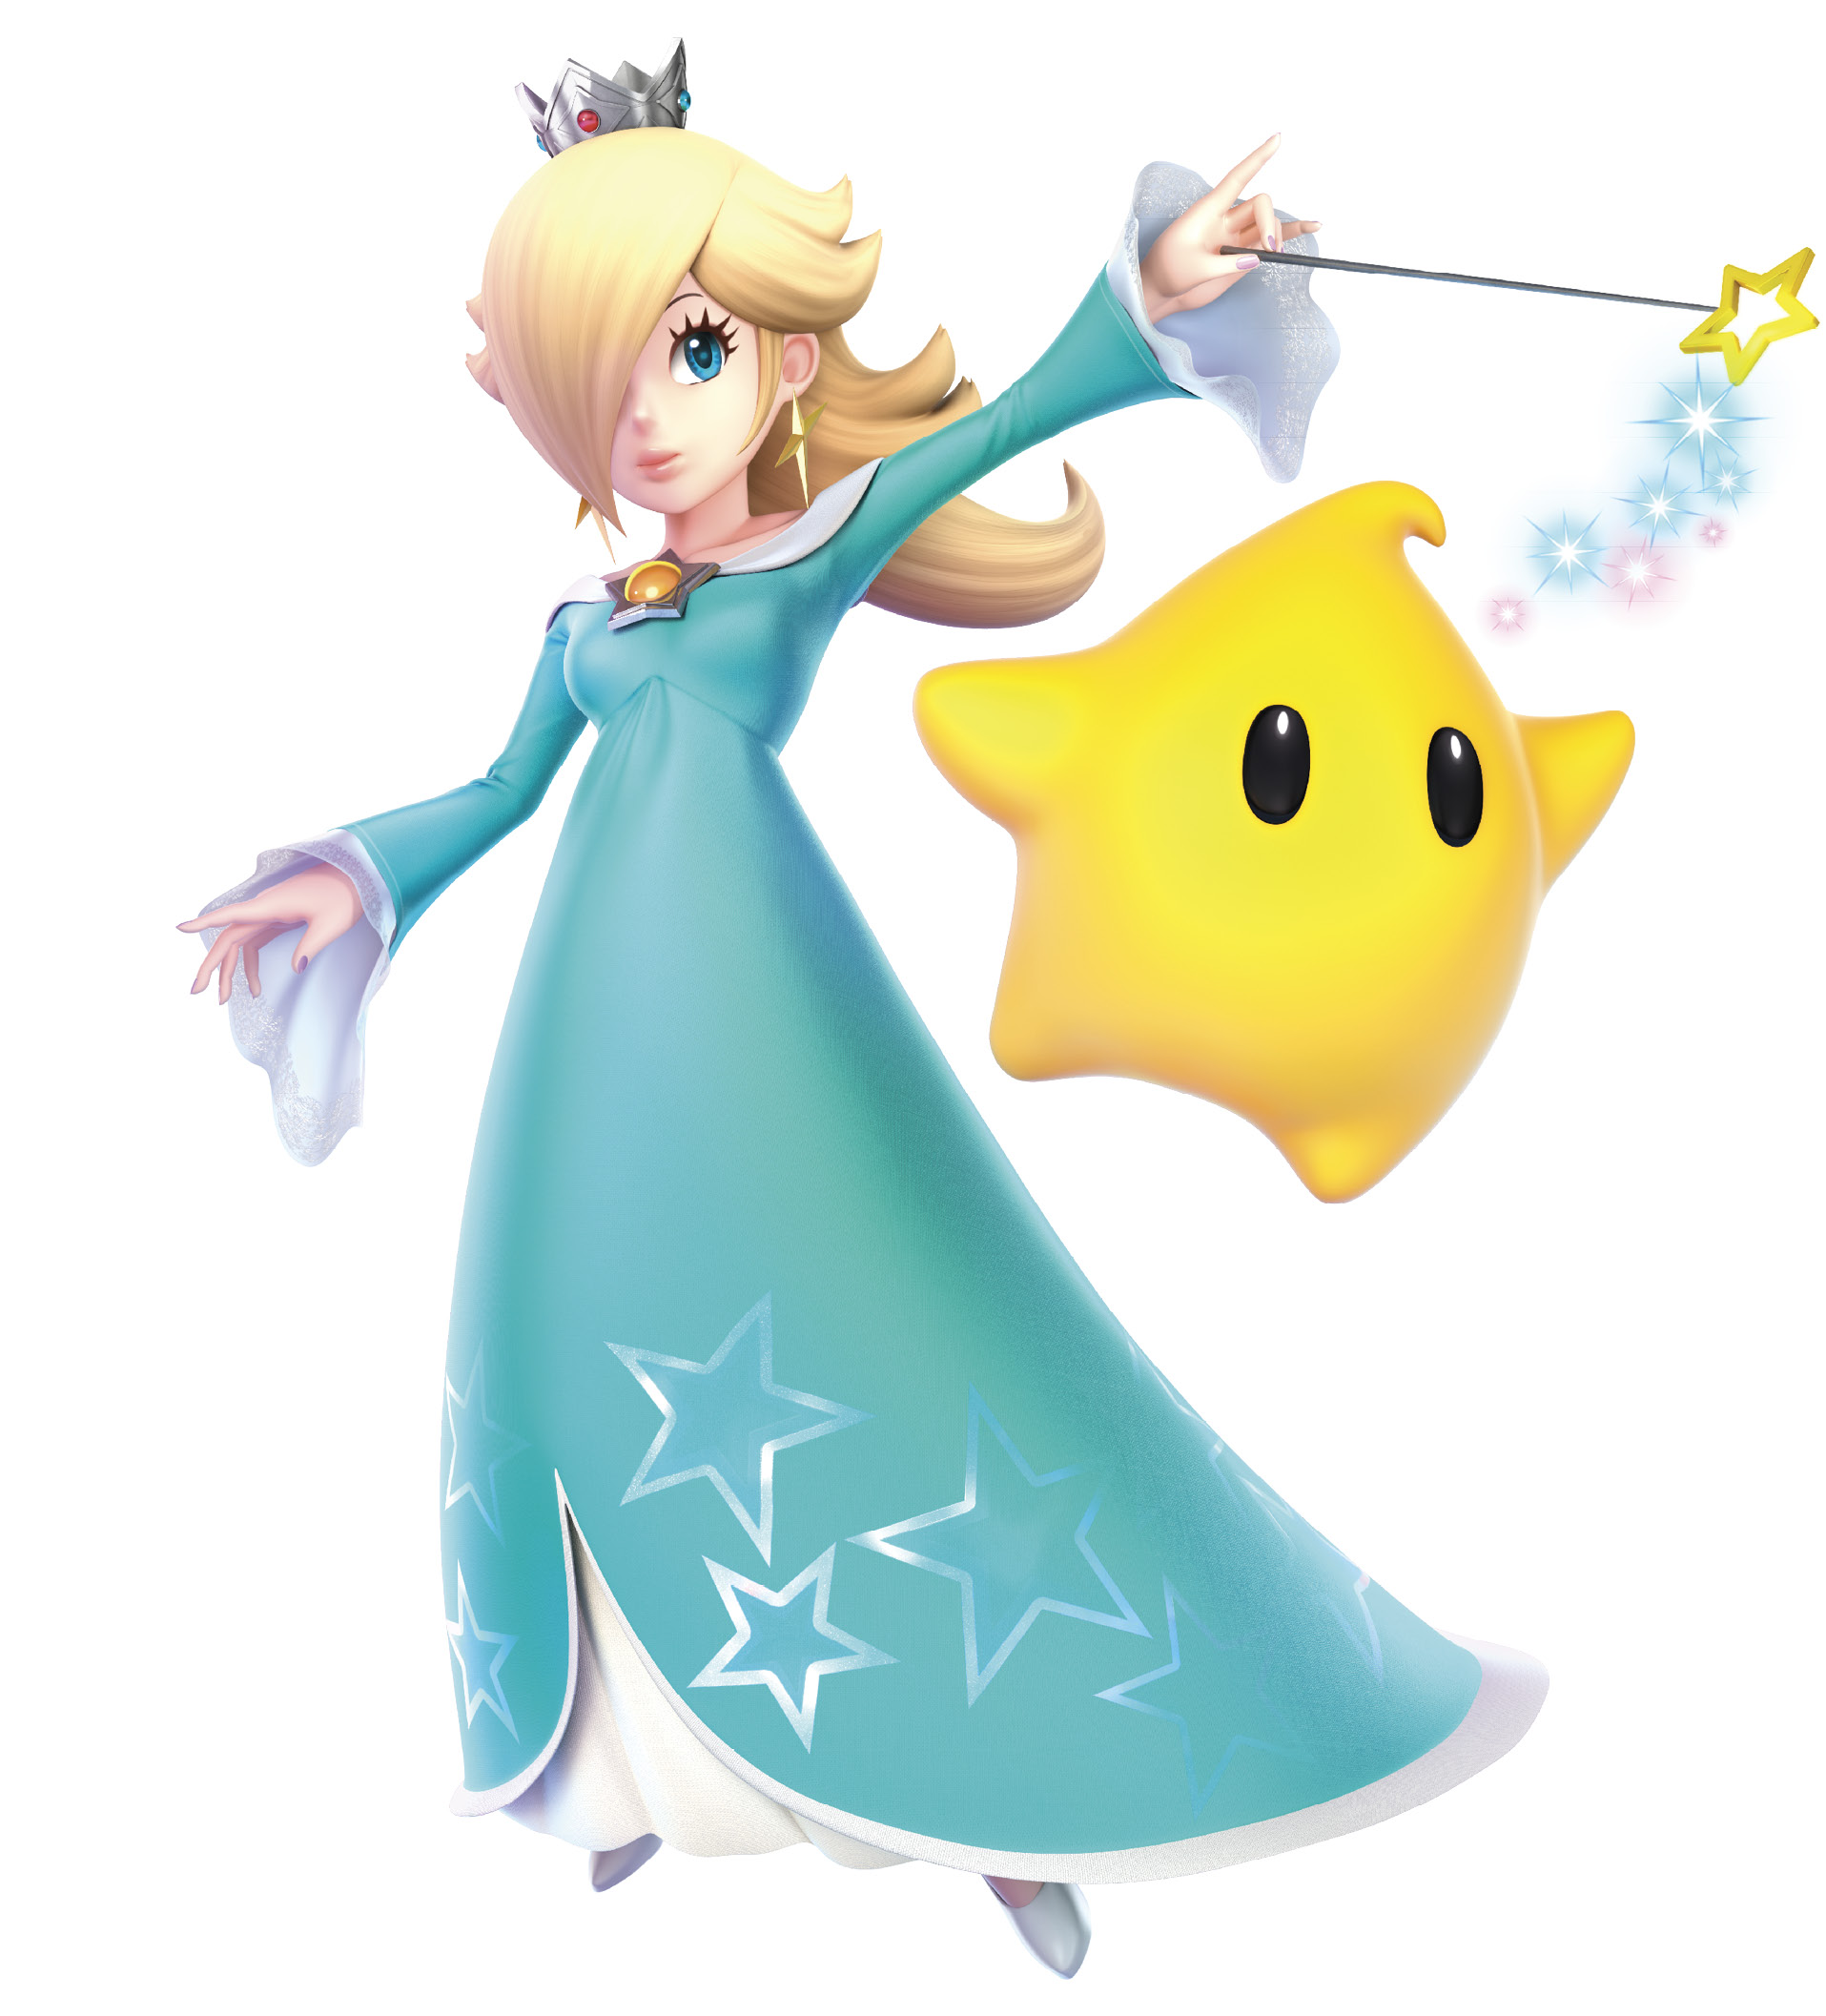
Rosalina & Luma Vitals
Movement Options
|
Midair jumps: |
1 |
|
Yes |
|
|
No |
|
|
No |
|
|
No |
Movement Ranks
|
Ground speed: |
C- (29) |
|
Air speed: |
C (40-43) |
|
Falling speed: |
F (73) |
|
D (62-63) |