
Super Smash Bros. Ultimate Guide Villager
Brawler Arsenal
Grounded Attacks
Neutral Attacks
Neutral Attacks
| Move | Damage | Note |
|---|---|---|
|
Neutral attack 1 |
1 |
— |
|
Neutral attack 2 |
1 |
— |
|
Neutral attack 3 |
1, 2 |
Hold for continuous attacks. |
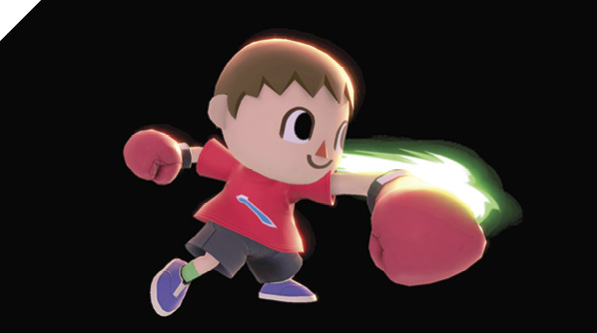
Villager’s neutral attack is a quick jab, not as fast as the fastest neutral attacks (like Zero Suit Samus’s, as the very cream of the crop, or Mario’s and Luigi’s, still lightning-fast but not the very best), but it’s not drifting into sluggish territory either. If you hold down the Attack button, Villager performs a flurry of punches one after another; upon button release he performs one final, extra-stout punch, dealing twice the damage of the others.
If you use single taps to execute jabs, three taps make Villager perform three quick jabs into a fourth finishing hit. But if you simply hold the button down, he wails with left-right punches endlessly until release. Holding this for too long eventually pushes the enemy away with minor jabs, but by timing it, you can score a much longer basic combo than the standard four hits for 5% damage. Ten hits for 11% is consistently feasible, after dashing in close to a foe. Just make sure to release the button for the final punch before they’re pushed away.
If you’ve planted a tree using the Timber special-move sequence, much more might be possible. An enemy backed against the tree won’t be pushed away by attacks, so it’s possible to score a combo of neutral attacks for 25 hits or more!
Dash Attack
| Move | Damage | Note |
|---|---|---|
|
10 |
— |
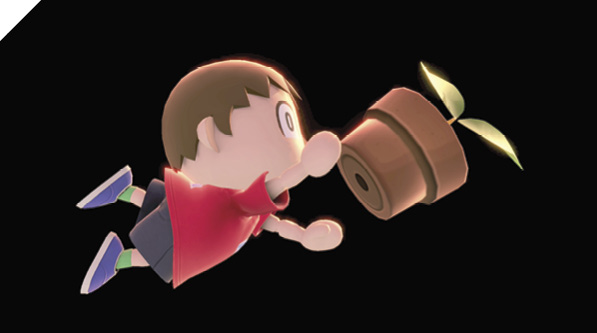
While running, Villager takes a prat fall and drops a fragile potted plant in the process. The plant tumbles forward as a short-range projectile, which launches enemies on contact.
Defensive Attacks
Tilts
| Move | Damage | Note |
|---|---|---|
|
Side tilt |
9 |
— |
|
Up tilt |
5, 6 |
Launches foe into potential juggle position. |
|
Down tilt |
12 |
Launches foe into potential juggle position. |
Side Tilt
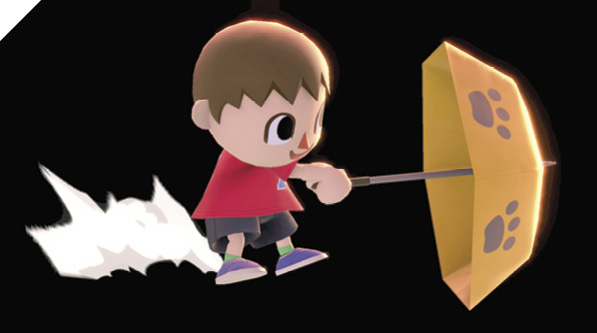
You never know when it’ll be a rainy day, so Villager is always packing an umbrella. For side tilt, he or she swings it in front, hitting with good range and making a kind of shield in front of Villager with the hitbox. Apart from poking at the edge of side tilt’s reach, this swinging move can also be used to bat some projectiles back at their pitchers, like swatting King Dedede’s Gordo Throws back at him.
Up Tilt
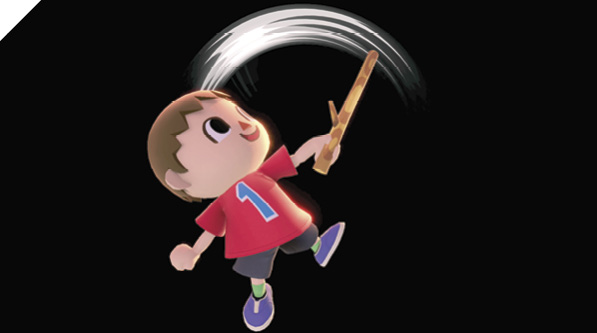
Villager playfully waves a stick around in the air above. Villager starts the swipes aimed diagonally up-back, bringing the stick to up-forward twice. The two hits automatically combo, lofting victims into a low-altitude tumble. The forward reach against grounded foes isn’t exceptional, but it consistently picks them up if Villager is standing up close.
Down Tilt
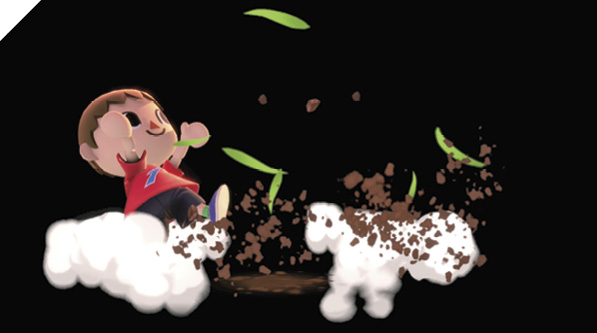
Ever the amateur botanist, Villager takes a moment during down tilt to pluck an unsightly weed from the dirt. This does the most damage up close, where the weed emerges, but has a hitbox that reaches surprisingly far forward. This is just a hair slower to hit than side tilt, but has marginally more forward reach along the ground.
Smashes
| Move | Damage | Note |
|---|---|---|
|
17-20.4 |
||
|
Up smash |
3, 1x4, 4-4.2, 1.4x4, 5.6 |
Launches foe into potential juggle position. |
|
Down smash |
6-8.4 |
— |
Side Smash
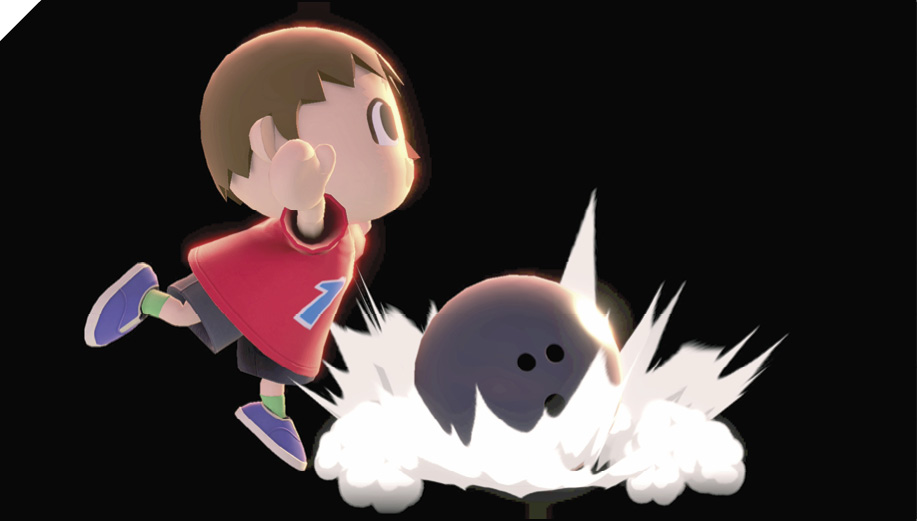
Villager is prepared for any occasion, whether it’s a rain day, weedy terrain, trees to chop down, or a few frames of bowling fun. Villager reveals a bowling ball stashed somewhere, dropping it straight down in front.
Midstage, side smash doesn’t have a lot of use. It’s extremely slow for a smash attack, and lacks exceptional range or hitboxes. At stage edges, the situation changes. Standing at a ledge, waiting for an opponent to try to recover, side smash becomes very powerful. Villager drops the ball like normal, but with no ground to stop it, it picks up speed (and damage potential) as it plummets. Often, when the fight drags offstage over sheer drops, fighters attempt to recover at the last moment by double/triple-jumping and using up specials from just below grabbable ledges. Dropping a bowling ball right on top of them during their last-gasp lunge puts a stop to all that. Villager picks up the spare!
Up Smash
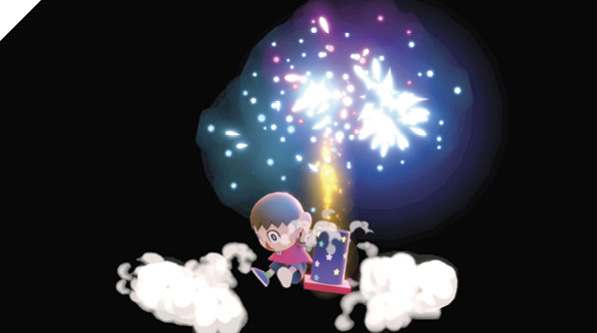
Villager sets up a little fireworks show, then braces, covering up ears to protect from the sound. There’s a small hitbox at ground level when the fireworks stand detonates, shooting a few fun rockets up to short hop altitude. Four small fireworks are followed by a larger finishing blast, signaling the end of the festivities. If someone is struck by the initial fireworks launch, they’re caught in the sparkling explosions too for a small combo, leaving them floating in the air and potentially comboable.
If using this against enemies already in the air, you must account for the slower start-up, aiming with only the exploding fireworks portion.
Down Smash
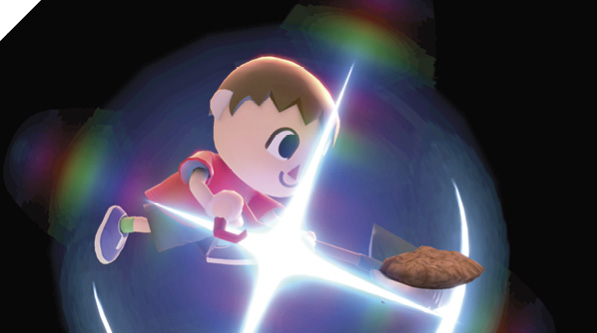
Whether clearing out rocky terrain, digging wells, or dealing with stubborn weeds, there’s always a need to have a shovel handy. When Villager gets to digging, he or she spaded the dirt first in front, then behind, like with many clear-out-capable down smash moves. The shovel swing in front is fairly quick, not as fast as staple tilt pokes, but not as slow as most smash moves either. The follow-up shovel swing aimed toward Villager’s back comes out fairly slowly, though, so there won’t be a reason to use it on purpose (like running toward a target, then pivoting and using a smash attack with a good backward hitbox). If the backward shovel hits, it’s likely to be incidental.
Luckily, this isn’t just a standard melee swing that hits both sides. Anyone on the ground who gets smacked by the shovel will find themselves temporarily stuck in the mud, partially buried by Villager’s digging madness! Tack on more hits for free while the victim struggles to dig themselves out.
Grabs
| Move | Damage | Note |
|---|---|---|
|
1.3 |
— |
|
|
Front throw |
9 |
Forward throw. |
|
Back throw |
11 |
Backward throw. |
|
Up throw |
10 |
Hurls foe into potential juggle position. |
|
Down throw |
6 |
Bounces foe into potential juggle position. |
Grabs
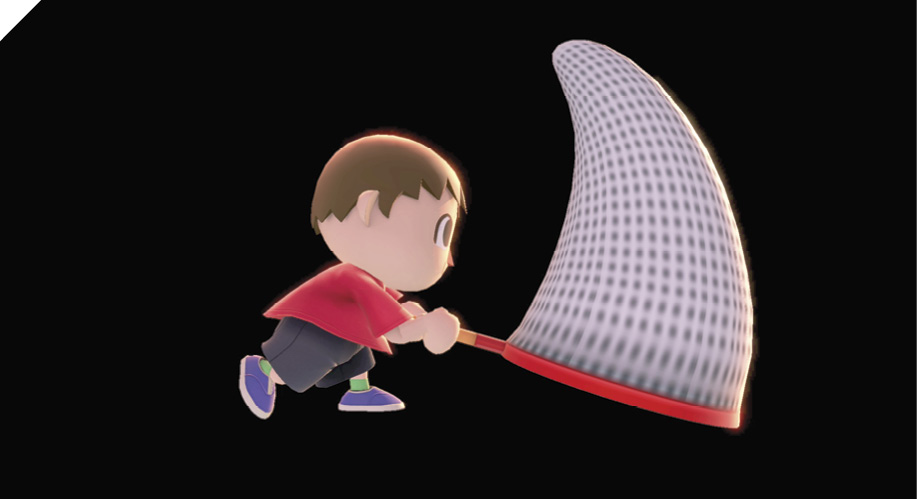
Villager has terrific reach grabbing with a butterfly net, but the grabbing speed is extremely slow, about the same as many uncharged smash attacks.
Once the target’s ensnared, front and back throw are good for pushing them toward or over an edge. Up throw puts them in the air above, in position for you to go for a midair combo. Down throw bounces them low, in place for you to try for a dash attack.
Aerial Attacks
Aerials
| Move | Damage | Note |
|---|---|---|
|
9 |
— |
|
|
Forward air attack |
7 |
— |
|
Back air attack |
9 |
— |
|
Up air attack |
13/10/8 |
|
|
Down air attack |
13/10/8 |
Neutral Air Attack
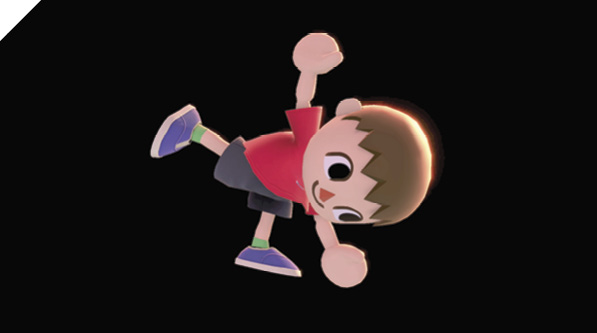
Villager spins upside down in midair with his limbs splayed, each of them a tiny hitbox pointing in every direction. Damage is highest right when the move starts, but it stays out a decent amount of time, so it has lots of usefulness when airborne (especially since Villager’s front and back air attacks are unconventional). It works when jousting air-to-air with other jumpers (though in that case it’s better to lean on the strengths of front/back air, if you have the space), and it’s great for jumping in at ground foes whether landing in front of or behind them, and whether fast-falling or dropping normally.
Forward Air Attack
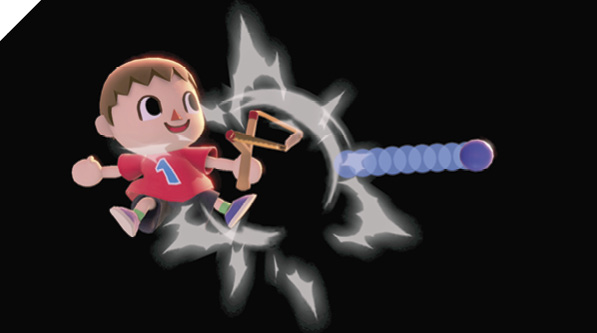
For front and back air attacks, Villager wields a trusty, quick, low-power slingshot. These projectiles are tiny and fast, taking almost no commitment to fire all over the place. Up close, shots deal respectable damage, like other featherweight air attacks. The damage deteriorates quickly with distance, but the damage isn’t really what these are for. Slingshot slugs may seem piddly, but the space control is undeniable. They’re good midstage for owning short hop airspace, and great past stage edges for harassing foes trying to recover. And all that damage adds up; at higher percentages, they begin to deliver meaningful knockback on hit.
Forward air is slightly faster to fire than back air. The projectile is slightly weaker too.
Back Air Attack
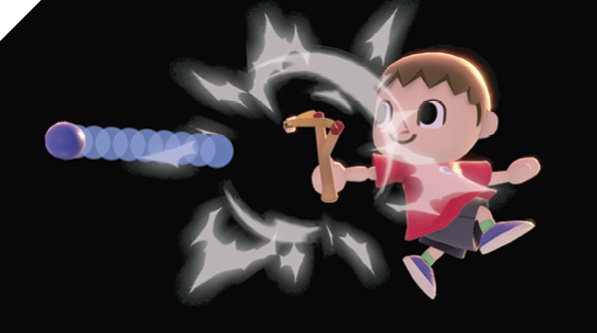
Backward-facing slingshot rounds are functionally the same as forward air attacks. Back air attack just takes a tiny bit longer to fire. The slug hits slightly harder. If you’re stalling, holding off foes with Lloid Rockets backed up by max-range slingshot rounds, you can maximize potential damage by keeping your back to the enemy while firing the slingshot in between Lloid deployments.
Up Air Attack
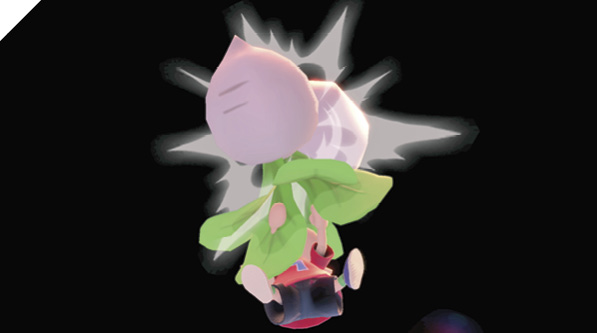
Villager swings upward quickly with a small harvest of turnips. This attack’s damage is dependent upon how many turnips he’s got. It’ll be one, two, or three, and the result is random. More is much better: a three-turnip up air attack adds a lot to the attack’s launch potential.
Down Air Attack
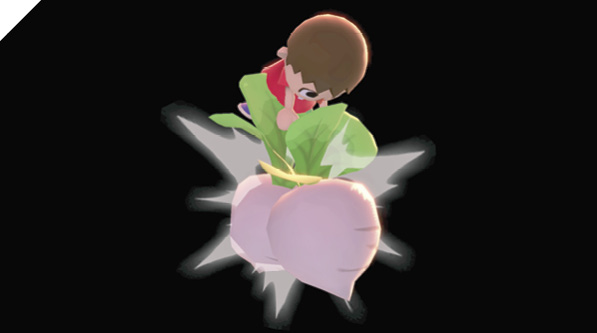
Villager attacks straight down with turnips. Again, more turnips is better (isn’t this always true?). A three-turnip down air attack is a meteor smash, great for bounce combos midstage, and scoring KO’s after tossing someone low offstage and chasing them. With Villager’s great recovery ability, it’s not that risky to fall off stages and engage with returning fighters. It’s only a bit of a bummer if you score a direct down air attack hit on someone below but it ends up being a single-turnip smack.
Special Moves
Specials
| Move | Damage | Note |
|---|---|---|
|
Neutral special |
Varies |
Pockets projectiles. |
|
Side special |
15.4/7 |
|
|
Up special |
0 |
Movement special. More balloons give more loft. Balloons can be popped. |
|
Down special |
Varies |
14 hatchet, 18/13 tree sprouting, 25 tree falling, 8 wood chip. |
Neutral Special: Pocket
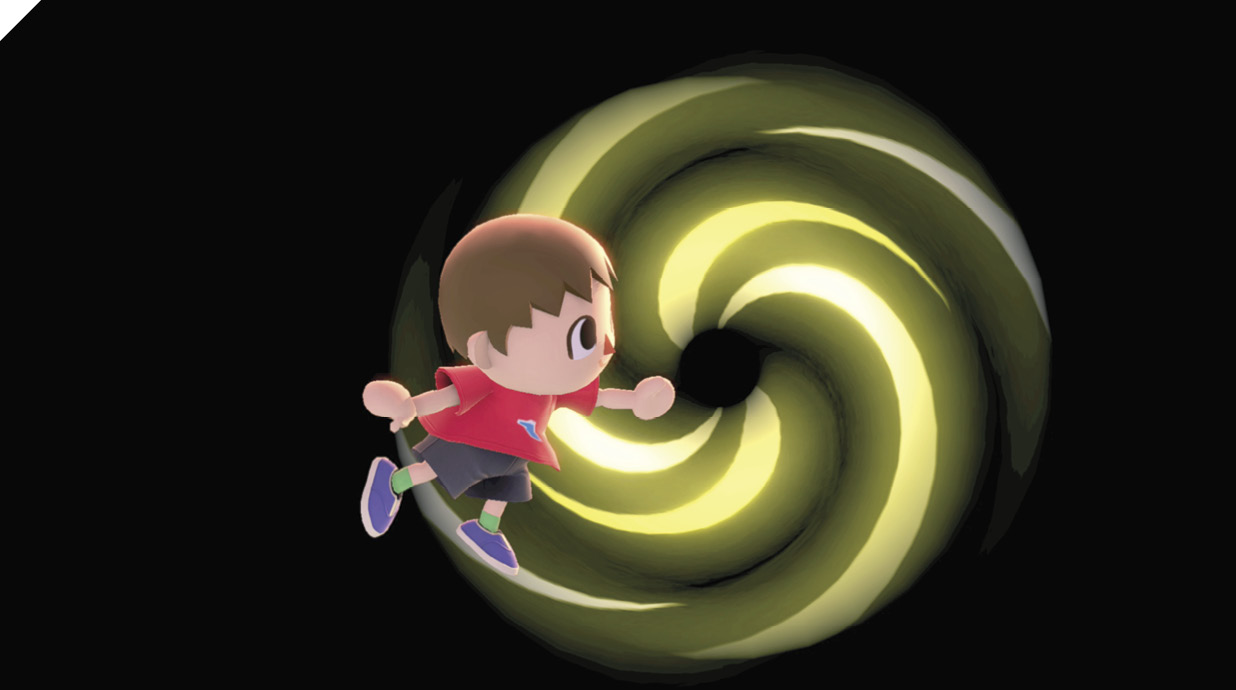
Villager reaches out and collects whatever projectile or item is incoming. That’s it, it’s gone. Well, not quite. It’s stored (probably wherever the bowling balls are kept). An icon by Villager’s portrait indicates when an item or projectile is Pocketed. Input neutral special again to retrieve the item. In some cases, this puts the item in Villager’s hand, ready to be wielded or tossed as normal. For projectiles—things that can’t be held, exactly—Villager fires them off in normal form.
This can lead to all sorts of wacky outcomes, once you Pocket certain projectiles and still have access to your slingshot and Lloid Rockets. You can start up your own Lloid projectile, use Pocket to fire theirs back at them, then follow them both in while sending in short-hopping slingshot rounds, for example. Putting multiple weird projectiles on-screen is also a prime time to rush in and try for a grab while foes are preoccupied with shots.
Pocket also lets you deprive brawlers of important items or objects they can’t reuse until they’re returned. For example, when King K. Rool throws his Crownerang, you can use Pocket to catch and store it, then just leave it there—he can’t use it again unless Villager uses it or gets KO’d!
Side Special: Lloid Rocket
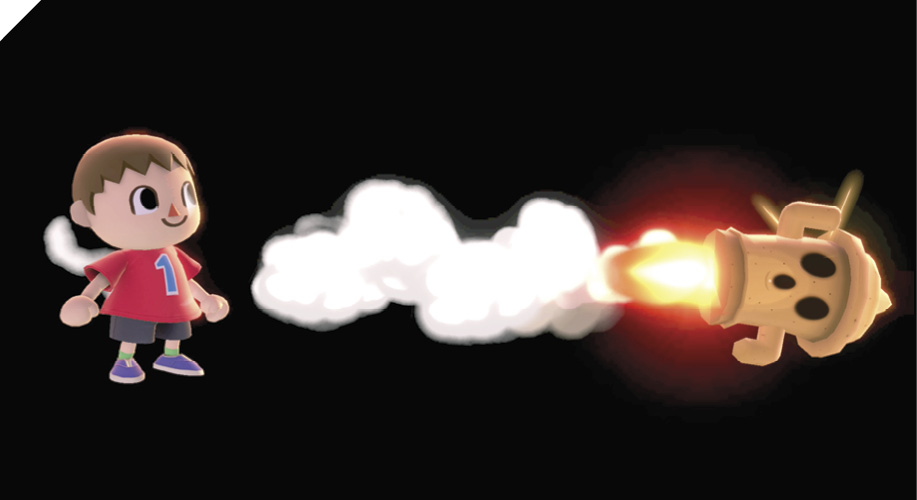
Tap the side special input to deploy Lloid Rocket and watch it jet across the screen, or hold Special down to stay aboard and take a fast track across the stage. If opting to ride Lloid Rocket along, you can hop off at any time with Attack, Jump, or Special inputs, though you’ll drift helplessly until landing after hopping off.
You won’t typically want to ride Lloid, unless using the rocket’s generous horizontal travel for offstage recovery. Usually you’ll want to use Lloid Rockets as ranged attacks. Deploying Lloid Rockets and then following up on them is one of Villager’s core strengths. Back up rockets with forward-hopping slingshot fire, use the opening to plant and water a tree, or run all the way in under the cover of the rocket to attack directly.
Lloid Rocket is also notable because it totally halts momentum when used in midair, even if you opt not to ride the rocket. Anytime you get hurled offstage, getting a Lloid Rocket out on the way back should be on your mind. It doesn’t cost you any lost height to fire, the act of firing it gives you a split second extra to think about what to do next, and the rocket itself then provides cover for your recovery play. If someone’s standing at a ledge, guarding the edge against your return, you can line up a Lloid Rocket right at them before you inevitably double-jump and air-dodge/Balloon Trip forward. Lloid Rocket even helps when recovering out from under stages, or for going under a stage bottom on purpose. Between rocket coverage and fall-halting, and Balloon Trip’s amazing hangtime, Villager can go all the way under stages with relative ease compared to most brawlers.
Up Special: Balloon Trip
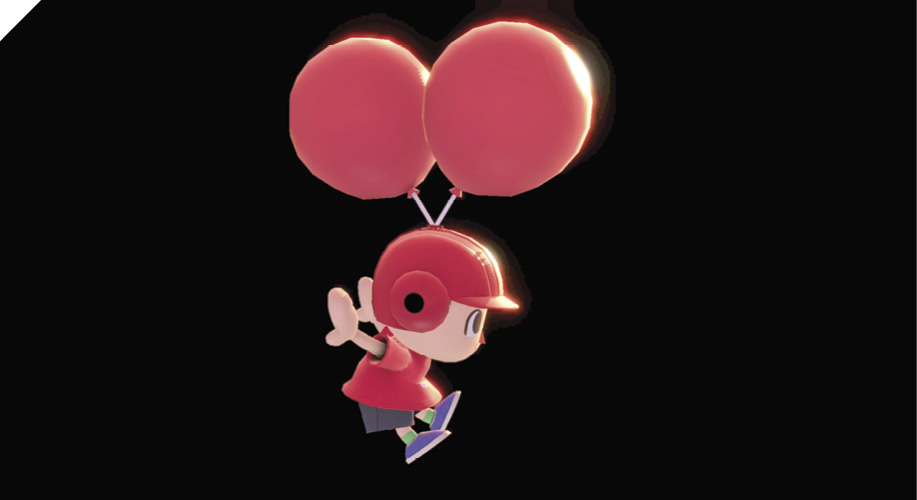
Villager lofts upward, raised by colorful red balloons. Hold Special to flap arms rapidly for max altitude, or tap Special as desired to fine-tune height. This special move is almost unmatched for maneuverability, but has no attack portion. It’s also variable. At first, you have two balloons for max airtime. But using and reusing this move lowers your stock of balloons. Give Balloon Trip time to cool off, and balloons will fully replenish. Otherwise, used over and over, you’ll be stuck with a single half-capacity balloon. Opponents can also pop balloons, which sends Villager plunging if none are left.
With full balloons, Villager has no problem recovering from all but the worst offstage launches, and can curl down and under stages to recover to opposite ledges.
With depleted balloons, it depends. From high up, you can always try riding a Lloid Rocket for horizontal travel. From below, even if a single balloon isn’t enough to make it all the way back, someone might try to hit you (or might aim at the balloon and also hit Villager). This can actually do you a favor if it’s not a devastating launcher shot, because you get another chance to redeploy Balloon Trip after getting hit.
Down Special: Timber
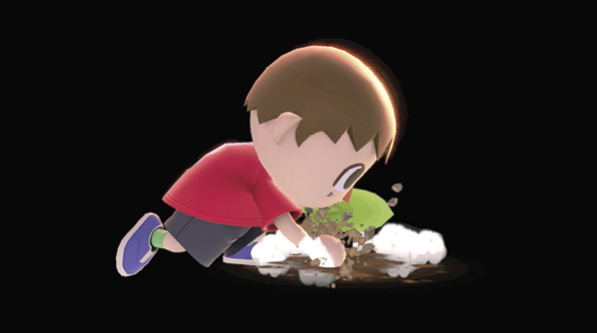
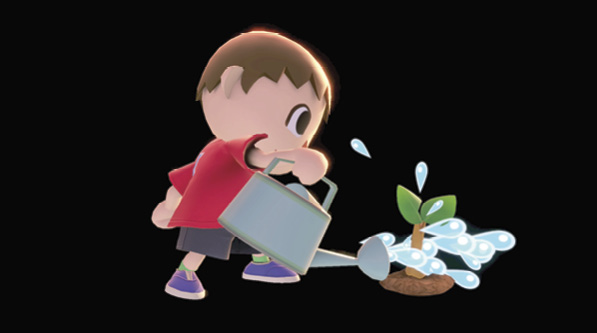
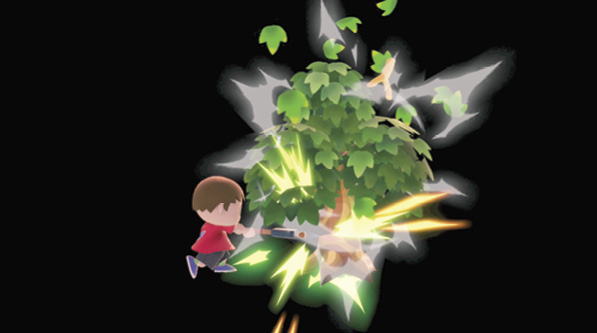
This multistage special has myriad uses for an industrious Villager. With no saplings or trees on-screen, down special makes Villager attempt to plant a seed. You’ve got to be on solid ground for this; trying it in midair results in a confused Villager.
With the seed rooted, down special becomes a short-range watering move. You can try to use this for other things, like a scale-model version of Squirtle’s Water Gun or Mario’s F.L.U.D.D. But you probably shouldn’t. Water a planted seed enough (it doesn’t take long), and it sprouts into a tree. An unwatered sapling persists for about 15 seconds before disappearing naturally.
With a sapling watered and grown, you have a happy little tree. Having a tree onstage does several things. For one, the tree becomes makeshift cover, blocking projectiles and thrown items. It’s also a mild physical impediment, particularly powerful when planted on a stage edge against recovering opponents. Villager can move back and forth through a tree without any hiccups, but other fighters trying to walk or run past a tree are briefly slowed. A tree is also, potentially, a powerful weapon: chop a tree down with a couple hatchet swings and it falls away from Villager, slamming against anyone on the other side for 25% base damage. Chopping down a tree may also chip off a wood block for another 8% damage, which can then be Pocketed by Villager and used as an item.
About that hatchet: with a tree onstage, down special becomes a quick, powerful hatchet swing. Clearly, the hatchet is for making use of the tree, but you don’t have to use it that way. Used as a direct attack, it’s one of Villager’s best moves, period. The hatchet swing is Villager’s second-fastest attack after neutral attack jabs, faster than any tilt and far faster than any smash, and it has great knockback power, especially at high percentages.
It’s usually better to plant trees for access to the cover and hatchet, rather than planting trees to chop them down. If the opponent ends up sandwiched between Villager and a tree, wail on them with the neutral attack combo and keep holding the button for continuous jabs. The tree prevents them from being pushed away, allowing way more punches to add up than normal before they can get out.
Final Smash: Dream Home
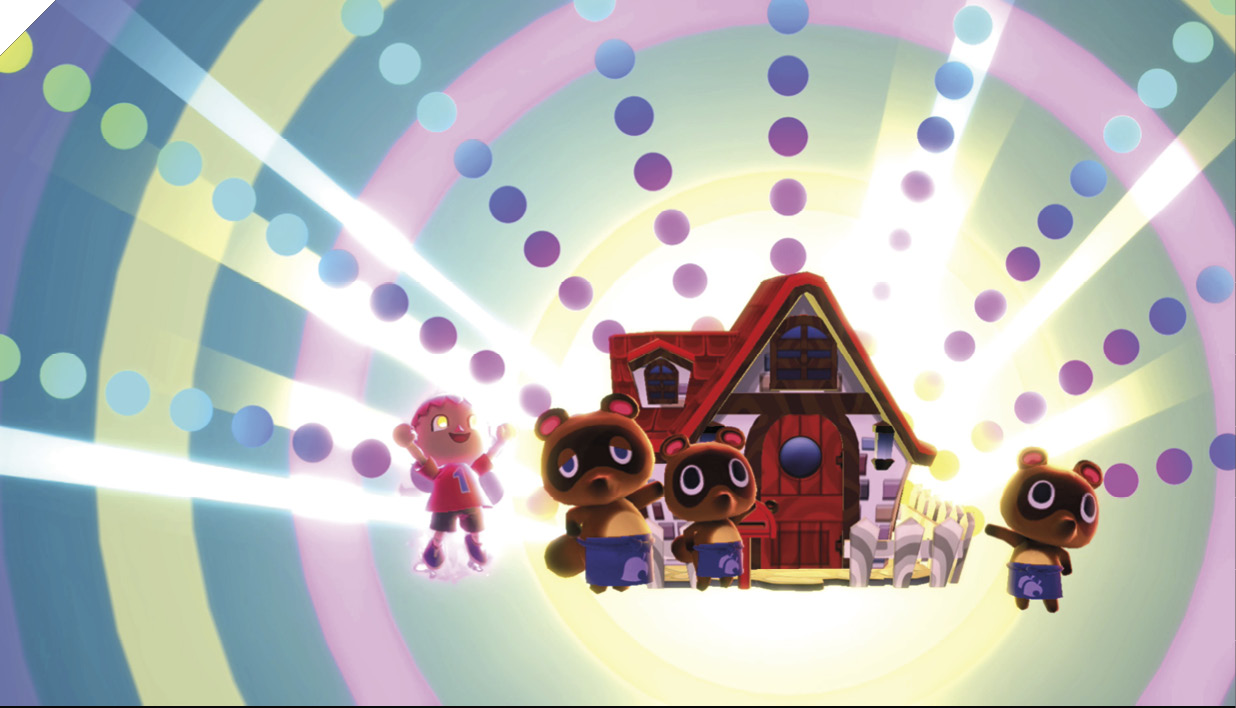
Tom Nook comes out of the woodwork to build Villager’s Dream Home during this industrious Final Smash. Activate the attack close to your prime target to get the building underway, and anyone else caught in the construction takes damage too.