
Super Smash Bros. Ultimate Guide Mega Man
Brawler Arsenal
Grounded Attacks
Neutral Attacks
Neutral Attacks
| Move | Damage | Note |
|---|---|---|
|
Neutral attack 1 |
1 (melee), 2 (projectile) |
Can be fired three times with inputs. Can be fired while airborne. Range decreases inflicted hitstun (up to 60% less). |
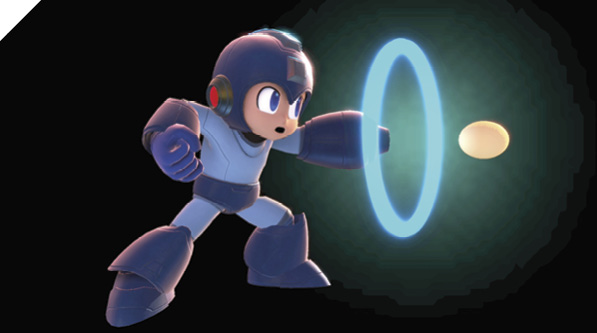
Mega Man punches the enemy with his iconic Mega Buster, then fires it several times, dealing minor damage. While it’s a remarkable zoning tool, Mega Buster shots inflict less hitstun the farther they travel, so while you may be hitting your foe with it from far away, they recover quickly. Both the Mega Buster melee punch and buster shot cause standing hitstun against grounded foes.
Dash Attack
| Move | Damage | Note |
|---|---|---|
|
1.2x7, 4 |
Knocks up and away. |
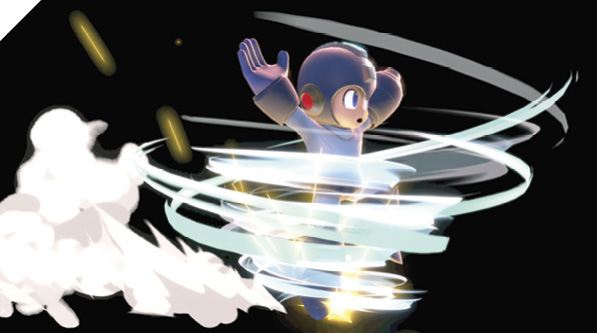
Mega Man emulates Top Man and becomes a human tornado, delivering a multi-hit spin attack before transitioning into a final area-of-effect hit that knocks foes into the air. On hit, Mega Man’s dash attack knocks away, so it doesn’t lead into damage-racking combos well. It does allow you to set up a projectile game. Follow up with either a Metal Blade item-pull or Crash Bomber.
For the most part, you want to keep Mega Man’s dash attack out of your neutral game. His projectiles are safer and cover the ground space well. However, you can go for a dashing attack mix-up if you condition the enemy into shielding often (for instance, if you’ve been dash-grabbing a lot).
Defensive Attacks
Tilts
| Move | Damage | Note |
|---|---|---|
|
Side tilt |
2 |
Identical to neutral attack, except doesn’t extend melee attack. |
|
Up tilt |
17 |
Launches up, high launch power. Deals max damage with early hit. Brief intangibility before hit. |
|
Down tilt |
8 |
Deals more damage early on, launching vertically. |
Side Tilt
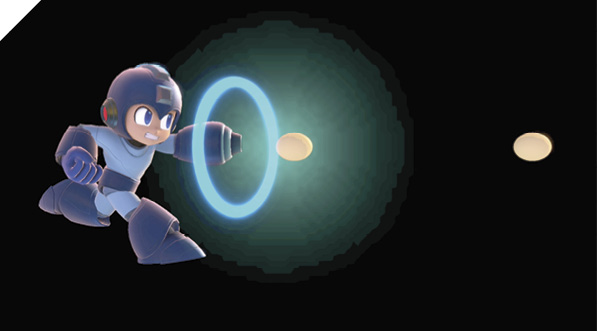
Mega Man’s side tilt is identical to his neutral attack Mega Buster shots, except he can walk forward and away while shooting, and doesn’t extend a melee attack before he begins firing.
Up Tilt
Mega Man performs his X2 Shoryuken attack, blasting a nearby foe into the air. Up tilt deals significantly more damage up close (just like Ryu’s and Ken’s Shoryuken attacks). While foes struck by up tilt are sent high into the air, it doesn’t lead into any meaningful damage since Mega Man isn’t free to act early enough to follow up. It makes for a strong finisher attack when the foe is close to the upper blast zone.
Up tilt is extremely unsafe on whiff and shield, so it should be used rarely as a poke, although it makes for a powerful anti-air if you can react to enemy aerial attacks with it, thanks to its intangibility window. If you can read an opponent’s aggression, you can blow through their attack to finish them off at higher percentages.
Down Tilt
Mega Man propels forward, sliding on the ground with a kick attack. Enemies in his way are launched into the air. Down tilt’s active window begins almost immediately. The closer you are to an enemy, the earlier the attack hits. Of course, the earlier the slide hits, the easier it is for your opponent to punish if it’s shielded.
The initial portion of the slide deals more damage and causes a more vertical launch, while the lingering portion of the attack knocks away.
Smashes
| Move | Damage | Note |
|---|---|---|
|
11.5 to 13.8 |
Charging increases damage and range of charged Mega Buster. |
|
|
Up smash |
2, 1.5x5, 6 |
Launches directly above. |
|
Down smash |
17 |
Launches up and away at slight angle. Double-sided attack. |
Side Smash
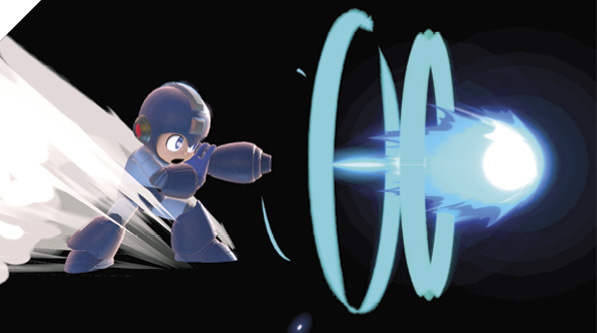
Mega Man charges his Mega Buster for up to a full second, then unleashes it toward an enemy, blasting them away. This attack is based on his MegaMan4 Charge Shot. Charging up Mega Man’s Mega Buster leaves you incredibly exposed, so it’s best left as an edge-guarding tool. You can use it to harass offstage foes as they try to jump to a ledge. Vary your timing to keep them guessing, potentially messing up their recovery moves and scoring a knockout.
Up Smash
Embracing Spark Man’s powers, Mega Man raises two lightning rods above him, surging with a powerful electrical current. Foes above Mega Man are shocked several times before they’re launched directly into the air above. Mega Man’s up smash can be used to KO higher-damage foes if you can sniff out and counter an enemy’s aerial attack. It has a brief hit effect horizontally, but it’s largely unsafe when shielded.
Down Smash
Mega Man becomes an effigy of Flame Man and thrusts two flamethrowers down at his sides, then unleashes two magnificent bursts of flames that set nearby enemies ablaze while they soar through the air. Flame Blast is an extremely risky attack to throw out haphazardly, but if you’re successful in hitting with it, it rewards you with a huge payoff in damage and knockout potential. It covers both your sides, so it can be used to fend off multiple assailants. Of course, if it’s shielded or if you whiff with it, you’re left helpless and exposed for a long time.
The flames persist for a relatively long time, so it can be used to punish rolls, air dodges, and certain ledge recoveries.
Grabs
| Move | Damage | Note |
|---|---|---|
|
1.3 |
— |
|
|
Front throw |
8 |
Forward throw. |
|
Back throw |
11 |
Backward throw, high knockback. |
|
Up throw |
7 |
Launches directly above. |
|
Down throw |
4.5 |
Launches up and away for potential follow-up attack. |
Grabs
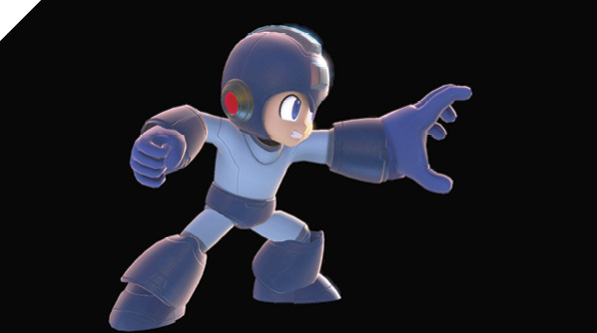
Mega Man uses Guts Man’s Super Arm to grab a nearby foe. Mega Man’s grab has outstanding range and speed, considering his projectile-heavy toolkit. Since his projectile game forces out shields often, you’re given more grab opportunities.
His forward and back throws are used for throwing foes offstage or to finish them off at higher percentages near a blast zone. Up throw tosses them high into the air, setting up a potential up air or air-dodge-bait 50/50. Down throw leads into the most damage. Against low-percentage foes, you can score a simple two-hit combo of down throw into buffered forward short hop forward air attack, setting the opponent on fire and putting them in a disadvantage juggle state.
Mega Man’s run speed is on the slow end of the spectrum, so his offensive grab game isn’t particularly impressive. But grabbing is one of his only solid out-of-shield options (with up tilt and down tilt being the only viable alternatives).
Aerial Attacks
Aerials
| Move | Damage | Note |
|---|---|---|
|
2 (melee), 2 (projectile) |
Mega Buster melee launches away. Can fire three projectiles. |
|
|
Forward air attack |
8.5 |
Launches up and away. Deals more damage early, with tip of Flame Sword. |
|
Back air attack |
3, 4, 5 |
First two hits drag. Third hit launches away. |
|
Up air attack |
3x3, 2, 2, 1x5, 2 |
Projectile drags enemy up. |
|
Down air attack |
14 |
Large hitbox initially. Meteor smashes after initial active frames. |
Neutral Air Attack
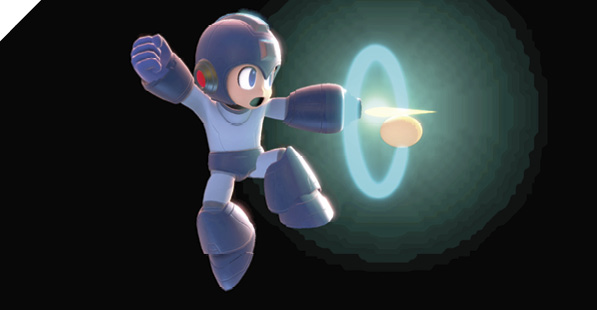
In midair, Mega Man whips out his Mega Buster and punches a nearby foe, then starts firing buster shots, up to three times. Neutral air attack is your most important attack. While every form of the Mega Buster pellet shot is crucial, you use the neutral air attack version the most. It gives you freedom in mobility and allows you to throw out several harassment projectiles. Jockeying for ground-stage control and positioning usually means short- and jumping around while firing pellets at the opponent.
You can fire two pellets during a short hop and one after landing: one while rising and one at the apex of the hop, and then one more after you land. This creates a large horizontal zone your opponent has to respect. You can opt to go for two short hop shots instead, and if your opponent is expecting the third landing shot, you can go in for a dashing grab as they’re shielding.
Neutral air attack doesn’t have any landing lag, regardless of when you land during your buster shots.
Forward Air Attack
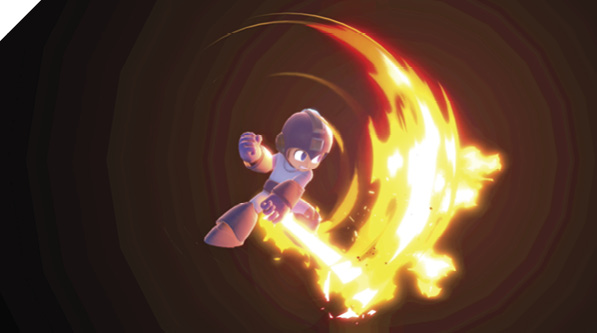
Mega Man equips Sword Man’s Flame Sword and swipes it forward while he approaches his foe in the air. Forward air is one of few of Mega Man’s melee attacks. It has two distinct hit effects. If you hit with the tail end of its active hit window, it deals much less damage and applies no knockback against grounded foes. If you hit with the early active window as Mega Man swings, it sets enemies on fire and blasts them up and away.
Against enemies at very low percentages (0 to 10%), you can combo a deep forward air into a dashing attack or a dash-in up tilt.
Back Air Attack
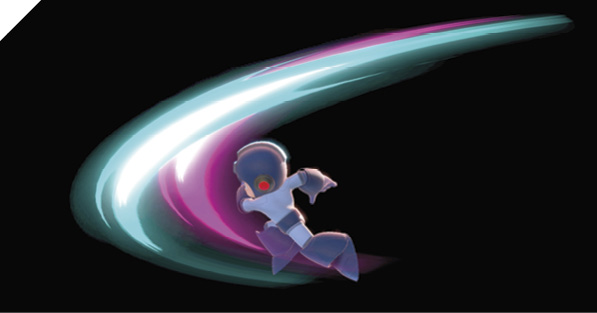
Mega Man uses Slash Man’s claws to unleash a flurry of slashes behind him that knocks enemies away. Back air attack is your fastest aerial move and is best used as an edge-guarding tool and as a quick air-to-air defensive attack. It suffers from high landing lag, so if you use it as an air-to-ground attack, you can be easily punished if the opponent shields it. Back air should be used sparingly. If you use it, complete the total animation airborne to keep yourself safe. For example, go for jump into rising back air to quickly and safely meet opponents in the air.
Up Air Attack
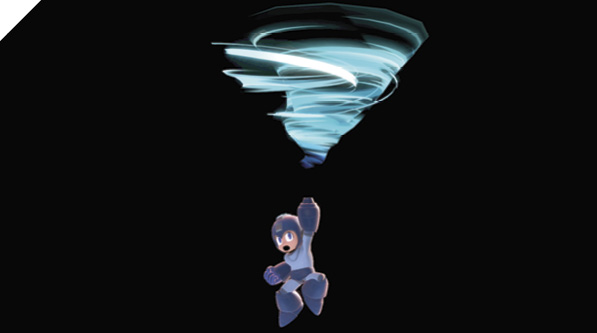
Mega Man launches Wind Man’s Air Shooter attack above him. The cyclone travels into the sky, damaging and dragging foes high into the air.
Up air attack allows Mega Man to control a large portion of linear vertical space. If you gain ground control and can put your opponent into a juggle disadvantage state (after an up throw, for instance), you can make it difficult for them to return to the ground by throwing out an up air into their descent path, forcing them to air-dodge or maneuver away (which you should always be prepared for with another follow-up).
Air Shooter can rack up a massive amount of damage. If all of its hits connect, it deals almost 21%! Against taller fighters, you can use it as an air-to-ground attack if you time it so Mega Man releases it low to the ground. It can be surprisingly difficult to shield-grab, especially if it’s spaced.
Down Air Attack
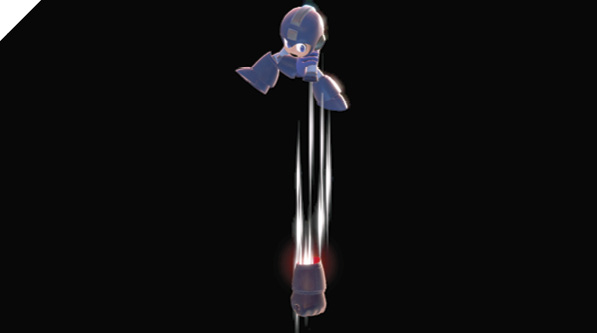
While soaring through the air, Mega Man transforms his Mega Buster into Hard Man’s Hard Knuckle, then fires the Hard Knuckle directly below him. Hard Knuckle deals slightly more damage upon launching, but causes a spiking meteor smash effect after it’s a bit farther away from Mega Man’s body.
Hard Knuckle is decent on its own, thanks to its range and verticality from the air, allowing you to go for relatively safe meteor smash dunks against offstage foes. It’s also strong as a fishing attack when paired with item-pulled Metal Blade. If you’re carrying a Metal Blade, you can jump above an enemy, throw the Metal Blade down on them, follow it with a double jump, then fire a Hard Knuckle.
Just make sure you get the enemy to at least shield this attack, since it leaves you quite vulnerable if you whiff it.
Special Moves
Specials
| Move | Damage | Note |
|---|---|---|
|
Neutral special |
5 |
Passes through foes, potentially hitting multiple enemies. |
|
Side special |
1x4, 4 |
Detonates after two seconds, launching foe up for potential follow-up. Can damage Mega Man. |
|
Up special |
— |
Deploys Rush. Can spring off Rush once. |
|
Down special |
1.5xN(3 to 8), 3.8 |
Hold Special to extend duration, maximum of nine hits. |
Neutral Special: Metal Blade
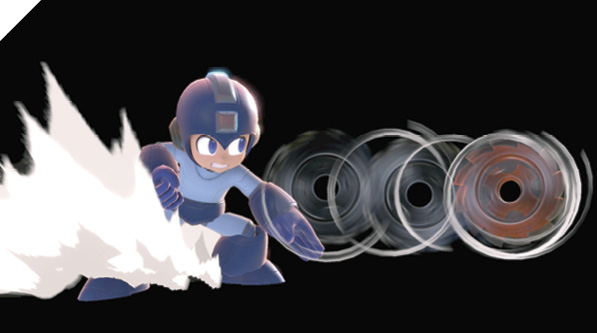
Mega Man throws Metal Man’s spinning saw in one of eight directions, cutting through and potentially damaging multiple enemies.
While Mega Man is pulling out the Metal Blade, you can input any of eight cardinal and intercardinal directions to change the projectile’s launch direction, making it an incredibly versatile attack. If the blade connects with stage ground or a wall, it becomes a generated interactable item, giving you (or the enemy) the opportunity to pick it up to throw again. Metal Blade deals less damage when thrown as an item. Metal Blades thrown as items can often be followed up with a dashing grab attempt, thanks to the frame advantage gained.
It’s important to note that you can only have one Metal Blade on-screen at any given time. If you plant it as an item, you can’t pull out another one, and if you try to pull out a Metal Blade while one is in midflight, you perform a useless whiff animation instead, so timing is key.
While it’s not an explicit mobility tool, Metal Blade is one of your main recovery attacks due to its versatility in throw direction. If you’re launched off a ledge, always try to throw a Metal Blade at the edge-guarding foe, giving you some cover as you recover.
An efficient way to pick up the Metal Blade (while grounded) is by planting the blade, then buffering into short hop plus neutral air attack. Mega Man fires his buster while rising into the air, simultaneously picking up the blade, so you can deliver a sequence like: Metal Blade directly down into the ground, short hop buster shot (blade pickup) into an additional two buster shots, then throw the Metal Blade with your next Attack input, then dash in and mount an offense (like a grab).
Side Special: Crash Bomber
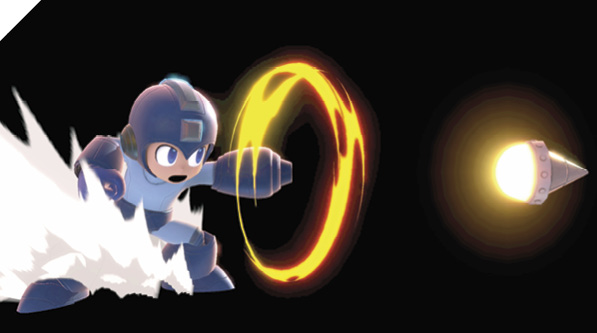
Mega Man shoots out Crash Man’s Crash Bomber, planting a timed explosive device that detonates after two seconds, knocking up nearby foes (and potentially Mega Man himself) with its explosive blast. Crash Bomber’s bomb can stick to walls and floors. It can also be passed from fighter to fighter. If you plant a bomb on a nearby foe, they can plant it back on you if they’re quick enough.
The bomb’s detonation can be shielded, so if a panicked enemy runs into you to transfer the bomb, your best course of action is to put up your shield immediately. If you manage to plant a Crash Bomber from a distance, one of the strongest options you have is to follow up with a grab after your opponent shields the blast effect, since you’ll have tons of advantage.
Up Special: Rush Coil
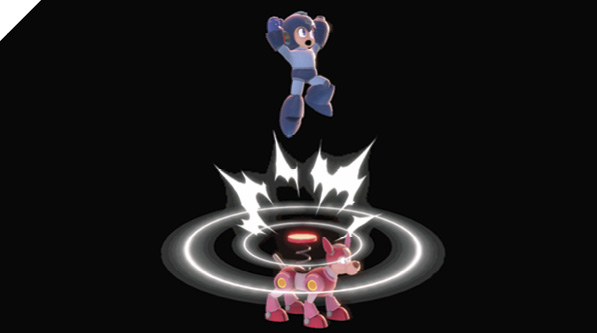
Mega Man deploys and springs off of his robot dog, Rush. As Mega Man is propelled into the air, Rush remains active for two seconds. If Mega Man lands on Rush, he’s relaunched into the air. Mega Man’s up special makes him evasive in the air and difficult to chase. If you land on Rush, you can even deploy him again, as you’re able to perform your special moves after springing back up. Hilariously, other players can jump on Rush to go after you, so keep that in mind and prepare to defend yourself with neutral air attack or forward air attack while you’re airborne with the spring-jumping foe.
Down Special: Leaf Shield
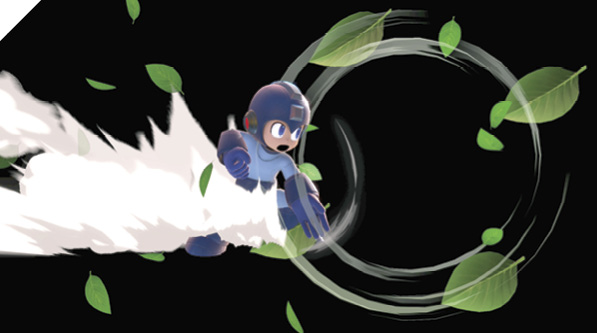
Mega Man activates Wood Man’s Leaf Shield: four rotating leaf projectiles that deal damage to nearby enemies. Mega Man then throws the quartet of leaves forward, knocking up enemies in its path.
Leaf Shield is an exceptional ground-control attack, particularly against foes without their own projectiles. Against close-range “pixie”-type fighters, Leaf Shield allows you to approach safely so that you can mount your offense and damage-racking setups. If you hit with Leaf Shield, it has high damage potential because of its extendibility. On hit (after Leaf Shield throw), you can go in for a mix-up by throwing the landing foe, or you can continue throwing Crash Bomber or Metal Blades at them.
Leaf Shield is a remarkable edge-guarding tool as well. If you activate Leaf Shield and stand by the ledge while your opponent is recovering, you can punish all get-up options. If the opponent ledge-jumps, you can follow them with a jumping Leaf Shield (as long as you’re holding Special to keep the Leaf Shield out). If they roll, you can simply follow, causing the Leaf Shield to hit them out of their roll.
Final Smash: Mega Legends
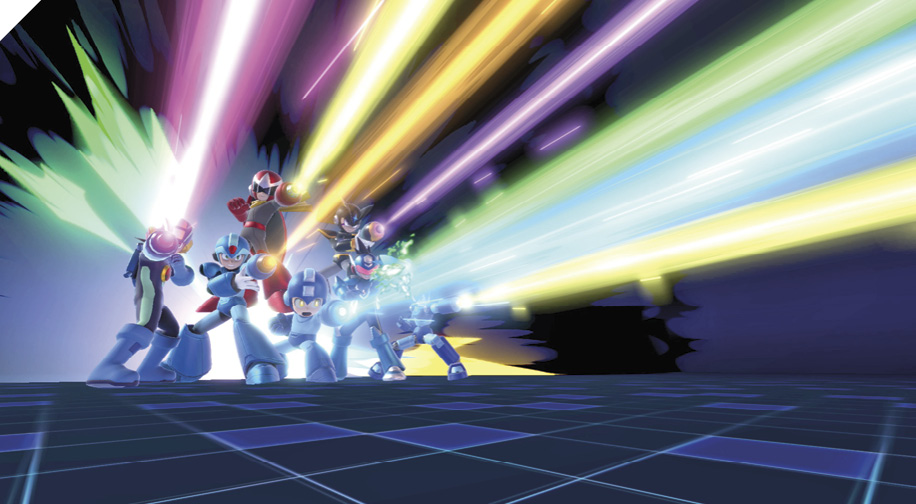
For Mega Man’s Final Smash, the Black Hole Bomb is fired forward and draws in opponents. Anyone pulled in faces several generations of Mega Man, as well as Proto Man and Bass, who all fire their Busters in unison.