
Super Smash Bros. Ultimate Guide Samus / Dark Samus
Brawler Arsenal
Grounded Attacks
Neutral Attacks
Neutral Attacks
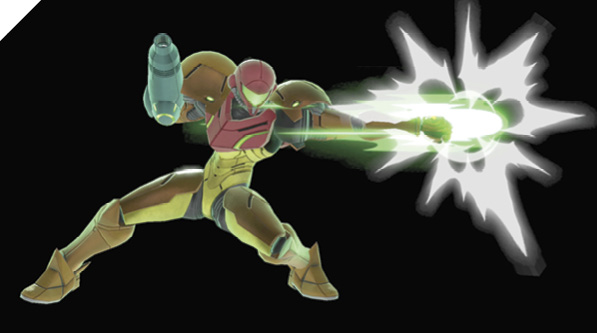
Samus delivers a quick straight punch, followed by an overhead smash attack. Samus’s neutral attack is arguably one of the weakest links in her arsenal. Against low-damage foes, it’s easily punishable and usually doesn’t combo, so even if you hit with it, you might still be at a disadvantage. If you’re using it defensively (which is basically the only way you should use it), it’s recommended that you only jab once, then retreat and start up your zoning game. It’s decent as an out-of-shield attack, as long as you retreat to safety after the first jab. Otherwise, Screw Attack should be your main out-of-shield reprisal move.
It’s important to note that between the first and second hits of your neutral attack, enemies can put up their shields to defend against the second hit, so it’s generally best to skip the second input altogether.
Dash Attack
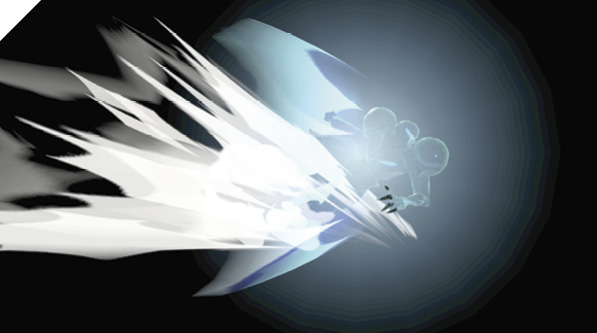
While dashing, Samus halts her forward momentum briefly, then shoulder-tackles a nearby foe, launching them up and away into the sky. Samus’s dash attack is a high-impact whiff punisher with moderate start-up time. It can be risky to use haphazardly, as it leaves you vulnerable when it’s shielded or whiffed, but it has strong KO potential. Samus’s slower-than-average dash speed hinders its power a bit, making it relatively easy for your opponent to react to.
Defensive Attacks
Tilts
| Move | Damage | Note |
|---|---|---|
|
Side tilt |
10 |
Tip of attack deals more damage and knocks away. |
|
Up tilt |
13 |
Launches directly above for potential follow-up. |
|
Down tilt |
12 |
Launches up and away at a slight angle. |
Side Tilt
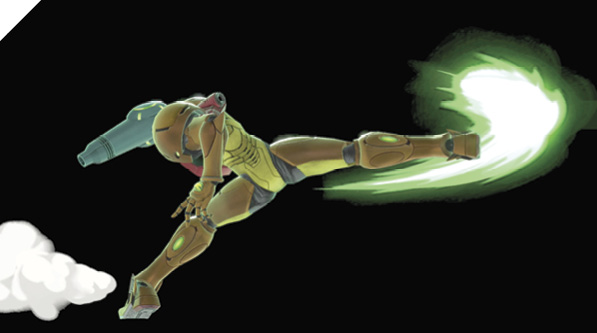
Samus performs a weighty horizontal roundhouse kick, knocking away enemies in front of her and dealing extra damage to foes hit by her boot. Side tilt is a strong attack with a decent horizontal hitbox and can be used sparingly to keep enemies in check. If you hit with it, you can always begin charging up your Charge Shot, potentially forcing extra shield damage.
Up Tilt
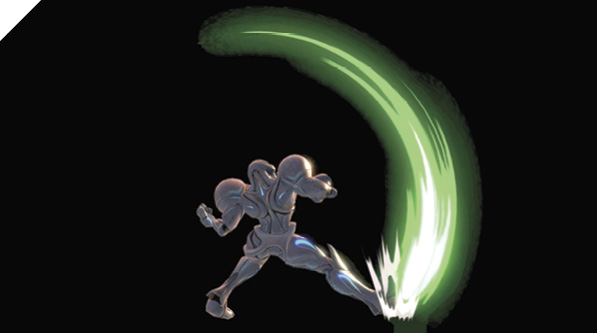
Samus performs a crescent axe kick, swinging her boot up above her head and smashing it down on foes in front of her. Up tilt is primarily used as anti-air, but can also be used to start combos when it connects against grounded fighters (follow up with up smash or up air attack).
When shielded, it’s punishable by almost all jabs and most tilt attacks. However, when spaced out, it can be incredibly hard to punish, as the shield pushback can put you out of range of reprisals.
On hit against low-damage foes, you can follow up with an up smash for a combo. Against higher-damage enemies, up tilt has incredible launching power, potentially KO’ing when near the top blast zone.
Down Tilt
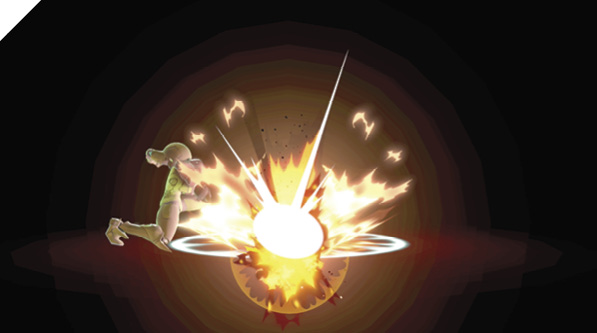
Samus slams her Arm Cannon down in front of her, causing a large explosion that launches her victims sky-high. Down tilt is one of Samus’s fastest-starting moves and is exceptional for setting up juggles, as it pops enemies into the sweet spot where you can threaten follow-up up air attack hits. Down tilt is also a superb knockout move against high-damage opponents thanks to its quick speed.
Smashes
| Move | Damage | Note |
|---|---|---|
|
14 |
Launches away, high knockback. Deals more damage at tip of attack. Causes knockdown. |
|
|
Up smash |
3x4, 6 |
Launches directly above. Deals more damage tail end of attack window. |
|
Down smash |
10 (12) |
Launches away. Deals more damage with rear sweep attack. Causes knockdown. |
Side Smash
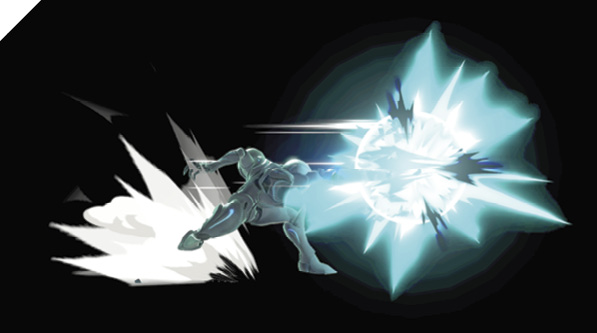
Samus thrusts her Arm Cannon in one of three angles in front of her, causing a large eruption that blows away foes caught in its blast radius. This is a slow but powerful KO smash attack that can be modified by tilting the control stick up and down while charging.
Side smash is strong for punishing laggy moves and for deterring ledge-hanging foes from using certain ledge-recovery options. Compared to other side smash attacks, it’s quite fast, though whiffing it can be devastating. While not so effective as a poke, it’s a great way to punish ledge climbs and ledge rolls, but may take practice connecting with its sweet spot.
Up Smash
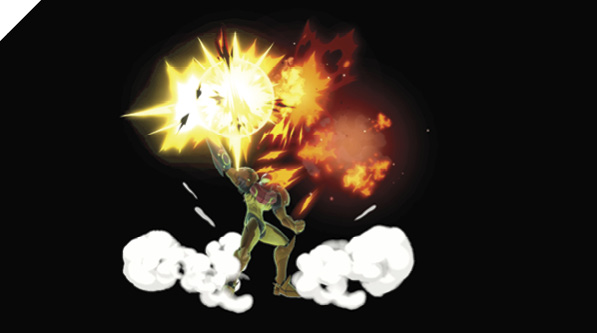
Samus delivers a series of Arm Cannon blasts in a front-to-back sequence above her that juggles her foe before knocking them up into the air. This ground-based anti-air leaves you vulnerable to reprisal, but can be difficult to deal with for enemies descending on you. It deals great damage, but can be relatively risky to throw out predictably. The last explosive round deals more damage than the rest of the attack.
Generally, Samus’s tilts are preferable to her smash attacks, unless you can make hard reads or can react to specific situations and punish the enemy.
Down Smash
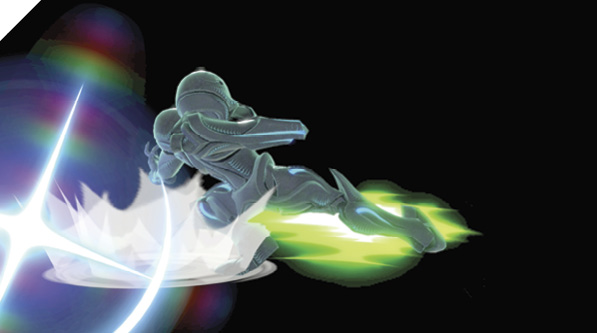
Samus clears out foes from both the front and rear with this two-part leg sweep. It’s a relatively risky attack to throw out due to its laggy vulnerability. However, its start-up speed is decent compared to most smash attacks, so you may be able to connect with it against unsuspecting foes (in free-for-all matches, for instance). The rear, second hitbox deals slightly more damage than the initial hitbox.
Grabs
| Move | Damage | Note |
|---|---|---|
|
1.3 |
— |
|
|
Front throw |
10 |
Forward throw. |
|
Back throw |
10 |
Backward throw. |
|
Up throw |
12 |
Launches directly above with high launching power. |
|
Down throw |
8 |
Launches up and away at slight angle, allowing for follow-up. |
Grabs
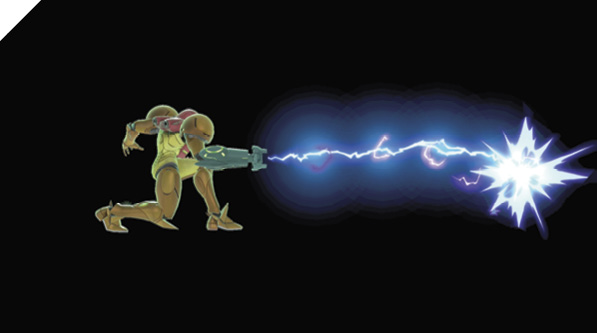
Samus has a rare tether grab. Unlike most fighters, she doesn’t have to be within point-blank range to ensnare her enemies. Samus sends out her Plasma Whip a short distance that reaches just beyond her side smash range, and immediately puts the first foe hit by its unshieldable hitbox into Samus’s grab lock. The drawback to having a ranged grab is that it’s incredibly slow compared to conventional grabs. Samus’s grab takes a quarter of a second to activate from a standing and walking position, and slightly longer from dashing.
Samus can also send out her Plasma Whip while she’s airborne (also known as a “zair”). However, this doesn’t cause a grab effect on hit and simply counts as a normal hit (although it starts up much faster). It’s useful in certain situations, such as for zoning out approaching enemies while you’re descending and are about to land on the ground.
Her grab attack is a simple chop with her free hand. Her up throw is a cannon launcher into the air, allowing for potential combo anti-air follow-ups. For her back and forward throws, she chucks her victim with her Plasma Whip, from which you’re rewarded with time to charge up your Charge Shot. These two are your edge-guarding and knockout throws. Samus’s down throw is a ground slam that pops up enemies in front of her for a possible forward air attack combo follow-up (down throw into forward air is a combo against low-damage foes). Up and down throws are the most commonly used, thanks to their high-damage potential.
Whiffing a grab as Samus is much worse than whiffing a grab as someone like Link or Mario. It’s easily punishable, so it’s best used once you’ve conditioned the opponent and you can force them into a defensive shielding posture.
Aerial Attacks
Aerials
| Move | Damage | Note |
|---|---|---|
|
10, 9 |
Knocks away. |
|
|
Forward air attack |
3, 1.6x3, 5 |
First four hits drag enemy. Last hit deals most damage and knocks away. |
|
Back air attack |
14 |
Launches away. Early hit deals more damage, with tip of attack. |
|
Up air attack |
3, 1.3x3, 4 |
First four hits drag enemy. Last hit deals most damage, launches up and away for follow-up. |
|
Down air attack |
14 |
Deals more damage during middle of attack, meteor smashes. |
Neutral Air Attack
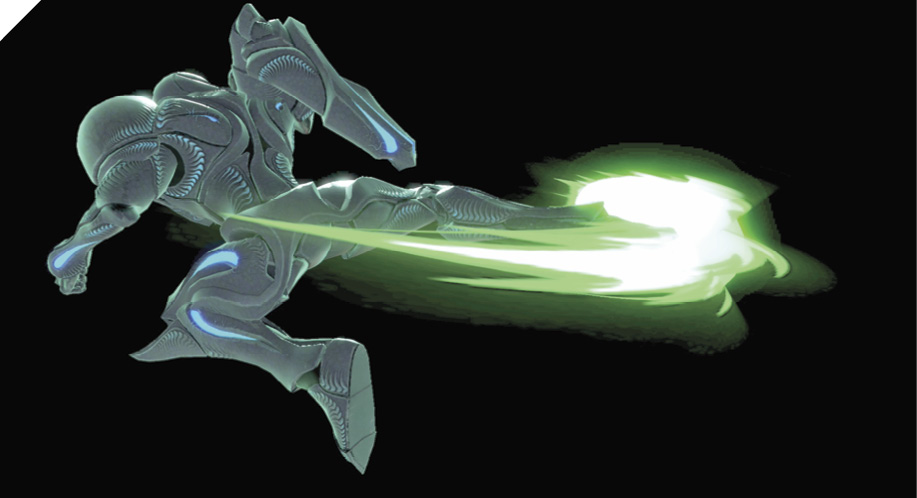
While airborne, Samus delivers a spin kick that covers the front and rear horizontally. This is your basic air-to-air attack that deals moderate damage. It’s quick enough to perform early on in a jump, with little lag, allowing you to follow up with one of her other aerial attacks, depending on the situation.
Neutral air attack is one of your main defensive tools against ground-based aggressors. Use it as you’re descending from your hop, or as a fast-fall attack to deter approaching enemies. On hit, you can immediately begin charging up Charge Shot, or you can throw out a Missile to keep up your zoning strategy.
Forward Air Attack
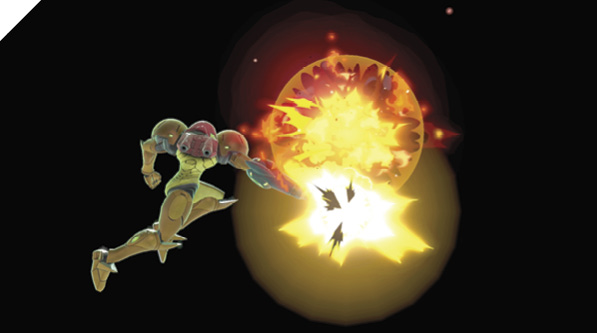
Samus descends with a sequence of blasts from her Arm Cannon. The explosions begin above her head and end down by her feet, great for deterring and hitting foes in a wide arc in front. However, the total lag time is considerable, so you generally can’t fire off forward air early in a hop, followed by another meaningful attack.
Forward air attack plus short hop cut short into fast fall is a strong air-to-ground and ground-to-ground tool, allowing you to stay mobile while defending with a good area-of-effect attack area.
Down throw into short hop forward air is a solid combo against low-damage enemies. You can adjust your hop height against higher-percentage foes, depending on the enemy’s weight.
Forward air attack is one of your best edge-guarding attacks. It’s extremely difficult to air-dodge because of its persistent hit effects, lasting longer than the intangibility durations of most air dodges. It’s also an excellent ledge-recovery tool. While hanging off a ledge, release the ledge and immediately double-jump forward air attack, forcing the enemy to deal with its five blasts as you’re jumping back onto the platform. If your opponent shields and you cross them up, you’re likely safe from any kind of punishment.
Back Air Attack
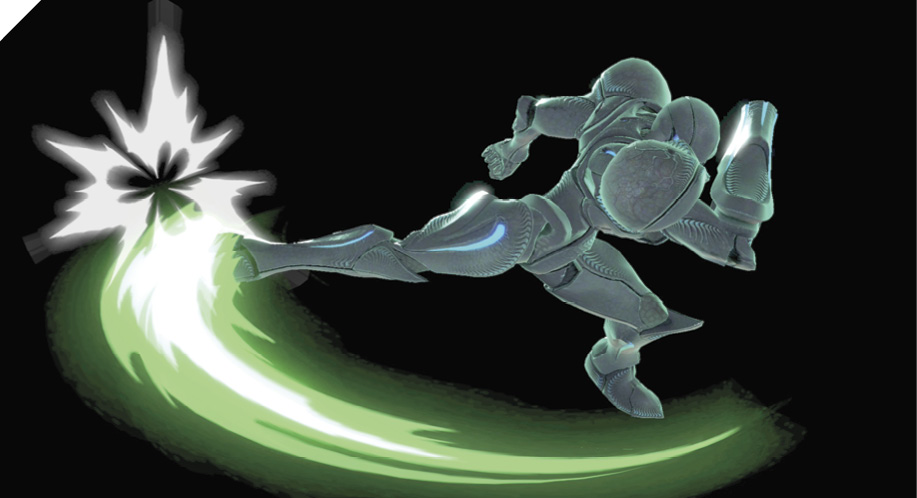
With a hefty amount of force, Samus swings her leg back, booting away foes. Back air attack isn’t the fastest air attack, but it’s quick enough to safely use as an edge-guarding tool. With your back facing a ledge, you can threaten with back air against recovering opponents, thanks to its decent horizontal reach.
Up Air Attack
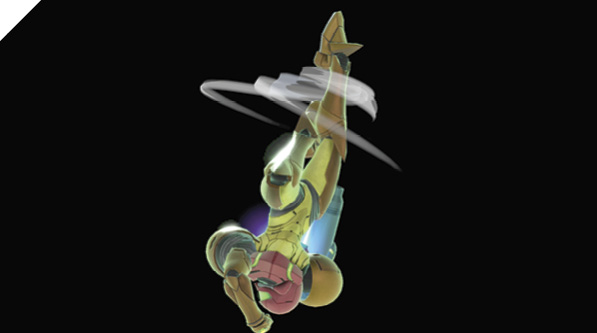
Samus performs an upward spiraling drill attack with her legs extended vertically for a multi-hit anti-air. On hit, it launches foes higher into the air, allowing for a potential follow-up air attack.
This is one of your staple air attacks (and likely Samus’s best air attack overall), used for combo setups and air-dodge baiting mix-ups. Its end-lag recovery is superb, as the move is relatively quick on both start-up and ending lag. Off a short hop up air attack, you can recover from the up air animation early enough to double-jump into another up air attack.
This attack makes Samus a fierce air controller, as she can maintain a strong advantage while combo-juggling opponents above her. Up air attack is also incredibly effective for recovering to a ledge if an edge-guarding opponent is too close to the ledge. Up air often extends from beneath the ledge and over it, forcing enemies to shield.
Up throw into up air attack is a combo on most fighters at low-damage percentages, and in many cases, you can combo up air into another up air attack, depending on enemy damage and shuffling pattern. Falling (or “deep”) up air attack is one of your staple combo-starters. A sample combo is deep up air into another up air attack, finishing the sequence with a Screw Attack.
Down Air Attack
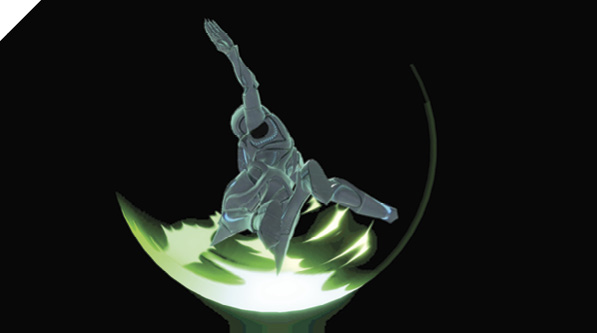
Samus swings her Arm Cannon in a wide arc, obliterating enemies beneath her. Samus’s down air attack is similar to Marth’s and Lucina’s down air. There’s a specific meteor smash window in the middle of the attack animation. If you can land the meteor smash on an enemy attempting to recovery over to a ledge, you’re likely to score a KO. Otherwise, spiking enemies on a solid floor gives you air-control advantage for potential combos and mix-ups.
Against a grounded opponent, you can combo deep down air into up smash or side smash, although you have to hit with the meteor portion of down air attack.
Special Moves
Special Moves
| Move | Damage | Note |
|---|---|---|
|
Neutral special |
5 (28 max charge) |
Chargeable projectile. Store charge by canceling charge-up animation with shield or dodge. |
|
Side special |
Super Missile: 12, Homing Missile: 8 |
Super Missile launches up and away for potential follow-up. Homing Missile causes standing hitstun on ground hit. |
|
Up special |
3, 1x7, 2 |
Launches up and away at slight angle, high launch power. Brief intangibility. |
|
Down special |
4, 5 |
Bomb explosion propels Samus up slightly into the air. |
Neutral Special: Charge Shot
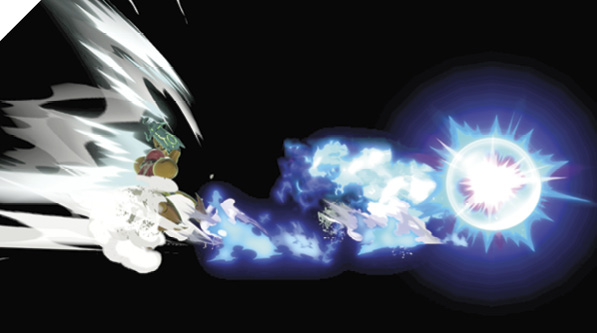
Samus charges up her Arm Cannon and unleashes a massive energy-based projectile on command. To start charging, tap the Special button. To release the projectile, tap the Special button again. However, if you charge long enough, Samus stores the attack (signified by her fighter model flashing white). When the shot is stored, you can unleash the high-damage projectile anytime (even while airborne). This gives you a flexible zoning tool, effective in almost any situation.
Max Charge Shot deals a large amount of shield damage (around 70% of total shield HP). If you can get an enemy to shield a max Charge Shot, you’ll be close to dizzying them, usually on the next air attack, smash attack, tilt attack, or Charge Shot. Morph Ball Bomb conveniently deals about 30% shield damage, so if you can set up a situation to force the enemy into blocking a Morph Ball Bomb and a max Charge Shot, you can dizzy them and follow up with a big combo.
An alternate method for Charge Shot is to use it repeatedly (as if you’re Mega Man) to harass enemies from range.
Side Special: Missile
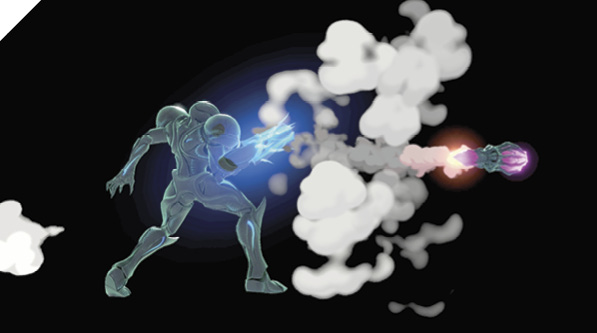
Samus launches a Homing Missile that pursues a nearby target. There are two variations of this attack: a lower-damage Homing Missile with tracking capabilities, performed by tilting the control stick and pressing Special; and a high-damage, high-velocity Super Missile that flies across the screen, executed by flicking the stick forward and simultaneously inputting the special attack.
Homing Missile is useful for controlling airspace and forcing the enemy into moving from certain positions. Super Missile is for dealing high damage and clearing out horizontal space to cover a potential aggressive approach. For instance, from full Battlefield stage distance (of which you’ll probably have to earn first), fire off Homing Missile, then use its on-screen presence to dash in and go for a Plasma Whip grab if you can react to the enemy shielding the Missile. Or if you have a max Charge Shot loaded, you can go for a shield-depleting shot following your Missile. Keep in mind you have to be careful against projectile reflectors like Fox’s, Falco’s, and Wolf’s down specials when using your Missiles this way.
As soon as you’re launched off the side of a ledge, deploy Homing Missile to cover your recovery, which gives the enemy an extra projectile to deal with and potentially affords you enough breathing room to get back on the ledge.
Super Missile is a much more direct type of projectile. It deals more damage, has a much higher velocity, and knocks up foes, granting combo opportunities. You can combo Super Missile into dashing attack or forward air attack from midrange.
The explosion from your Missiles are visually large, but there’s no active explosive hitbox associated with it. You must hit with the Missile projectile to cause any kind of damage.
Up Special: Screw Attack
Samus spins into the air, and any enemies caught by the move are swept into a multi-hit combo. Screw Attack doubles as a mobility tool for grabbing on to ledges and a strong anti-air thanks to its intangibility window and prominent attack area. Screw Attack is an excellent combo finisher as well as a knockout attack for juggling recovering foes. However, it leaves you vulnerable if you whiff it, so sticking with up air and forward air is recommended.
Screw Attack deals great shield damage. You can generally force an enemy to shield your Screw Attack if you can get beneath them in the center of the Battlefield stage. If the opponent is on the middle platform, for instance, go for a Screw Attack from beneath them, where all of the Screw Attack hits connect, drilling into their shield.
Screw Attack starts up incredibly fast for a special, making it one of your best defensive options, considering Samus doesn’t have a practical out-of-shield grab punish.
As a recovery tool, you need to face the direction of the ledge to grab on since Samus cannot grab ledges during the Screw Attack animation.
Down Special: Bomb
Samus transitions into her Morph Ball form and lays a Bomb that detonates after a full second. If Samus is within the Bomb’s blast radius, it boosts her and sends her in the opposite direction of the blast.
Bomb is an excellent air-to-ground projectile, allowing you to pester enemies and deplete their shields while they’re beneath you, without having to commit to a potentially risky down air attack.
Bombs can be used as a ledge-recovery attack tool against an edge-guarding opponent. While you’re hanging off a ledge, pop up (with up or Jump) and immediately input down and special, then land at the very edge of the ledge and roll back off to avoid your opponent’s attack and regain invincibility (if you don’t touch the ledge with your feet or Morph Ball, you won’t regain ledge invincibility).
If you’ve been launched into the sky and are trying to get back onto ground, use your Morph Ball Bomb to slightly alter your trajectory and descent speed. It also doubles as a kind of mix-up, as the aggressor beneath you has to deal with your Bomb blasts.
For offensive purposes, Bomb is a superb ledge-grabbing punish. Lay your Bombs to drop on top of the ledge your opponent is going to grab, and if timed correctly, you can punish their ledge-grab animation and potentially follow up with back air to knock them off the stage.
Final Smash (Samus): Zero Laser
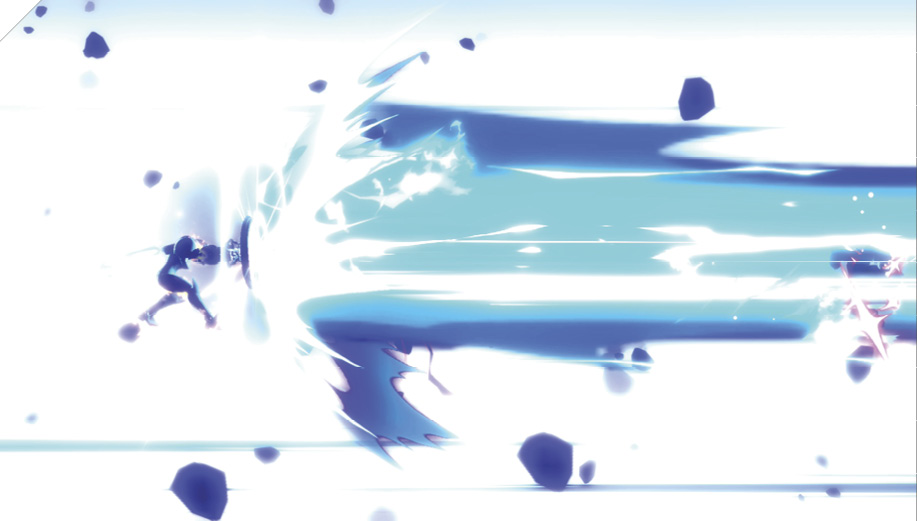
Samus unleashes a massive, long-range beam. You can angle the beam up or down while firing. Enemies caught in its path are sucked into the center and take a high amount of damage.
Final Smash (Dark Samus): Zero Laser
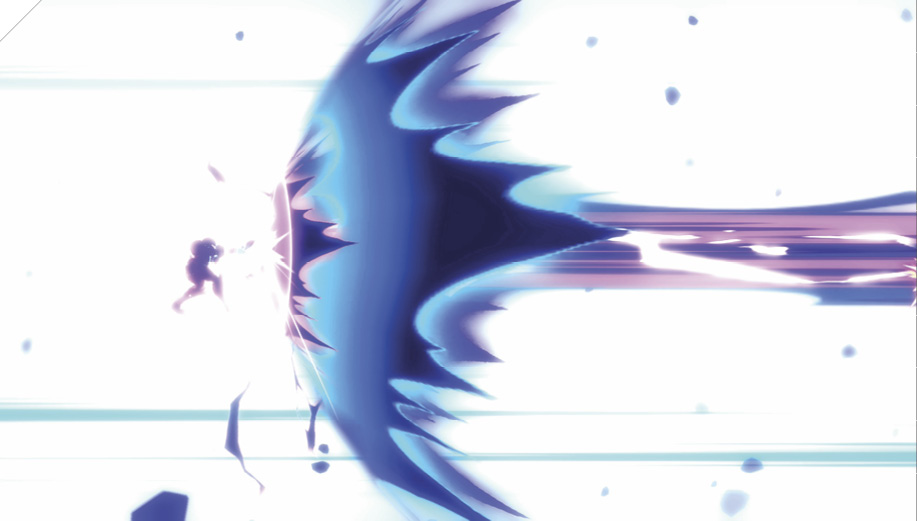
Dark Samus unleashes a massive, long-range beam. You can angle the beam up or down while firing. Fighters are drawn to the center, and the attack repeatedly hits any foes caught in its blast.