
Super Smash Bros. Ultimate Guide Mewtwo
Brawler Arsenal
Grounded Attacks
Neutral Attacks
Neutral Attacks
| Move | Damage | Note |
|---|---|---|
|
Neutral attack 1 |
3 |
— |
|
Neutral attack 2 |
0.8xN, 2.5 |
Hold input to repeat rapid attacks. |
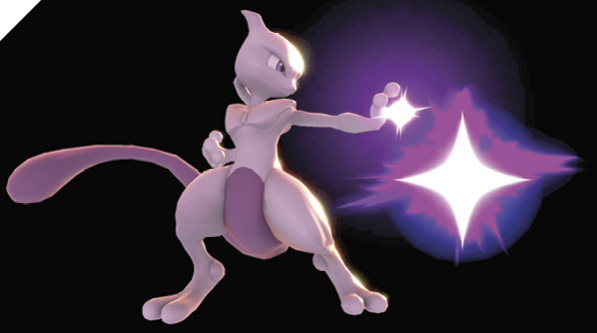
Mewtwo extends its palm and sends out a pulsatile attack, then follows it up with an emission of several energy strikes before finishing the combo with an upward moon-shaped claw slash, knocking enemies away.
Neutral attack is one of your possible out-of-shield options for punishing aggressive enemies. However, it’s on the slower side, with a lackluster start speed and relatively mediocre range. Like most rapid-attack jabs, you can use it to guard ledges against ledge-hanging foes.
Dash Attack
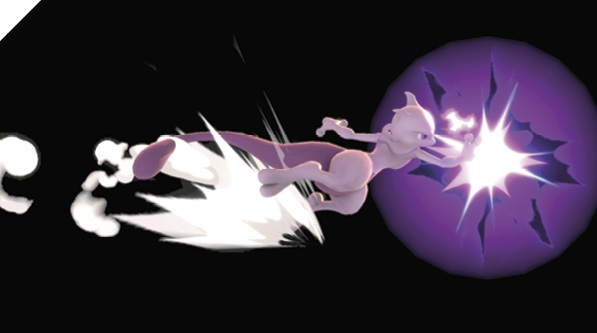
While dashing, Mewtwo uses its flight momentum to extend a mass of dark energy before itself, launching foes up and away. When shielded, it’s punishable by most neutral and tilt attacks. Mewtwo’s dash attack is best used for chasing down foes and whiff-punishing your opponent’s missed grabs and high-lag maneuvers.
On hit, it launches foes up and away, so it doesn’t set up juggle combos well.
Defensive Attacks
Tilts
| Move | Damage | Note |
|---|---|---|
|
Side tilt |
10 |
Launches away, high knockback. Deals more damage with inner hitbox. Can be angled up or down. |
|
Up tilt |
6 |
Launches up and behind at a slight angle for potential follow-up. Deals more damage with inner hitbox. |
|
Down tilt |
5 |
Deals more damage with inner hitbox for follow-up. Outer tail launches away. |
Side Tilt
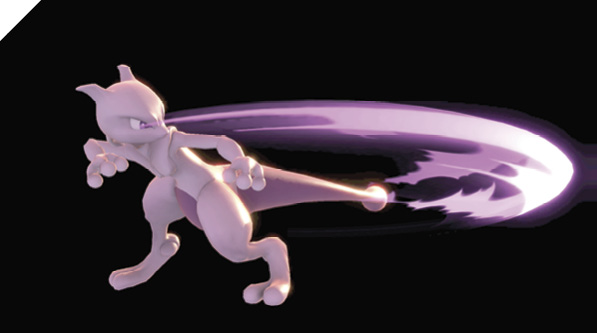
With a hip pivot, Mewtwo lashes out with its tail, swinging at foes and knocking them away.
This attack can be angled up or down slightly with the control stick. Unlike most side tilt attacks in the game, Mewtwo’s isn’t a particularly attractive option in the neutral game or in combos. It has better tools in its down tilt and air attacks, meaning you generally won’t need to use side tilt.
Up Tilt
Mewtwo delivers a telekinetic somersault attack with its tail over a large area, arcing from the front and over its body and ending behind it.
Up tilt is your typical anti-air, but with extra combo potential. The initial hitbox has a particular knock-up effect that allows you to combo into another up air (against low-damage foes), which you can then combo into up air attack.
Down Tilt
Mewtwo crouches in a low-profile stance and sweeps the enemy off their feet with its tail.
Mewtwo’s low-profile tail swipe is your primary aggression-stopping tool, deterring approaching enemies and knocking them up into combos, followed by more Shadow Ball charging and zoning. This attack is so fast that you can almost mash it repeatedly to prevent your attacker from even getting in (although most good players won’t fall for this if it’s all you’re doing).
While edge-guarding, if you space yourself at max down tilt distance, you can threaten the enemy with down tilt and then react and punish certain ledge-grabbing options. Your attack lag is so low that you’re generally free to act even after whiffing down tilt. Down tilt into grab, down tilt into another down tilt, down tilt into neutral air attack are all possible options your opponent has to think about when recovering.
Smashes
| Move | Damage | Note |
|---|---|---|
|
20 |
Launches away, high knockback. Deals more damage with energy projectile-burst hitbox. Can be angled up or down. |
|
|
Up smash |
2x3, 10.1 |
First three hits pop up foes into final hit, which launches them up and away at a slight angle. High launching power. |
|
Down smash |
16 |
Launches up and away. Large hitbox extending slightly below stage. |
Side Smash
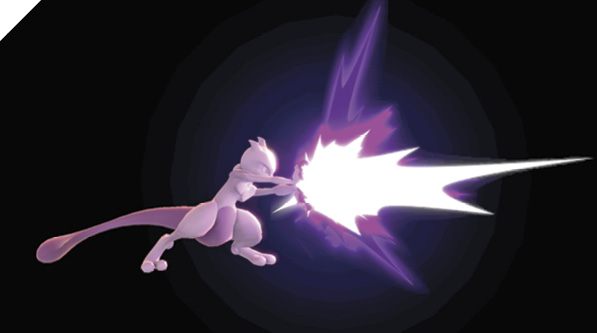
As if mimicking Ryu, Mewtwo clasps its hands at its side, then thrusts them forward and unleashes a powerful energy blast.
While this move looks awesome, it’s incredibly difficult to use as a poke. You’ll only want to use this when you can make a good read on your opponent’s ledge-grabbing habits, and rarely anything else. It leaves you way too vulnerable for you to just throw it out, especially since your air attacks are so much better and safer.
Up Smash
Mewtwo quickly thrusts its arm into the air, conjuring a swirl of dark energy that devastates and pounds on its victim for several hits before knocking them away.
This is a particularly unsafe attack reserved for high-damage combos or as a defensive counterattack. Grab is usually a better option, if your opponent is within range.
Down Smash
Mewtwo conjures a massive radial blast directed at the ground in front of it, sending nearby foes flying away.
Down smash starts slower than forward smash, but is much safer with less end lag, especially at max range. You can use it to punish recovering opponents trying to grab a ledge thanks to its large hitbox, if you can time it accurately (the window to hit someone as they grab the ledge is extremely small).
Grabs
| Move | Damage | Note |
|---|---|---|
|
1.3 |
— |
|
|
Front throw |
13 |
Fires several Shadow Balls that can pass through and hit multiple enemies. Launches up and away. |
|
Back throw |
10 |
Backward throw. |
|
Up throw |
12 |
Launches directly above. |
|
Down throw |
9 |
Knocks up and away. |
Grabs
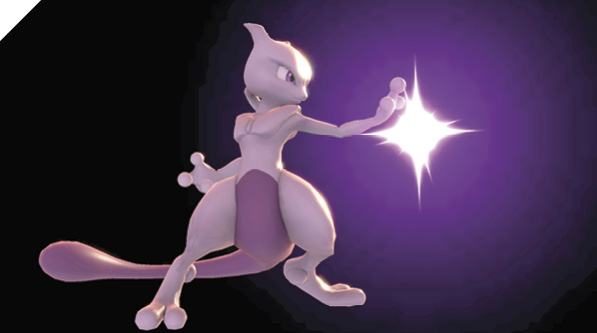
Mewtwo uses its telekinesis to subdue its enemy. Mewtwo’s grab attack is a telekinetic squeeze that starts somewhat slow and offers moderate reach. Its forward throw is a high-damage, multi-hit attack, with Mewtwo levitating the enemy and hurling several Shadow Balls at them, which can potentially hit other foes. Mewtwo’s back throw is a simple disregardful toss that deals high damage, potentially knocking out high-damage foes. For its down throw, Mewtwo slams and pins its victim into the ground, then whips its tail down, launching the enemy up into the air for a potential air mix-up follow-up.
Mewtwo’s up throw is one of its best options for knocking out enemies at high percentages, especially if you’ve conditioned your opponent into shielding your oppressive Shadow Ball and down tilt pressure. However, it’s not as effective for racking up damage since the knock-up and launcher-type throws don’t provide enough tumbling hitstun in most cases.
Aerial Attacks
Aerials
| Move | Damage | Note |
|---|---|---|
|
1.6x5, 4 |
First five hits can drag foes, with the final hit knocking them up and away, depending on their relative position. |
|
|
Forward air attack |
13 |
Knocks up and away. |
|
Back air attack |
13 |
Knocks back, low knockback power. |
|
Up air attack |
11 |
Knocks up and away at a slight angle, allowing for potential follow-up attack. Deals more damage with inner hitbox. |
|
Down air attack |
15 |
Neutral Air Attack
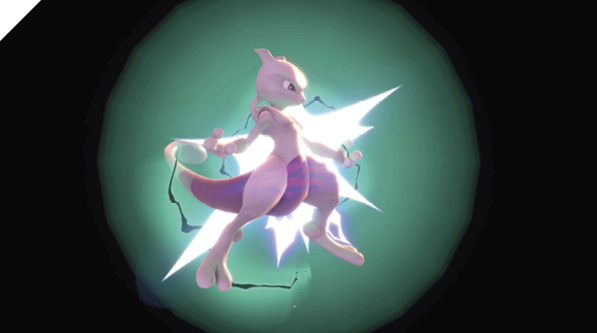
Mewtwo’s body surges and emits a pulsating electrical current, shocking nearby enemy several times before launching them away with a final shock blast.
There are three ways to use neutral air attack optimally: short hop neutral air attack, short hop neutral air attack into fast fall, and jump neutral air attack. Controlling your trajectory during a move (or “drifting”) is particularly important in using neutral air attack effectively, since where your fighter is in relation to your opponent determines how they’re knocked away (thus determining whether you can follow up).
Short hop neutral air attack (shortcut: dash, Jump+Attack, with optional fast fall on hit) can combo into up air and other attacks with good spacing and drift control. You want to drift your neutral air attack so that the opponent is in front of you, but still close to your body, allowing you to up air or immediate forward air attack as soon as your neutral air attack end lag is over. Neutral air attack’s multi-hit dragging property makes it a great offstage edge-guarding tool if you can connect with it. You can carry opponents over the ledge and knock them down to their deaths. Neutral air attack is a core and crucial part of your arsenal.
Forward Air Attack
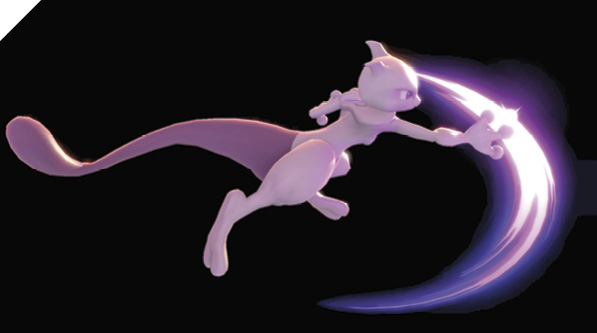
Mewtwo hops into the air and swiftly delivers a dark-energy-enhanced slap in front of it, blasting foes away.
This is one of your staple attacks during the neutral game, dealing impressive damage and shield damage. When you’re on offense, go for deep (low-altitude) forward air attacks to keep yourself safe and at an advantage. For a short hop forward air sequence into retreat sequence, use the C-stick to immediately input forward air while you jump forward (then hold back) with the control stick. For an aggressive triangle-jump-type sequence, short-hop above an enemy, then as early as possible fast-fall, then immediately input forward air attack with the C-stick. This low jump fast-fall forward air is incredibly strong, allowing you to follow up with most attacks on hit.
For an effective jump attack sequence, input forward jump, immediately hit forward air attack on the way up, then input another forward air as soon as the end lag of your first forward air ends, giving you another forward air attack close to the ground. You can mix this up once you’ve shown your opponent this sequence, and instead of going for the descending forward air, fast-fall and grab them. Connecting with a deep forward air combos into several follow-up attacks, including neutral attack auto-combo, up air (into another up air), up smash, dash attack, and even more forward airs! Like most forward air attacks, Mewtwo’s forward air swipe is its best edge-guarding tool.
Back Air Attack
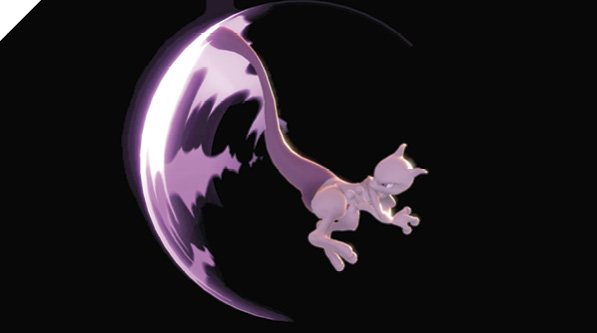
Mewtwo looks over its shoulder and then whips its tail behind it and into an upward arc, slapping away foes.
Back air attack is much slower than forward air attack, and isn’t nearly as safe, but its hit area is larger and opens up juggle opportunities (you can combo into another back air if you hit with it late into its active window). It’s primarily used as an edge-guarding tool, thanks to its wider arc and decent knockout potential.
Up Air Attack
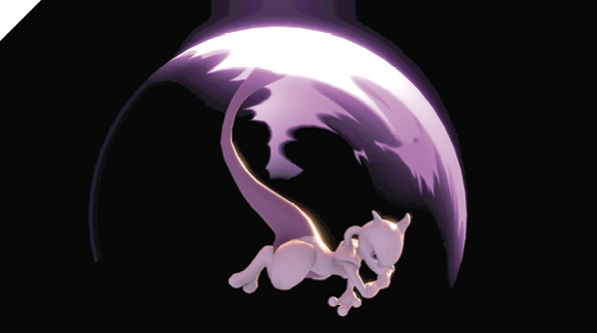
While airborne, Mewtwo performs a backflip somersault with its tail extended, knocking up foes and leaving them vulnerable to a potential follow-up assault.
As with most up air attacks, Mewtwo’s up air is used to extend and keep enemies stuck in the air and guessing. Knock away descending opponents with up air and then charge your Shadow Ball to keep up zoning pressure. Against grounded foes, you can do: short hop, fast-fall, cross-up up air as a combo-starter, followed by another up air or forward air, then into your juggle game.
Down Air Attack
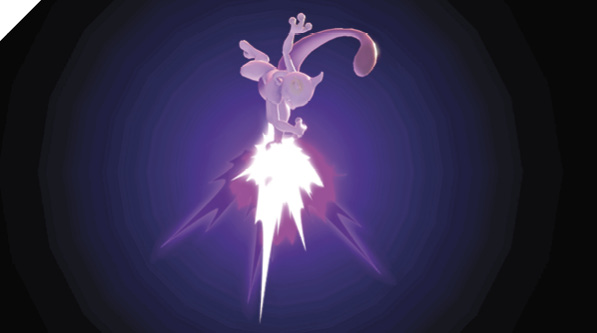
From the sky, Mewtwo fires a bolt of dark energy directly below, causing a meteor smash effect on foes hit by its force.
Mewtwo’s down air attack can be used as a combo-starter, but it’s punishable and less safe than its other air attacks. It’s best used as a meteor smashing attack to knock down foes over ledges.
Special Moves
Special Moves
| Move | Damage | Note |
|---|---|---|
|
Neutral special |
2.5 (25 max charge) |
Charging increases projectile size, damage, and range. |
|
Side special |
9, reflected projectile: 1.4x damage |
Unshieldable attack (grab). Reflects energy-based projectiles, dealing 1.4x damage of original projectile. |
|
Up special (ground) |
— |
Brief intangibility. Can be directed in any angle after initial up special input. |
|
Down special |
1 |
Brief intangibility. Projectile is ignored by fighters not facing Mewtwo. Stun duration determined by enemy damage percentage. |
Neutral Special: Shadow Ball
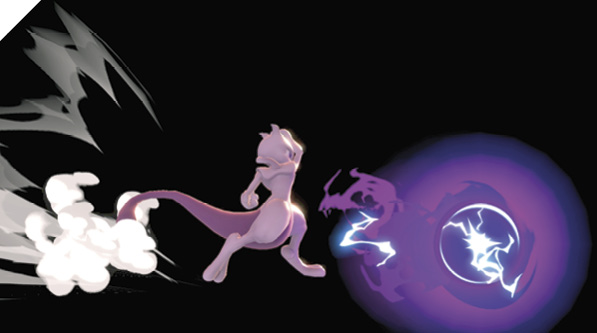
Mewtwo cups its hands and begins summoning a mass of dark energy. Upon release, the projectile speeds along the ground, dealing damage to the first foe it hits.
Shadow Ball is one of the best projectiles in the game. As with most charge-up mechanics, a good portion of your game plan as Mewtwo should revolve around earning space and breathing room in order to squeeze in any bit of charge-up time you can. Combos and knockbacks should almost always be followed by Mewtwo mustering up its dark energy, which you can store by shielding, jumping, or rolling out of. Because Shadow Ball deals so much shield damage (around 70% of max shields), the threat of Shadow Ball is omnipresent. If your opponent doesn’t deal with you and your charge, you’ll eventually be able to shield-break them, from which you can land a free combo.
Aerial Shadow Ball charge can be canceled by double jump, air dodge, or by releasing it. As an edge-guarding attack, you can throw out quick-released Shadow Balls, baiting out an air dodge, which you can then punish (with a grab, for instance). It’s also incredibly strong as an anti-ledge-grab attack. With proper spacing (around your roll distance) against a ledge-grabbing opponent, charge up your Shadow Ball and release it to hit them off the ledge as their invulnerability ends.
Side Special: Confusion
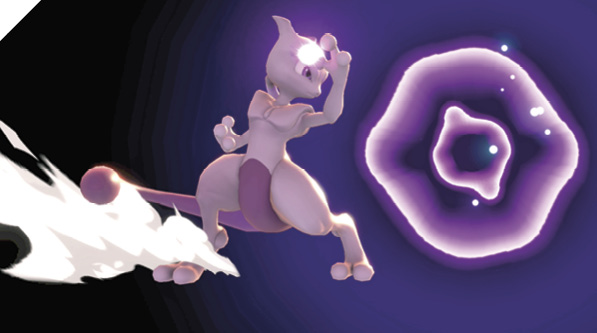
Mewtwo uses its psychic powers to suspend its victim helplessly, for a brief duration. This psychic energy field can reflect enemy projectiles.
Confusion doubles as a command throw (an unshieldable grab) and a projectile reflector. Additionally, using Confusion in the air gives you some extra mobility, as the first air Confusion boosts you up a tiny bit.
Successfully grabbing with Confusion suspends the enemy into the air for a brief duration, but you can’t combo from it. The opponent can always act once they’re free, so expect them to double-jump or air-dodge, and be ready for it with a follow-up option. One of the subtler and more interesting ways to use Confusion is as an anti-shield ledge climb. If you’re hanging on a ledge and an edge-guarding opponent is trying to bait out one of your attacks while they’re standing by the ledge, you can ledge-release into immediate Confusion to command-grab the shielding enemy, then double-jump to get back on the ledge and mount an offense.
Up Special: Teleport
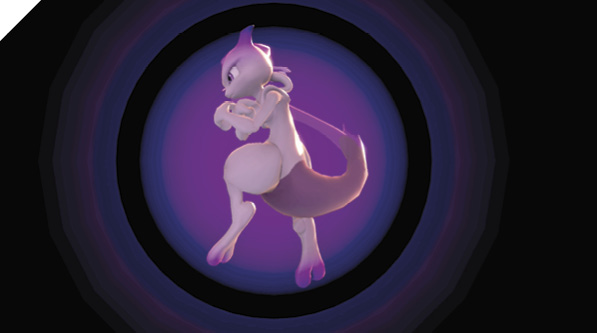
Mewtwo instantly warps to another location. You can Teleport up-left, up, up-right, left, right, down-left, and down-right.
Teleport is a straightforward recovery tool. You can warp a set distance relative to where you are in one of several directions. Not only does this give Mewtwo an incredibly versatile evasive maneuver, but it’s also difficult to punish for less-experienced opponents since doing so requires some guesswork. As with most recovery specials, you’re left vulnerable once you use your double jump and Teleport, so be careful not to be too predictable near ledges or while trying to touch the ground after being launched. Teleporting directly to a ledge is relatively safe since you’re intangible up until the point you grab on to the ledge. However, sharp opponents can punish you just as you grip the edge.
Down Special: Disable
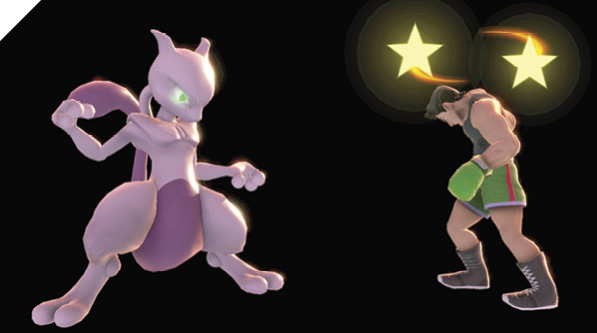
Mewtwo attempts to make eye contact with its target with a Medusa-like gaze attack. If successful, its victim becomes dazed and unable to act.
Disable is a unique attack with heavy drawbacks, but offers an incredible payoff on hit. It’s limited in range and only connects if the opponent is facing you, and it can be shielded. If the opponent is facing away from you, the projectile is completely ignored. Furthermore, it doesn’t stun airborne enemies. On hit, Disable temporarily stuns the target, with its stun duration directly correlated with the target’s damage count. At 50%, stun lasts for around three seconds; at 100%, ~4.5 seconds; and at 200%, around seven seconds.
Of course, this attack isn’t effective fishing for random hits by any stretch of the imagination. However, there’s one practical use for it, and that’s to punish ledge rolls and ledge climbs, thanks to its relatively high amount of active frames. Otherwise, this attack should be left out of your neutral game arsenal.
Final Smash: Psystrike
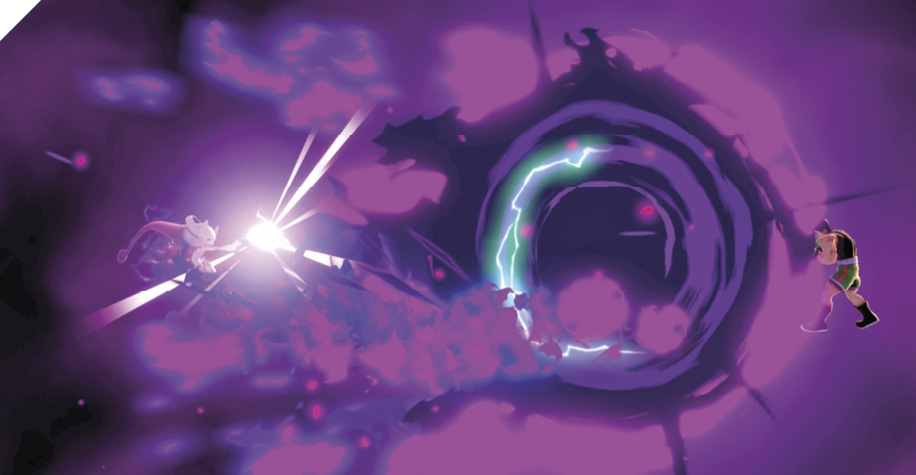
Mewtwo’s Final Smash begins with a Mewtwo Mega Evolving into Mega Mewtwo Y. It then fires a projectile that freezes and launches every foe it hits. This move travels through landscapes and opponents, making it easy to hit multiple foes.