
Super Smash Bros. Ultimate Guide Link
Brawler Arsenal
Grounded Attacks
Neutral Attacks
Neutral Attacks
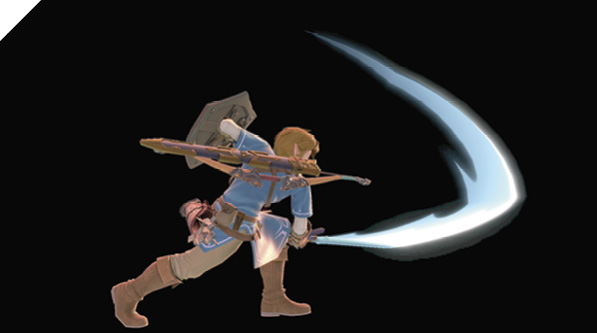
Link’s jab attack is a quick blade extension, followed by another horizontal swipe (with an increased attack size), finishing with an uppercut slash that knocks enemies down and away. As with most neutral attacks, Link’s quick slashes are used to defend himself from advancing opponents. If you can read your enemy’s movements and attack patterns, stick out your neutral attack to intercept them for moderate damage.
Regardless of your target’s damage percentage, Link’s second jab never pops up the enemy (when hit grounded). Generally, it’s best to simply finish off the natural three-hit jab-jab-jab combo whenever you confirm a hit.
Dash Attack
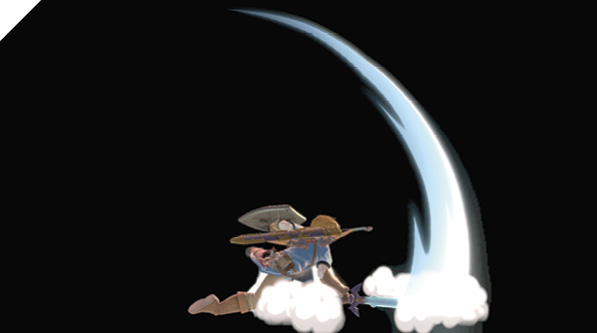
While dashing, Link leaps into the air with a mighty overhead attack, smashing his sword into the ground (recognizable as his Jump Slash). Although it packs a powerful punch, Link’s dash attack is one of the slowest-starting in the game. It has all the expected upsides and downsides: it has high KO potential, but leaves you incredibly vulnerable if whiffed. Using this move haphazardly can get you in trouble, so it’s best saved if you can make a hard read on a foe’s aerial recovery.
Defensive Attacks
Tilts
| Move | Damage | Note |
|---|---|---|
|
Side tilt |
13 |
Launches away. |
|
Up tilt |
11 |
Launches directly above. |
|
Down tilt |
9 |
Launches up and away at slight angle, high knock-up. |
Side Tilt
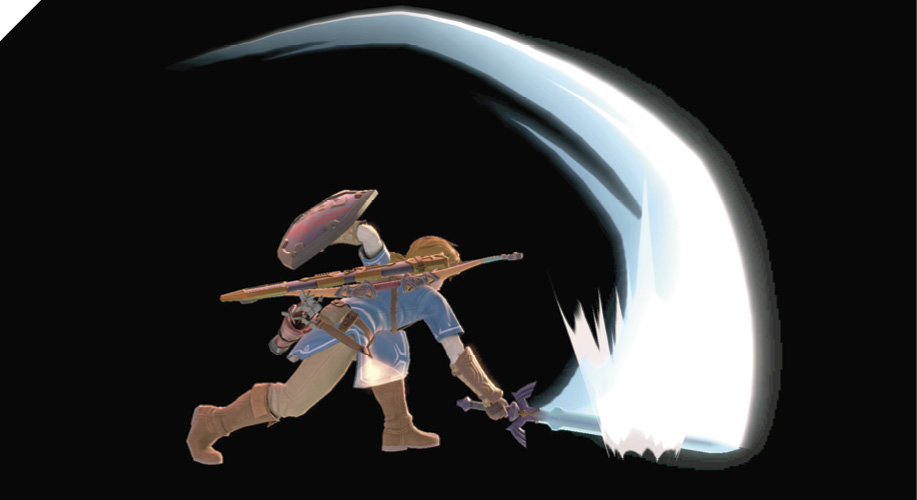
Link performs a heavy wide-arc overhead attack with his sword, slamming it down into the ground, slicing foes in a large area before him. Like most side tilt attacks, Link’s is one of his most effective ground attacks to use as a poke. It’s decent for knocking out enemies, has reasonably low end lag, and sports excellent reach, making it a superb attack for sticking out to deter aggression (colloquially known as “walling”).
Up Tilt
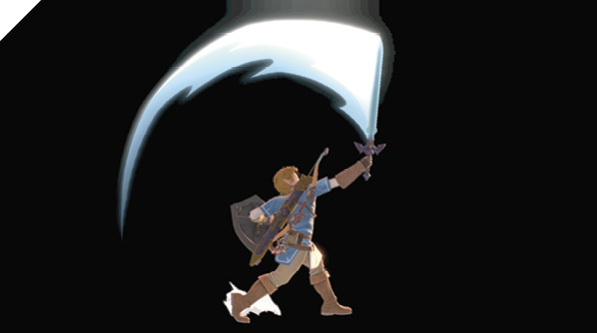
Link delivers a back-to-front slash above him with his sword, controlling a significant portion of airspace around his head. Up tilt is your non-committal, quick anti-air. Up tilt features a different attack arc in Super Smash Bros. Ultimate. Link now swings from the back to the front, making it a little bit safer when shielded. And hitting with the later portion of the attack (when Link swings the sword downward), you can combo with an up air attack (mid to high percentages).
Like most up air attacks, its main use is to keep airborne enemies guessing, and for punishing their mistimed air dodges and subpar down air attacks.
Down Tilt
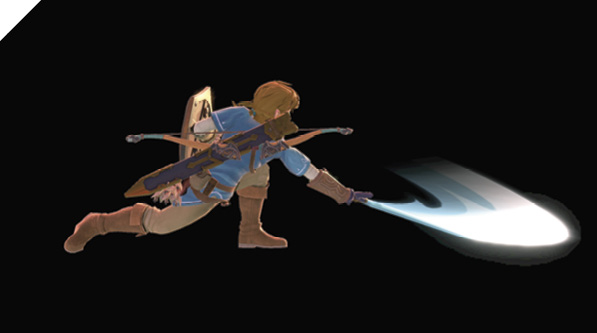
Link crouches and swiftly performs a sweeping sword attack at his opponent’s feet, knocking them into the air. This is your safest ground attack because of its low lag and great low-profiling attribute. It’s also an excellent way to start combos. On hit, it pops up enemies high into the air right in front of you, allowing you to go for a forward air or up air follow-up. Fishing for a ledge combo-starter with down tilt is a great way to set up knockouts when the enemy is at mid to high damage percentages.
Thanks to its brief end lag, you can go for shielded down tilt into an anti-aggression neutral attack, applying decent shield damage pressure against more defensive opponents.
Smashes
| Move | Damage | Note |
|---|---|---|
|
14 + 5 |
Knocks up slightly. Deals more damage with tip. Fires 5-damage projectile while undamaged. Charging smash increases projectile range. |
|
|
13 |
Launches up and away, high knockback. Deals more damage with sword hitbox. |
|
|
Up smash |
4, 3, 11 |
Launches up and away at slight angle, high knock-up. Third hit deals more damage with sword hitbox. |
|
Down smash |
17 |
Launches up and away at slight angle. Deals more damage with tip of sword. Clear-out attack. |
Side Smash
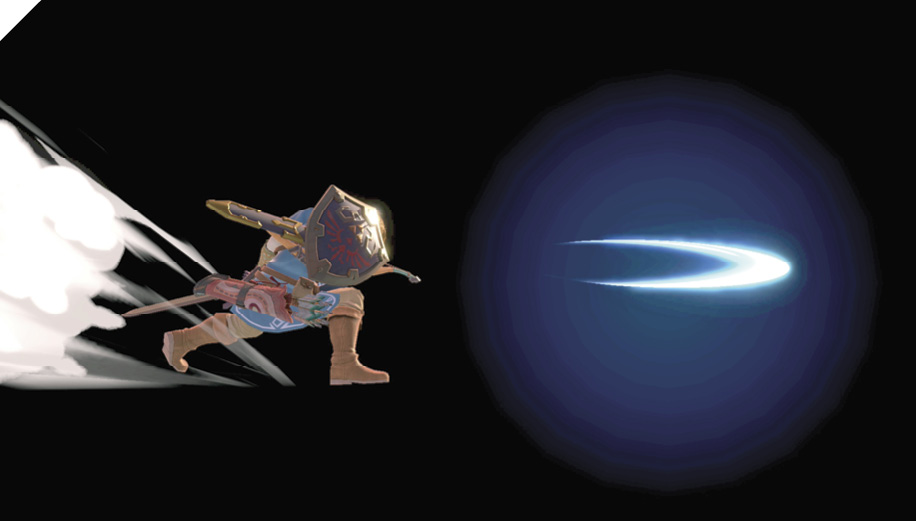
With a double-handed grip, Link begins this combination sequence by swinging the Master Sword over his head and toward his foe. He then delivers an upward heavy slash, knocking foes away. If Link is at 0% damage, side smash also unleashes a sword beam projectile.
You can cancel this attack into another heavy frontal upward strike by pressing the Attack button during the wind-down period. This optional second strike can be used to punish enemies jumping over your beam.
Up Smash
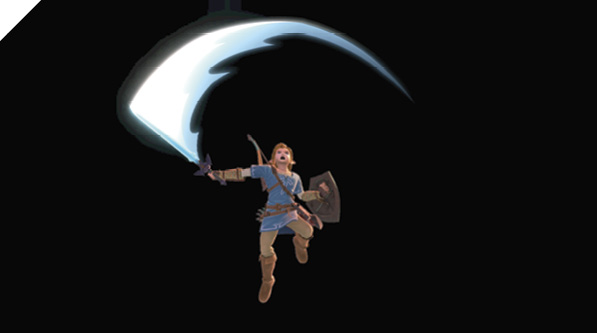
Link launches a three-hit combo, starting with two head-level swipes above him and finishing with a mighty jump attack that sends his foe sky-high. Since there’s a high commitment and vulnerability cost for going for up smash, it should be used for specific and deliberate purposes (of which it’s exceptionally powerful for). Against descending opponents, you can often score a knockout with up smash if you either bait out an air dodge or caught them coming down without a double jump. And because Link’s Master Sword has amplified hitboxes, you’ll generally beat out incoming attacks.
While it’s highly punishable if avoided, it’s a decent option for retaliating against your aggressors (since you can easily cancel your shield by inputting an up smash while holding shield).
Down Smash
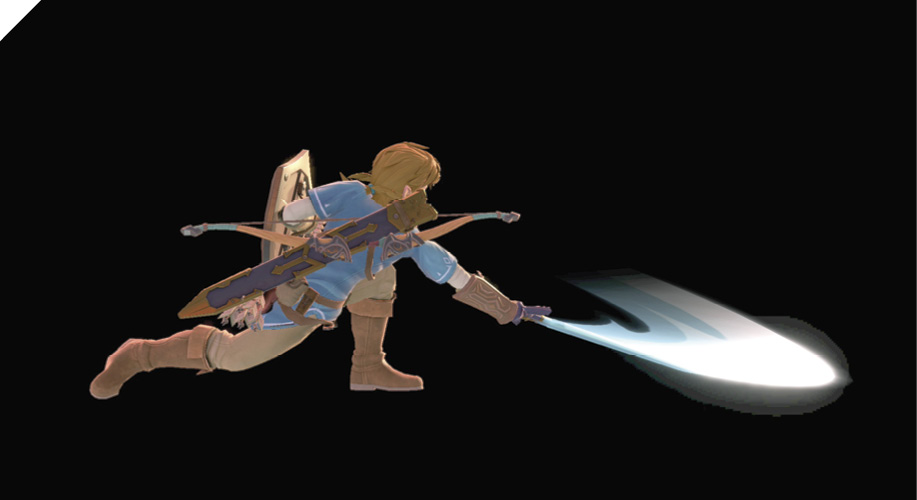
Link crouches down and sweeps the floor in front of him, then swings around to sweep the ground behind. Thanks to its rear hit effect, this attack is primarily used to clear out multiple enemies and to punish ground rolls and air dodges. It’s not safe on shield, making it less optimal as a poking move.
Grabs
| Move | Damage | Note |
|---|---|---|
|
1.3 |
— |
|
|
Front throw |
5.5 |
Forward throw, knocks away. |
|
Back throw |
5.5 |
Backward throw, launches up and away. |
|
Up throw |
7 |
Launches foe directly above for potential follow-up. |
|
Down throw |
6 |
Launches foe directly above for potential follow-up. |
Grabs
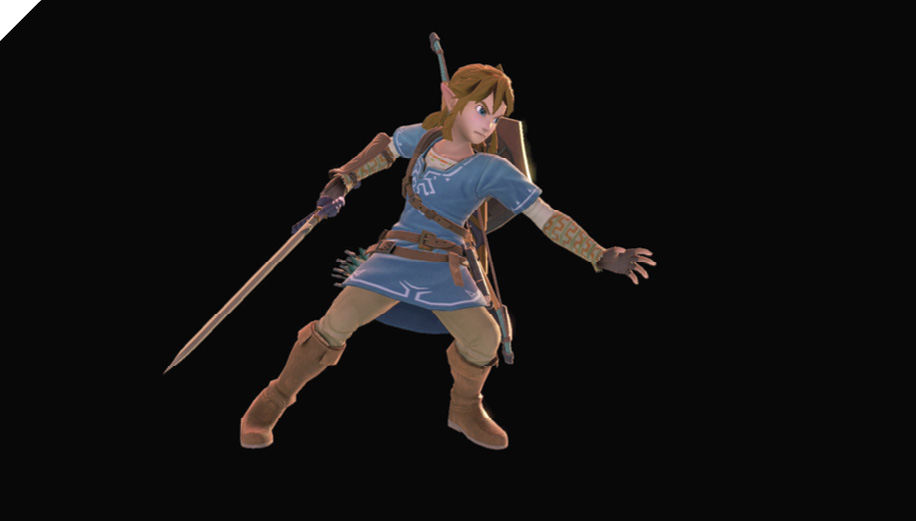
Link’s grab attack is a swift pommel strike. For his up throw, Link tosses the enemy into the air before connecting a hopping up-slash, leaving them vulnerable to additional follow-up attacks. His forward and back throws are conventional knockback attacks as he kicks them away. For his down throw, Link performs a surprisingly agile wrestling maneuver, slamming his victim into the ground before dropping a precision elbow strike into their chest that pops them up for a combo opportunity.
Aerial Attacks
Aerials
| Move | Damage | Note |
|---|---|---|
|
6 |
Deals more damage at start. Persistent hitbox. Can cause ground hitstun. |
|
|
Forward air attack |
8, 10 |
Launches away. First attack causes slight pop-up. Second attack deals more damage. |
|
Back air attack |
5, 7 |
Knocks away, low knockback. First attack causes slight pop-up. |
|
Up air attack |
15 |
Launches directly above. Persistent hitbox. Deals more damage at start. |
|
Down air attack |
18 |
Neutral Air Attack
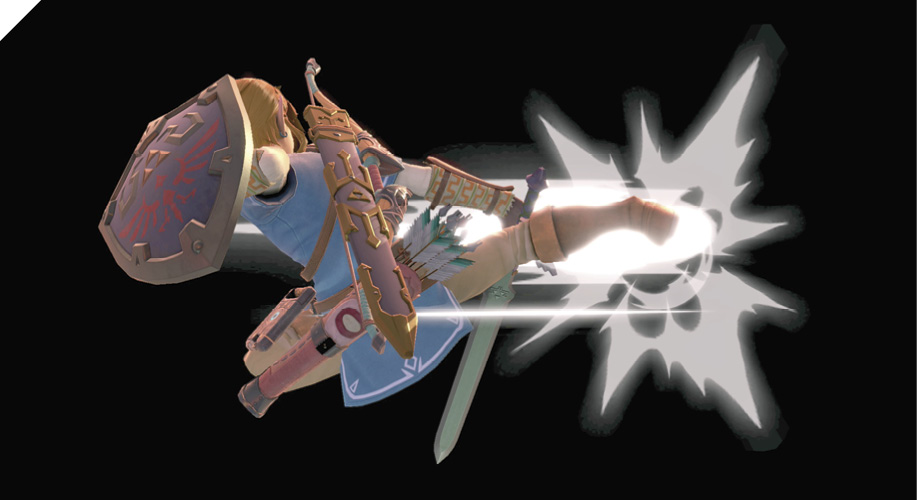
Link extends a lightning-fast flying kick for a short time, striking down foes. This Street Fighter-like jump kick is one of Link’s most versatile physical attacks. Its hitbox persists for a lengthy duration, making it an excellent air-to-air poke and fast-falling attack. Its start-up is exceptional, so you can use it as a decent jump attack just after dropping shield.
You can use it offensively as well, thanks to its little end and landing lag. Off of a deep jumping attack against grounded foes, you’re generally safe from reprisal attacks. Naturally, it’s an incredible edge-guarding attack with its low lag, allowing you to keep up the pressure on successful hits. You can also use fast-falling neutral air attack as a “meaty” attack against an edge climb to set up a potential edge slip.
Forward Air Attack
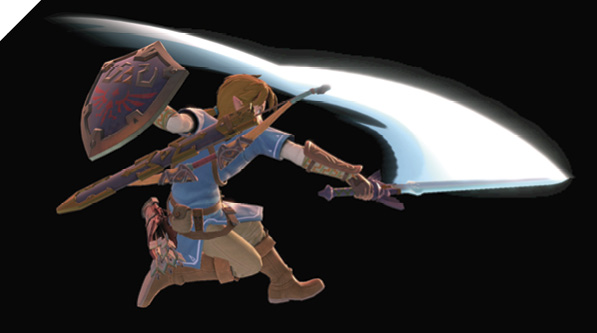
Link jumps into the air and performs a one-handed spinning attack with the Master Sword, slashing the area in front of him twice. In Super Smash Bros. Ultimate, the first hit of forward air attack auto-links to the second hit when it connects with an enemy, with the second hit having most of the knockback.
This double-swipe attack is superb as a poke for a variety of reasons. It has sizable horizontal range and high damage. It makes for an excellent air-to-air, great for punishing ledge jumps and jump-in air dodges (thanks to its double attack animation).
Off of an offensive short hop, forward air can do serious shield damage, as both hits force the defending opponent into shielding both attacks. With Link’s quick fast fall, you can create exceptional jump attack sequences, covering air-to-air and defending the area low to the ground: jump, input forward air, then immediately cancel into fast fall. With practice and timing, you can create an incredibly effective technique that can be difficult for your opponents to deal with.
Back Air Attack
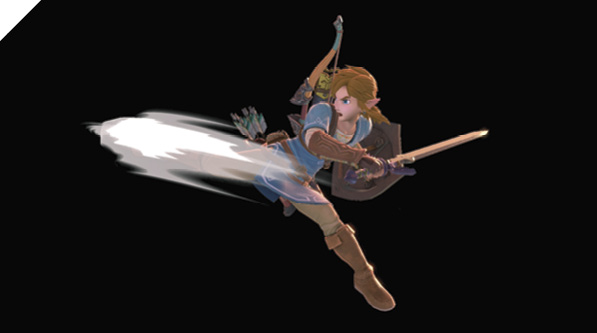
Link spins around midair and delivers two rear spin kicks, one after the other, potentially connecting with both. This is one of Link’s fastest air moves, excellent right after shielding an enemy’s attack from behind. From a short hop, the second hit occasionally misses, especially against smaller fighters, so it’s crucial that you fast-fall during the attack.
It’s possible to combo a low one-hit back air attack into multiple up tilts at mid-damage percentages (easier against heavier fighters at certain percentages). And back air is a great way to cross up out-of-shield attacks, baiting out incorrectly faced shield grabs.
Up Air Attack
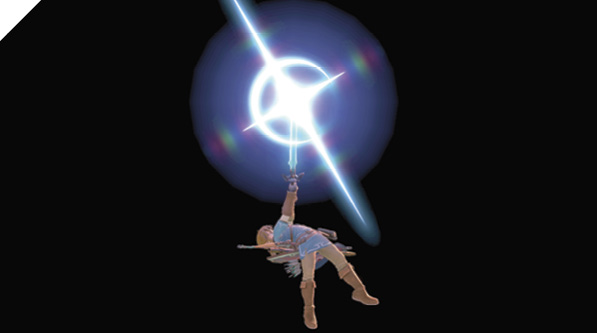
Link performs his Jump Thrust attack, a recognizable attack from Zelda II: The Adventure of Link. While the attack remains active for a significant duration, connecting with the first few active frames rewards you with extra damage. Link’s up air attack has slightly less lag than it used to, making it less punishing to use if you whiff it, and opening up more possibilities for up air confirms.
Jump up air is a key component to your anti-air juggling arsenal. As such, it’s important to be able to execute jump, full-velocity up airs. Use the C-stick to execute the up air portion while you use the control stick to move right or left. For instance, jump while holding control stick right, then hit C-stick up as soon as you leave the ground.
Down Air Attack
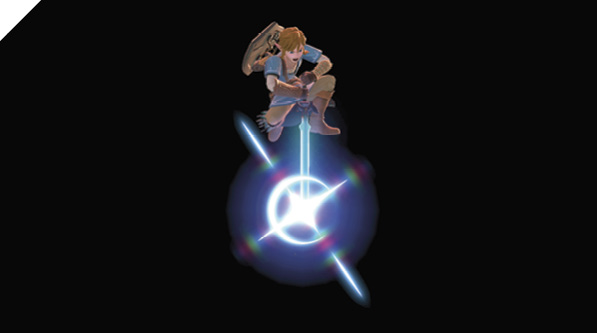
Link commits to a powerful downward thrust (also known as the learnable skill Down Thrust, from Zelda II: The Adventure of Link). Primarily used as a meteor smash finisher while edge-guarding, such as off of an edge-slip combo.
Special Moves
Special Moves
| Move | Damage | Note |
|---|---|---|
|
Neutral special |
Single Arrow: 4 (12 max charge), Double Arrow: 3 (9 max charge) |
Charge to increase damage, speed, and distance. Generates grabbable Arrow item on miss. |
|
Side special |
Normal: 8, Flicked: 9.6 |
Can be angled up or down. Returning Boomerang hits multiple foes. Flick stick to increase damage and range. |
|
Up special (ground) |
Ground: 14 |
Damage falls off later in attack’s duration. |
|
Up special (airborne) |
4, 2x3, 4 |
— |
|
Down special |
Bomb throw: 1, Bomb detonation: 7 |
Generates grabbable bomb item. |
Neutral Special: Bow And Arrows
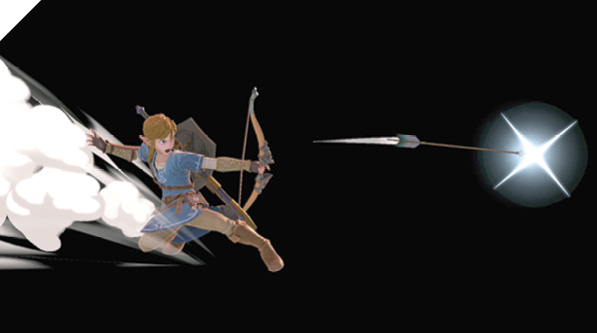
Link fires an Arrow from his Bow. The longer he draws and holds his Arrow, the faster and more powerful the projectile becomes. If Link picks up a fallen Arrow from a prior shot, he can fire an extra projectile (up to two at once) the next time he shoots his Bow.
In practicality, you rarely ever want to use an uncharged Arrow, especially in close range. Charged Arrows are useful in many situations. These include: as an edge-guarding tool for long-range situations where you can’t reach the enemy with forward air attack, after you knock down an opponent who’s missed a tech (giving you a chance to fire at them as they wake up from the ground), and if you’re across a platform and you want to force a jump from the opponent.
Side Special: Boomerang
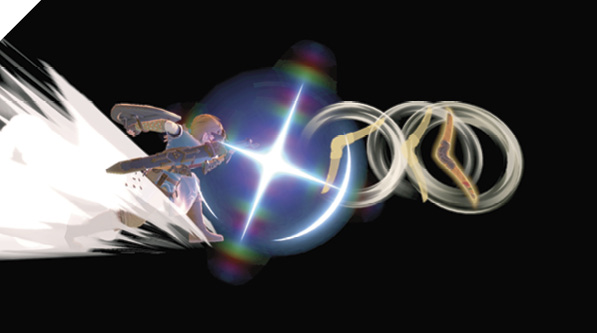
Link chucks his trusty Boomerang either straight ahead, angled upward, or angled downward. The Boomerang can strike multiple enemies during its return path. There are essentially two strength versions of this attack. One is performed normally, by tilting or holding a side direction and pressing Special; and one executed like a side smash attack: by flicking the control stick to a side direction and pressing Special.
The flicked version travels farther and deals more damage. At first glance, it may seem like you should only use the high-damage version with increased range over the normal version. However, the shorter distance of the normal version means less time for the Boomerang to make its return trip, as well as less time for Link to retrieve his Boomerang for use again.
Thanks to its returning-hit effect, Boomerang can be used in interesting and creative ways. For instance, you can use it in your offense, throwing a Boomerang over the opponent’s head so that if they attack or interrupt you, the Boomerang returns and acts as a sort of “combo-breaker.” You can set up powerful zone-control sequences by combining Boomerang and charged Arrows. A basic zone-control concept and setup is throwing a flicked Boomerang above the opponent’s head (cutting off a horizontal portion of the air), and then forcing the enemy to deal with charged Arrows on the ground. You can mix this sequence up in a variety of ways, by varying your Boomerang angles or by switching the order of your projectiles. These zoning concepts can become extremely advanced and nuanced (much of it being beyond the scope of this guide!).
It’s important to remember that you can adapt to your opponent’s positioning on the fly, and as you begin to input the Boomerang command, you can adjust the angle related to their positioning to put your opponent in a disadvantageous position for your follow-up attacks.
Up Special: Spin Attack
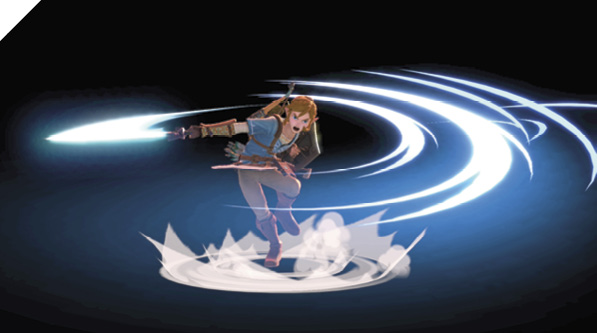
Link performs a pirouette with the Master Sword extended, clearing out foes around him. While airborne, Spin Attack is essentially a separate move. Air Spin Attack is a multi-hit combo that launches Link higher into the air. Note that using air Spin Attack causes you to enter a free-fall state, so you can’t drop off a platform or ledge and use up special, then jump.
Spin Attack is also a strong finisher in certain situations. With a lot of practice in ledge combat, you can bait out meteor smash attacks and then punish your opponent with a well-placed Spin Attack to KO them or gain a ledge advantage.
Down Special: Remote Bomb
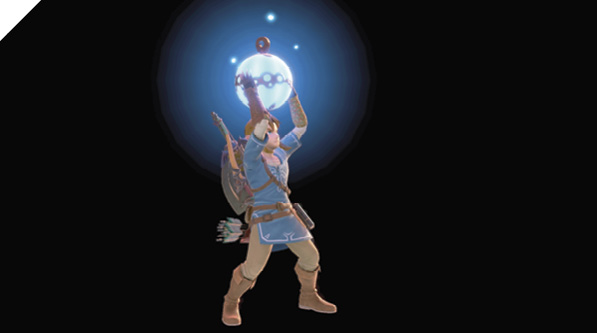
Link creates a bomb with the Sheikah Slate. Link can carry the bomb with him, then throw and detonate it on command. The bomb’s blast radius is incredibly large. Once the bomb is created, there are several ways to manipulate it. You can throw it a short distance with the Attack button or a farther distance with down+Special. You can also throw the bomb straight up into the air with up attack, or straight down while airborne with down attack. While the bomb is in an airborne throw state, it can be detonated with a down special input.
Not only does Link’s bomb follow all of the standard mechanics, but it also features a couple of unique ones. Link’s bombs detonate after receiving a set amount of damage from attacks, or they can be instantly ignited by a fire-based attack (like Ryu’s Shakunetsu Hadoken and Ken’s Fierce Shoryuken)!
You can use Remote Bomb as a last-resort recovery tool if you get launched off a ledge, although the timing and circumstances to set this up may be extremely difficult. Competitive Link players are able to pull off amazing ledge recoveries.
While using the Remote Bomb to its full extent takes a ton of experience and practice, it helps to understand the fundamentals of why Remote Bombs are Link’s best projectiles (if not his best tool overall).
They’re an additional threat that you can place on-screen, forcing the opponent to respect their blast radius. They can be picked up and manipulated. You can throw them anywhere, including straight up, giving the enemy pause and deterring attacks, as they could be potentially dashing into an explosion.
In Super Smash Bros. Ultimate, bombs don’t explode upon contact, instead simply bouncing off fighters. This means your enemies can pick them up by pressing Attack. This is a double-edged sword, since you can’t detonate them while they’re being held. But holding a bomb limits the holder’s abilities, so you can use this to your advantage, knowing some of their actions are disabled as they hold your bomb.
With practice, you can seamlessly pick up and drop bombs without committing to animated attacks, then throw them in your opponent’s face while at the same time striking your bomb and the opponent with your various sword strikes, eventually doing enough damage to detonate the bomb in the enemy’s face.
Final Smash: Ancient Bow and Arrow
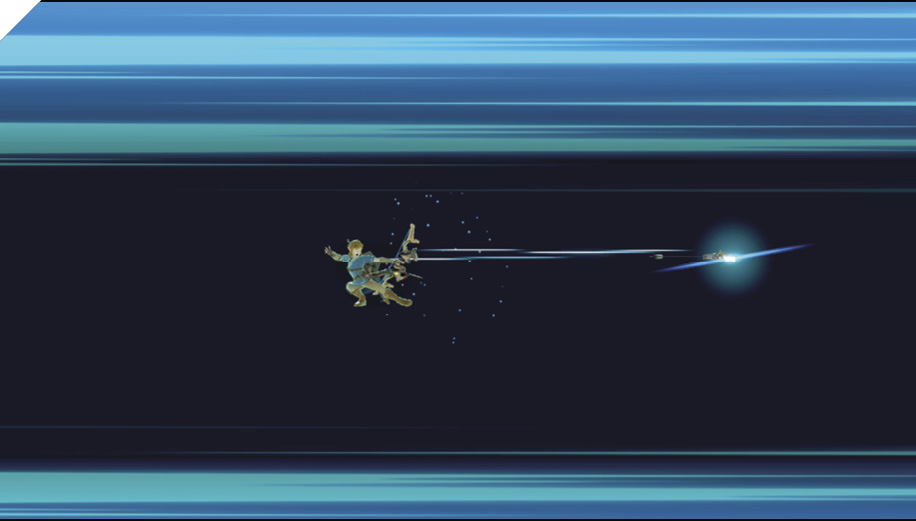
Link shoots an Ancient Arrow that flies straight ahead. If the Arrow hits an opponent or the terrain, it explodes. While the Arrow itself can only hit one target, the resulting detonation can launch nearby opponents.