
Super Smash Bros. Ultimate Guide Mii Fighters: Gunner
Gunner Arsenal
Grounded Attacks
Neutral Attacks
Neutral Attacks
| Move | Damage | Note |
|---|---|---|
|
Neutral attack 1 |
1.5 |
— |
|
Neutral attack 2 |
1.5 |
— |
|
Neutral attack 3 |
1, 4 |
Jab into blast. |
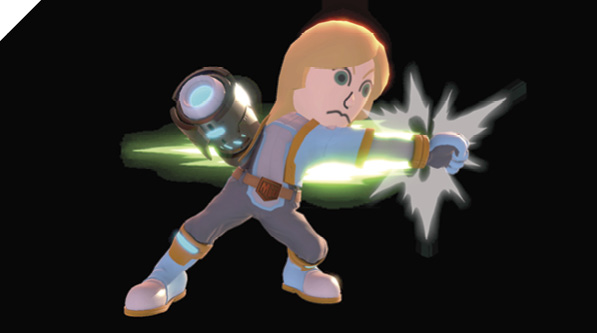
This neutral attack begins with a fairly sluggish two-jab combo with the first two inputs. The third input uses Mii Gunner’s gun arm for a thrust-into-explosion capper.
The initial jabs have pitiful range and are about as fast as most tilt attacks, so this neutral combo is not a central part of the Gunner’s game plan. It’s a decent defensive retort after dropping shield when blocking laggy moves. Otherwise, your time is better used on other options.
Dash Attack
| Move | Damage | Note |
|---|---|---|
|
10 |
— |
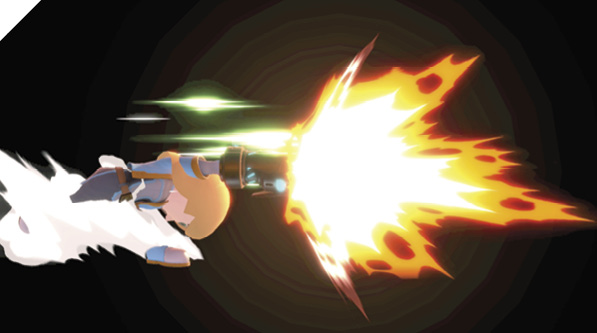
While moving quickly forward, the Gunner swings with a powerful hook punch from the gun arm, the barrel discharging for extra oomph along the way. This has very good range and distance in front, and sends victims hurtling away, smoking from the heat.
Defensive Attacks
Tilts
| Move | Damage | Note |
|---|---|---|
|
Side tilt |
13 |
Damage lessens farther from gun. |
|
Up tilt |
10 |
Pops foe into potential juggle position. |
|
Down tilt |
14 |
Pops foe into potential juggle position. |
Side Tilt
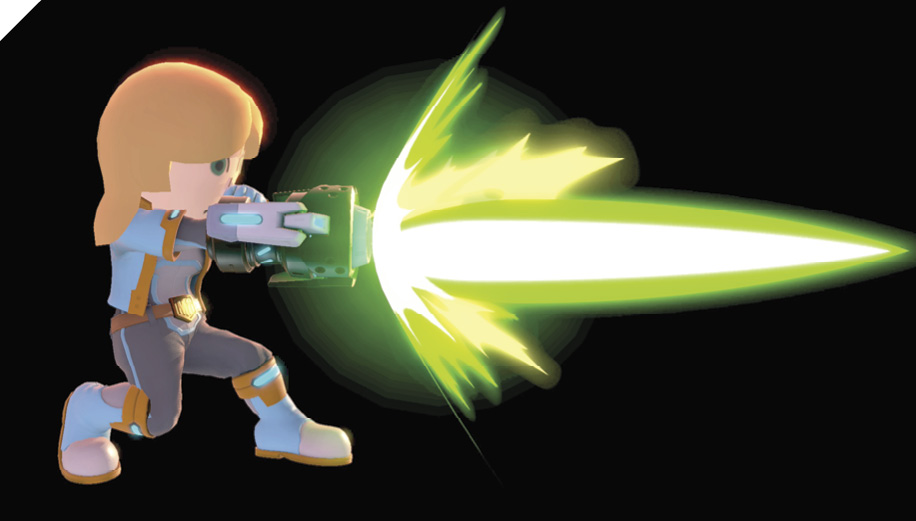
Mii Gunner takes aim with a short-range laser blast. The projectile extends forward from the gun barrel like a sword stab, covering about the territory of a single dash. The extended laser is like a sword, not a part of Mii Gunner, so it beats out anything it overlaps with. It can’t be angled up or down like some side tilts. Damage is highest close to the barrel, but it’s safest to aim from max range, hitting with the laser’s tip.
Up Tilt
The Gunner’s up tilt punch puts the gun arm to use increasing punching power. Mii Gunner performs a flaming uppercut, hitting directly in front at first, before hopping and hitting straight up briefly. This is a terrific close-range poke, which is good for close-range sparring or anti-air attempts and juggles. Up tilt strikes in front just as fast as a neutral attack, yet with a much better hitbox. And it’s meaningfully faster than Mii Gunner’s other tilt attacks (though not as far-reaching). The only thing to be wary of is the landing lag from the uppercut’s little hop.
Down Tilt
The Gunner blasts into the floor at close range, causing a small detonation that functions as a launching sweep. The range is decent, about the same as side tilt with a lower profile and hitting just a hair slower. If the target is closer in, the gun arm hits them just as well as the blast.
Smashes
| Move | Damage | Note |
|---|---|---|
|
1.5x6, 6.3-2.1x6, 8.8 |
— |
|
|
Up smash |
3, 2.5x3, 6-4.2, 3.5x3, 8.4 |
Pops foe into potential juggle position. |
|
Down smash |
11.5 front, 14 back-16.1 front, 19.6 back |
More damage with back hit. |
Side Smash
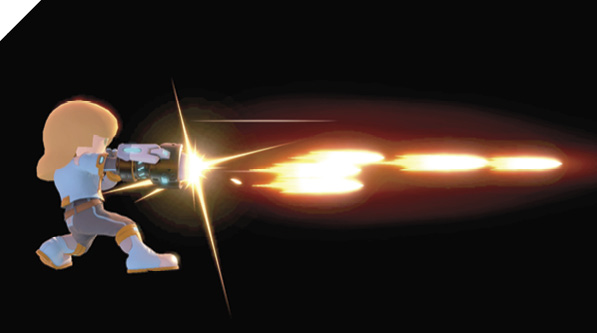
After whirling with a flourish, raising the gun arm, Mii Gunner unloads a fusillade of shots that reach a couple of dashes’ distance away. Six small shots are followed by a seventh finishing shot. All the shots combo together if early shots connect. Like side tilt, this is aimed horizontally along a fine line and cannot be angled, so beware barely missing against targets slightly off-plane from your fighter.
The lengthy shooting period leaves Mii Gunner open to other fighters besides the target. But this also makes it a decent preemptive defensive move. When you’re running away from aggressors, a sudden side smash volley back at them is a C-stick flick away (assuming you have it assigned to smash attacks). Opponents might run right into the bullets’ path, and the extended active period can catch them even if they dodge-roll or sidestep around early shots.
Up Smash
The Gunner cuts loose with a series of local blasts from the gun arm, which seem to carry the arm back over the Gunner’s head with the recoil. Anyone caught in front with the initial forward-facing blast is carried up and over, ending in a jugglable position in the air behind Mii Gunner.
Up smash covers the up tilt directions, but is slightly slower and harder-hitting, and reaches all the way straight back for the hard finishing shot (up tilt’s active hitting area doesn’t extend much beyond slightly up-back as it ends). The final hit being the launcher, and aiming straight back, gives this some unorthodox use as an intentionally slow backward-facing hit, like dashing at a foe, pivoting, and using up smash while sliding backward, or pre-charging a full-up smash and holding it while facing away from enemies.
Down Smash
Mii Gunner crouches for a close-range toe-searing blast in front before turning to repeat another shot behind. This is basically like if down tilt spun around and repeated itself, and is Mii Gunner’s main clear-out move (though up smash also works). The backward-facing hit actually does a bit more damage. Hits on either side launch foes away, gaining breathing room for the Gunner.
Grabs
| Move | Damage | Note |
|---|---|---|
|
1.3 |
— |
|
|
Front throw |
4, 3 |
Forward throw. |
|
Back throw |
7, 3 |
Shoots foe backward. |
|
Up throw |
7, 3 |
Shoots foe into potential juggle position. |
|
Down throw |
7 |
Bounces foe into potential juggle position. |
Grabs
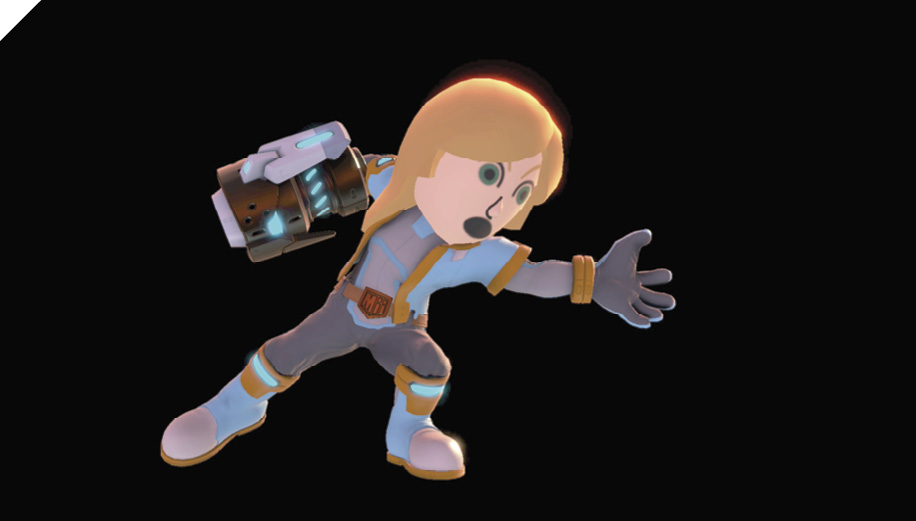
Aside from up tilt, Mii Gunner’s best option in close is to go for a grab. Throw in two or three grab attacks before choosing a throw direction based on the situation. Mii Gunner’s front throw spikes the victim a decent distance forward and can also hit anyone else in front during party battles. Back throw shoots them backward with more damage and knockback. The up throw also shoots them backward, but in position for quick follow-up attacks. Meanwhile, down throw does less damage than the others, but bounces foes into the best juggle position in front.
Aerial Attacks
Aerials
| Move | Damage | Note |
|---|---|---|
|
10 |
— |
|
|
Forward air attack |
8 |
— |
|
Back air attack |
12 |
— |
|
Up air attack |
1.8x6, 4 |
— |
|
Down air attack |
15 |
— |
Neutral Air Attack
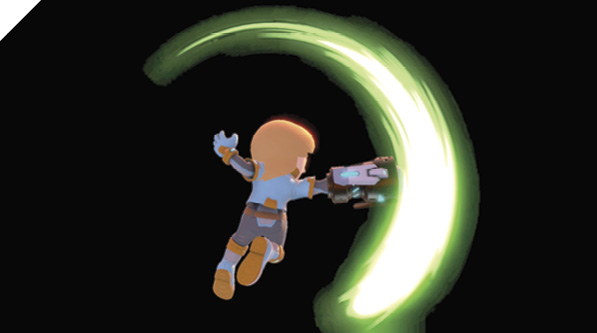
The Gunner trails a hot gun barrel, which starts aimed almost straight back. From here, the active arm spins over the top, eventually ending where it started. This gives neutral air attack total coverage in all directions, though it’s not as speedy as many neutral air attack pokes. If you intend to aim down-forward with it, for example, you’ll have to swing extra early to give the arm time to come around.
Forward Air Attack
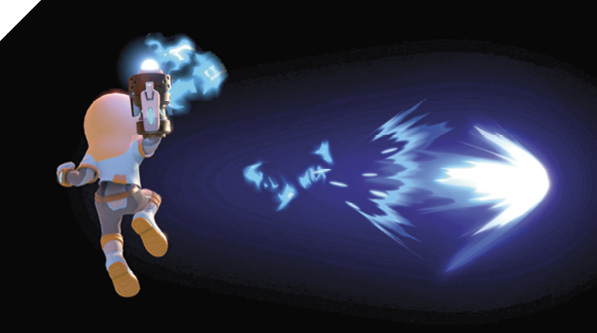
The Gunner’s quickest, weakest projectile attack. A small energy shot is fired forward, traveling a bit farther than a dash. The shot travels straight across from wherever it’s fired, and Mii Gunner’s air arc isn’t affected by forward air attack’s windup. It requires precision to jump or fall and aim forward air shots where you want them. For example, if you want to shoot just off the ground to interfere with both standing opponents and short hoppers, automatic short hop timing (tapping forward+Attack+Jump all together) places it too high.
Back Air Attack
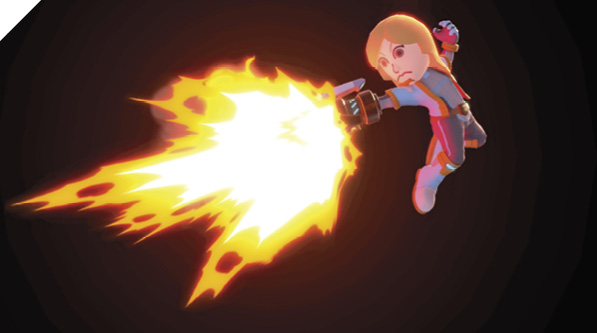
Mii Gunner aims backward in midair with a single-hit explosive blast, aimed back and slightly down. It’s good when you’re forced to use it on reaction to fliers creeping up from behind, and also for going after the enemy intentionally with backturned air attacks (like from a short hop backward). It’s faster than the Gunner’s other air attacks.
Up Air Attack
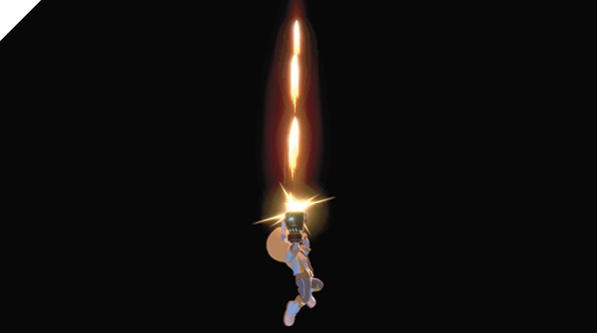
This is like an upward-aimed version of side smash, with a volley of projectiles dominating a thin strip of space. It’s great in juggles from underneath with good aim, but less lenient going for enemies above than up air attacks that feature circular slash hitboxes.
Down Air Attack
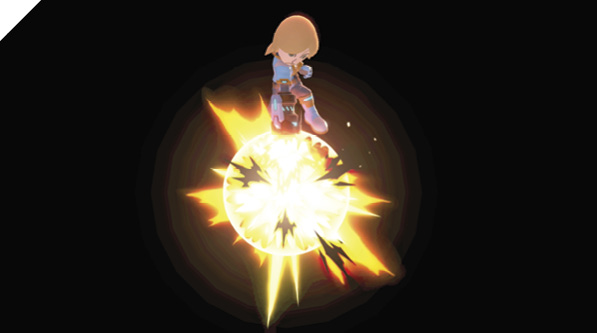
An airborne Mii Gunner fires straight down, creating a small bomb blast underneath. The main hitbox is on the explosion, but the gun barrel itself also issues a weaker hit. Drop down on standing enemies or those attempting to recover to hit them with the short-range shot, spiking them down on clean contact.
Special Moves
Specials
| Move | Damage | Note |
|---|---|---|
|
4-26 |
— |
|
|
Neutral special 2: Laser Blaze |
5 |
— |
|
0x1, 1.4x4, 6.6 |
Detonates on contact. |
|
|
Side special 1: Flame Pillar |
2, 2.2x4, 2.8 |
— |
|
Side special 2: Stealth Burst |
-12.1-18 |
Detonates on release. Gains power with damage traveled. |
|
Side special 3: Gunner Missile |
7.5 homing, 14.5 dumb |
Curves toward targets. Use snap input for stronger dumb missile. |
|
Up special 1: Lunar Launch |
7 |
Lag until landing. |
|
Up special 2: Cannon Jump Kick |
9, 8 |
Lag until landing. |
|
Up special 3: Arm Rocket |
0 |
Movement special. Direct with control stick. |
|
Down special 1: Echo Reflector |
2 |
Reflects projectiles. |
|
Down special 2: Bomb Drop |
2, 9 |
Detonates on contact or when another Bomb Drop is performed. |
|
Down special 3: Absorbing Vortex |
4 |
Hold input to keep vortex going. Absorbs incoming projectiles as health. |
Neutral Special 1: Charge Blast
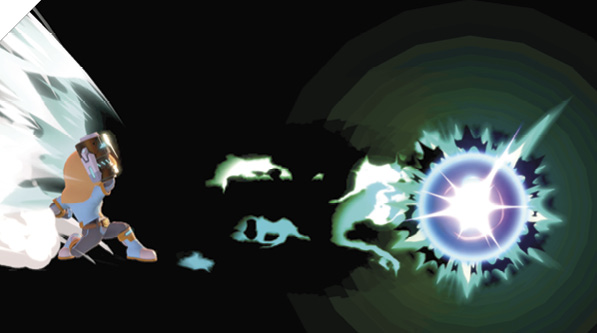
This is a variable energy projectile that can be charged and stored. Like many such attacks, the charging period can be interrupted, keeping what you’ve built up so far. Cancel standing charge with dodging or jumping, and airborne charge with double jump. Once fully stored, you have an extremely powerful long-range attack available at a moment’s notice. To fire it before the charge is fully built up, launching a weaker projectile, double-tap the input to begin charging, then fire.
Neutral Special 2: Laser Blaze
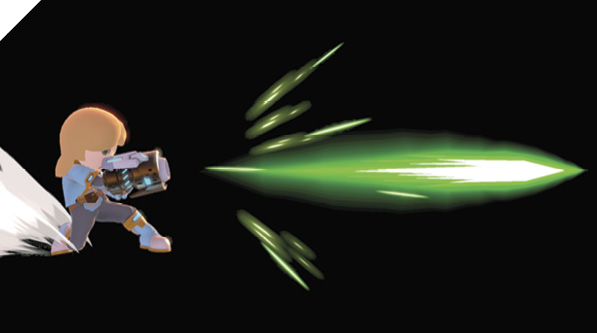
As straightforward as shooting attacks get, Laser Blaze is a fast, low-damage, long-range laser shot. You can fire these over and over to keep up a long-range rain of pesky projectiles.
Neutral Special 3: Grenade Launch
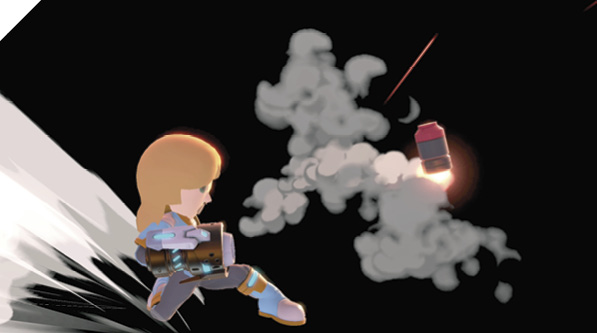
A smoking grenade is launched up and away, coming down to explode in about a second. Depending on the terrain, it can bounce around before exploding, or detonate immediately if it contacts a valid target.
This is somewhat similar to down special 2, Bomb Drop, with a few distinctions: you can have more than one launched grenade on-screen at once, and grenades have faster travel and shorter fuses.
To switch directions before firing, input neutral special, then immediately snap the control stick in the opposite direction. This is necessary if you realize you need to snap a Grenade Launch backward while airborne.
Side Special 1: Flame Pillar
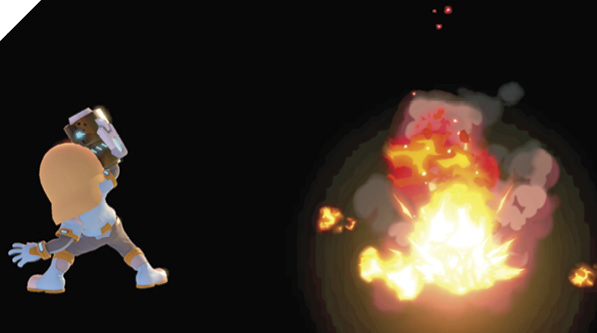
A low-damage fireball is launched down and away. On contact with a foe or surface, it explodes into a short-term conflagration. Anyone nailed by the initial fireball or caught in the follow-up blaze is juggled for several hits until it gutters out.
Flame Pillar gives great forward space control, warding off aggressors from in front if the fireball strikes the ground. Keep in mind it has fairly long lag after the fireball is hurled, limiting follow-up potential.
Side Special 2: Stealth Burst
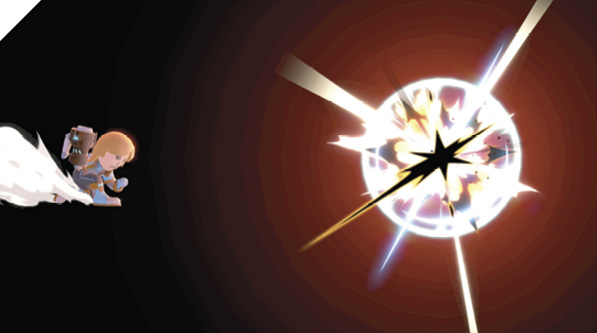
Once you input and hold the side special command, the Stealth Burst projectile begins flying laterally away from Mii Gunner. Once the input is released, the gossamer projectile explodes. The farther Stealth Burst travels before detonation, the higher the damage. Stealth Burst can be powerful and sneaky against faraway foes, but can be hard to direct accurately.
Side Special 3: Gunner Missile
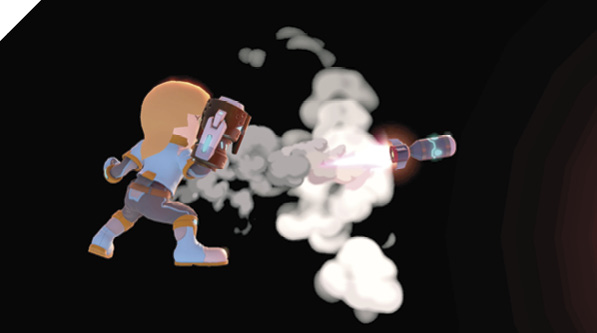
This homing missile resembles Samus’s. Multiple Gunner Missiles can be on-screen at once. The side-switch correction trick possible at the beginning of many specials (input the special, then snap to the other direction on the control stick within three frames, usually) doesn’t work with Gunner Missile, so aim correctly the first time. For a homing Gunner Missile, use a tilt-style input (either hold left or right ahead of the button input, or use an analog half-press of left or right plus the button).
For a dumb Gunner Missile that travels along a straight path but does more damage, use a snap-style input, like for dashing and smash attacks. This is great at ground level, or to cover short hop altitude (jumping straight up and performing a snap Gunner Missile at the jump’s apex releases the dumb missile along perfect short hop height).
Up Special 1: Lunar Launch
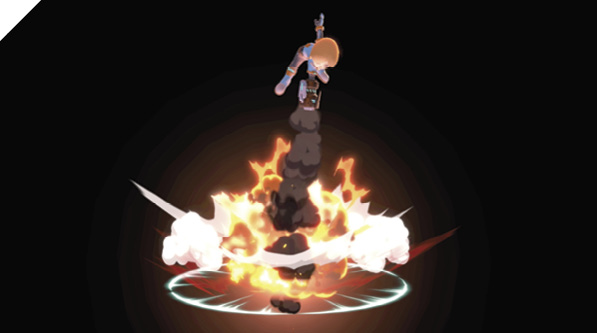
Mii Gunner’s up specials are all slight variations on a theme, using the arm cannon to blast the Gunner up, up, and farther up! There are important differences between them. Lunar Launch initiates with a somewhat sluggish single-hit blast, which catapults the Gunner upward a huge distance. It’s basically a super jump, and lags until landing, though the tumbling Gunner can be steered a bit. With such an absurd altitude gain from Lunar Launch, it’s a strong recovery tool, not to mention a rapid way to go from the bottom floor of a multitiered stage to the top.
Up Special 2: Cannon Jump Kick
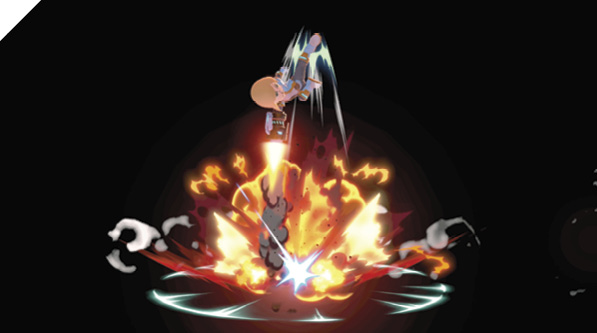
Here, the gun arm is used to launch the Gunner straight up with a rocket-propelled kick. It hits faster and with more damage than Lunar Launch, and the kick can be steered a bit left or right on the ascent. It’s a much better attack than Lunar Launch but doesn’t gain as much altitude for recovery.
Up Special 3: Arm Rocket
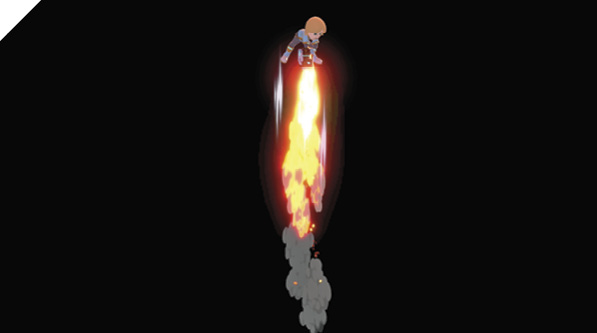
This curious special features Mii Gunner using the gun arm strictly for propulsion. After activation, aim with the control stick to direct the Mii Gunner suddenly in any direction. There’s no hitbox on this move, so its use is for recovery and quick, erratic repositioning only. If not using it to float back from offstage, then use it to run away from enemies to the other sides of platforms, farther away and into better position to fire with ranged attacks.
Down Special 1: Echo Reflector
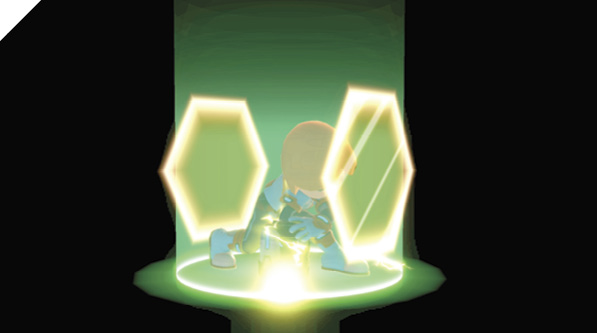
As the Echo Reflector flickers on, it’s briefly a low-damage attack. This Echo Reflector activation spark is actually the fastest physical attack in Mii Gunner’s entire arsenal (quicker than neutral attack or up tilt), if weak and unconventional. After the spark, Echo Reflector becomes a reflection hitbox against incoming projectiles. They’re returned to sender more powerful than they arrived.
Down Special 2: Bomb Drop
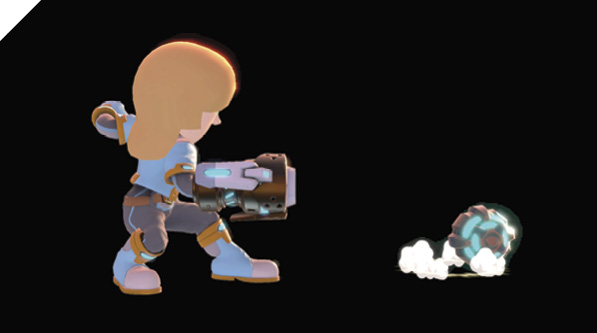
The Gunner ejects a timed explosive from the gun arm along a ponderous arc like a shot put. The bomb bounces a bit and detonates after about three seconds pass, or on contact with a valid target. Launching another Bomb Drop while one bomb is already active prematurely detonates the first one.
Down Special 3: Absorbing Vortex
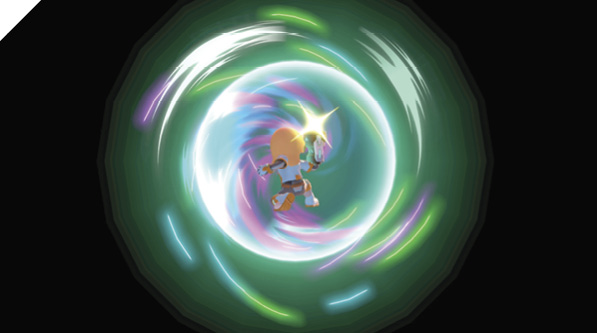
This is a variation on Echo Reflector. Like that special, Absorbing Vortex has a brief sparking hitbox at the beginning, before the absorption vortex initiates. Absorbing Vortex’s physical hit speed isn’t noteworthy like Echo Reflector’s, though. After the hit, the special becomes a vortex that pulls in any incoming enemy shots. Absorbed projectiles refill a shocking amount of Mii Gunner’s health. The return for sucking in a projectile with Gunner’s Absorbing Vortex is much better than pulling off something like Wii Fit Trainer’s Sun Salutation or Deep Breathing. If enemies insist on using shots from far away and don’t adjust their game plans, this special is a restorative boon.
Final Smash: Full Blast
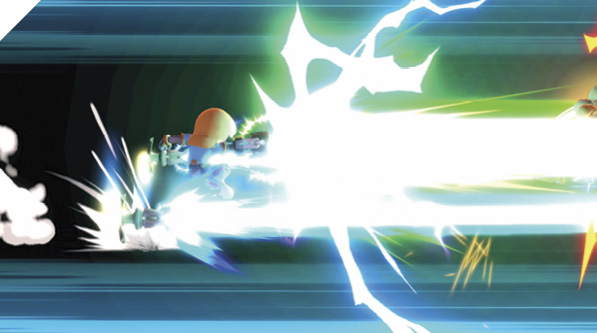
The Gunner’s Final Smash is an overpowering projectile attack that cuts a straight swath to almost infinite lateral range. Except across the very biggest stages, anyone level with you and in the gun arm’s sights is blown away by this concentrated laser assault. The vertical range isn’t much bigger than Mii Gunner’s height, though, so be sure you have potential targets even with the Gunner when opening fire.