
Super Smash Bros. Ultimate Guide Bayonetta
Brawler Arsenal
Grounded Attacks
Neutral Attacks
Neutral Attacks
| Move | Damage | Note |
|---|---|---|
|
Neutral attack 1 |
1.4 |
Hold for gunshots forward. |
|
Neutral attack 2 |
1.4 |
Hold for gunshots forward. |
|
Neutral attack 3 |
2.2 |
Hold for gunshots forward and up-back. Double-tap Attack to trigger neutral attack 4. |
|
Neutral attack 4 |
0.2x4+, 0.5, 5 |
Hold input to increase damage and number of point-blank hits. |
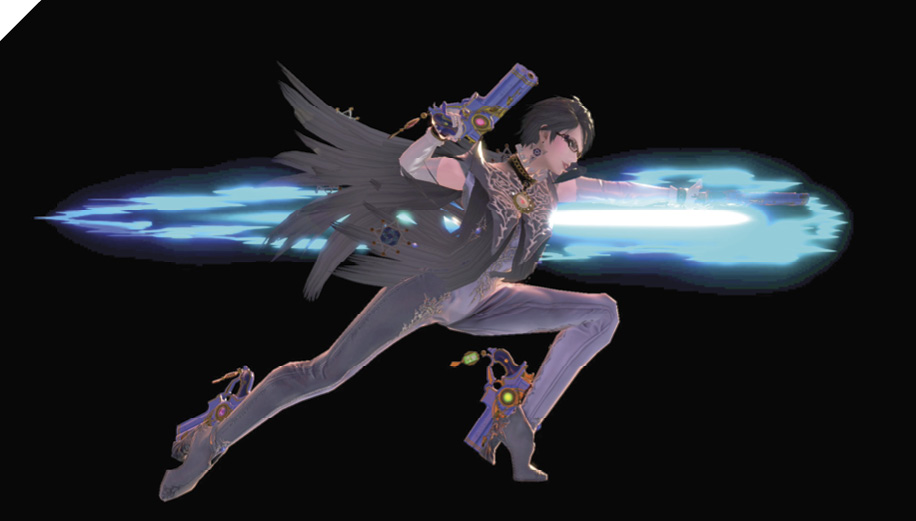
With the first three attacks of her neutral attack combo, Bayonetta attacks with pistol-whip punching. She starts with a forward jab, follows with a backhand punch, then ends with an uppercut. This initial three-hit combo doesn’t have much knockback, and any of the moves is extremely unsafe from punishment if shielded.
Like with many Bayonetta attacks, holding down the Attack button when performing any of the first three neutral attacks makes Bayonetta end the animation by firing off up to 10 rapid, low-damage shots. These aren’t projectiles, as they’re considered part of Bayonetta’s hitbox, and they therefore can’t be absorbed or reflected. They also cut through enemies, hitting anyone in range no matter how many people are in the way. These follow-up gunshots don’t dish out any knockback, so they’re not a deterrent from reprisal up close, but they’re useful for chipping out little bits of damage outside of neutral attack range. Every bit adds up. Plus, you can continue through the neutral attack combo and gunshots even on whiff, so if no one stops you, you can stand fairly far away and do neutral attack 1, hold for far-reaching gunshots, chain late into neutral attack 2, hold for more far-reaching gunshots, etc.
Although follow-up gunshots don’t make enemies flinch, and neutral attack 1, 2, and 3 are easy to punish on block, you can still use the neutral attack combo to frame-trap enemies, with a bit of natural risk. If any stage of neutral attacks is blocked, your opponent might react quickly out-of-shield with retaliation, but you can thwart their attempts by varying your timing between neutral attacks, sometimes canceling one neutral attack to the next immediately, sometimes waiting to cancel one into the next late, and sometimes holding a given neutral attack for a moment for a few minor gunshots before chaining to the next stage. Mixing up the timing makes enemies unsure whether they can strike back, keeping them from using anything beefy to punish you. At the most, they’ll be conditioned to rely on their own neutral attack combo to strike back out-of-shield, which reduces how much punishment Bayonetta takes for a failed combo attempt.
During the third neutral attack, the uppercut, you can double-tap the Attack button quickly to produce a unique fourth neutral attack. Bayonetta unleashes a flurry of rapid attacks up close, before finishing with a launching hit that knocks foes up and away. Hold the button during this attack for extra hits to add up, increasing damage (holding the attack also increases the damage of up-close blows from 0.2 to 0.5). If you pull off the entire neutral attack combo, finishing with the fourth attack, the damage and pushback are great. Bayonetta is occupied for a while, though, piling up the hits, so you’ll be vulnerable to other roaming foes in party battle modes.
Dash Attack
| Move | Damage | Note |
|---|---|---|
|
10 |
Hold for gunshots forward. |
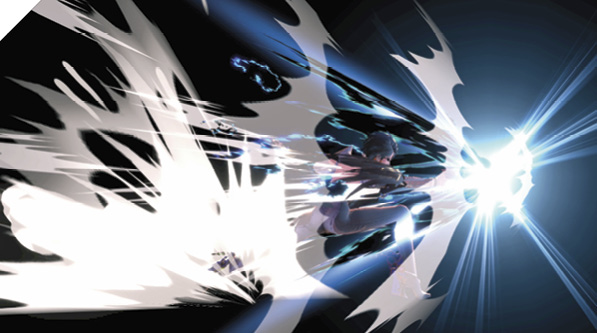
Bayonetta emerges from a dash with a forward-rushing gun punch, knocking back anyone in the way. Damage is highest striking as the attack starts, and she slides forward a bit during the attack. It’s just a bit slow to start up, hitting out of dash about the same speed as your typical side smash. Bayonetta’s end lag on the move is sizable, so foes who shield the dash attack may retaliate. But Bayonetta passes through blocking enemies on the ground if this hits deep enough, perhaps passing through to their backside, which can mess up their counterattack plans if they aren’t prepared with something like an up tilt or up smash that hits to their backs.
Defensive Attacks
Tilts
| Move | Damage | Note |
|---|---|---|
|
Side tilt 1 |
3 |
Pops foe off feet. Hold for gunshots slightly up-forward. |
|
Side tilt 2 |
3 |
Pops foe off feet. Hold for gunshots at 30-degree angle up-forward. |
|
Side tilt 3 |
7 |
Launches foes into potential juggle position. Hold for gunshots at 60-degree angle up-forward. |
|
Up tilt |
1.5, 6 |
Launches foe into potential juggle position. Hold for gunshots upward. |
|
Down tilt |
6 |
Hold for gunshots to both sides at toe level. |
Side Tilt
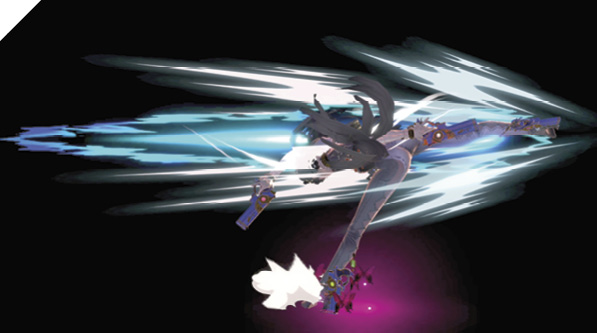
Side tilt leads into combo follow-ups like with neutral attacks. Bayonetta begins with a side kick forward. While that’s in progress, another input leads to a follow-up high kick. Another attack input during the high kick leads to the final kick, a powerful launcher that ejects victims upward into perfect juggle position. Most simply, you can usually jump forward and catch the tumbling target with a forward air combo.
Hold the button during any side tilt move for a stream of weak shots afterward. Side tilt kick gunshots aim upward at an increasingly steep angle.
The initial side kick is sluggish for such an agile fighter, hitting with heavyweight fighter speed. Each stage of the side tilt combo is also horribly vulnerable if shielded, just like neutral attacks. Though the launching side tilt combo is very powerful and tempting to abuse, you can’t be predictable with it or it’ll get you into trouble. When swinging, use this primarily to punish the opponent’s laggier moves, and to catch people emerging from dodge rolls and other transition states. If side tilt is blocked, you can instill some doubt in the opponent by varying whether you speed through all three side tilt kicks, and how quickly. If you’re unpredictable, they may drop shield after one kick and begin a retaliation attempt only to be hit by the next kick. Hitting someone with this kind of thing a few times makes it much safer to use initial neutral attack and side tilt kicks as pokes, since they’ll be hesitant to fight back after blocking unless they have very fast attacks.
Up Tilt
Bayonetta whips a pistol upward, passing through the space directly in front of her before aiming upward. The strong, upward-aimed hit is at the very end of the attack’s active period; the attack’s early period is a low-damage hit rising in front of Bayonetta, which carries close-range victims into the anti-air part, serving as a potential juggle-starter. When using up tilt against someone who’s already airborne, keep this in mind, as you’ll need to allow for extra lead time.
Opponents popped up by up tilt are susceptible to immediate follow-up combos. At low to medium percentages, an immediate Witch Twist carries them upward, after which you can double-jump and catch them with a front tilt air combo. Alternatively, you can Witch Twist upward, then After Burner Kick back and forth across them twice in midair, possibly still leaving you close enough after to tack on up air attack or back air attack.
Holding the button after up tilt results in gunshots straight up, which can be useful to chip at pesky foes like Kirby or Villager, who might be spending a lot of time lofting above the stage without engaging directly.
Down Tilt
Bayonetta lies low and lashes out with a sweep kick just ahead. The range is decent and it’s faster to hit than any other grounded Bayonetta move, so this is more reliable when you’re afraid of using moves with more starting lag. It’s still unsafe from counterattacks if foes attack immediately after blocking, but the frame disadvantage isn’t quite as bad as during blocked portions of neutral attack or side tilt combos.
At low percentages, you can knock someone off their feet with down tilt, then immediately juggle them at low altitude with the full side tilt combo, launching them. From here, with them tumbling right above Bayonetta, chase them with air attacks or Witch Twist into After Burner Kick options. At medium percentages or higher, take to the air with immediate forward air combos to catch them.
Damage is highest at the tip of Bayonetta’s leg, but juggle follow-ups work best if down tilt hits closer in, with slightly less damage.
Smashes
| Move | Damage | Note |
|---|---|---|
|
16-19.2 |
Knocks foe away far and low. Release smash and hold for gunshots forward. |
|
|
Up smash |
17-20.4 |
Release smash and hold for gunshots forward and upward. |
|
Down smash |
5, 16-6, 19.2 |
Bounces enemies into potential juggle position. Release smash and hold for gunshots that ricochet upward and up-back. |
Side Smash
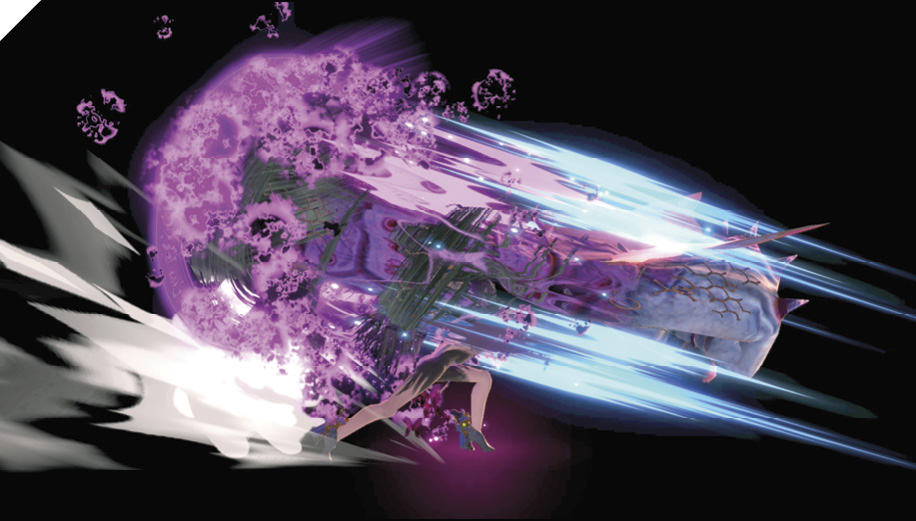
With the windup signaled by the purple glyph that appears around her, the Umbra Witch swings with one hell of a haymaker punch. Like other smash attacks, this gigantic fist is made of Bayonetta’s Wicked Weave, stripping away some of her “costume” as she attacks. For hitting speed, side smash is a bit below average for an attack of its kind, but it makes up for this with size. The fist’s hitbox isn’t a part of Bayonetta and can’t be hit, basically a huge intangible limb. The fist extends far forward of Bayonetta while the ghostly forearm covers directly above her for slightly less damage.
On hit, side smash’s power is good and its knockback hurls victims low and far, setting up a powerful edge-guarding situation if you punch them off the stage. With its range and coverage, side smash also works well retreating from aggressors: dash away, then side smash back in their direction out of the dash!
If shielded, side smash chips away a fair bit at their shields, but the extreme ending lag means sharp foes can retaliate right away. Aim with the tip of the fist to mitigate this problem.
If you want a slew of minor gunshots immediately after the fist strikes, input side smash and release it (avoiding a side smash charge), then start holding the Attack button again right away. Follow-up gunshots after all smash attacks work like this.
Up Smash
Bayonetta sends Wicked Weave underground to erupt in front of her as a raised fist. In action and hitting area, this is like an enhanced (or perhaps tousled) version of Isabelle’s up smash. The hit area is just around the fist, rising in a column from the ground. There’s no coverage right above Bayonetta, or to her back; up smash is strictly a frontal attack. Like side smash, the biggest weaknesses are starting and ending lag. It’s slow to hit on the ground, and even slower to rise to cover heights above Bayonetta’s head. Lots of notice is necessary to use this against jumping or tumbling enemies.
At medium to high percentages, it launches foes up where they can be hit more. The long lag after up smash hits means it can be hard to capitalize until percentages are fairly high. Bayonetta can fire minor gunshots both forward and upward as the fist unravels.
Down Smash
Bayonetta struts and spikes one foot down, summoning Wicked Weave to duplicate this with a colossal stiletto stomp. Like other smashes, this enormous limb of tightly woven hair is impervious to enemy attacks. This is even slower than other smash moves, taking a third of a second to hit uncharged. It starts with Bayonetta’s human foot stomping, and quickly follows with the Wicked Weave’s mega-sized version stomping from the sky. Even between Bayonetta’s foot and the gigantic one made of hair, this attack is active briefly, so it requires precision with the hit timing. On impact at medium percentages and higher, victims are bounced off the ground, vulnerable to more attacks.
The downward-crunching mega-heel is capable of meteor smashing. This is relevant when standing on a soft platform, stomping as enemies underneath try to jump through. It also works, with exact timing, to stomp enemy fingers at stage edges when they try to grasp the ledge. Down smash can launch them straight down off the side just when they think they’ve found safety.
If blocked, down smash knocks a good chunk off enemy shield strength with its two hits, but also leaves Bayonetta badly lagging, open to counterattack. If you release the smash, then hold Attack, her shoes fire gunshots into the floor after, ricocheting straight up and up-back.
Grabs
| Move | Damage | Note |
|---|---|---|
|
0.6, 0.7 |
— |
|
|
Front throw |
10 |
Forward throw. |
|
Back throw |
3, 6 |
Backward throw. |
|
Up throw |
3, 4.5 |
Launches foe into potential juggle position. |
|
Down throw |
3, 5 |
Bounces foe into potential juggle position. |
Grabs
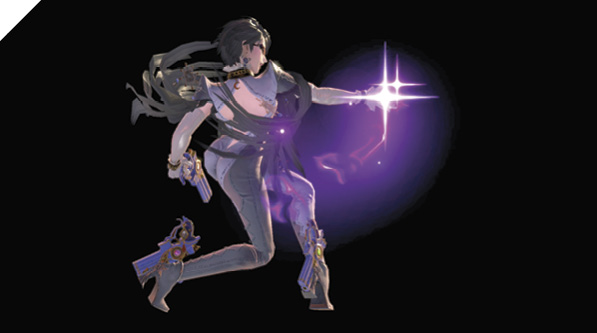
Bayonetta’s grab is slightly below average in speed, snagging anyone close in front with the same speed as a down tilt sweep. Her range on the grab is short, so dash in first to make sure she’s close enough. With enemies so worried about Bayonetta’s far-reaching Witch Weave attacks and gunshots and her multistage neutral and side tilt combos, there should be lots of chances to rush in and snatch them up.
During forward throw, Bayonetta pops the victim forward with a body check that hits anyone else nearby in front. Back throw kicks them to Bayonetta’s backside, pushing them toward a desired edge. Up throw kicks them up into juggle position in forward airspace, while down throw bounces them right off the ground in front of Bayonetta. In either case, you can pursue immediate juggle combos using forward air attack, Witch Twist, and After Burner Kick.
Aerial Attacks
Aerials
| Move | Damage | Note |
|---|---|---|
|
8 |
Hold for longer-lasting spin kick, for gunshots to both sides, and at an alternating 45-degree downward. |
|
|
Forward air attack 1 |
4 |
Gains altitude on successful hit. Hold for gunshots forward. |
|
Forward air attack 2 |
3.3 |
Gains altitude on successful hit. Hold for gunshots forward. |
|
Forward air attack 3 |
7 |
Hold for gunshots upward, downward, and down-forward. |
|
Back air attack |
13 |
Hold for gunshots slightly up-back. |
|
Up air attack |
7.5 |
Hold for spinning gunshots in all directions. |
|
Down air |
9 (5 on ground hit) |
Impact hitbox if attack hits ground. Hold for gunshots at toe level. |
Neutral Air Attack
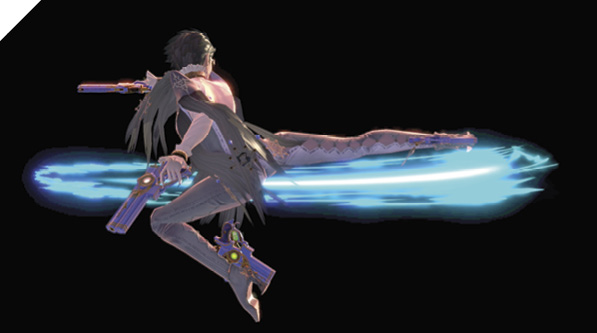
This is a dominating and variable air move that almost seems like a version of Ryu’s and Ken’s Tatsumaki Senpukyaku. Tap the input to trigger a spin kick that hits in front, then behind, then in front again as Bayonetta flies through the air. This initial period deals the most damage on the initial spin, and a bit less for follow-up spins. The active period is generous, lasting a little over a fourth of a second. Whether jumping or short-hopping, if you neutral air attack at the apex, then fast-fall, Bayonetta is covered all the way back to the ground.
Higher in the air, you can continue holding the input to make Bayonetta blanket the airspace around her with gunshots while keeping a lower-damage version of the spin kick going. If you get enough air time to use neutral air attack and hold the input for all 10 follow-up gunshots, spin-kicking the whole way, Bayonetta stays active for over a full second. There’s almost no practical altitude from which Bayonetta can’t neutral air attack and fast-fall, covered the entire way down.
Forward Air Attack
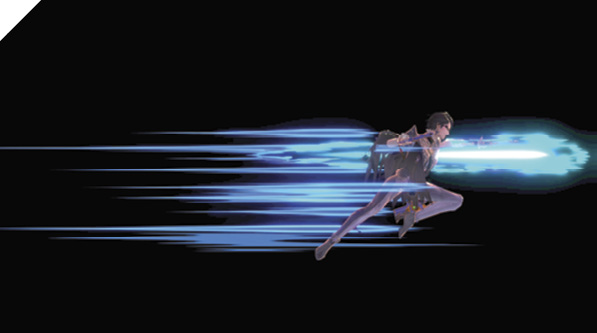
Forward air attack is a multistage attack like neutral attacks and side tilt. The first part is a short-range jab right in front of Bayonetta in midair. This has decent speed, faster than neutral air attack, but it’s not in the same class as some lightning-quick aerial attacks like those of Zero Suit Samus or Captain Falcon. While forward air attack is in progress, tap the Attack button up to two more times for a three-swing combo in midair. The second attack is another punch, and the final hit is a downward-slashing axe kick.
When the first or second stage of a forward air combo strikes a victim, Bayonetta gains a little air, the better to help the rest of the aerial combo connect. (You can whiff forward air combos while falling, but Bayonetta doesn’t gain any hangtime.) You can hold down the button after any part of the attack for a series of small shots right after. The first and second attacks shoot straight across, decent for adding chip damage when descending at medium range from enemies. You can also use this for short-hopping next to a low platform holding foes, shooting at them with forward air attack bullets from a few dashes’ distance. Holding the button during the third attack places weak bullets above, below, and down-forward.
The one-two-three hits of forward air attack are great for going air-to-air with predictable jumpers, and for perpetuating Bayonetta’s myriad juggle combos. In lots of situations, you can pick up foes with a full forward air attack right after something else hits. For instance, hit them with up throw or down tilt, then immediately short-hop with forward air attack.
Back Air Attack
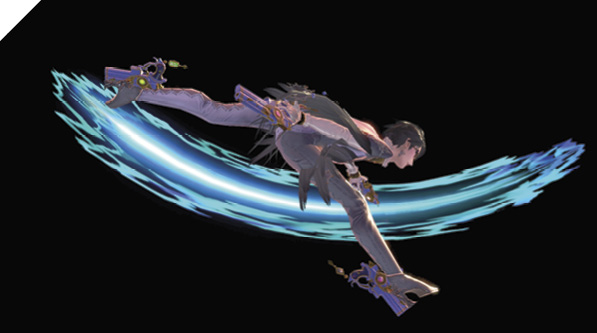
Bayonetta strikes behind her in midair with a stout jump kick. It’s a little slower to hit than neutral air attack or forward air attack, but deals its damage in one quick hit, with decent knockback. Especially as damage percentages build up, the payoff for nailing someone with back air attack grows larger. Hold the button down for a flurry of gunshots afterward, aimed up-back.
Up Air Attack
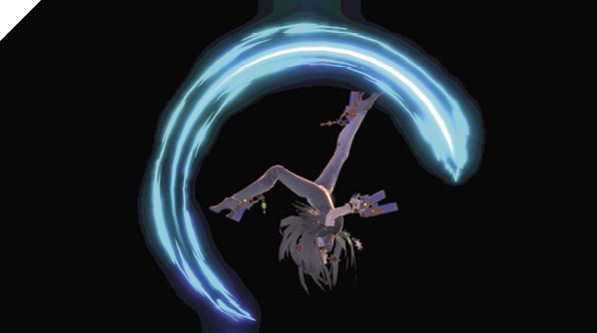
Bayonetta twists in midair to attack with a flipping wheel kick, mostly aimed upward. The kick starts out hitting up-back, behind Bayonetta, before rotating to hit upward and then in front. Most of her moves are kind of aimed linearly, so this is useful as a slashing attack that covers all upward angles. It’s good for aiming at people above, and for continuing juggle combos. Her lag afterward is brief too, allowing quick follow-up actions or double jumps while still in midair.
Hold the button down after for a continuous stream of gunshots, spinning in all directions. Although it requires great timing, the latter active frames of the attack, angled forward and slightly down, can be used as a jump-in against standing foes. If it hits them, they’re knocked off their feet, and an immediate side tilt combo on landing will catch them and launch for more hits in midair.
Down Air Attack
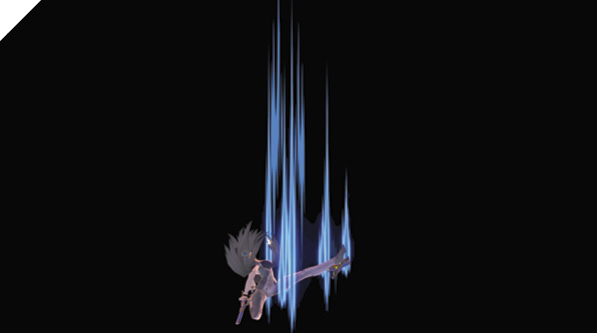
The Umbra Witch plunges straight down with a guillotine kick, dealing the most damage at the foot (and less if enemies are hit farther up, at the knee or thigh). During down air attack, Bayonetta falls downward far enough to cover the distance of jumping and double-jumping, so you can leap up from the ground and smash back down at grounded foes like the move has fast fall built in. Used at double jump height or lower, Bayonetta smashes into the ground with another hitbox on impact. The falling hit and impact tremor can combo together if foes are in the right place. If shielded, though, Bayonetta is in trouble, since down air has by far the most landing lag of any of her air moves.
Hold down the Attack button, and Bayonetta fires off up to 10 rapid gunshots at floor level after slamming down. If performing down air attack from higher than double jump height, the attack ends before the impact, and the touchdown hit and follow-up gunshots don’t occur. This is useful on purpose, aiming the down air offstage to spike recovering foes. Double-jump and After Burner Kick/Witch Twist back up to the stage after taking a falling shot at someone trying to save themselves.
Special Moves
Specials
| Move | Damage | Note |
|---|---|---|
|
Neutral special |
1.4x4-16 |
Four shots on initial press. Mash input for up to 16 shots. Charge to increase power of first four shots to 2.7 each. |
|
Side special (ground) |
8 (hold to add 0.5x3, 5) |
Max damage early in attack. Hold input for altered ending. |
|
Side special (air) |
7 |
On hit, can repeat attack immediately. Hold for gunshots up-forward and down-forward. |
|
Side special (diving) |
6.5, 5 on landing |
Hold downward direction after inputting air side special. Air hit bounces off. Can side special again once after bounce. Ground hit launches. |
|
Up special |
3, 0.2x5, 3 |
Hold input to add 0.5x6 to blender hits with gunshots. Double-jumping allows one more Witch Time use per airborne period. |
|
Down special |
— |
— |
Neutral Special: Bullet Climax
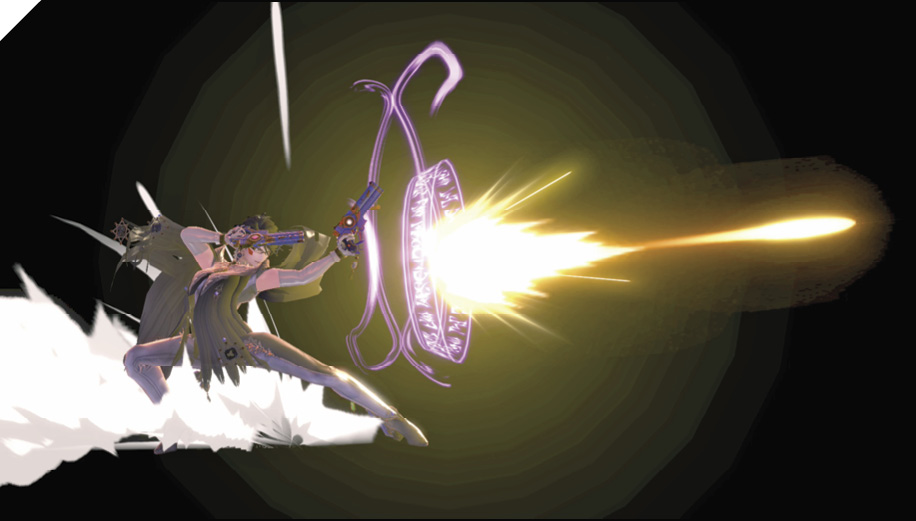
For this ranged special attack, Bayonetta alternates between two versions. On first use, she takes four quick standing gunshots, aiming slightly up-forward. Next time, she fires along the same path but from a handstand, using the guns attached to her feet! Regardless of whether she’s firing with hands or feet, tapping the Special button repeatedly results in more gunshots, up to 16 at a time total.
The first four shots can be charged up by holding the Special button down. This doesn’t take long; the charged shots are ready slightly before the purple flash that indicates a complete charge. Tap forward or backward to dodge-roll out of a charge without firing Bullet Climax at all. This doesn’t “store” the charge like with some charged special projectiles, but it gives you an option for cutting the attack short if you recognize a threat incoming from a new angle. (You can’t cancel the charge with jump-canceling or sidestepping, though.) If you decide to release the charged purple shots, keep mashing Special to follow up with up to 12 more regular-strength shots, like a regular volley of 16.
The range on the gunshots is good, and they’re much more powerful than the follow-up shots possible after most normal moves. Use these to remind your opponents that you have quick ranged options, to make them come to you. They’re also great fired offstage at recovering enemies. The only issue with Bullet Climax is that it doesn’t hit ground-level enemies straight across from Bayonetta, thanks to the slight upward tilt. This makes it perfect for harassing people on low platforms, at least.
Side Special: Heel Slide / After Burner Kick
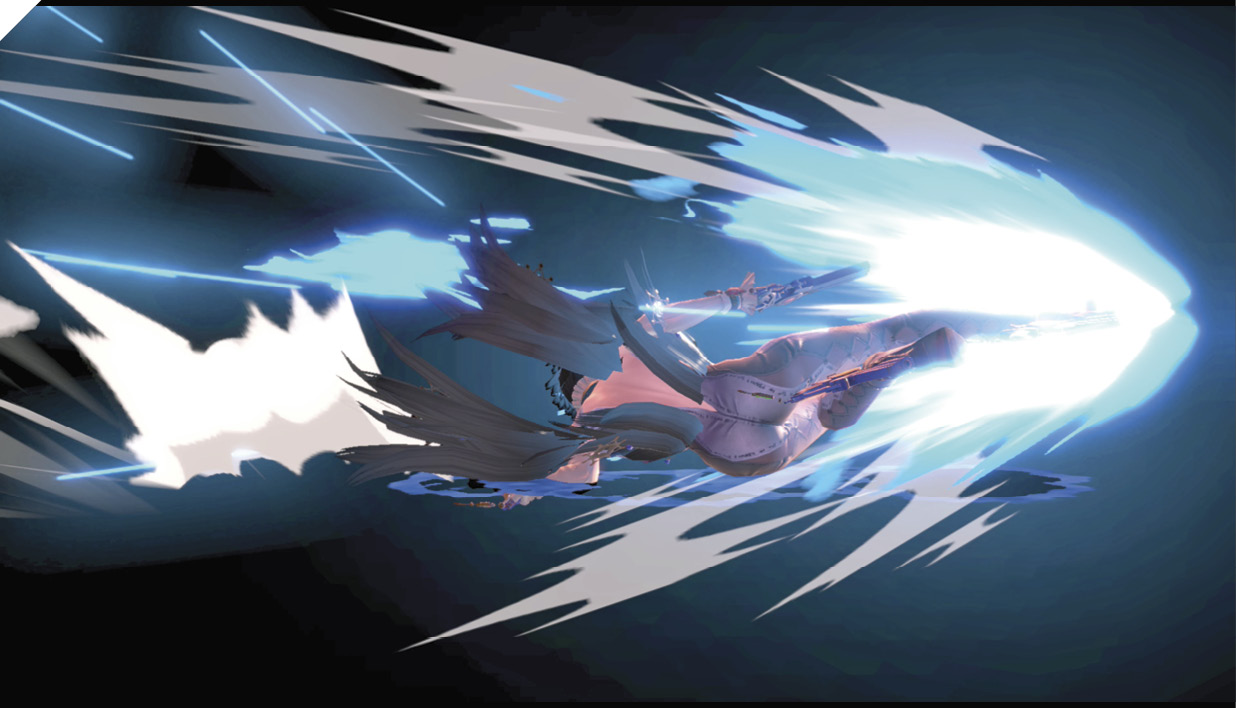
Side special is essentially three different special moves, depending on how and when it’s used. On the ground it’s Heel Slide, a long-reaching slide kick that launches enemies if it hits early or in the middle (toward the end of the slide, knockback is reduced significantly). Functionally, this is like a dash attack that covers much more ground. It can surprise enemies with the sudden ground movement, but it’s wide open to reprisal if the target shields against it or sidesteps.
As Heel Slide slides, hold down the Special input for a special finisher. Bayonetta still slides with a hit that diminishes in damage a bit as it travels, but she adds up to three low-damage foot gunshots toward the end. As the slide and gunshots come to a stop, she performs a launching backflip kick. Heel Slide with the alternate ending can easily lead to juggle-combo chances, but you can’t perform the sliding gunshots into launcher if a foe shields the slide kick itself.
In midair, side special is After Burner Kick. This is a blazing air-to-air move with slight upward travel, about like the path of Bullet Climax shots. Bayonetta has almost no lag afterward, so she can act again right away in midair. What’s more, when After Burner Kick cuts through someone in midair, this lets Bayonetta use it again! In the neutral game, when poking at other jumping foes air-to-air, After Burner Kick is a solid surprise tool for slashing at them from a range most airborne fighters can’t compete with. And anytime you hit someone cleanly with side special in midair, you can immediately side special through them again, crisscrossing their form.
After Burner Kick synergizes perfectly with upward-traveling Witch Twist (not to mention her powerful normal air moves) to give her great combo potential. Almost anytime you carry someone upward with Witch Twist, you can combo them further with After Burner Kick back and forth right afterward.
For recovery, After Burner Kick offers decent horizontal travel, without locking Bayonetta into a helpless falling state right after. If you happen to clip someone with After Burner Kick while trying to make it back to firm ground, you can instantly use another After Burner Kick not for the combo potential, but for twice as much horizontal movement.
For a dive-kicking version of After Burner Kick, input side special in midair, then immediately hold any downward direction. Hold down-forward or straight down for Bayonetta to plunge at a 45-degree angle in the direction she’s facing. Hold down-back to dive kick in that direction instead. If diving After Burner Kick hits an opponent squarely, Bayonetta bounces up off them, ready to act again. It’s hard to perform, but it’s possible to combo another diving After Burner Kick after bouncing off from the first one! This counts as using two After Burner Kicks back-to-back in midair, so another one can’t be performed until landing. (If the angle is right to bounce off the target with diving After Burner Kick, then lance them with a normal, sideways-traveling side special, this also counts as two After Burner Kicks together.)
If diving After Burner Kick hits the ground without hitting a foe, there’s a secondary impact hitbox as Bayonetta lands. This narrow sliding hit can act as an air-to-ground launcher if you dive kick with side special and land directly in front of someone, but this is hard to aim purposely during the usual pandemonium of a match.
Up Special: Witch Twist
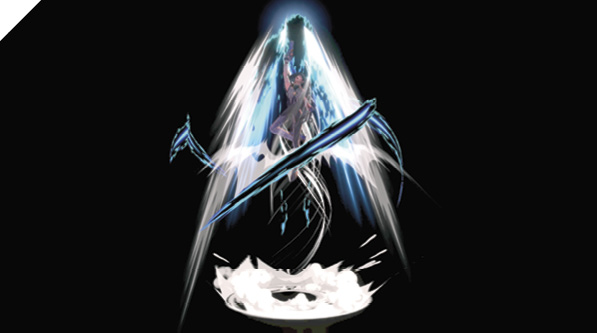
After an initial, quick launching hit up close next to Bayonetta (slightly faster even than down tilt; Witch Twist point-blank is Bayonetta’s fastest attack, during the first active frame), the Umbra Witch rockets a short distance upward, carrying victims with her. She hits several times before blasting them a short distance sideways, in perfect position for an immediate After Burner Kick to combo. Witch Twist doesn’t have good KO potential, with the small knockback, but it makes an unreal air-mobility, recovery, and combo tool. The ground and air versions are almost identical, except the ground version deals slightly more damage on the initial launching hit.
Hold down the Special button after activation to add extra hits with gunshots as Witch Twist rises. This also fires low-damage gunshots straight down under Witch Twist, though they don’t make foes flinch. Unlike with most other attacks that allow a finishing gunshot burst, there’s no downside here. It adds damage and doesn’t make Witch Twist last any longer than usual.
When Witch Twist ends, Bayonetta can act again in midair, which is really unusual for an up special. If you double-jump after using Witch Twist once, you can then Witch Twist again! There are all kinds of uses for two Witch Twists bracketing a double jump, whether for recovery, combos, upward aggression, or climbing large stages quickly.
Down Special: Witch Time
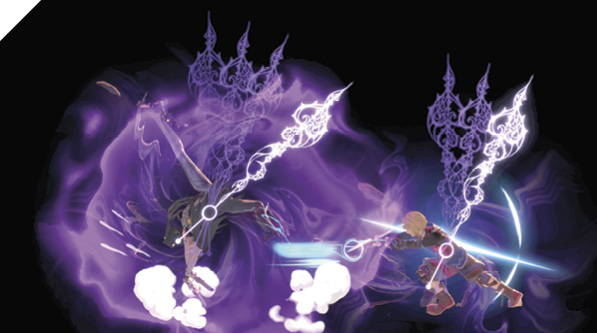
Bayonetta backflips and poses flirtatiously, countering any attacks against her with a powerful curse aimed at nearby challengers. The counter period doesn’t start immediately, but after about the same “start-up” as down tilt. At that point Bayonetta is intangible, and incoming attacks trigger the Witch Time counter.
If something hits her, enemies nearby are slowed for a couple of seconds. They don’t have to be the fighters who attacked her; they just have to be close enough. Everything they do is like being trapped in molasses—moving, attacking, and flinching in slow motion. This provides a huge opening to cut loose with a combo. Repeat use of Witch Time reduces how long nearby fighters are slowed. And Bayonetta is vulnerable if something doesn’t hit her during the brief intangible period. But those are the only catches.
The mere threat of Witch Time can make enemies hesitant to attack. This is good, because savvy opponents who know Bayonetta’s moves are on the slow side may try to beat her to the punch. Your willingness to try (hopefully successfully) this countermove gives them something to think about. Since it works in midair, it offers novel edge-guarding potential. You can step off the side and Witch Time falling toward a rising foe, in position to rise back up and hit them on your way back to the stage, if they take the bait.
Final Smash: Infernal Climax
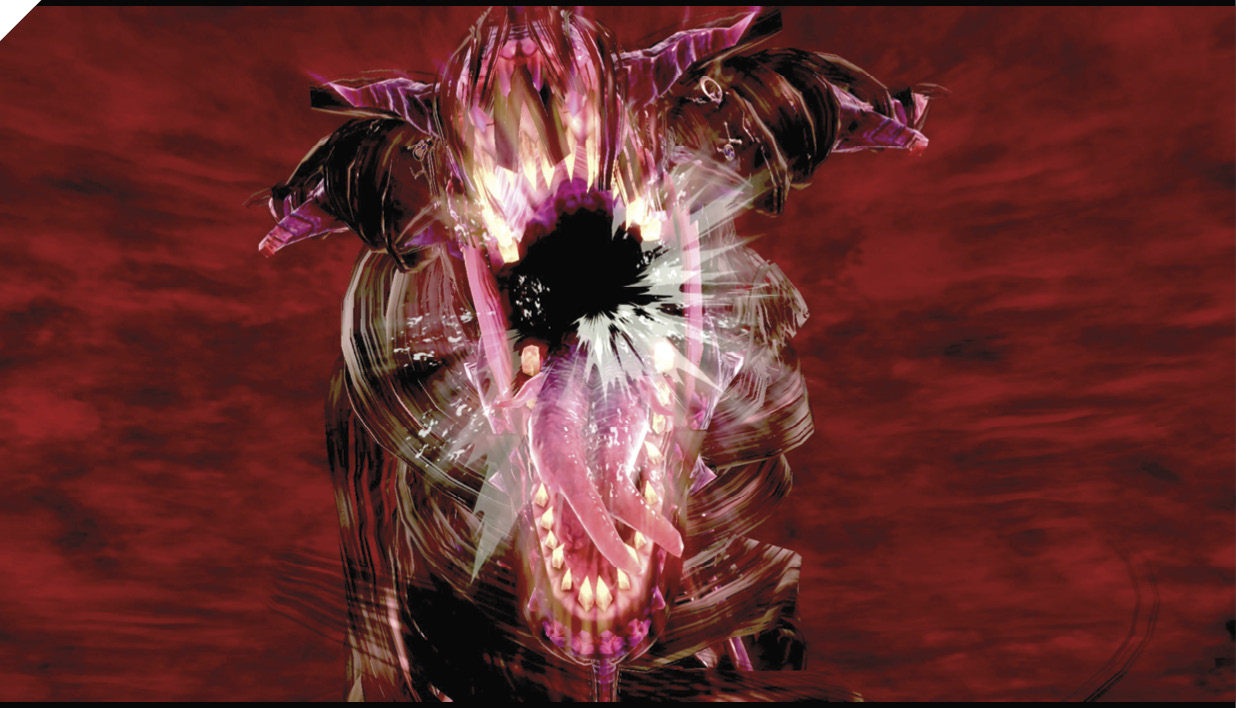
With Final Smash energy ready to go, neutral special triggers a special Witch Time state, slowing down everyone except Bayonetta. A clock timer shows up in the center of the screen, indicating how much slo-mo time Bayonetta has to work with. During this time, scoring hits on enemies fills up a secondary gauge within the timer. If you fill this gauge before the timer runs out, Bayonetta triggers the real Final Smash: the onslaught of Gomorrah, an Infernal Demon who’s sometimes Bayonetta’s ally, sometimes her foe! Mash inputs during the demon’s reign on-screen, adding to the damage output on your enemies.