
Super Smash Bros. Ultimate Guide Cloud
Brawler Arsenal
Grounded Attacks
Neutral Attacks
Neutral Attacks
| Move | Damage | Note |
|---|---|---|
|
Neutral attack 1 |
2.5 |
Hold to repeat attack. |
|
Neutral attack 2 |
2 |
— |
|
Neutral attack 3 |
3.5 |
Launches away. |
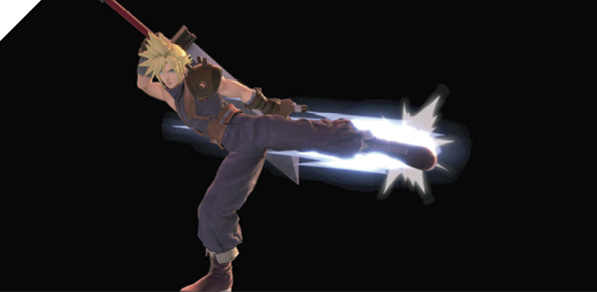
Cloud delivers a thrusting side kick with his left leg, then another with his right, finishing the three-hit sequence with a horizontal outward slash that sends foes flying away. Cloud’s jab combo can be jab-canceled quite early. Hold the down direction on the left control stick during the second attack, and as soon as the animation ends, release Crouch to perform another neutral attack 1. You can use this outside your opponent’s reach to bait them into dashing at you, punishing them with your quick kick attack combo.
For the most part, Cloud’s jab combo isn’t particularly strong as a neutral-game attack, especially since his aerial attacks cover much more range while leaving you safer. Neutral attack should be used sparingly, mostly as a fast poke to deter foes against advancing from dash distance.
Against low-percentage foes, many of Cloud’s combo-starting attacks like up air attack don’t have high launching power, so if you hit with an attack that pops enemies up low to the ground, you can usually go for a neutral attack hit-confirm combo.
Dash Attack
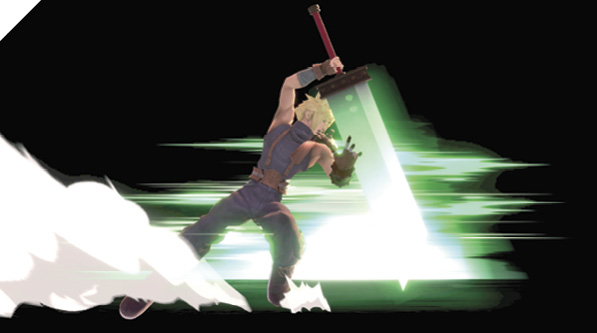
Cloud uses the momentum of his speedy dash and holds out the Buster Sword as if it were a shield. Enemies hit by it are launched high into the air.
While Cloud’s dash attack is unsafe when shielded, its active window persists for a long time (a sixth of a second!). This makes it an excellent punish attack against spot dodges, air dodges, ledge jumps, and tech get-ups. You can use it to follow up some of your throws as a mix-up option, alternating between dash attacks, dashing grabs, empty jumps, and short hop neutral air attack.
Defensive Attacks
Tilts
| Move | Damage | Note |
|---|---|---|
|
Side tilt |
11 |
Knocks away. |
|
Up tilt |
8 |
Knocks directly above for potential follow-up. |
|
Down tilt |
7 |
Launches directly above. Knee intangible (mid-hurtbox). |
Side Tilt
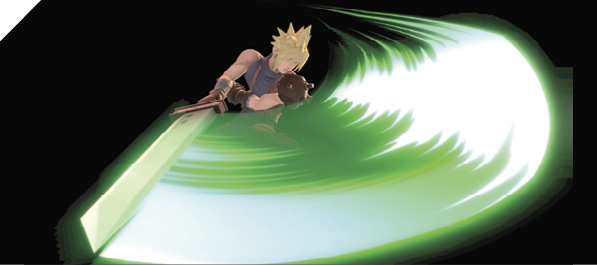
Cloud takes a big swing at the area in front of him with his Buster Sword. The hit effect covers a massive area height-wise, from Cloud’s knees to just above his head. Side tilt boasts a massive frontal hitbox and increased range over Cloud’s jab, but has a short active window. You can use it to deter advancing foes and punish whiffed attacks from outside your neutral attack range. It deals good damage, and at around 40%, it can knock down, forcing a tech get-up situation you can take advantage of. For extending and finishing combos, Cross Slash is recommended over side tilt.
Up Tilt
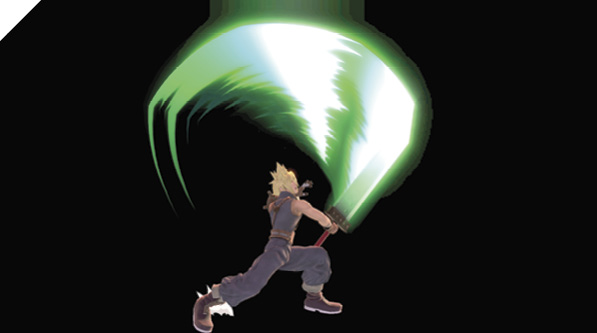
Cloud brings the Buster Sword behind him, then performs an upward slash that arcs above and ends in front. On hit, it knocks foes up into the air, allowing for a potential follow-up attack (such as another up tilt, or an up air attack).
Up tilt is a staple ground attack; it has a pronounced upward hit effect with some horizontal reach, hitting grounded foes nearby (just within your jab range). At low percentages, it usually knocks up enough to guarantee a follow-up up tilt, into a potential hop buffered into up air attack. Its launch trajectory is ideal for setting up Cloud’s up air juggle traps since it knocks enemies vertically and inward (toward you).
While it’s punishable when shielded, you can often poke with it to test your opponent’s defensive response. It’s fast, so the enemy has to be pre-emptively shielding. And it can hit behind you, so it’s a strong option for retaliating right after blocking an enemy crossing you up or hitting from behind.
Down Tilt
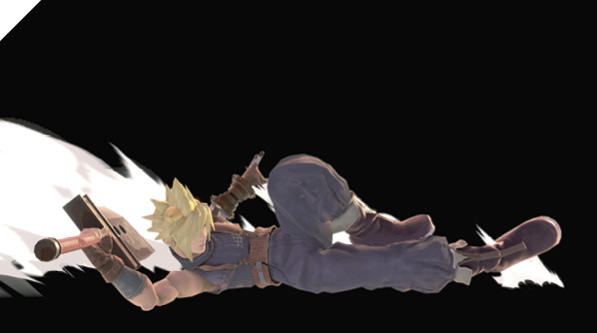
Cloud slides forward quickly with a sweeping kick attack that launches foes directly into the air above. If Cloud hits with the tail end of the attack, you can follow up with an up tilt for a guaranteed combo (at lower-percentage ranges).
Down tilt can be used as a gap-closing whiff-punishing attack, thanks to its remarkable start-up speed and high forward travel velocity. On hit (early or late), it propels the enemy straight into the air for a prime juggle-trap opportunity with Cloud’s powerful aerial attacks.
If you hit with the tail end of the attack, you can combo into up air attack from low-to-mid-damage ranges. Its low-profile and minor intangibility make it a strong option against retreating short hop attacks.
Smashes
| Move | Damage | Note |
|---|---|---|
|
3, 4, 13 |
Launches away, high launch power. |
|
|
Up smash |
13 |
Launches up and away at very slight angle. |
|
Down smash |
3, 11 |
First hit pulls in. Second hit knocks away. |
Side Smash
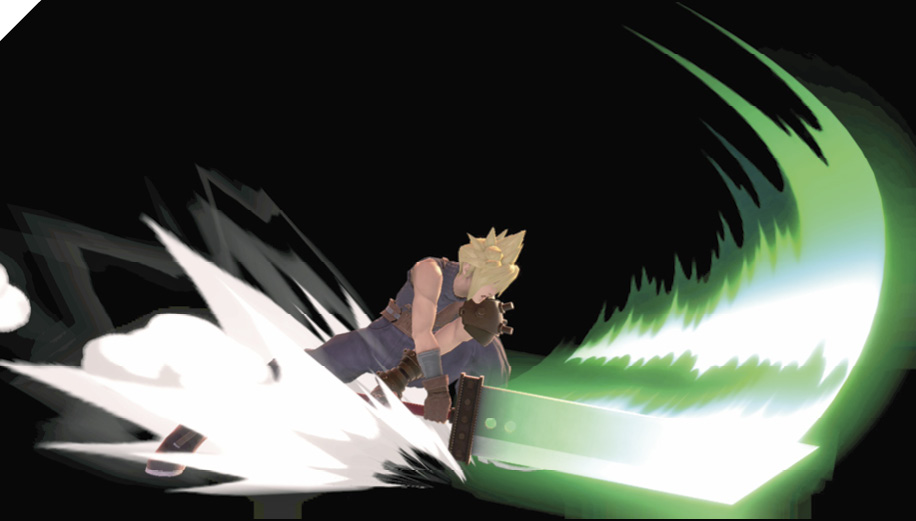
With the Buster Sword in his right hand, Cloud winds up and delivers a potent horizontal slash attack combo. The first hit staggers grounded foes, setting them up for two more strikes, each strike increasing in range. The last hit launches the enemy away. This is Cloud’s most damaging smash attack, so naturally, it starts up slowly and it’s unsafe when shielded or whiffed. If you can make a hard read on an opponent’s attack or recovery (especially near a side blast zone), you can KO foes as early as 70%. Otherwise, you’re left vulnerable to almost any kind of reprisal if you miss.
Up Smash
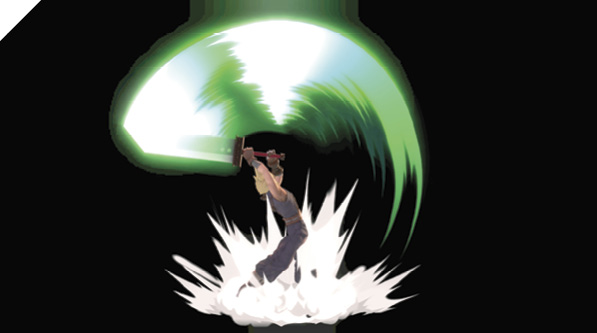
Wielding the Buster Sword with both hands, Cloud performs a heavy slash aimed up above him. It starts by covering the area in front of Cloud, then swings and arcs behind.
Up smash is Cloud’s most versatile smash attack due to its hit coverage and decent speed. While it doesn’t deal as much damage as his other smash attacks and has some end lag, its high-priority hit effect makes it a strong finisher attack against very high-percentage foes, especially if you use it as a reactionary attack to fend off aggressors coming in from a dash or the air.
It can be used to extend low juggle combos in certain scenarios, such as off of a late-hit up tilt or deep up air attack.
Down Smash
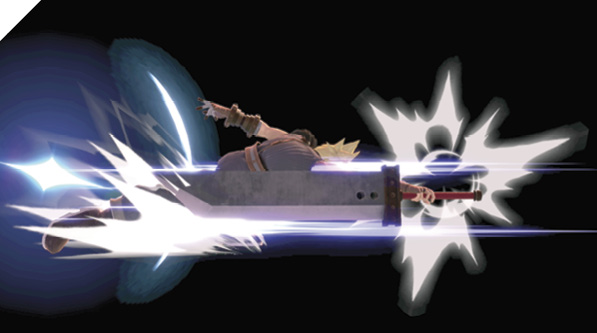
Cloud leans low to the ground with a low-profile attack, striking the enemy’s feet with the hilt of his Buster Sword. The first attack pulls the enemy in while the second attack knocks them away behind Cloud. Although down smash is relatively quick to start, it leaves you at a severe disadvantage when shielded. It can be used to extend specific low-altitude juggle combos, but it should be left out of your neutral-game arsenal.
The rear hit effect can be used to deter enemies pursuing you on the ground, but if they short hop toward you, you’re in a lot of trouble, so it’s generally safer to go with short hop back air.
Grabs
| Move | Damage | Note |
|---|---|---|
|
1.3 |
— |
|
|
Front throw |
7 |
Forward throw. Can cause knockdown. |
|
Back throw |
6 |
Backward throw. Can cause knockdown. |
|
Up throw |
8.5 |
Launches up and away at slight angle. |
|
Down throw |
7 |
Knocks up and behind at slight angle. |
Grabs
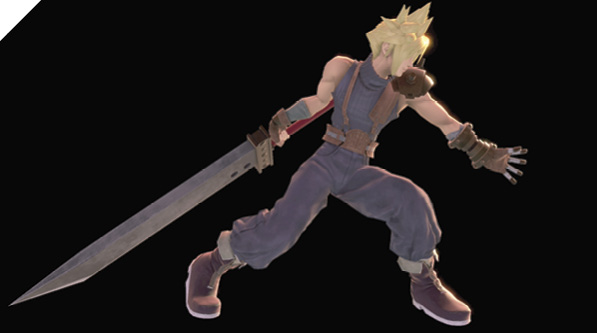
Cloud’s grab speed is below average, and its range is relatively lackluster (about half the range of his max jab range). He also doesn’t get any guaranteed damage off his throw follow-ups. His front and back throws don’t have much launching power and leave the enemy relatively close. At certain percentages, front throw can force a tech get-up and knockdown situation you can capitalize on with a dash attack.
Off of down throw, you can potentially punish with a down-back buffered down tilt sliding attack if your opponent tries to go for an “auto-cancel” landing recovery. If they perform a tech, your slide animation ends early enough for you to go for another grab as they recover. An effective tactic is to simply follow up your down throw with a dash into a shield, baiting out falling attacks that you can shield-grab.
Up throw launches the enemy up and slightly away at an angle, but Cloud isn’t actionable early enough to capitalize with a guaranteed combo, especially if your opponent shuffles away. Your next-best option is to chase them down with a juggle-trap mix-up using up air attack and forward air.
Aerial Attacks
Aerials
| Move | Damage | Note |
|---|---|---|
|
8 |
Knocks back. |
|
|
Forward air attack |
14 |
Knocks up and away. Max damage with tip at slight angle. |
|
Back air attack |
13 |
Knocks back. |
|
Up air attack |
11 |
Launches directly above for potential follow-up. |
|
Down air attack |
15 |
Early hit causes meteor smash. |
Neutral Air Attack
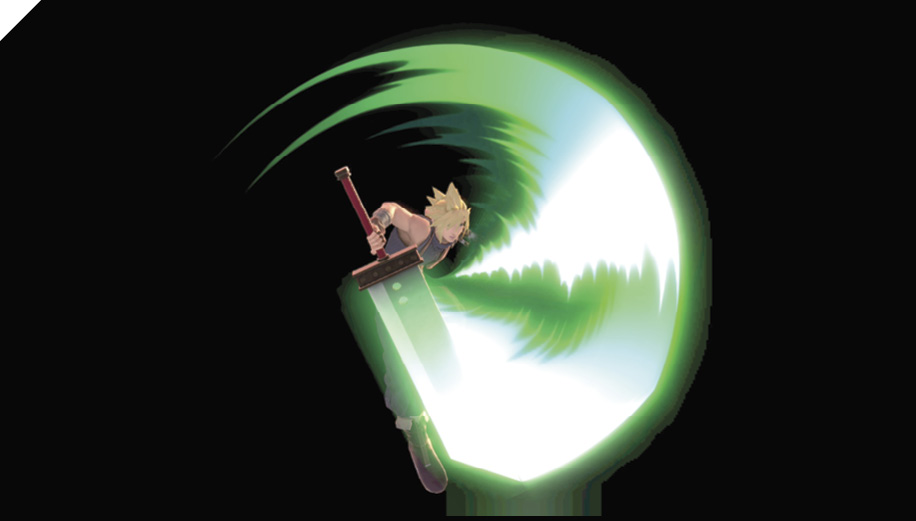
While jumping, Cloud swings the Buster Sword in a circular motion all around him. The attack begins behind him, arcs above, and swings back around, ending where it began. This 360-degree attack is relatively fast, has moderate end lag, and a low amount of landing lag. These features make it Cloud’s best non-Limit Break attack.
It’s a superb anti-air thanks to its superior hitbox coverage. It can catch enemy double jumps and short hops as well as hit grounded foes during your descent.
When your opponent is at a high enough percentage, neutral air attack’s knockback effect becomes more pronounced, allowing you to use it to start combos and tech get-up traps. Against foes around 60% damage, you can connect with a deep neutral air attack, then dash in and go for a dash attack. If the enemy techs, they’ll eat the dash attack when they recover. If they don’t tech, they take the damage anyway as a two-hit combo.
Forward Air Attack
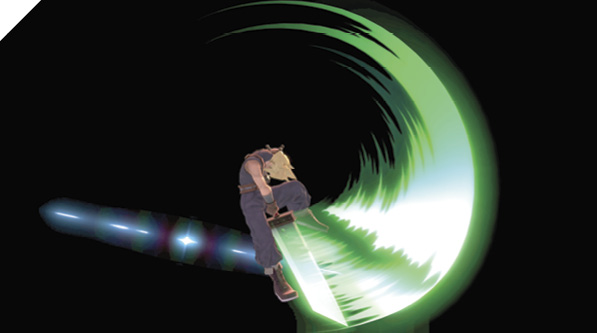
Cloud descends on the enemy with a mighty down-forward swing of his Buster Sword. It has a small sweet-spot meteor hitbox out in front, slightly below the middle of the slash effect. On hit, forward air attack knocks enemies up and away, and if you hit it deep enough during your hop, you can potentially follow up with a down tilt for a guaranteed combo.
Forward air attack can be used as a powerful air-to-ground attack by fast-fall-canceling it from a jump. If timed accurately, it’s safe when shielded, even against some shield grabs! This means you can usually go for fast fall forward airs into a neutral attack follow-up (by holding down the Attack button for an auto-buffer) to punish foes trying to shield-grab you out of your aerial attacks!
Against very low-percentage foes, you can hit a deep forward air into either a neutral attack combo or a much more damaging Cross Slash follow-up (this sequence deals over 40%!). If you hit from max forward air range, you can combo into down tilt or Climhazzard. To time the fast fall forward air, at the apex of your jump, perform a forward air (preferably with the control stick) and then tap down on the control stick to fast fall. If you execute it correctly, you only see a glimpse of the sword’s slash effect.
Against lightweight fighters and when forward air attack packs a much higher launch power, you can follow it up with dash-in up tilt, followed by an up air attack.
Back Air Attack
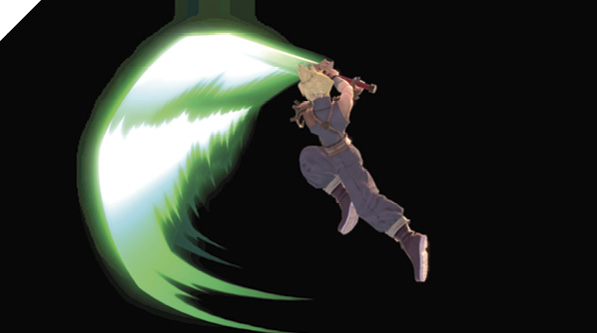
Cloud performs a rear Buster Sword swing behind him while he’s midair, potentially staggering grounded foes (if their damage is low). If it hits an airborne foe, they’re knocked away. Cloud’s back air has the least amount of landing lag, so it’s an excellent air-to-ground attack when your back is facing the enemy. Against low-damage foes, you can combo a deep back air with Cross Slash. At higher percentages (~30%), when enemies are knocked up from back air, you can combo with a dash attack. But for the most part, back air is primarily used as an edge-guarding tool to knock out offstage foes against a side blast zone.
Up Air Attack
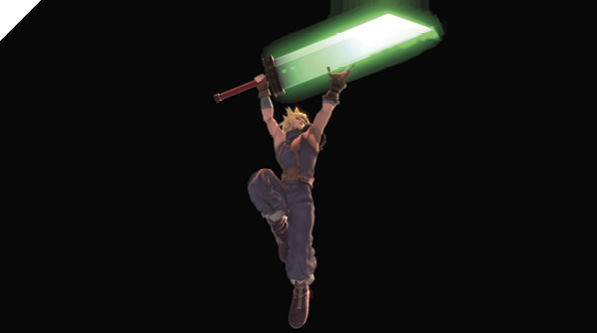
While airborne, Cloud holds the Buster Sword over his head perpendicular to the ground and thrusts it upward for a wide horizontal attack that knocks foes directly over him. Against taller foes, you can hit with up air attack if timed and spaced so that Cloud begins raising the sword while at a low altitude. On hit against low-percentage foes (around 30%), you can combo into up tilt and potentially into an up air after that. Or to keep it simple, perform your Cross Slash combo immediately after hitting with up air. At near-knockout percentages, you can go for up air into Climhazzard if your opponent is near the upper blast zone.
Down Air Attack
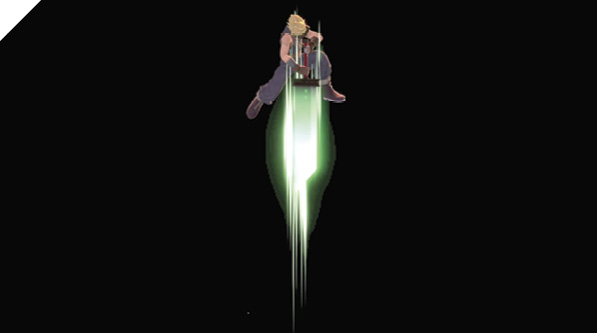
Cloud drives the Buster Sword straight down beneath him while he’s midflight. The initial thrusting motion meteor smashes foes, while the remainder of the attack’s persistent downthrust effect launches them up and away, allowing for a potential follow-up attack.
Down air attack is incredibly unsafe when shielded unless you connect with it at a low altitude, and only if you cross over the enemy.
It’s primarily used as a KO attack for its meteor smash effect in order to finish off recovering foes near the ledge. It has considerable air-lag time and landing lag. If you’re going for an offstage meteor smash, ensure you don’t use your double jump before sticking out down air since you need it to return to the stage.
With perfect execution, you can jump into a down air attack without receiving the landing-lag penalty. It’s difficult to perform, but if you full-hop into an immediate down air, you can land on the enemy and then become immediately actionable, allowing you to follow up with a guaranteed attack while the foe flies through the air (in some cases, you can get an up smash follow-up).
Alternatively, you can use down air as a follow-up to a full-hopping neutral air attack. After a jump neutral air attack, double-jump and immediately transition into down air to descend on pursuing foes beneath you and extend a high-priority attack they must deal with. If you’re at a high enough altitude, you’ll be actionable before you touch the ground, mitigating your landing lag.
Special Moves
Specials
| Move | Damage | Note |
|---|---|---|
|
Neutral special |
Grounded: 8, Airborne: 6.4 |
Knocks back. Damage falls off with distance. |
|
Neutral special 2 (Limit) |
Grounded: 6, 2x5, 3, Airborne: 4.8, 1.6x5, 2.4 |
Intangible before release. Launches up and away, high launch power. |
|
Side special |
4, 3, 3x2, 6 |
Final hit of third input launches up and away. |
|
Side special 2 (Limit) |
5x2, 3x2, 10 |
Intangible before hit. Launches up and away, high launch power. |
|
Up special |
3, 4, 4.5, 3.5 |
Final hit of second input launches up and away. |
|
Up special 2 (Limit) |
6, 7, 4.5, 3.5 |
Intangible before hit. Launches up and away, high launch power. |
|
Down special |
— |
Cancelable by dodge, shield, jump, or roll. Requires 6.5 seconds of charge (empty to full). |
|
Down special 2 (Limit) |
1 |
Low damage, extremely high launch power. Outward windbox at end of move. |
Neutral Special: Blade Beam
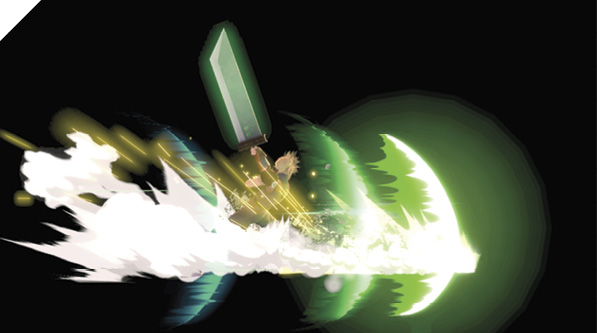
Cloud drives the Buster Sword along the ground, generating a massive energy wave that travels horizontally a long distance. If it hits an enemy, it knocks them back. Blade Beam is a one-hit projectile that provides horizontal stage control. While it can easily be eaten by stronger projectiles, it’s an important tool in Cloud’s arsenal, as it gives him a way to force reactions from timid foes. Its relatively slow travel speed is a double-edge sword; while it’s easy to react to with projectile-reflecting specials, its on-screen presence allows you to use it as cover for a follow-up assault. Against fighters who can’t deal with projectiles easily, you can throw out a max-range Blade Beam and follow it up with a dash-in mix-up (alternatively, you can start charging your Limit Gauge).
If Blade Beam is thrown out midair, Cloud’s trajectory can be slightly influenced by holding left or right on the control stick. This special can be special-reversed, meaning if you input neutral special and then immediately flick the control stick in the opposite direction, you can fire the Blade Beam the other way. You can use this midair to reverse your trajectory abruptly.
Blade Beam’s Limit Break version has a brief intangibility window before it’s released. It deals much more damage, neutralizes most incoming projectiles, and causes much more knockback, potentially KO’ing foes at higher percentages. It’s particularly effective against enemies recovering offstage since it’s a huge projectile attack that’s difficult to avoid. You can hit someone off into a side blast zone or slam them into a wall with an in-facing offstage Blade Beam attack, ping-ponging them off the stage.
Side Special: Cross Slash
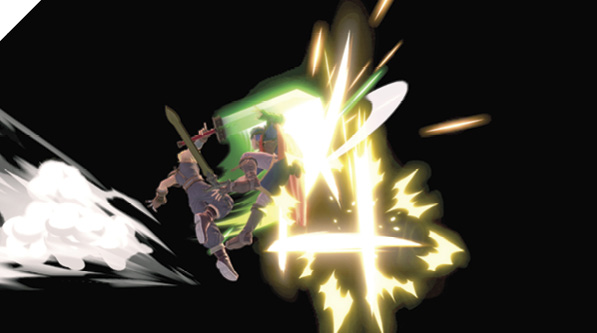
Cloud performs his signature Cross Slash combo attack, a five-hit sequence that inflicts immense damage and launches the opponent up and away. Cross Slash is a three-input attack, but unlike most neutral attack combos, you can only transition into the second and third attacks if you connect with the first one (hit or shielded). The first and second hits pop the enemy up a bit. It’s important to note that you can be punished if the first or second hits without following up into the rest of the combo, since the opponent can act almost immediately while they’re falling from the attack and you’re still in your swinging animation. Essentially, if you hit with it, go ahead and execute the whole combo since there’s no reason not to.
When Cross Slash is shielded, it’s punishable, but you can delay the follow-up attacks to punish the enemy for mistiming their shield grab or for dropping their shield too early (also known as a frame trap).
The Limit Break version of Cross Slash requires only one input. Cloud performs the full combo, regardless of whether the opponent is hit or not. It’s unsafe when shielded, but it deals much more damage and has a bit of intangibility before it hits.
Cross Slash can be used to follow up knock-up combo-starters or punish laggy moves and ledge-recovery options.
Up Special: Climhazzard
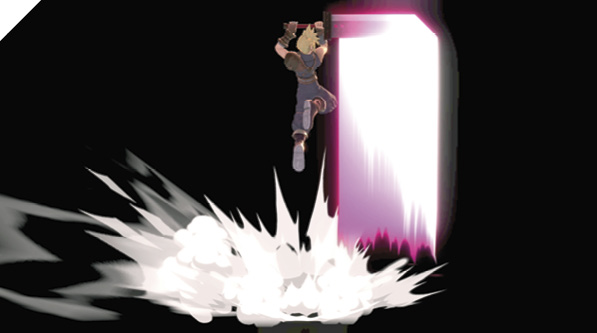
Cloud drives his Buster Sword forward into the enemy, then launches himself sky-high, taking the enemy with him into the air. He finishes the sequence with a helm-breaking dive attack, smashing the opponent into the ground with his Buster Sword.
Climhazzard doubles as a combo extension and an offstage recovery tool for gaining height to grab on to ledges. The optional follow-up dive attack allows you to descend to the ground quickly, but once you commit to it, you can’t alter your horizontal trajectory in any way.
Unlike most other vertical-launching special recovery attacks, Cloud can’t immediately latch on to a ledge during the attack’s upswing animation. You have to wait until after the attack ends, leaving you potentially vulnerable as you peek your head out over the ledge. This is one of Cloud’s biggest weaknesses since it can make recovering against skilled opponents incredibly difficult.
The best way to recover is to time your Climhazzard as low as possible so that when you launch up to the ledge, you don’t peek your head over it. This can be risky since astute foes will chase you below the stage and take advantage of your situation. Alternatively, if you notice your opponent camping too close to the ledge, you can try to hit them with your Buster Sword from the bottom of the ledge.
Limit Break Climhazzard is an essential tool and, in many cases, is worth saving your gauge for. It deals more damage and launches 50% higher than regular Climhazzard. More importantly, it allows for early ledge grabs, whereas the regular one does not.
Down Special: Limit Charge / Finishing Touch
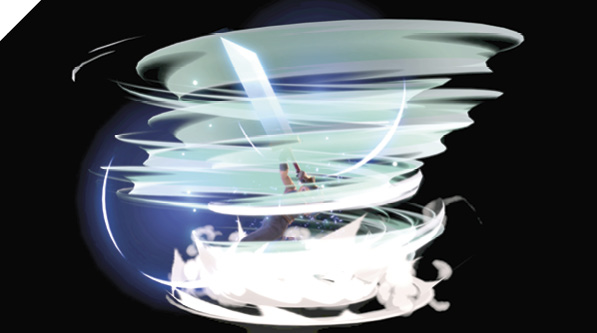
Cloud remains in a stationary stance gathering power, filling his Limit Gauge. It requires roughly 6.5 seconds to max out the gauge.
While your Limit Gauge is maxed out and flashing, your next down special input executes Finishing Touch. Cloud performs an ultra-powerful uppercut slash arcing in front of him and ending behind. The slash offers massive area coverage. On hit, it registers a cinematic effect: Cloud blasts the enemy into the sky with extreme launch power. It deals only 1% damage, but can KO foes as low as 70% damage. It’s very unsafe when shielded up close.
The end of the move has a pushback effect (or a “windbox”) that deals no damage, but can push foes off ledges. If you can time the attack against an offstage recovering enemy, you can potentially blast them with a gust of wind to force them offstage for a KO. This can be used while in midair, so you can chase after someone you’ve launched offstage; then, when you’re close to them, execute Finishing Touch to have the windbox push them away so that they can’t recover.
Final Smash: Omnislash
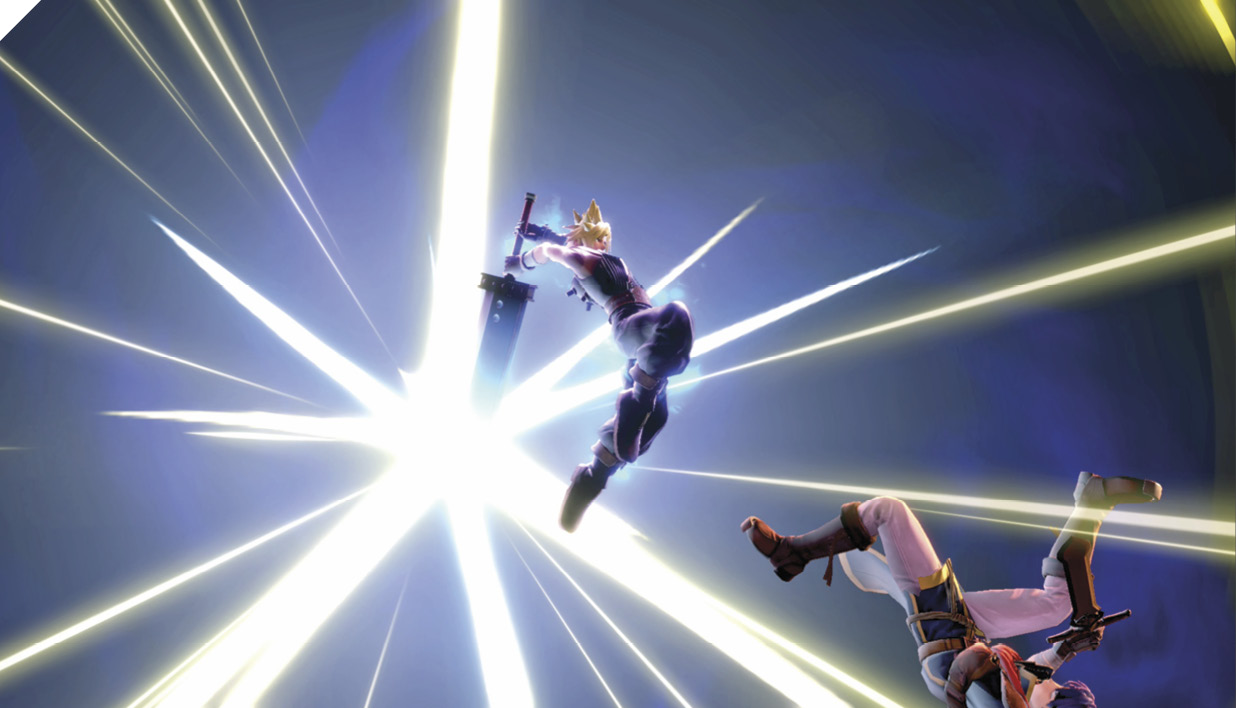
Cloud dashes forward and hits opponents. He then dashes upward and unleashes a flurry of swift slashes, finishing with a powerful blow that launches opponents straight down. Use it when the battle gets heated, and try to hit several enemies.