
Super Smash Bros. Ultimate Guide Young Link
Brawler Arsenal
Grounded Attacks
Neutral Attacks
Neutral Attacks
| Move | Damage | Note |
|---|---|---|
|
Neutral attack 1 |
2 |
— |
|
Neutral attack 2 |
1.5 |
— |
|
Neutral attack 3 (rapid) |
0.3xN, 2.5 |
Launches away, high knockback. Hold to repeat. |
|
Neutral attack 3 (thrust) |
3.5 |
Launches away. |
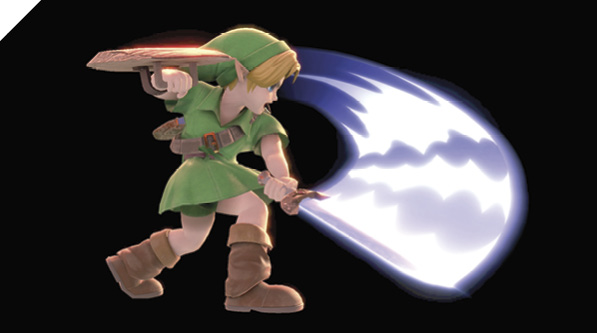
Young Link performs a multi-strike sword attack sequence, beginning with two speedy sword slashes and ending with either a single heavy sword thrust or a flurry of stabs into a launching uppercut swipe.
Neutral attacks are generally best used to stop aggressive foes in their tracks, either as an out-of-shield option to punish aggression, or an approach-checking tool that can knock enemies away on hit.
The rapid-attack ender deals potentially more damage and sends enemies flying into the air, while the normal-jab ender is a thrust that knocks foes directly away.
Young Link can set up jab-cancel mix-ups as an alternative to transitioning the combo into a finisher. After connecting with the first two sword slashes, you can perform a jab cancel (i.e., bypassing the jab auto-combo with a different attack), followed by either a grab, a down tilt, or a hopping attack. To jab-cancel, hold the control stick down (to crouch) as you hit with the second neutral attack, then as soon as your strike animation ends, input Grab to immediately go for a Hookshot. This setup presupposes that the opponent will put up their shield as they’re being struck by your first two neutral attacks, punishing them if they do. You can mix this up by replacing Hookshot with down tilt, punishing foes for not shielding.
Dash Attack
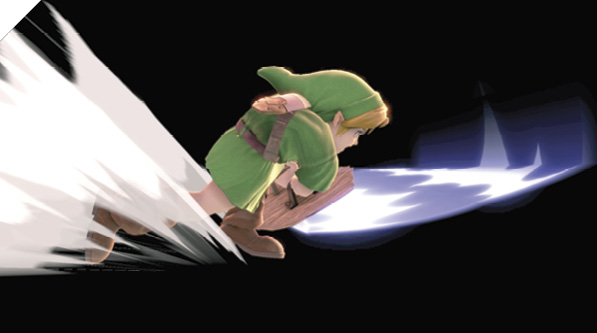
While rushing forward, Young Link lunges at the enemy with an overhead slash that knocks foes diagonally away and upward.
Most dash attacks are unsafe on shield, and Young Link’s is no different. It has a noticeable end lag, so it’s best used to chase down descending foes coming down from a double jump or recovery move. On hit, it only knocks foes away, with limited potential in follow-up combos (although it can KO opponents near a ledge).
Defensive Attacks
Tilts
| Move | Damage | Note |
|---|---|---|
|
Side tilt |
12 |
|
|
Up tilt |
8 |
Launches up and away at very slight angle. Deals more damage with tip. |
|
Down tilt |
10 |
Launches up at slight angle, high knock-up. Deals more damage with inner hitbox. |
Side Tilt
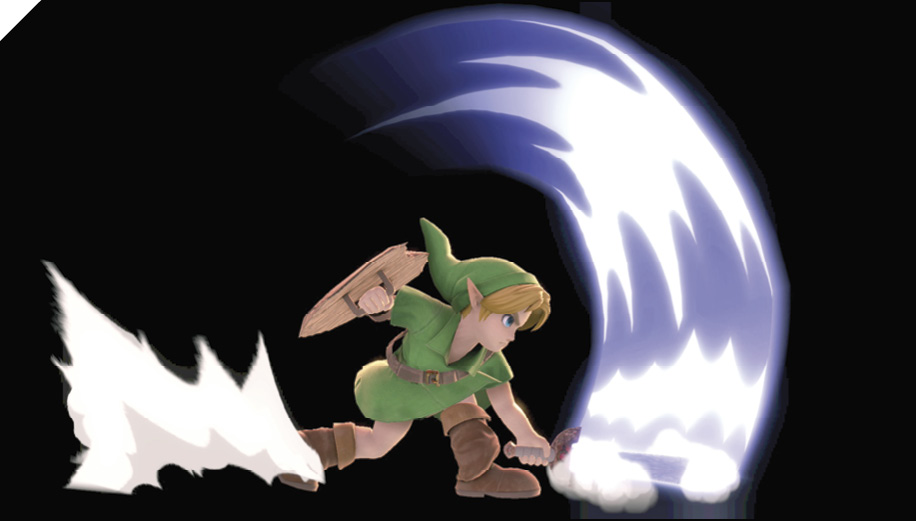
Young Link slams his sword down toward the ground with a weighty forward swing, beginning from up above his head, knocking away foes. Side tilt is a moderately quick attack with a superb arc and hitbox. The initial active window of this attack begins above Link’s head, so this attack can be used as an anti-air against short hop attempts. It can also be used to cover and stuff forward movement from approaching enemies, and is an excellent whiff punisher with solid KO potential at higher percentages, especially near the stage’s edge.
Up Tilt
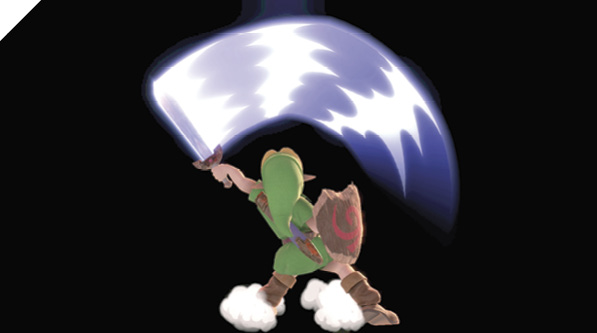
Young Link delivers a sword-swipe attack above him, covering a wide arc, starting at his front and ending behind him. Up tilt is a solid and versatile anti-air. It has generous horizontal hitboxes in front and to Link’s rear as it makes a wide arc. As with most up tilt launching attacks, you can follow up with potential mix-up juggles with forward air or neutral air attack (at lower percentages, neutral air is a guaranteed combo). Combos are much easier to score if you hit with the tail end of the attack (the rear hitbox).
As a defensive attack, you can use it after shielding an opponent’s attack that leaves them behind you since up tilt covers a decent horizontal range.
Down Tilt
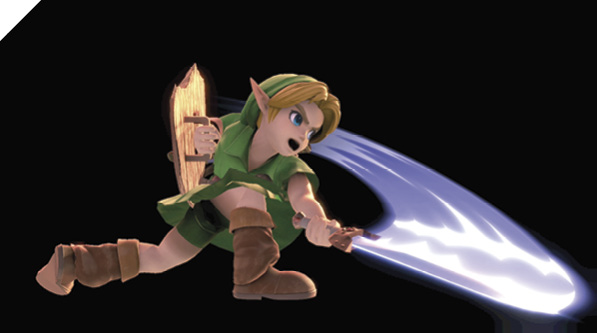
Young Link crouches low to the ground and slices at the enemy’s legs, sending them up into the sky.
This is Young Link’s best and most useful ground attack. It’s comparatively quick, launches foes, and is safe against jab punishes when shielded. When spaced to hit at max distance, you can follow up with more pressure, such as with a Hookshot grab, a short hop neutral air, a short hop forward air, or even another aggression-stopping down tilt.
At around 35% damage, you can combo down tilt into a buffered short hop forward air for much more extra damage. Alternatively, you can combo into up air, which launches enemies farther into the sky directly above you. With this advantage state, you can start going for anti-air mix-ups to juggle your descending foe.
Smashes
| Move | Damage | Note |
|---|---|---|
|
6 |
Slight hitstun knock-up. |
|
|
12 |
||
|
Up smash |
3, 3, 8 |
Launches directly above and behind, with very slight angle. Deals more damage with inner portion of attack. |
|
Down smash |
13 |
Launches away. Clear-out attack. Deals more damage with inner hitbox. |
Side Smash
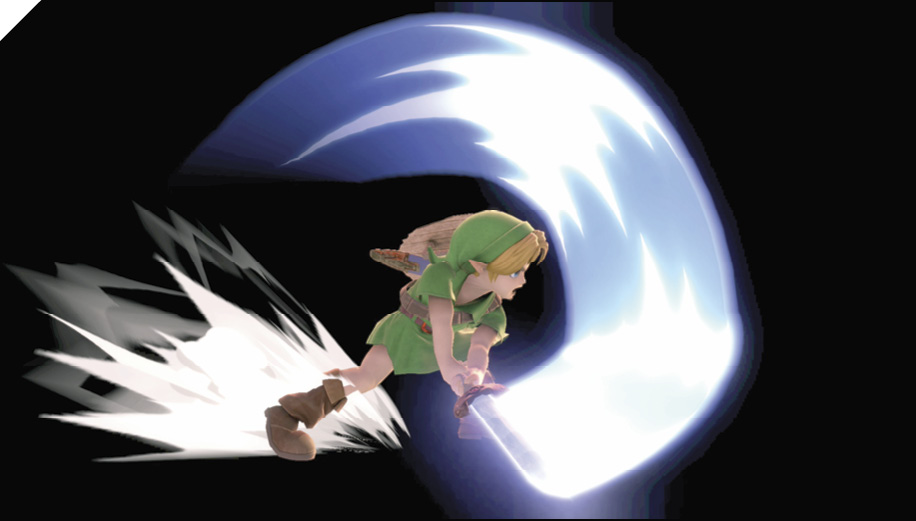
Wielding his sword with both hands, Young Link delivers a powerful overhead blow to the enemy in front of him and follows up with a launching attack that blasts the foe up and away. Young Link’s side smash is a two-part combo, with the second launching attack being optional. If you press Attack during the first swing, you follow with an upward slash that knocks enemies into the air.
The first hit is punishable on shield by most jab-attack retaliations (although the second hit is incredibly punishable). That being said, it’s worth using once in a while in the neutral game, as long as you don’t whiff the follow-up hit (or have it shielded).
Side smash is fairly fast for a smash attack and can be used as a whiff punish, ledge-recovery punish, or to check your opponent’s aggression. In some cases, you may be able to “frame-trap” an opponent with the first-to-second hit transition. Some opponents may try to punish your side smash with a tilt attack (or something slower than a jab), and if you go for side smash into its follow-up launcher, you may be able to pre-emptively counter their retaliation with your second attack. Of course, this can be a risky tactic, so make a good read on your opponent’s habits.
Up Smash
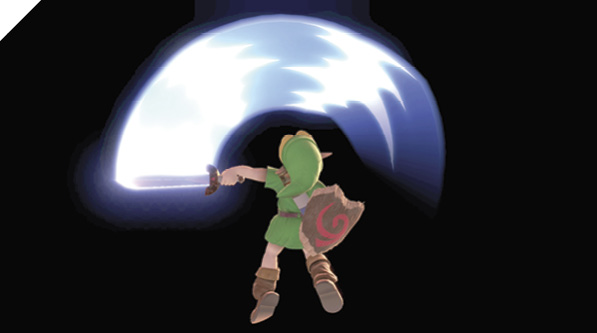
Young Link performs three crescent-arced slashes directed above his head. The first two strikes pop the enemy up, with the final high-powered strike sending them into the air.
Up smash is a high-risk finishing attack, best used if you can make a hard read on your opponent (for instance, as a descending air dodge punish). It’s considerably laggy and difficult to use safely in the neutral game, so it’s recommended that you stick with up tilt in most situations.
Down Smash
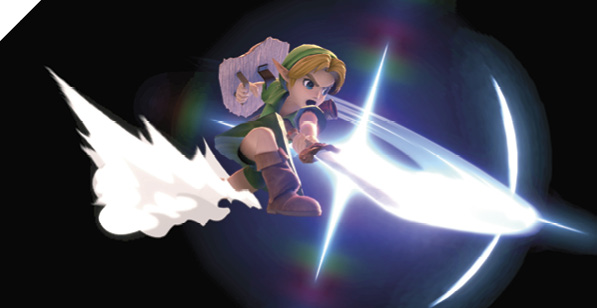
Young Link clears out the area around him with a forceful back-to-back sweeping slash, first striking the ground in front of him, followed by a sweep behind.
Down smash is Young Link’s fastest smash attack, and thanks to its clear-out effect, it’s an ideal move to use for punishing rolls that end up behind you. It’s easily punishable if whiffed in the neutral game, but good as an edge-guarding tool against ledge-hanging enemies trying to recover back onto the stage.
Grabs
| Move | Damage | Note |
|---|---|---|
|
1 |
— |
|
|
Front throw |
6 |
Forward throw. |
|
Back throw |
6 |
Backward throw. |
|
Up throw |
6 |
Launches foe directly above for potential combo follow-up. |
|
Down throw |
6 |
Launches foe directly above for potential combo follow-up. |
Grabs
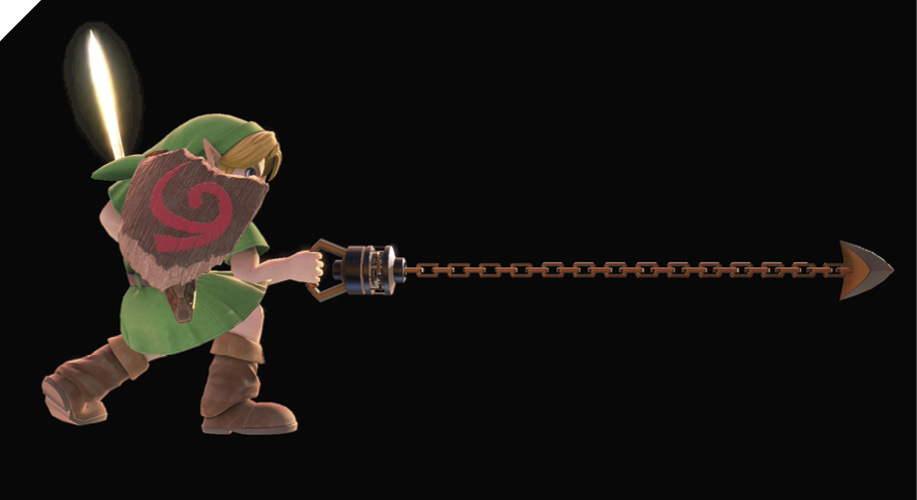
Young Link fires his grappling hook that ensnares a foe and hooks on to ledges. All of Young Link’s throws deal the same amount of initial damage, while the up and down throws allow for more damage potential since you can combo off them. Forward and back throws should be reserved for specific edge-knockout opportunities, while up and down throws are your primary damage-racking ones. Off of both up and down throw and at 0% to around 70%, you can usually combo into a buffered short/jump up air. With practice, you can combo into back air by turning around before you hop, and then delivering a back air (this may take some practice).
When air grapple is used midair, and as long as you’re near a grabbable ledge, Young Link automatically throws his Hookshot to it, extending your edge-grab range. This is an incredibly valuable asset to your recovery game. Like most ranged ledge grapples, you’re limited to three Hookshot grapples while you’re offstage. So if you Hookshot-grab a ledge and then jump off the ledge without your feet making direct contact with stage ground, you can Hookshot the same ledge, but only up to two more times. The fourth time, you bounce off and likely plummet to your death.
Air Hookshot deals damage but doesn’t grab enemies. It starts up much faster than a ground Hookshot and can be used as a midrange defensive tool to keep foes at bay in certain scenarios.
Aerial Attacks
Aerials
| Move | Damage | Note |
|---|---|---|
|
10 |
Deals more damage at start. Persistent hitbox. Can cause standing hitstun. |
|
|
Forward air attack |
6, 8 |
Slight knock-up. Deals more damage early hit. |
|
Back air attack |
5, 7 |
Knocks back. First hit causes slight knock-up. |
|
Up air attack |
15 |
Launches directly above. Persistent hitbox. |
|
Down air attack |
18 |
Neutral Air Attack
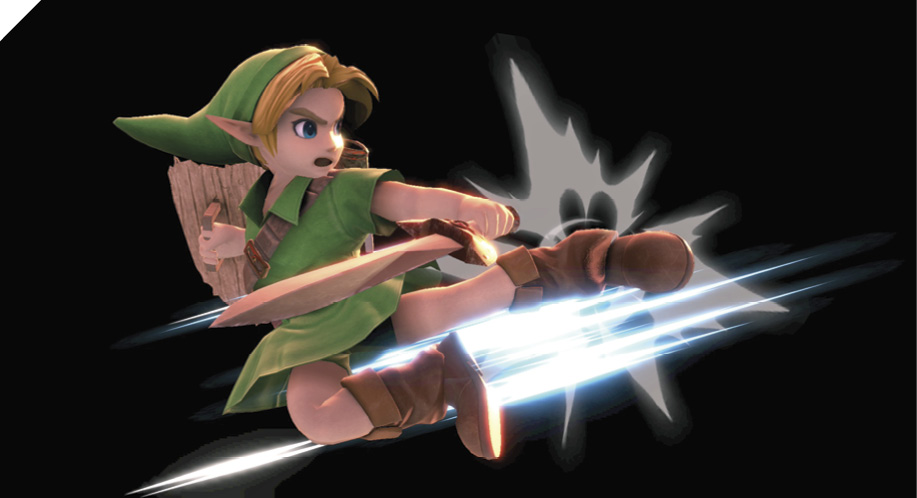
In midair, Young Link delivers an incredibly fast kick attack, leaving his leg extended for a brief time.
Neutral air attack is one of your best attacks. It’s extremely versatile thanks to its start speed and persistence. If you short- or jump and extend neutral air at the peak of your jump, followed by a fast fall, you can make it difficult for aggressive enemies to approach you. Although it doesn’t deal much damage or have great knockout potential, it’s an excellent offstage edge-guarding tool because of its long active window, making it difficult for recovering foes to get past.
Forward Air Attack
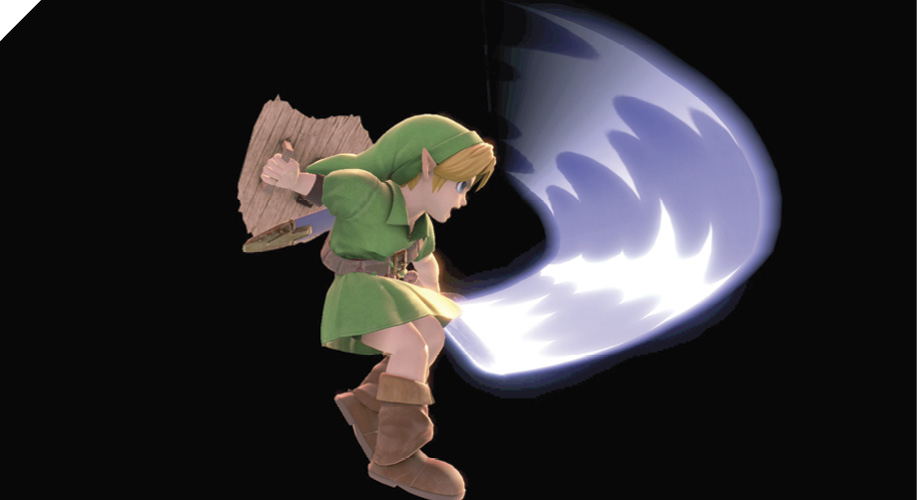
Young Link leaps into the air and performs a spinning two-hit sword combo, slashing at foes in front of him, knocking them out of the sky.
Forward air attack is a solid offensive tool to apply pressure with. Depending on your timing, you can force the first or the second hit to connect at a low altitude. The first hit slightly pops foes up, allowing for a potential deep forward air into neutral attack combo or up tilt. This is best executed off of a short hop into forward air, canceled into fast fall, or simply short hop into delayed forward air.
Off of a jump, you can time your forward air attack right before the apex of your jump, then fast-fall-cancel it so that the second hit strikes low to the ground. Mix up your opponent’s defensive measures by alternating between these two attacks. If you can condition your enemy into a defensive shielding posture, you can start going for Hookshot grabs instead.
Back Air Attack
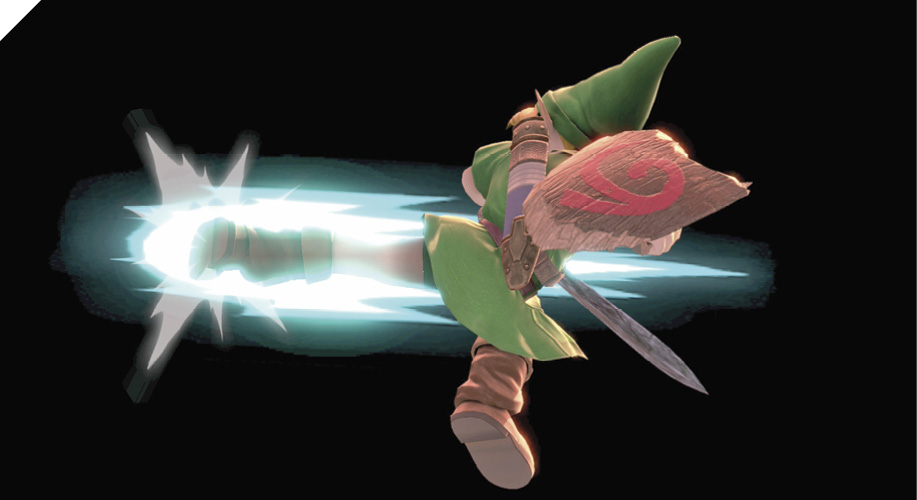
While airborne, Young Link performs a two-kick combo: starting with a straight back kick with his left leg, followed by a spin kick with his right.
Back air attack excels as an edge-guarding attack. With your back to a ledge and while the enemy is in an offstage recovery state, you can harass them with back-jump back airs, potentially knocking them out. Like forward air attack, the first hit pops up grounded enemies, allowing for a potential combo follow-up with a neutral attack combo (as long as you turn around properly before going for your jab).
Back air attack has very little lag, midair or on landing, so it’s great as a poke as well, allowing you to attack multiple times in a jump.
Up Air Attack
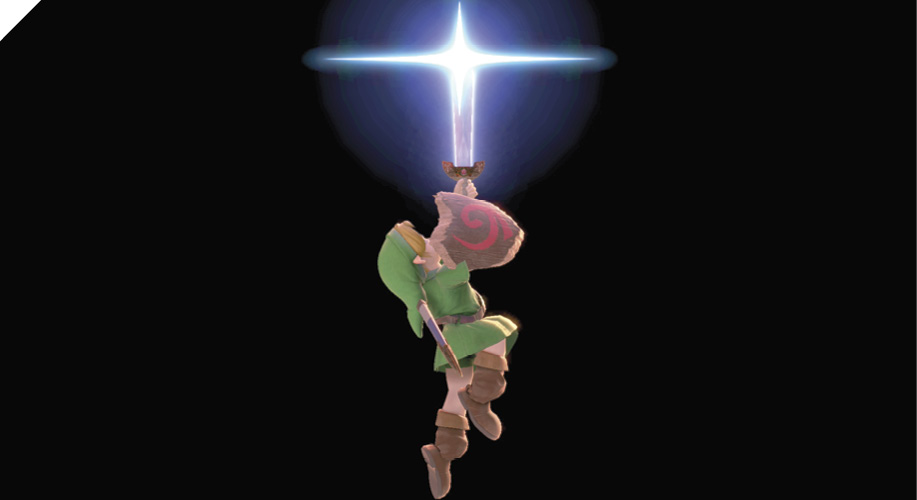
Young Link performs his signature upward-thrust attack from TheAdventureofLink: a stab directly above his head that he leaves extended for a lengthy duration and launches the first enemy it hits.
Up thrust has a narrow up-angled hitbox, but its long active window makes it difficult for descending enemies to challenge. You can use it to poke at enemies on platforms above you, or as an edge-guarding tool. It leaves you vulnerable if you miss with it, since it stays out for so long and has considerable end and landing lag. Use it deliberately and carefully.
Down Air Attack
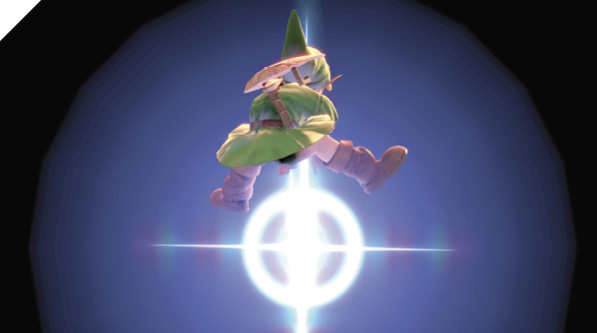
Young Link performs his signature downthrust: he descends from the air using his sword like a pogo stick, extended downward and bouncing off foes it connects with while spiking them into the ground.
Like up air attack, your down air stays out for a long active period and can be punished if you’re imprecise with it, since it has a distinct and lengthy landing lag (the landing effect doesn’t have a hitbox, although it may look like it).
Down air attack can cause a meteor smash and is particularly effective for spiking foes off the stage as they try to recover below you. For ledge-hovering combat scenarios, if you can force an enemy off the ledge into a disadvantage state, you can follow them far below off-screen and go for a down air attack to bounce off their head, KO’ing them, before using your Spin Attack to recover yourself.
Special Moves
Special Moves
| Move | Damage | Note |
|---|---|---|
|
Neutral special |
4 (12 at max charge) |
Considered a fire-based attack. Charging increases damage and range. |
|
Side special |
Normal: 11, Flicked: 13.2 |
Can be angled up or down with control input before release animation. Flick control to increase damage and range. |
|
Up special |
Grounded: 1x10, 3, Airborne: 3, 2x3, 3 |
Air Spin Attack launches Young Link vertically, with different properties. |
|
Down special |
2x4 |
Generates interactable item. Detonates after four seconds or upon contacting an enemy. |
Neutral Special: Fire Arrow
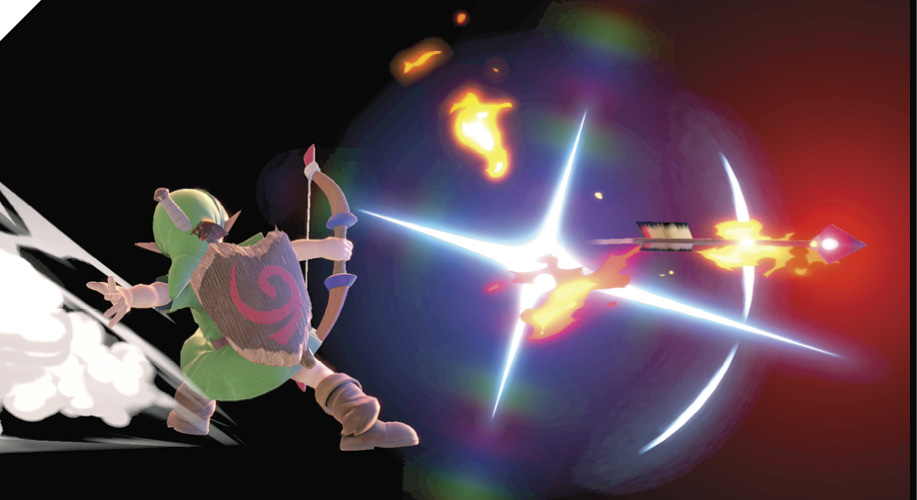
Young Link fires an arrow engulfed in fire that causes more damage the longer he has his bow drawn.
Like Link’s Arrow attack, Young Link makes great use of his fiery arrows when pestering offstage recovering opponents, punishing them with obstacles they have to get past as they try to jump back onto the ledge.
It can be special-reversed as well, abruptly reversing your trajectory if executed properly during a forward hop. For example, if you’re dashing away from an enemy, you can hop, input neutral special, then immediately flick the stick the opposite direction. This switches your facing direction immediately, allowing you to charge or fire an arrow at an enemy chasing you.
The fire on Young Link’s Fire Arrows isn’t just for show. As a fire-based attack, they can interact with explosives, detonating adult Link’s Remote Bombs, for instance.
Side Special: Boomerang
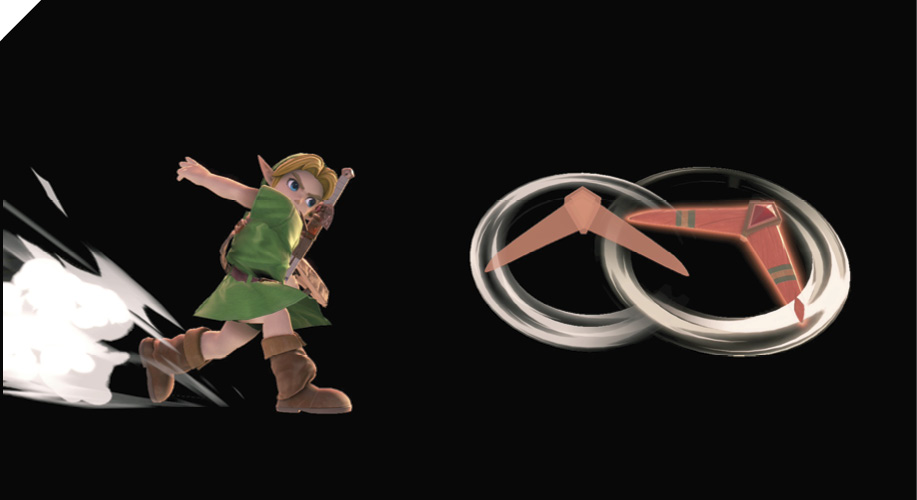
Young Link throws a Boomerang that bounces off the first enemy it contacts before returning to Young Link, damaging additional foes it connects with on the way back.
There are two variants of this attack: flicked and non-flicked. Flicked Boomerang, performed by flicking a side direction while inputting Special, deals more damage and travels farther than the non-flicked version. Non-flicked Boomerang is performed by holding a side direction and hitting Special.
Young Link’s Boomerang is an exceptional space-control projectile. It has a relatively slow velocity and remains active and on-screen for a lengthy duration, forcing enemies to play around it while it’s flying through the air.
The Boomerang’s homing property allows for creative zone control, since it takes a return path depending on where you are once it hits its max distance. It can potentially double as a defensive attack, as it can prevent enemies from attacking you.
Boomerang deals significantly more damage the moment it’s thrown, although it’s rare that you’ll want to throw out Boomerangs at close-range opponents.
Up Special: Spin Attack
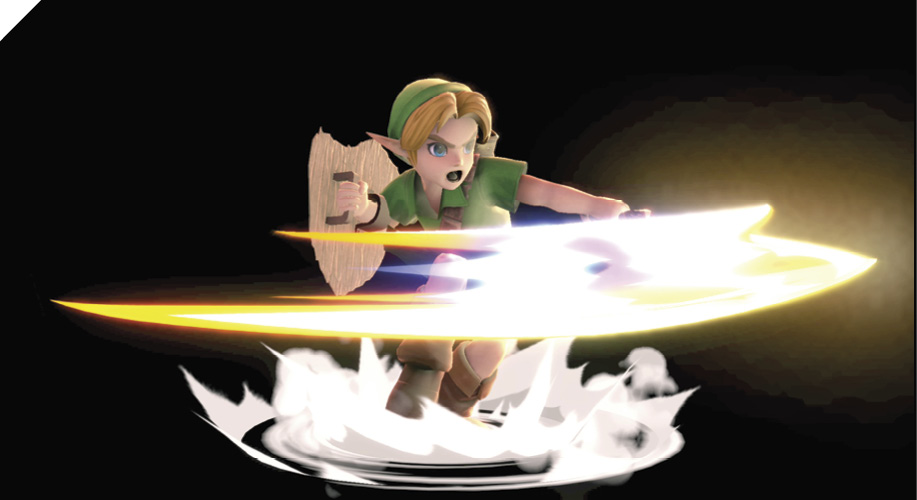
Young Link performs a multi-hit spinning attack that ensnares struck foes briefly before launching them into the air.
The midair version of Spin Attack differs greatly from the grounded version. The grounded version is simply a high-damage attack that allows for follow-ups such as up air attack.
The aerial version is mainly a recovery tool dealing an altitude boost in order to grab on to ledges, improving your air mobility. It’s also a strong knockout attack against high-percentage enemies, particularly if you can bait out their double jump or air dodge as they’re descending from above you. As a poke, it can be unsafe to throw out since you’re left in a helpless falling state.
Down Special: Bomb
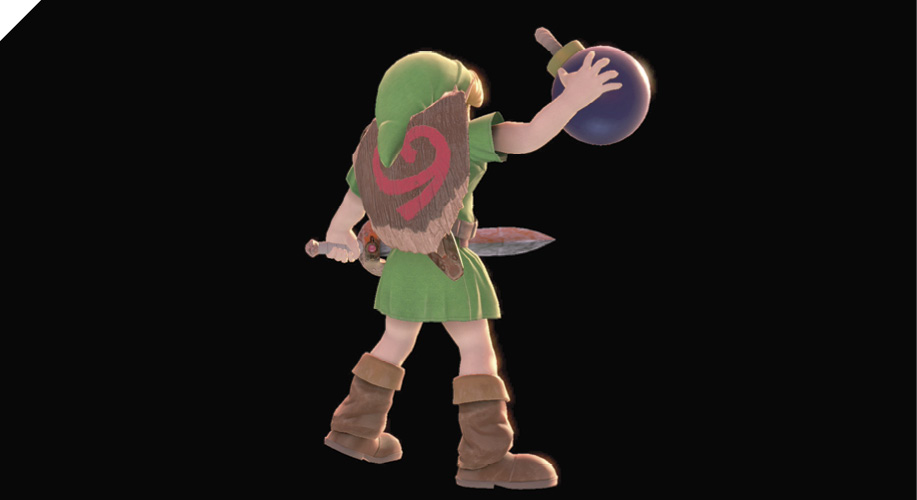
Young Link pulls out a throwable Bomb that detonates after its four-second fuse timer ends, or when it contacts an enemy.
Bombs are detonated in a variety of ways. Once pulled, the Bomb’s fuse lasts four seconds before automatically exploding. Otherwise, Bombs can be detonated by impacting an opposing fighter or hitting the stage at a certain speed. For instance, throwing a Bomb downward from the air (with down+Attack input) causes it to detonate upon impacting the ground. If you toss the Bomb with neutral attack after pulling one out, it bounces and rolls on the ground until it’s detonated through other means, or from its fuse. It can also be detonated by connecting with other fire-based attacks, such as Ryu’s Shakunetsu Hadoken or Ken’s fiery Shoryuken.
While the self-detonating explosion can hurt you, detonations from hitting an opponent with the Bomb don’t.
Final Smash: Triforce Slash
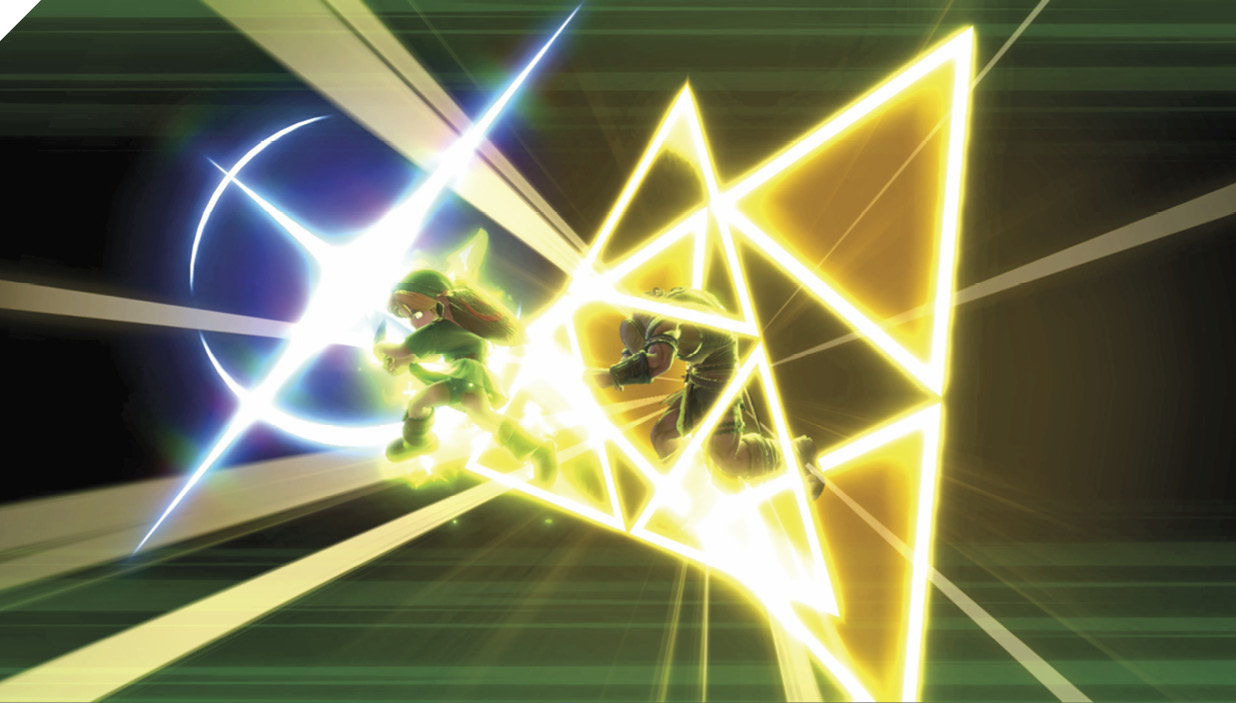
Young Link dashes forward to seal an opponent in the Triforce. He then strikes them repeatedly before launching them. The initial strike must hit in order for Young Link to begin his sealing combo.