
Super Smash Bros. Ultimate Guide Mii Fighters: Swordfighter
Swordfighter Arsenal
Grounded Attacks
Neutral Attacks
Neutral Attacks
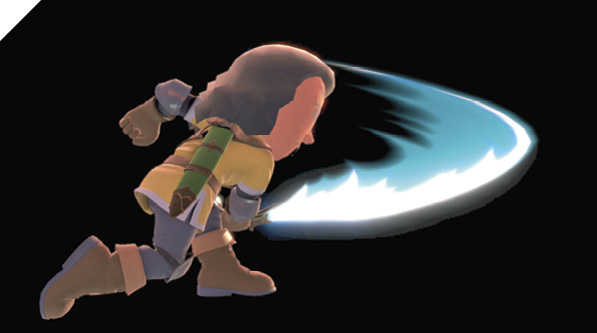
Mii Swordfighter’s three-swing neutral attack combo has decent reach, since the sword is like an intangible limb. Well-spaced, it overpowers anything in the way. It’s a bit slower than most neutral attack combos, though, hitting in about the same time as most fighters’ side tilts, so keep that in mind.
Dash Attack
| Move | Damage | Note |
|---|---|---|
|
10 |
— |
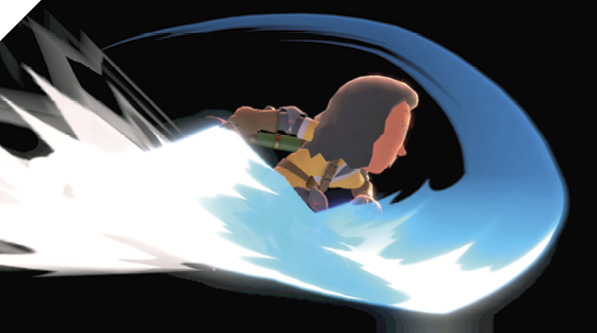
The Swordfighter comes out of a dash or run with a sword swipe that hits directly in front. This dashing attack isn’t particularly fast, and Mii Swordfighter comes to a quick halt while using it. It’s good for running in to smack foes during their laggy attacks, or when they’re knocked down and not being attentive about getting to their feet, but it’s not a good surprise dash attack.
Defensive Attacks
Tilts
Side Tilt
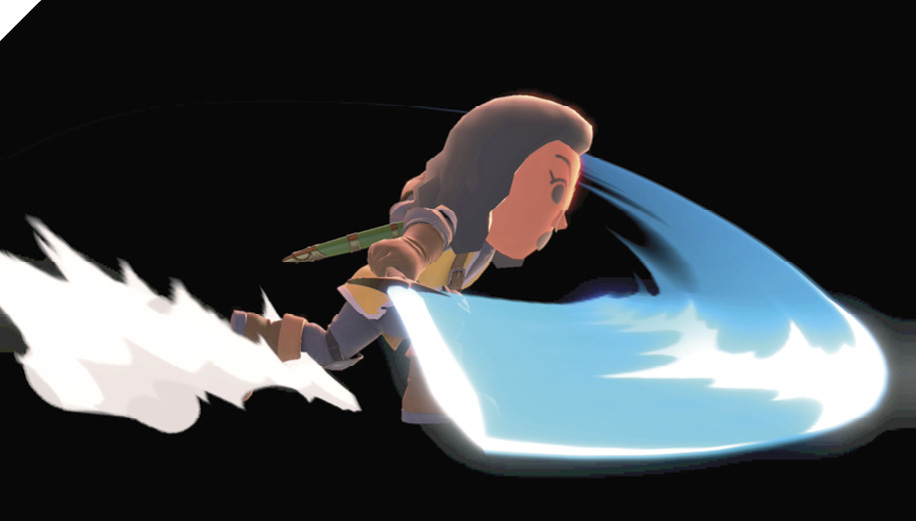
This sideways slash hits heavier and a bit farther away than the first neutral attack but is twice as slow. Unlike many side tilt attacks, it can’t be aimed diagonally up or down.
Up Tilt
This relatively quick up tilt attack covers 180 degrees around the Swordfighter, sweeping from slightly down-forward to straight back. It fulfills the expected functions of an up tilt (juggling and anti-air) while also hitting ground-level adversaries on either side.
Down Tilt
During this long-reaching toe-level sword stab, Mii Swordfighter crouches into a low stance, potentially avoiding incoming hits. The victim is popped a bit off the ground, leaving them vulnerable to follow-ups.
Smashes
| Move | Damage | Note |
|---|---|---|
|
16-22.4 |
Less damage near hilt. |
|
|
Up smash |
4, 3, 7-5.6, 4.2, 9.8 |
Leaps off ground. |
|
Down smash |
12-16.8 front, 15-21 back |
More damage on backswing. |
Side Smash
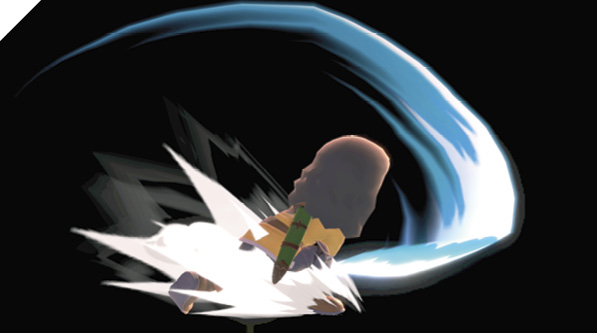
It might look like Mii Swordfighter swings over the top for this attack, but the hitbox is only extended straight in front. This is an even stronger version of side tilt, which is an even stronger version of the first neutral attack.
Up Smash
In an enhanced version of up tilt that’s like some of Link’s upward-striking swings, Mii Swordfighter leaps off the ground for a double-spinning slash. There’s a somewhat quick hit at ground level right as the sword rises, launching anyone in front. It’s not as fast as up tilt, but it’s pretty good for a smash attack. Foes are dragged into the aerial spins, which score a three-hit launching combo up close.
Down Smash
The Swordfighter slashes first to the front, then to the back. This clear-out attack has terrific range on both sides and is fast for a down smash—not quite as lightning-quick as Mario’s down smash, but close. Like with Mario’s down smash, the backward hit is stronger than the front-facing one.
Grabs
| Move | Damage | Note |
|---|---|---|
|
1.3 |
— |
|
|
Front throw |
3, 3 |
Forward throw. |
|
Back throw |
3, 3 |
Backward throw. |
|
Up throw |
2, 3 |
Launches foe into potential juggle position. |
|
Down throw |
2, 2 |
Bounces foe off ground in front. |
Grabs
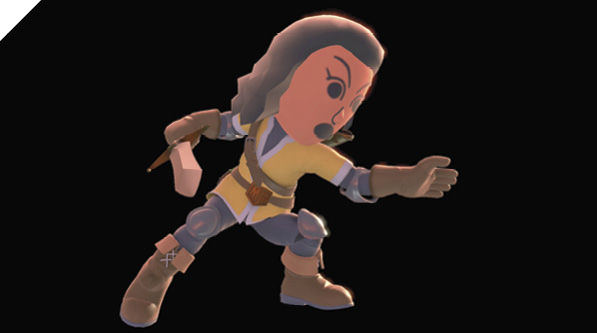
The Swordfighter’s grab game is low-damage on the throw hits but leads to powerful follow-ups. Front and back throws kick the enemy away at a lower angle than usual, leaving them in line for hits from moves like Airborne Assault, Gale Stab, and Power Thrust. Meanwhile, up and down throws put the foe in position for air juggles with air pokes and up tilts/smashes/specials.
Aerial Attacks
Aerials
| Move | Damage | Note |
|---|---|---|
|
8 |
— |
|
|
Forward air attack |
3, 3, 5 |
— |
|
Back air attack |
14 |
— |
|
Up air attack |
16 |
Damage decreases on later frames of attack. |
|
Down air attack |
1.5x5 |
Neutral Air Attack
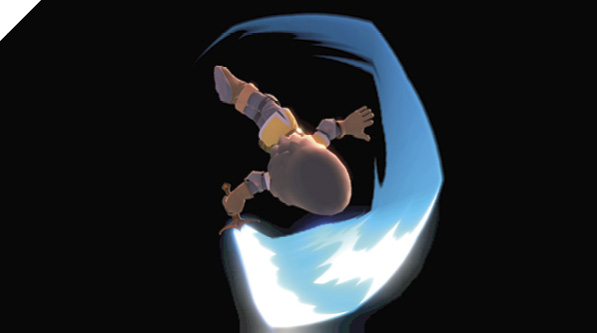
Mii Swordfighter’s neutral air attack is a somewhat slow circular slash that covers every angle. It begins aimed backward and down, rotating over the top all the way around. If you’re aiming this at opponents in front of you, like when short-hopping with neutral air attack toward standing targets, be advised that it’s even slower to make it there than most smash attacks. A move that hits in 360 degrees will never be bad, but this is nowhere near as fast as most neutral air attack staples.
Forward Air Attack
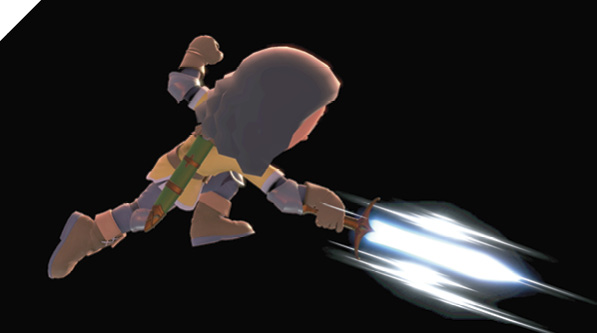
After a little windup, the Swordfighter thrusts into the air before him or her, stabbing three times. The first stab is down-forward, the second is straight across, and the final one is slightly more powerful and aimed up-forward. All three combo together if the angle with the victim is lined up. It’s perfect for use in short hops toward standing enemies, as the down-forward hit naturally pulls them up into the rest.
Back Air Attack
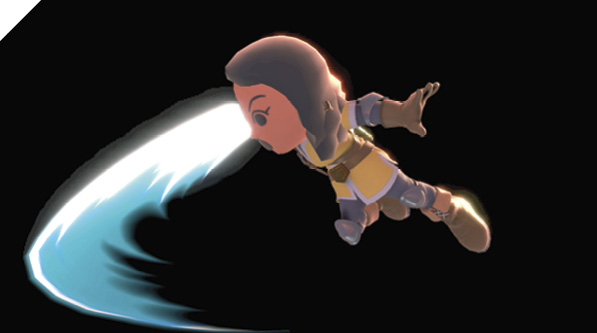
This powerful single slash reaches behind an airborne Mii Swordfighter, knocking away anyone approaching from the back. It’s only active for a split second, though, so it requires better aim than many of the Swordfighter’s longer-lasting attacks.
Up Air Attack
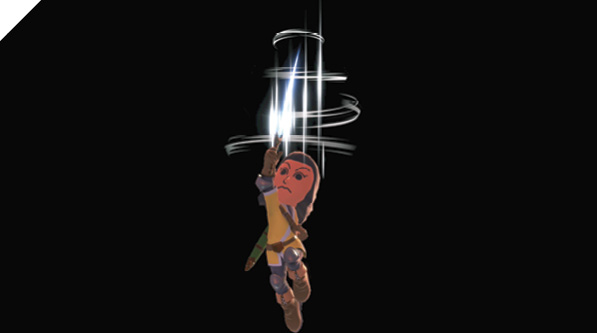
The customizable sword master strikes straight up with an attack that would be right at home in Link’s kit. Unlike many up air attacks, this doesn’t hit a front-to-back slashing swath, so it requires good aim. Hit just as Mii Swordfighter extends the attack for max damage.
Down Air Attack
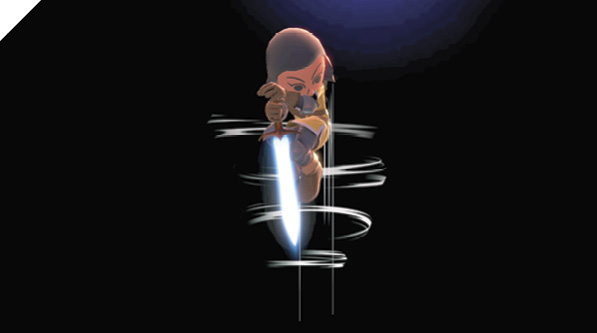
The inverse to up air, during down air attack the Swordfighter spins aimed downward, hitting multiple times against anyone in the way. With this falling stab, if an opponent is caught up in the spinning hits and dragged into the ground, they take extra damage.
Special Moves
Specials
| Move | Damage | Note |
|---|---|---|
|
Neutral special 1: Gale Strike |
13 |
Damage decreases with travel time. Hits launch victims straight up. |
|
Neutral special 2: Shuriken of Light |
6.5 |
Deals more damage farther from Swordfighter. |
|
Neutral special 3: Blurring Blade |
0.8x5, 8-1.9x5, 19.2 |
|
|
Side special 1: Airborne Assault |
12 |
Attack only occurs if rolling lead-in connects. |
|
Side special 2: Gale Stab |
8-18.5 |
|
|
Side special 3: Chakram |
Tilt: 1.1x~4, Snap: 8 |
Input up or down after activation to aim Chakram. |
|
Up special 1: Stone Scabbard |
4, 3, 4 |
Intangible just before taking off with attack. |
|
Up special 2: Skyward Slash Dash |
2.2, 3x5, 4 |
Can be aimed in any direction. |
|
Up special 3: Hero’s Spin |
Ground: 14, Air: 3, 2x3, 5 |
Can be slightly steered in air. Infinite lag until landing. |
|
Down special 1: Blade Counter |
8-29.4 |
Attack only occurs on counter. Damage depends on power of deflected move. |
|
Down special 2: Reversal Slash |
6 |
Victim has their direction reversed. |
|
Down special 3: Power Thrust |
Ground: 15, Air: 13, 7 |
Air version has secondary hitbox around Swordfighter on impact. |
Neutral Special 1: Gale Strike
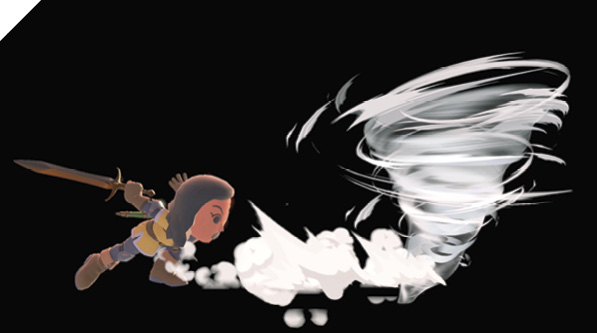
Mii Swordfighter spins and hurls a small tornado, which plows through anything in the way across a surprisingly long lateral path. The tornado can drift a bit up or down, but generally moves across from where it’s generated. More than one Gale Strike projectile can be on-screen at once, giving the Swordfighter solid long-range power. Vortex hits launch victims straight upward, creating juggle openings. Damage diminishes with distance traveled, until the tornadoes finally dissipate.
Neutral Special 2: Shuriken Of Light
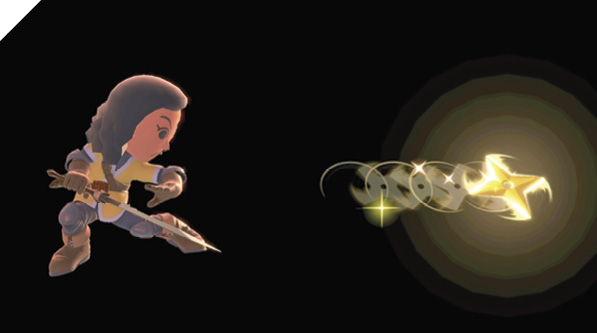
For a basic projectile, Mii Swordfighter tosses small bladed stars that travel in a straight line out to about the distance of four dashes. A tossed shuriken is weak up close, dealing only 2% damage right when it’s released, with no knockback power. Their strength grows as they travel, so it’s best to aim with these from just where they’ll dissipate.
Neutral Special 3: Blurring Blade
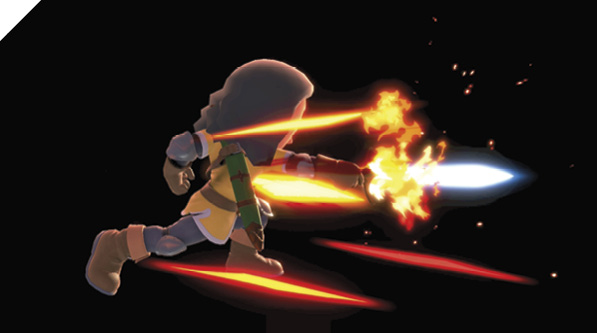
The Swordfighter slashes rapidly about the distance of side tilt, before finishing with a launching slash upward. Tap the input for the fastest version of the attack, or hold it down to charge for more power and knockback. Once fully charged after about a second, the attack launches at full power automatically; it can’t be held extra long at full power while you wait for the perfect moment, like with smash attacks or Gale Stab.
Used in midair, Blurring Blade makes Mii Swordfighter hop up-forward just a bit during execution, even if released while descending backward. This even works if Blurring Blade is used more than once in the same airborne interval. The lag takes quite a bit, so you probably won’t have time to do another air action afterward unless you’re falling from very high indeed.
Side Special 1: Airborne Assault
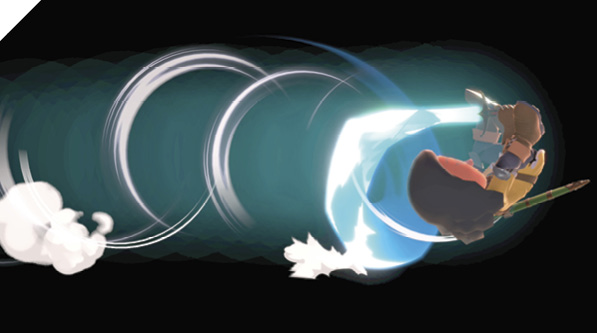
The sword master rolls straight left or right, not quite as far as Gale Strike’s tornadoes travel. If anyone gets in the way, the Swordfighter transitions into a strong single-hit attack, bouncing off of the victim.
With such a far-reaching straight lateral path, this move isn’t just good for sideways assaults. It’s also a good option to consider when recovering from offstage.
Side Special 2: Gale Stab
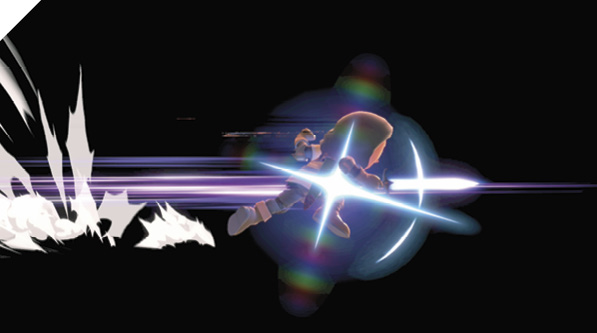
The Swordfighter rushes forward suddenly with a single-hit stab. If used in midair, this can be good for reaching a desired platform or recovering from offstage, but beware that it has infinite lag until landing.
On level ground, this works like an even more souped-up side smash. It can be charged just like a smash attack, increasing its damage and range. It reaches full charge after just one second but can be held for up to about five seconds. Apart from its function as the top of the neutral attack > side tilt > side smash > Gale Stab sword-poking hierarchy, it’s also great for combos and ground hits after front or back throws, where the opponent usually ends up even with the Swordfighter.
Side Special 3: Chakram
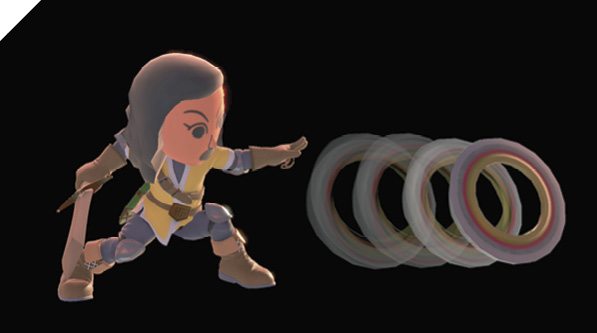
This variable projectile can be used several different ways, depending on how you input the command. Treat it like a tilt move (a half-analog control stick press, or hold the stick fully to the side in advance of the button press) for a slow, low-damage Chakram that displaces anyone in the way. Treat it like a smash move (snapping the control stick fully to the side at the same time as the button press) for an extremely fast, long-range Chakram that cuts through anyone in the way for a single hit of solid damage.
The slow “tilt” Chakram is a short-range space-dominance weapon. It doesn’t make enemies flinch much, but it pushes them out of its way as though it were Bowser walking forward. This is especially potent at stage edges, if you time a tilted Chakram to move slowly through the space the enemy needs to cross to make it back onstage.
The faster “snap” Chakram is a long-range sniping weapon. With either version of Chakram, input up or down immediately after the command input to choose a diagonally thrown Chakram instead of one thrown straight ahead.
Up Special 1: Stone Scabbard
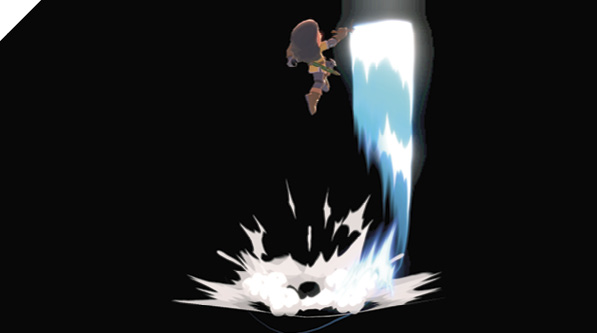
The blade bearer leaps upward, then plunges down in this two-stage sword attack. Mii Swordfighter is intangible for a few frames right before the hitting portion of the attack, increasing the likelihood that close-range attackers will be out-prioritized. The initial sword uppercut makes a good recovery move when lunging for a ledge from below, but otherwise this is a poor recovery choice, because the sword plunge leads right to the bottom of the screen if there’s no solid ground below. If you equip Stone Scabbard for your up special, consider prioritizing specials with good lateral travel elsewhere.
Up Special 2: Skyward Slash Dash
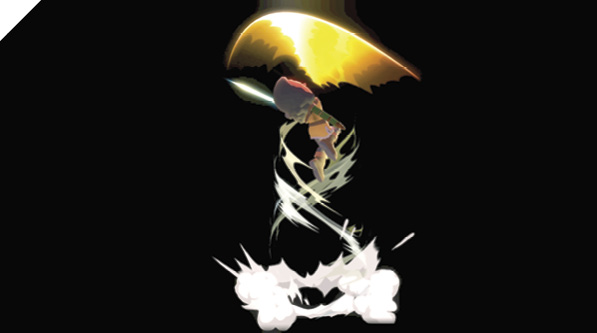
The Swordfighter twirls the sword briefly before taking off with an extremely strong multi-hit spin attack. Simply input up special, and the Swordfighter takes off heading straight up. But input any direction before the attack begins, and Mii Swordfighter heads in that direction. So Skyward Slash Dash isn’t just good for surging up into a tumbling enemy for a combo or lunging to grab a ledge before falling into a pit. It can be aimed sideways as a high-power ground attack, or downward from midair to dive-bomb lower-altitude targets.
The only caveats for such a strong, aimable attack are that it’s slow to hit at first, and it has no intangible or invincible period to speak of. At least the spinning hitboxes extended ahead of and around the fighter are very generous.
Up Special 3: Hero’s Spin
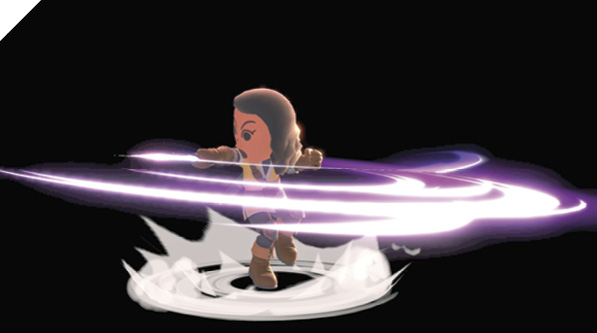
This up special is basically two different moves, depending on whether it’s used on the ground or in the air. During the grounded version, the blade-bearing fighter spins four times, slashing to both sides with the sword. Grounded Hero’s Spin occurs in one place without jumping and knocks anyone away with any single hit. Each spin deals diminishing damage: the first blasts close-range enemies away with 14% damage inflicted, the second slash does 9%, and the third and fourth 7%.
In the air, Hero’s Spin lofts upward with five spins, scoring a combo against anyone caught by the blade. Naturally, it’s also a decent option for offstage recovery. Hold left or fight to influence its trajectory.
Down Special 1: Blade Counter
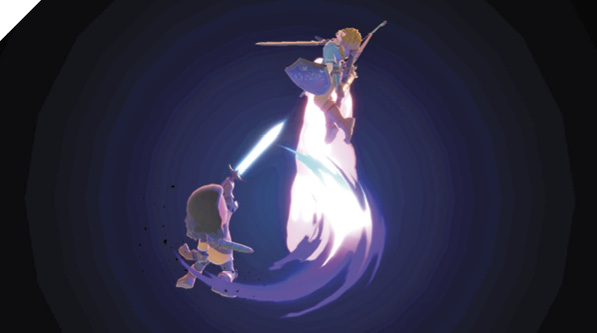
Mii Swordfighter enters a defensive stance almost immediately after this move begins, turning intangible. Attacks that connect during this invulnerable period trigger the Swordfighter’s counterattack, a launching sword slash that puts the victim in perfect position for more hits. Damage dealt is based on the strength of the deflected move.
You can start a Blade Counter in midair and still recover in time to double-jump and up/side special back to safety. If an opponent triggers the counter, normal airborne momentum is halted while the Swordfighter launches them. This is useful if edge-guarding opponents predictably chase you into offstage airspace.
Down Special 2: Reversal Slash
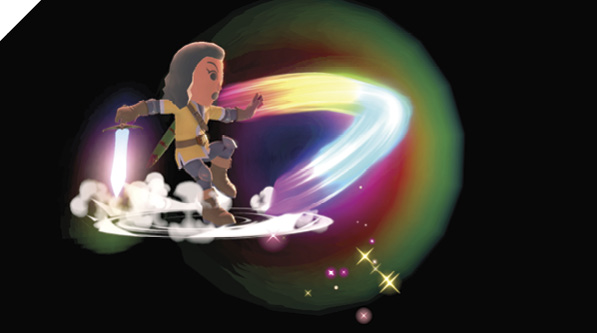
The sword bearer attacks at close range with a quirky slash that deals somewhat low damage while forcing the victim to reverse direction. If they’re backturned, it turns them to face you; if they’re facing you, they’ll find themselves backturned. This is especially potent during air duels around stage edges, when even momentary confusion with controls can result in someone inadvertently falling off and losing a stock.
Reversal Slash also reflects projectiles, with good timing.
Down Special 3: Power Thrust
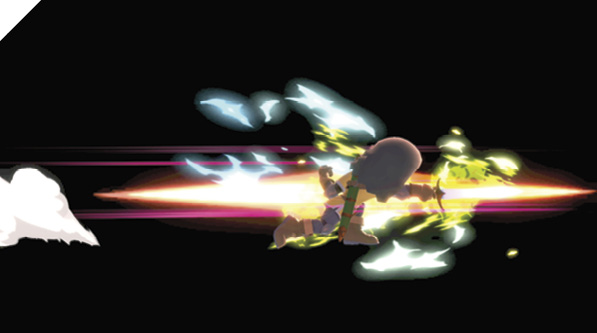
On the ground, Power Thrust features Mii Swordfighter lunging suddenly with a powerful single-hit stab. The attack pierces through multiple foes and does max damage at the sword’s tip, right at the start. The damage diminishes a bit with distance traveled, or if enemies are caught by the blade up close instead of at the tip.
In the air, Power Thrust is a diving stab attack. Upon landing, the impact causes a secondary hit; with good aim, a diving Power Thrust won’t only stab a victim into the ground, but also bounce them off on the impact hit. Of course, it’s important to be careful with this kind of attack near the edges of stages, since there’s nothing stopping you from Power Thrusting straight down into the abyss.
Final Smash: Final Edge
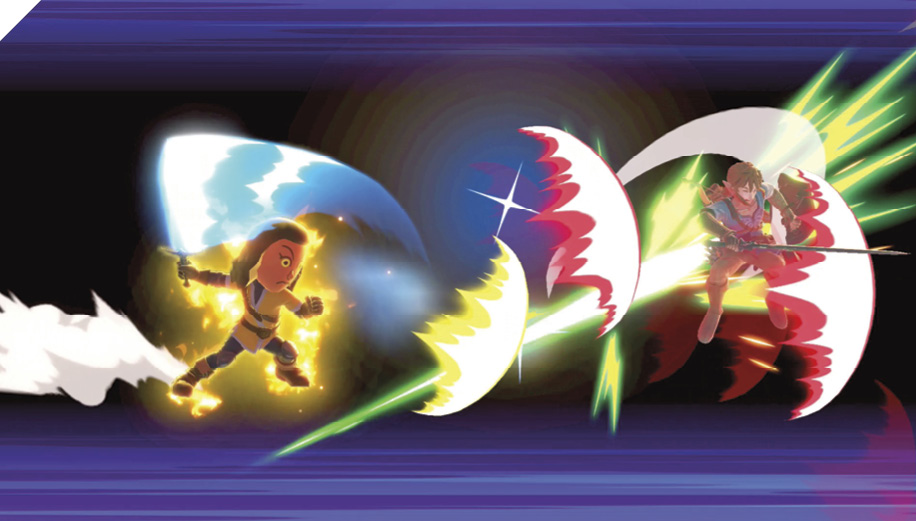
In one of the Final Smashes with the most screen coverage in the game, Mii Swordfighter launches a maelstrom of energy projectiles that extends in an expanding cone across the entire stage. With this incredible coverage, it’s best to get well off to one side of the stage so you can fire at everyone else on the other side.