
Super Smash Bros. Ultimate Guide Lucario
Brawler Arsenal
Grounded Attacks
Neutral Attack
Neutral Attacks
| Move | Damage (At 0% Aura) | Note |
|---|---|---|
|
Neutral attack 1 |
1.7 |
Aura influences damage. |
|
Neutral attack 2 |
1.3 |
Aura influences damage. |
|
Neutral attack 3 |
2 |
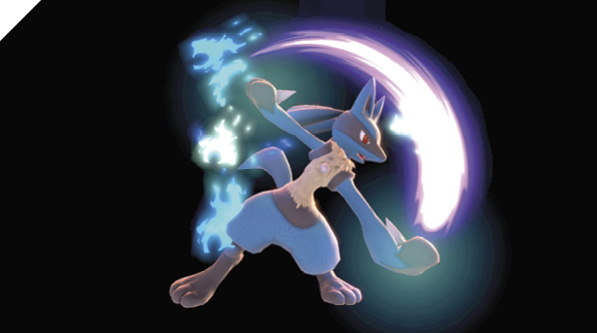
Lucario delivers a quick downward smashing punch followed by a lunging thrust punch, and finishes the three-part Shaolin combo sequence with a front snap kick. If you’re outside grab range, your next-best option after blocking a laggy move is neutral attack (although prioritize grab when you can). Connecting with all three hits of the neutral attack combo doesn’t net a particularly strong follow-up, but at least deals some damage and deflects aggression.
Dash Attack
| Move | Damage (At 0% Aura) | Note |
|---|---|---|
|
6.6 |
Knocks up and away at a slight angle. Deals more damage early. Aura influences damage and knockback. |
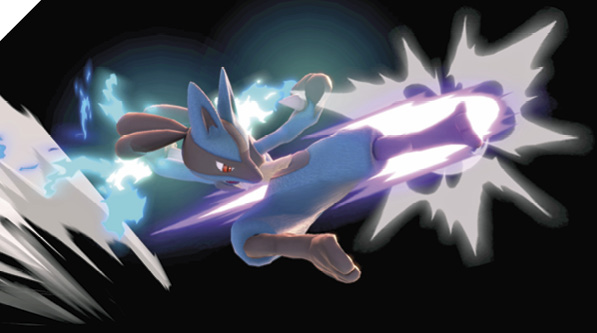
While dashing, Lucario delivers a flying kick that knocks foes up and away at a slight angle. Lucario’s dash is average for a fighter of its weight class and speed. The first part of the hit deals considerably more damage, but generally doesn’t allow for a follow-up hit. If you hit with the tail end of the move, you can go for a combo with forward hop forward air attack if you’re quick enough.
When exchanging pokes and jabs with an opponent, dash attack is best saved as a whiff punisher, and to chase down retreating foes.
Defensive Attacks
| Move | Damage (At 0% Aura) | Note |
|---|---|---|
|
Ledge attack |
5.9 |
Intangible. Aura influences damage. |
|
Wake-up attack (faceup) |
4.6 |
|
|
Wake-up attack (facedown) |
4.6 |
Tilts
| Move | Damage (At 0% Aura) | Note |
|---|---|---|
|
Side tilt |
2.6, 4 |
|
|
Up tilt |
4 |
Launches directly above. Deals more damage with tip. Aura influences damage and knock-up. |
|
Down tilt |
3.3 |
Side Tilt
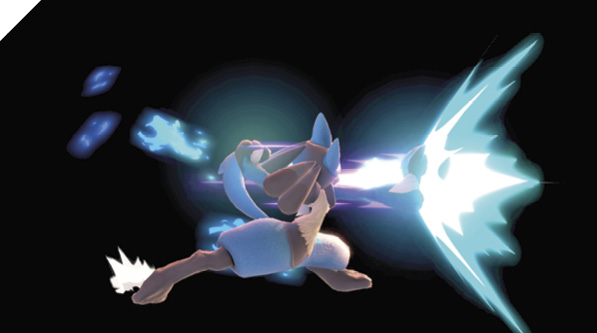
Lucario delivers a thrusting palm attack with considerable force, knocking back its target. Side tilt can be slightly angled up or down with the control stick during input. Although not Lucario’s fastest attack, it can be effective as an aggression check to put space between you and your aggressor. With down-angled side tilt, it’s possible to catch a recovering enemy’s attempt to grab a ledge, punishing them with decent damage depending on your Aura. At specific angles, you can use the up-angled version as an anti-air.
Up Tilt
Lucario performs an anti-air leaping wheel kick that pops foes up into the air. The wheel kick begins arcing from behind Lucario and ends in front. The initial active window hits behind you. With quick start-up, it’s incredibly effective for punishing shielded attacks while you’re facing away from an enemy, which commonly occurs when they go for a hop attack, leaving them to your rear.
Like most up tilts, it starts and extends combos. The entire active window of up tilt launches foes directly above you and, at low percentages (and low Aura), allows for at least one additional up tilt combo follow-up. In many cases, you can hit with up tilt three times before the opponent can act.
At high Aura and against high-percentage enemies, it can be used to finish them off, or at least set them up for your up air attack to knock them out.
Down Tilt
Lucario crouches low to the ground and extends a ranged foot attack to its enemy’s legs that knocks them away. Down tilt has the lowest amount of end lag and moderately fast start-up, making it great for poking and spacing. Unfortunately, it doesn’t start combos very well, like some other fighters’ down tilts. With a higher amount of Aura, it provides a decent opportunity for you to mount an offense, such as dash-in grab, short hop into deep forward air attack, and Aura Sphere.
Smashes
| Move | Damage (At 0% Aura) | Note |
|---|---|---|
|
10.6 |
Launches away. Aura heavily influences damage and knockback. |
|
|
Up smash |
2.6, 9.2 |
Launches up and away. Aura heavily influences damage and knockback. |
|
Down smash |
9.2 |
Launches away. Aura heavily influences damage and knockback. |
Side Smash
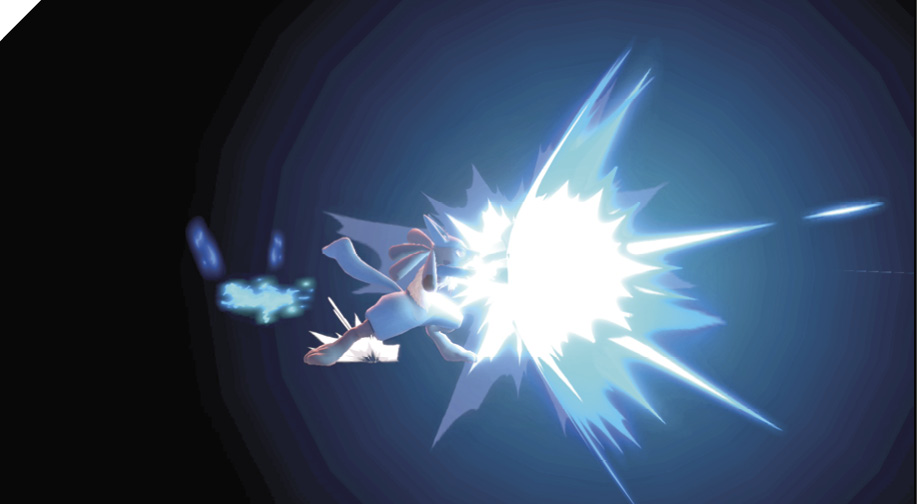
Lucario leans back briefly, then lunges forward with a thrust attack, driving its palms through enemies. Side smash can be a surprisingly powerful move, especially in comeback scenarios where you’re behind in stocks and damage. With high Aura, you can knock foes out of the arena earlier than you normally would be able to.
Up Smash
Lucario slinks down before launching a leaping fist attack straight up above that sends airborne foes sky-high.
This attack offers an initial hit that’s deceptively low to the ground. If this hit makes contact, it pushes the foe into its second upward thrusting attack for a potential knockout. With low Aura and against low-damage foes, up smash doesn’t provide adequate lift by the time you can swing again, so it’s difficult to mount a meaningful follow-up attack sequence. Up smash should rarely be used in the neutral game, considering up tilt is a much safer and faster anti-air.
With high Aura, Lucario’s smash attacks are much more impactful, so always take your current Aura value into account before considering whether to use these laggy attacks.
Down Smash
Lucario thrusts its palms outward from its sides, simultaneously knocking back enemies behind and in front. While it leaves you vulnerable, down smash hits on both sides, useful for free-for-all situations or to punish an enemy rolling past you (a ledge-rolling recovery attempt, for example).
Grabs
| Move | Damage (At 0% Aura) | Note |
|---|---|---|
|
0.9 |
— |
|
|
Front throw |
5.2 |
Forward throw. |
|
Back throw |
6.6 |
Backward throw, low knockback. |
|
Up throw |
7.2 |
|
|
Down throw |
4.6 |
Launches up and away at slight angle for potential juggle combo. |
Grabs
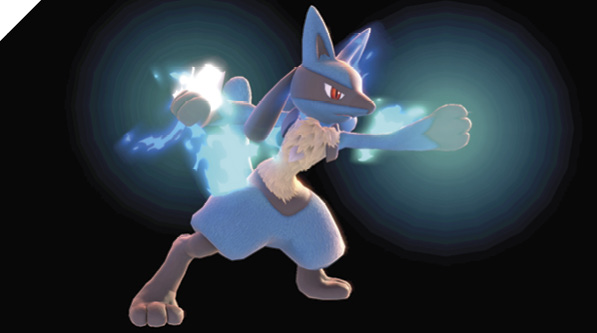
Lucario’s grab speed is average, neither fast nor slow, with above-average range. Lucario’s Aura slightly influences the knockback range of its throws.
Since Lucario can begin grapple-attacking its grabbed victim earlier than most other brawlers, much of your game plan should involve earning a grab. Up throw generally leads to the most damage, as it directly deals more initially while providing juggle-combo mix-up opportunities as the opponent descends from the air. Consider your Aura, enemy weight and damage percentage, and adjust your up throw follow-ups accordingly. Up throw to neutral air attack against heavier enemies at low percentages works, while up throw to up air works on most other fighters.
Forward and back throws should only be used to throw opponents off edges, from which you can follow with charged Aura Spheres and other edge-guarding tactics.
Aerial Attacks
Aerials
| Move | Damage (At 0% Aura) | Note |
|---|---|---|
|
5.3, 4 |
First and second hit can cause standing hitstun. Aura heavily influences damage and knockback. |
|
|
Forward air attack |
4 |
Launches up and away. Aura heavily influences damage and knockback. |
|
Back air attack |
14 |
|
|
Up air attack |
7.3 |
Launches directly above. Aura heavily influences damage and knockback. |
|
Down air |
3.3, 4 |
Launches away. Stops jump trajectory. Aura heavily influences damage and knockback. |
Neutral Air Attack
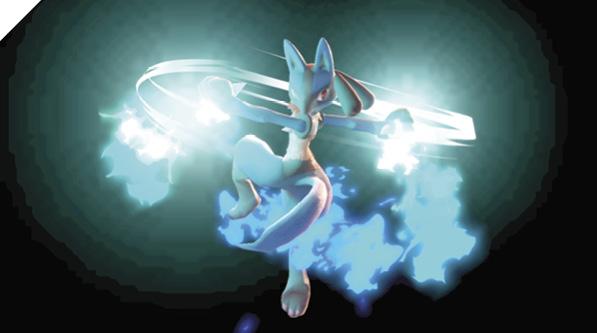
While airborne, Lucario performs a two-hit spinning attack with its Aura-infused palms, taking down other airborne opponents front and back.
This two-hit attack is one of your best poking tools, but can be difficult to use effectively because of its short active windows. With accurate timing, you can mount exceptionally powerful offensive sequences if you can get the opponent to shield a deep short hop neutral air attack into a grab or attack mix-up. Thanks to incredibly low amounts of landing lag, these types of low-altitude neutral air attacks afford you a high amount of advantage. On a connected ground hit, you can even combo a deep neutral air attack into a dashing attack if you’re fast enough.
Forward Air Attack
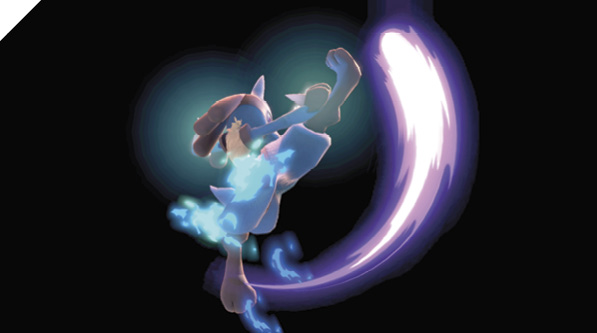
Lucario delivers a swift aerial front kick that pops up foes in front. Lucario is free to act incredibly early after performing forward air attack, making it one of your most flexible attacks, usable in combos, as anti-air, and in your offensive sequences. You can combo multiple forward air attacks in a row. Of course, most of your Lucario combos are highly dependent on your current Aura modifiers, but if you can adapt and adjust accordingly, you can almost always find a way to link into forward air attack off of your launchers. At the very least, you can set up juggle opportunities.
Back Air Attack
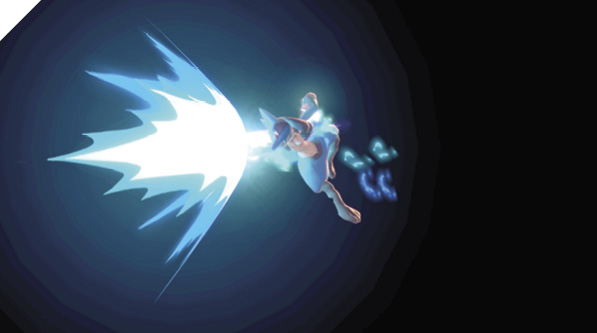
While airborne, Lucario turns around and unleashes a mighty rear backfist that blasts foes away. Back air attack is a heavy-hitting strike, and at high Aura, it becomes one of your best attacks. It threatens high shield damage and can easily knock out high-percentage enemies. It’s one of your slowest aerial attacks, and its short active window can make it difficult to connect with, so it requires some premeditation and good timing.
Up Air Attack
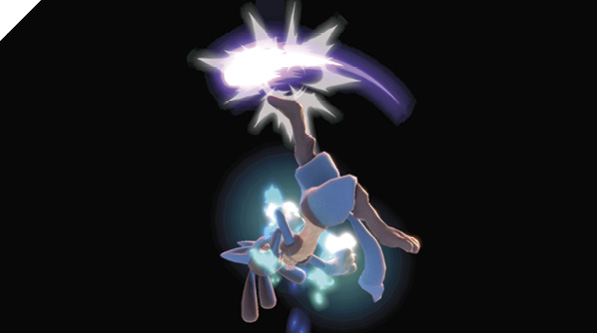
Lucario performs an aerial half-somersault kick attack that extends directly above its head, knocking up enemies. Up air is primarily used as a follow-up to your skyward launching attacks like up tilt and up throw. Like Samus’s up air, it’s effective for damaging shields when the enemy is in a defensive posture on a platform above you.
Down Air Attack
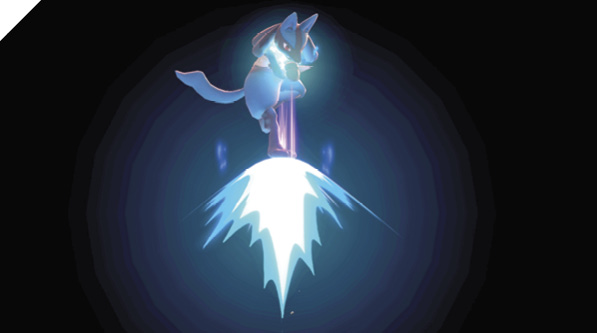
In a gravity-defying move, Lucario halts all of its leaping momentum and executes two incredibly fast foot stomps imbued with Aura. Down air attack hits extremely quickly, making it excellent for checking and interrupting an enemy’s offensive sequence. It’s a strong edge-guarding tool as well, allowing you to smack down foes quickly as you meet them air-to-air while they’re attempting to recover back onto a ledge.
Down air also adds a unique element to Lucario’s aerial mobility, thanks to its momentum-halting property. You can use this to instantly recover from a ledge to minimize your vulnerability (ledge jump into immediate down air).
Special Moves
Special Moves
| Move | Damage (At 0% Aura) | Note |
|---|---|---|
|
Neutral special |
4.6 (11.4 max charge) |
Energy ball can hit foes while charging. Charging increases size, damage, and range. Aura influences projectile size and damage. |
|
Side special |
Grab: 8.5, Projectile: 7.8 |
Grabs nearby foes, otherwise fires projectile. Aura influences grab damage and knockback; and projectile range, damage, and knockback. |
|
Up special |
4 |
After up special input, air dash can be angled in any direction with control stick. |
|
Down special |
8.2 |
Follow-up attack launches foe away. Aura heavily influences damage and knock-up of follow-up attack. |
Neutral Special: Aura Sphere
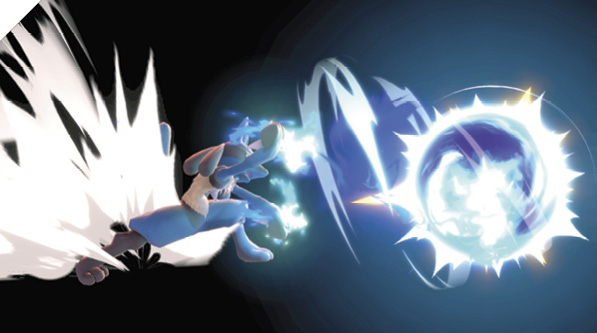
Lucario charges a releasable ball of energy that can damage foes while it’s being conjured. The Aura Sphere projectile is similar to Samus’s Charge Shot and Mewtwo’s Shadow Ball in the way it’s charged and general application. It becomes absurdly powerful when Lucario’s Aura is high—not only does its damage increase, but its size potentially doubles (including the size of the active charging hitbox), making it extremely difficult to avoid!
Charged Aura Sphere is amazing for punishing double jumps and ledge climbs, and can potentially snipe someone’s fingers lunging for a ledge in a recovery attempt. As with most charge-attack strategies, you want to play around this special as much as you can. Apart from your normal offensive and defensive sequences, also consider how and when you can make space to charge up your Aura Sphere. The more often you can throw out these charged projectiles, the more “free” offensive pressure you can apply, opening opportunities where you normally wouldn’t earn them.
Mechanical skill plays a significant part of using Aura Sphere optimally. At higher Aura values, you can use the charging hitbox effect of Aura Sphere offensively. By jumping at an opponent and performing neutral special to begin charging, you use your forward hop momentum to carry your charging attack into the enemy. With proper technique, you can cancel out of your charging animation after it pops the enemy into the air, potentially scoring a combo (charged pop-up into jump cancel up air, for instance).
Furthermore, Aura Sphere can be special-reversed, so you can begin charging and firing in any direction at any time, as long as you’re accurate in your input timings. Change your jump direction midair by inputting forward hop into a special-reverse technique (neutral special into immediate flick of the control stick in the opposite direction).
Side Special: Force Palm
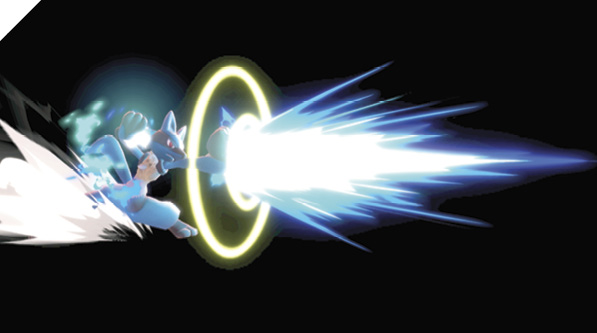
Lucario either fires a force of energy from its palms or grabs a nearby enemy and blasts them away with a palm attack. Force Palm’s range and damage directly scale with its Aura.
When used from a distance, Force Palm is a projectile-type attack (which means it can be reflected). At max Aura, its beam range is essentially doubled!
At point-blank range, Force Palm is an unshieldable throw with great launching power when the Aura meter is high, potentially knocking out foes with a single throw. Unlike Robin’s Nosferatu, it can’t grab airborne foes. It’s best used when you’ve conditioned the enemy into shielding your more powerful attacks, such as your back air. At max Aura, Force Palm’s grab attack becomes a brief cinematic as Lucario drives massive energy through its victim’s chest.
Up Special: Extreme Speed
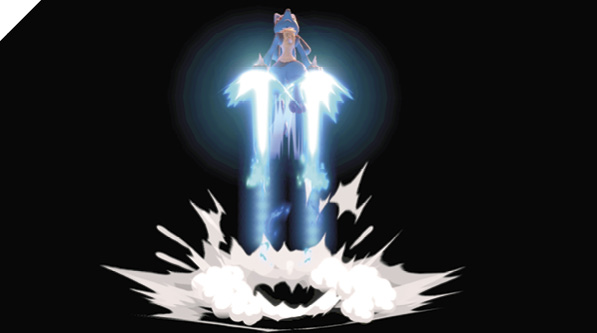
Lucario dashes through the air before crashing into foes and knocking them away. The tail end of this special recovery move can launch nearby enemies. If spaced and timed correctly, you can potentially knock out enemies.
The distance Lucario flies correlates with how high its Aura is, which is a blessing and a curse. At higher Aura values, Extreme Speed can leave you incredibly vulnerable if you’re not acutely aware of your Aura.
Depending on how Lucario lands on the stage while descending from Extreme Speed, its landing lag and animation can vary widely. For instance, if you end up sliding down at a 45-degree (this angle can vary to an extent) angle and hold the control stick at the angle you’re flying in, you’ll slide along the ground. If you come crashing down on a platform at a sharp vertical angle, you’ll bounce off the stage (with an active hitbox) and into the air in a much different animation. Both of these states can leave you highly vulnerable.
Down Special: Double Team
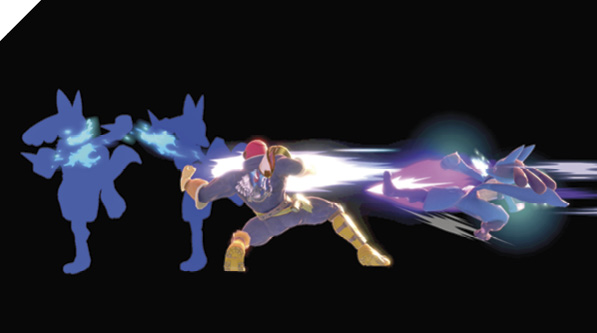
Lucario transitions into a countering stance, absorbing enemy attacks. Upon successfully parrying an attack, Lucario seemingly splits into several images of itself before reappearing behind the aggressor with a sliding kick that blasts them into the air.
Lucario is entirely intangible during its reprisal attack. If the control stick is held in the forward position after countering an attack, Lucario reappears a set distance behind its original position, then flies forward with a flying kick attack (instead of appearing behind or in front of its original position). Basically, Lucario’s flying-kick path is reversed from its default state.
Final Smash: Aura Storm
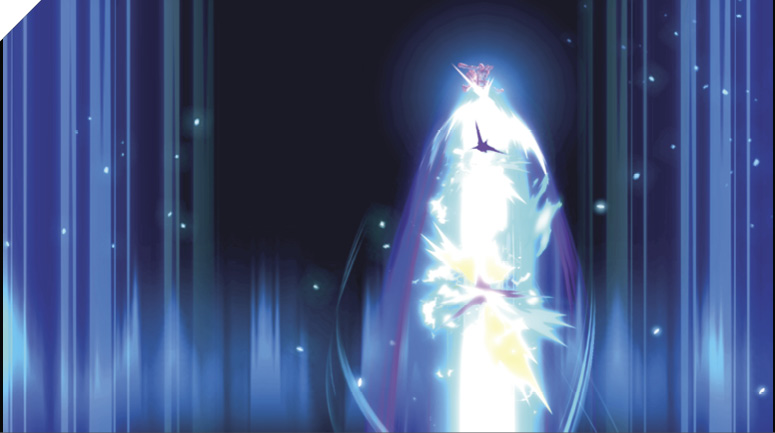
In Lucario’s Final Smash, it Mega Evolves into Mega Lucario and jumps straight up, then fires Aura straight down. The angle of the Aura can be adjusted left or right. Aim for opponents to deal the most damage.