
Super Smash Bros. Ultimate Guide Marth / Lucina
Brawler Arsenal
Grounded Attacks
Neutral Attacks
Neutral Attacks: Marth
| Move | Damage | Note |
|---|---|---|
|
Neutral attack 1 |
5 |
Deals more damage with tip. |
|
Neutral attack 2 |
6 |
Knocks up and away. Deals more damage with tip. |
Neutral Attacks: Lucina
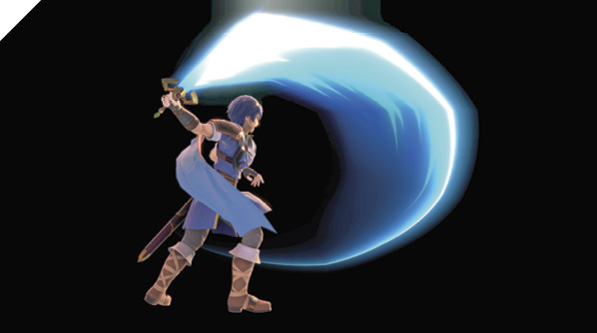
Marth quickly lashes out with a backhanded slash, then follows with an inward swipe, knocking away enemies to midrange.
Neutral attack, or “jab,” is Marth’s fastest strike and is primarily used to interrupt enemy aggression. Its effective attack area (its hitbox) is relatively large for such a fast attack, and although you don’t get any kind of guaranteed follow-up (jab 1 doesn’t pop up standing foes), it’s one of your best defensive punishers, against whiffs or right after dropping shield.
Off of connected neutral attack 1, 2 combos, you can press a knockdown advantage by dashing or jumping in, but you can’t get any kind of juggle combos or 50/50 opportunities.
Dash Attack: Marth
Dash Attack: Lucina
| Move | Damage | Note |
|---|---|---|
|
10.9 |
— |
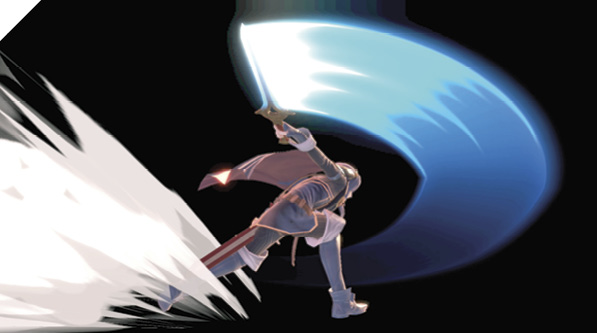
While dashing, Marth uses his momentum to deliver an outward horizontal swipe attack that launches foes, dealing more damage if he hits with the tip of his blade.
If spaced properly, Marth’s dash attack is incredibly dangerous. It deals high damage with high launching power if you can hit with the outer edge of the attack. You’re doubly incentivized to space it out to hit at max range since it’s a bit safer when shielded.
Use dash attack to chase retreating enemies or to punish your foe’s laggy smash attacks from past close range.
Defensive Attacks
Tilts: Marth
| Move | Damage | Note |
|---|---|---|
|
Side tilt |
12 |
Launches away. Deals more damage with tip. |
|
Up tilt |
9 |
Launches directly above and slightly behind for potential follow-up. Deals more damage with tip. |
|
Down tilt |
10 |
Knocks back. Deals more damage with tip. |
Tilts: Lucina
| Move | Damage | Note |
|---|---|---|
|
Side tilt |
11 |
Launches away. |
|
Up tilt |
8.1 |
Launches directly above. |
|
Down tilt |
8.5 |
Knocks back. |
Side Tilt
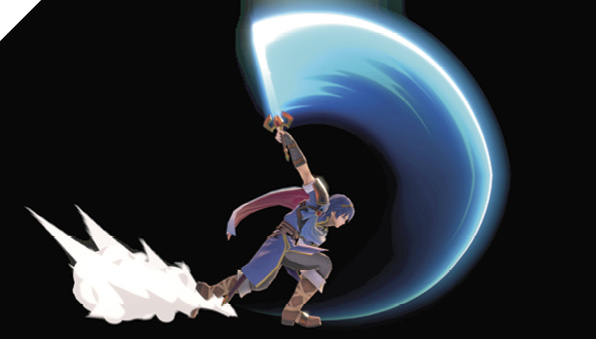
Marth delivers a defensive midrange upward cut, slashing away enemies.
This ground attack is one of your staple universal attacks, suitable for a variety of situations. You can use side tilt to zone out both grounded and airborne enemies, punish laggy attacks, and to knock out high-percentage enemies.
Side tilt is relatively safe on shield at max range, and you can follow up shielded side tilt slashes with standing jab. For instance, pester your foes with side tilts to condition them into going for a predictable roll into you, then punish the roll with a quick neutral attack combo.
Up Tilt
Marth swings his sword high above him, creating a no-fly zone and cutting down airborne foes within reach.
Up tilt is one of your fastest ground attacks. It features an amazing effective attack area, with incredible vertical reach. While it’s designed to clear out the space above you, it’s versatile enough to be used in certain defensive attack scenarios. Connecting with up tilt keeps your target above you for follow-up combo opportunities. Additionally, up tilt is superb for baiting out air dodges and double jumps, and beats out most opposing downward attacks. Essentially, if you can stay under an airborne foe with Marth, you’re in a strong advantaged position.
Up tilt even has a rear hit effect in case you need to immediately hit an enemy behind you.
Down Tilt
Marth crouches low to the ground and quickly thrusts at the enemy’s feet. This low-profile attack is Marth’s safest ground poke. He becomes difficult to hit because of his crouching animation, and when shielded, the attack is relatively unpunishable. It makes for a superb edge-guarding attack against hanging opponents, as you can quickly poke at the ledge from a distance, forcing out mistakes.
At around medium-damage values against certain fighters (roughly 60-80% on middleweights), you can start going for tech and combo setups as the sweet-spot down tilt launches. From there, you can either run in and set up a throw or apply more sword pressure. Against higher-damage enemies, your non-critical hits knock down and can force tech situations.
Smashes: Marth
| Move | Damage | Note |
|---|---|---|
|
18 |
Launches away. Deals more damage with tip. |
|
|
Up smash |
17 |
Launches directly above. Deals more damage with tip. Attack around feet deals 3 damage. |
|
Down smash |
12 |
Launches away. Deals more damage with tip. |
Smashes: Lucina
| Move | Damage | Note |
|---|---|---|
|
15 |
Launches away. |
|
|
Up smash |
14.3 |
Attack around feet deals 3 damage. |
|
Down smash |
9.5 |
Launches away. |
Side Smash
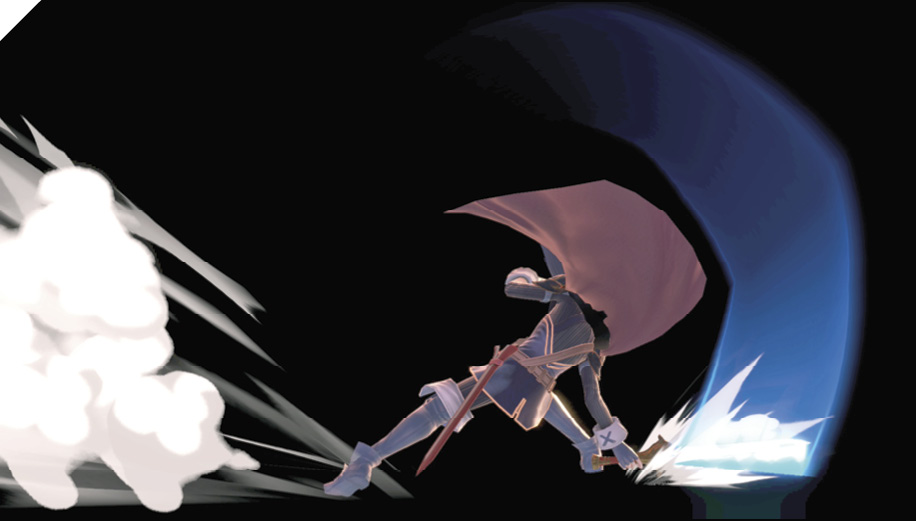
Marth smashes his sword down with a powerful overhead swing in front of him. The tip of the blade has astounding launching power, but can be difficult to connect with. Side smash is an absurdly powerful punish attack—not only does it deal a ridiculous amount of sweet-spot damage, but it’s also one of the fastest forward smashes in the game (along with Pit’s and Samus’s)! One of the many ways to punish enemies with this attack is if you can zone them off the ledge and force them into going for multiple ledge grabs, forfeiting their intangibility and giving you an essentially free side smash.
Up Smash
Marth forcefully thrusts his sword straight into the air above him, causing a small upward force around his lower body that propels foes into the air. This high-risk, high-reward kill move has a unique lower hitbox around Marth’s feet that, on hit, deals minor damage but throws enemies hit by it into Marth’s extended sword.
Down Smash
Marth sweeps the floor and clears out nearby foes with front and rear blade attacks. While it’s unsafe and easily punishable, down smash has a relatively fast start-up time and can occasionally be used right after blocking for retaliation. But for the most part Marth’s down smash should be left out of your neutral-game arsenal. Down tilt is simply much safer, faster, and more effective.
Grabs
| Move | Damage | Note |
|---|---|---|
|
1.3 |
— |
|
|
Front throw |
4 |
Forward throw. Launches up and away, high knockback. |
|
Back throw |
4 |
Backward throw, high knockback. |
|
Up throw |
5 |
Launches directly above. |
|
Down throw |
4 |
Launches up foe for follow-up attack. |
Grabs
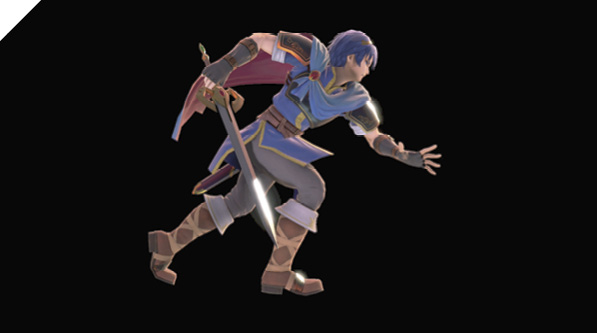
Marth’s grab is a conventional one with a quick start-up and solid range. It’s about the same speed as his neutral attack, so they can be used in similar situations (they’re both great options immediately after you block).
Marth’s grab attack is a knee strike. His forward and back throws are conventional, used to force tech get-up situations (at certain damage percentages), and for knocking out high-damage foes into a blast zone.
Off of down throw, you can usually score a guaranteed combo with back air or up air (depending on how your victim shuffles). Additionally, you can bait out double jumps and air dodges, potentially opening up opportunities for heavy punish combos.
For the most part, Marth’s grab game isn’t his strong suit, and can be highly risky to go for unless you make good reads on defending opponents. You generally want to stay airborne with your wide arc attacks to chip away at enemy shields.
Aerial Attacks
Aerials: Marth
| Move | Damage | Note |
|---|---|---|
|
5, 9.5 |
First hit pops up. Second hit knocks away. Deals more damage with tip. |
|
|
Forward air attack |
11.5 |
Knocks back. Deals more damage with tip. |
|
Back air attack |
12.5 |
Launches away. Deals more damage with tip (very strict). Causes direction turn. |
|
Up air attack |
13 |
Launches up for potential follow-ups. Deals more damage with tip. |
|
Down air attack |
14 |
Aerials: Lucina
| Move | Damage | Note |
|---|---|---|
|
4.3, 8.6 |
First hit pops up. Second hit knocks away. |
|
|
Forward air attack |
10.5 |
Knocks back. |
|
Back air attack |
11.9 |
Causes direction turn. |
|
Up air attack |
11.4 |
Launches up for potential follow-ups. |
|
Down air attack |
12.4 |
Middle tip causes meteor smash. |
Neutral Air Attack
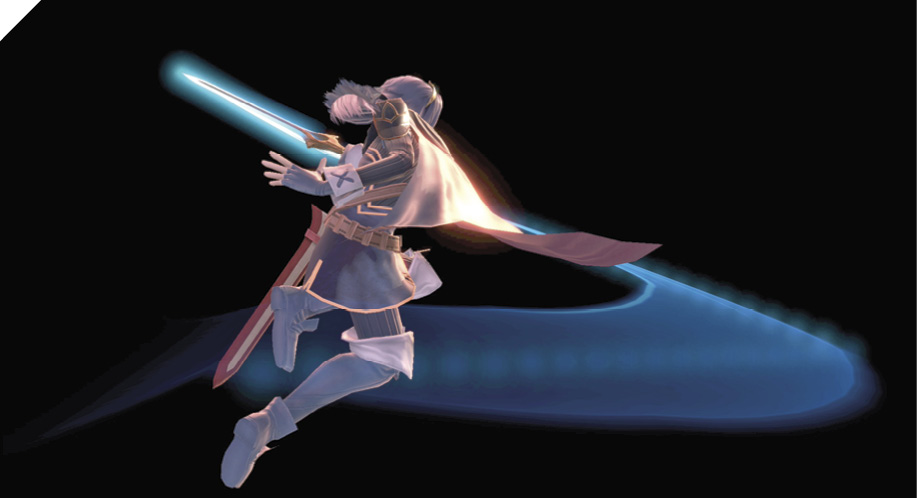
Marth performs two consecutive slices into the air in front of him. The first swing targets enemies directly in front, while the second swing can potentially take down foes behind him.
Neutral air attack is primarily a spacing tool. If you need to retain a safe distance while deterring aggressive opponents, use short hop and jump neutral air attack attacks for strong horizontal air control.
It also makes for an excellent defensive maneuver right after blocking. Cancel your shield with the short hop plus neutral air attack shortcut command (press Jump+Attack simultaneously while holding shield) for a get-off-me air maneuver that allows you to remain relatively mobile.
One of the most optimal neutral air attack sequences is: short hop, peak-of-jump neutral air attack, cancel into fast fall. If timed and executed properly, you should have the first neutral air attack swing come out near the apex of your jump, then the second swing of your neutral air attack come out right before your feet touch ground.
At higher-damage percentages, neutral air attack allows for incredibly strong combos, as the first strike causes a high hitstun pop-up effect. For instance, against a medium-sized fighter at 75%, you can combo low-altitude neutral air attack (one hit), into a forward smash attack. For most practical purposes, up tilt is your best option, as it launches foes and provides your standard air follow-ups and mix-ups.
Forward Air Attack
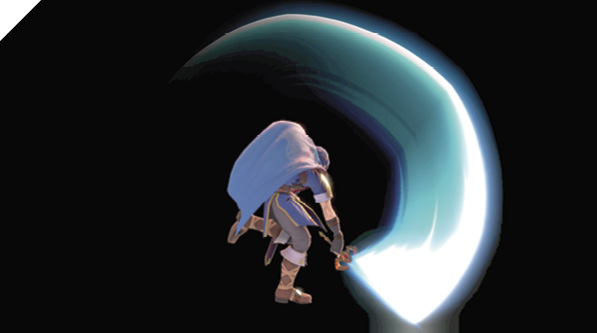
Marth delivers a downward slash starting from above him and ending the swing around knee level.
This air attack is a superb aggressive poke, particularly when executed during short hop or off of a short hop neutral air attack shortcut (forward+Jump+Attack). Use this attack to force your opponents into a defensive posture and to damage their shields.
Alternatively, you can go for jump into early forward air attack, then hold back on the stick to retreat while descending on the enemy with a neutral air attack or up air attack to potentially set up a juggle combo. You can also use double jump after the jump forward air to begin mixing things up once your opponent catches on to your jump forward air tactics.
Forward air attack is your main edge-guarding knockout attack, thanks to its wide-arc hitbox and relatively quick speed. It’s also an amazing combo-starter in the neutral game because of its pop-up effect. If you can hit it late (or “deep” during a hop), you can juggle with almost any follow-up attack as long as you’re fast enough.
Back Air Attack
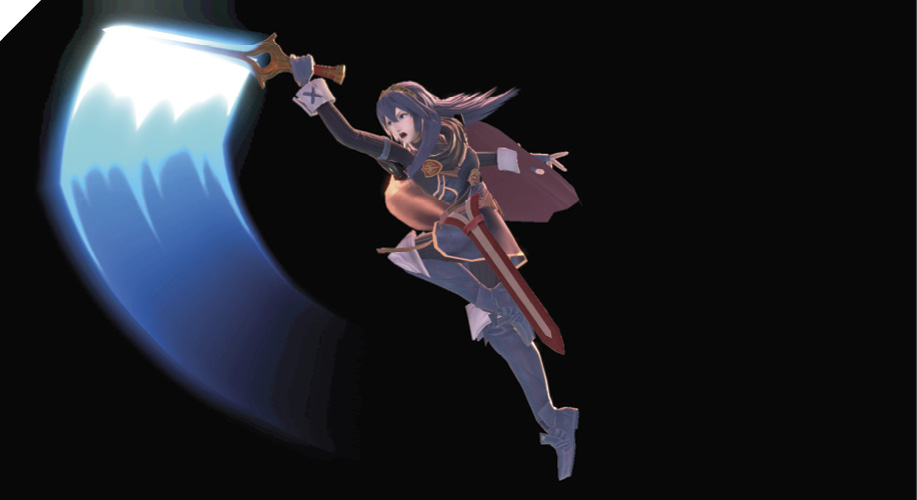
Marth turns around midair for a quick upward slash. This is a unique move in that Marth can change his direction while attacking. After the beginning part of the move, he changes direction in midair.
The power and versatility of being able to switch the direction you’re facing midair can’t be overstated. Marth’s back air attack gives him access to several on-demand options, particularly when it comes to edge-guarding. With his back facing the ledge, he can jump off a platform and swipe at a recovering opponent (and turn to face them), then follow up and swipe them again with forward air attack.
Since back air turns you around immediately, you can use it to modify your facing direction at any point. For example, you can jump one way, then right before your feet hit the ground, perform back air. Even if your attack animation never goes off, you’ll be running on the ground in the opposite direction. This is useful in case you need to perform certain moves the opposite direction, but you committed to a jump facing another direction.
Up Air Attack
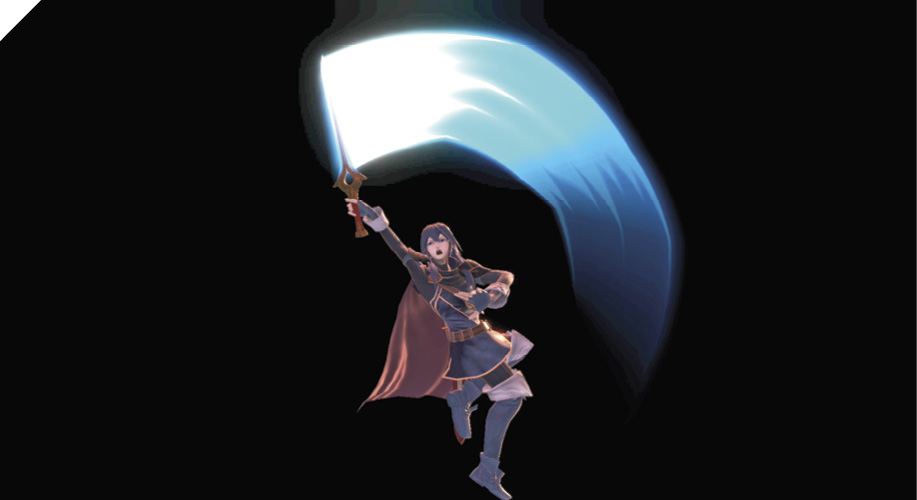
While airborne, Marth performs a somersault while swiping with his sword above him in a wide-ranging arc. Up air attack is almost as versatile and powerful as front and neutral air attack, making Marth’s air game absurdly strong. It’s as good as it gets when it comes to conventional up air anti-air attacks. Plus, its pop-up effect is similar to forward air, giving you another way to combo into up tilt and other naturally quick launcher strike.
Once you get a juggle situation going under your airborne victim, stay under and try to bait out and punish air dodges while mixing up your up air and up tilt timings to keep them guessing. Like other anti-air up air attacks in Super Smash Bros. Ultimate, you can punish opponents who’ve pre-emptively spent their double jumps if you can position yourself beneath them.
Down Air Attack
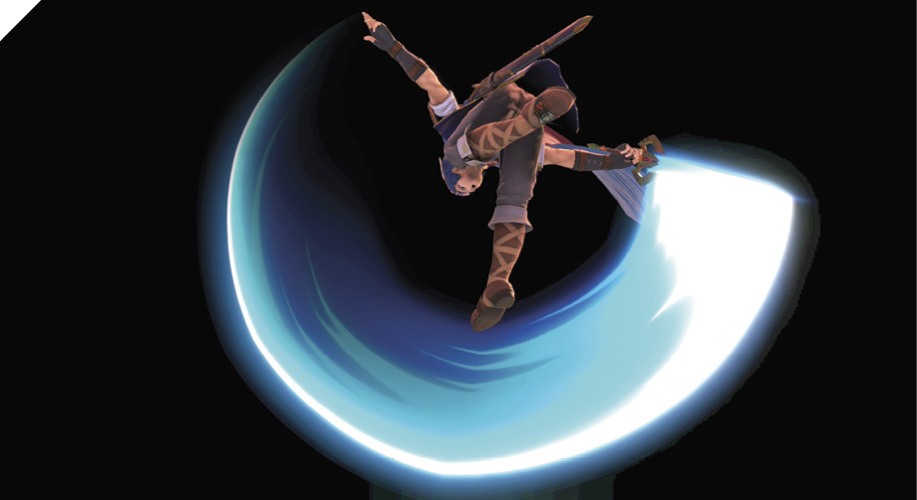
Marth delivers a 180-degree downward swipe, potentially spiking foes plummeting to their deaths. Marth’s down air is, unsurprisingly, an excellent attack for descending upon enemies. Its arc almost ensures that you connect with an enemy beneath you, forcing them to respond with a high-priority anti-air or to eat a significant amount of shield damage.
Down air attack has a meteor smash spiking effect at a specific point and angle in its swing. If you can score a hit during the halfway point in the animation (as Marth’s sword is pointing straight down), you can land a sweet-spot meteor smash that allows you to either knock down enemies into a pit, or cause them to bounce off a platform for a potential follow-up. At certain damage percentages, if you score a ground-bounce spike into a missed tech, you can potentially punish the enemy with a kill via up smash or forward air follow-up.
Special Moves
Special Moves: Marth
| Move | Damage | Note |
|---|---|---|
|
Neutral special |
10.3 (27.6 max charge) |
Deals more damage with tip. Can be tilted up and down. Deals bonus shield damage. Uncharged critical hit deals 80% shield damage. |
|
Side special |
3, 3, 4, 6; Up special (second, third, fourth attack): 3, 4, 7; Down special (third, fourth attack): 4, 2x4, 5 |
Possible up special attacks from steps 2-4. Possible down special attacks from steps 3-4. |
|
Up special |
11 (early), 7 (later) |
Brief intangibility before hit. Bonus damage on early hit. |
|
Down special |
26.4 (max) |
Damage varies depending on attack Countered. |
Special Moves: Lucina
| Move | Damage | Note |
|---|---|---|
|
Neutral special |
8.5 |
Deals bonus shield damage. Uncharged sweet-spot hit deals 80% shield damage. |
|
Side special |
2.8, 2.8, 3.3, 4.8; Up special (second, third, fourth attack): 2.8, 3.3, 5.7; Down special (third, fourth attack): 3.3, 2x4, 4.3 |
Possible up special attacks from steps 2-4. Possible down special attacks from steps 3-4. |
|
Up special |
11 (early), 7 (later) |
Brief intangibility before active hit. Bonus damage on early hit. |
|
Down special |
26.4 (max) |
Damage varies depending on attack Countered. |
Neutral Special: Shield Breaker
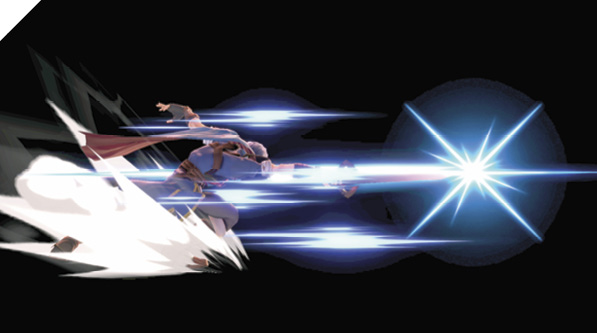
Marth charges up his sword and unleashes a shield-penetrating thrust, breaking the enemy’s guard. Shield Breaker, as its name implies, deals bonus shield damage, especially when connecting with its sweet spot, the tip of Marth’s blade. Without charging the attack, connecting with Shield Breaker’s sweet spot deals 80% of a fighter’s shields, essentially leaving them with one more block before they’re forced into shield-break dizzy, giving you freedom to go into full offense mode.
Shield Breaker also features subtle movement implications. For instance, performing charged Shield Breaker in midair after you’re launched high off the side of a platform can give you just enough of a boost to help you recover back onto a ledge.
Additionally, you can aim the attack by holding a direction and then releasing. This deals more damage if you strike an enemy’s head.
Side Special: Dancing Blade
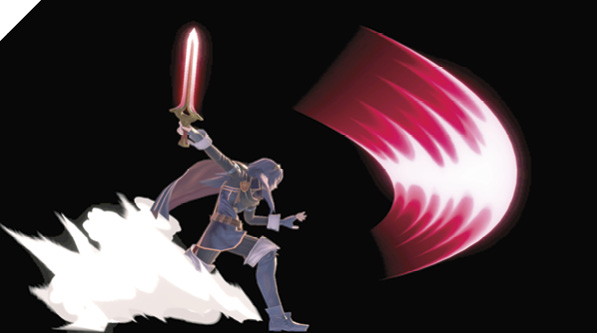
Marth performs a multitude of slashes, ending the sword dance with either a skyward launch attack or a lightning-fast flurry of thrusts. Hold toward the enemy on the fourth swing for a powerful high knockback attack. Hold up on the fourth swing for a good KO attack.
This special combo is where a majority of your damaging punishes come from. The up plus special series is generally used for setting up potential juggle combos, while the neutral (forward) series is for knocking out enemies offstage, and the down plus special series is for dealing the most damage or forcing a tech roll (followed by even more offense).
It’s important to note that most of Dancing Blade’s attacks are unsafe on shield and can be punished by most reprisal buffered jabs. The third attack can be made slightly safer by using down plus special instead of side or up special, as Marth retreats a bit during his swing.
Dancing Blade can be used midair to gain some altitude, and short hop into Dancing Blade can be an effective offensive maneuver in some situations (attacking an enemy above you on a platform, for example).
Up Special: Dolphin Slash
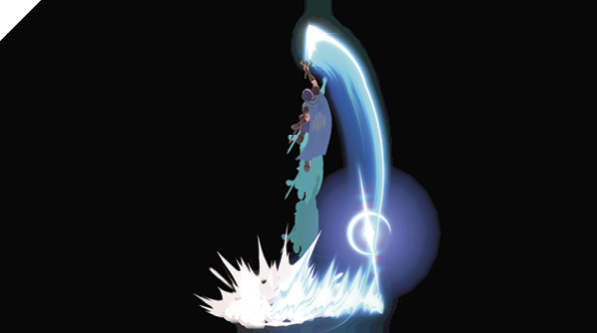
Marth launches himself into the air with his sword extended, striking down his foes from the sky.
Dolphin Slash can be used as a quick and invincible buffered out-of-shield attack, even faster than shield-grabbing. Of course, it’s extremely unsafe if whiffed, so don’t be too predictable with your actions right after shielding attacks. Something to keep in mind is that the middle platform on Battlefield stages is just high enough for you to land on from a Dolphin Slash in the middle of the stage. This makes it much safer to use as long as you’re aware of your positioning.
Down Special: Counter
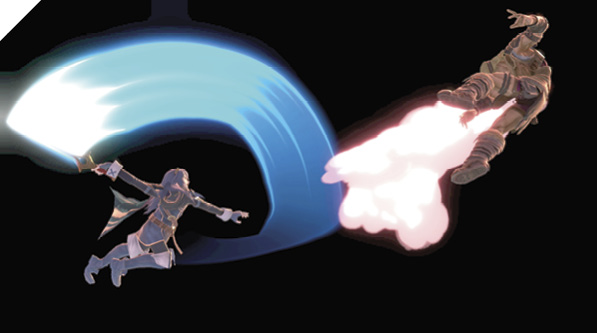
Marth quickly transitions into a defensive posture, absorbing enemy attacks and responding in kind with a counterattack. This is a no-nonsense parry attack with few frills. As most of these types of special moves are high-risk, high-reward, it’s generally best saved for free-for-all play modes when you’re surrounded by foes.
Otherwise, it can be used as a ledge-recovery option to Counter an incoming attack from an enemy who’s guarding an edge. For instance, if you’re hanging off a ledge and you make a hard read on your opponent’s incoming edge-guard attack, you can ledge-release (down input), then immediately double-jump into a Counter. However, this can be incredibly risky!
Final Smash: Critical Hit
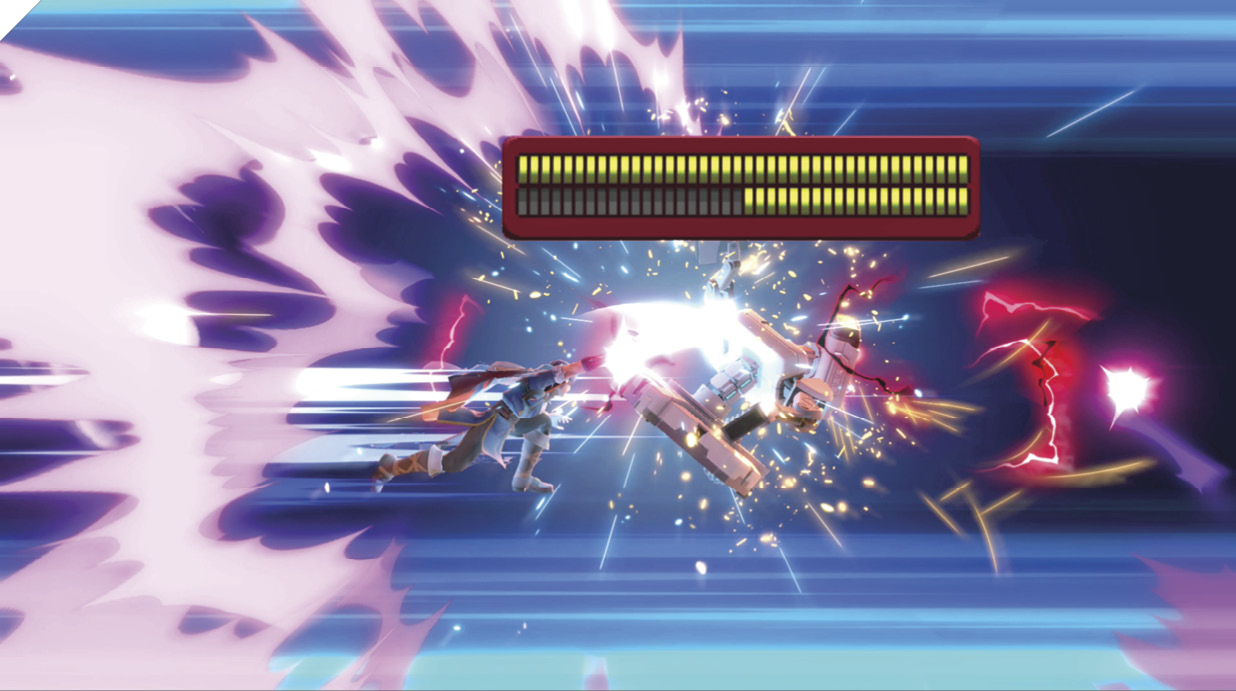
Marth dashes forward to deal an incredibly powerful blow. If the attack connects, it has the potential to be a one-hit KO. Marth dashes forward a long distance, so there’s a risk that you can self-destruct, but you can quickly press the button to stop in place.