
Super Smash Bros. Ultimate Guide Wolf
Brawler Arsenal
Grounded Attacks
Neutral Attacks
Neutral Attacks
| Move | Damage | Note |
|---|---|---|
|
Neutral attack 1 |
2 |
Hold attack to repeat rapidly. |
|
Neutral attack 2 |
2 |
— |
|
Neutral attack 3 |
4 |
Launches upward and away. |
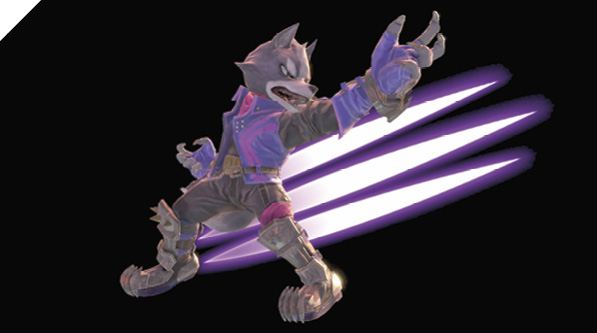
Wolf slashes a nearby foe with a three-hit claw combo, starting with a swift one-two strike and finishing with a heavy reverse right-handed slash that sends enemies away into the air. Wolf’s jab is faster than average with decent reach. The first neutral attack is safe when shielded, while the second and third hits aren’t.
It’s a solid finisher against high-percentage foes near the screen’s edge, especially as a whiff punisher or post-blocking counterattack.
Against grounded foes at 30% or so, you can combo a jump neutral air attack fast fall into jab, dealing around 20%.
Dash Attack
| Move | Damage | Note |
|---|---|---|
|
11 |
Early hit launches directly above, otherwise knocks away. |
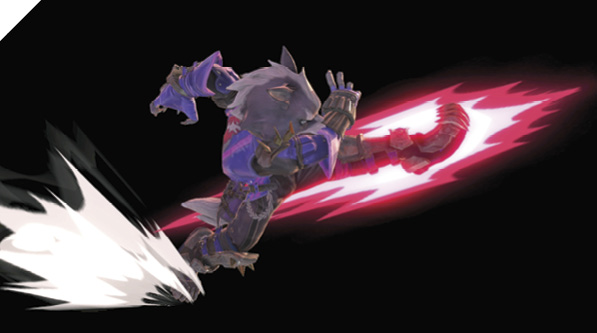
While running, Wolf drives his boot into the enemy’s midsection, popping them directly above him. Connecting with the initial active window of this attack pops the enemy up (and deals more damage) for a potential combo follow-up, while hitting with the latter portion simply knocks them back.
Against low-percentage foes (around 30%) and off of a clean hit, with your opponent popped up behind you as you cross up, you can follow up with a reverse up tilt to knock them up for a potential up air juggle trap and air-dodge-bait setup. Alternatively, you can combo the clean dash attack with an up-angled side tilt, dealing high damage and knocking the opponent away.
Dash attack is one of your main whiff-punishing attacks from midrange and can be used to chase down retreating airborne enemies.
Defensive Attacks
Tilts
| Move | Damage | Note |
|---|---|---|
|
Side tilt |
5, 6 |
Launches away. Can be angled up or down. Can hit twice if at close range. |
|
Up tilt |
10 |
Launches upward at a slight angle. Deals more damage above head. |
|
Down tilt |
6 |
Low knockback. |
Side Tilt
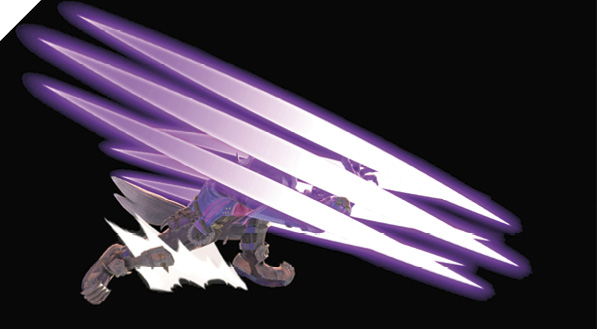
Wolf leans forward and, with both claws, performs a vicious heavy slash in front of him. Wolf’s side tilt can be angled upward or downward with the control stick. Upward side tilt is especially useful as an anti-air and for following up pop-up attacks.
Side tilt deals considerable damage when the enemy is just under max distance away. While it’s not safe when shielded at point-blank range, it’s incredibly difficult to punish if spaced.
Its overall speed is excellent, making it a solid attack for checking enemy aggression, thanks to its range and relatively quick start-up.
Up Tilt
Wolf delivers a high front kick with an arc that covers his entire front side and the area directly above his head. While it doesn’t have a generous horizontal hitbox like Fox’s up tilt, Wolf’s up tilt can hit small crouching foes in front of him.
On hit, it launches the enemy into the air. Off of a grounded hit at lower percentages, you can usually combo into up-angled side tilt, inflicting a hefty amount of damage. Otherwise, at higher percentages, you’re rewarded with a mix-up opportunity.
Wolf’s up tilt isn’t as versatile as Fox’s wide-angle up tilt, since it doesn’t cover his rear at all, so you have to reverse up tilt (up-back tilt and attack) to hit foes behind you. It’s also punishable when shielded.
Down Tilt
Wolf crouches down and delivers a swift leg poke aimed at his foe’s feet. Down tilt is fast, but is limited in its range and end lag. Since it lacks range, it’s generally punishable by most jab attacks when shielded. If it hits, it doesn’t lead into a combo unless your opponent misses their tech get-up.
Side tilt and neutral attack are better in most situations where you’d use down tilt.
Smashes
| Move | Damage | Note |
|---|---|---|
|
15 |
Launches away. |
|
|
Up smash |
6, 12 |
Launches directly above. |
|
Down smash |
16 |
Launches away, high knockback. Deals more damage during front swipe tip. |
Side Smash
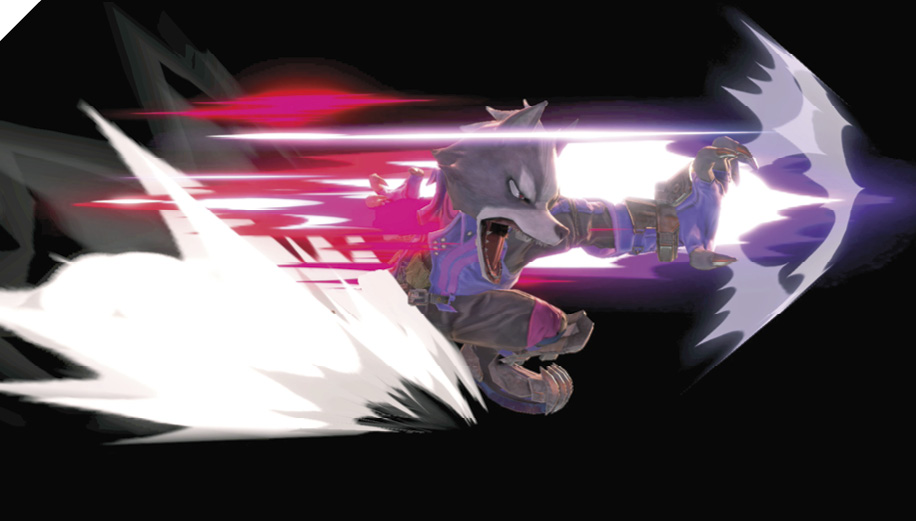
Wolf forcefully drives his left palm forward, blasting away foes. Side smash is a much less practical version of side tilt. It has less range, a smaller hitbox, and a slower start-up speed. However, these drawbacks are balanced by its shield-stun and end lag, making it quite safe as long as it connects with a foe, hit or shielded. It’s decent for safely dealing shield damage against defense-oriented foes, but it may be difficult to find spots to use it.
Up Smash
Wolf performs a sweeping windmill kick attack, popping up foes directly above him, then launches them into the sky with a springboard kick. The first part of up smash is a low sweep that can covers both sides, while the second half is an anti-air launcher.
Although it leaves you vulnerable on whiff, it’s a solid option that can punish laggy attacks and ledge rolls thanks to the clear-out effect of the initial active hit. It’s particularly effective for KO’ing foes at relatively high percentages.
Down Smash
Wolf crouches down and delivers a powerful sweep attack in front of and behind him with his right claw, blasting away anyone nearby.
While it’s punishable by most jabs when shielded, Wolf’s down smash has a lot of shield pushback so that only far-reaching counterattack jabs hit. The rear sweep is even safer on shield.
Use down smash to punish air dodges and ledge rolls or to clear out foes around you in free-for-all brawls. It can leave you exposed to reprisal if you whiff it fishing for hits on foes.
Grabs
| Move | Damage | Note |
|---|---|---|
|
1.3 |
— |
|
|
Front throw |
9 |
Forward throw. |
|
Back throw |
11 |
Backward throw, higher knockback. |
|
Up throw |
7 |
Launches foe into potential juggle position. |
|
Down throw |
8.5 |
Bounces foe away. |
Grabs
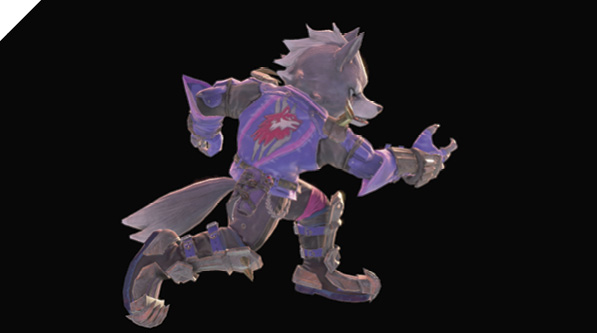
Wolf swiftly reaches out and ensnares the enemy by the collar. Wolf can grapple-attack almost immediately after successfully grabbing an enemy, so you’re likely to sneak in a few before going for a throw. Up throw deals the least amount of direct damage, but potentially leads into the most damage overall. At certain percentages against most fighters (around 30%), you can combo into up air or forward air. From there, you can continue to juggle-trap your airborne opponent.
Back throw has the most off-screen KO potential, while front throw leaves the enemy relatively close by.
Down throw is lackluster in both direct damage and potential damage since it doesn’t bounce the opponent into the air (they’re simply knocked back away from you).
Wolf’s grab range is comparable to his neutral attack, giving him a solid mix-up between the two while he’s within jab range. If you connect with neutral attack 1 and 2, you can crouch-cancel into an immediate grab for an effective 50/50 setup (after your second jab hits, hold down on the control stick, and as soon as your second jab animation ends, press the Grab button).
Grab is also an excellent punish option just after blocking, thanks to its above-average range and speed.
Aerial Attacks
Aerials
| Move | Damage | Note |
|---|---|---|
|
12 |
Deals more damage during early hit. Can cause standing hitstun. |
|
|
Forward air attack |
9 |
Launches upward at a slight angle. |
|
Back air attack |
15 |
Deals more damage at tip of attack. |
|
Up air attack |
12 |
Launches away. |
|
Down air attack |
15 |
Meteor smash at tip of claws. |
Neutral Air Attack
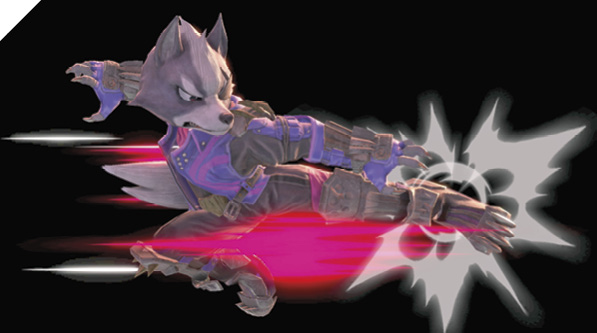
While airborne, Wolf delivers a long-lasting kick attack. It deals significantly more damage early on. It’s not as fast as Fox’s neutral air attack, but it serves a similar purpose. Its persistent hitbox makes it a great air-to-ground fast-falling attack and offers good combo potential since it can combo into his jab (from around 30-50%). At around 60-70%, you can combo into side tilt for even more damage.
Neutral air attack is a good “walling” tool thanks to its enemy-deterring persistent hitbox, effective from both jumps and short hops. However, it has considerable landing lag, making it relatively easy to punish when shielded if you land too close to the enemy, so try not to be too predictable with it.
Forward Air Attack
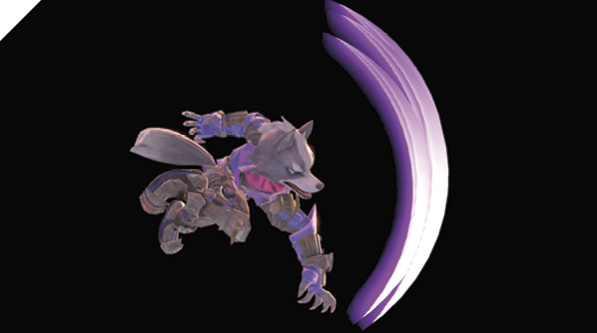
In midair, Wolf performs a far-reaching claw slash aimed downward. The attack starts above his head and knocks foes up into the air, potentially setting up a juggle opportunity. Forward air attack is fast, has a high-priority hitbox extending forward, and covers a wide angle. Due to its versatility, forward air is one of your staple attacks. It’s a strong air-to-air that can beat out incoming attacks because of its extended reach. Off of a deep forward air, you can almost always score a combo follow-up. At low percentages, you can combo into up-angled side tilt, dash-in up tilt, or short hop forward air attack. At mid percentages, you can go for a dashing jump forward air attack, or a dashing jump up air attack, launching the enemy higher into a juggle trap.
The main drawback of Wolf’s forward air is its landing lag, so connect with it as low to the ground as possible. From a jump, it’s best to fast-fall first, then immediately perform forward air as you quickly descend on your enemy. From a short hop, you can alternate and mix between going for neutral air and a late-descending forward air attack to keep your defensive opponents on their toes.
Back Air Attack
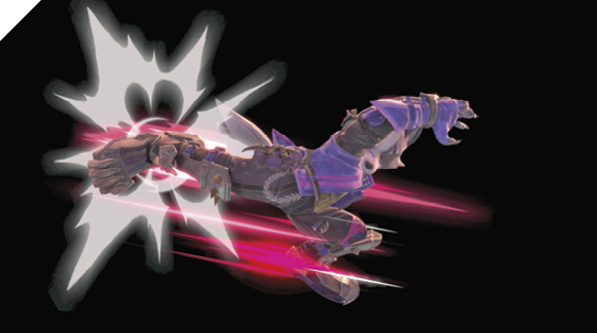
Wolf performs a powerful rear heel kick, knocking back foes behind him. Out of all his aerial attacks, back air has the least amount of landing lag (unless you land during its start-up period). It’s not a particularly strong combo-starter since its knockback effect is largely horizontal, but it’s an excellent air-to-air edge-guarding attack with a high amount of knockback. While it’s not versatile, it fills its role well as a finishing move against offstage fighters.
Up Air Attack
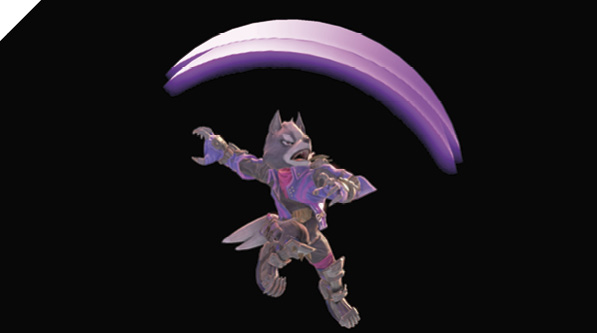
Wolf swings his claw in a wide arc above his head, launching airborne enemies higher into the sky. Up air attack starts up quickly, has significant landing lag, and is active briefly. Its hitbox only covers the area above you, so it doesn’t hit most grounded fighters, making it strictly an air-to-air anti-air and combo tool.
While it has its downsides, it makes up for those with speed, launching power, and a high-priority hitbox. Since Wolf’s up throw is his most reliable combo-starter, make the most out of up air attack by applying a strong grab game, which Wolf can do quite adequately.
Down Air Attack
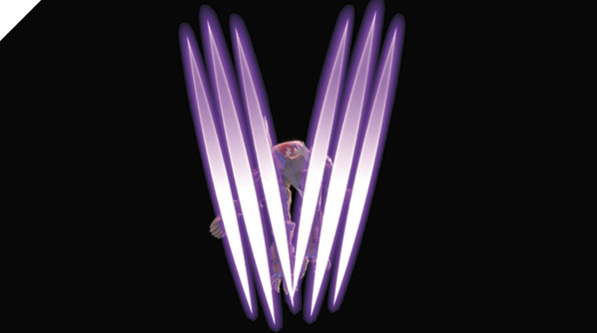
Wolf descends upon his foe with a vicious double-clawed meteor smashing attack. Down air is incredibly slow, but incredibly powerful. It almost always causes a spiking meteor smash effect on hit (at around 50%), making it a superb finisher against offstage recovering enemies. However, its slow start-up speed can make landing it difficult. It has the most landing lag out of all his aerial attacks, so you need to be precise and deliberate.
Special Moves
Special Moves
| Move | Damage | Note |
|---|---|---|
|
Neutral special |
8, 6 |
Melee and projectile attack. Projectile deals more damage at halfway point. |
|
Side special |
Dash: 3, Claw: 20 (15) |
|
|
Up special |
3.5, 1.5x3, 5 |
Can be launched in any direction. |
|
Down special |
Activation: 4, Reflected projectile: 1.5x |
Reflected projectile deals additional 50% damage. |
Neutral Special: Blaster
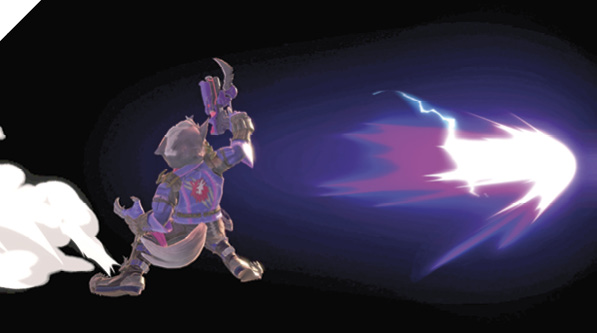
Wolf draws his Blaster while simultaneously stabbing its attached blade in front of him before firing off a Blaster shot. Blaster is a unique special in that it functions as both a melee and projectile attack. When he draws his gun, he extends a horizontal hitbox, fires the gun, then swings the melee hitbox upward, ending above his head.
The melee arc can potentially be used as an anti-air against short-hopping aggressors. The Blaster shot projectile deals a moderate and varied amount of damage. At point-blank range, it deals 6; then at its halfway point, its damage increases to 8; then decreases to 7 before it dissipates. Blaster can be special-reversed, allowing you to abruptly alter your trajectory midair. For example, while running from an enemy, you can short-hop away, neutral special, and then immediately flick the control stick back toward the foe in order to turn around and fire a shot at your pursuer. Blaster is a decent midrange zoning tool to force action from your opponent, although it can leave you vulnerable due to its significant lag. While its melee effect adds a bit of flexibility, you have much better tools to use at close range.
Side Special: Wolf Flash
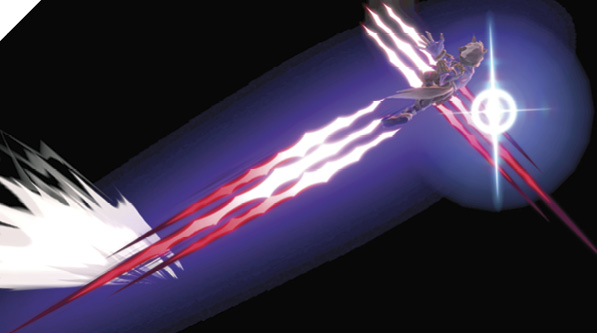
Wolf rockets forward and into the air at an angle with a two-part slashing attack. The first slashing attack while he flies through the air launches foes for a potential combo follow-up, while the second aerial slash attack has a meteor smash effect. You can alter the angle of this attack by holding up or down on the control stick as Wolf readies the attack.
Like Fox’s side special, Wolf Flash is largely used as a recovery tool, with the potential to hit edge-guarding opponents. If it’s shielded, it can be punished since it has considerable landing lag. If the move ends while you’re airborne, you fall in a helpless state. However, you can overcome some of these drawbacks by aiming so that you land on a platform above you, mitigating your risk to punishment.
Up Special: Fire Wolf
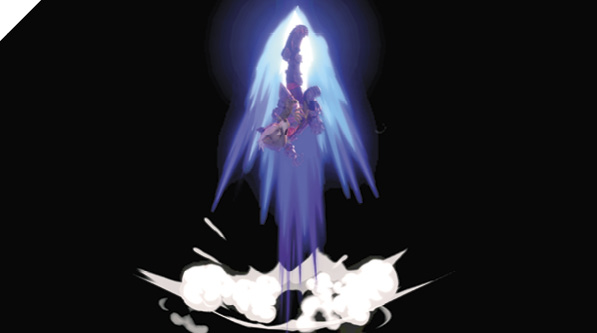
Wolf becomes engulfed in blue energy that damages nearby foes. He then transitions into a multi-hit flying kick in any direction, dragging enemies with him before launching them away.
Fire Wolf is a recovery option that can be launched in any direction with the control stick as Wolf is charging up the attack. It’s a high-risk maneuver and is generally best saved as a recovery tool to get back onto the stage. It has considerable launching power, so if you can make a hard read on your opponent’s mistimed air dodges and laggy attacks, you can potentially score a ledge KO.
Down Special: Reflector
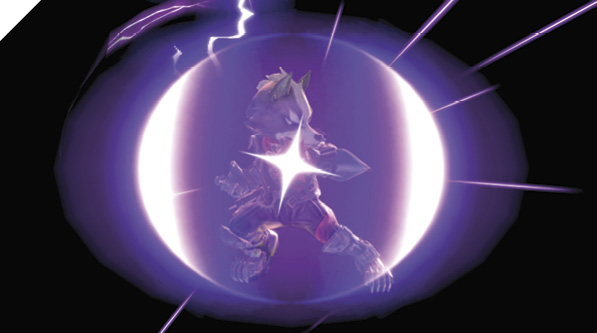
Wolf activates a projectile-reflecting barrier. Reflected projectiles deal an additional 50% of their base damage. Wolf’s Reflector has a significantly longer start-up than Fox’s, but deals more damage overall, in both its activation hit and projectile-multiplier effect. As Wolf is a heavyweight fighter with subpar ground speed, Reflector is a handy tool that gives him a way to deal with zoners. Since he can’t outmaneuver foes as well as Fox can, Wolf can potentially make more use out of Reflector, even though its start-up is a bit slower than Fox’s. Reflector can be used as an offstage recovery tool, allowing you to safely deal with edge-guarding projectile tactics. If you time Reflector accurately while airborne, you can recover from its animation fast enough to immediately act. That is, reflect a midair projectile, then safely double-jump (or Fire Wolf or Wolf Flash) back onto the ledge.
Final Smash: Team Star Wolf
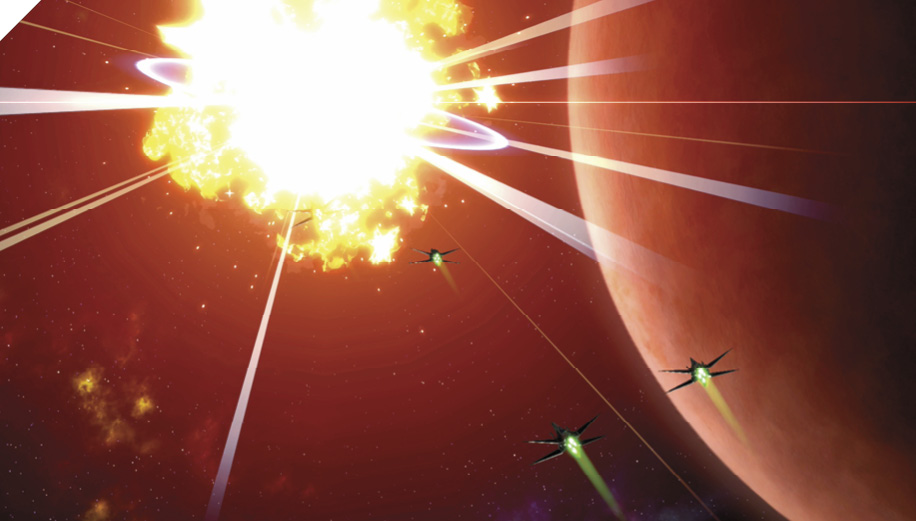
Wolf displays a targeting reticle in front of himself, which can lock on to opponents. If you catch an opponent in the attack, Wolf’s team shows up and aids you by firing on the target.