
Super Smash Bros. Ultimate Guide Rosalina & Luma
Brawler Arsenal
Grounded Attacks
Neutral Attacks
Neutral Attacks
| Move | Damage (Rosalina / Luma) | Note |
|---|---|---|
|
Neutral attack 1 |
2 / 1 |
— |
|
Neutral attack 2 |
2 / 1 |
— |
|
Neutral attack 3 (rapid) |
0.3xN, 2.5 / 0.1xN, 1 |
Launches away. |
|
3 / 2 |
Launches up and away at slight angle. |
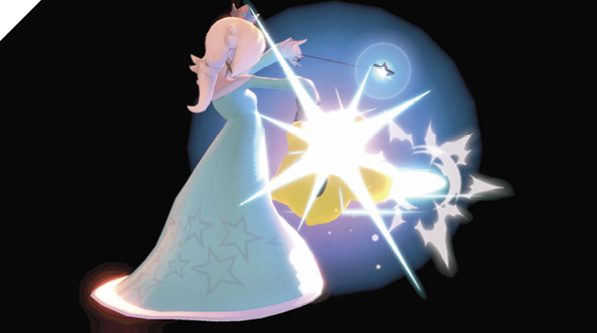
Rosalina strikes with her wand twice, then finishes with either a magical rapid-attack sequence or a third flick of the wand that knocks foes upward. Luma punches twice, then either performs a spinning attack into headbutt combo or an uppercut that launches foes up into the air.
If Rosalina is knocked down as Luma is performing its rapid jab attack, you can keep Luma going by holding the Attack button down while moving around with Rosalina. If you pay close attention to Luma’s attacks while Rosalina is being struck, you can make it attack with almost anything.
While holding down Luma’s rapid attack, Rosalina can maneuver around the stage, but she can’t attack or perform a standing grab. She can perform dashing grab, so you may be able to catch your foe off-guard as they’re trying to avoid Luma’s furious flurry.
Rosalina and Luma’s neutral attacks are a crucial part of their arsenal, both when the duo are together and when Luma is deployed. You can put out constant pressure using a sequence like neutral attack 1, 2, delay, 1, 2. This can be used aggressively as a poke against shielding foes, thanks to Luma acting as Rosalina’s hit sponge. If you hit with Luma’s extended jabs, you can go for a slightly delayed neutral attack 3 or wait and go for an up tilt mix-up, forcing the enemy to shield Luma’s up tilt—and if they don’t, they’ll eat a launching attack.
When Luma is deployed in a forward position, use its jabs to keep the enemy in check. This tactic is incredibly strong if you find the opportunity and spacing to apply it. It’s particularly effective when you have an edge-guarding advantage, leaving Luma out to safely poke at a ledge-hanging foe. Luma’s jabs are incredibly safe (they inflict a lot of shield-stun and the duo are actionable early), so much so that Luma’s jab 2 can be linked into jab 1 on hit (if crouch-jab-canceled perfectly)!
Dash Attack
| Move | Damage (Rosalina / Luma) | Note |
|---|---|---|
|
3, 4 / 3 |
Launches up and away. |
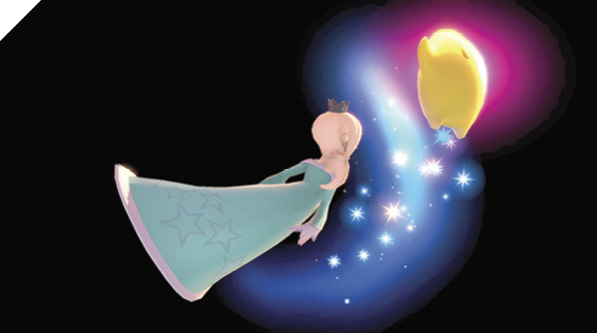
Rosalina and Luma both dive headfirst into the enemy, launching them away. Rosalina’s dash attack starts up remarkably fast for a fighter of her height and speed. It’s also incredibly elusive. As Rosalina dives, her hurtbox becomes slim, dodging most air attacks and even some grounded ones that don’t quite extend to the ground.
As a reaction-based fighter, you should always be looking for spots to punish your opponent’s movements and attacks. If the enemy is descending from a launch or one of your forward throws, you can go for a dashing attack mix-up, beating out their aerial attack (especially if you condition them with your dashing grab).
Defensive Attacks
Tilts
| Move | Damage (Rosalina / Luma) | Note |
|---|---|---|
|
Side tilt |
7.5 / 4.5 |
Launches away, high knockback. |
|
Up tilt |
10 / 8 |
Launches directly above for potential follow-up. Luma attacks earlier than Rosalina. Head intangible. |
|
Down tilt |
5.5 / 3.5 |
Knocks away. |
Side Tilt
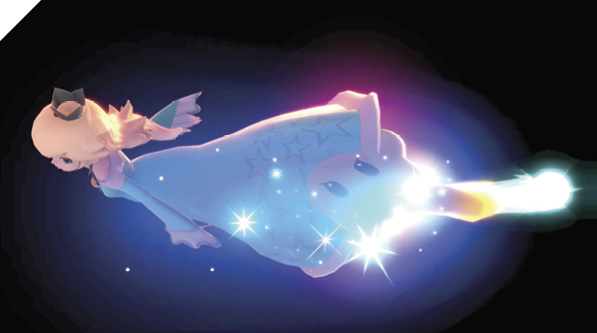
Rosalina delivers a magic-laced spinning-kick attack in front of her while Luma performs a straight roundhouse kick that launches foes away. Side tilt can be used to stuff enemy aggression from past your neutral attack range. It’s much slower to start than neutral attack, but it’s a decent strike to throw out if you need the extra range to punish an enemy or to stuff their approach. It can leave your duo vulnerable if it’s shielded.
Up Tilt
Rosalina’s halo fires directly above her while Luma performs a Shoryuken-like uppercut that launches foes vertically into the air. Up tilt is a fantastic anti-air. Rosalina’s head is intangible for a brief period as her halo is released. If an enemy challenges your up tilt, you’re almost always going to beat them. Luma’s rising uppercut has high launching power, making it a powerful finisher, especially if Luma is deployed.
Down Tilt
Rosalina performs a quick dropkick attack while Luma performs a headbutt. Rosalina’s down tilt starts as fast as her jab does, but it’s punishable when shielded. At mid percentages (around 40-60%), it can force a tech get-up situation as it knocks foes down, but at lower percentages, it simply knocks enemies back slightly.
Smashes
| Move | Damage (Rosalina / Luma) | Note |
|---|---|---|
|
12 / 7 |
Launches away. Can be angled up or down. |
|
|
Up smash |
12 / 6 |
Launches directly above. |
|
Down smash |
7 / 4 |
Launches away. Clear-out attack. |
Side Smash
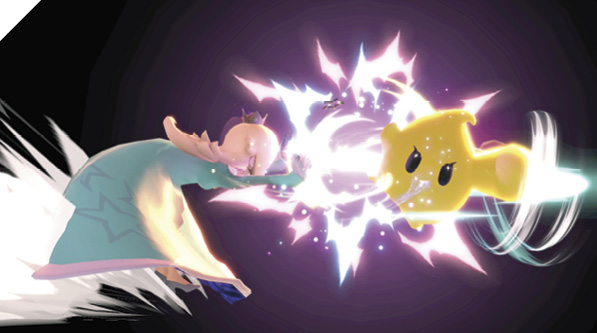
Rosalina thrusts her palms out with a cosmic blast in front of her while Luma angrily delivers a mighty thrust punch, launching foes back. Side smash is extremely unsafe when shielded, so it’s best used as a ranged Luma-deployed attack, particularly effective as an anti-ledge-recovery option. If you can read your opponent’s recovery, such as a ledge jump, you can obliterate them with an angled side smash attack.
Up Smash
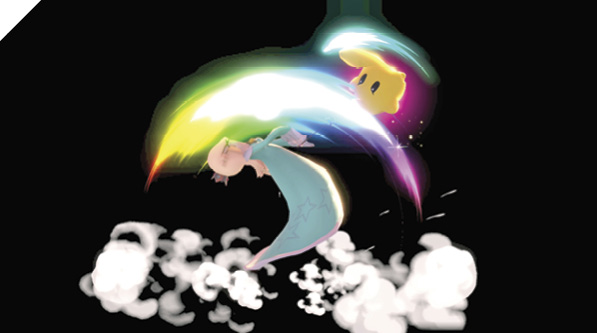
Rosalina and Luma simultaneously perform a backflip somersault attack, knocking foes up into the air. Up smash is a powerful anti-air launcher. Rosalina extends her attack in front of and behind her, so it can be used immediately after blocking against enemies attacking you from behind. Like most smash attacks, it can be used as a surprise finisher to knock out aggressive foes dashing into you.
Down Smash
Rosalina elegantly performs a cosmically infused leg attack, knocking away enemies in front and behind, while Luma delivers a spinning roundhouse kick targeting its rear, then its front. Rosalina’s down smash on its own is extremely unsafe when shielded, while Luma’s attack makes it much safer (still punishable, just not as easily). If Luma connects with its down smash, it inflicts much more shield-stun.
Down smash is best used with Luma deployed in a forward position so that you cover much more area with both of your clear-out attacks. Otherwise, down smash should be left out of your neutral-game arsenal due to its lagginess and vulnerability.
Grabs
| Move | Damage (Rosalina / Luma) | Note |
|---|---|---|
|
1.3 |
— |
|
|
Front throw |
9 |
Forward throw. |
|
Back throw |
11 |
Backward throw. |
|
Up throw |
7 |
Launches up and away at very slight angle for potential follow-up. |
|
Down throw |
9 |
Launches up and away. |
Grabs
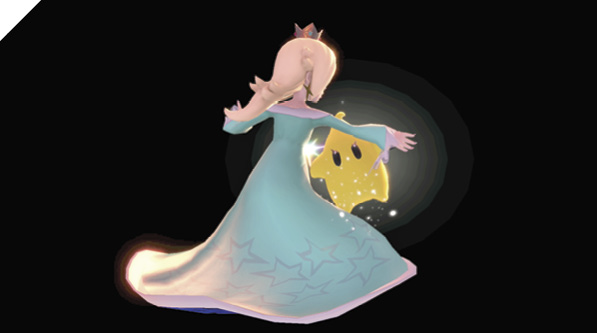
Rosalina’s grab offers average range and speed, but is one of her most important attacks because of her defensive playstyle. Front throw is used to toss foes offstage or to set up her potent dashing attack/grab mix-up. Since Rosalina’s dashing attack and dashing grab are visually similar, it can be difficult for your opponent to discern between the two. Back throw is a conventional rear toss best used when your back is to a ledge.
Up throw launches foes upward, usually leading into a forward air attack combo against most fighters. Against low-percentage foes, you can usually combo an up tilt after up throw, then transition into Rosalina’s strong juggle-trap mix-up game.
Down throw bounces the enemy up and farther away than up throw. It deals a bit more damage, but doesn’t provide much in the way of juggle opportunity.
Rosalina’s grab is crucial to her combat effectiveness. You can earn grabs by frustrating the enemy with Luma pokes, conditioning them to shield often and then going in for a dashing grab.
Aerial Attacks
Aerials
| Move | Damage (Rosalina / Luma) | Note |
|---|---|---|
|
10 / 3 |
Knocks up for potential follow-up. |
|
|
Forward air attack |
1x5, 6 / 3 |
First five hits drag. Last hit knocks away. |
|
Back air attack |
11 / 4 |
Launches away. |
|
Up air attack |
10 / 4 |
Launches up, high launch power. Halo damage falls off with range. |
|
Down air attack |
7 / 5 |
Luma launches up and away, high launch power. Halo persists. |
Neutral Air Attack
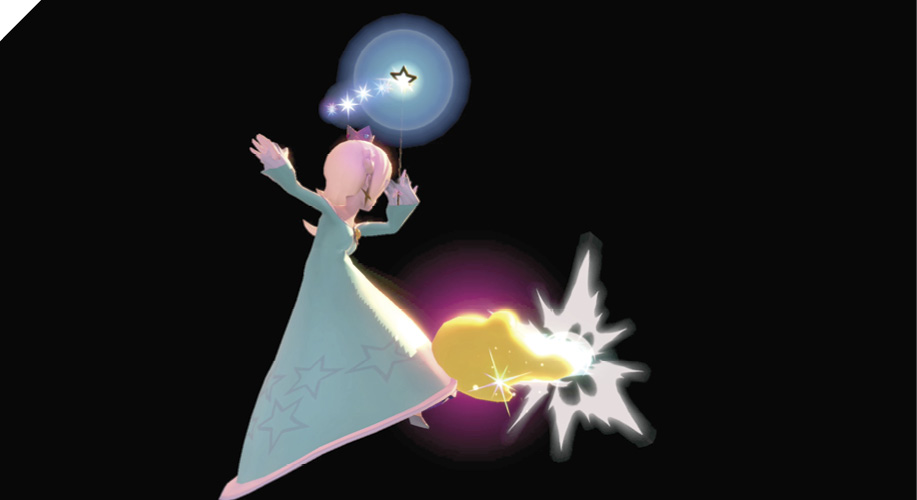
While soaring through the air, Rosalina twirls her magic-infused wand around her while Luma performs its clear-out spin kick. Luma’s attack launches foes while Rosalina’s wand attack pops them up. Neutral air attack is a staple neutral-game attack: it has relatively low air and landing lag while boasting an impressive arc with its hit effect, covering every angle around Rosalina. Against grounded foes, Rosalina’s neutral attack causes a pop-up effect, allowing for a guaranteed combo follow-up with short hop forward air attack.
With Luma deployed behind an enemy, you can potentially score a ping-pong combo by forward short-hopping and immediately inputting neutral air. If spaced correctly, Luma knocks the enemy into your neutral air attack, followed by Rosalina’s up air attack.
Forward Air Attack
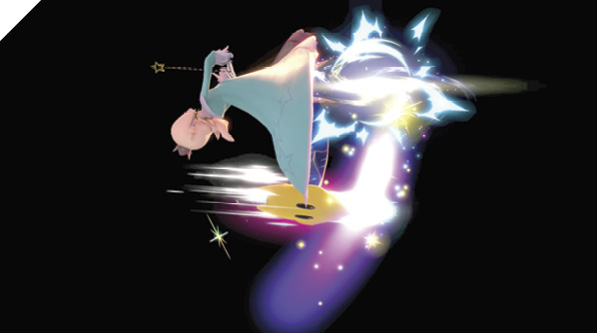
In midair, Rosalina performs a somersault kick, extending cosmic energy that strikes foes multiple times before launching them away. Luma performs a headbutt attack. Like neutral air attack, forward air attack boasts an impressive hitbox that extends way beyond Rosalina’s feet. It’s a superb air-to-air and air-to-ground attack (although its landing lag make it unsafe against shield grabs).
It’s best used to harass enemies above you, whether they’re on a platform or offstage recovering.
Rosalina’s forward air attack can be used as an anti-edge-guarding attack as well. Go for ledge drop into immediate double jump, then attack your edge-guarding opponent with forward air to get back onto the stage. You can make it more difficult to punish by passing through the opponent’s body.
Back Air Attack
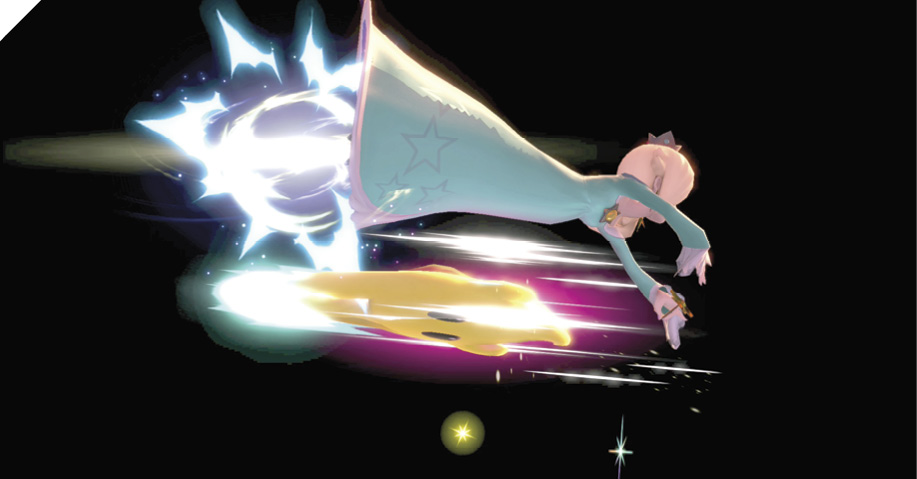
Rosalina thrusts her legs behind her with a cosmic kick attack while Luma mirrors her.
Back air attack’s effectiveness is situational. It deals more damage than her other air attacks, but has a narrow hit effect and its active window is short. It also has a comparatively high air lag, so you can’t quickly throw out multiple back air attacks in succession. Use back air if your back is to the enemy or you need to finish off an offstage opponent near a side blast zone.
Up Air Attack
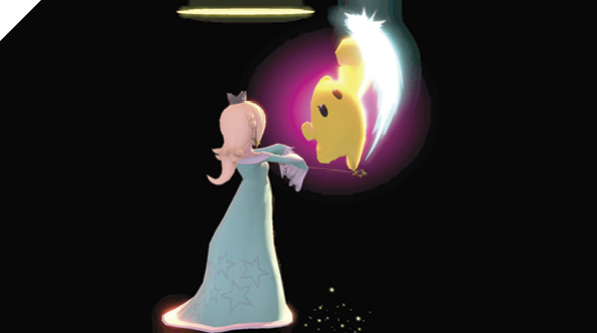
Rosalina fires her halo directly above her a short distance while Luma performs its rising uppercut attack. Rosalina’s halo trajectory is strictly locked to a set distance away from her positioning, meaning she can direct where the halo goes as she travels through the air. This unique trajectory property, along with the halo being a separate projectile, makes up air attack an amazing juggle-trapping tool.
As long as Rosalina is beneath a falling opponent, she retains a strong advantage, as the enemy is forced to deal with her halo attacks. If you condition your opponent to expect an up air halo attack, you can inevitably bait out an air dodge that you can punish with up tilt or up smash.
Down Air Attack
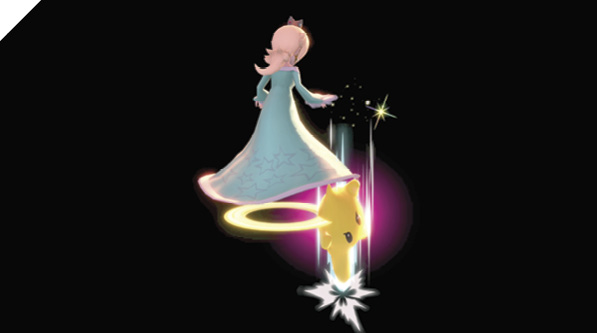
While airborne, Rosalina throws out a halo projectile beneath her while Luma drives its foot down with an aerial stomp attack that launches foes up and away with incredible force. Like up air attack, Rosalina’s down air attack halo travels a certain distance, but its positioning correlates with Rosalina’s position. While recovering from a high altitude, you can use down air as a descending attack to challenge foes beneath you. The halo persists for a relatively long time, and since it’s a separate hitbox, it can beat out most melee-based anti-airs if spaced properly.
Luma’s down air attack has high launch power, so you can potentially KO offstage opponents with if the star is deployed over a ledge.
Special Moves
Specials
| Move | Damage (Rosalina / Luma) | Note |
|---|---|---|
|
Neutral special |
5 to 16 |
Charging increases Luma damage and deploy range. Luma weight increases. Luma always faces opponent. |
|
Side special |
3x3 |
Knocks up and away slightly. |
|
Up special |
— |
Influence trajectory with left and right control. Luma can attack during flight. |
|
Down special |
Varies |
Pulled projectiles deal their normal damage. |
Neutral Special: Luma Shot
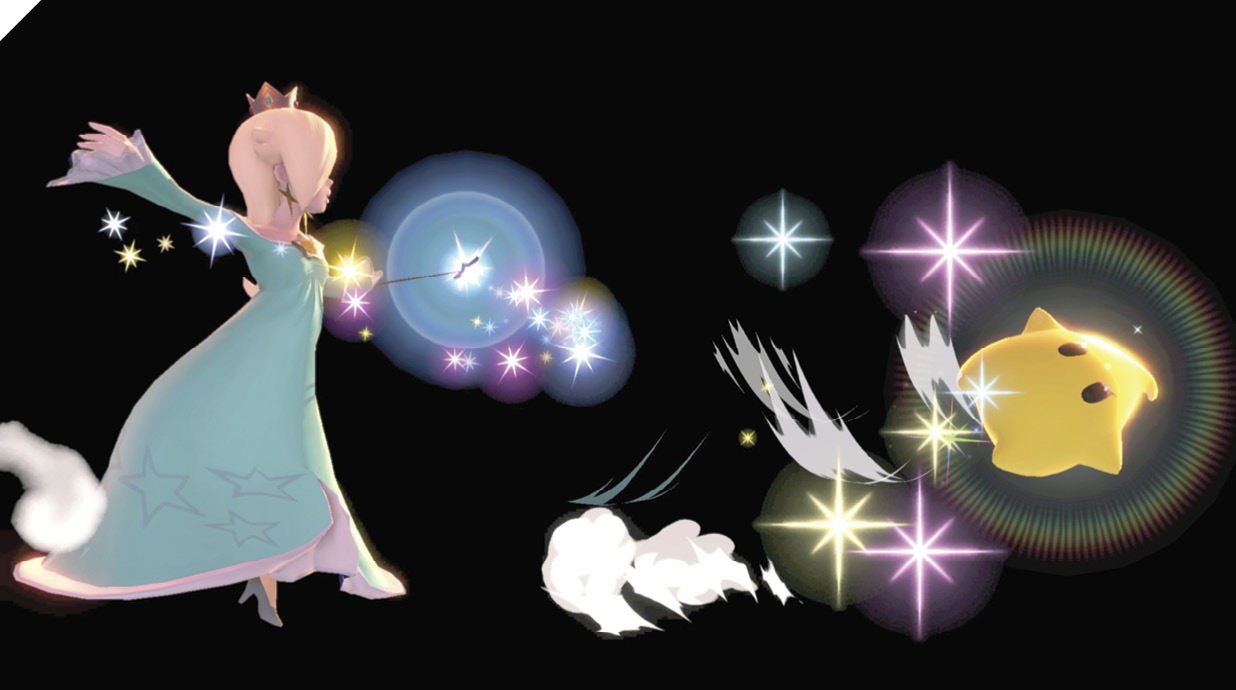
Rosalina flings Luma forward, boosting Luma’s attack power and locking it to a set distance away from Rosalina. When Luma is deployed away from Rosalina, it deals an additional 50% damage and always faces the direction of a nearby opponent, so if Luma is behind an enemy, it turns around to attack them.
Luma Shot is your primary offensive maneuver and should be used to force action from a defensive foe. While you’re generally playing defense as Rosalina and Luma, occasionally you need to rack up damage and mount a comeback, and Luma Shot is one of the best ways to do so.
Not only does a deployed Luma deal more damage, but it also sets up unique combo situations, allowing you to ping-pong foes back and forth between Luma and Rosalina. You also cover more ground when both fighters are attacking separate areas. Luma Shot creates unique zone control, and it’s made stronger the better you are at controlling both fighters. Becoming familiar with Luma’s attacks is essential to optimizing your Luma Shot. In many situations, the best way to approach an enemy is to focus on controlling Luma instead of Rosalina, by focusing on its attack range and how they can be used to safely deal damage and force out enemy mistakes.
The main drawback to keeping Luma far out in front of Rosalina is that it becomes vulnerable. Astute players recognize Luma’s value and begin attacking it. When this happens, you need to defend Luma if possible. Otherwise, you can potentially lose your star, forcing you to wait for it to regenerate.
Luma can attack on the way back after it’s recalled, allowing you to sucker-punch enemies with Luma. For instance, if Luma is positioned behind an enemy, you can press neutral special to recall, then immediately use neutral attack to have Luma pummel the opponent as it begins its return path.
One of Luma’s most important aspects is that its deployed attacks are safe when shielded, and sometimes leave Rosalina at a frame advantage!
Side Special: Star Bits
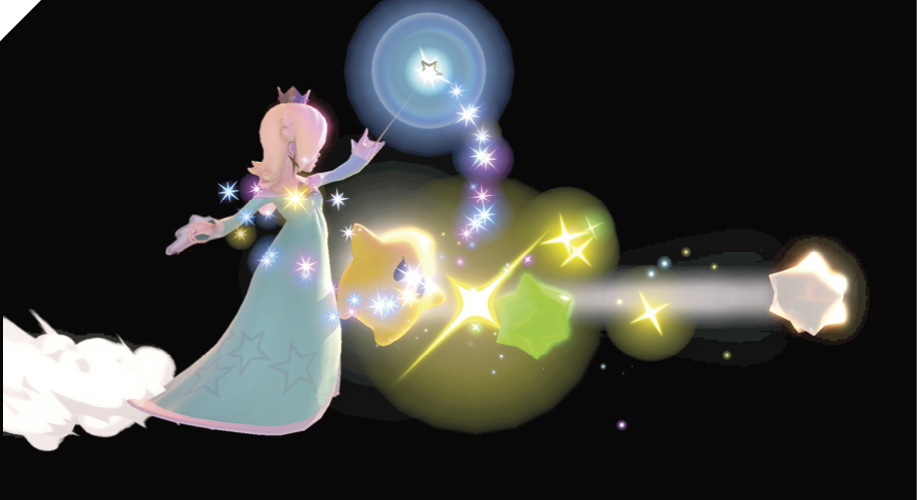
Luma fires three Star Bits in the direction used while inputting Special (left/right). Star Bits allows you to apply ranged pressure from Luma. Although it’s a laggy attack that leaves you at actionable disadvantage when shielded, it deals solid damage and forces action from defensive foes.
You can use Star Bits as an edge-guarding tool to harass offstage opponents. It’s even more effective if Luma is positioned farther away off the stage.
Up Special: Launch Star
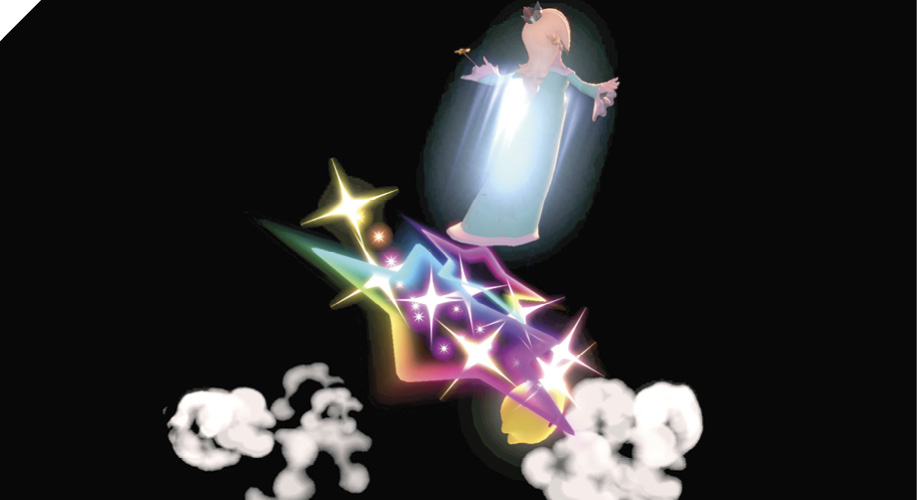
Rosalina flies away up into the air while Luma follows with its midair jumps. Launch Star is as straightforward and simple as it gets in terms of an aerial-recovery move. You can control both her launch and midair trajectory, but she descends from the air in a helpless falling state. You can still control Luma’s attacks during Rosalina’s descent, potentially punishing foes who attempt to punish you.
If Luma Shot is deployed, Luma stays near the ground instead of following Rosalina into the air.
Down Special: Gravitational Pull
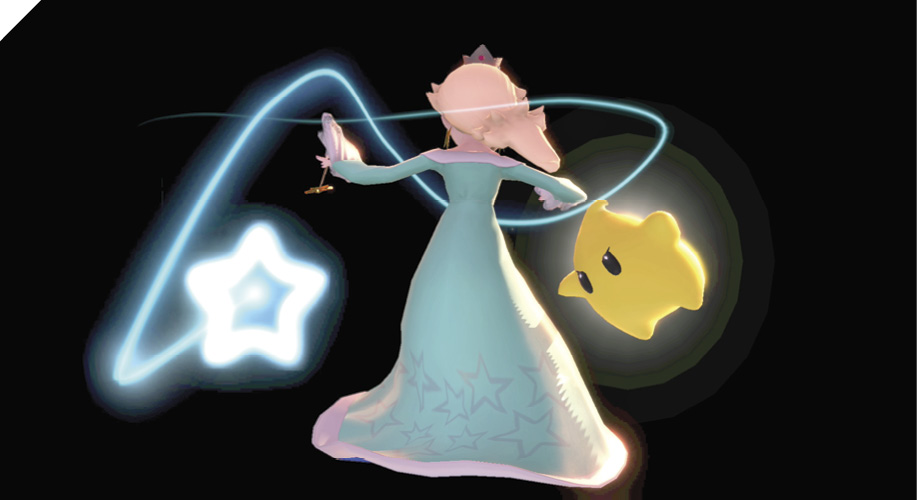
Rosalina uses her cosmic powers to pull nearby projectiles, altering their trajectories and forcing them into an orbit around her. Gravitational Pull essentially nullifies all incoming projectile attacks while using them as an orbiting shield that can damage foes.
While this special move is situationally useful, when it’s effective, it’s super effective! Rosalina essentially invalidates an opponent’s entire projectile game, rendering them useless. Fighters like Ness and Lucas can have an extremely hard time against her, as most of their power revolves around their projectiles. Rosalina can even pull their PK Thunder projectiles away from them while they’re trying to recover from a ledge, potentially resulting in their self-destruction!
Final Smash: Grand Star
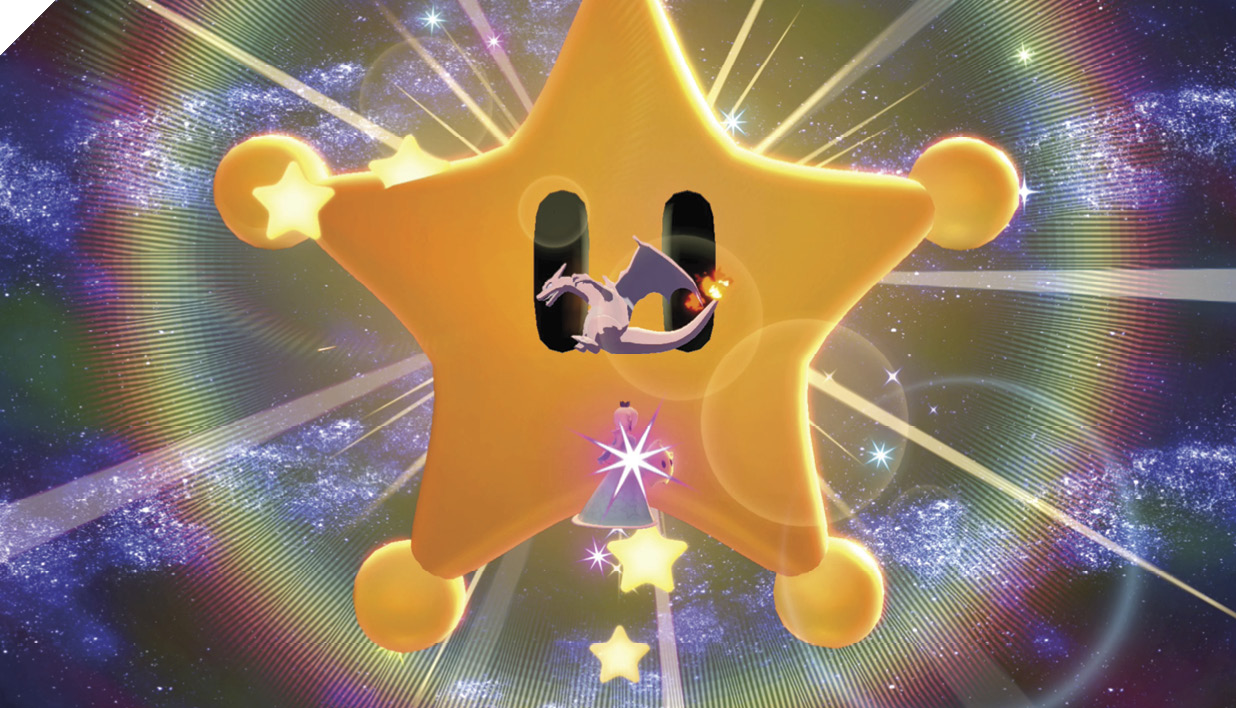
A Grand Star shoots out stars while also pulling in opponents who are hit. In the end, the Grand Star explodes. Rosalina and Luma can freely move around during the Final Smash, giving them a chance to land extra attacks.