
Super Smash Bros. Ultimate Guide Dr. Mario
Brawler Arsenal
Grounded Attacks
Neutral Attacks
Neutral Attacks
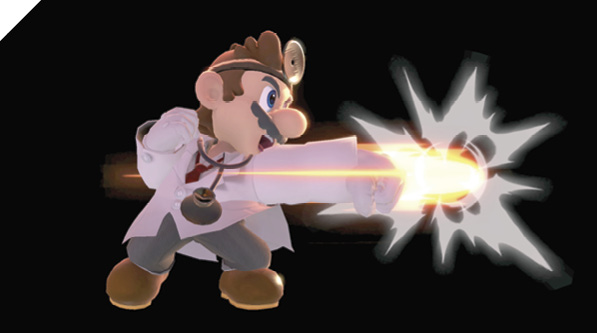
Dr. Mario’s most basic attack is a three-hit, punches-into-kick combo. Tap or hold the Attack button to perform the combo; from afar, holding it down produces a flurry of whiffed jabs, while tapping repeatedly whiffs the whole three-hit sequence. Up close, with a defender in attack range, holding and tapping both suffice to produce the combo.
Like when using Mario without his medical license, or his brother Luigi, the first hit of Dr. Mario’s neutral attack combo is terrifically fast, striking up close almost instantly. This means it’s a great punish tool when someone leaves themselves open, whether by whiffing an attack, dodge-rolling poorly, or giving you something laggy to shield against before counterattacking.
Dash Attack
| Move | Damage | Note |
|---|---|---|
|
11.5 |
Causes recoverable knockdown. |
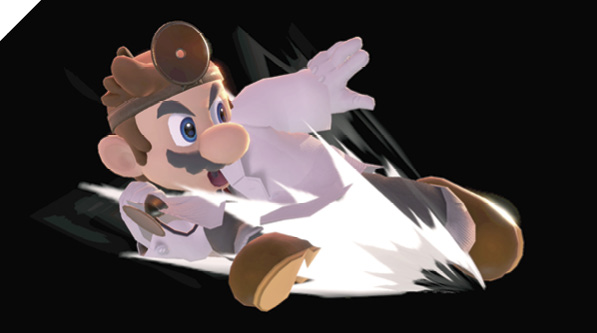
Dr. Mario’s sliding dash kick resembles Mario’s, but does a tiny bit more damage, like most of the doctor’s attacks. On a solid hit, it also pops the victim straight up above Dr. Mario, leading to better immediate juggle combos than in off-duty Mario form.
Defensive Attacks
Tilts
| Move | Damage | Note |
|---|---|---|
|
Side tilt |
8.2 |
Can be angled up or down with diagonal input. |
|
Up tilt |
7.4 |
Pops foe up into potential juggle position. Tendency to whiff against floored fighters or point-blank crouching/short fighters. |
|
Down tilt |
8.2 |
— |
Side Tilt
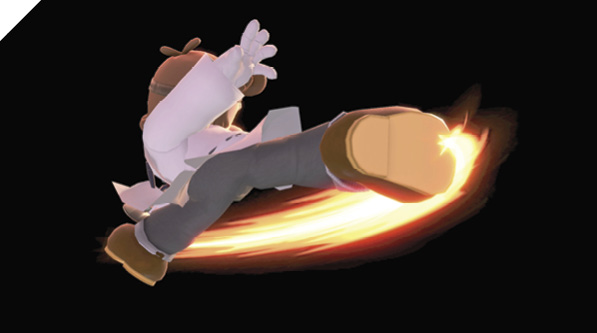
Dr. Mario quickly sticks out a spinning front kick. As with Mario sans smock, or Luigi, this basic kick can be angled slightly up or down with a subtle diagonal input (not quite 45 degrees on the control stick, or an up or down tilt is produced). This attack has the farthest forward reach of Dr. Mario’s grounded strikes, slightly outranging down tilt, side smash, and down smash. A dashing attack has more range on the ground, but that’s a much more committed action, more like a running special move than a poke.
Up Tilt
The good doctor swings upward with a punchy uppercut, spinning himself around with the follow-through. Like normal Mario’s up tilt, this attack has very little horizontal range and might even whiff completely against a fighter standing next to Dr. Mario, depending on the size of their profile (for example, if they’re crouching). Still, this is a terrific move because of its usefulness aiming straight up, swinging at airborne foes and juggling floating targets, and for enabling combos. There are lots of situations where you can convert stomping with falling down air attack into up tilts on standing or low-altitude patients, or float them with up tilt after up or down throws at low percentages.
Down Tilt
Dr. Mario sweeps enemies in front of him with a quick kick, popping them off their feet on contact if they fail to shield. Like Dr. Mario’s side smash, down tilt deals more damage at point-blank range, close to Dr. Mario. Hit with just his foot, and he deals out slightly less damage.
Down tilt can lead straight to guaranteed combos at low to medium percentages. Against an opponent between 10% and 30% damage, down tilt can be followed immediately by Super Jump Punch for big damage out of only two hits (the whole thing can be preceded by a last-second neutral air attack or down air just before landing next to the victim). At higher-damage percentages, down tilt can be followed by up tilt to pop the foe higher, before you chase after them with a high-jumping up air attack.
Smashes
| Move | Damage | Note |
|---|---|---|
|
20.9-29.3 |
Does more damage closer in. Can be angled up or down with directional input. |
|
|
Up smash |
16.5-23 |
Has more reach toward Dr. Mario’s back. |
|
Down smash |
11.8-16.5/14.1-19.8 |
Dr. Mario sweeps first in front, then behind. The hit behind is slightly stronger. |
Side Smash
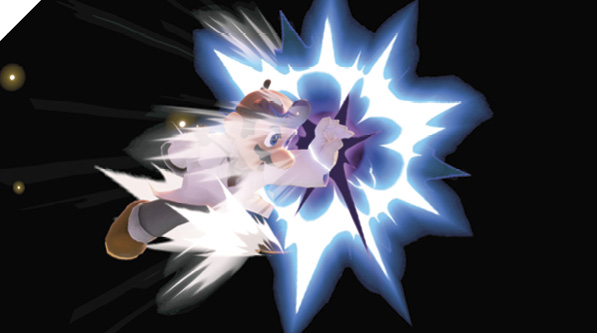
Dr. Mario rears back for a second, charging the attack up if desired, before unleashing a close-range electrical punch. Like Mario’s fiery version of side smash, this attack has range that extends beyond Dr. Mario’s palm strike. But while Mario’s fiery side smash deals more damage closer to the tip, at max range, Dr. Mario’s side smash deals max damage at close range with the palm hit. Keep this in mind when poking with this attack. While charging, hold up or down to aim the punch slightly in that direction, which is useful when edge-guarding.
Up Smash
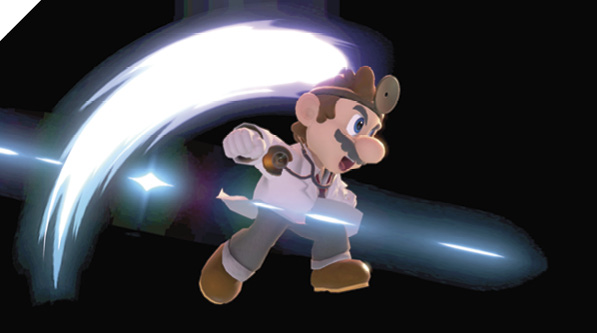
Dr. Mario stretches way back, then whips his head forward in a ferocious headbutt. The head mirror Dr. Mario wears when carrying out his responsibilities as a physician adds to the attack’s power, surely. Like with similar headbutt attacks from Mario and Luigi, this up smash has more range behind Dr. Mario than in front of him. It also covers the sky directly above him, since his head is intangible during the attack.
Immediately after input, this move hits behind Dr. Mario. Halfway through its travel, it’s a great anti-air or juggling move; only during the final moments does it hit before him. Keep this in mind when deploying this attack. Rather than a frontal poke, it’s better suited to clearing out all around Dr. Mario, juggling after down throws or up tilts, or covering short hop space above him. It also has some use aggressively if you first run, slide by tapping the other direction, then immediately up smash. Done quickly enough, it’ll look like Dr. Mario transitions seamlessly from running to headbutting backward. (Tricks like this can be easier if the C-stick is assigned to smash attacks, so an upward C-stick flick always reliably smashes, rather than sometimes getting an up tilt instead of up smash when trying this entirely on the control stick.)
Whether he hits with the early backturned hit or the late forward headbutt, the doc floats the victim up over him. Hit with the backturned start-up and they’ll float to Dr. Mario’s front side; hit with a forward headbutt and they’ll pop over and behind him. Plan for this when using up smash, and try to keep the opponent floating afterward. You can plan for these quirks and use them intentionally, like aiming to fall on someone with neutral/down air while landing just behind them, with Dr. Mario facing away. An immediate up smash on landing here will continue the combo by popping them to his front side, in place to be juggled further with up tilt, up air attack, or Super Jump Punch.
Down Smash
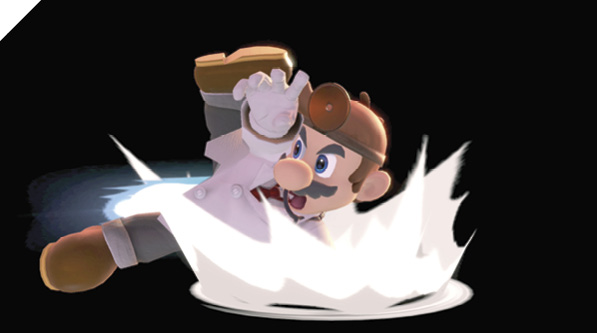
Many of Dr. Mario’s actions are different and slower than normal Mario’s, but this breakdancing kick is just as fast and useful. Dr. Mario kicks to his front side first, then whirls and kicks behind too. In front of the doctor, uncharged down smash hits as quickly as side or down tilt, making that his fastest hard-hitting ground poke. The hit behind is great for covering both sides in party battle modes. When using smash attacks to ward off enemies closing in from both sides, remember that up smash hits behind Dr. Mario first, then the front, while down smash is the opposite, covering him in front first, then behind.
Grabs
| Move | Damage | Note |
|---|---|---|
|
1.5 |
— |
|
|
Front throw |
9.4 |
Forward throw. |
|
Back throw |
12.9 |
Backward throw. |
|
Up throw |
8.2 |
Throws victim into potential juggle position. |
|
Down throw |
5.8 |
Bounces victim off ground. |
Grabs
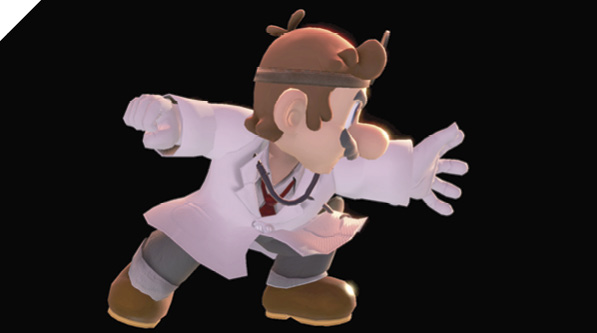
Dr. Mario’s grab motion covers a short range in front of him, and it’s really quick. Always be ready to dash in close and throw when engaging enemies on the ground. To condition opponents to be vulnerable to dash-in/empty jump grab attempts, feed them a steady diet of short-hopping neutral air attack (performed early in the jump, before fast-falling) and down air kicks (performed later in the jump, to hit squarely with the sweet spot), not to mention dashing attacks, down tilts, and down smashes.
Back throw has the highest base damage, distance thrown, and high-damage KO potential. Up and down throw both lead to potential juggle follow-ups, though they’re rarely guaranteed if the victim takes evasive action. At lower percentages you can always at least juggle with up air or Super Jump Punch, but at higher percentages with a bigger launch, you should switch gears from going for true combos and instead look to keep up offensive pressure against tumbling foes who take evasive action in midair with dodging or air attacks.
Aerial Attacks
Aerials
| Move | Damage | Note |
|---|---|---|
|
9.4 |
Does more damage later in attack. |
|
|
Forward air attack |
17.6 |
— |
|
Back air attack |
14.1 |
— |
|
Up air attack |
10.2 |
Small hitbox behind Dr. Mario, but not as effective as it appears. |
|
Down air attack |
14.1 |
Meteor smash on sweet spot hit. |
Neutral Air Attack
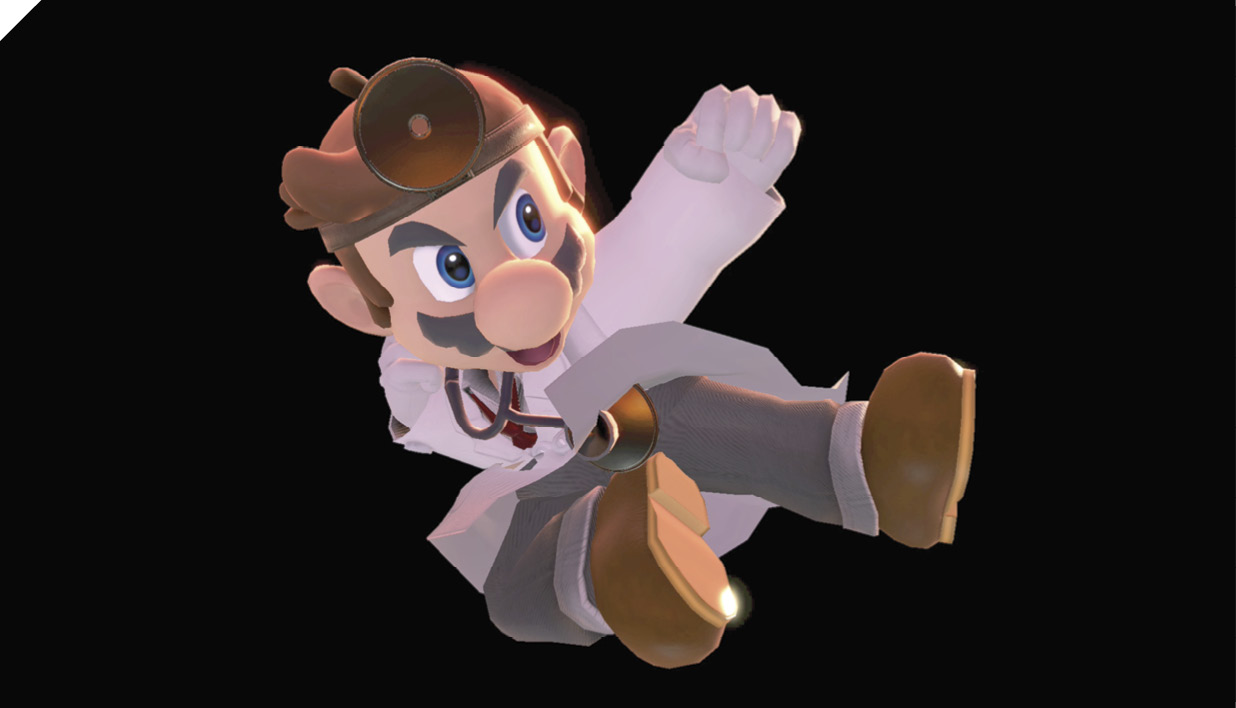
Dr. Mario’s basic air attack is distinctive because it’s stronger later in the attack’s active period. You dole out the most damage and knockback by sticking out neutral air attack early and letting the kick travel into the target (or the target into the kick). Coupled with Dr. Mario’s brief jump, this is an ideal air attack to use when jumping or hopping directly above intended targets before fast-falling with neutral air attack extended.
At low-damage percentages it doesn’t knock standing victims away, which allows you to potentially tack on grounded attacks for a combo, if Dr. Mario lands facing them. For example, hopping/jumping neutral air attack, down tilt, then neutral attack x3 works even on 0% damage opponents. Neutral attacks, tilts, or Super Jump Punch all work after late neutral air attack immediately before landing.
The hitbox is generous, scoring hits on targets below even if Dr. Mario crosses over to their backs and lands facing away. In this case, to combo from falling neutral air attack, you have to perform immediate up smash upon landing.
Forward Air Attack
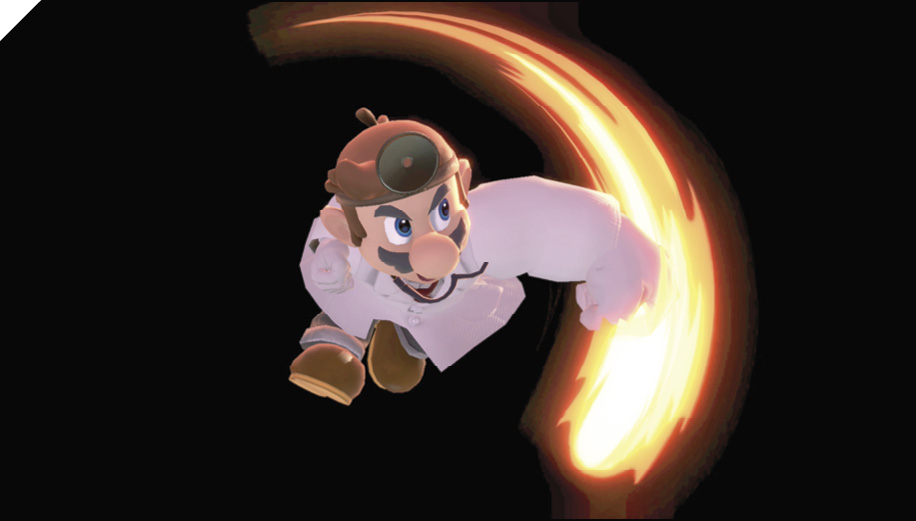
Dr. Mario swings with a mighty hook punch in midair. The timing to hit just right with the fist forward for full damage is tight, but extremely satisfying when it connects. Dr. Mario’s forward air attack doesn’t cause a meteor smash effect, unlike Mario’s; Mario in doctor mode relies on down air attack for bounce combos and spike KOs. But since Dr. Mario’s short hop is even shallower than Mario’s, it’s easier to use short-hopping forward air attacks against standing/hopping enemies. With Mario, there’s some timing involved to not whiff forward air just over a standing foe’s forehead, or to start it too late and land without punching. With Dr. Mario, you can short-hop forward with instant forward air punches (easily accomplished with the forward+Attack+Jump input) and threaten most fighters.
Back Air Attack
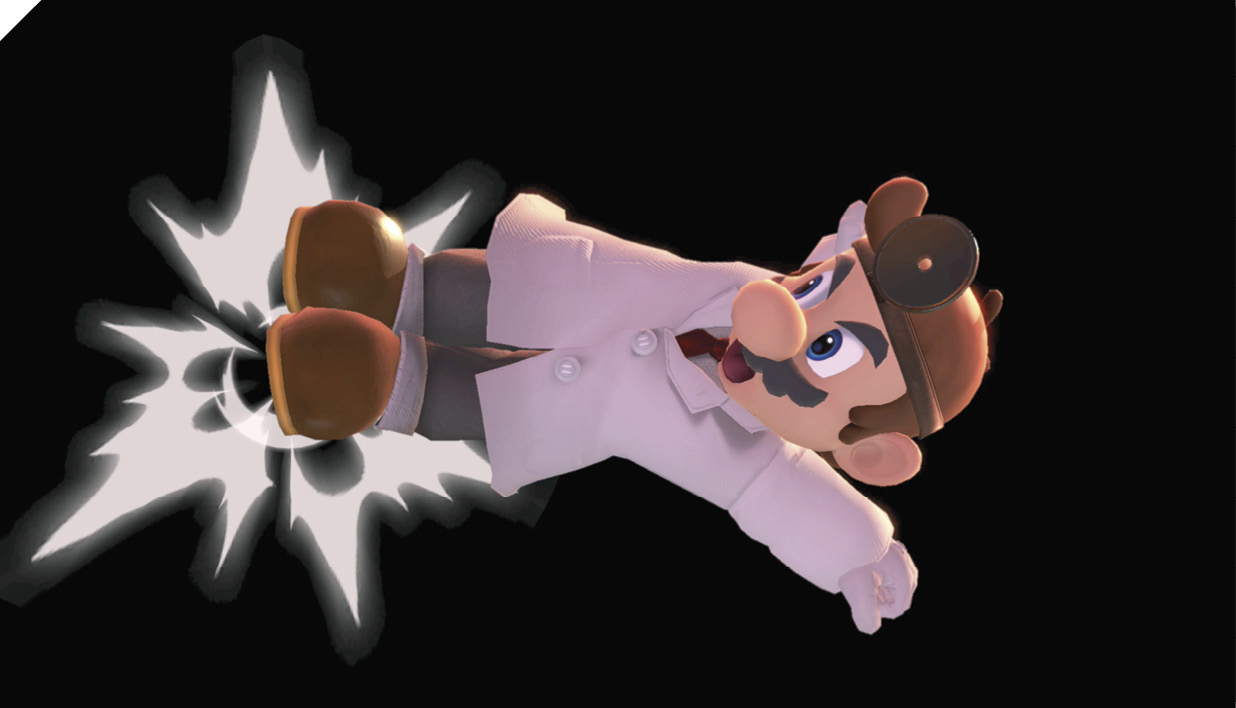
Dr. Mario juts both legs out in a stout, hard backward kick. You won’t go wrong relying on this attack in midair, unless the up air angle is required. Back air attack dishes out good damage and knockback, and is much easier to aim and hit with than front, up, or down air. The only issue is, unless it’s a purely reactionary back air used against someone sneaking up from behind, you must have your back to the intended target. But there are reverse-rushing tricks to produce forward-moving back airs from a standing or running position at will. (Mario’s back air description, along with the glossary section, contains more on hopping/jumping backward with sudden back air attacks.)
Up Air Attack
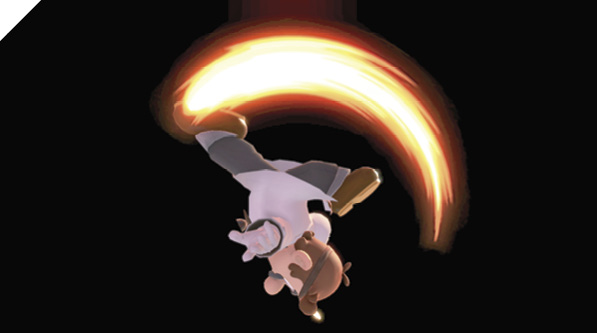
Dr. Mario flips backward, kicking along the way. Though it looks like he’d be attacking behind him as well as in front and above, the hitbox to his back is deceptively small. Unless a foe is a little above the doc and just barely past him, it’ll likely whiff against fighters behind him. It’s intended for chasing down challengers floating above. Sometimes a quick up air juggle is assured, like at low percentages, short-hopping with up air after popping a victim up with up tilt/smash or up/down throw. At medium-damage percentages, a full jump is needed to rush higher after the target beforehand. At high damage, when they’re launched too high for guaranteed follow-ups, it becomes a game of predicting where they’ll drift while tumbling, and whether they’ll choose to dodge/counterattack if you go after them.
Down Air Attack
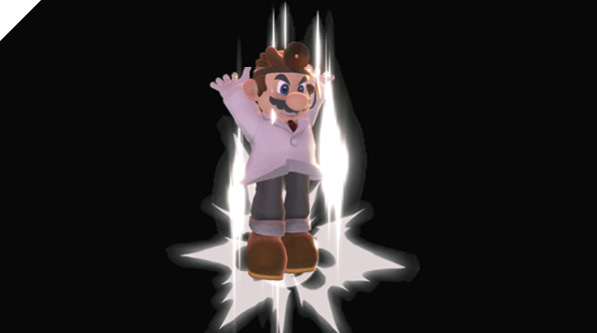
A double serving of stomping boots is what the doctor ordered. This is Dr. Mario’s meteor smash attack, capable of spiking recipients straight down into pits before they can recover. Midstage, it can bounce victims high off the ground, working as a juggle combo starter. The spike/bounce effects show up just short of medium damage, starting above 30%. Depending on how high the victim is bounced, which depends on total damage and the direction Dr. Mario faces when landing, you can juggle immediately with up tilts/smashes, or at least jumping up air attack, for starters.
When looking to stomp airborne foes, beware that this has a fair bit of lag in the air. If you’re fishing for down air hits out over an abyss, be careful not to unintentionally fast-fall during execution, or you might lose too much height to recover.
Special Moves
Specials
| Move | Damage | Note |
|---|---|---|
|
Neutral special |
5.9 close, 4.7 far |
Vitamin does more damage closer in. |
|
Side special |
8.2 |
Turns victim around. Reflects projectiles. |
|
Up special |
14.1 |
7 damage on glancing hit. |
|
Down special |
1.9x6, 3.5 |
Can be steered left or right. Mash Special button for extra loft. |
Neutral Special: Megavitamins
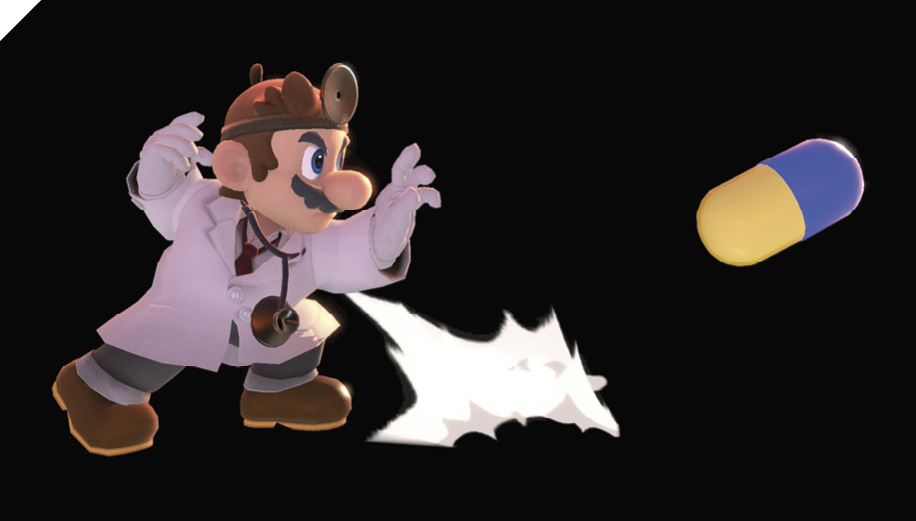
The doctor tosses multicolored Megavitamins in big, bouncing paths in the direction he’s facing. The vitamins are heftier than Mario’s fireballs and bounce a bit higher. Tossed on level ground, the bounce height isn’t so high that they won’t hit most opponents, but thrown from jump height, the vitamins can easily bounce clean over foes at ground level.
Megavitamins aren’t energy, like Luigi and Mario’s fireballs, so they aren’t dissipated by the same things. Megavitamins can be swatted away or reflected, but it’s more like dealing with items than energy shots for opponents.
Like most projectiles, Megavitamins are great for edge-guarding, defensive stalling, and moments when you’re separated from the main battle and want to safely toss some hazards into the way. To retreat while throwing Megavitamins forward, first face the intended vitamin-tossing direction, perform a backflip from a standing start (accomplished by pressing Jump first, then immediately tapping the control stick backward on the next frame), then let the stick return to neutral before tapping the Special button.
Side Special: Super Sheet
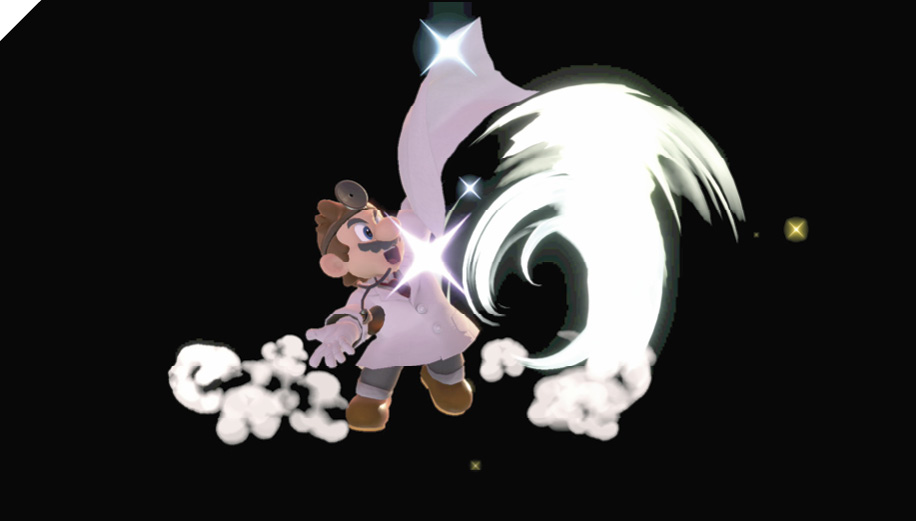
The conscientious physician lays out a hygienic sheet for his patients. The sheet covers the air in front of Dr. Mario before whipping upward, briefly covering the airspace above, too. Anyone contacted by the sheet gets turned around! They also take a little damage, but that’s not the important part. This is a variation on Mario’s cape, but Mario’s version doesn’t hit upward at all. On the other hand, Dr. Mario’s Super Sheet lacks the momentum-killing effect of Mario’s cape, so it can’t be used to alter airborne arcs.
Up Special: Super Jump Punch
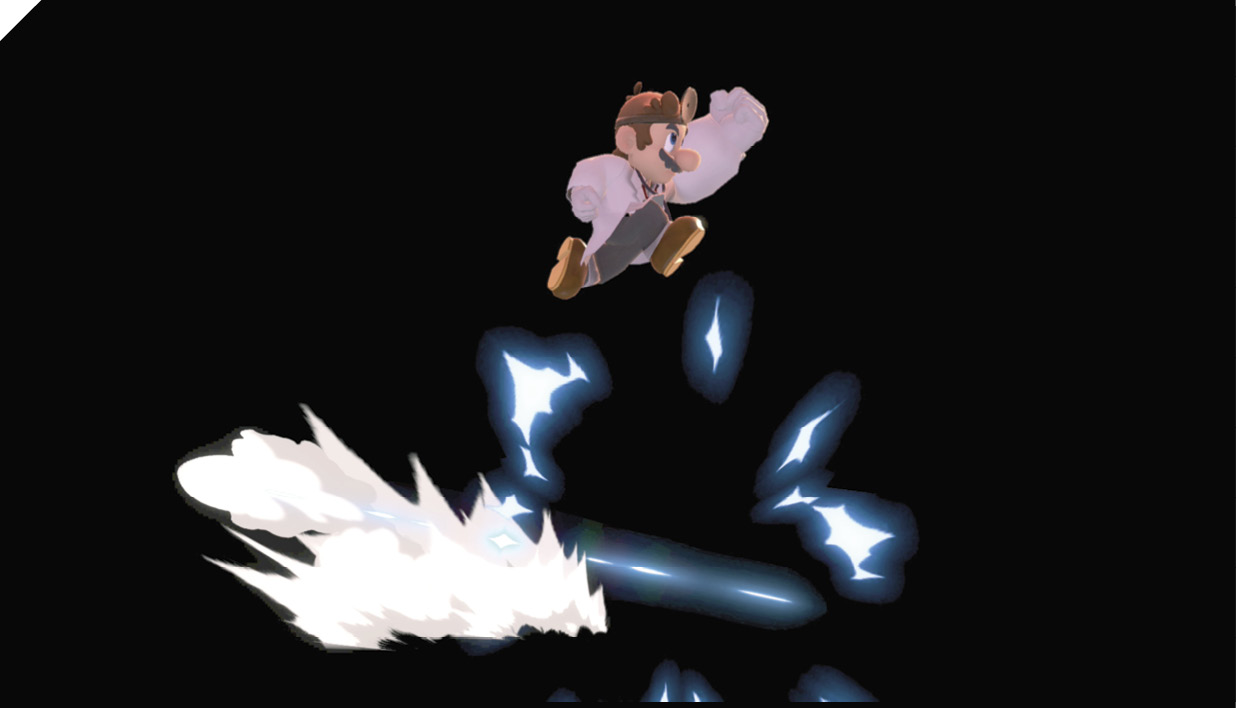
Dr. Mario leaps upward with a powerful uppercut. For full damage, hit up close with the beginning of the move. If Dr. Mario hits someone later, after he takes off, the damage is halved. Once the uppercut’s upward momentum is used up, Dr. Mario lags until landing, drifting downward helplessly except for being able to steer slightly left or right. Take care with this move around ledges, because if you miss, it’s a long way down.
Dr. Mario’s move set provides ample opportunities to combo Super Jump Punch. At low percentages, down and up tilt, along with down throw, can all lead into immediate Super Jump Punch. With juggle combos at higher percentages, you might have to jump and attempt to Super Jump Punch flush against your target in midair for max damage. The precision required makes this mostly not worthwhile when it’s much easier and safer to juggle in the same situations with up air or back air attack.
As a recovery move from offstage, Super Jump Punch has a bit of up-forward movement, which can be the last bit you need to grasp a ledge, but doesn’t cover much horizontal distance. From way offstage, if you have enough height to work with, a directed air dodge or (mashed) Dr. Tornado special can help gain enough distance for Super Jump Punch to save the day at the end.
Down Special: Dr. Tornado
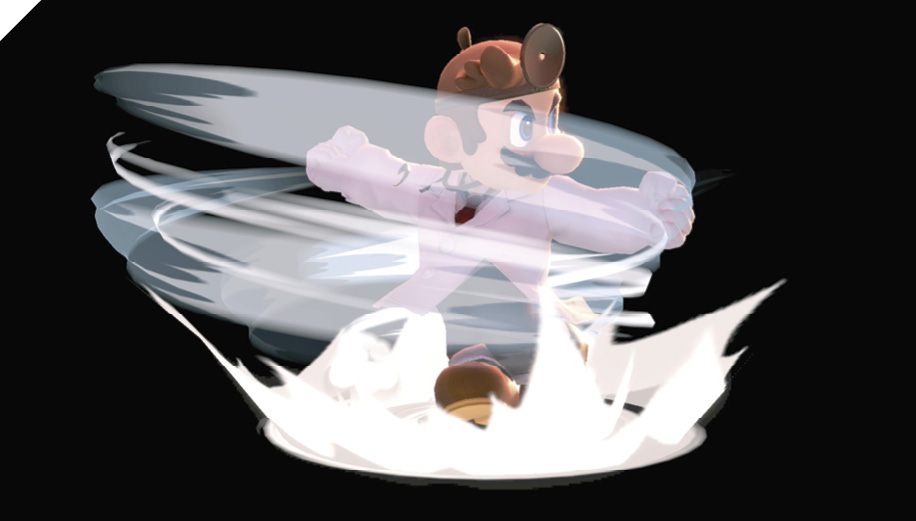
This whirling special move is quite flexible, allowing for a lot of variance depending on inputs. The initial input is enough for Dr. Mario to start up his tornado motion. Left or right inputs steer him, as he inflicts multiple hits on anyone caught in the vortex. A final heavy hit at the end of his travel launches them away.
Dr. Tornado isn’t quite quick enough to pick up victims in guaranteed combos, but it can certainly sweep up tumbling fighters who don’t fight back or air-dodge away, and it’s great against groups of fighters.
While he’s swirling, repeated Special button inputs cause Dr. Mario to ascend. This is much more flexible than Luigi’s similar move, Luigi Cyclone, which lets Luigi gain a hop’s height with furious mashing. Dr. Mario’s Dr. Tornado can give Dr. Mario another jump’s worth of height with spirited (if not quite furious) Special button mashing. If you want the full-height Dr. Tornado, think of the input as being down+Special, then three or four more quick Special button presses during the spins. Used while moving left or right, an ascending Dr. Tornado can help Dr. Mario recover, putting him back in ledge-grasping reach (with Super Jump Punch available for that last bit if needed).
Dr. Tornado can only be used for upward loft once per airborne period; if you double-jump, use Dr. Tornado to soar up, then Dr. Tornado again, Dr. Mario just falls back to the ground with normal velocity. Interestingly, if the second Dr. Tornado hits the ground while it’s in progress, then you can make it ascend again with Special button inputs.
Final Smash: Doctor Finale
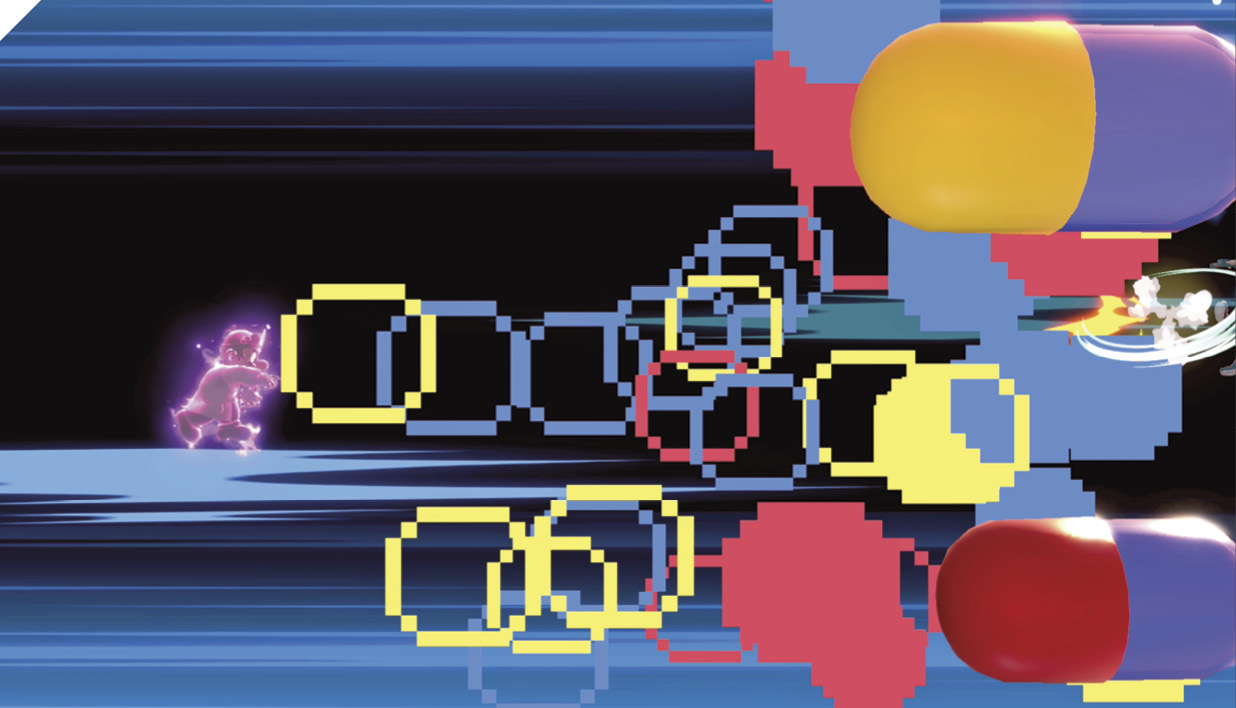
Crack open a Smash Ball for access to Dr. Mario’s strongest prescription. Draw a bead laterally on as many combatants as possible, then input neutral special to send two enormous vitamins spiraling across the battlefield. Fighters caught by either gigantic vitamin will likely be carried along in a combo by both of them, blended up by their motion around each other.