
Super Smash Bros. Ultimate Guide Little Mac
Brawler Arsenal
Grounded Attacks
Neutral Attacks
Neutral Attacks
| Move | Damage | Note |
|---|---|---|
|
Neutral attack 1 |
1.5 |
— |
|
Neutral attack 2 |
1.5 |
— |
|
Neutral attack 3 (rapid) |
0.5xN, 3 |
Launches up and away at slight angle, high launch power. |
|
Neutral attack 3 (uppercut) |
5 |
Knocks up and away. |
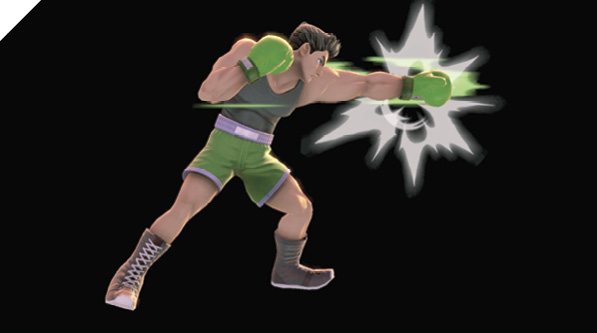
Little Mac bends the laws of physics with a lightning-fast one-frame jab, followed by a one-frame right hook. After the one-two combo, he transitions into either a rapid-fire left-right flurry attack that ends in a launching right-handed uppercut, or he completes the one-two combo with a left-handed uppercut.
Little Mac’s neutral attack 1 can punish anything within range, with his follow-up neutral attack 2 extending its range just slightly farther. While these attacks are hyper-quick, they’re both punishable when shielded, making them a bit risky to throw out against sharp opponents waiting to shield-grab you. If you can find an opportunity to dash in, canceled into a jab, it’s extremely difficult to shield on reaction. If your neutral attack 1, 2 is shielded, you have two options (prediction-based guesses): you can either stop and back away, or you can continue into your follow-up neutral attack 3 (uppercut). The first option assumes the opponent won’t punish you in time (or they can’t), and the second option assumes your opponent is going for a shield-grab punish, which is punished by your neutral attack 3 uppercut.
Dash Attack
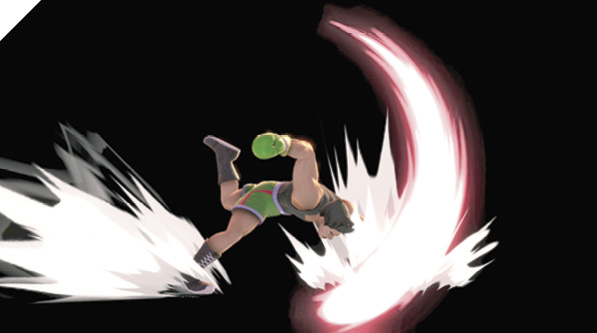
Little Mac speedily runs toward his foe and delivers a heavy overhead punch to the enemy’s head, sending them into the air. Dash attack packs a lot of punch for its speed, but is risky to throw out since it’s easily punishable on whiff. Little Mac cannot pass through foes with it either, even at point-blank range, so you’re almost always going to be shield-grabbed if the opponent is expecting some kind of ground attack and they’re standing opposite from you.
While it’s not safe, dash attack sports a large upper hitbox, covering the area above Little Mac’s head, so it can be used as an anti-air in specific scenarios if timed correctly. You can also use dash attack if you’ve conditioned your opponent enough in situations where they’re inclined to jump away (e.g., if they’re expecting a dashing grab).
Defensive Attacks
Tilts
| Move | Damage | Note |
|---|---|---|
|
Side tilt |
4, 8 |
Launches away. |
|
Up tilt |
6.5 |
Knocks directly above for potential follow-up. |
|
Down tilt |
8 |
Knocks up and away at slight angle. |
Side Tilt
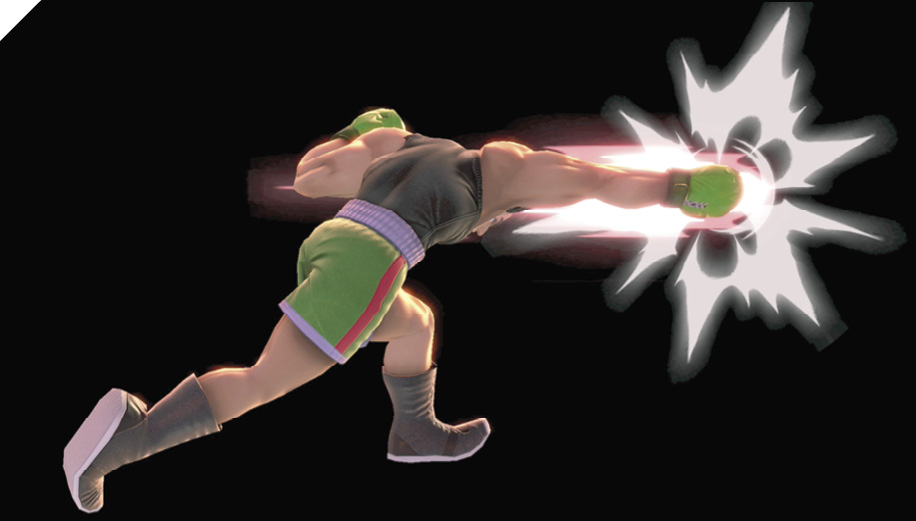
Little Mac lunges forward with a left straight, then follows up with a stronger right straight that launches foes away.
Little Mac’s side tilt is faster than some fighters’ jabs while dealing side tilt damage. Its range is exceptional too, considering its incredible speed. Side tilt is one of your main attacks for checking opponents approaching you on the ground. It’s one reason why Little Mac dominates the ground game. If your foes are challenging you in hand-to-hand ground combat, use side tilt to remind them why they shouldn’t.
Up Tilt
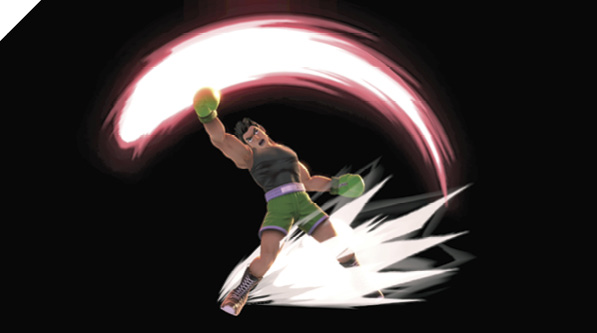
Little Mac flails his right arm up above his head in a wide arc, knocking up enemies in front, behind, and above. Up tilt is one of few ways Little Mac can initiate an air combo and one of his most versatile attacks. Its hit coverage is exceptional, starting with an early hitbox in front of him and ending behind him. It’s punishable when shielded, although you can mitigate this by spacing it out, forcing your opponent to close the distance with an extended attack.
Down Tilt
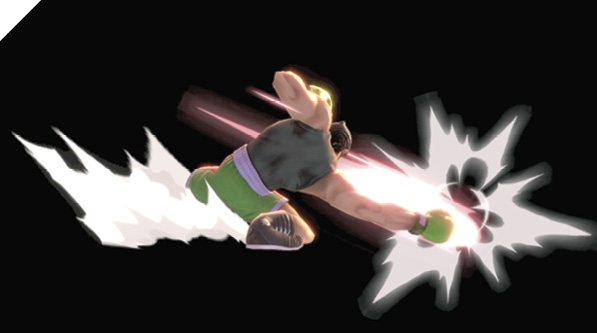
Little Mac leans down and extends an extremely quick low attack, ducking under body shots while sweeping the opponent off their feet and launching them into the air.
True to his ground-dominating title, Little Mac has one of the fastest down tilts in Super Smash Bros. Ultimate, with a hit faster than many fighters’ neutral attacks. On hit, it causes a pop-up effect. At mid percentages (around 35% against medium-weight fighters), you can down tilt into a dash, then immediate Rising Uppercut for a guaranteed combo. At higher percentages (when the opponent launches into a spin), you can potentially combo into forward full/short hop forward air attack.
Down tilt is relatively safe and is usually unpunishable when shielded. If you space it out to hit at max distance, you can keep up your aggression with multiple down tilt pokes, or follow up with a side tilt if you feel your opponent is going to go aggressive after shielding your down tilt.
Smashes
| Move | Damage | Note |
|---|---|---|
|
20 |
Launches away. Up version launches up and away at slight angle. Can be angled up or down. |
|
|
Up smash |
21 |
Launches. Early, low hit deals more damage. |
|
Down smash |
13 |
Knocks away. |
Side Smash
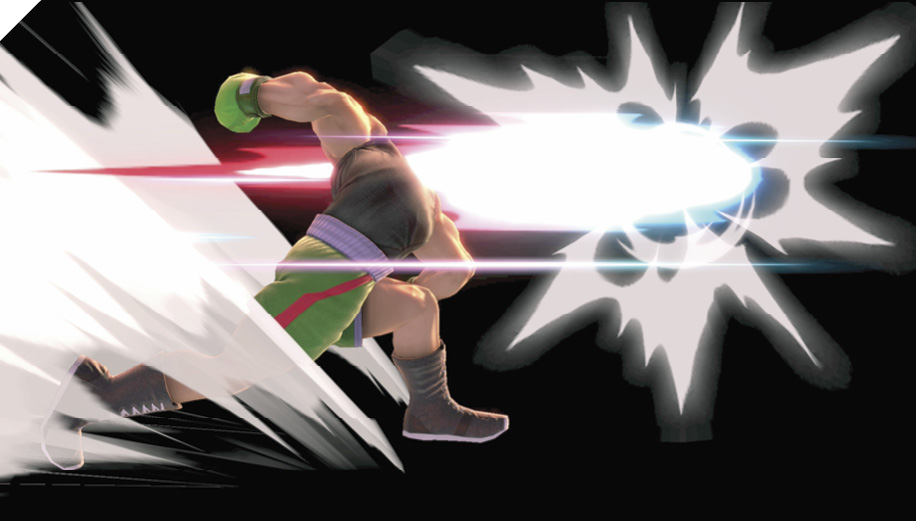
Little Mac winds up as if he’s about to throw a record-breaking baseball pitch, then drives a haymaker through his opponent, blasting them across the field. Side smash can be angled upward or downward. Up-angled side smash produces a powerful uppercut attach with high launch power, while down-angled side smash is a downward knee punch that deals massive damage.
While quick side smash (no charge) is heavily punishable when shielded, if you charge it slightly, it inflicts much heavier shield-stun, making it much safer. This is effective as a ledge-guarding tool since you usually have enough time to charge it while your opponent is hanging off the ledge (or offstage trying to jump back onto it).
Up Smash
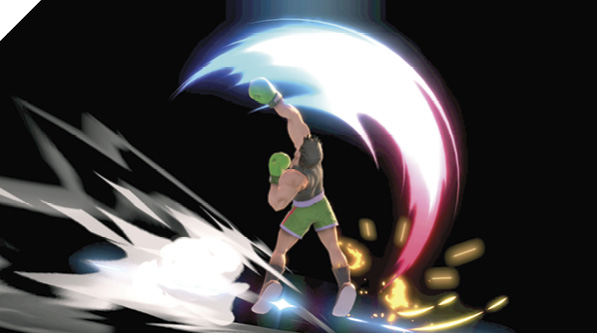
Little Mac leans back and puts all his might into his iconic uppercut punch from Punch-Out!!, sending foes sky-high directly above him. Up smash is the ultimate anti-air, but also incredibly risky. It’s ideally used as a finisher attack, anti-air, or as an anti-ledge-jump punish. Naturally, it’s incredibly unsafe to throw out haphazardly.
Down Smash
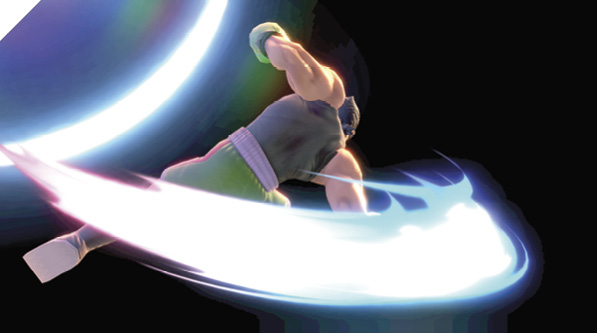
Little Mac clears out enemies from both sides with a high-powered sweeping punch. Like most of these double-sided attacks, down smash isn’t safe when shielded and has a considerable amount of end lag. Although it can be used to attack ledge-grabbing vulnerability windows, this takes incredibly sharp timing.
Grabs
| Move | Damage | Note |
|---|---|---|
|
1 |
— |
|
|
Front throw |
8 |
Forward throw. |
|
Back throw |
9 |
Backward throw. |
|
Up throw |
7 |
Launches up and away at slight angle. |
|
Down throw |
7 |
Launches up and away at very slight angle for potential follow-up. |
Grabs
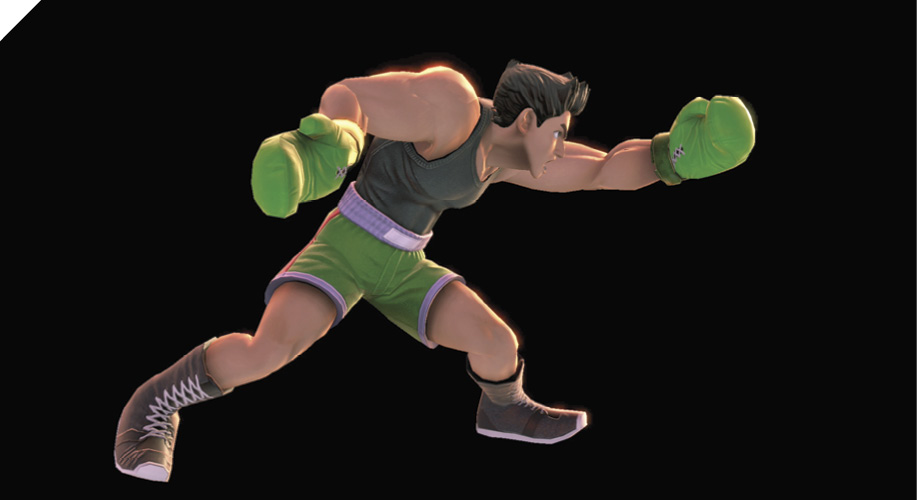
Little Mac’s grab boasts impressive range (about the length of his jab), but its start time is considerably slow. His dashing grab is even slower. Front throw and back throw are used to force an air recovery and ground-game mix-up, or to finish off an enemy near a side blast zone.
Up throw launches the enemy up and not too far away, but Little Mac’s actionable time starts a bit too late for him to follow up with guaranteed damage. It’s decent for setting up air-combo juggling, although Little Mac’s juggle-trap game isn’t particularly powerful.
Down throw leads into the most potential damage, as it knocks foes up low enough to guarantee an up tilt into up special combo. At higher percentages (against Mario at roughly 60%), you can skip the up tilt and go straight into up special (although this can be shuffled out of).
Overall, Little Mac’s grab game is lacking in terms of damage potential. Since his jab and tilt attacks are so strong, you’re unlikely to earn grabs against fearful foes.
Aerial Attacks
Aerials
| Move | Damage | Note |
|---|---|---|
|
2 |
Can cause standing hitstun on grounded. Extremely low knockback. |
|
|
Forward air attack |
5 |
Knocks back. Deals more damage with tip. |
|
Back air attack |
6 |
Knocks back. Deals more damage with tip. |
|
Up air attack |
5 |
Knocks up slightly. Deals more damage with tip. |
|
Down air attack |
5 |
Neutral Air Attack
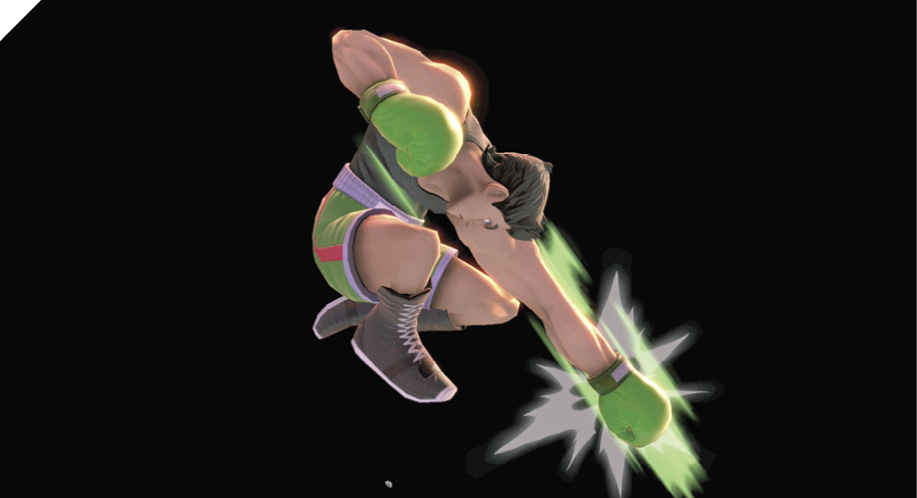
While airborne, Little Mac delivers a quick punch at a down-forward angle, causing minor damage and knockback. Little Mac’s neutral air attack starts up faster than most other fighters’ jabs and inflicts very little air and landing lag. It provides little functionality other than interrupting enemy moves since you can’t combo off its minor knockback power. It offers a sizable hitbox, though, so it’s likely to beat most moves that challenge it.
Forward Air Attack
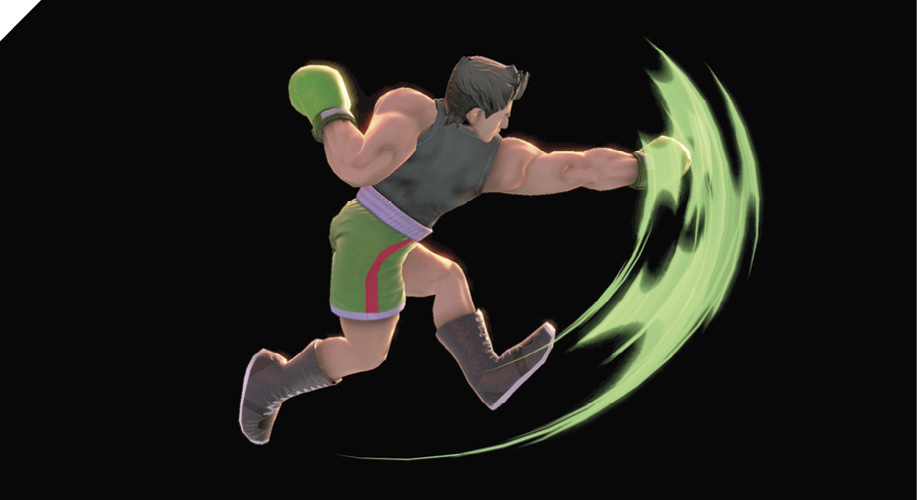
In midair, Little Mac swings forward with a heavy hook that knocks away its target. Forward air has moderate air lag and landing lag, but a relatively short active window and strict area coverage. It’s a lackluster aerial attack, but a necessary one in your arsenal. Your timing and accuracy need to be precise to use it effectively against airborne opponents.
Back Air Attack
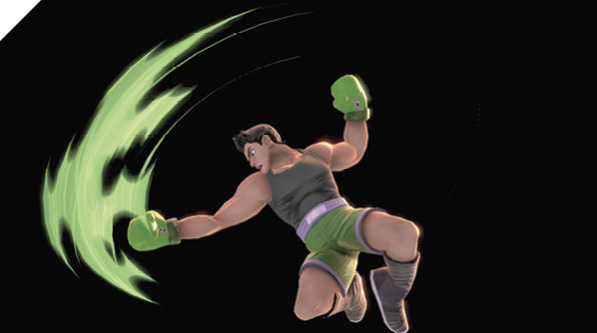
Little Mac turns around mid-flight and backfists an enemy behind him, knocking them away. Back air is similar to forward air attack in its properties. It has a narrow hitbox with a small active window, and a sweet-spot hitbox at the tip of the attack. While not the ideal air attack by any stretch of the imagination, it’s one of few tools Little Mac has to knock out offstage foes while airborne.
Up Air Attack
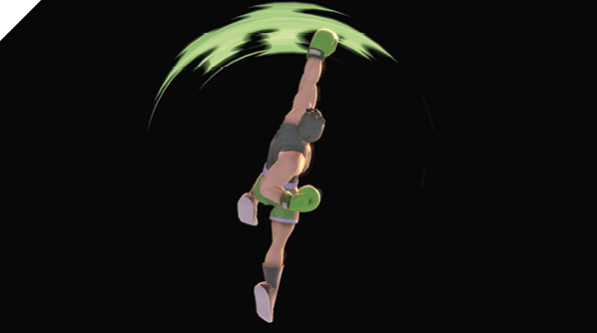
Little Mac reaches above him with a skyward punch that pops enemies up. Against lower-percentage foes, up air attack inflicts very little launch power, leaving little room for air-juggle potential. It suffers from high air lag and moderate landing lag and, like his other air attacks, has rather limited hit coverage aimed above him. If you connect with up air as an anti-air, usually your best follow-up is to land into an up tilt since you don’t have much time to do anything else.
Down Air Attack
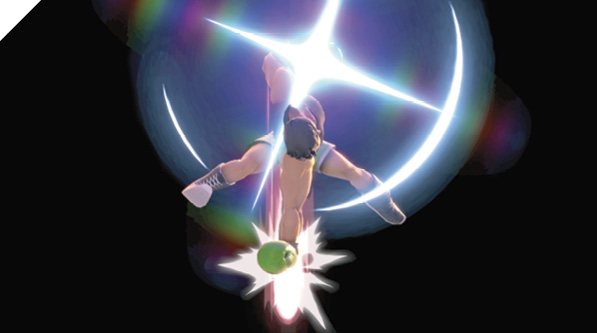
While descending from the air, Little Mac delivers a downthrusting punch, smacking his opponent’s head and causing them to flinch. Down air attack behaves akin to neutral air attack. It’s quick, but inflicts extremely minor knockback, so it’s difficult to start combos with. It also has a narrow hitbox, so you have to be accurate with its spacing, ensuring that your opponent is directly beneath you when you go for it.
Hop into fast fall down air is a decent surprise attack, but it can be shield-grabbed if you land in front of the opponent.
Special Moves
Specials
| Move | Damage | Note |
|---|---|---|
|
Neutral special |
10 to 30 |
|
|
Neutral special 2 |
35 |
Invulnerable before active hit. Unshieldable. |
|
Side special |
14 |
Lower body intangible. |
|
Up special |
3, 1x4, 3 |
Invincible immediately before hit. |
|
Down special |
10 |
Intangible during counterattack. |
Neutral Special: Straight Lunge
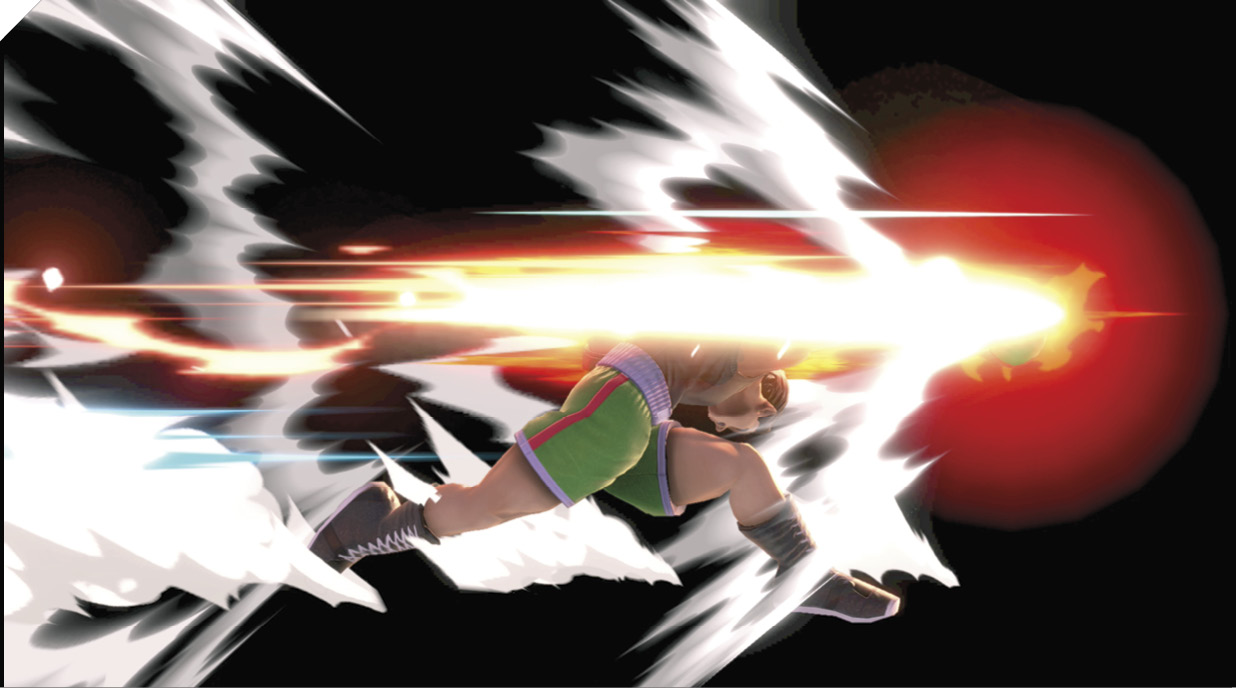
While shrugging off incoming blows, Little Mac charges up for an ultra-powerful attack. When released, Little Mac drives toward his foe with an immense straight punch, blasting them away. Press neutral special to begin charging, and press it again to release. Straight Lunge direction can be altered by holding the opposite direction on the control stick while pressing Special to release the punch.
The entire duration of Straight Lunge is bolstered by super armor. Most jabs, tilts, and aerial attacks damage Little Mac, but don’t inflict knockback or hitstun, while smash attacks and high-damage specials do.
You can use Straight Lunge like most smash attacks. It’s a solid edge-guarding tool, threatening foes with a super-armored attack they can’t challenge with their aerials.
Of course, Straight Lunge is extremely punishable when shielded. At max charge, Little Mac passes through foes, perhaps making him safe if they’re facing the wrong way (although he’s technically still very punishable).
Neutral Special 2: Ko Uppercut
When KO Uppercut is available (after you deal and receive enough damage without being KO’d yourself), your next neutral special becomes a unique uppercut with remarkable properties. KO Uppercut is a high-damage launch attack with some invulnerability. While it sounds like your everyday uppercut attack, it has one property that makes it vital to scoring knockouts: it’s unshieldable.
KO Uppercut’s unshieldable property changes the match dynamic dramatically and makes Little Mac a much more viable fighter when he has access to it. He essentially threatens a knockout anytime he’s in range to connect with it. Although scoring a KO Uppercut isn’t a guaranteed knockout, the attack has very high launch power. This can have several implications in how your opponent reacts. Usually, they’ll begin to play much more cautiously, staying out of your range at all costs. This gives you a bit of an advantage; since your KO Uppercut has a vertical hitbox, you have some freedom to approach beneath foes.
It’s important to note that you can lose your KO Uppercut. Once you achieve the blinking KO status buff, you can lose it if one of two things happens: you’re KO’d yourself, or the enemy successfully launches you (made easier if you’re at a high-damage percentage).
Side Special: Jolt Haymaker
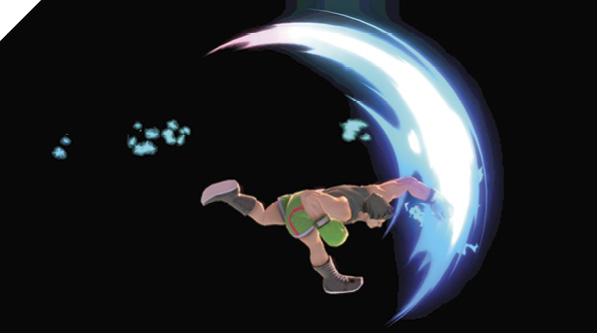
With his lower body invulnerable to attacks, Little Mac leaps forward and delivers an overhead flying punch that launches opponents away. Although the follow-up attack leaves you incredibly exposed and vulnerable to reprisals (on whiff and when shielded), Jolt Haymaker offers lower-body intangibility, allowing you to blow out most enemy ground attacks.
But for the most part, Jolt Haymaker is best used as an offstage recovery tool and to attack enemies launched off the side of a stage. If you launch Jolt Haymaker offstage, you can act after your attack ends, so you can double-jump back to a ledge. For instance, you can chase an opponent offstage with back air attack, then continue following them with Jolt Haymaker into follow-up, then double-jump back toward the ledge, and if you need to, you can Rising Uppercut to extend your air time to grab on to the ledge.
Up Special: Rising Uppercut
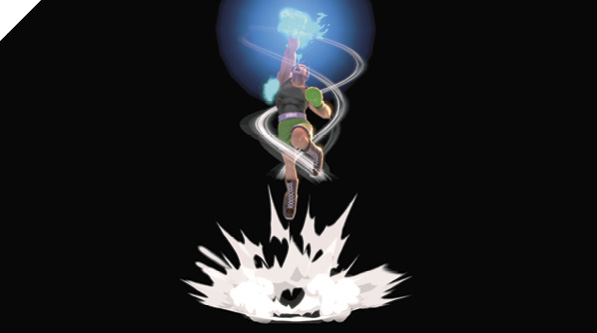
Little Mac propels himself into the air with a spinning uppercut attack that sends foes high into the air. Little Mac is immediately invincible upon executing Rising Uppercut, allowing you to blow through enemy aggression. It also starts up quickly, just as fast as down tilt, making it a strong combo-extender. While Little Mac doesn’t have the strongest air-combo game, you can often follow pop-up and launching effects with Rising Uppercut.
Rising Uppercut offers much more jump height when performed while grounded.
Down Special: Slip Counter
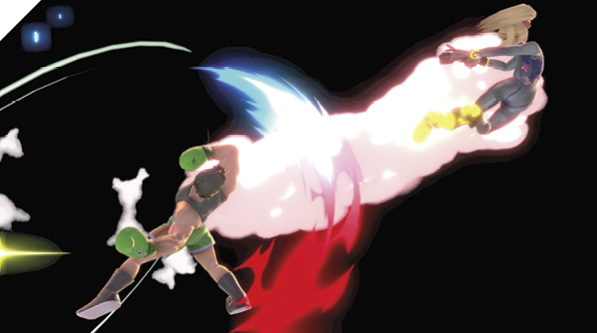
Little Mac puts his gloves up in a defensive position for about half a second. If he’s attacked within this window, he becomes intangible before responding with a powerful lunging uppercut.
Like most parry-into-counterattack moves, Slip Counter is a high-risk, high-reward maneuver, usually with a higher risk than reward. It’s good in hectic battles like free-for-alls and team fights, and occasionally it can be thrown out if you make a hard read on an opponent’s ledge-recovery attack.
Final Smash: Giga Mac Rush
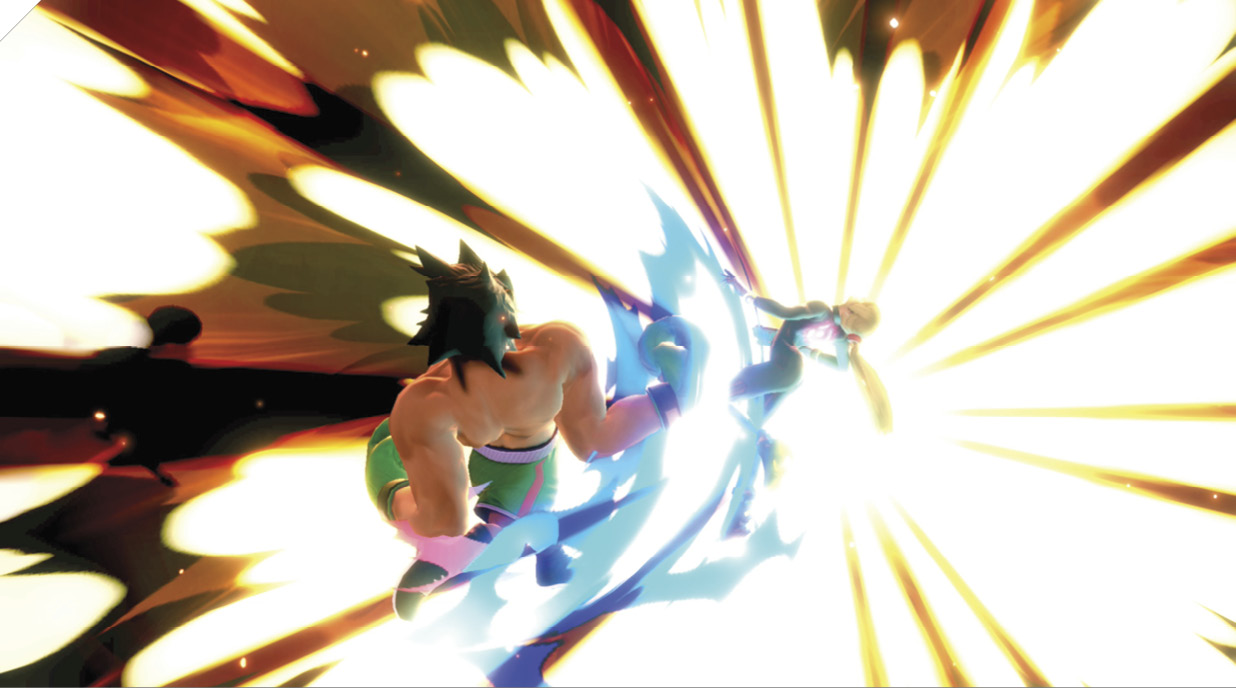
Little Mac transforms into Giga Mac and charges forward. If he strikes an opponent, he unleashes a flurry of punches, finishing with a powerful uppercut. If the initial blow misses, he simply transforms back into Little Mac.