
Super Smash Bros. Ultimate Guide Pit / Dark Pit
Brawler Arsenal
Grounded Attacks
Neutral Attacks
Neutral Attacks
| Move | Damage | Note |
|---|---|---|
|
Neutral attack 1 |
2 |
— |
|
Neutral attack 2 |
2 |
— |
|
Neutral attack 3 (rapid) |
0.5xN, 2 |
Launches away. Input Attack repeatedly to execute. |
|
Neutral attack 3 (launcher) |
4 |
Launches up and away. |
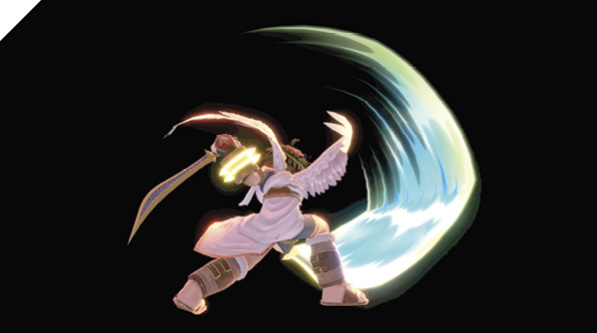
Pit uses his bow blades to perform a swift right-handed slash, quickly transitioning into a mirrored left-handed slash, and finishing with either a rapid stab-attack combo or a heavy launching attack.
This is your safest ground-based spacing and poking attack for most situations. Like most neutral attack jabs, it’s the ideal retaliation option right after blocking an attack when you aren’t in grab range.
The rapid-attack variant (neutral attack input three times in rapid succession), can force the opponent into a tech get-up situation, while the normal three-hit jab sequence launches them into the air for potential combo-juggle setups. To mix it up, you can opt to hit with only the first two jabs and then go in for a grab or more attack-based pressure.
Dash Attack
| Move | Damage | Note |
|---|---|---|
|
11 |
Launches up and away. |
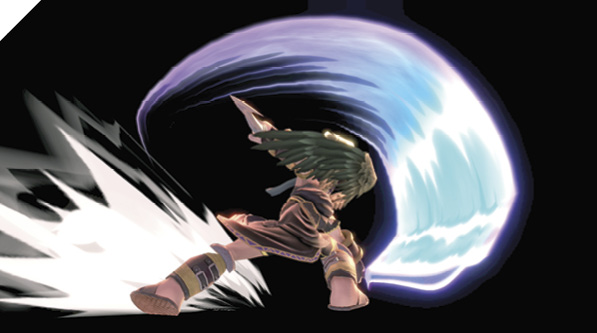
Pit’s dash attack is a strong horizontal slash, superb for punishing your opponent’s landing lag and forcing them to play more defensively. Pit’s dash attack helps create openings since it’s relatively safe (compared to most other dash attacks), allowing you to use it aggressively. Space the attack and try to hit with its tip as often as possible.
Defensive Attacks
Tilts
| Move | Damage | Note |
|---|---|---|
|
Side tilt |
10 |
Launches away. Deals more damage and knockback with tips of dual blades. |
|
Up tilt |
4, 5 |
Launches directly above. |
|
Down tilt |
6 |
Launches up for potential follow-up combo. |
Side Tilt
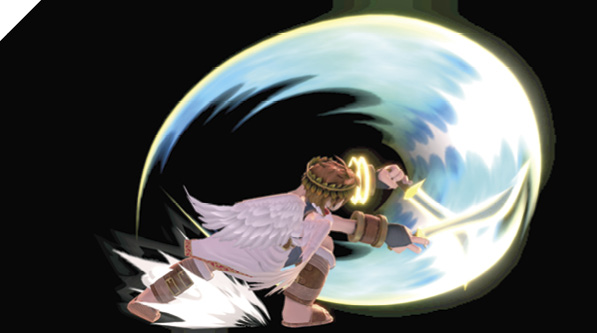
Pit lunges forward with a low profile and extends his bow blades directly in front of him, knocking away foes. Side tilt is a good deterrent to the enemy’s ground-based aggression and deals extra damage if hitting with the tips of the extended blades. It can be used as both a poke and a whiff-punish attack (particularly against ledge climbs). With practice, you can react to most ledge-hanging recovery options in order to punish, or at least safely apply pressure to your recovering opponents.
Up Tilt
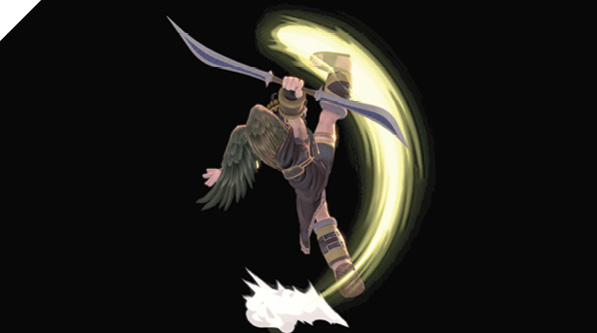
Pit delivers a double hop kick attack, popping up his target into the air for a potential follow-up. His up tilt is a high-priority anti-air you can use to harass enemies on platforms above you. You generally want to use this attack over up smash in anti-air scenarios, since its total duration is shorter, leaving you safer on whiff or if your opponent baits it out. However, up smash does have its advantages over up tilt, mainly as a defensive punish after blocking, and to finish off enemies.
Down Tilt
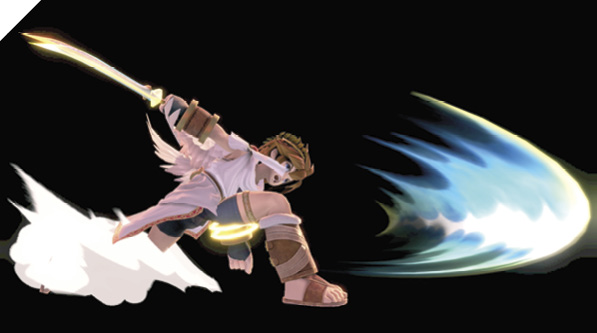
From a kneeling crouch, Pit sweeps at the opponent’s legs with one of his bow blades, sending his victim into the air. Similar to side tilt, down tilt is a relatively safe neutral poke attack with solid range and start-up time. On hit, it sets up follow-up attacks such as dash-in grab and dashing attack.
Smashes
| Move | Damage | Note |
|---|---|---|
|
5, 10 |
First hit pops up slightly. Second hit launches away. |
|
|
Up smash |
3, 2, 8 |
Pops enemy up into potential juggle position. |
|
Down smash |
12 |
Launches up and away. Clear-out attack. Hits front, then rear. |
Side Smash
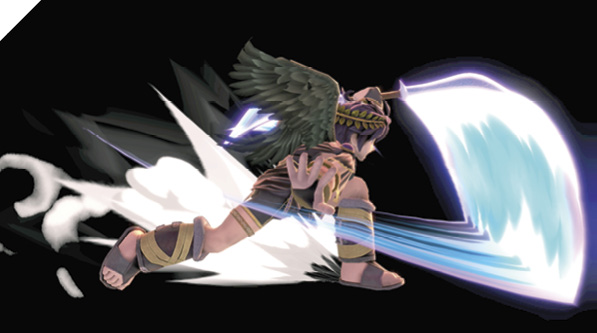
Pit performs two powerful slashes in front of him using the Palutena Bow. The first hit stuns the enemy long enough for the second slash to blast them away. This two-hit smash attack boasts long reach and beefy hitboxes. Like most smash attacks, it’s best used deliberately, so take care not to whiff it.
Similar to up smash, side smash can be used to punish mistimed air dodges and predictable rolls. Naturally, side smash reaches farther than up smash, so spacing assessment is crucial when deciding which to use to punish whiffs. Thanks to its reach, side smash is great for attacking opponents who tech your knockdowns.
Up Smash
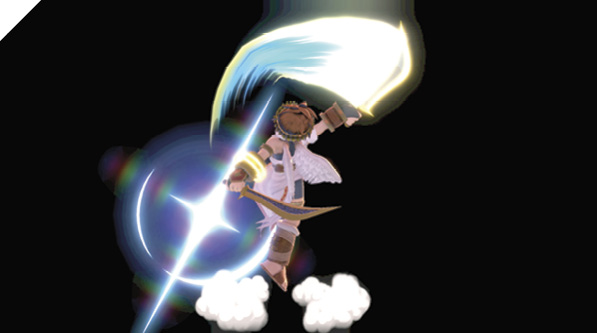
Pit delivers a three-hit anti-air attack sequence directed above his head, launching foes into the sky. Up smash is an excellent punishment attack against air dodges and ledge rolls. If you can find an opening beneath a foe, up smash deals considerable damage and has high knockout potential.
Down Smash
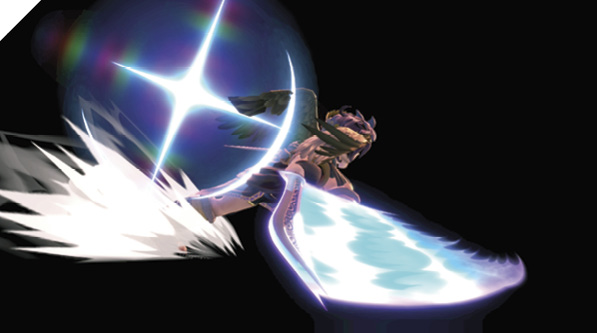
Pit sweeps the floor with the Palutena Bow at the ground in front of him, followed by a rear sweep, clearing out foes from the area. For a smash attack, down smash is incredibly fast with relatively low end lag. It starts up absurdly quickly and can be difficult to punish. As a clear-out attack, it hits behind you, making it rather flexible for defending against ground-based rushes. It’s also one of your stronger options for snuffing recovering enemy attempts to grab the ledge.
Grabs
| Move | Damage | Note |
|---|---|---|
|
1.3 |
— |
|
|
Front throw |
10 |
Forward throw. |
|
Back throw |
8 |
Backward throw. |
|
Up throw |
11 |
Launches directly above. |
|
Down throw |
6 |
Launches up and away at slight angle, allowing for potential follow-up attack. |
Grabs
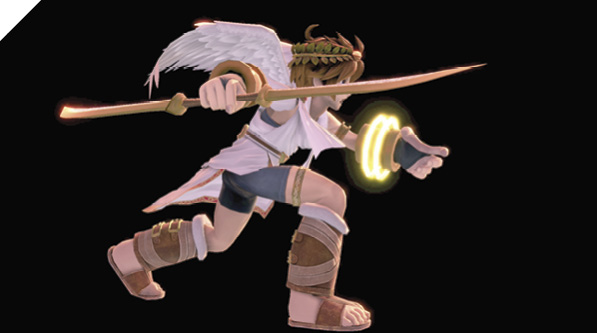
Pit’s grab attempt hits quickly, not among the fastest grabs but not far behind. It has average reach. As Pit, down throw is your most important variant, as it leads to the most damage while your opponent is still at low and medium percentages. For example, combo down throw into back air (slight tilt back before jumping after the down throw), into double jump neutral air attack. Alternatively, you can combo down air from down throw, then execute several low-altitude follow-ups.
Otherwise, Pit’s grab and throw game is relatively straightforward. Use front and back throws to finish off enemies, tossing them into the blast zone if they’re near a ledge. Use up throw to set up “sharking” (juggle-trapping) opportunities, and down throw for guaranteed combo damage at certain percentages.
Aerial Attacks
Aerials
| Move | Damage | Note |
|---|---|---|
|
0.7x7, 4.5 |
First seven hits can drag airborne enemies into the ground. Final hit launches up and away. |
|
|
Forward air attack |
2.5, 2.5, 6 |
First two hits can drag enemies. Third hit knocks away slightly. |
|
Back air attack |
12 |
Knocks away, low knockback. Deals more damage with tips of bow blades. |
|
Up air attack |
1.5x4, 5 |
First four hits can drag enemies. Final hit launches up and away at slight angle. |
|
Down air |
10 |
Clean hit causes meteor smash. |
Neutral Air Attack
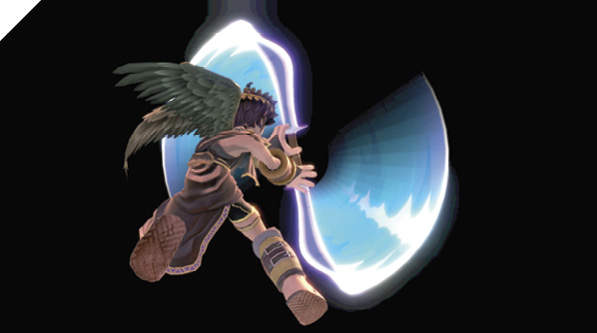
Pit twirls the Palutena Bow in midair, striking foes several times before knocking them back. Neutral air attack’s persistent hitboxes make it great for punishing on-the-spot dodges and ledge-recovery options. If you can make a read on where your opponent is going to recover to, you can stick out a relatively safe neutral air attack to punish.
You can make it safer by fast-falling, ensuring the last hit of the spinning attack connects with grounded foes. With its multi-hit dragging effect, you can set up unique combos (although not necessarily guaranteed) against low-altitude airborne enemies. If you hit with a fast-falling or deep neutral air attack (where the final hit doesn’t connect), you can follow up with up smash for a surprise combo that deals massive damage, potentially knocking them out.
Forward Air Attack
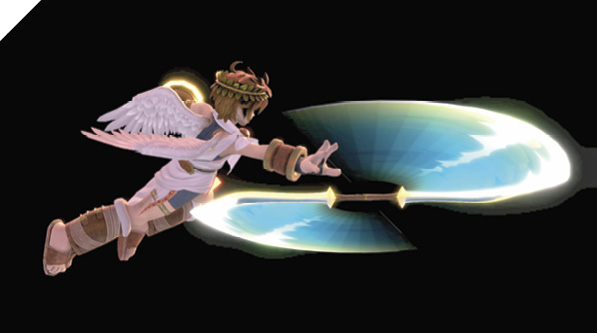
While airborne, Pit delivers a multi-hit attack, spinning his bladed bow directly in front of him. Forward air attack is your primary aerial poking and pressuring tool. While it doesn’t easily hit smaller fighters, you can fast-fall the attack during short hops to ensure it hits at the lowest altitude possible. Deep forward air attacks allow you to follow up with ground pressure, such as neutral attack or grab.
What you can do off of a connected forward air largely depends on enemy damage percentage. You can generally go into mix-up juggles, and at certain percentages, you get combos such as forward air into neutral air attack.
Back Air Attack
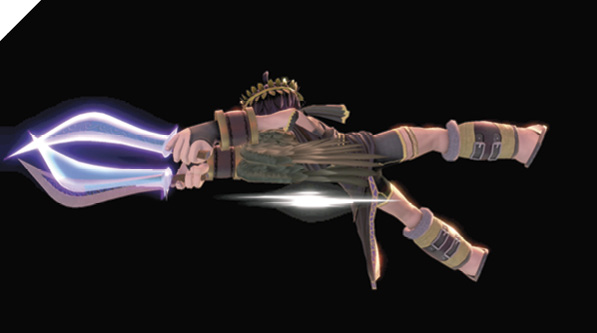
Pit thrusts the sharp points of his Palutena Bow halves behind him, striking aerial foes and knocking them up. Back air is much stronger than forward air, but takes more precision. Like side tilt, the tips of the blades deal max damage, with less coming from a hit with the arm. Hitting in closer with the arm sets up certain combo opportunities (such as back air into back air, or back air into neutral air attack). Like many back air attacks, Pit’s is great for dealing shield damage because of how safe and damaging it is. Incorporating proper back air usage into your offense may take practice, particularly off of dashes.
Naturally, back air is your primary edge-guarding attack, especially far out from the ledge.
Up Air Attack
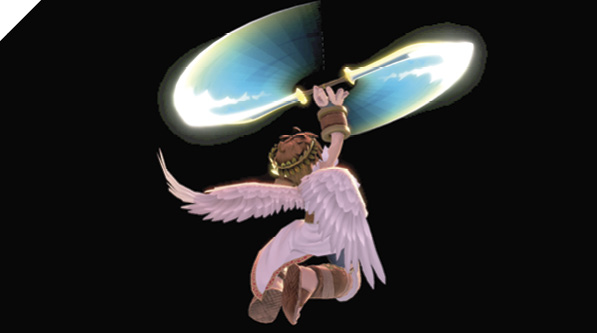
Pit uses the Palutena Bow like helicopter blades, positioned laterally above him, cutting into airborne enemies several times before popping them upward. This anti-air move is your conventional double jump baiting and juggling attack, mainly used against airborne foes attempting to descend to safety.
Down Air Attack
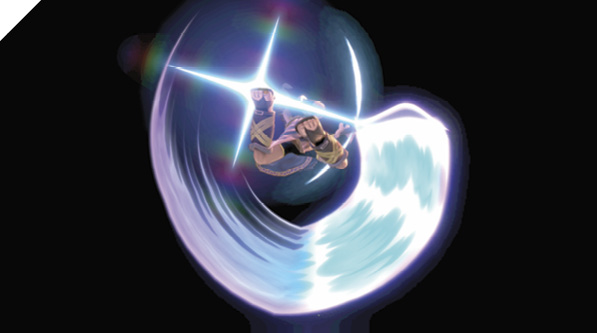
Pit uses one half of the Palutena Bow to attack enemies below him with a wide-angled slash, potentially inflicting a meteor smash. Down air attack is a decent defensive move thanks to its wide-angle hitbox. If you’re under pressure, you can use it from an out-of-shield jump, then pull away from your aggressor while you’re airborne. It has a spiking effect right at the beginning, so it can be used to meteor smash enemies off the stage.
Special Moves
Special Moves: Pit
| Move | Damage | Note |
|---|---|---|
|
Neutral special |
3.2 (8.6 at max charge) |
Bow can be directed vertically while charging. Trajectory can be influenced by control inputs. Charging increases range, speed, and damage. |
|
Side special |
11 |
Launches directly above, high knock-up. During dash, deflects projectiles. |
|
Up special |
— |
Can be directed to various upward and lateral angles with control stick right after up special input. |
|
Down special |
— |
Absorbs set damage before breaking, unusable for 10 seconds. Deflects projectiles. |
Special Moves: Dark Pit
| Move | Damage | Note |
|---|---|---|
|
Neutral special |
5.5 (14 at max charge) |
Bow can be directed vertically while charging. Trajectory can be influenced by control inputs. Charging increases range, speed, and damage. |
|
Side special |
12 |
Launches up and away, high knockback. During dash, deflects projectiles. |
Neutral Special (Pit): Palutena Bow
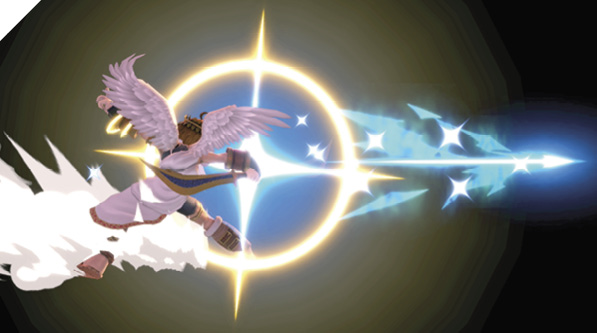
Pit fires a chargeable magic arrow that he can control, able to bend its trajectory midflight. Pit’s bow can be directed vertically or horizontally. To fire the bow above him, hold up on the control stick. The arrow can be curved midflight. When fired horizontally, control it with up and down inputs. When fired vertically, control it with left and right inputs.
Pit’s arrows are incredible for harassing, chipping, and zoning out enemies. With its midflight manipulation mechanic, you can snipe enemies from range and from unique angles. Mastering the Palutena Bow can be difficult, as it requires exceptional timing, arrow control, and movement-predicting skills. A good rule of thumb for when to apply arrow pressure is whenever you successfully score knockback hits where you can’t immediately follow up with melee attacks, or whenever your opponent is giving you space and playing passively at the other end of the stage (eventually forcing foes to attack).
Pit’s Palutena Bow is one of the best projectile-based edge-guarding tools in the game, due to its flexibility and midflight control mechanic.
It’s also important to note that you suffer much more end lag while firing horizontal arrows than vertical arrows.
Neutral Special (Dark Pit): Silver Bow
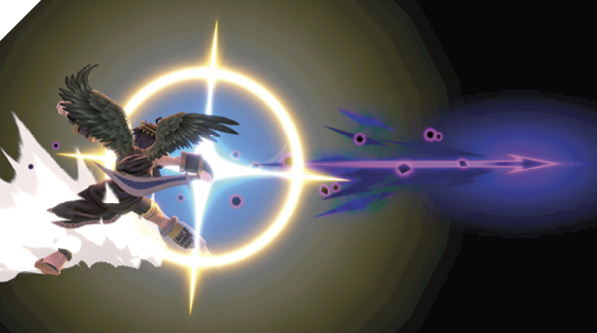
Dark Pit fires an arrow imbued with darkness. Dark Pit’s arrows are more powerful than Pit’s, but are influenced much less by midflight inputs (although they can still be directed, albeit slightly).
Side Special (Pit): Upperdash Arm
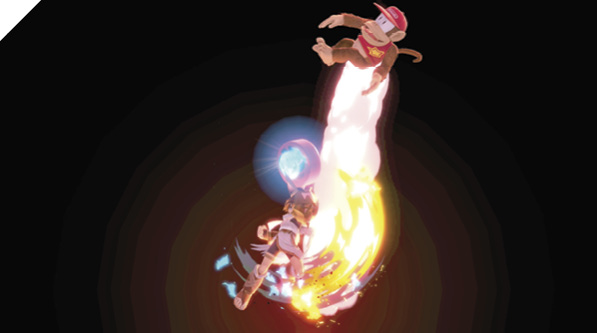
Pit dashes forward and delivers an uppercut that launches foes high into the sky. Pit’s Upperdash Arm launches foes much higher with a sharper vertical angle than Dark Pit’s Electroshock Arm, but deals slightly less damage. During the dash, this special move deflects projectiles. If executed in midair, it packs less punch as a launcher, but leaves you less vulnerable.
Upperdash Arm and Electroshock Arm can be used to get back onstage, while at the same time retaliating against edge-guarding opponents. Special-reversing this move increases its range slightly.
Side Special (Dark Pit): Electroshock Arm
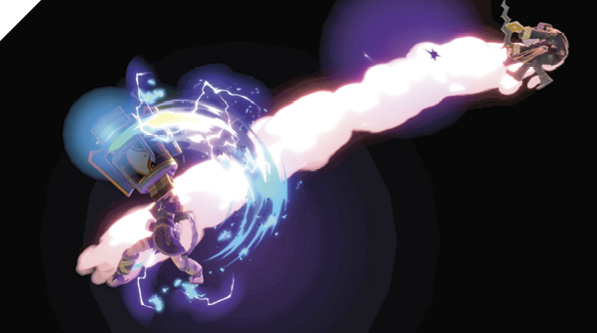
Dark Pit charges forward with a weapon that launches foes diagonally upward. While Pit’s Upperdash Arm is more likely to knock out enemies vertically into the sky, Dark Pit’s Electroshock Arm is noticeably more effective for knocking out enemies near ledges.
Like Pit’s Upperdash Arm, Dark Pit’s Electroshock Arm deflects projectiles while he dashes forward.
Up Special (Pit And Dark Pit): Power Of Flight
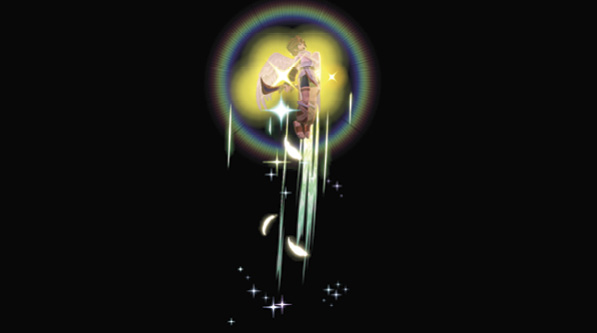
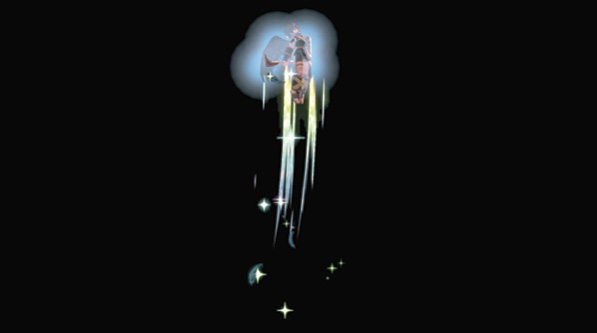
After a brief midair pause, Pit soars through the air. This air dash special can be redirected with the control input. After the up special input, hold left, up-left, up, up-right, or right to send Pit flying in that direction.
This recovery option leaves you vulnerable as you descend from the air, so be careful not only in your positioning, but with your opponent’s possible punishment options, as you’re left helpless during your descent.
Down Special (Pit And Dark Pit): Guardian Orbitars
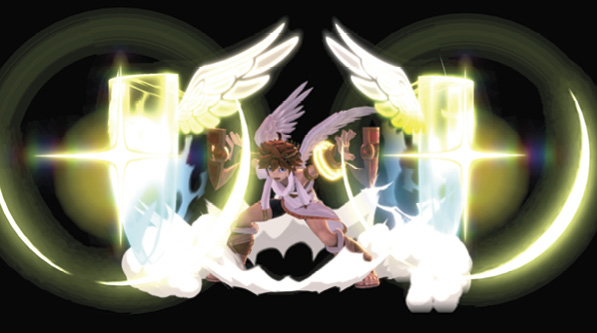
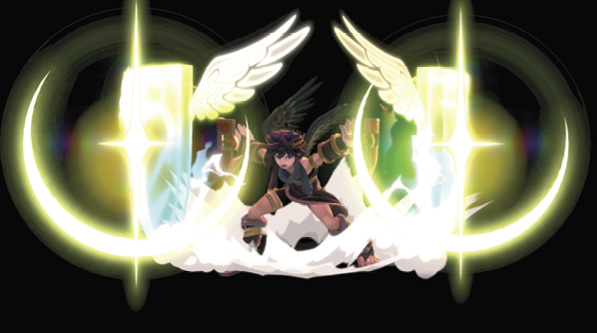
Pit shields his front and rear, reflecting incoming projectiles back at their origin. Guardian Orbitars can only take so much damage before they break. Once broken, the special move becomes disabled for 10 seconds. However, that’s not necessarily your greatest vulnerability. You can still be grabbed while holding your shields out. Furthermore, astute and sharp opponents can bait out your Guardian Orbitars and charge up a smash attack, simply waiting until you release and punishing your lag with a massive attack. Guardian Orbitars should be used sparingly, and only if you can make a strong read against your opponent’s aggression and projectile habits.
There are specific scenarios in which Guardian Orbitars shine, such as when edge-guarding against certain fighters who rely on projectiles to recover.
Final Smash (Pit): Lightning Chariot
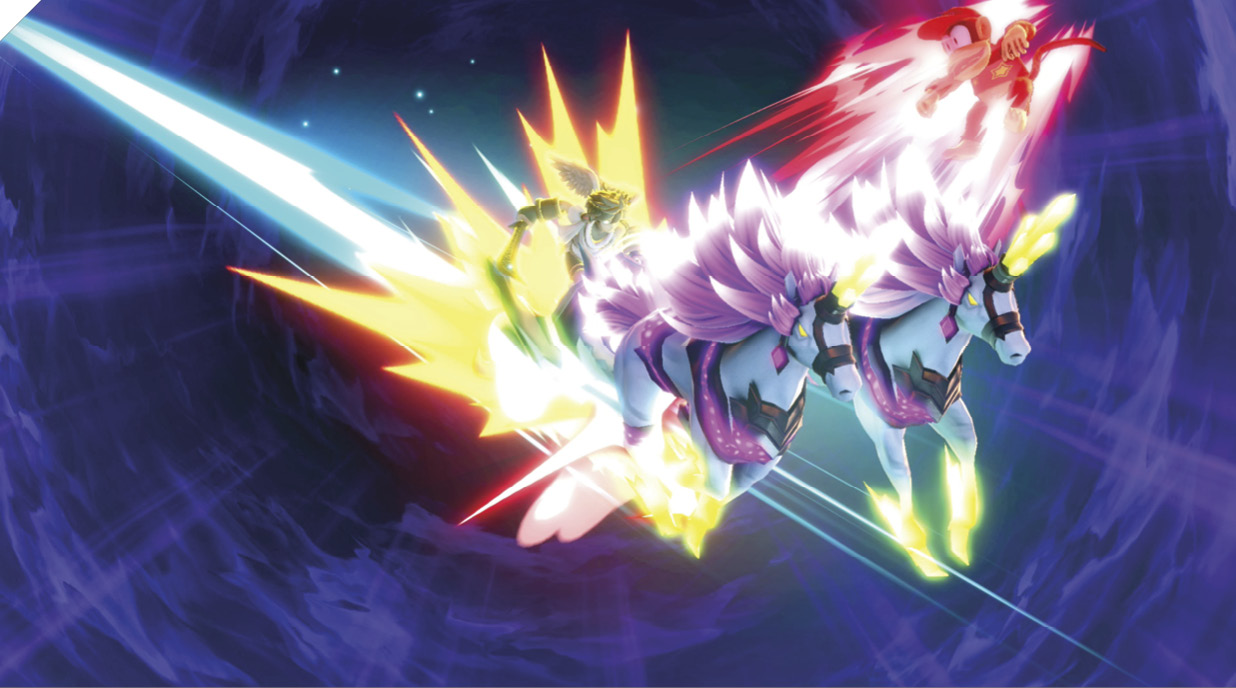
Pit boards the Lightning Chariot and targets opponents with a reticle before charging forward and launching any opponents he hits.
Final Smash (Dark Pit): Dark Pit Staff
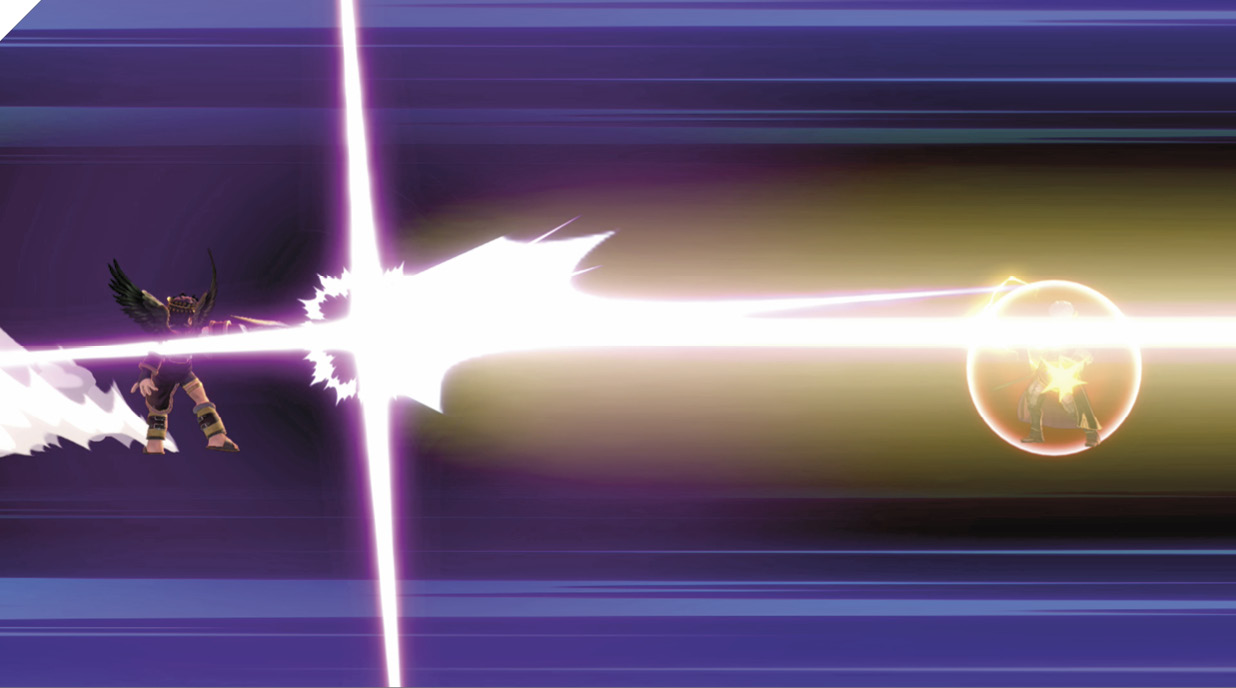
Dark Pit uses his staff to launch opponents with a high-speed horizontal blast that goes straight through obstacles. It can hit multiple foes in a row, but only the first feels its full force.