
Super Smash Bros. Ultimate Guide Kirby
Brawler Arsenal
Grounded Attacks
Neutral Attacks
Neutral Attacks
| Move | Damage | Note |
|---|---|---|
|
Neutral attack 1 |
1.8 |
— |
|
Neutral attack 2 |
1.6 |
— |
|
Neutral attack 3 |
0.2xN, 3 |
Hold to loop attack. Final hit launches away. |
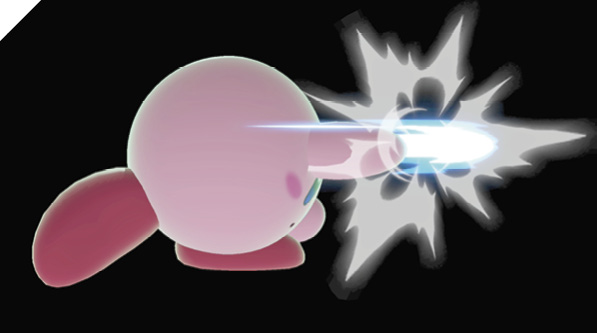
Kirby lunges forward with a two-punch left-right sequence, then transitions into his rapid-fire Vulcan Jab into Smash Punch combo, knocking the enemy away. While it’s limited in range, Kirby’s jab starts up quickly and leaves him at an advantage when shielded, making it a safe and effective defensive retaliation option that doesn’t require you to commit to a grabbing animation.
Neutral attack 3, the loopable Vulcan Jab, extends a much more pronounced hit effect, covering almost twice the range as the first two jabs with a taller vertical hitbox. Against foes just outside dash range, you can use your first two jabs to check their dash-ins, then choose whether to extend a farther attack with the third portion (although it leaves you vulnerable if you whiff).
Dash Attack
| Move | Damage | Note |
|---|---|---|
|
10 |
Launches up and away. |
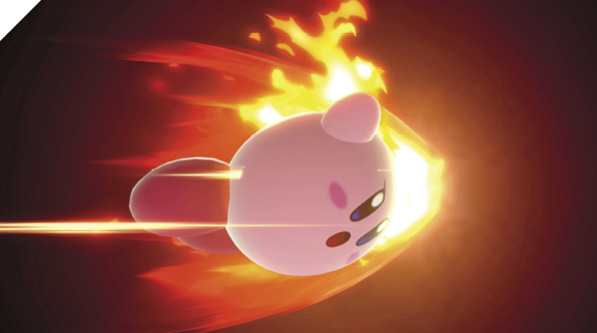
While dashing, Burning Kirby becomes a spiraling infernal torpedo and launches himself into the opponent, setting them ablaze and launching them away into the air. Although Kirby’s torpedo is punishable when shielded, it has a pass-through effect when executed close to the enemy, forcing them to turn and close some distance (or use a midrange attack) before punishing you. While it’s not a great move to throw out haphazardly, you can use it to escape being cornered. Like most dash attacks, it starts up fast enough to punish whiffed attacks from mid to long range.
Defensive Attacks
Tilts
| Move | Damage | Note |
|---|---|---|
|
Side tilt |
8 |
Knocks back, low knockback. Deals more damage up close. Can be angled up or down. |
|
Up tilt |
4 |
Knocks up and away at very slight angle for potential follow-up. Arm intangible. |
|
Down tilt |
6 |
Side Tilt
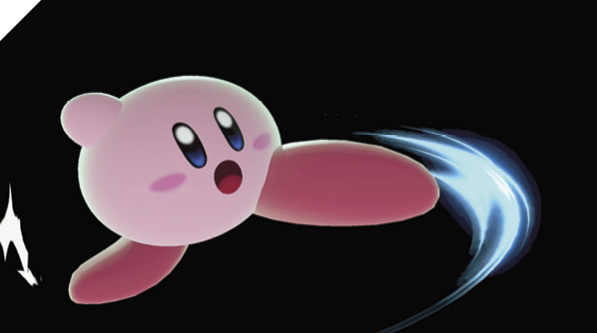
Kirby delivers a midrange side kick to the enemy’s midsection, knocking them back slightly. Side tilt can be angled upward or downward for a bit of flexibility, with the up-angled version having uses to follow up with awkward-launching combos where you’re unable to hit with up tilt or up air. The down-angled variant is similar to down tilt, but with slightly more range.
Side tilt is slightly slower to start up than down tilt, which is slightly slower than neutral attack. It’s also relatively safe against shields and even more so when spaced out. But you don’t get much in the way of a follow-up for hitting with it, so it’s best used as a safe poke against aggressive foes just past your down tilt and up tilt range.
Up Tilt
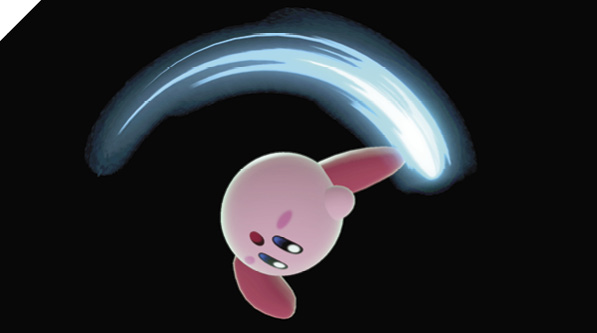
Kirby performs a scorpion kick, lifting his leg from behind him and arcing it over his head and then slightly in front of him. Kirby’s up tilt is of the conventional wide-arcing variety. Its rear hitbox hits extremely early, as fast as some jabs, and launches for a guaranteed follow-up of additional up tilts (against low-damage enemies). At higher percentages, it starts to launch much higher, and while you can’t score a guaranteed attack, you put the enemy at risk of being KO’d by your juggle-trap up air game.
Down Tilt
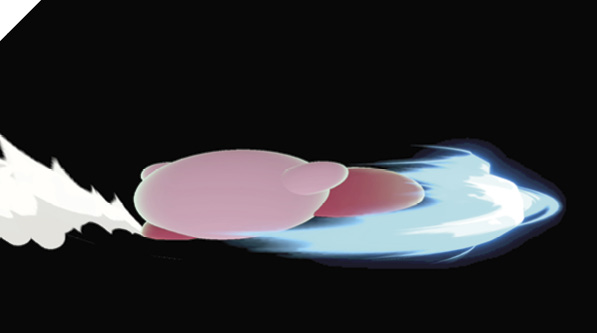
Kirby squashes himself half-sized and prods at the enemy’s legs with a low-profiling kick thrust. Kirby’s down tilt is a staple ground-based attack. It’s an incredibly swift poke that can set up a quick dash-in follow-up grab/up tilt/jab mix-up. It’s safe when shielded to everything but the fastest shield grabs, and reaches far enough to deter foes dashing in on you. If your opponent is just outside dash range, you can throw out two or three quickly to keep their aggression in check, and if they jump in on you, you can usually shield in time.
Smashes
| Move | Damage | Note |
|---|---|---|
|
15 |
Launches up and away. Can be angled up or down. Early hit deals more damage. |
|
|
Up smash |
15 |
Launches up and away at slight angle. Leg kick intangible. Early hit deals more damage, point-blank. |
|
Down smash |
14 |
Knocks away. Double-sided attack. Legs intangible. Early hit deals more damage. |
Side Smash
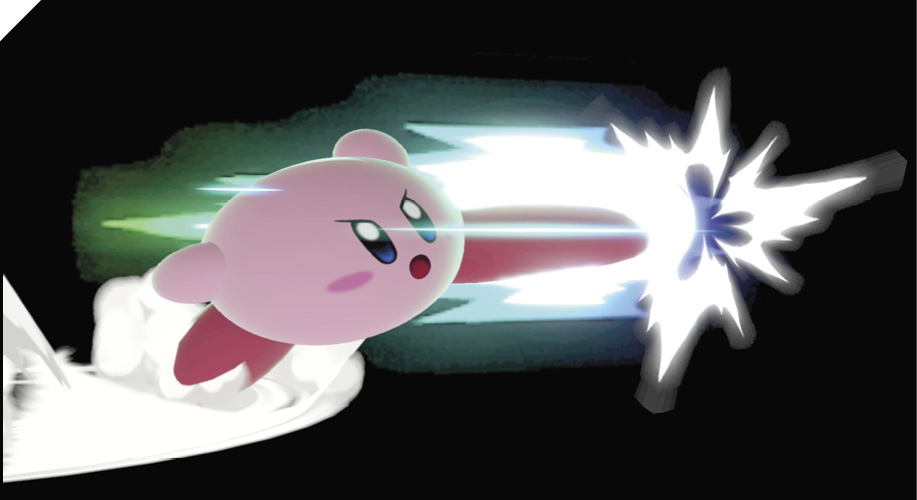
Kirby winds up and springs forward with a horizontal flying kick that launches foes up and away. Side smash deals significantly more damage at the beginning of the attack, but has a lower-damage lingering effect as Kirby moves forward. If performed next to an enemy, Kirby can pass through shielding foes, making it more difficult for them to respond with a clean punish. You can angle the attack upward or downward by inputting a side corner while charging (or instantly, while you flick the control stick). The up-angled version can be used as situational anti-air if you can read an enemy’s short hop, while the down-angled version hits the smallest of crouching foes (such as a crouching Kirby).
Up Smash
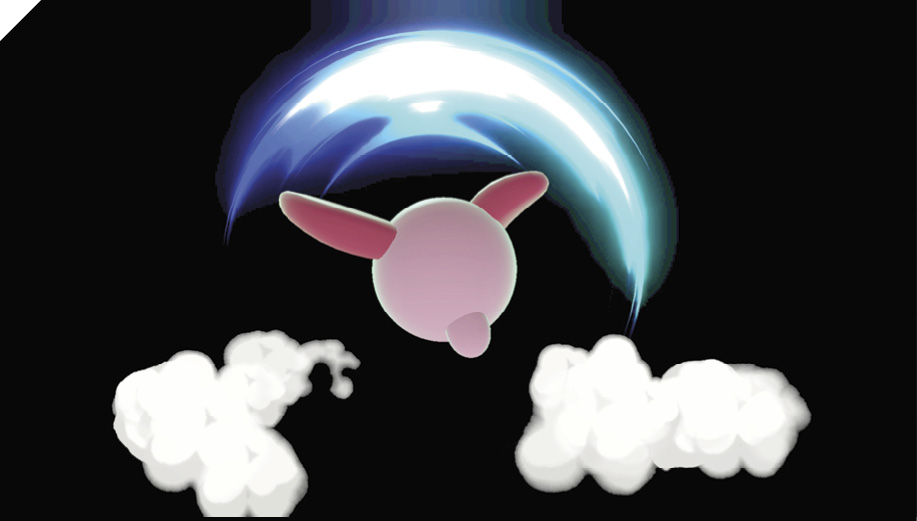
Kirby delivers a somersault kick attack that extends in front of him and arcs behind, launching enemies sky-high. It has sizable horizontal hit coverage and can hit foes in front of and behind Kirby. Although it’s unsafe to throw out haphazardly, up smash is your best high-risk, high-reward attack (for staging a comeback, for instance). You can potentially KO an aggressive opponent, or at least set up your strong juggle-trap up air sequence.
Down Smash
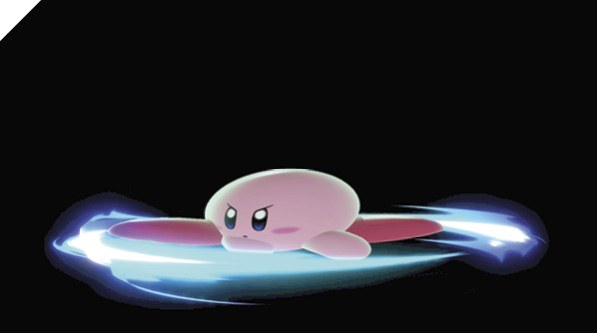
Kirby squashes down low and performs a cyclonic sweep attack, clearing out foes in front and behind. Down smash is extremely unsafe when shielded and offers little range. You can use it to punish ledge rolls, but if you guess wrong, you’re likely to be punished. The attack persists for a relatively long time, so if you make a hard read on a ledge roll or spot dodge, you can throw it out early to punish your opponent.
Grabs
| Move | Damage | Note |
|---|---|---|
|
1 |
— |
|
|
Front throw |
5 |
Forward throw. Knocks up for potential follow-up. Kirby actionable airborne. |
|
Back throw |
8 |
Backward throw. Kirby actionable airborne. |
|
Up throw |
10 |
Launches up and away. |
|
Down throw |
10.2 |
Launches up and away. |
Grabs
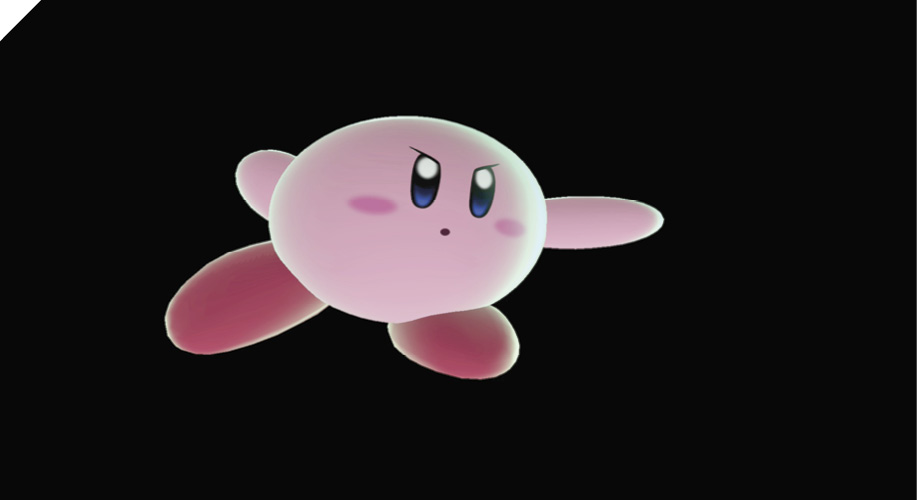
While Kirby’s grab is limited in its range, it starts up quickly, making it one of his primary damage sources (usually off of a punishing shield grab). After front throw, you can follow up with a forward air attack for a combo at low-to-mid-damage percentages. If the enemy dodges or acts, it becomes a relatively safe mix-up option if you can read or eye their secondary jump. Against heavyweight fighters, you can go for forward air into down air attack at very low percentages.
Kirby’s back throw is his Big Suplex. After pulverizing the enemy, Kirby becomes actionable in the air. Off of down throw, Kirby launches the enemy up and away. This is effective against foes above 40%, as it launches high enough for you to dash in under them for a potential up air juggle-trap sequence. React to their aerial move or recovery, and punish them accordingly.
Up throw is your most effective KO throw against foes in the middle of the stage or on a higher platform level, and made even stronger if you can sneak in a couple of Kirby’s lightning-fast pummels. If you up throw near the edge of a stage where the opponent is likely to shuffle toward you, you can follow up with your up special, Final Cutter.
Aerial Attacks
Aerials
| Move | Damage | Note |
|---|---|---|
|
10 |
Knocks away. |
|
|
Forward air attack |
4, 3, 5 |
Launches away. |
|
Back air attack |
13 |
Knocks away. |
|
Up air attack |
9 |
Knocks up. |
|
Down air attack |
1.3x5, 2; Land hit: 2 |
Airborne hits drag. Final hit spikes down. Special landing hit knocks up and away. |
Neutral Air Attack
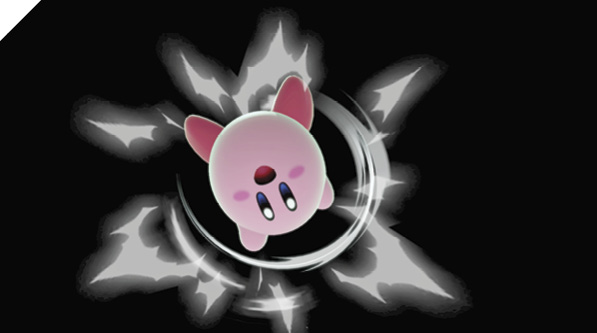
While airborne, Kirby spins around with his outstretched limbs, knocking away nearby foes. Neutral air attack has a relatively long start-up time, but boasts a remarkably long active window and low landing lag. Thanks to its persistent hit effect and low landing lag, this versatile attack can be used to wall out foes (short hop forward into neutral air attack, then immediately retreat).
Neutral air attack greatly benefits from fast fall techniques, allowing you to full-hop and then react to an aggressive enemy beneath you with a neutral air attack canceled into fast fall, causing Kirby to smash down with his rounded hitbox.
You can also use the first hit of neutral air attack to go for advanced low-altitude combos. Short hop, neutral air attack canceled into fast fall for a one-hit neutral air attack pops up the enemy enough for you to combo into standing neutral attack combo, and against heavier fighters, you can even combo into your grab (at low percentages).
Forward Air Attack
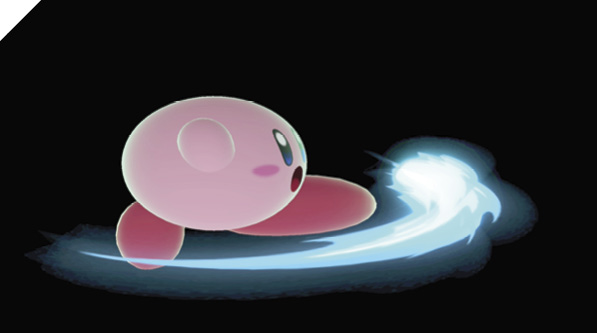
While soaring through the air, Kirby performs his Aerial Spin Kick attack, a three-hit horizontal kick combo. The first two kicks can drag foes, while the last hit launches them away.
Forward air attack is a decent air-to-ground attack with moderately low landing lag. You can use it at the apex of a short hop to wall out grounded enemies attempting to dash in. Since it’s a multi-hit attack, skilled opponents may be able to perfect-shield the final hit if they throw up their shield in time.
Off of front throw, you can usually get a guaranteed forward air attack combo, leaving the enemy at a low altitude and prime for an Inhale/dashing grab mix-up. As an aggressive attack, you can combo from first or second hit if you land before Kirby extends the third kick. For instance, short-hop into a deep forward air, followed by down tilt, which can then be followed up with a ground-based mix-up.
Back Air Attack
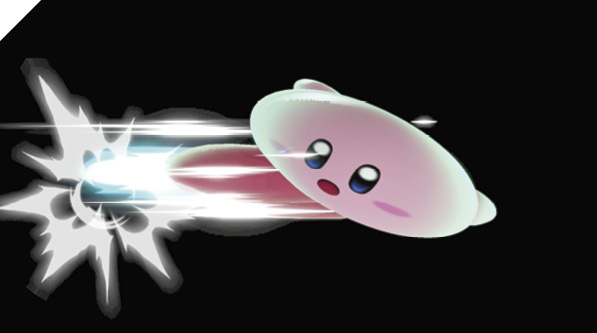
In midair, Kirby delivers a mighty double-leg dropkick, driving his legs behind him and knocking away foes in range. It has moderate air and landing lag, but when combined with Kirby’s midair jumps, you can throw out multiple back air attacks. This is particularly effective as an edge-guarding tactic. After throwing an enemy offstage at a high altitude, face away from the ledge, hop, and meet the enemy with your multi-jump back air sequences.
Kirby’s back air attack starts up quickly, so use it to defend yourself as an out-of-shield short hop attack against foes behind you. After you drop your shield, short-hop and buffer back air (Jump+back and Attack). It can be punished if the enemy is ready for it, but only if they’re quick.
Up Air Attack
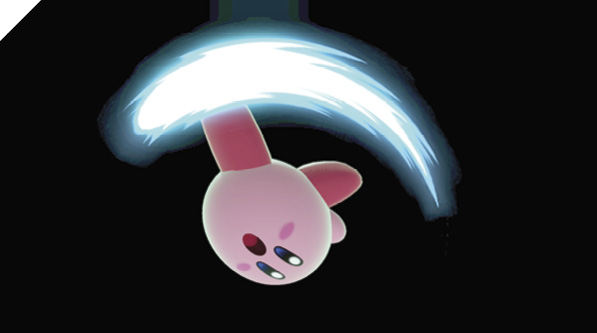
Kirby does a backflip somersault, kicking out in front of him, then arcing the swing above and then behind. Like Meta Knight, Kirby can continually midair jump while buffering up air to extend combos and juggle traps. With five midair jumps, you can dish out a lot of damage from your launcher setups, or at least force a midair mix-up.
While juggling with your repeated up tilt sequences, you can catch enemy double jumps with a short hop up air if you can predict it. Off of a low-altitude up air against low-percentage foes, you can continue to juggle with up tilt, repeatedly putting them in the same predicament (that is, until your up air attack and up tilt begin to launch at higher percentages).
You can attack with up air using short hop into fast fall up air, viable whether the enemy is behind or in front of you, thanks to the generous hitbox coverage. On hit, you can go into your up tilt loops.
Down Air Attack
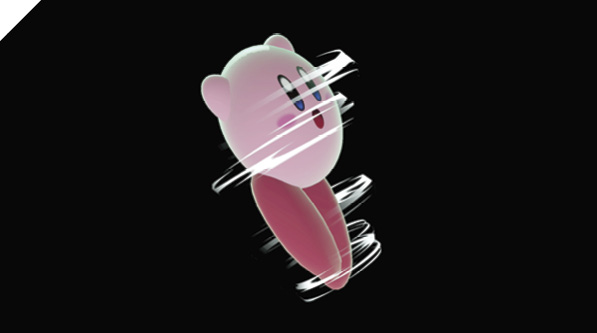
Kirby performs a multi-hit corkscrew drilling attack that hits up to six times, with the final hit having a slight meteor smash effect. If he lands on the ground during the attack, he delivers a unique grounded double-sided attack that knocks foes away.
The first five hits of down air attack can drag foes, allowing you to set up mix-up situations. If you connect with a short hop down air, you can fast-fall to drop to the ground and then combo into down tilt to set up a ground-based mix-up. You can even combo into a grab against heavy foes at certain percentages if you time the drill into landing accurately. One of the most optimal combos is to drill into the enemy with down air while crossing through them. As you land from your fifth hit, you can combo into up tilt since it hits quickly behind Kirby, allowing you to go into your up tilt loop.
Down air attack has a relatively long start-up time and almost double the landing lag of his neutral air attack, so it can be punished if you’re too predictable with it.
Special Moves
Specials
| Move | Damage | Note |
|---|---|---|
|
Neutral special |
Swallow: 10, Star Spit: 6 |
Vacuum windbox. Grabs when close. 10 damage to other targets hit by Star Spit. |
|
Side special |
Ground: 19-35, Air: 16-28 |
Launches up and away. Swings twice when airborne, until fully charged. |
|
Up special |
5, 2, 5 |
Last hit launches up and away. |
|
Down special |
14 |
Launches away. |
Neutral Special: Inhale
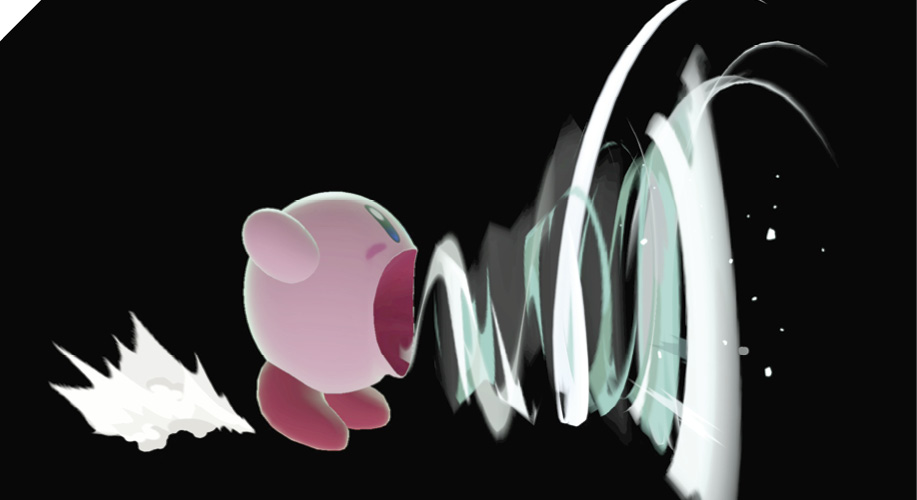
Kirby opens his maw and sucks in nearby foes and projectiles. Foes within range of the vortex are pulled in, then swallowed by the “grab” and left struggling inside Kirby’s belly. If you successfully Inhale an enemy, you can press Special or the down direction to absorb their powers, replacing your neutral special with your victim’s (with Kirby donning a costume of his copied foe). This extra ability can be removed by taunting, setting your neutral special back to Inhale. You can opt to spit out the enemy instead of absorbing their power by using the Attack button. Kirby spits the ensnared foe as a projectile that deals damage to other fighters in its path. Note that foes can shake out of Inhale if you leave them in Kirby’s stomach long enough.
Inhale also works against projectiles. If you swallow a projectile, you automatically absorb it to replenish your health. Explosive items confer damage if inhaled, while items that have attributes confer the effect on Kirby, and also heal a bit of damage.
Inhale is one of Kirby’s most crucial moves, rounding out his versatile toolkit. It’s an unshieldable grab with considerable reach and can be used in a variety of situations: as an offensive defense-breaker against shield-heavy foes, as an edge-guarding tool against ledge-recovering opponents, and as a ledge-recovery attack that grabs enemies standing too close to the edge.
There are over 70 neutral specials you can copy, so Kirby has incredible potential based on who he’s fighting. For the most part, Kirby’s copied special behaves identically to its owner’s. For instance, if the absorbed special attack is a chargeable one, like Samus’s Charge Shot, then Kirby can charge it, charge-cancel, etc.
Some fighters give Kirby unique properties, extending beyond copying their neutral special. For instance, when Kirby absorbs Ryu’s powers, he gains all three of Ryu’s Hadoken specials: the standard neutral special input, the SF-command input Hadoken ( + Attack), and Shakunetsu Hadoken (
 + Attack), each with its own unique battle cry! Needless to say, Inhale is particularly effective against Ryu.
Side Special: Hammer Flip
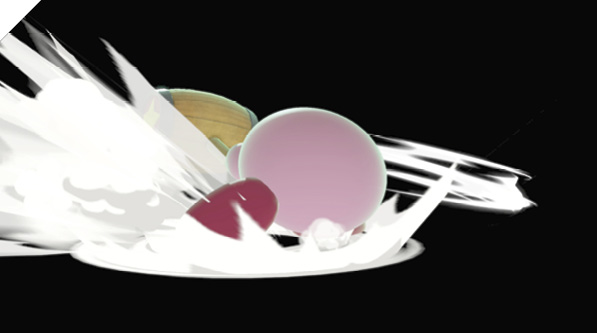
Kirby pulls out a giant mallet, mustering up the strength to ignite it before unleashing a devastating swing that launches foes away. While Kirby’s charging, you can move slowly and jump. When the hammer is fully charged, Kirby takes self-inflicting damage. Charged-up hammer grants armor as he swings, ignoring hitstun and plowing through enemy attacks.
Hammer Flip is essentially an ultimate smash attack. It’s risky to use fishing for poking hits, and even riskier if you charge it up. It’s best used to threaten an anti-ledge-recovery attack against offstage foes and foes hanging on the ledge. You can hit some fighters as they ledge-hang, and with accurate timing, you can viciously punish ledge jumps.
If you can force an opponent to shield the attack, especially at max charge, it can decimate their shield health, leaving them vulnerable. If you break an opponent’s shield (such as with a low-altitude Stone Smash), you can land a charged Hammer Flip as the enemy is dazed.
Up Special: Final Cutter
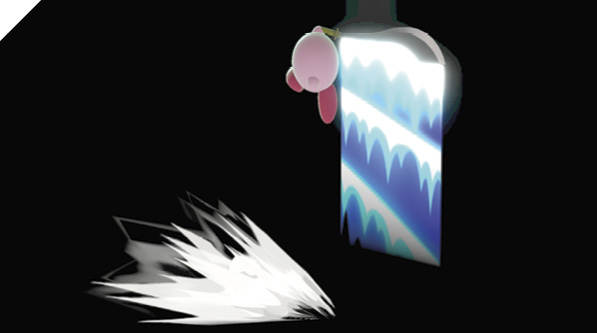
Kirby whips out a sword and leaps high into the air with a rising slash before descending with a follow-up dive attack that causes a small shockwave as he touches down, launching foes hit by it up and away. With left/right control inputs, Kirby’s trajectory can be slightly altered on the way up and down.
Final Cutter is Kirby’s main recovery special. Its high velocity and large hitbox as he’s launched upward make it a strong offstage recovery tool, allowing you to hit foes near the edge as you go for a ledge grab. Kirby can’t attempt a ledge grab until he begins descending, so sharp opponents may be able to punish you as Kirby’s head pops up over the ledge. The safest way to grab a ledge is to time it at a low enough altitude so that the apex of the Final Cutter launch meets the ledge, minimizing the change that you peek over it.
While Final Cutter is a risky attack to throw out, it can be used to extend combos and finish off foes at high percentages when you’re in an advantage state, juggling the enemy.
Down Special: Stone
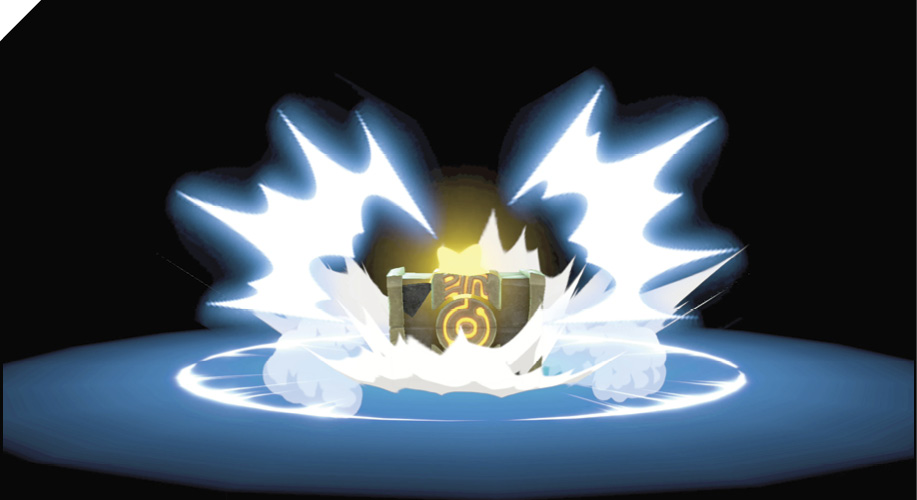
While grounded, Kirby performs the Stone Change. As he transforms into a Stone, he launches nearby foes up and away. When he transforms while airborne, Kirby performs his Stone Smash, slamming into the ground below him and potentially spiking foes. While Kirby’s in his Stone form, he becomes resistant to attacks, ignoring weaker ones completely while taking half damage from powerful ones. Stone deals a heavy amount of shield damage, allowing you to break through your opponent’s defenses if you can force them to shield it (aerial Stone is particularly effective for this). The grounded variant isn’t nearly as useful as the aerial version—it leaves you very vulnerable to grabs.
Aerial Stone performed at a very low altitude can be difficult to punish against slower fighters, as Kirby can pop out of his Stone form while the opponent is still in shield-stun. At high altitudes, Kirby isn’t actionable until the entire move ends, unless the attack makes contact. In this case, Kirby is actionable much earlier, even if the attack is shielded. If spaced high enough, you can connect with Stone on top of an enemy’s head, bouncing off safely.
While recovering from a tumbling state near a ledge (or any high-altitude situation), you can use Stone to quickly dive directly down to grab on to a ledge, giving you a sort of recovery mix-up if the opponent isn’t expecting you to be able to descend so quickly.
Final Smash: Ultra Sword
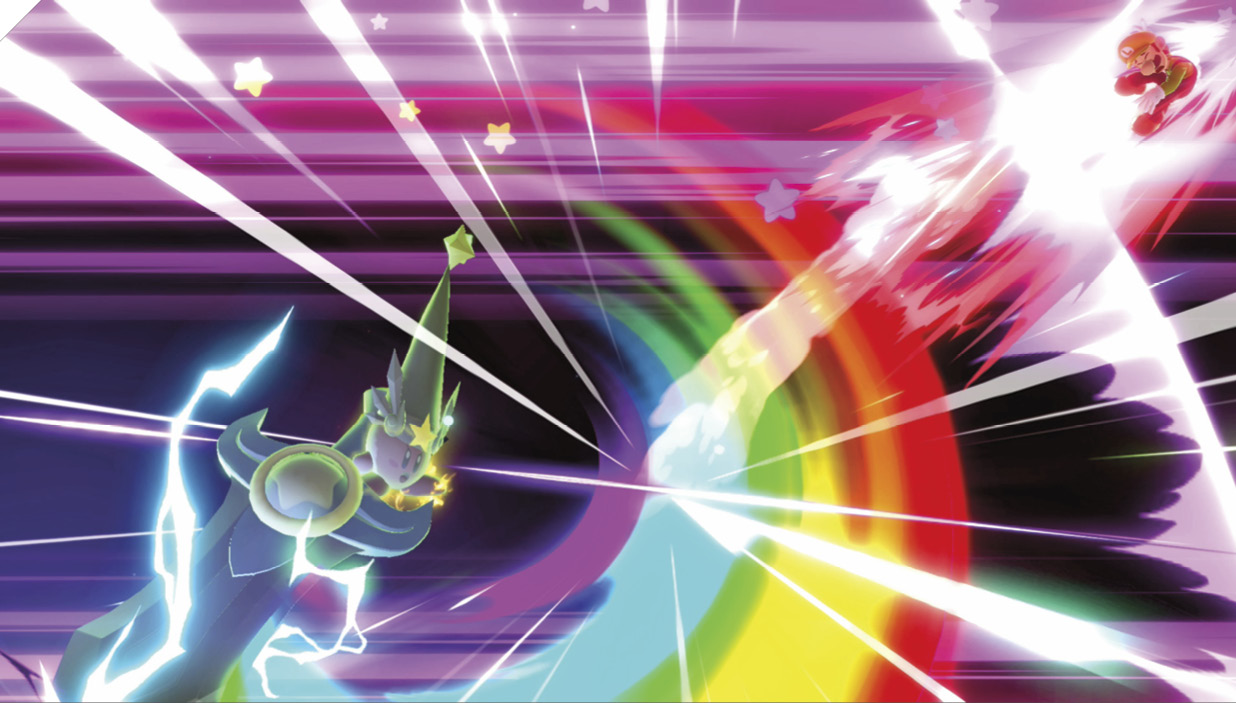
Kirby swings a sword that’s waaaaay bigger than he is. Make sure the first swing connects with an opponent, or nothing else happens!