
Super Smash Bros. Ultimate Guide Bowser
Brawler Arsenal
Grounded Attacks
Neutral Attacks
Neutral Attacks
| Move | Damage | Note |
|---|---|---|
|
Neutral attack 1 |
4 |
Hand intangible. |
|
Neutral attack 2 |
6 |
Hand intangible. |
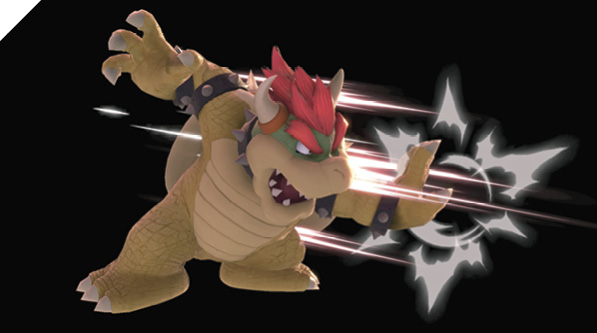
The Koopa king swings with two hefty palm strikes. The first one is slow for a neutral attack, hitting at about the speed of most tilt attacks. Be wary of speedy fighters overwhelming Bowser in close when trying to use neutral attack combos. Two of Bowser’s specials are actually faster than his neutral attack: side special (Flying Slam grab) and up special (Whirling Fortress spin). Hitting from neutral attack’s max range helps a lot, especially since Bowser’s hands are intangible during these strikes.
After the one-two strike combo, victims are knocked away. Short, sweet, and strong.
Dash Attack
| Move | Damage | Note |
|---|---|---|
|
12 |
— |
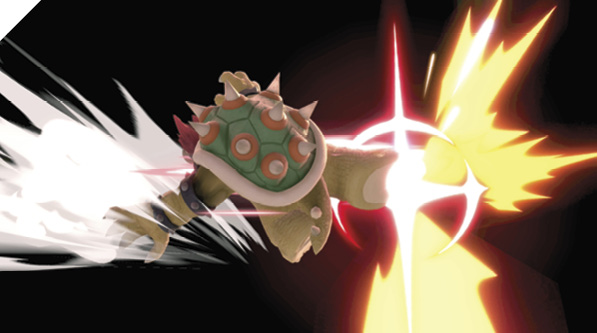
Bowser lunges sideways with one leg extended in a heavy kick. Hitting with a dash attack launches targets into the air, where you can try for another attack.
Defensive Attacks
Tilts
| Move | Damage | Note |
|---|---|---|
|
Side tilt |
12 |
Hand intangible. |
|
Up tilt |
11 |
Hand intangible. Pops foe into potential juggle position. |
|
Down tilt |
7, 8 |
Hand intangible. |
Side Tilt
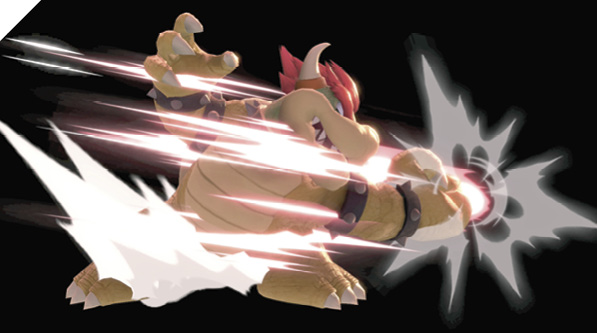
The king leans forward while swinging with a fierce backhand, hitting a bit slower than neutral attack (and most tilt attacks), with about the range of the second neutral attack punch. Bowser’s backhanding hand is intangible, helping him overpowering the opponent’s moves. Think of this as a ready-access version of the second neutral attack, while dealing even more damage than the neutral attack combo. Angle the side input (or C-stick, if it’s set to tilt) a bit diagonally to aim Bowser’s backhand slightly up or down.
Keep in mind that down tilt hits as fast as side tilt while hurting more, and up tilt covers air angles way better than a slightly angled side tilt. This move isn’t bad, but gets squeezed out in usefulness by neutral attacks and up/down tilts.
Up Tilt
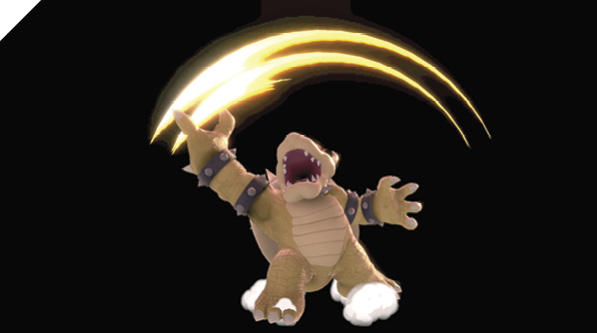
Fingers splayed on one clawed hand, Bowser slashes with arm outstretched from front to back over most of his body. Up tilt hits to the front only slightly slower than side tilt, while also covering above and behind. Bowser’s arm is intangible from the forearm to the hand, too. Anyone swatted by Bowser is knocked off their feet, vulnerable to more hits. This is one of Bowser’s best attacks, good for any grounded occasion.
Down Tilt
A crouching Bowser pounds anyone in front with two shin-level hook punches. This hits with the same speed as side tilt, with a lower profile and bigger reward. The punches have good reach forward, with intangible hands like most of Bowser’s moves. With the two hits, this is like a slower neutral attack combo, done from a crouch. The two hits also give it a chance to catch someone who rolled or sidestepped through the first swing.
Smashes
| Move | Damage | Note |
|---|---|---|
|
23-32.2 |
Feet invincible. |
|
|
Up smash |
22-30.8 |
Shell invincible. Hops off ground. |
|
Down smash |
16 front, 15 back-22.4 front, 21 back |
— |
Side Smash
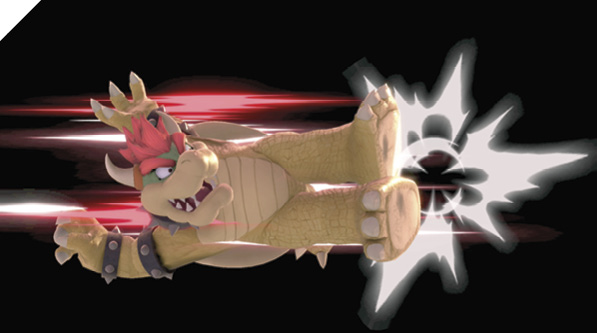
Bowser squats briefly, then takes a tiny hop forward while sticking out a withering, two-legged dropkick. This takes almost a half-second to hit, even uncharged. At least Bowser’s feet are invincible just before they hit, and briefly during hitting frames. The payoff is frightening damage and KO potential, and heavy shield damage on block. Lag after the dropkick is long, as Bowser flops on his side and rises. This is a home-run swing.
Up Smash
This is almost like a built-in short hop attack. After crouching on all fours and readying himself, Bowser springs up, spinning his spikes to the sky. His shell is invincible during the attack, giving it absolute priority against anyone coming straight down onto it. Afterward, Bowser crunches to the ground before he can act again. While his spiked shell is the star of the show here, there’s also a less damaging hitbox around his head, which hits grounded foes in front of him on the way up, and another on his feet. This doesn’t make it worth aiming up smash at standing people on purpose—up tilt is better for that—but it’s a side benefit. Up tilt is easier to use against airborne targets too, let alone standing ones, but the damage payoff on up smash when someone is right above is huge.
Down Smash
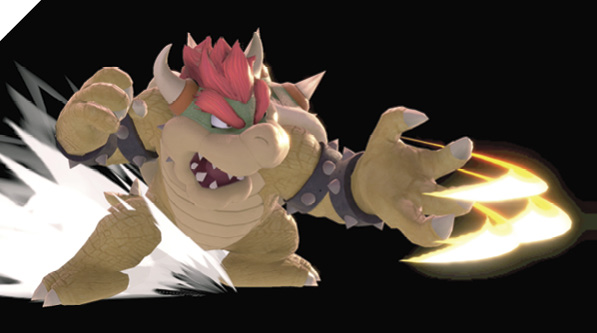
Bowser swings to the front, then behind himself with tearing claw swipes. The frontal hit is Bowser’s fastest smash attack hit, only slightly slower than up tilt for attacks with coverage on both sides. The hit to the back ends up being slow, though, even more than side smash. It’s just for contingency in party battles, when opponents might be closing in from both sides. The back swipe’s lagginess also leaves Bowser vulnerable if someone blocks the frontal hit. Also, unlike other smashes and tilts, this lacks intangible or invincible portions.
Grabs
| Move | Damage | Note |
|---|---|---|
|
1.6 |
— |
|
|
Front throw |
12 |
Forward throw. |
|
Back throw |
12 |
Backward throw. |
|
Up throw |
11x0.5, 6 |
Pops foe into potential juggle position. |
|
Down throw |
10, 4 |
Bounces foe forward. |
Grabs
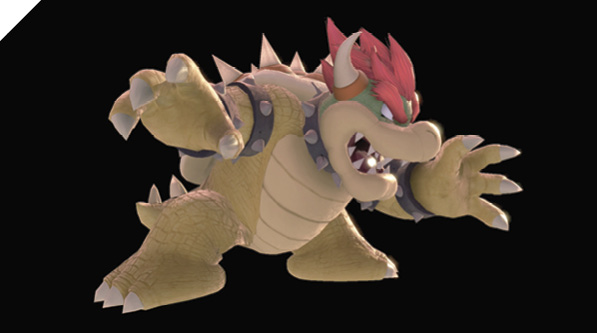
The king’s grab is slow compared to most other grabs, but barely slower than his neutral attack, so it’s not too bad relative to the rest of Bowser’s arsenal. Anyone threatened by Bowser’s slower attacks will naturally clam up sometimes, granting opportunities for him to grab them.
Back throw has the most raw KO potential and knockback when damage is high. Front throw is fine for pushing enemies toward the ledge Bowser faces. Bowser spins them on his spiked back during up throw, racking up lots of hits before launching them into a typical up throw juggle position. For down throw, Bowser plants them on the floor, then flops forward on top of them, potentially nailing anyone else standing nearby, too.
When thinking of his throw game, always remember his Flying Slam side special, a big part of what makes Bowser Bowser. It’s faster than his regular grab, faster even than his neutral attack, while being usable in midair too, and dealing more initial damage than any of his throws (though not more damage than if you do something like grab, add a couple grab attacks, up throw them, then juggle them).
Aerial Attacks
Aerials
| Move | Damage | Note |
|---|---|---|
|
6 |
— |
|
|
Forward air attack |
13 |
Damage highest at hand. |
|
Back air attack |
19 |
— |
|
Up air attack |
15 |
Head intangible. |
|
Down air attack |
16 (2 on landing) |
Limbs intangible. Can be aimed slightly left or right. Lag until landing. |
Neutral Air Attack
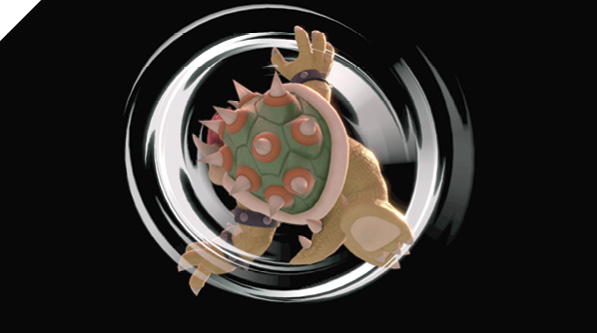
Bowser splays all limbs out and pinwheels, each hand and foot a rotating hitbox. The first outstretched claw here is aimed up-forward, and new hitboxes rotate proliferating backward around Bowser as he spreads his limbs. This makes down-forward the last quadrant around Bowser that gets hit, so this attack is ill-suited to aggressively jumping at enemies below, like during short hops on the ground. Instead, it’s best when moving up-forward at a target, in which case it’s technically Bowser’s fastest air move.
Forward Air Attack
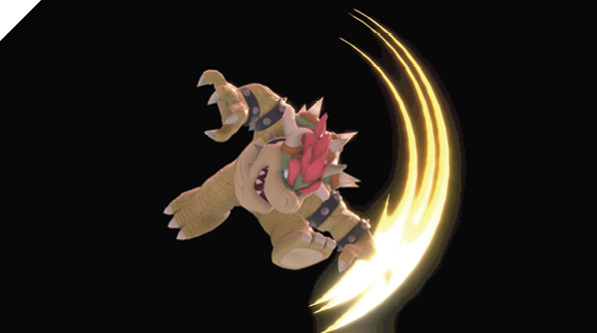
When you’re aiming straight ahead or at someone ahead and below (like when jumping in at defenders), this is better than neutral air attack. Bowser slashes in an arc from up-forward to down-forward, covering all forward angles. Damage is highest at his hand, and lower if it hits farther up his arm. Used as a jump-in, this air move has the lowest landing lag of Bowser’s airs, further cementing it as the best to use when hopping and jumping in for pressure.
Back Air Attack
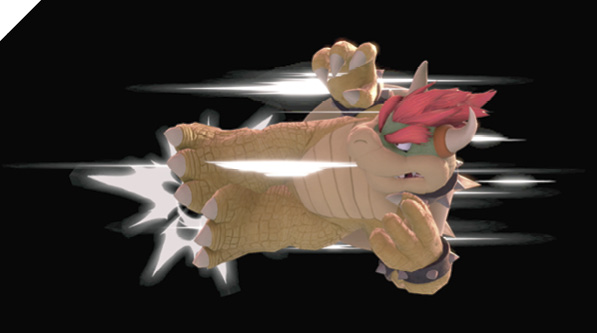
This backward-aimed, two-foot dropkick is Bowser’s fastest air attack for practical purposes. (Neutral air attack is faster but only at the very start and only up-forward; midair up/side specials are also faster.) It deals heavy damage and knockback, and is great if you have good aim kicking backward at targets. It requires more precision than other Bowser air hits, which have longer active periods. Beware the extra landing lag when using it just before touching down.
Up Air Attack
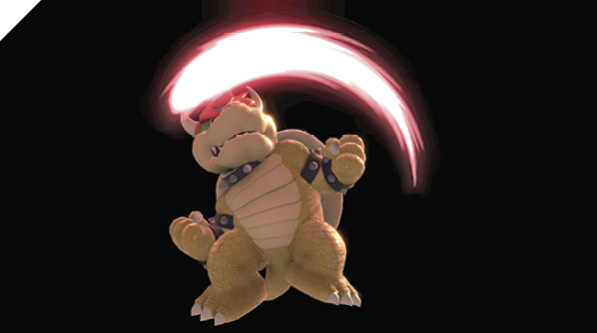
Bowser headbutts from the front to the back, hitting up-forward a hair slower than neutral air attack. The payoff for hitting with up air attack is much better than neutral air attack. Bowser’s head is also intangible, helping up air win out when encountering downward-aimed enemy attacks. This is great in combos and when chasing helpless tumblers trying to land.
Down Air Attack
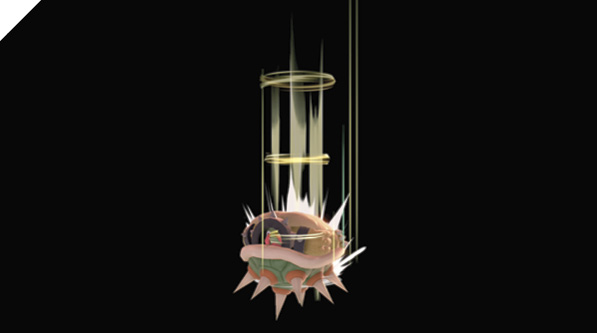
Bowser’s air momentum is temporarily halted as he flips upside down and retracts into his shell. He then plunges down, spikes extending a brutal hitbox ahead of an invincible turtle shell. What little is visible of the limbs sticking out of the shell is intangible. While plummeting, the king can be steered slightly to either side. When he hits the ground, there’s a secondary impact hitbox. The last hit does more damge if it lands in the middle of the opponent’s hitbox.
An early midair hit just as down air attack starts descending can meteor smash victims. A hit later in the shell’s fall pops anyone in the way diagonally upward instead. Nailing someone with the ground impact also ejects them diagonally. Bowser is naturally vulnerable with a lot of lag right after dive-bombing with this stunning smash!
Special Moves
Specials
| Move | Damage | Note |
|---|---|---|
|
Neutral special |
1.8x1~12 |
Hold input for continuous fire. Can be angled up or down. Spout diminishes over time. |
|
Side special |
18 |
Throw move. 15 damage to foes underneath impact. |
|
Up special |
1x6, 6 ground, 7, 1x10, 2 air |
Mash Special input during air version for extra loft. Can be steered. Lag until landing. |
|
Down special |
4, 20, 11 |
— |
Neutral Special: Fire Breath
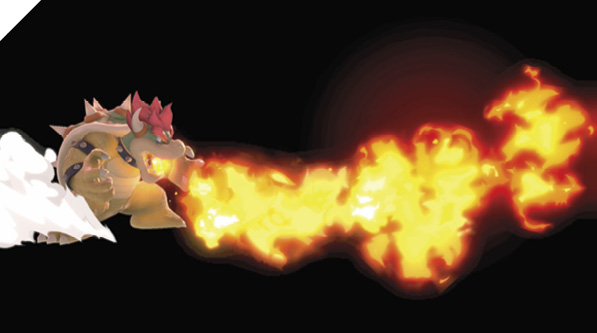
Bowser spits out continuous gusts of flame, like a similar move of Pokémon Trainer’s (courtesy of Charizard). Anyone caught in the firestorm is hit repeatedly, potentially taking lots of damage. Holding the input keeps the flames coming, and the spout can be angled up or down a little. After a few seconds of continuous use, the flames die out. You need to let Fire Breath cool off for about 10 seconds before it can be used at full power again. This move is great for edge-guarding, and when aimed into distracted groups midstage.
Side Special: Flying Slam
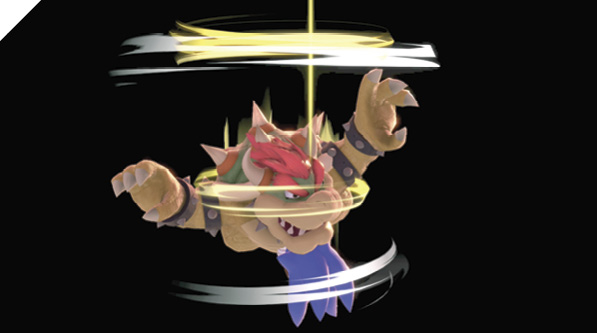
Perhaps Bowser’s marquee attack, this notorious slam can snag enemies in the air or on the ground. During Flying Slam he grabs, quickly pulling in anyone close, leaps high into the air (usually clear out the top of the screen), then dives down and bounces the victim off the ground. Not only does the thrown victim take heavy damage, but anyone underneath as they land is blasted away by the impact, taking almost as much damage.
Bowser can move left or right in midair before slamming down. This move can even be steered offstage, in which case both fighters are KO’d. Bowser’s KO comes first, so you can’t use this to win unless you’re up on spare stocks. Curiously, against defenders with a low damage total, they have more control over direction than Bowser does! The higher the accumulated damage of the Flying Slam victim, the more Bowser has control when steering in midair. But a low-percentage victim could actually choose to steer you both offstage if they’re up on stocks!
Up Special: Whirling Fortress
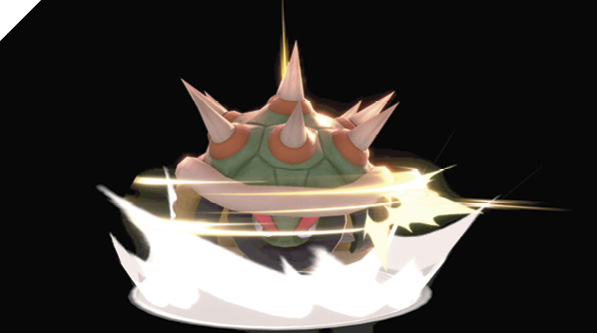
This special is slightly different on the ground versus in midair. Grounded, Bowser spins suddenly in place inside his shell, hitting multiple times. He can be steered a bit left or right while spinning. This is technically his fastest physical attack (tied with Flying Slam for fastest overall), and the hitbox covers his whole shell, but the horizontal range is short. Steer into intended targets to ensure contact.
This is fast enough to be used defensively after blocking laggy attacks, which is its best grounded use. In the air, up special is an upward-surging combo and recovery tool. It hits just as fast as on the ground (technically making it his fastest air attack, besides Flying Slam), with an even better hitbox. The damage is highest early in aerial Whirling Fortress, with the rest of the attack’s hits dealing less damage. While Bowser spins upward, mashing the Special input adds a little extra loft.
After air Whirling Fortress, Bowser falls inside his shell, helplessly drifting. At least his exposed limbs are intangible, making him small during descent. Use this to leap and catch tumbling enemies for big damage, and to recover back to safe ledges from offstage.
Down Special: Bowser Bomb
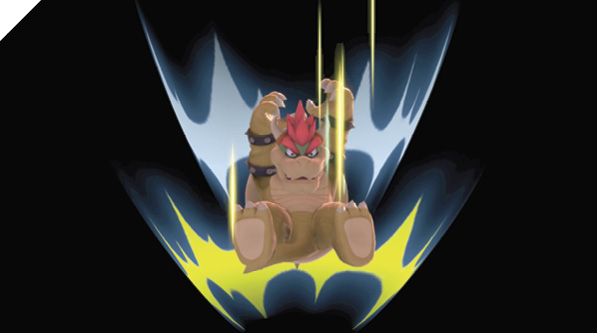
Bowser Bomb is an interesting multi-stage attack that’s also slightly different air versus ground. On the ground, Bowser starts with a horned headbutt hitting directly before him. This initial launching headbutt strikes with the speed of one of his tilt attacks. From here, Bowser leaps upward for a cannonball dive, putting all his weight into the plunge. The main hit comes from Bowser’s form itself, but there’s another hit on touchdown.
If the launcher flicks someone off their feet, the dive-bomb portion combos but the impact doesn’t. If the launcher part doesn’t hit but the dive-bomb catches someone under it on the ground or at low altitude, it may carry them down for the heavy hit and the impact follow-up.
When used in midair, Bowser skips the launcher part and performs the high-damage, dive-bomb-into-impact-shudder part. Both hits can combo if this hits squarely on someone low to the surface underneath.
However Bowser Bomb is used, it’s hugely damaging on contact. If blocked, it will very likely shatter the defender’s shield! Be ready to capitalize with something devastating like side smash…or point-blank Bowser Bomb.
Up close on the ground, it can be treated as a high-risk/reward close-range move that follows itself up, or even a powerful defensive reversal against the opponent’s laggiest moves and misses. In midair, it’s top-of-the-line for plunging straight down with seriously scary damage. When either edge-guarding or recovering, it can even be used with precise aim to dive-bomb toward a ledge. Well-aimed, as though you meant to plunge right past the drop-off, Bowser will actually grasp the handhold!
Final Smash: Giga Bowser Punch
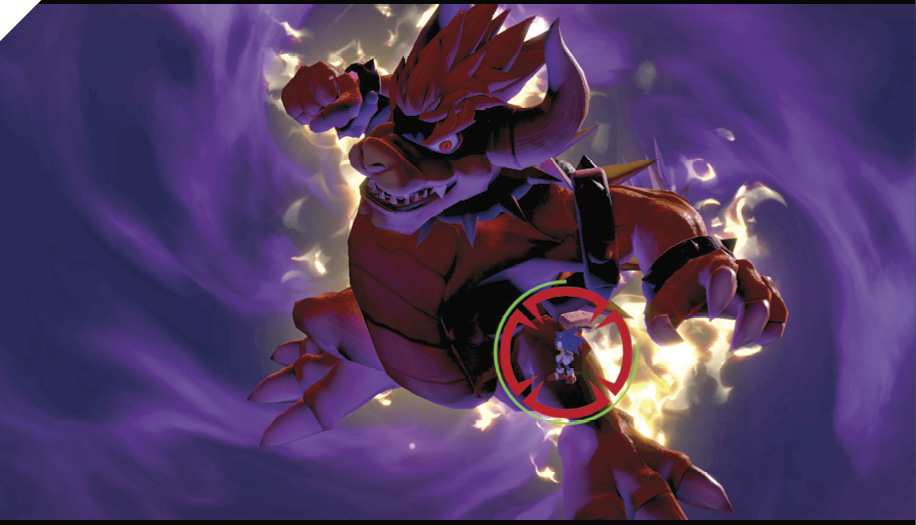
Fully charged up with energy, the king of the Koopas can reveal his idealized form, a gigantic Bowser that towers over the stage. Aiming Giga Bowser Punch is manual. Upon activation, Giga Bowser looms over the fight while a cursor appears. Move the cursor around and center it above your peskiest challenger before attacking to smash them with a terrifying punch! Swollen to such unbelievable proportions, it’s easily possible to wallop multiple enemies if they’re close together.