
Super Smash Bros. Ultimate Guide Ridley
Brawler Arsenal
Grounded Attacks
Neutral Attacks
Neutral Attacks
| Move | Damage | Note |
|---|---|---|
|
Neutral attack 1 |
2 |
Hold on whiff to chain repeated attacks. |
|
Neutral attack 2 |
1.5 |
— |
|
Neutral attack 3 |
5 |
Launches away. |
|
Rapid neutral attack special |
0.7xN, 2 |
Launches up and away. Rapid-type attack input. Hold Attack to loop. |
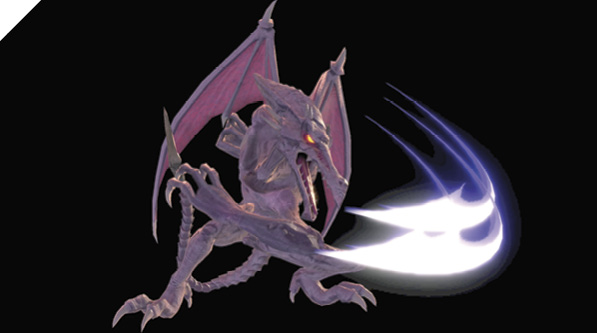
Ridley quickly slashes the enemy with a simple left, right, left claw-swipe combo. On whiff, if the Attack button is held, Ridley executes the rest of the auto-combo, with the second and third neutral attacks improving in range.
Since Ridley’s strengths primarily revolve around his aerial moves, you don’t use neutral attack too often. It should be mainly used as an out-of-shield buffer-retaliation punish after guarding enemy attacks. Otherwise, your ground-based offense should be more grab- and tilt-attack-based.
Note that if you input the three attacks too quickly, you perform Ridley’s unique rapid-fire special instead of his third neutral attack.
Rapid Neutral Attack Special
Ridley’s tail becomes a rapid-fire piercing machine. This unique attack is performed by tapping neutral attack three times quickly in succession. Once Ridley begins the lightning-tail animation, you can hold the Attack button to continuously fire his tail indefinitely. Releasing the button results in a final tail-launch attack that knocks away enemies.
This isn’t a particularly strong or useful attack as a poke, since you’re immobilized and grounded. Be careful of accidentally unleashing this attack if you’re going for a normal three-hit neutral auto-combo.
Dash Attack
| Move | Damage | Note |
|---|---|---|
|
12 |
Launches away. |
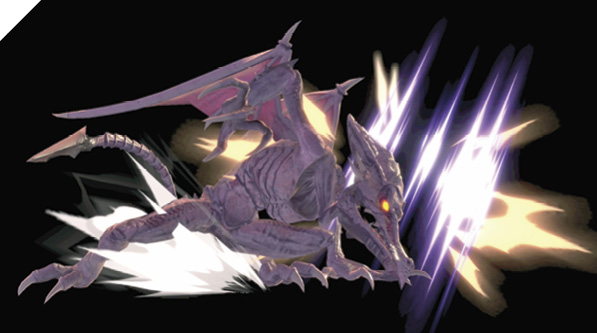
While flying forward, Ridley lunges and takes a bite out of his foe, launching them away. Ridley’s dash speed and the start-up of his dash attack are below average, so his dash attack can be difficult to implement into your game, especially since your game plan largely revolves around projectiles and air-based strategies. The launch effect of dash attack doesn’t effectively lead into further combo potential.
Defensive Attacks
Tilts
| Move | Damage | Note |
|---|---|---|
|
Side tilt |
13 |
Launches away. Deals more damage with tip of tail. Can be angled up or down. |
|
Up tilt |
9 |
Launches directly above. Wing claw (spike) deals more damage. Upper wing intangible. |
|
Down tilt |
9 |
Launches up, allowing for potential follow-up. Deals more damage with tip. |
Side Tilt
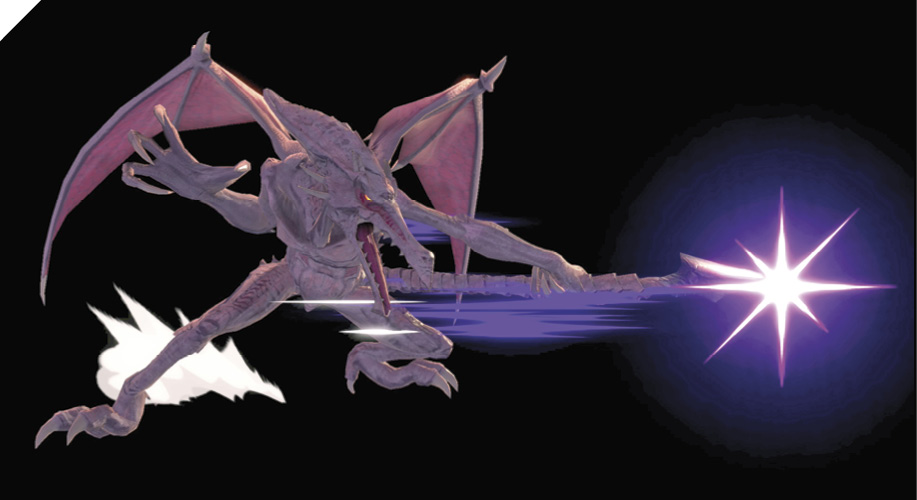
Ridley thrusts his tail into the enemy. If he successfully stabs the foe with the pointy end of his tail, they take much more damage and knockback. Side tilt angled up and side tilt angled down can be used to minutely alter the attack, although it’s important to note that non-angled side tilt has a slight horizontal range advantage.
Critical tail end hits are much more likely to KO enemies, making it an excellent attack for high-damage-percentage foes. But before then, your neutral game should be focused on staying airborne and applying safe pressure with neutral air attack and forward air attack.
Up Tilt
Ridley performs a vertical wing swipe, reaching far above him with an attack area that covers his rear and front. Up tilt has a deceptive effective range and quick start-up. Visually, the attack begins behind Ridley, but the hit effect impacts almost instantaneously all around him. Although its main strength is in its anti-air property, you can use up tilt in almost any ground-to-ground and ground-to-air situation, thanks to its speed and generous hitbox.
Up tilt is one of the few ground attacks that should be used regularly in your arsenal. It sets up potential combos and 50/50 aerial juggles on hit, all while being relatively safe and speedy.
Down Tilt
Ridley delivers a low-profile tail swing in front of him, sweeping enemies off their feet while crouching and minimizing his size vulnerability. While this attack looks like a sweep attack, its hit effect area covers a sizable horizontal block in front and can be treated like a relatively fast general-purpose side attack. It deals much less damage than side tilt, so you’re sacrificing damage for a more generous horizontal hitbox and a low-profile attack animation.
Smashes
| Move | Damage | Note |
|---|---|---|
|
20 |
Launches away. |
|
|
Up smash |
17 |
Launches up and away at slight angle, high launch power. Leg intangible. |
|
Down smash |
16 |
Launches up and away at slight angle, high launch power. |
Side Smash
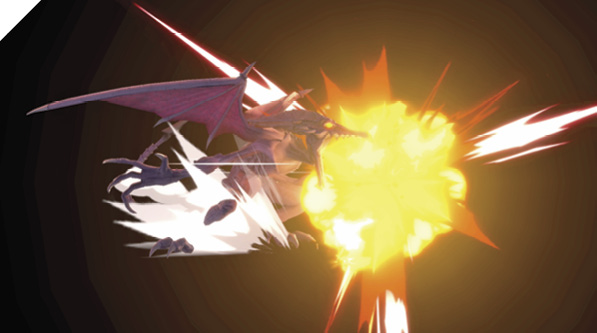
Ridley exhales a powerful burst of flame from his maw, blasting away foes before him. Like most smash attacks, this side smash has a lengthy start-up time, but rewards successful hits with incredible knockback and damage. Since it’s a breath-type projectile, it can absorb a single opposing projectile. It’s also moderately safe (aside from the slow start-up), as Ridley doesn’t extend a vulnerable limb during the attack.
Up Smash
Ridley performs a front-somersault kick, covering a crescent-shaped angle above him. Up smash isn’t nearly as useful as up tilt in most situations, but it deals much more damage and boasts a large area of effect for its hitbox, along with an intangible limb (only Ridley’s extended attacking leg is intangible). If you can catch opponents off-guard (if they’re standing on a platform or ledge above you), up smash can be an effective surprise attack. But its speed and attack are lackluster when compared to your amazing up tilt and neutral air attacks.
Down Smash
Ridley pounds the ground and sends out a small shockwave, knocking away nearby foes. This is a clear-out attack, particularly useful in free-for-all skirmishes where you’re surrounded by multiple enemies. In one-on-one scenarios, it can be a liability because of its slow start-up and considerable lag, but it offers a slight range advantage over side smash, so in certain scenarios, it can be used to KO high-damage foes, especially if you can condition them to fear your grabs and grab specials.
Ridley’s down smash is also deceptively difficult to beat out directly since he’s in such a low-profile state as he slams the ground, although after the ground pound, he’s extremely vulnerable.
Grabs
| Move | Damage | Note |
|---|---|---|
|
1.6 |
— |
|
|
Front throw |
9 |
Forward throw. |
|
Back throw |
11 |
Backward throw. |
|
Up throw |
12 |
Launches directly above, high launch power. |
|
Down throw |
7 |
Launches up and away at slight angle for potential follow-up. |
Grabs
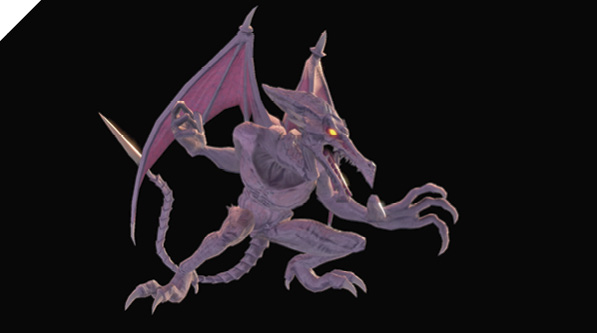
As a heavyweight brawler, Ridley’s grounded normal grab starts up relatively slowly, but with considerable reach. Ridley’s grab attack is a quick tail stab. His up throw puts the foe in a comboable air state where you can potentially follow up with extra juggle damage. His forward and back throws are almost identical, except back throw deals a bit more damage.
His down throw is where the meat is, allowing for guaranteed combo follow-ups depending on the enemy’s damage value. Against heavyweights at around 30% damage, you can down throw into immediate up smash for high burst damage, then follow up with potential juggle combos or 50/50 bait mix-ups. Against all other fighters (up to about 70% damage), you can almost always follow down throw with jump forward air for decent guaranteed combo damage, as long as you adjust your jump strength accordingly.
A majority of your ground game should be grab-focused. When you’re not harassing foes with plasma balls and neutral air attacks, you should be going for dashing grab attempts. Although Ridley has a decent unshieldable grab special in Space Pirate Rush, there’s a relatively high amount of risk and lag involved, much more so than when going for normal grabs.
Aerial Attacks
Aerials
| Move | Damage | Note |
|---|---|---|
|
12 |
Knocks up and away. Deals more damage with tip of tail spike. |
|
|
Forward air attack |
5, 5, 7 |
First two hits drag. Third hit knocks away. Deals more damage with tip of tail spike. |
|
Back air attack |
15 |
Knocks away. |
|
Up air attack |
12 |
Launches directly above. |
|
Down air attack |
14 |
Causes meteor smash on early hit. |
Neutral Air Attack
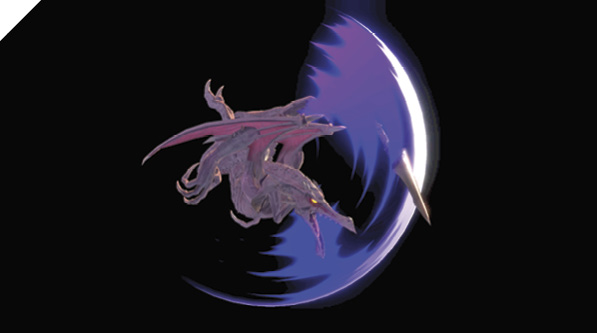
Ridley performs a full somersault backflip in the air, knocking away enemies within proximity. Neutral air attack is one of your best attacks; it boasts excellent angle coverage, low enough lag to perform twice in one jump, and a decent start-up speed. It’s highly effective as a fast fall attack. At the peak of a jump, input neutral air attack, then immediately input down to fast-fall. Your neutral air attack persists enough to behave as a sort of somersault dive-bomb attack (with a huge rotating hit effect), nailing anyone below you.
A strong base game plan for Ridley should revolve around the threat of your neutral air attack. From there, mix up your neutral air attack attacks with Space Pirate Rush, Plasma Breath, and normal ground grabs.
Forward Air Attack
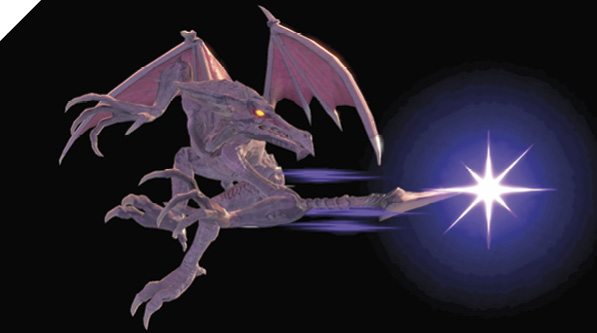
Ridley quickly executes a triple tail-stab combo in front of him, blasting the victim to long range. Forward air attack is a relatively fast attack, but limited in its attack area coverage, only stabbing the small area in front. Its damage slightly varies depending on how initial tail strikes connect, but ultimately, the difference is negligible.
This attack’s main strength is as a quick deterrent attack, especially when used with short hops. For instance, if an enemy is fast approaching you, you can go for forward+Jump+Attack to perform a quick, low jumping forward air with decent persistence (since it hits three times). Just don’t be too predictable with this attack, as it’s relatively easy to punish when shielded.
Back Air Attack
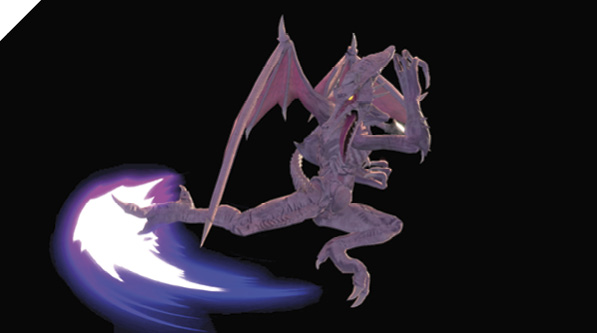
Ridley performs an aerial backswing kick, dealing heavy damage and blasting away foes behind him. This high-damage air-to-air attack is largely conventional, with middle-of-the-road properties. It has a linear, horizontal hit effect, with few active frames.
While you most likely won’t go out of your way to use back air attack, it deals the most damage out of all your air attacks, and it does its job sufficiently as a solid air-to-air.
Up Air Attack
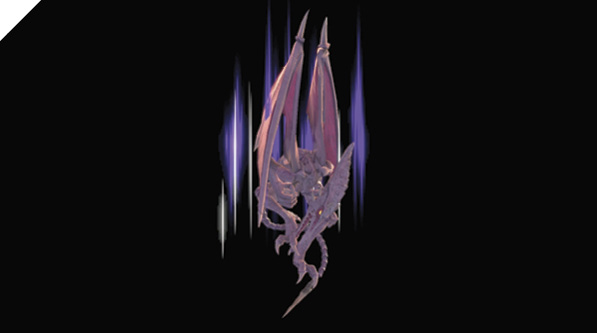
Ridley thrusts his wings into the air, popping up foes above him. Up air attack is a standard air-thrust attack that covers all the conventional roles. It sets up combos when connected deep (against low-altitude or grounded enemies) and functions as a solid air-to-air anti-air, popping up foes and setting them up for extra combo damage and 50/50 juggle setups. A standard, simple combo to go for: off of a low-altitude up air (around 30% damage), follow up with jump forward air attack. It’s possible to combo a second forward air, but extremely difficult in its timing.
Down Air Attack
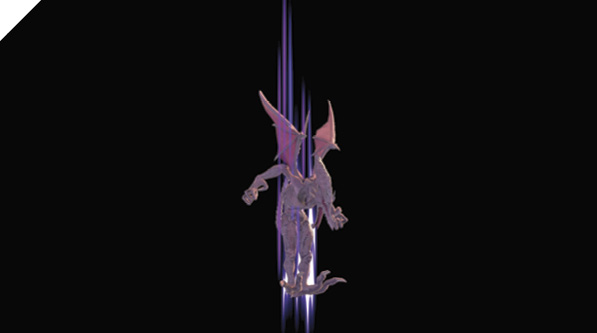
Ridley quickly descends from any altitude with a double-talon foot stomp, obliterating enemies below him. Down air attack is a dive-kick-type attack, with a persistent hit effect from any altitude, lasting until Ridley hits the ground. It offers combo opportunities, but only when hit at specific angles. If you can aim it to hit around just the front of a foe’s head, you can pop the enemy up, close enough to follow up with a neutral attack jab combo (with standard-sizes enemies at 35-45% damage).
At other angles, down air sends opponents flying away. While Ridley’s dive kick can be a strong surprise attack, it’s punishable when shielded. It has a high amount of landing lag as Ridley sticks his landing, so try not to be too predictable with this move, especially in one-on-one fights.
Special Moves
Special Moves
| Move | Damage | Note |
|---|---|---|
|
Neutral special |
5.7 (4.4 midrange falloff) |
Charging increases projectile count. Ridley extends vulnerable mouth hurtbox while charging, taking more damage at higher charge (up to 24%). |
|
Side special |
4, 2xN, 7 |
Unshieldable grab attack. Can cancel drag into throw follow-up. Like grab, opponent can shake out of drag. |
|
Up special |
18 (up), 16 (side), 15 (down) |
Change flight path using control stick during start-up. Up/side version, head area intangible. |
|
Down special |
40 |
Follow up with neutral jab attack combo. Deals more damage with tip. |
Neutral Special: Plasma Breath
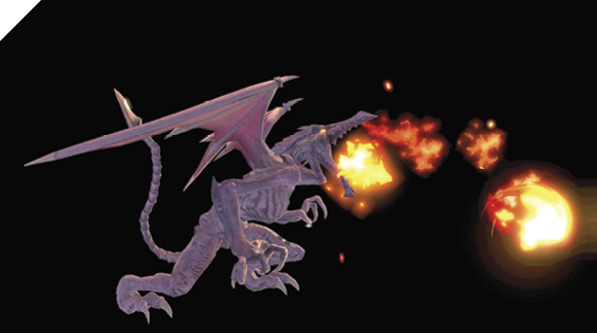
Ridley spits out up to five bouncing plasma balls. The longer he readies the attack, the more plasma balls he spits. While this is an exceptionally powerful projectile attack, it has a glaring weakness: while Ridley is charging up, his mouth area becomes a weak point (the longer he charges, the larger his weak point becomes). If he’s struck in the mouth while charging Plasma Breath, his mouth explodes and he takes massive damage.
Extreme caution should be used before committing to throwing out Plasma Breath. Be wary of your surroundings, especially in free-for-all matches. Make sure you have enough space to charge this attack. Otherwise, this move should be used sparingly, particularly against aggressive high-speed fighters like Zero Suit Samus.
Side Special: Space Pirate Rush
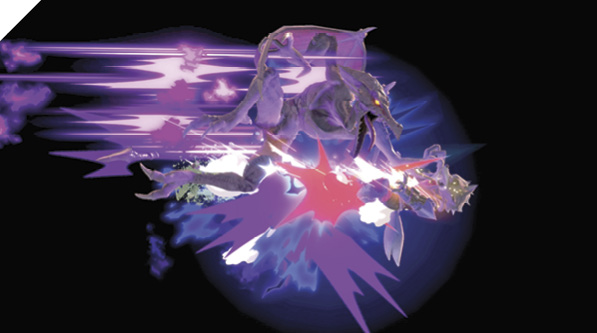
Ridley smashes the opponent into the ground and then drags them along the floor until they escape or Ridley decides to toss them into the air. Space Pirate Rush is a unique special move with distinct mechanics. The floor-drag duration and damage of Space Pirate Rush directly correlate with how much more damage the opponent has taken in comparison to Ridley. This difference also determines how difficult it is for the opponent to shake out of the grab. For instance, Ridley at 0% dragging a 200% foe almost always KOs, while at the same time being extremely difficult to mash out of. At the other end of the spectrum, if Ridley is at 200% and he grabs a foe at 10% with his Space Pirate Rush, it will almost certainly be ineffective, as they easily escape his clutches.
You can prematurely end the drag portion of Space Pirate Rush by inputting up on the control stick or pressing any button, throwing the enemy up into the air. Otherwise, once Ridley reaches a ledge during the drag, he automatically transitions into the throw.
Air Space Pirate Rush can be used defensively in certain situations. As an air move, it can provide an extra horizontal burst of movement to keep you airborne. For instance, if you get flung off over a ledge, you can save your Wing Blitz and instead use Space Pirate Rush to stay airborne, use your wing-flap triple jumps to gain extra altitude, then use Wing Blitz to traverse the air to where you want to land.
Up Special: Wing Blitz
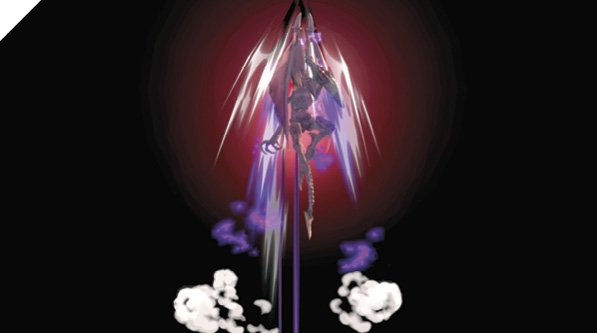
Ridley musters energy and then boosts into the air with force. Wing Blitz is a versatile air-traversal tool that allows you to select one of four directions to charge in. It can be used for everything: to attack enemies from below with a launching skyward wing attack (hold up input upon start-up), as a dive kick (hold down input upon start-up), as an aggressive horizontal down-angled charge attack (hold forward input upon start-up), or as an up-angled rear attack (hold back input upon start-up).
For the up and side variants of Wing Blitz, Ridley’s head area is intangible during its active attack window. For his talon-dive down variant, Ridley’s landing causes a small area-of-effect damage hitbox that can deal 5 damage.
Down Special: Skewer
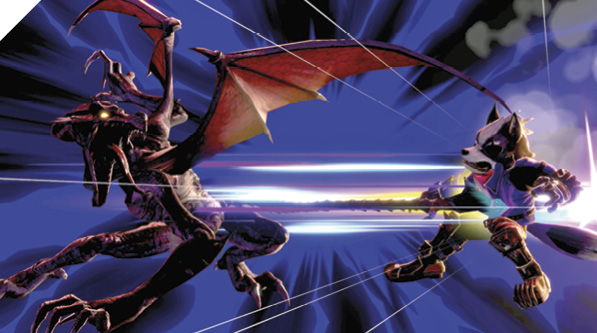
After a brief charge-up, Ridley stabs his sharp tail forward. If the pointy end of his tail finds its mark, he deals a critical amount of damage and debilitates his victim. Skewer causes crumple stun for a potential jab follow-up on critical tail-end hit, but is relatively difficult to hit against agile enemies. Non-critical hits deal only 5 damage (if you hit with the inner part of Ridley’s tail), so you should almost always aim to hit with the pointy end if you’re going for this high-damage, high-risk attack. This attack should be reserved for punishing laggy moves, not routinely used as a poking tool.
Final Smash: Plasma Scream
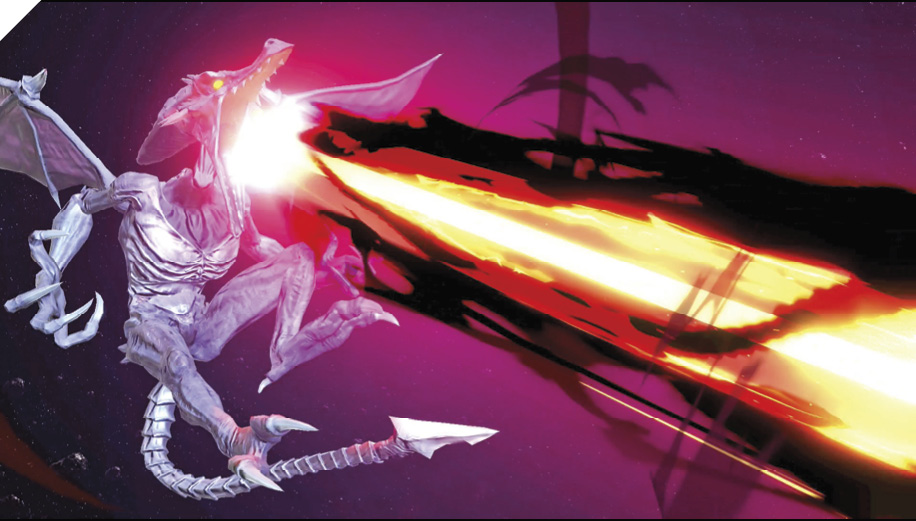
Ridley flies forward horizontally, tackles anyone in his way, and hurls them onto Samus’s Gunship. He then fires a devastating ray that can hit up to two opponents. Enemies with at least 100% damage are instantly KO’d.