
Super Smash Bros. Ultimate Guide Roy / Chrom
Brawler Arsenal
Grounded Attacks
Neutral Attacks
Neutral Attacks: Roy
| Move | Damage | Note |
|---|---|---|
|
Neutral attack |
7.5 |
Knocks up and away with potential for follow-up attacks. Deals more damage at point-blank range. |
Neutral Attacks: Chrom
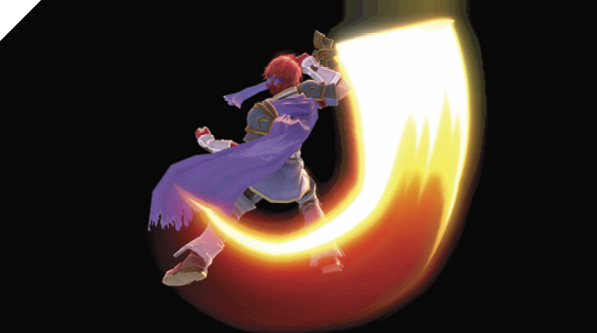
Roy issues a fast upward slash with his sword extended, clearing out foes standing in front of him. The active window starts quickly, making it relatively fast considering its generous hitbox.
Like most jab attacks, this is your fastest strike. Though it doesn’t have a follow-up attack, nor can it be chain-canceled into additional attacks, it boasts an impressive hitbox and arc that cover almost the entire block of space in front of you.
It’s an incredibly powerful counterattack option since it can punish most moves. On hit against low-damage foes, you can usually follow up with a side tilt combo. Against higher-damage enemies, you can forward short-hop into immediate forward air.
Dash Attack: Roy
| Move | Damage | Note |
|---|---|---|
|
13 |
Dash Attack: Chrom
| Move | Damage | Note |
|---|---|---|
|
12 |
Launches up and away. |
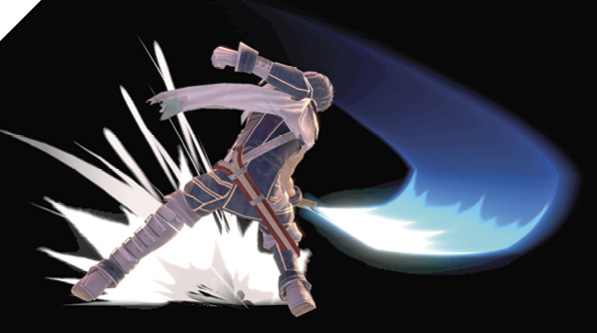
Roy runs at the enemy and then slashes at their shins with a powerful launching attack, sending the enemy up and away. Given Roy’s quick dashing speed, you can punish most whiffed attacks with this from midrange. While it’s on the slower end in terms of start-up speed, it deals a high amount of damage. The inner hitbox packs much more launching power, while the tip of the attack has a much lower knockback power.
Defensive Attacks
Tilts: Roy
| Move | Damage | Note |
|---|---|---|
|
Side tilt |
12.5 |
|
|
Up tilt |
12 |
Inner hitbox launches directly above for potential follow-up attack. Outer edge knocks back slightly. |
|
Down tilt |
11 |
Tilts: Chrom
| Move | Damage | Note |
|---|---|---|
|
Side tilt |
10.9 |
Knocks back. |
|
Up tilt |
10.4 |
Launches directly above. |
|
Down tilt |
9 |
Knocks back. |
Side Tilt
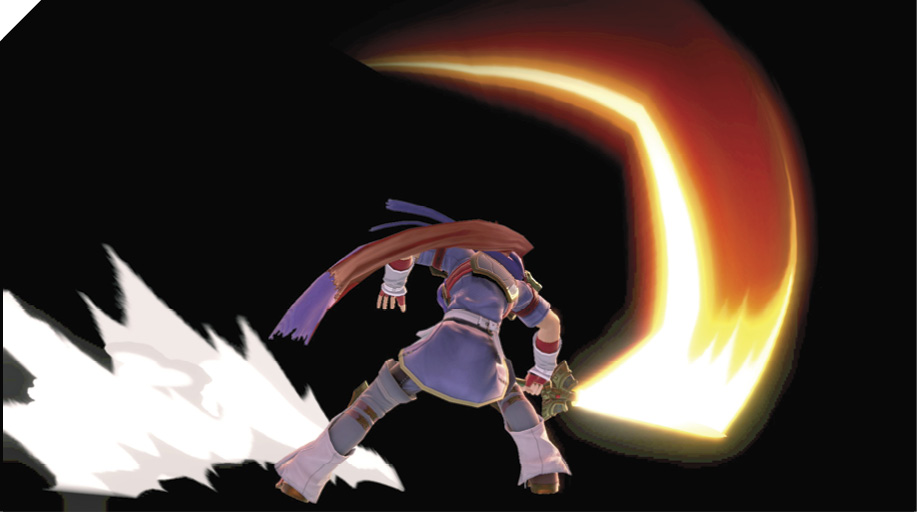
Roy steps forward and performs a speedy downward slash, slicing enemies near his head and knocking away enemies in front. This lightning-fast side tilt attack has effective early hitboxes near his midsection and slightly above his head, making it an excellent anti-air and point-blank hybrid attack. Note that Roy lunges forward a bit, making it more likely to hit in its sweet spot, dealing more damage.
Up Tilt
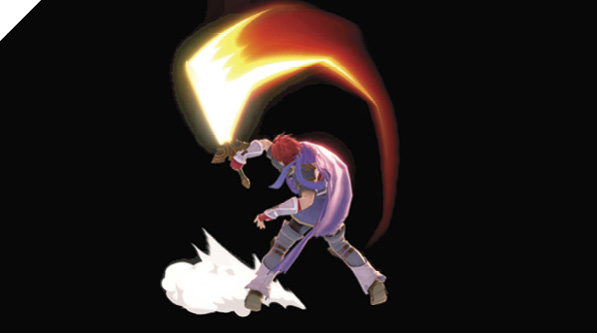
Roy quickly swings his sword in a broad arc above him, starting with a frontal upper slash and ending the slash behind him. This incredible attack is amazing all around. It’s quick to start, covers an extraordinary area including the rear, and has an extended vertical hitbox. This anti-air is your staple in combos and juggle 50/50 setups. It’s also usable as a ground-to-ground attack in some cases since its initial hitbox starts up quickly in front, with potential for hitting foes coming up from behind.
While it usually doesn’t start combos, its vertical launching effect is strong enough for you to mount your anti-air juggle-trap game.
Down Tilt
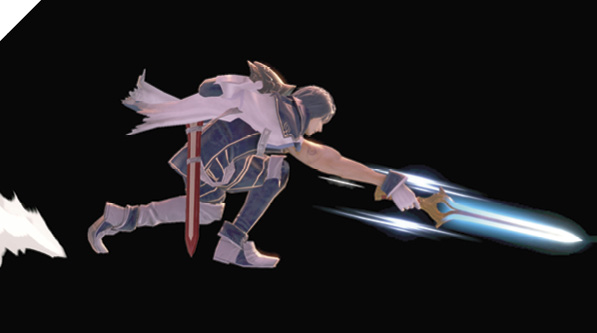
Roy crouches low to the ground and quickly thrusts his sword at the opponent’s legs, potentially knocking them off their feet. This is a low-profile attack with excellent speed. It’s fast with limited lag, making it difficult to punish. Against higher-damage foes, it can knock them into a tech get-up situation, allowing you to go for potential follow-up offensive pressure (or if they perform a tech get-up, you can punish its vulnerable period).
It’s also an excellent attack against ledge-hanging foes. Bait them with this move, then punish their ledge-recovery option accordingly.
Smashes: Roy
| Move | Damage | Note |
|---|---|---|
|
20 |
Deals more damage within point-blank range, with high knockback power. |
|
|
Up smash |
1, 2x3, 10 |
Arm intangible. Launches directly above. |
|
Down smash |
15, 17.1 |
Clear-out attack, front, then rear. Deals more damage point-blank, with high knockback power. |
Smashes: Chrom
| Move | Damage | Note |
|---|---|---|
|
18 |
Launches away. |
|
|
Up smash |
1, 2x3, 10 |
Launches directly above. |
|
Down smash |
12.4, 14.2 |
Launches away. |
Side Smash
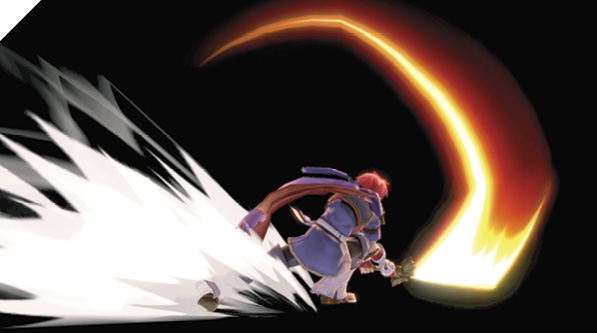
Roy delivers a forceful overhead swing, smashing down his sword on foes in front of him and blasting them away. While it’s fairly fast for a smash attack, dealing optimal sweet-spot damage can be difficult since it requires being within point-blank range. However, hitting at the midpoint inflicts considerable damage (17 instead of the sour spot’s 12). As long as you aren’t hitting with the sour spot, it’s generally worth going for side smash if you need to rack up damage or knock an enemy out into a blast zone.
Up Smash
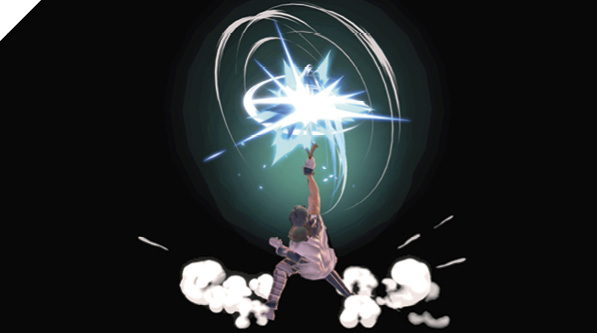
Roy charges up his blade and thrusts it straight into the sky, causing a series of blasts nearby that devastates foes caught in it. This multi-hit smash is incredibly laggy, with a relatively slow start-up, but deals a massive amount of damage if all of its hits connect. It should be mainly used as a finisher attack, or as a heavy punish to a huge whiffed attack. Otherwise, it could cost you some health if used as a poke, as it’s easy to react to and punish if it’s whiffed or shielded.
Roy’s arm is intangible during the attack, allowing you to beat out most incoming air attacks.
Down Smash
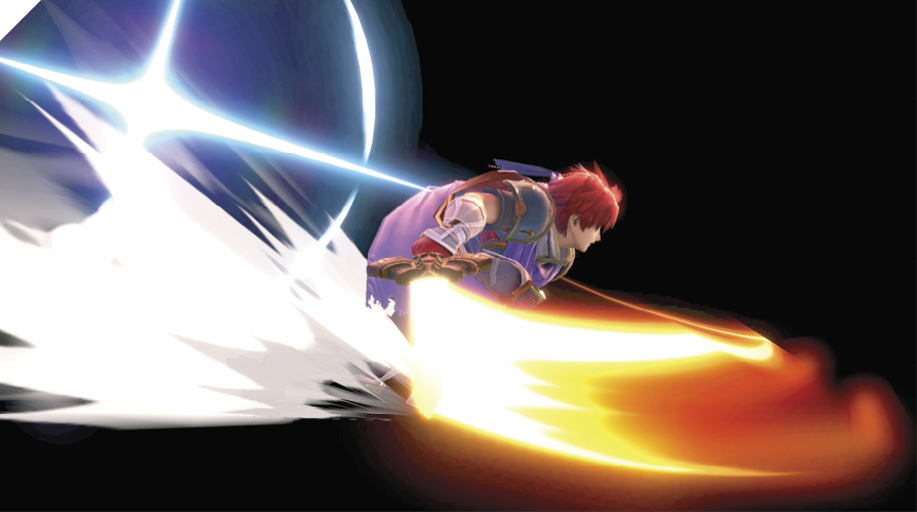
Roy uses his sword to sweep his front and his rear, clearing out foes from both sides. Roy’s sweep attack leaves him highly vulnerable and should be used sparingly. Its start-up time is decent but still extremely unsafe, especially against wary opponents.
Grabs
| Move | Damage | Note |
|---|---|---|
|
1.3 |
— |
|
|
Front throw |
5 |
Forward throw. |
|
Back throw |
5 |
Backward throw, low knockback. |
|
Up throw |
6 |
Launches up and slightly behind. |
|
Down throw |
5 |
Launches up for potential follow-up attack. |
Grabs
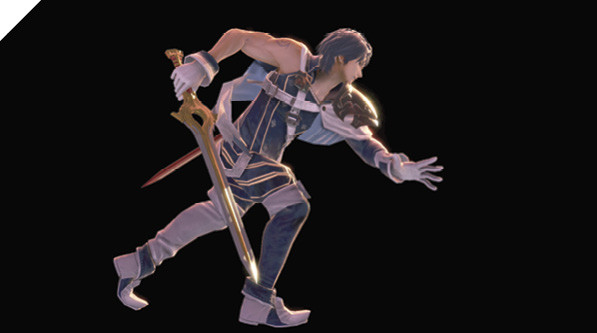
Roy’s grab is somewhere between heavyweight and midweight speed, not quite slow, and has a relatively limited range. Roy’s grab attack is a knee bash to the midsection. His up throw is a simple vertical toss that sets up follow-up combo potential. Forward throw is a shoulder check that knocks his victim away into a possible tech and combo situation, while back throw is a quick leg trip.
Down throw is a ground spike that pops the enemy up, providing enough tumbling hitstun for a combo follow-up in most situations (particularly against heavy and fast-falling fighters). Against low-damage foes, you can down throw into a jump neutral air attack or a short hop forward air attack.
Since Roy’s game plan leans more toward the aggressive side relative to the other Fire Emblem fighters, you’ll have more chances to go for grabs (since you want to be within sweet-spot attack range anyway). And as opponents may lean toward shuffling down to avoid your combos, you’ll gain offensive opportunities by quickly dashing in and applying more pressure. While his grab range isn’t particularly impressive (nor is its start speed), Roy can close ground distance quickly thanks to his fast dash.
Aerial Attacks
Aerials: Roy
| Move | Damage | Note |
|---|---|---|
|
6, 8.5 |
First hit causes fixed pop-up for potential deep jump-in combos. Second hit launches away. Deals more damage with inner hitbox. |
|
|
Forward air attack |
11 |
Launches away. Deals more damage with inner hitboxes. |
|
Back air attack |
12 |
Deals more damage with inner hitboxes and launches away. Changes facing direction. |
|
Up air attack |
9 |
Deals more damage with inner hitboxes. Sweet-spot hitbox launches foe up and slightly away. |
|
Down air attack |
15 |
Aerials: Chrom
| Move | Damage | Note |
|---|---|---|
|
4.8 |
First hit causes fixed pop-up for potential deep jump-in combos. Second hit launches away. |
|
|
Forward air attack |
9 |
Launches away. |
|
Back air attack |
10.9 |
Launches away. Changes facing direction. |
|
Up air attack |
7.6 |
Launches foe up and slightly away for potential follow-up attack. |
|
Down air attack |
14.2 |
Neutral Air Attack
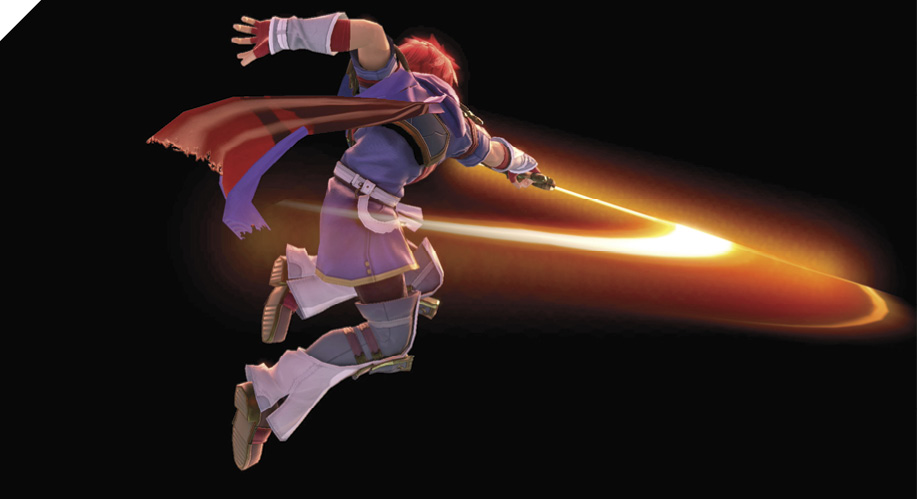
Roy jumps into the air and dispenses two successive horizontal swipes. The first swing is directed at enemies in front, while the second swing hits in front and can potentially strikes enemies coming from behind.
This aerial spacing tool is incredibly versatile. It can be used to set up juggle combos with its first hit at low altitudes, as a short hop ground deterrent, or as a fast fall strike. From the apex of a jump, input neutral air attack and then immediately cancel into fast fall for an effective attack sequence. If timed correctly, you can cover both the jump air-to-air zone and a low-altitude air-to-ground zone. However, the safest way to approach with neutral air attack is by spacing it, giving you an opportunity for a max-range jab. Alternatively, you can use your jump momentum to time your jump so that you fly through the defending opponent as you slice at them (since it forces them to turn around to attack you). Otherwise, a shielded neutral air up close can usually be punished by quick-witted opponents.
Against enemies at around 50% damage, you can combo with a deep one-hit neutral air attack by following up with Blazer and Double-Edge Dance, although the timing can be difficult to pull off.
Forward Air Attack
While airborne, Roy cuts downward in a wide arc in front of him, ending the slash near his feet.
Forward air is one of Roy’s best attacks, especially when combined with short hop. You can use it to aggressively damage enemy shields, conditioning your foes and then using the threat of your forward air attack to go for a fast fall grab attempt. You can also use it to set up a one-hit descending neutral air. Jump into a retreating forward air attack (this can be made easier by using the C-stick to input the forward air attack), then while you’re descending away from the opponent, come down with neutral air. If they run into your attack, you can link the neutral air attack juggle into a combo with up special for major damage against foes with medium-damage values (around 40-50%).
Back Air Attack
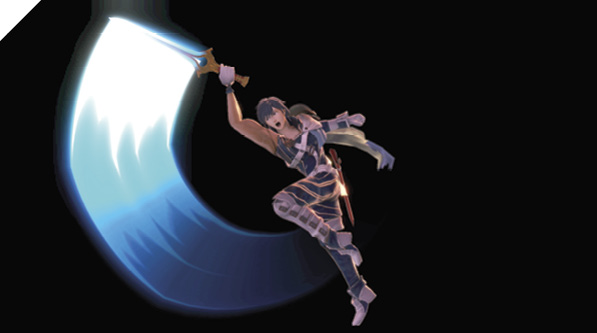
Roy turns around and delivers a quick uppercut in the air. Back air attack covers an area similar to forward air attack, but with the added effect of altering his facing direction. Back air is one of your most important tools, as it gives you freedom to turn around on command while airborne. Most fighters don’t have this luxury.
Additionally, back air attack isn’t particularly laggy, so you can easily implement this attack into your edge-guarding strategy. With your back facing the ledge, you can threaten and safely attack recovering foes by jumping off the ledge and going for a back air attack. Then, since you’re facing the enemy, you can go for neutral air attack or forward air attack to keep up the ledge pressure.
Like Marth’s back air attack, you can use Roy’s back air to switch directions from a low-altitude back jump. As long as you aren’t in attack lag, if you input back air right before Roy’s feet hit the ground, he lands facing the new direction.
Up Air Attack
Roy swipes up into the air above him, taking down airborne opponents from the sky. Up air attack is your primary air-control tool. If you can gain a juggle advantage, you can mix up your juggle combos between up air and up tilt, messing with your opponent’s air-dodge timings to bait them into your high-damage punishes.
Up air attack can also be used to start juggle combos when hit deep, similar to neutral air attack, as long as you can avoid connecting with the first part of the attack. You can combo into Blazer, forward air attack, up tilt (into mix-up 50/50), or up air attack.
Down Air Attack
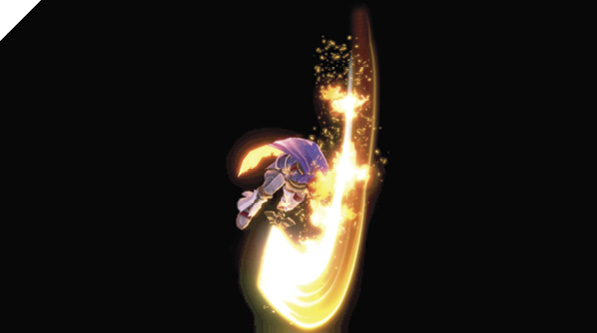
Roy unleashes a brief but mighty down swing directly below, spiking down foes hit by his blade.
Roy’s down air attack is different from Marth’s. Instead of a moon-shaped hit effect, Roy stabs directly down, dealing much more damage, but sacrificing utility. Down air is one of few lackluster air attacks in your arsenal and should be reserved for meteor smashing enemies over a pit. Otherwise, it can be difficult to hit accurately due to its limited active window and relatively small hitbox.
Special Moves
Special Moves: Roy
| Move | Damage | Note |
|---|---|---|
|
Neutral special |
8 (50 max charge, up close) |
Charging increases damage and launching power. Launches up and away. Inflicts 10% damage to Roy if charged fully. |
|
Side special |
3, 3, 4, 6, up special (second, third, fourth attack): 3, 4, 7, down special (third, fourth attack): 4, 2x4, 5 |
Possible up special attacks from steps 2-4. Possible down special attacks from steps 3-4. |
|
Up special |
5.5, 1.1x3, 8 |
Final hit launches up and away. |
|
Down special |
1.35x incoming damage |
Special Moves: Chrom
| Move | Damage | Note |
|---|---|---|
|
Neutral special |
8 (50 max charge, up close) |
Chargeable attack. Inflicts 10% damage to Chrom if charged fully. Max charge requires five seconds. |
|
Side special |
2.8, 2.8, 3.8, 5.2, up special (second, third, fourth attack): 2.8, 3.8, 6.5, down special (third, fourth attack): 3.8, 2x4, 4.3 |
Possible up special attacks from steps 2-4. Possible down special attacks from steps 3-4. |
|
Up special |
6, 1.5, 1.5, 6, 6 |
Final hit launches up and away. |
|
Down special |
1.35x incoming damage |
Neutral Special: Flare Blade
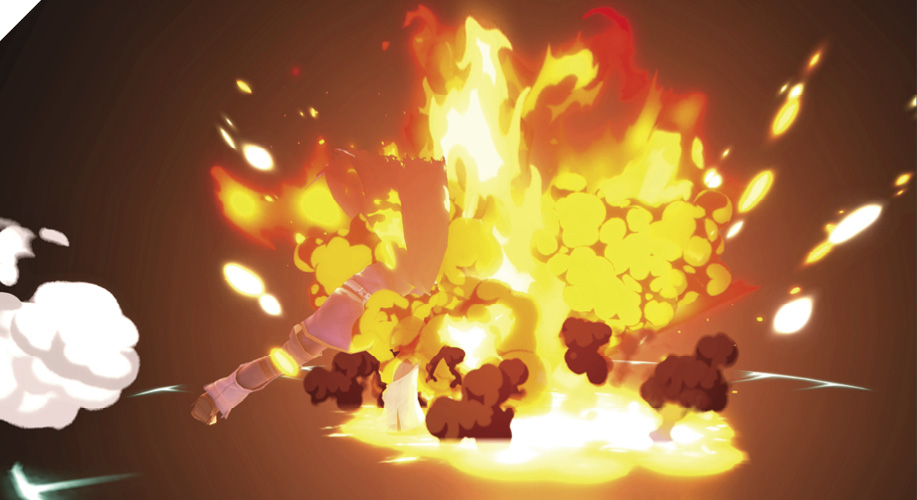
Roy’s sword erupts as he brings it down. It’s so powerful that at max charge it deals damage to Roy himself!
At first glance, Flare Blade may seem like a clunky and risky attack to use in the neutral game, but it’s quite safe on shield block thanks to low amount of lag and high amount of shield hitstun. It’s particularly useful used as a descending aerial move and as an edge-guarding attack, potentially hitting foe fingers just as they grab a ledge. If you can condition your opponents into shielding frequently, you can often earn yourself free shield damage. If you can charge Flare Blade briefly (around half a second), you can make it extra safe on shield, while dealing more damage. You can also repeatedly change the direction you’re facing while charging this move, making it even more useful.
Side Special: Double-Edge Dance
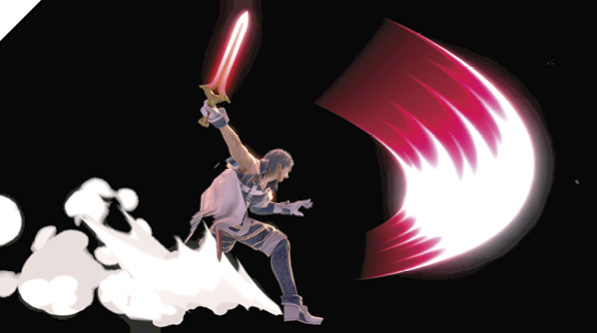
Roy executes a customizable combo in which he can switch slash types, either launching his foes, knocking them farther away, or stabbing them repeatedly for extra damage.
Roy’s Double-Edge Dance is almost identical to Marth’s Dancing Blade. The forward (or neutral) swing variation finisher is for knocking enemies off platforms. The up-swing finisher is for deliberately launching an enemy above you in order to mix them up or challenge their potential descending attacks. The down-swing finisher is for dealing the most damage and shield damage, and to set up pressure situations as the enemy is thrown into a tech opportunity.
Up Special (Roy): Blazer
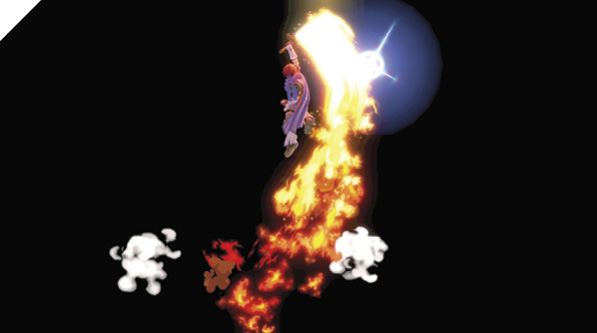
Roy wraps his sword in flame and leaps high into the sky with a jumping slash. Blazer is intangible briefly and invincible for additional hits, allowing you to blow through opposing attacks for a brief window during its start-up. If you’re being pressured while blocking, you can drop shield and use Blazer to blow through enemy attacks. If you’re beneath a platform (in the middle of a Battlefield stage, for example), Blazer becomes a bit safer, as you’ll blow through enemy attacks while landing on the middle platform above.
You can heavily alter the trajectory of both his ascent and descent. Ascent trajectory is determined by how you tilt the control stick horizontally when executing up+Special, and descent trajectory is controlled by holding left/right on the control stick.
Up Special (Chrom): Soaring Slash
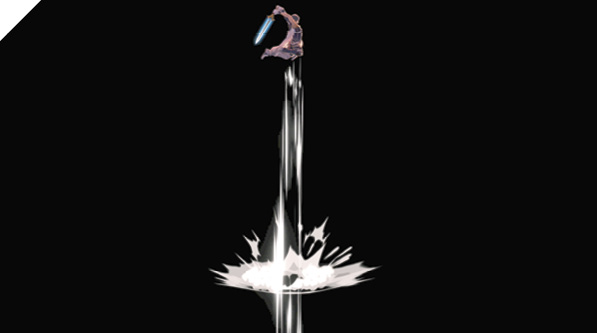
Chrom knocks his foe sky-high and pursues them into the air, following up his combo sequence with a dive-bomb sword attack, launching the opponent away.
Chrom’s Soaring Slash vastly differs from Roy’s Blazer. Since your trajectory can only be slightly influenced (i.e., you can only nudge left and right during the attack’s descent), it’s more difficult to use as a recovery mechanism. However, it deals high damage, and if you’re confident in connecting with up air and neutral air attack one-hits, you can inflict major pain with Soaring Slash follow-ups.
Down Special: Counter
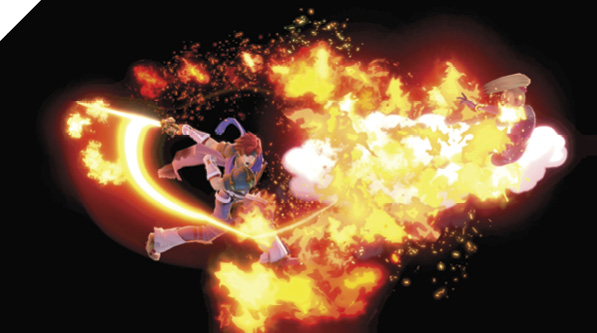
Roy briefly goes into a countering stance. As he absorbs an enemy attack, he returns the favor with an even stronger counterattack.
Counter can be used midair, including as an anti-edge-guarding attack (although extremely risky!). Counter’s damage depends on the damage of the opponent’s attack. It deals 1.35x (enemy’s attack damage).
Final Smash (Roy): Critical Hit
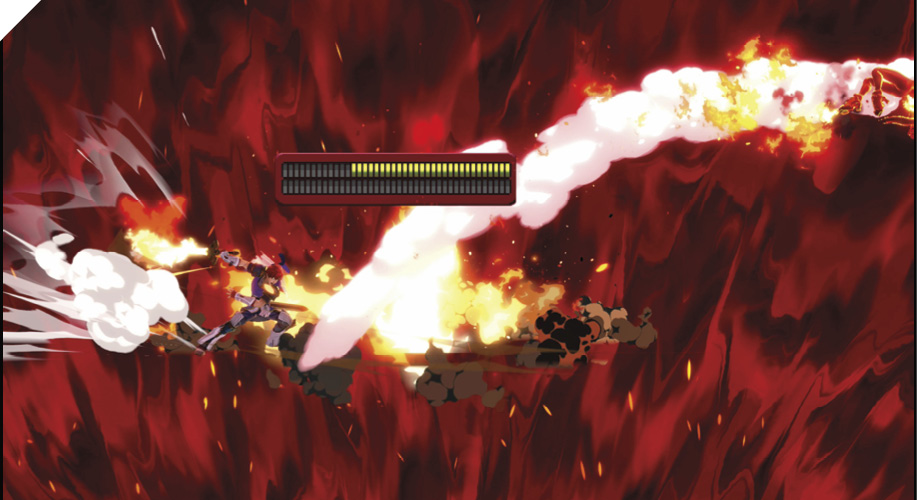
Roy swings his blade around to catch enemies, then brings the sword down to finish them off in a blast of fire. The initial swing not only hits opponents in front of Roy, but also those behind.
Final Smash (Chrom): Awakening Aether
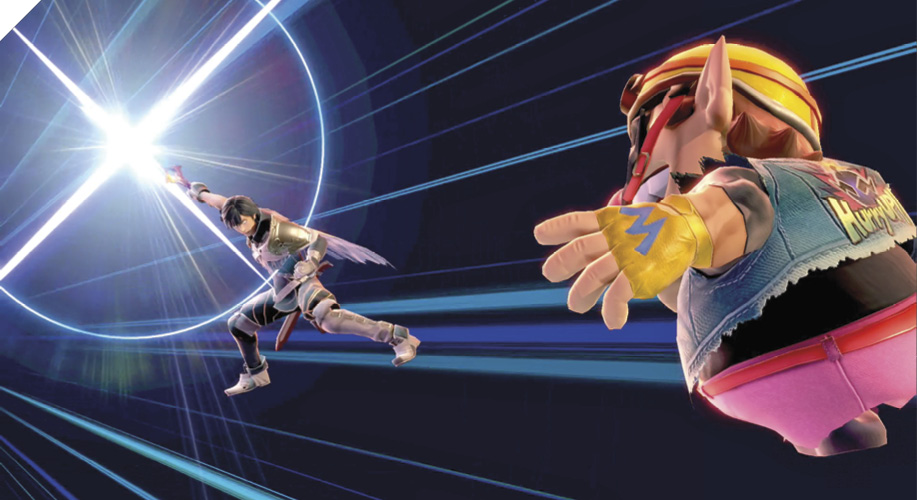
Chrom quickly charges forward, slashes upward, then swings his blade diagonally to launch opponents upward. If the first hit misses, the move doesn’t activate. If it connects, the move can hit multiple opponents.