
Super Smash Bros. Ultimate Guide Olimar
Overview
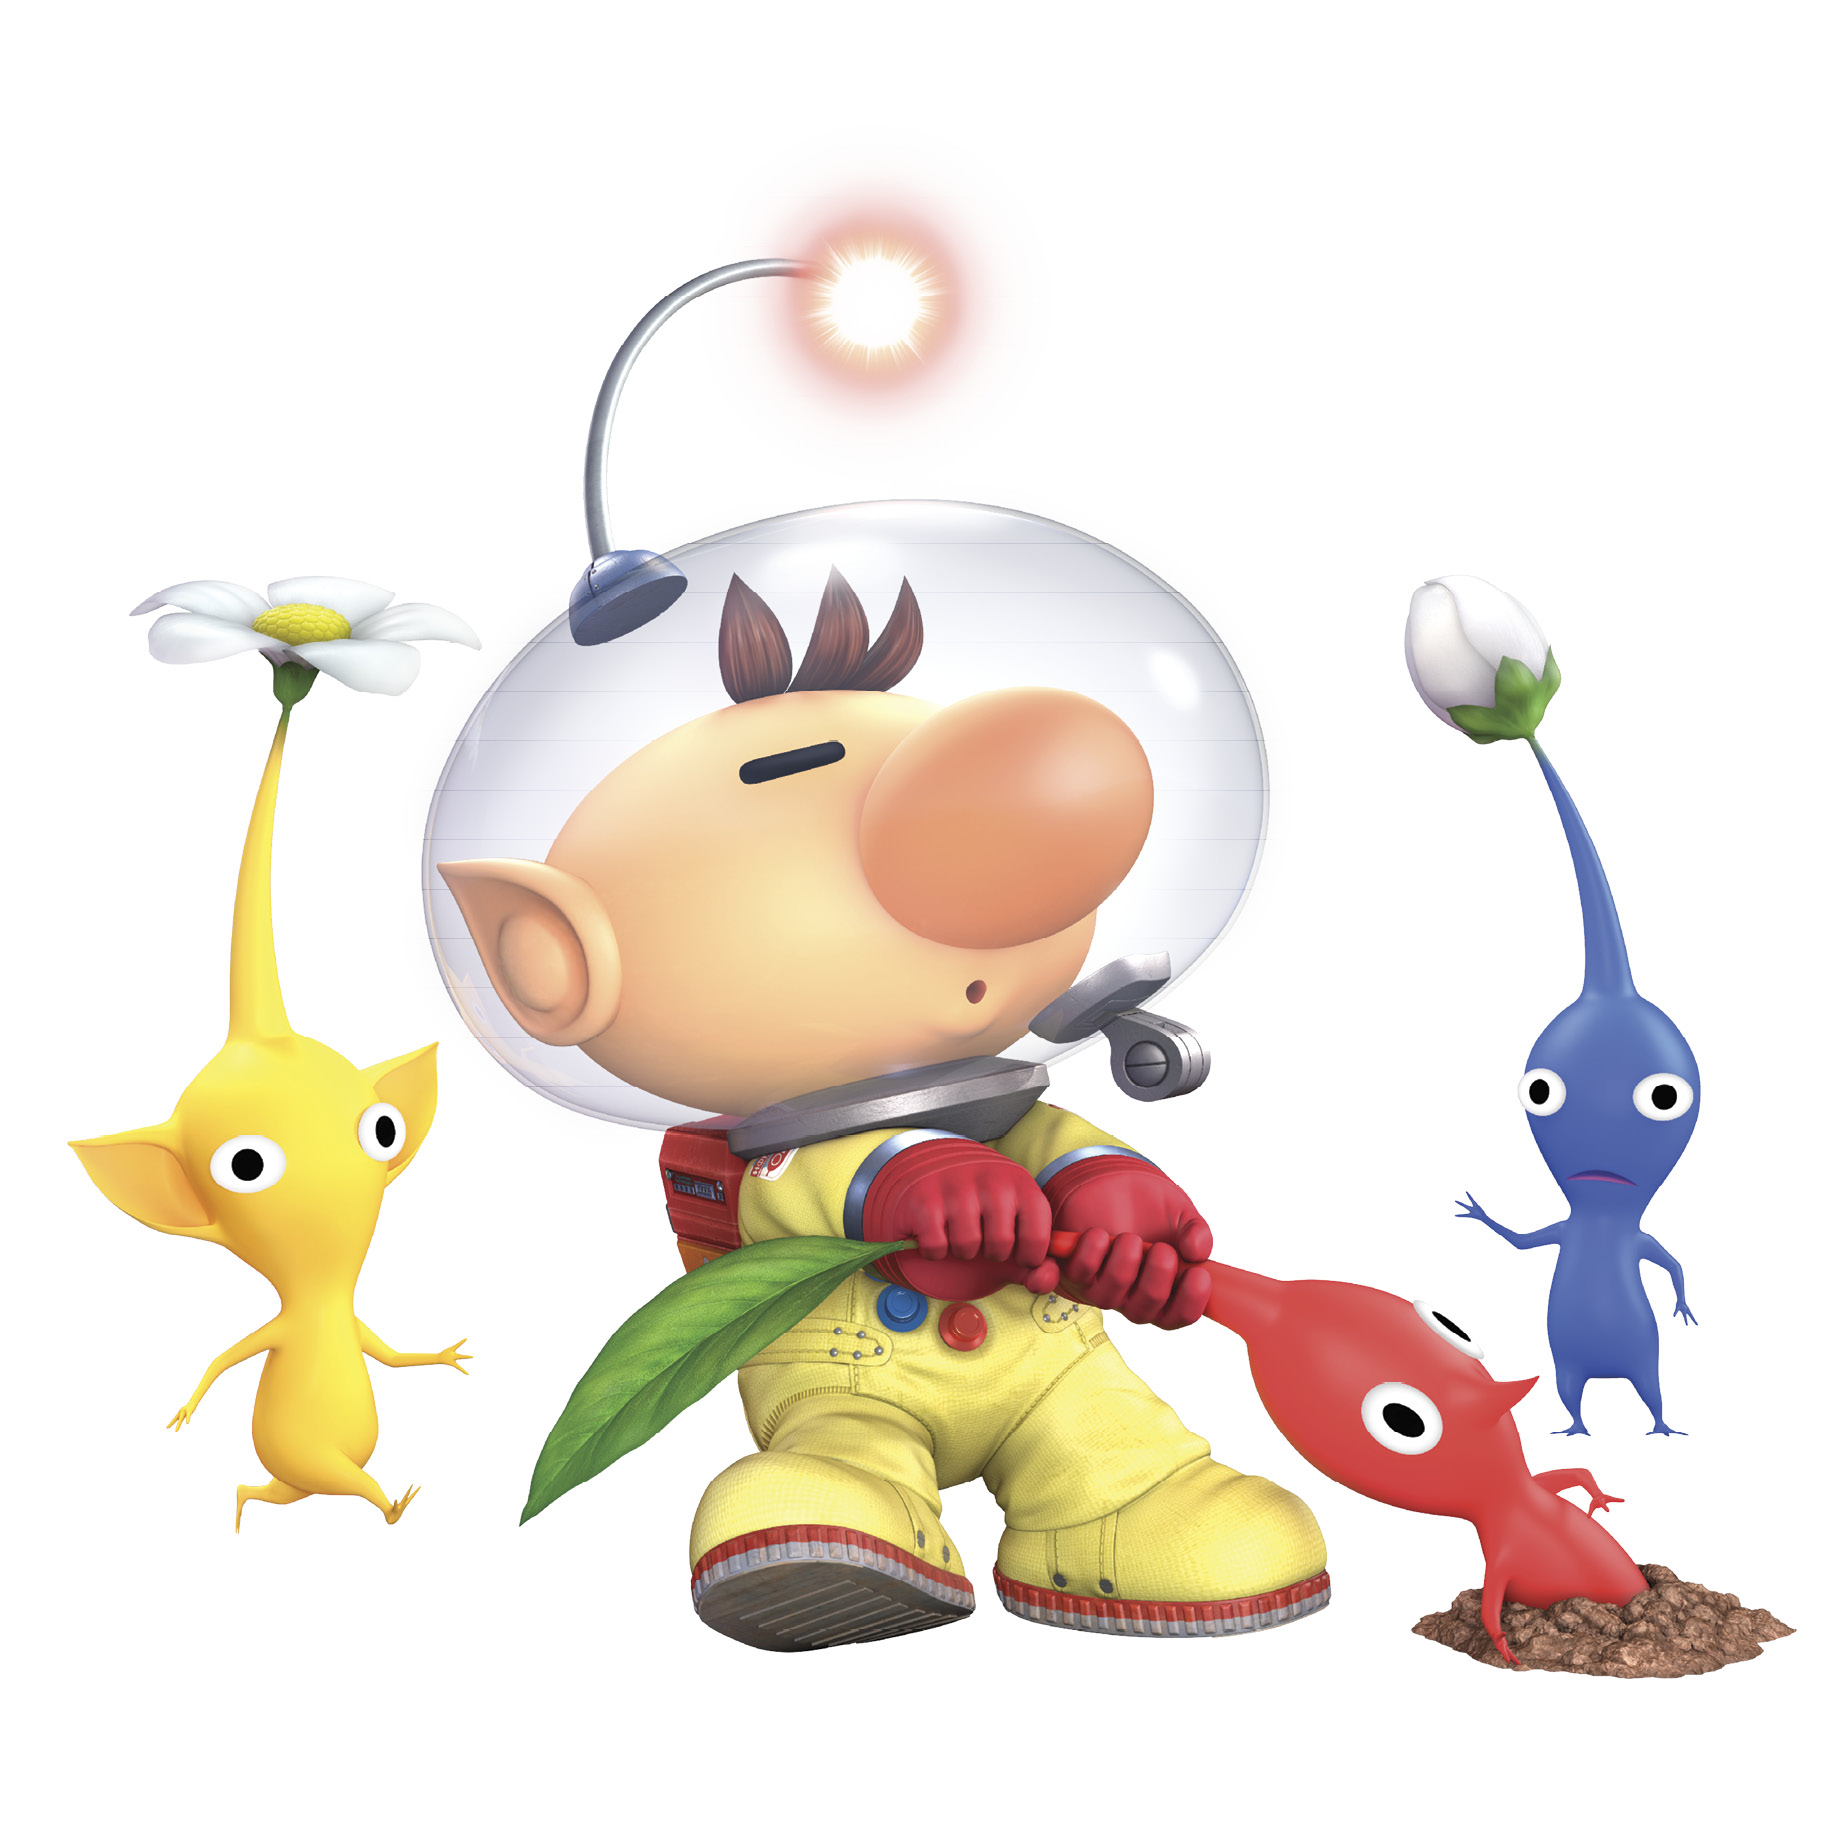
Olimar is a unique fighter, most of whose attacks are enabled by his squad of loyal Pikmin helpers. A lot of playing Olimar is about arranging and keeping track of your stock of Pikmin. Different Pikmin have different advantages and disadvantages. Depending on the stage, your opponents, and the overall situation, you may want different colors and arrangements of Pikmin.
Specials Pikmin Pluck and Pikmin Order are concerned with restocking and rearranging the little vegetable-like helpers. Pikmin Throw is the Pikmin special attack, and probably Olimar’s most important move overall. All smash attacks and grabs, and most air moves also require the presence of Pikmin.
Up to three Pikmin can be active at a time, and Olimar always starts matches and fresh stocks with the same team in the same order: red, yellow, blue. Any Pikmin attack employs the red Pikmin and rotates the line, making the new order yellow, blue, red.
If Pikmin are defeated (they’re vulnerable to enemy attacks and can fall off stages), openings are created on Olimar’s team. Pikmin Pluck produces a new helper, always in this order:
Red > Yellow > Blue > White > Purple
So the first new recruit in a given match is a white Pikmin (since every match starts with red, yellow, and blue), the next purple, the next red, and soon.
When moving around with Olimar, you must take care not to ditch all of your Pikmin at once, or you’re left without access to lots of moves (although the Winged Pikmin up special gains way more loft without the extra weight of helper Pikmin!). If you initiate a side smash or grab with no Pikmin close enough to swing, Olimar flails harmlessly. If you leave the ground by jumping or stepping off a platform without a Pikmin close by to join Olimar’s air trajectory, he loses access to all directed air moves. Stay conscious of your Pikmin mix, order, and locations.
Current Pikmin order may get mixed up out of this default, depending on how quickly different Pikmin make it back to Olimar after being dispatched on Pikmin Throw or side smash missions.
Pikmin order and location can be shuffled as desired with repeat use of Pikmin Order. The first down special recalls all Pikmin instantly, and the next down special forces them into standard order (R-Y-B-W-P!). If they’re already by Olimar’s side and in default order, Pikmin Order sends the one in front to the back of the line without performing an attack (all Pikmin attacks except down smash also shuffle the line by one; down smash sends the first two Pikmin to the back of the line!)
Inevitably, you’ll still need to fight with solo Olimar sometimes, when Pikmin are all currently KO’d or out on errands clinging to foes. Neutral attacks, all tilt attacks, and neutral air attack are possible without Pikmin assistance. These can make do in a pinch, but it’s imperative to harvest more helpers in a hurry.
Olimar Vitals
Movement Options
|
Midair jumps: |
1 |
|
No |
|
|
No |
|
|
No |
|
|
No |
Movement Ranks
|
Ground speed: |
D (48) |
|
Air speed: |
D (71) |
|
Falling speed: |
D (58-61) |
|
F+ (67-69) |
| Pikmin | HP | Plus (+) | Minus (-) | Best for |
|---|---|---|---|---|
|
Red |
6 |
Throw damage |
Smash/air moves and shield pressure, up/down throw (for follow-ups), foes weak to fire |
|
|
Yellow |
6 |
Electric attack, bigger hitboxes, higher Pikmin Throw arc |
— |
Ease of hits, Pikmin Throw, foes weak to electricity |
|
Blue |
8 |
Throw damage, can be tossed into water without dying |
— |
Pikmin durability, raw throw damage |
|
White |
5 |
Grab range, Pikmin Throw damage, longer Pikmin Throw arc, poison damage |
Strike damage, hitstun/shield-stun |
Pikmin Throw, grab attempts |
|
Purple |
11 |