
Battlefield 3 Premium Guide Multiplayer Co-Op Mission 6: The Eleventh Hour
The Eleventh Hour
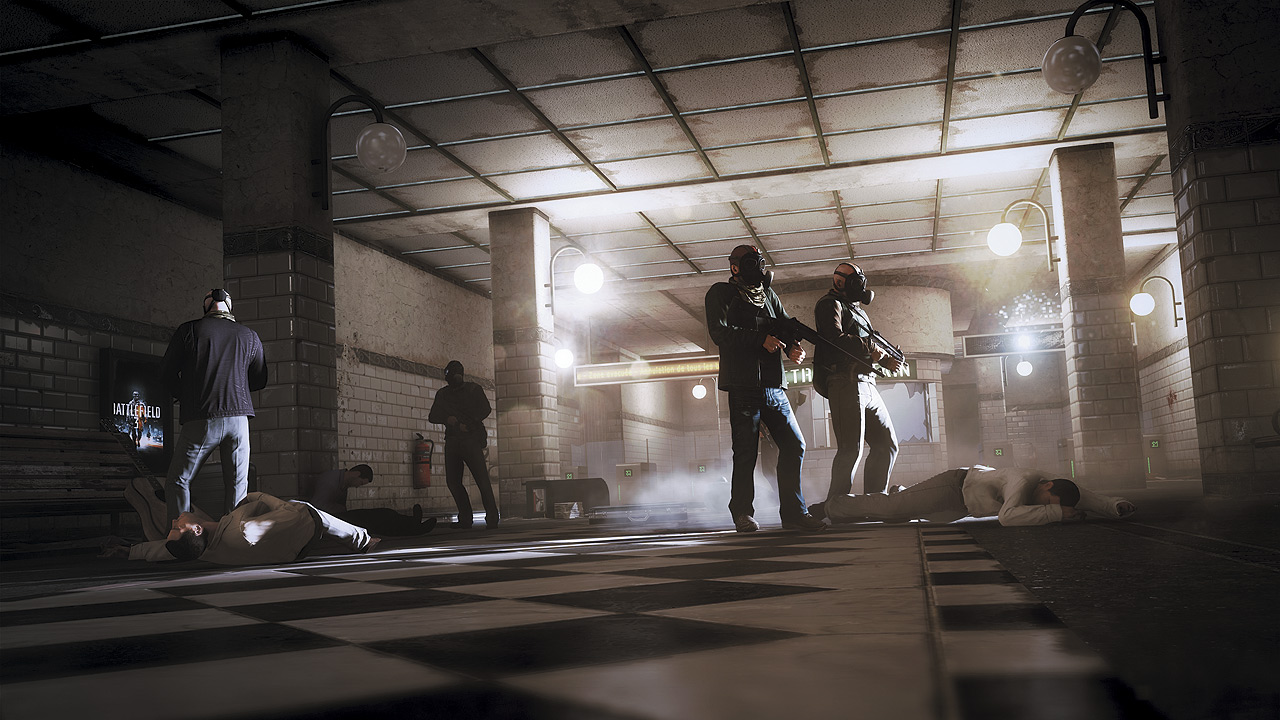
The attack has started. We’re confident this is the main attack referred to by El Zakir. Witnesses claim bomb-like devices have been left in the metro and the Paris Stock Exchange.
If Abdul Rahman is behind this attack, we expect it to be similar to the one that took place in London several years ago. You will be assisting the French police to locate and disarm the bombs and neutralize Rahman if the opportunity presents itself.
It all comes down to this, a subway shootout that could mean the difference between saving a city and the loss millions of lives. The clock is ticking, but thankfully this final mission offers one of the easier Achievements/Trophies in the game—if you’re quick about it and you play this mission first on Easy. The mission begins with the donning of gas masks and a drop into an empty elevator car...
LOCATE THE BOMB
This breezy entrance to the subway system is littered with enemies that have ample opportunities to take cover. Have either you or your buddy sprint across the room to take up a position on the opposite side to cover the maximum number of angles.
These enemies are crack shots and aren’t shy about exhausting their plentiful supply of grenades. Spread out the team to avoid bumping into them while running from a grenade, offsetting the chance that a single grenade catches both of you in its blast.
Hang back in this area, methodically taking out the enemy one at a time and assisting a downed comrade if needed before pushing up.
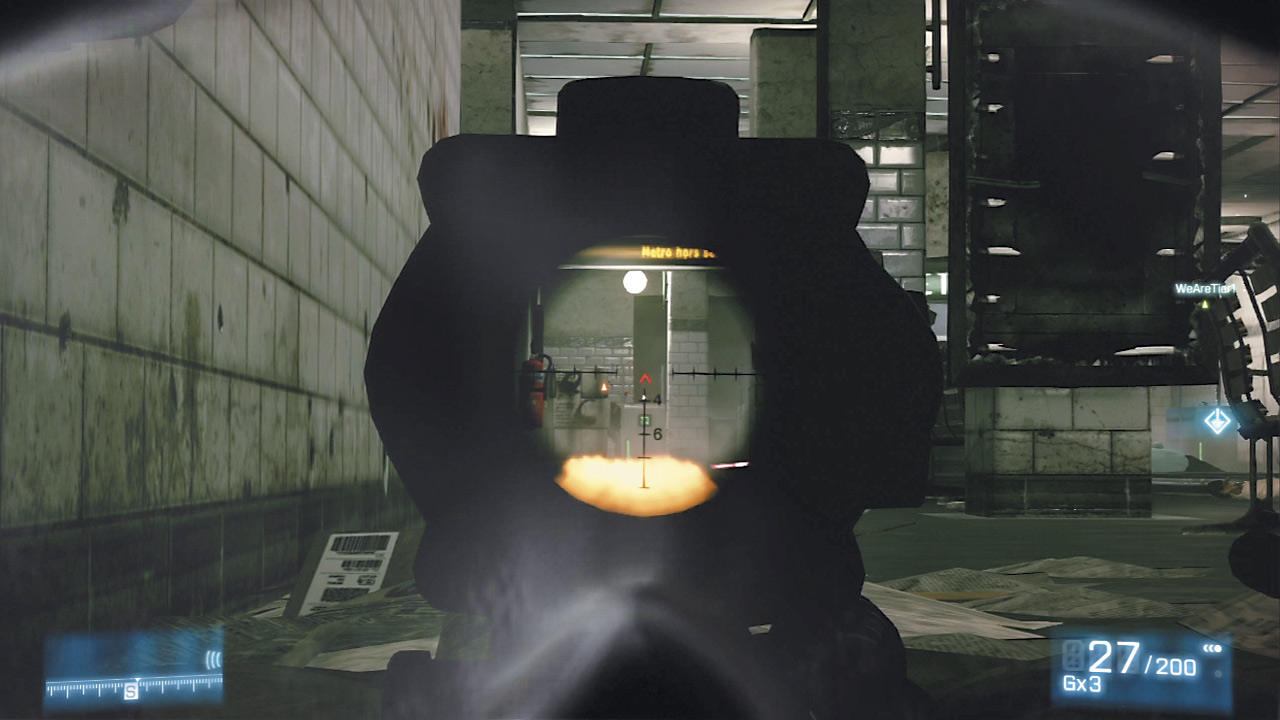
As you push forward, a few more enemies will try to stop your progress by taking up position near the turnstiles. A set of enemies to the left of the small platform above try to mount a surprise attack, but they can be quickly taken out so long as you’re prepared.
Stick to the available cover as you move up and take them out, then stop in the ticket booth to stock up at the Ammo Crate before heading down the escalators ahead.
Upon arriving near a stopped subway train, more enemies will pour out from the right up ahead, some of which will take cover in the train itself. There’s enough cover in these cars to go around, so feel free to head into the trains yourself.
Stay crouched while ducking between seats to limit exposure. The windows between cars can be fired through to take out threats, but the bulk of them will be to the right. If you opt not to hop aboard, stick to the right wall of the subway tunnel and peek out from behind the modest pieces of cover strewn about only to gun down enemies.
Take the time to recover any depleted health as needed before pushing on toward another set of escalators.
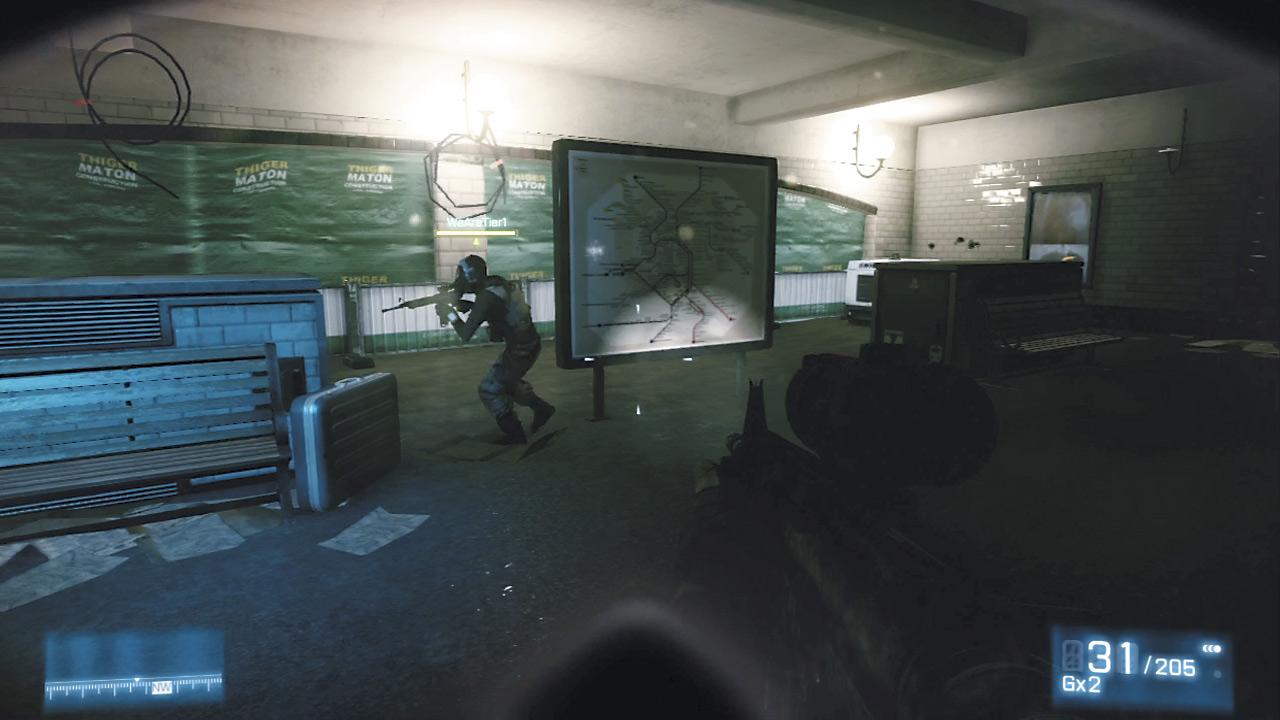
Be ready for a small ambush as you move slowly up the escalators. A set of enemies to the left of the small platform above try to mount a surprise attack, but they can be quickly taken out so long as your squad is prepared.
Head back down via the escalators ahead just as cautiously in anticipation of another firefight breaking out immediately upon reaching the bottom.
DISARM THE BOMB
[ ACHIEVEMENT | TROPHY ]
In the Nick of Time
Designate someone as bomb defuser and immediately have them sprint toward the bomb indicated by the waypoint. The bomb defuser should ignore all enemy threats and charge straight toward the bomb.
As the defuser, use the Action Button to kick off a lengthy series of Quick Time Event button presses. Be quick, but efficient with your button presses here; the sequence is long, and uses no less than six different inputs.
You only have one crack at this, so make sure those inputs count.
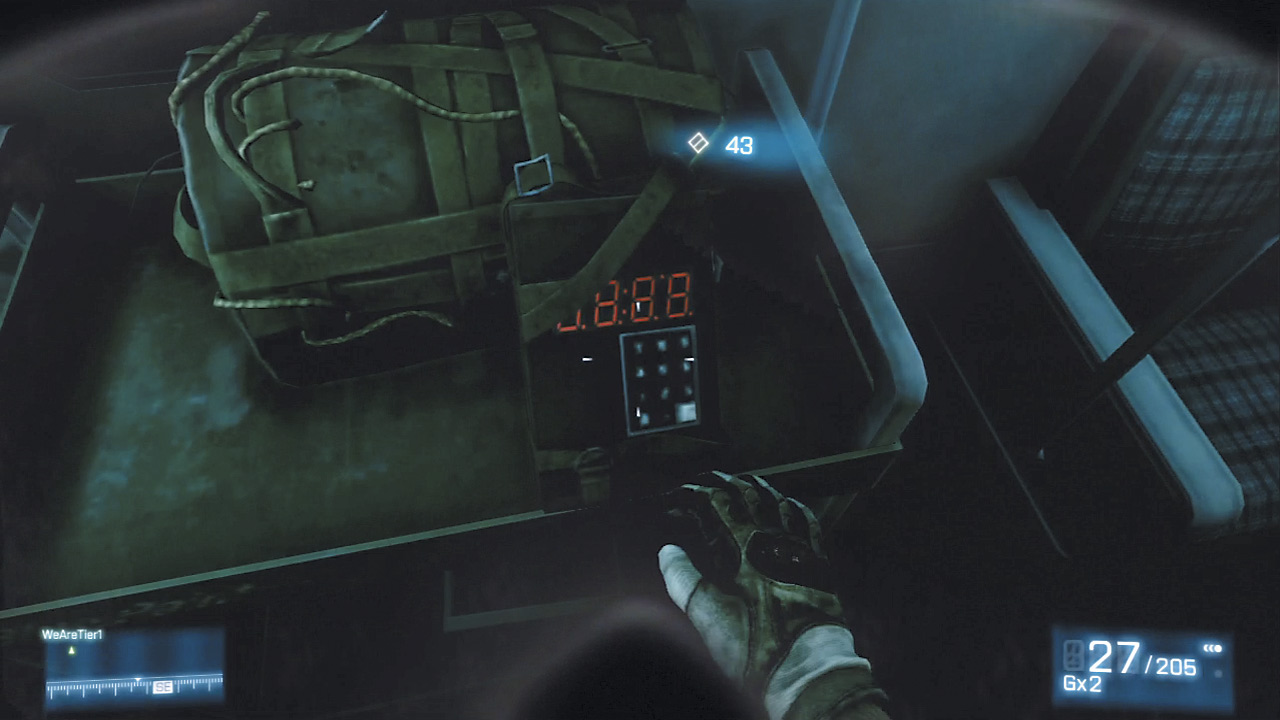
Those who opt to provide cover should apply as much forward suppression as possible. Plenty of enemies will come down the escalators across the way, so grab some cover and be efficient with your shots.
Use burst fire on the approaching targets and aim for headshots to quickly take them out before they can pose a threat to the defuser, using the nearby Ammo Create to restock if needed. When the bomb has been defused, clear out the room and press onward up the escalators.
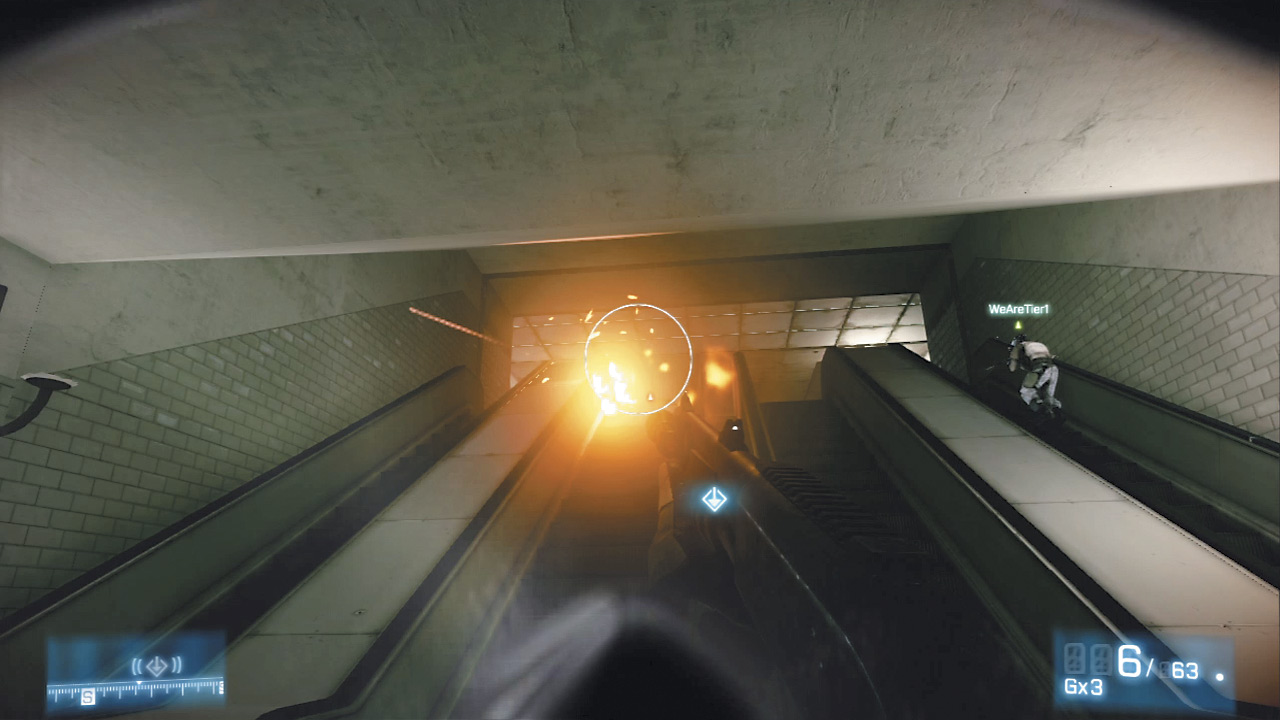
Don’t let the sucessful defusal cause you to relax your guard and sprint up the escalators blindly. There are plenty of enemies are waiting to put a stop to the next part of your mission.
Take them out methodically, backing away from the hot lead flying through the air and down the escalators if your health is running low. After thinning out the opposition, push forward and take cover behind the tiled walls of the ticket booth.
The nearby columns here can be used for cover in a pinch, but they’re susceptible to being chipped away by the abundant gunfire during the fight. Opt for a more resilient barrier to provide protection when the opportunity presents itself and the coast is clear.
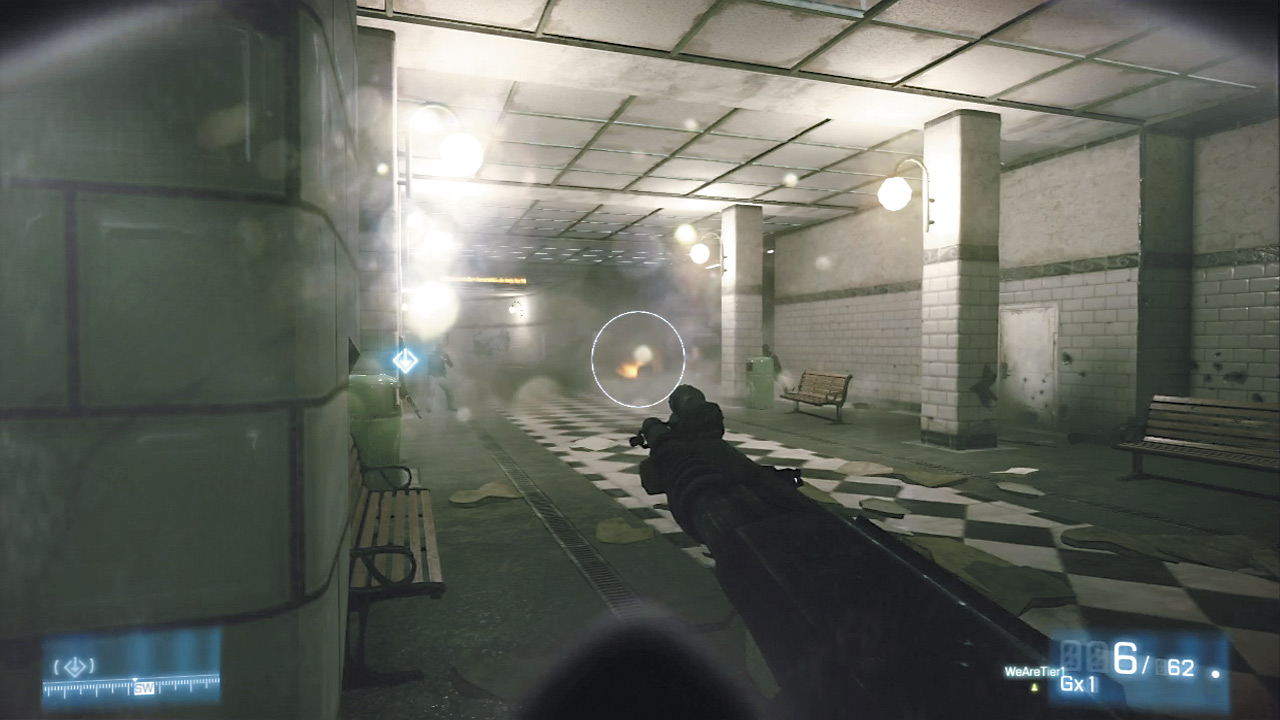
Push up when the forward enemies are cleared out. A set of smoky explosions in the distance signal more threats, and unfortunately there’s not as much cover here as before. Use the columns, pushing up slowly and watching your flanks as you do.
These columns work well enough for forward cover, but don’t forget you’re just as exposed from the sides as the enemies you’re trying to take out.
Push through the rest of the thankfully empty subway tunnels and up the stairs into the blindingly bright daylight of the streets above.
ENTER THE STOCK EXCHANGE BUILDING
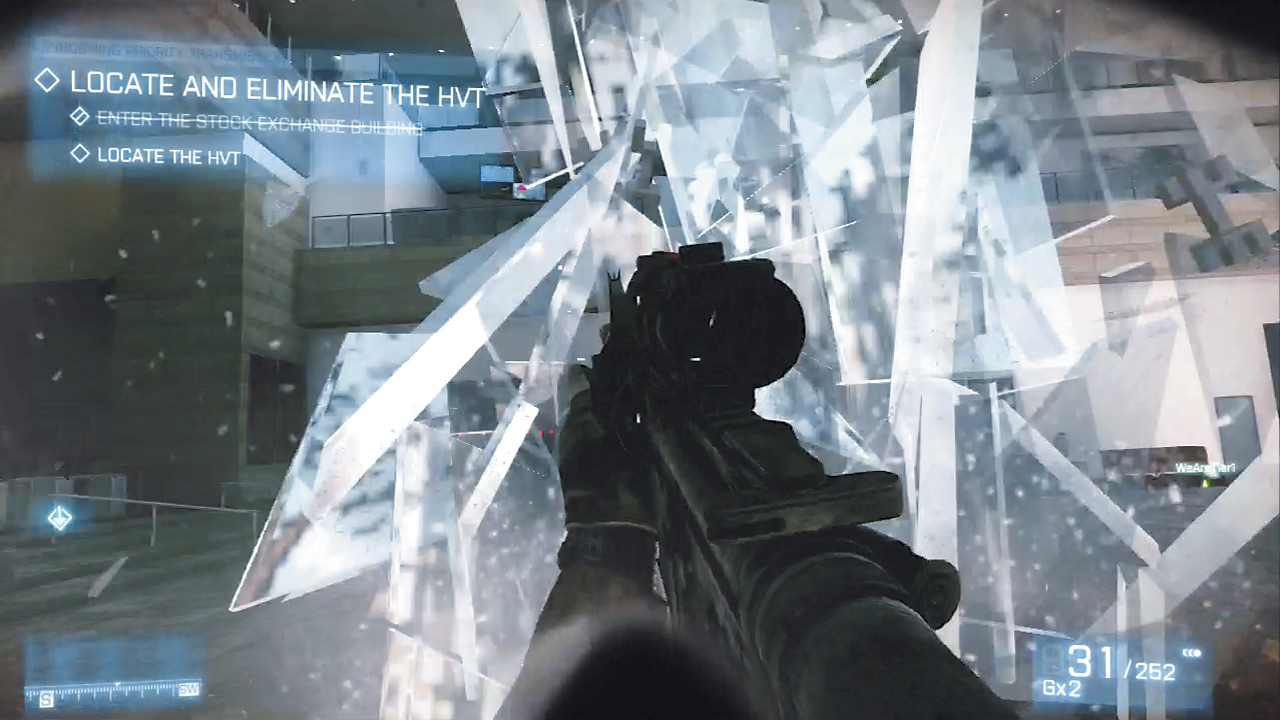
The massive building ahead is your next objective, already under fire from the Police. The stone steps mark the entrance to another heavy gunfight. Push down the streets toward the building and stack up near the solid walls on either side of the huge entrance.
A small contingent of enemies greet your arrival with gunfire, but they can be easily taken out as long as cover is stuck to. Their friends firing from the upper level, however, need to be dealt with using a long-range weapon.
Plenty of grenades are lobbed out here, so don’t venture into the building until the lobby has been completely cleared. Skirt the middle of the room to avoid being crushed by the large chandelier crashing down as you head toward the stairs on the far side of the lobby.
LOCATE THE HVT
Take cover near the extreme left and right sides of the lobby. Enemies have taken up positions on the other side of the information counter and more of their friends will try to rush from the sides.
The positions on either side will make for the best firing angles and assure maximum coverage. Continue searching for Rahman after securing the lobby. Head through a few rooms and past the elevators to a waiting Ammo Crate preceding the start of another firefight.
If possible, make sure you have a well-balanced loadout with a close-range weapon like a shotgun and another capable of striking down enemies at long range. Both will be needed in the fight to come.
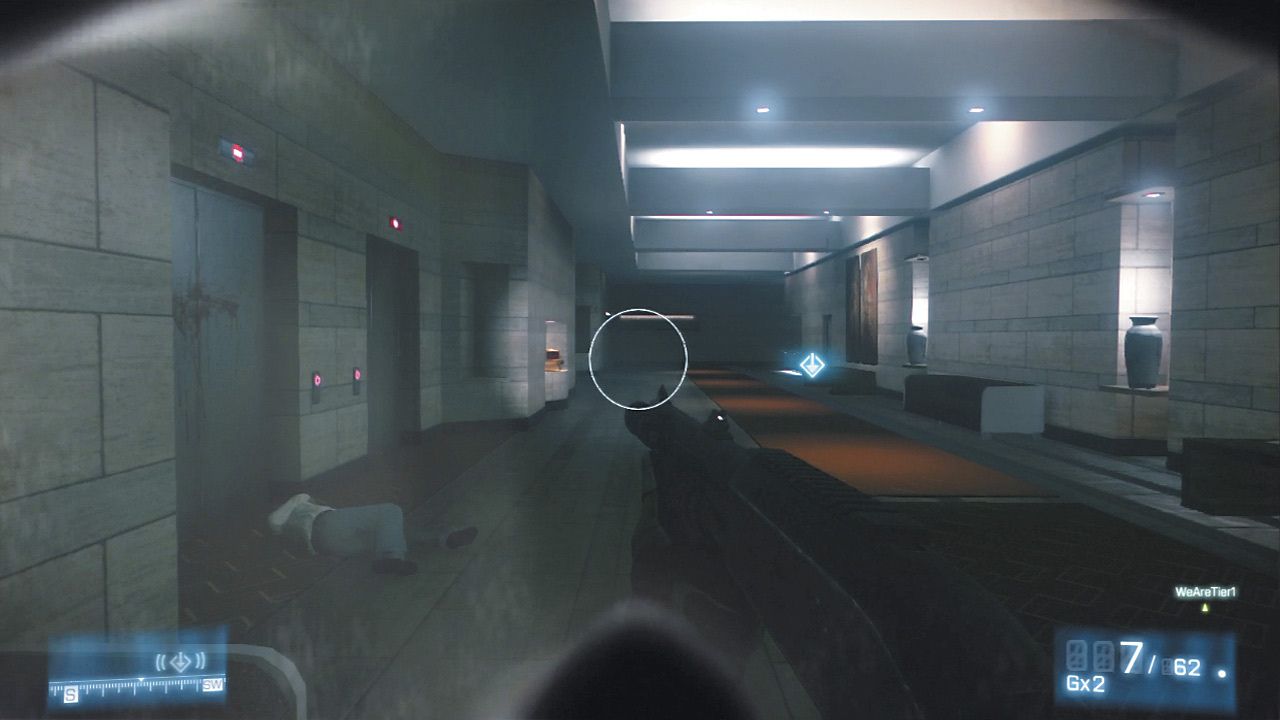
Once you’re locked and loaded, breach the door leading into the trading floor of the Parisian stock exchange. There are enemies immediately on the other side of the door, but the more pressing threat are the ample angles of attack avaialble to the enemies on the higher floors.
One team member should head up the stairs on the left side of the room and quickly take out the threats on the upper level. Be careful, however, as there are enemies across the way that can quickly cut short this assault.
Don’t leave a wounded teammate stranded up here by staying close enough to provide a critical revive if needed.
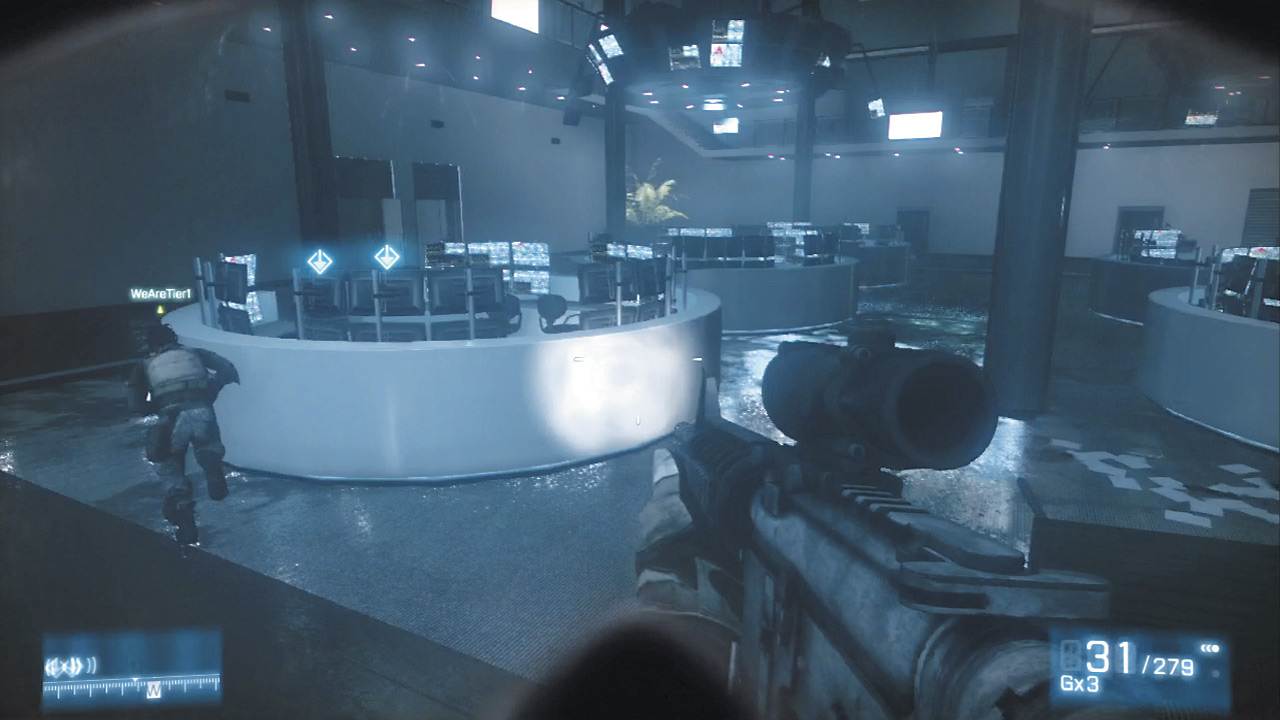
The upper level offers little in the way of cover, so the threats across the trading floor should be dealt with quickly. Keep a watchful eye on the staircase, as tangos will actively use them to try and flank you.
From the elevated position, firing down on the enemies below is rather easy. If you opted to engage the hostiles down below, make sure to grab cover near the many desks here where you can drop into a prone stance if needed to refill health.
Generally, speaking, this fight becomes much easier if both squad members can get upstairs and cover the flanking positions.
An Ammo Crate at the base of the staircases offers a chance to reload, but should only be used once the room is cleared due to it being completely out in the open.Stock up and stack up at the waypoint to press onward.
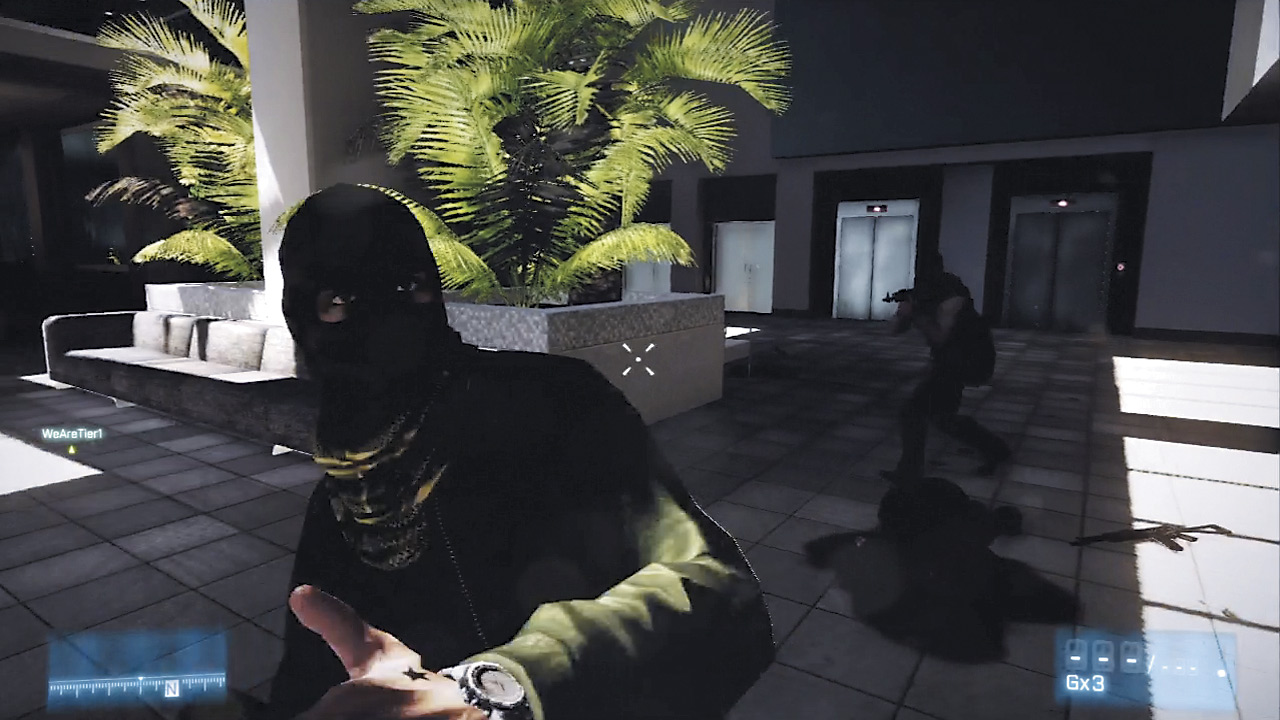
This next room is similarly filled with threats spread across multiple floors. The ground forces are easy enough to take care of, but their allies up above are harder to draw a bead on.
Of course, they’re just as dangerous when they jump down from the upper level to ambush unsuspecting Marines. Split up and have one teammate concentrate fire on the right side of the room while you sprint under the overhanging lip where the enemies are firing (and jumping) down.
Hang back, waiting for them to land before taking them out. Your reward after surviving this fight is well worth it.
ELIMINATE THE HVT
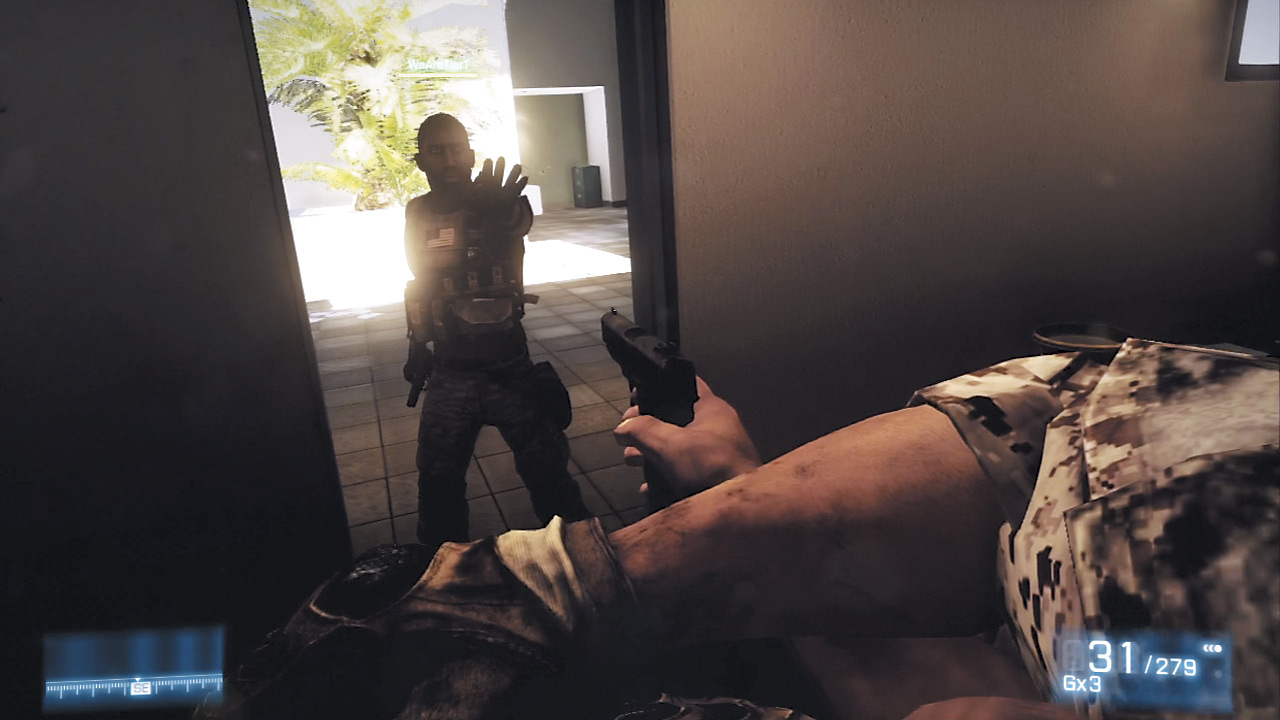
Only one objective remains for you and your squad. Take a deep breath, then stack up near the door. The person to kick the door open is powerless to react initially, as the first person into the room is attacked by Rahman.
What follows is a Quick Time Event where the person being held captive by the terrorist must press the correct button to knock away Rahman’s gun. T
his leaves Rahman briefly exposed, long enough for the breaching teammate to follow his own button prompt to take the villain out with a pistol. Be ready to perform the button press before the circular meter fills to finally end this threat once and for all.