
Battlefield 3 Premium Guide Campaign Mission 10: Rock and a Hard Place
Rock and a Hard Place
Unit
1st Recon Marines
Callsign
Sgt. Henry “Black” Blackburn
Location
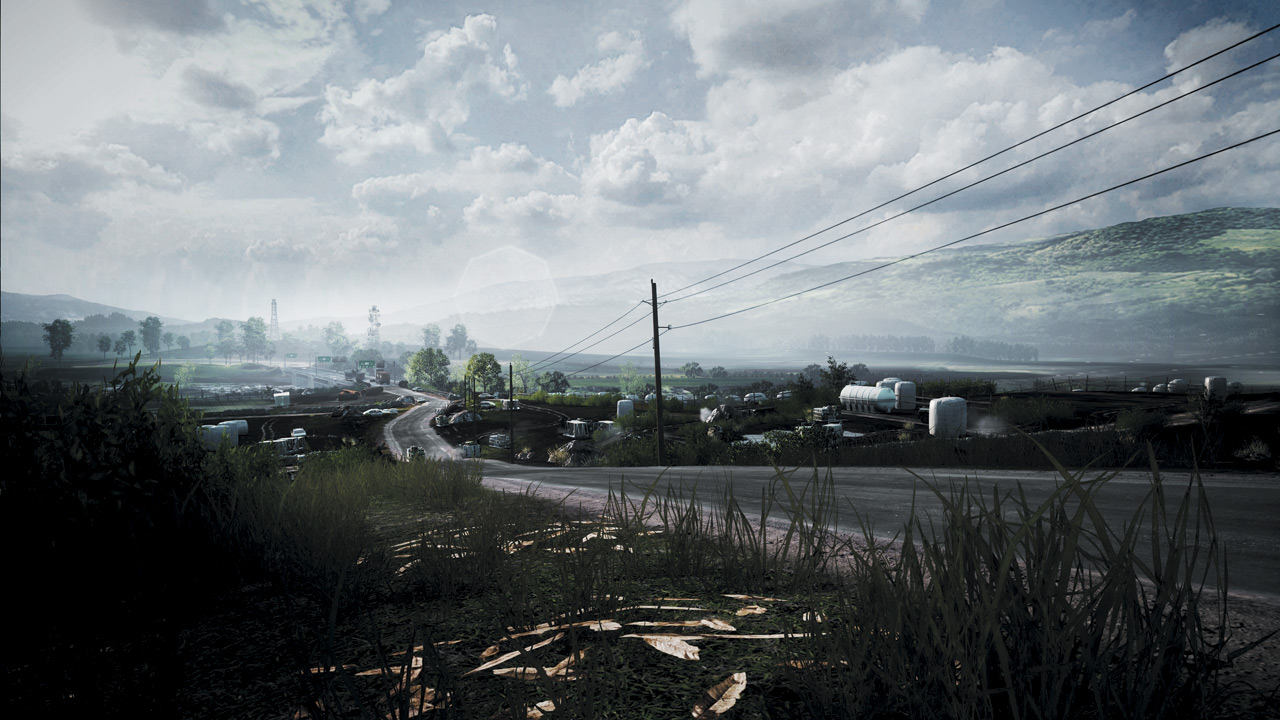
Araz Valley, Iran
Date
November 9th
Time
0810hrs Zulu Time
Black is on the tail of a Russian arms dealer by the name of Amir Kaffarov, who may have helped in moving the final missing nuke elsewhere around Iran.
If there is to be any hope in finding Solomon, it must start with using Kaffarov to track him down. With Al-Bashir dead, the Marines are out of options.
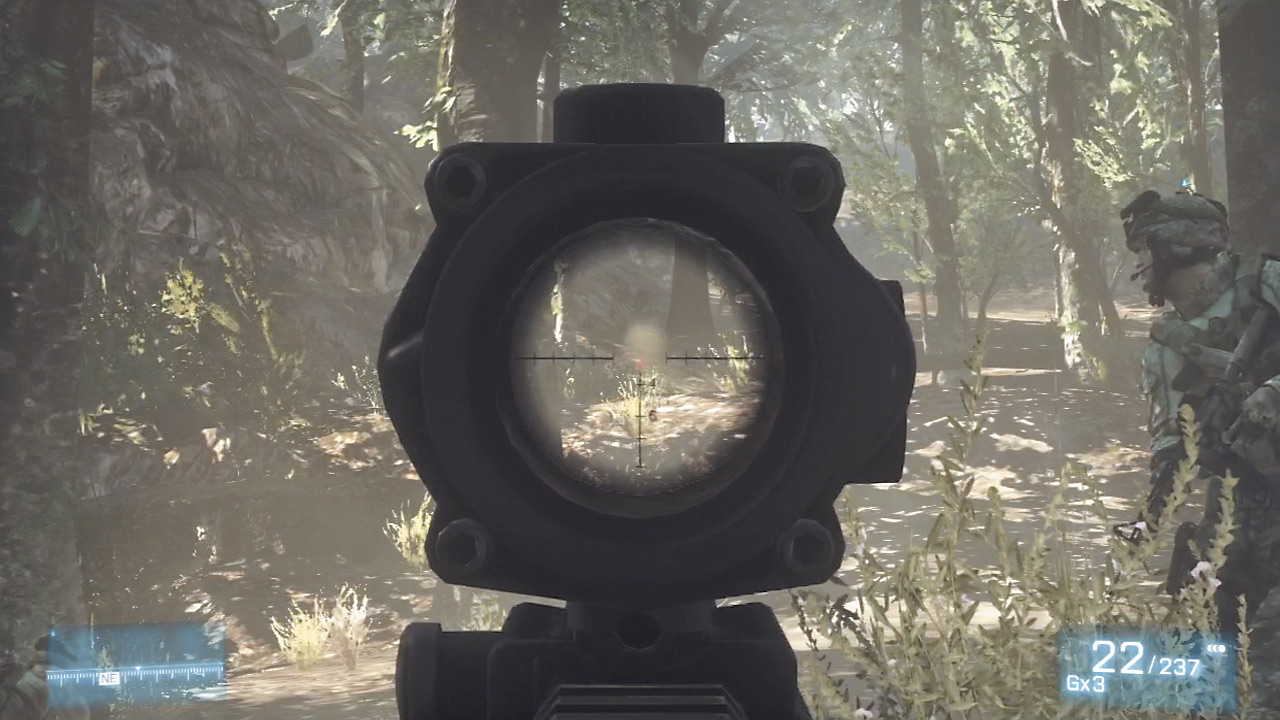
What starts as a downright tranquil trek through a small Iranian forest quickly turns dangerous as the convoy comes under fire from RPGs and ground forces alike.
REPEL ENEMY ATTACK
INVESTIGATE
On the plus side, these aren’t PLR. The bad news? They’re Russians, and that means the opposition is going international.
Follow the rest of the squad up the path and back toward some semblance of safety.
[ ACHIEVEMENT | TROPHY ]
What the hell *are* you?
Don’t be so hasty in following the on-screen waypoints.
It’s easy to miss the opportunity to pull dog tags off a Russian soldiers and earn an easy Achievement/Trophy, so explore the forest just a bit before rejoining the rest of the squad.
REPEL ENEMY ATTACK
The firefights ahead are unlike anything seen thus far.
The sheer numbers of parachuting Russian forces are staggering to say the least. Stick to cover on the way down the hillside to confront the troops here.
There’s no real strategy beyond simply thinning their numbers. Push forward and gun down some targets, making sure to push up as the waypoint indicators change.
Eliminate the tangos that take up positions behind cover ahead. Trying to gun down every Russian streaming into this battlefield is a foolish and possibly costly idea.
Focus your fire on the forward operating enemies nearest Black’s position. Continue to lay them out as efficiently as possible, moving up when the situation presents itself.
Take care not to find yourself behind cover that can be easily destroyed.
As a general rule of thumb, if it’s metal, it’s cover—at least until the softer stuff surrounding it is removed by heavy gunfire from those mounted turrets, leaving only a metallic skeleton.
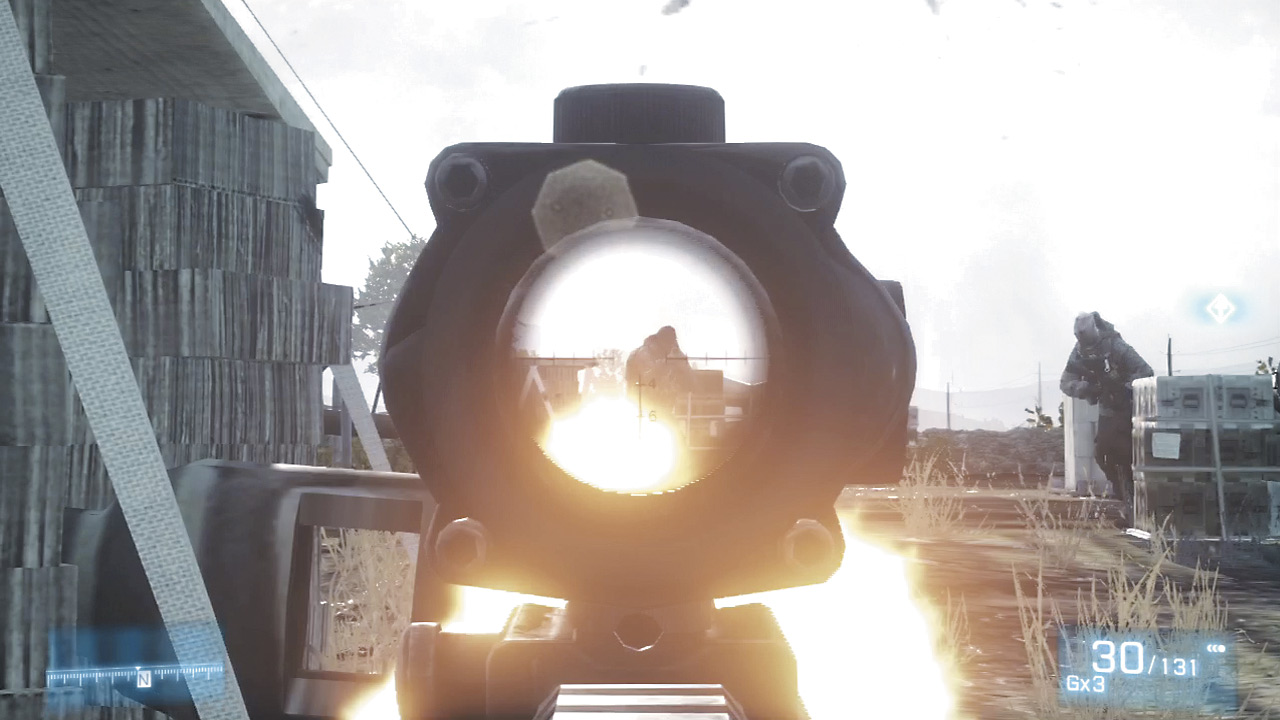
After putting a sufficient dent in the enemy troops, a pair of mounted machine gun vehicles will show up.
Their gunners are extremely dangerous, and must be taken out as quickly as possible via headshots.
Once both are removed, the unit can regroup and figure out their next move.
With no other options, the unit proceeds onward and presses forward.
The series of walls ahead are good place to drop to a knee and gun down as many enemies as possible—at least until they bring those god-forsaken turret vehicles into the picture.
They present a significant threat, but they’re nothing compared to the armored vehicle that rumbles in. Use the directional buttons to swap to a proper anti-tank weapon and lay the rumbling beast out.
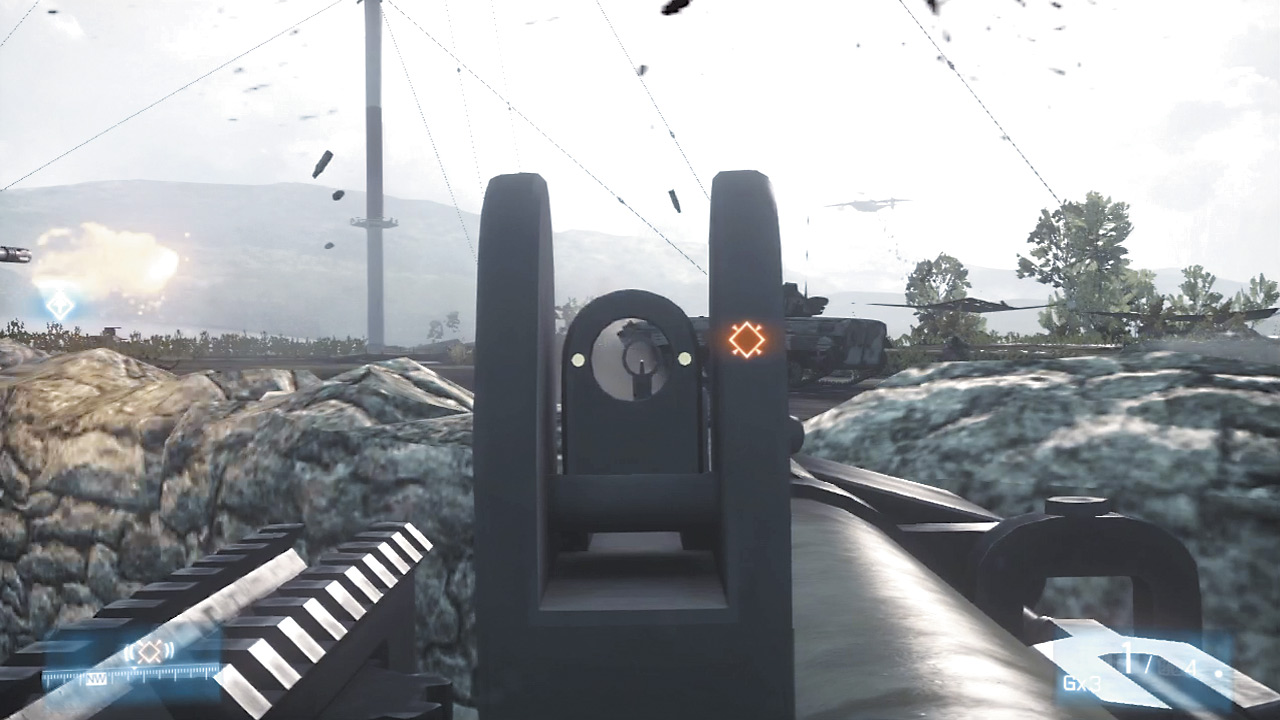
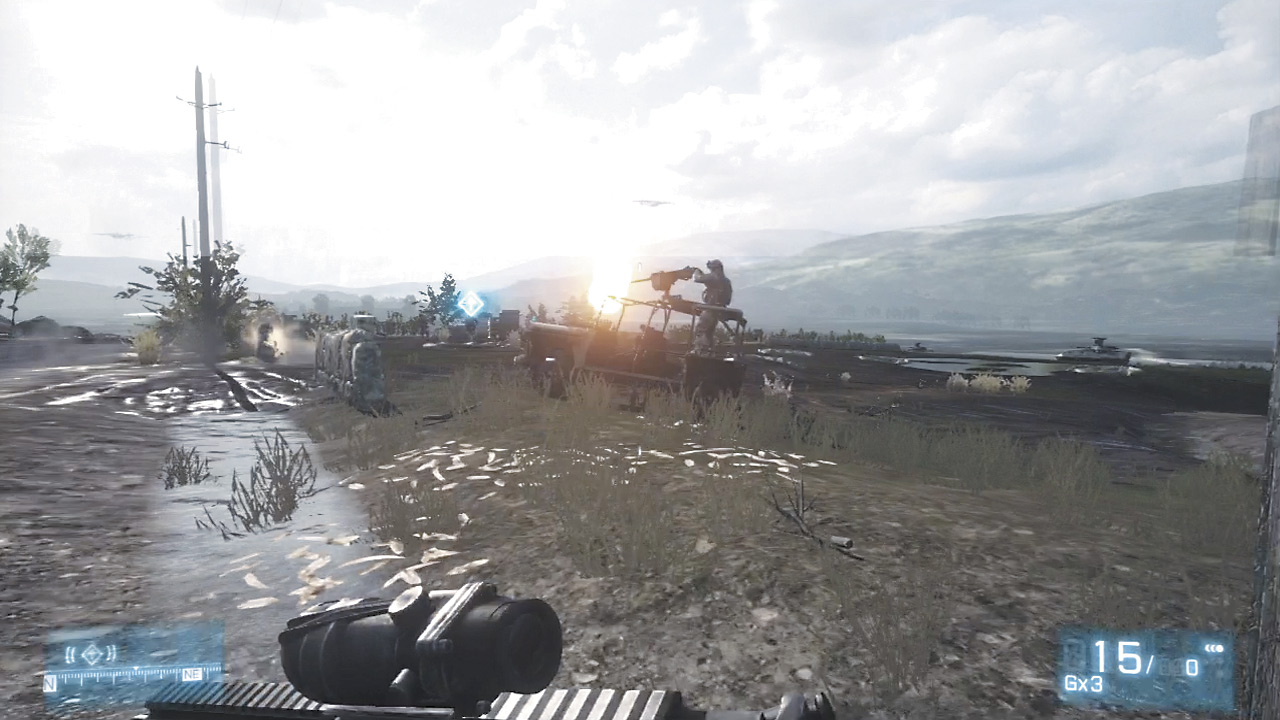
The enemy heavies might be taken care of, but this new group of enemies is nothing to scoff at.
Use the nearby rocky outcropping to go prone when in need of cover and eliminate every single enemy in this small camp.
As they are taken out, a massive tower in the distance comes crashing down, snapping cables and no doubt causing considerable damage to those underneath is baleful shadow.
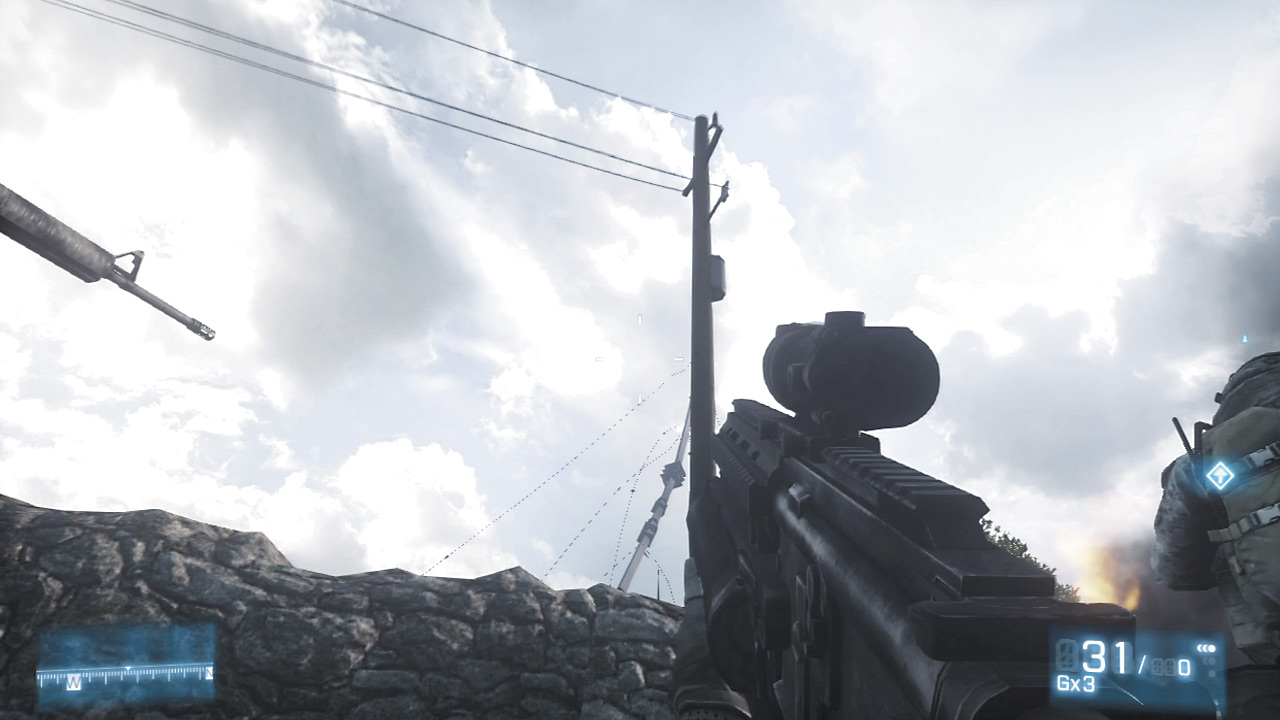
Charging down the road, another conflict erupts near a set of silos near a farm.
The Russians here are relentless, but clear them out and push into the farm-like area ahead to quell their numbers.
More occupy the neighboring areas to the north and northwest, so proceed slowly.
Stick to cover and eliminate any hostiles that try to charge in. Push forward on your own if need be to hit the next checkpoint.
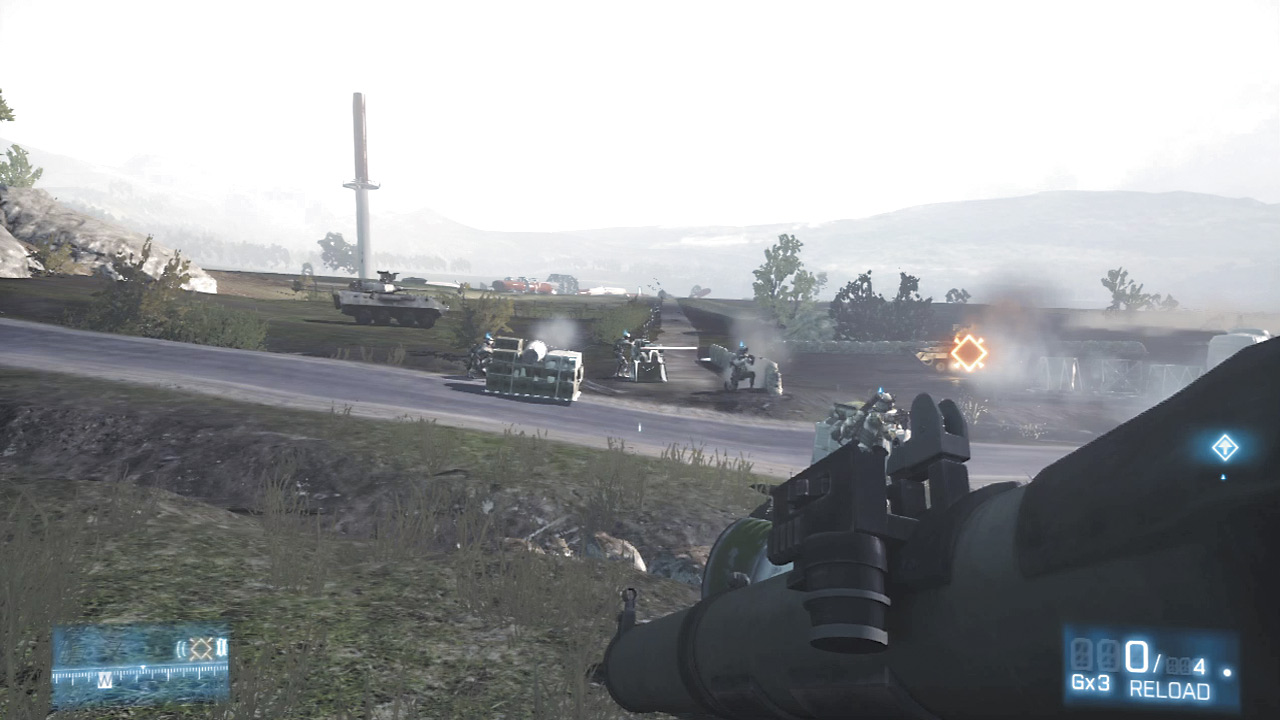
Before the unit is in the clear, a pair of the same armored BMP tanks seen earlier decide to make things more complicated. Thankfully, you’re well-equipped.
Bust out the SMAW when near a reliable piece of cover Black can go prone behind. Pop up and send a few shots apiece into those would-be dangers.
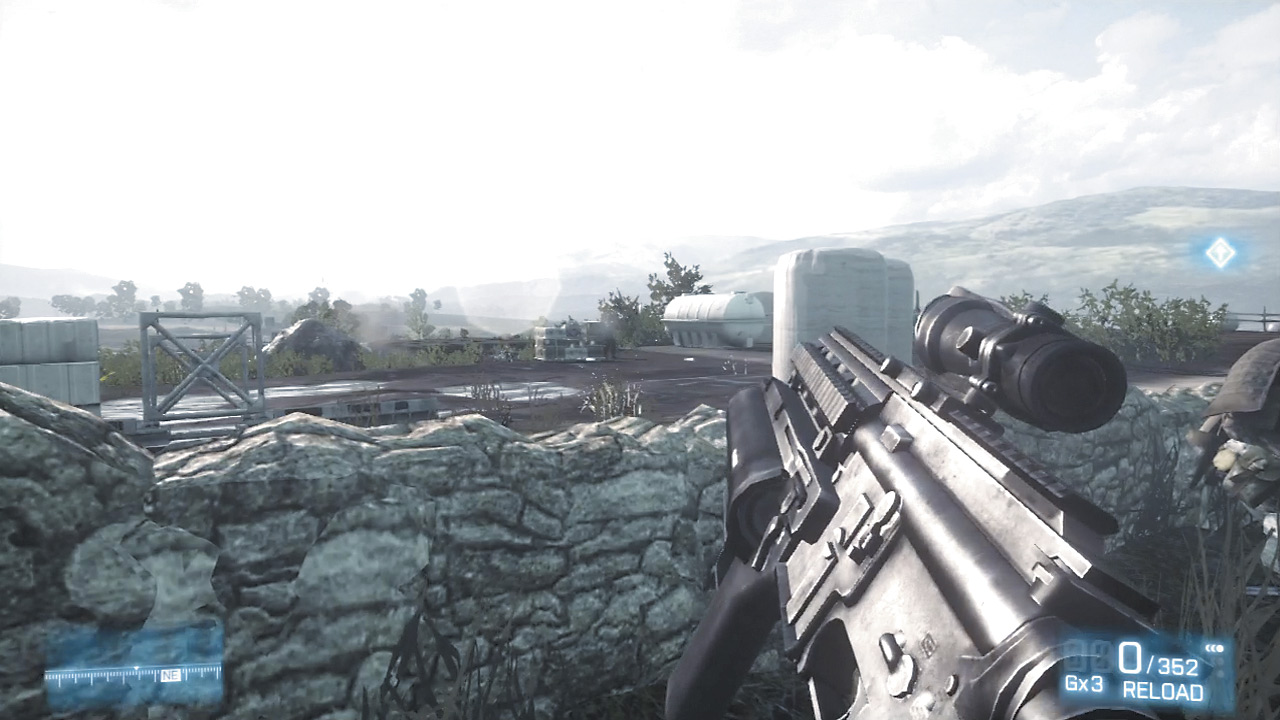
Follow the group toward a series of low cover near a car. Take your time here eliminating threats and moving up as cover provides; it’s about to get far more explosive...
After some vocalized objections from Campo and Montes to the current op and its overwhelming odds against the Russians, things get far more pressing.
A jet fighter shows up, all too ready to offer some serious air-to-ground complications.
Sprint as fast as possible to assume position beside Cole for the time being and get ready to run for your life as the plane circles for more strafing runs.
The first buzz is simple enough to avoid. Sit next to Cole near the pipe for moment while the plane flies overhead, then begin making sprints toward the bridge.
Behind you lies another pipe and the next piece of cover. From there, advance to the flipped car on the left side of the bridge, and then into an open cargo container.
After the plane crosses again, head out and sprint toward safe cover behind the destroyed APC farther down the bridge.
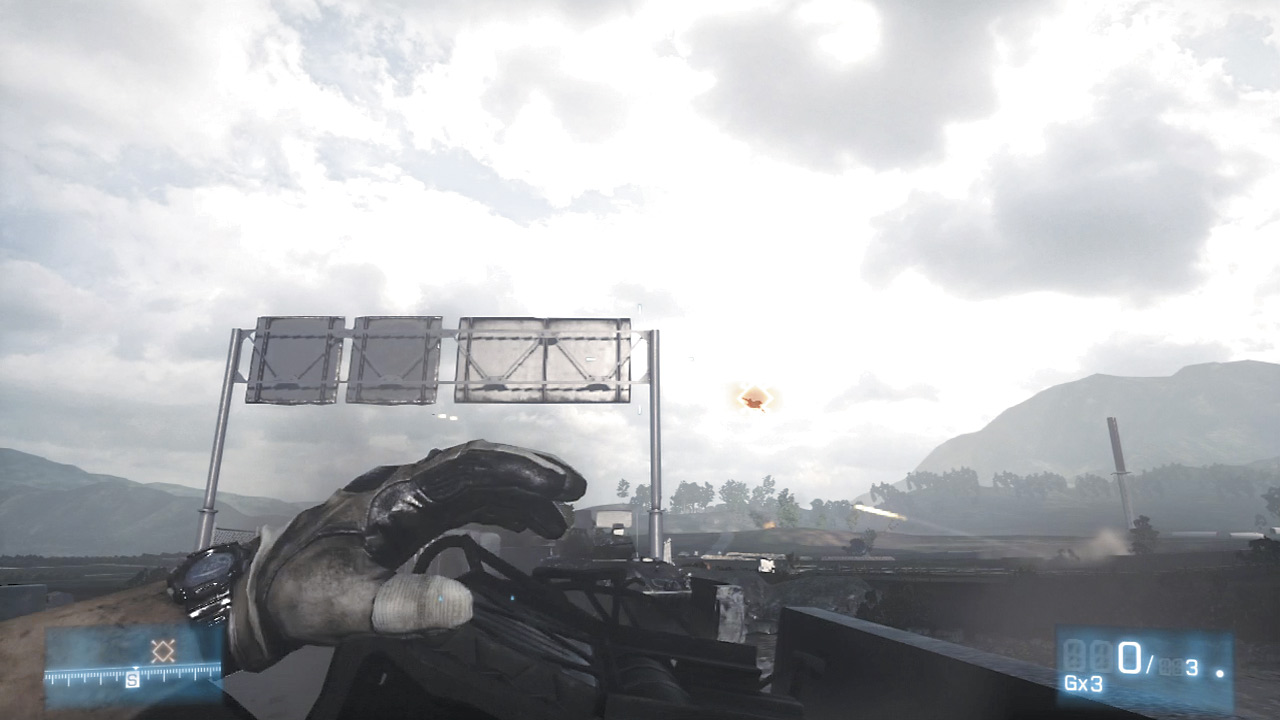
When the plane makes another run, sprint toward the burning wreckage at the end of the bridge in search of a way to take down the plane.
SEARCH THE GROWLER WRECK
Sprint forward toward the objective while staying mindful of the plane’s position. Eventually the location of the anti-air ordnance will be revealed.
GRAB STINGER AND TAKE OUT SU25
Scoot around to the side of the vehicle and hold the prompted button to grab the missile.
[ ACHIEVEMENT | TROPHY ]
Float like a butterfly...
Like Achievements/Trophies in the past, this one is for all the marbles; a one-shot assault on the plane currently buzzing you and your friends.
The difficulty comes in getting a hard lock on the plane. If you try to get a lock as the plane is flying away, you’re guaranteed to lose it as it’s jet turbines carry it off in to the distance.
Instead, take a hard stand amidst the wreckage of the Growler Black retrieved the rocket from.
Turn and wait for the plane to come into range, get the lock, and then let loose, watching the missile find its target far off in the distance.
After all that fighting, this mission comes to a tragic and violent close.
Let the memories and accomplishments of those that died in the line of duty live on in our hearts and minds.