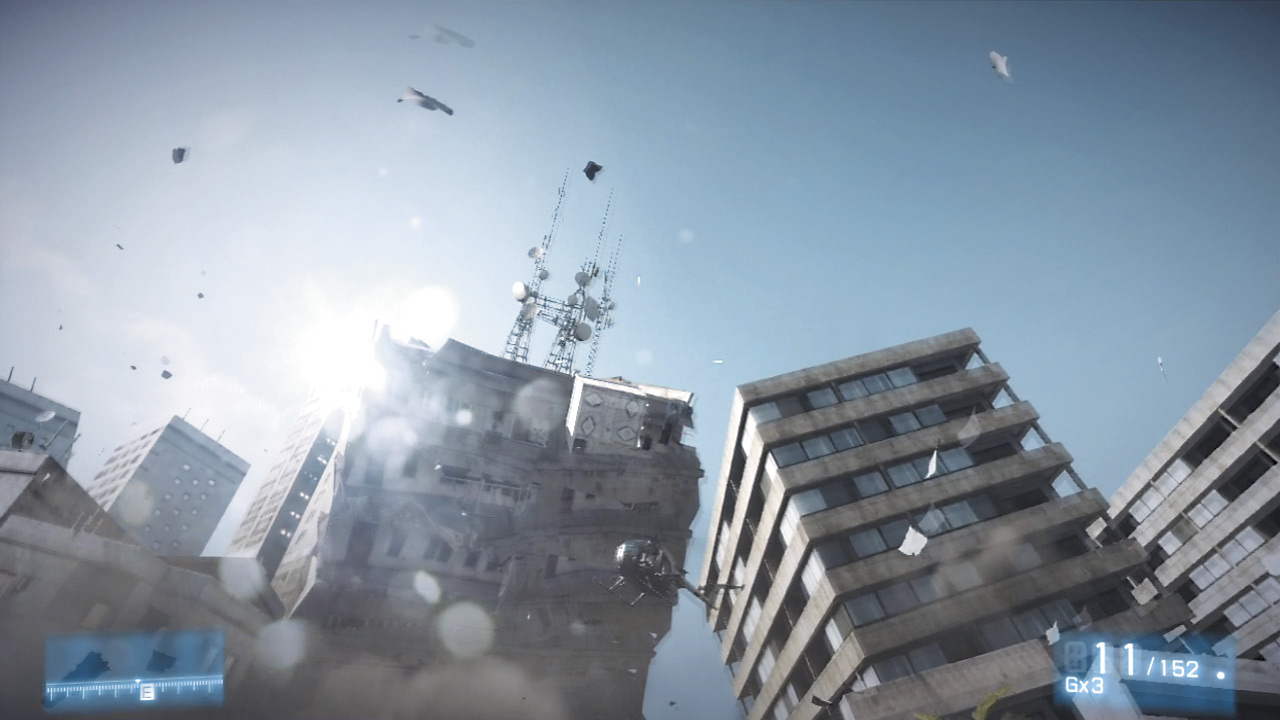
Battlefield 3 Premium Guide Campaign Mission 2: Operation Swordbreaker
Operation Swordbreaker
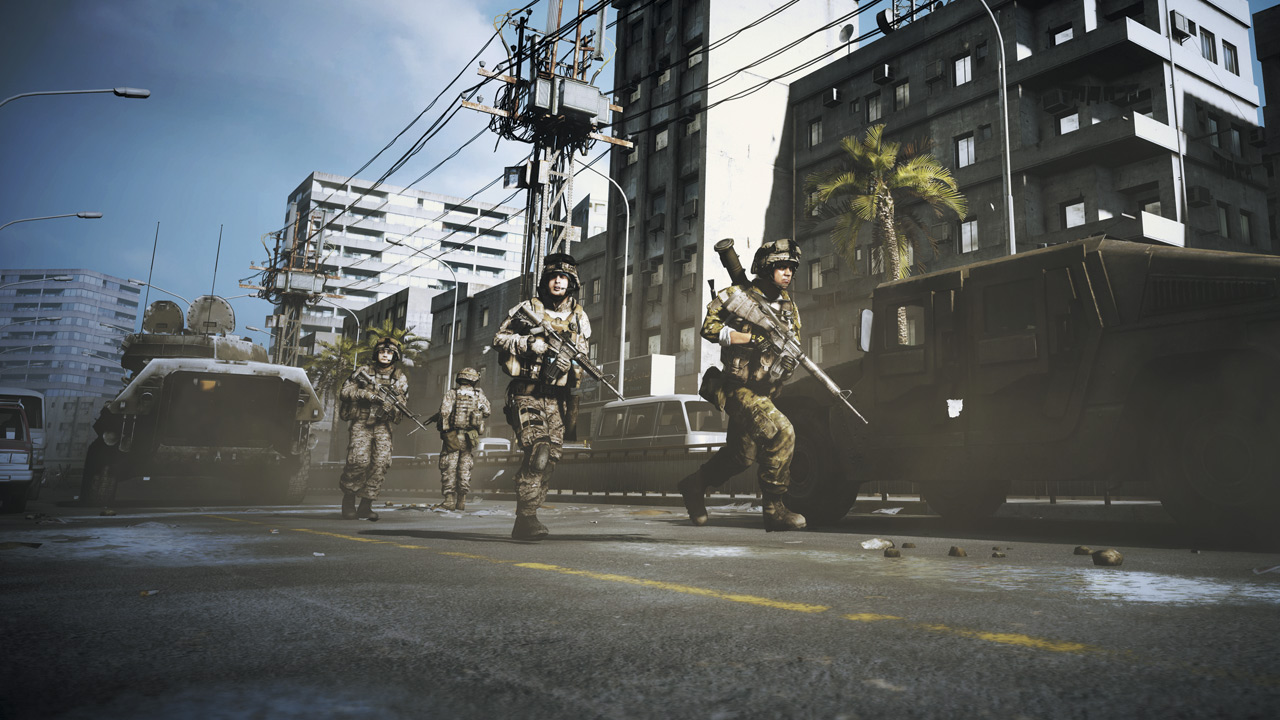
Unit 1st Recon Marines
Callsign
Sgt. Henry “Black” Blackburn
Location
Al Sulaymaniyah, Iraq
Date
March 15th
Time
1300hrs Zulu Time
The 1st Recon Marines have been diverted to an escalating situation in the town of Al Sulaymaniyah, a dense environment choked with as many PLR insurgents as innocent locals.
Contact with Viper Squad was lost just a few hours prior while they were investigating a possible IED. The urban landscape makes snipers and other PLR threats a very real, very dangerous likelihood.
You and your fellow Marines are to locate Viper Squad and call in CASEVAC if needed.
MOVE OUT WITH SQUAD
Al Sulaymaniyah’s opening view is a rather breathtaking one. Light spills through a massive set of arches on the way to the staging area, and a clear military presence has been established to confront the PLR streaming across the border from nearby Iran.
As the SITREP was rather vague, it falls to the 1st Recon Marines to gather more intel about the coming mission. Follow the other Marines through a covered alleyway to get the full briefing and prepare for trouble.
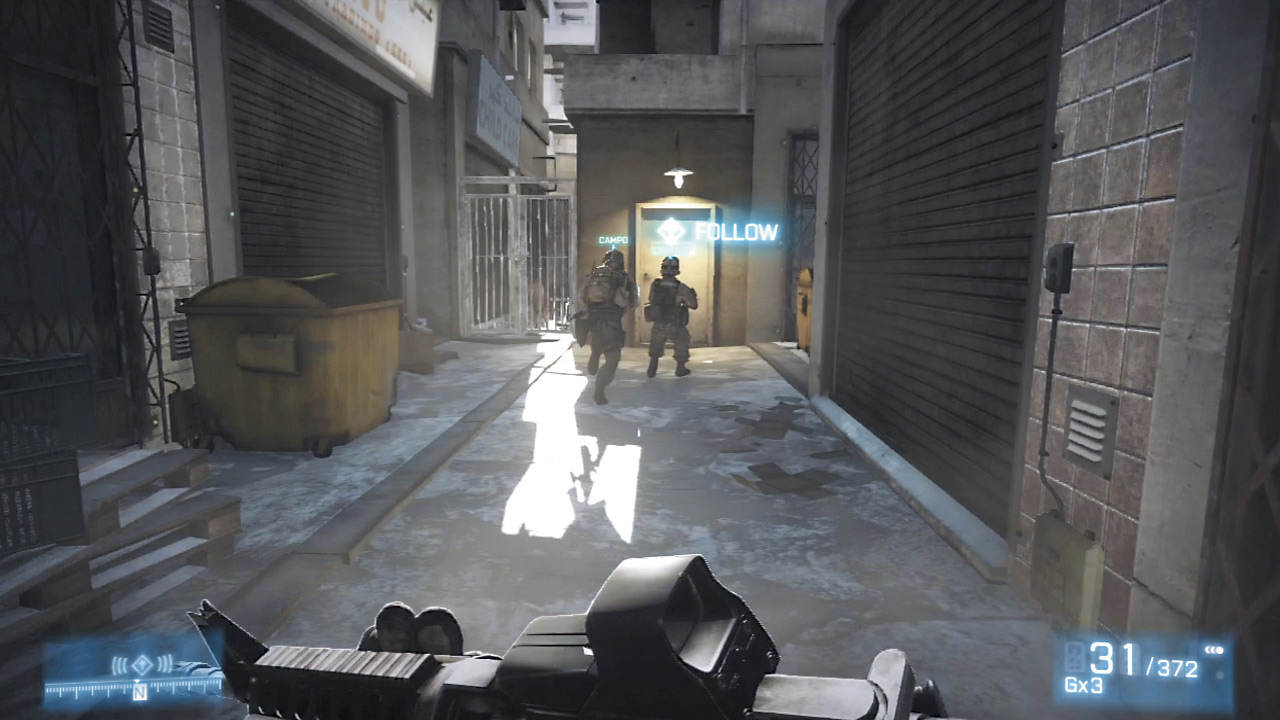
FOLLOW SQUAD
Continue along with the rest of your squad down the alleyway and into a small hookah bar. Campo will breach, allowing entry into another tight alleyway.
A lone dog at the end of the alleyway only serves to highten the sense that what should be a bustling market is entirely devoid of other human life. Not a good sign.
After pressing forward into another building, the squad will experience the first sign that Iraq is hardly a tranquil place. A tremor rolls through, but doesn’t do much in the way of damage.
Still, it’s an unsettling feeling when even good ol’ terra firma can’t sit still. Head up the stairs and hang a left to arrive near a gate leading into a wide open street.
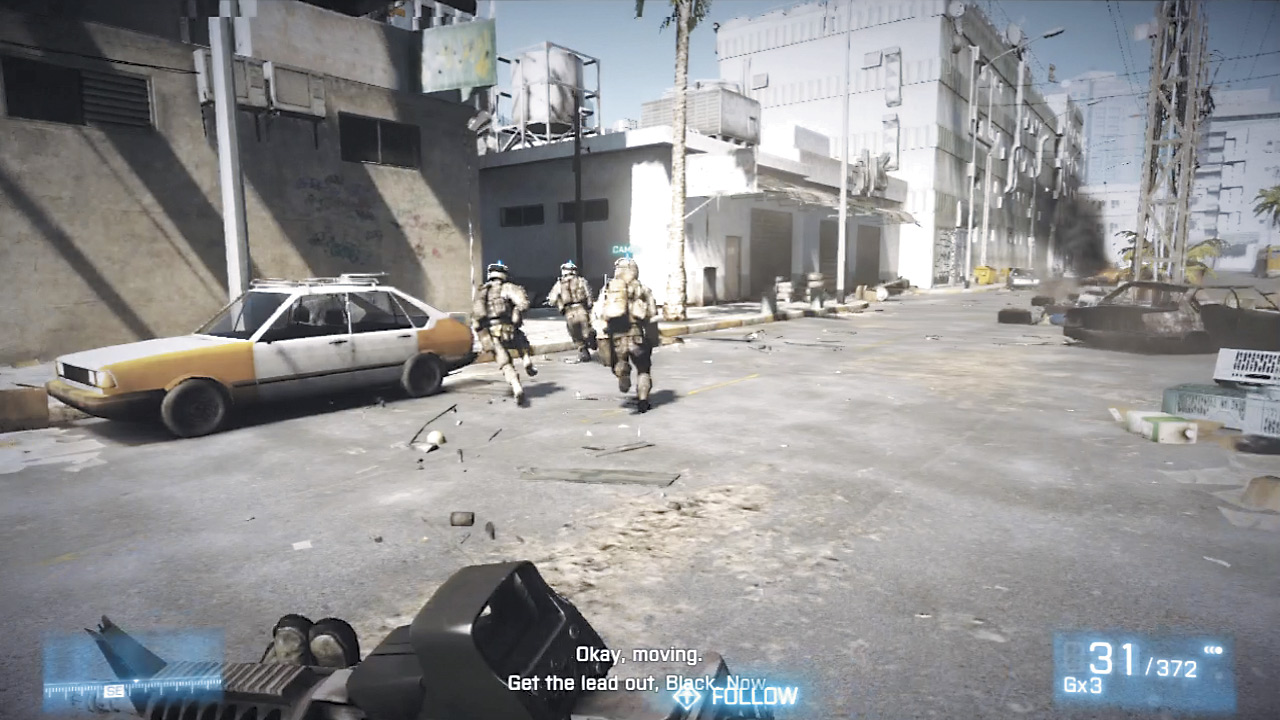
Wait for a carload of PLR insurgents to pass, then wait for Chaffin, Montes, and Campo to cross before following behind Matkovic.
Don’t drag your feet here, Marine; double-time it to stack up on the door to the right with Matkovic while the rest of the squad sweeps around to the left.
Inside, a small garage sits empty, forcing another trip through a doorway and out into a far more open (and exposed) parking lot.
Before you can even make it outside, Chaffin is tagged by a sniper. The wound isn’t fatal, but a downed Marine in the middle of an open area isn’t going to last long against a sniper.
Rush up to grab your squadmate and hammer the Action Button to pull them back into the relative safety of the garage. This is hardly an easy task; PLR forces quickly stream into the parking lot, and there’s precious little cover here to hide behind.
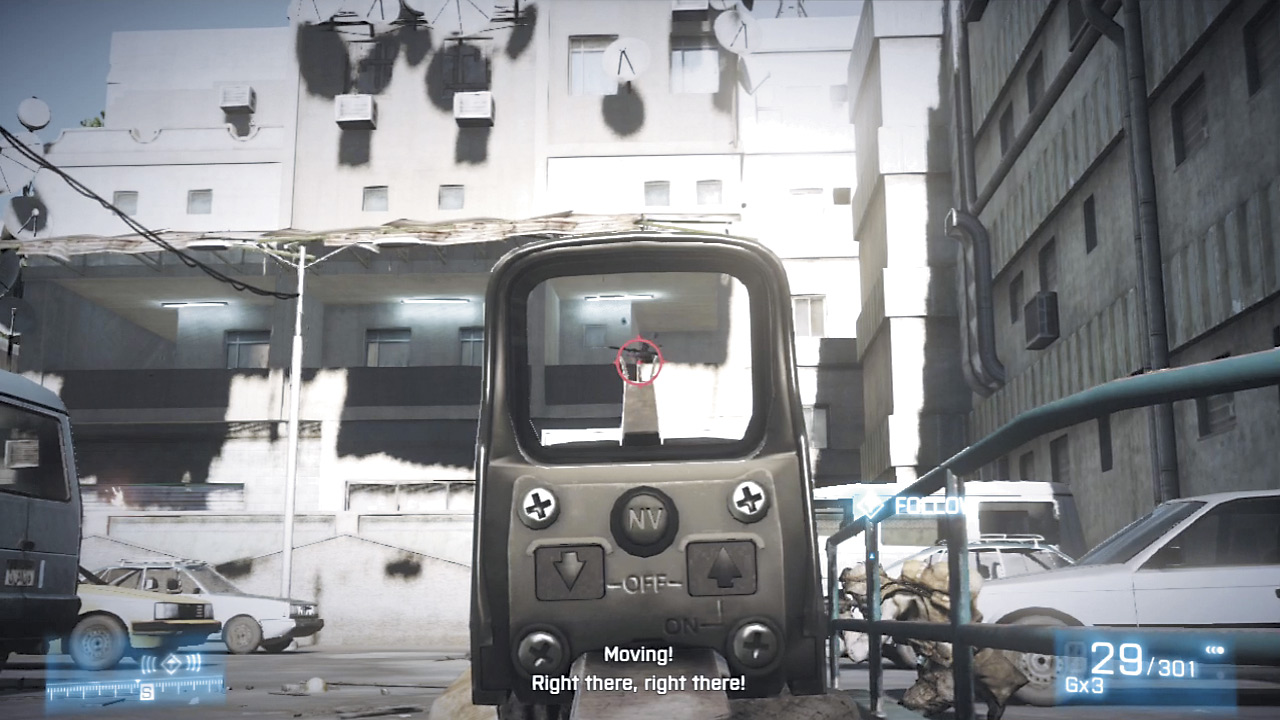
HOLD OFF ENEMIES TO THE EAST
Regardless of where you choose to make a stand, make sure you’re crouched—or even better, prone—if under heavy fire. The less of you that’s exposed, the better chance you’ll have at holding off this wave of enemies.
Make slow, measured attempts to breach cover, just long enough to acquire a target before popping back down into cover. Pop up, unload with bursts rather than spraying bullets, and dispatch each of the enemies as cleanly as possible.
TAKE OUT RPGS
Almost immediately after delivering a combined SITREP, a pair of RPG-wielding PLRs unleash their payload on a nearby van from the south. Don’t let it throw you off balance and move up quickly, making sure to take out both rocket men as they pop up from cover.
You’ll have a precious few seconds to take them down, so make those shots count. Go for headshots if either of the enemies is foolish to expose their noggins.
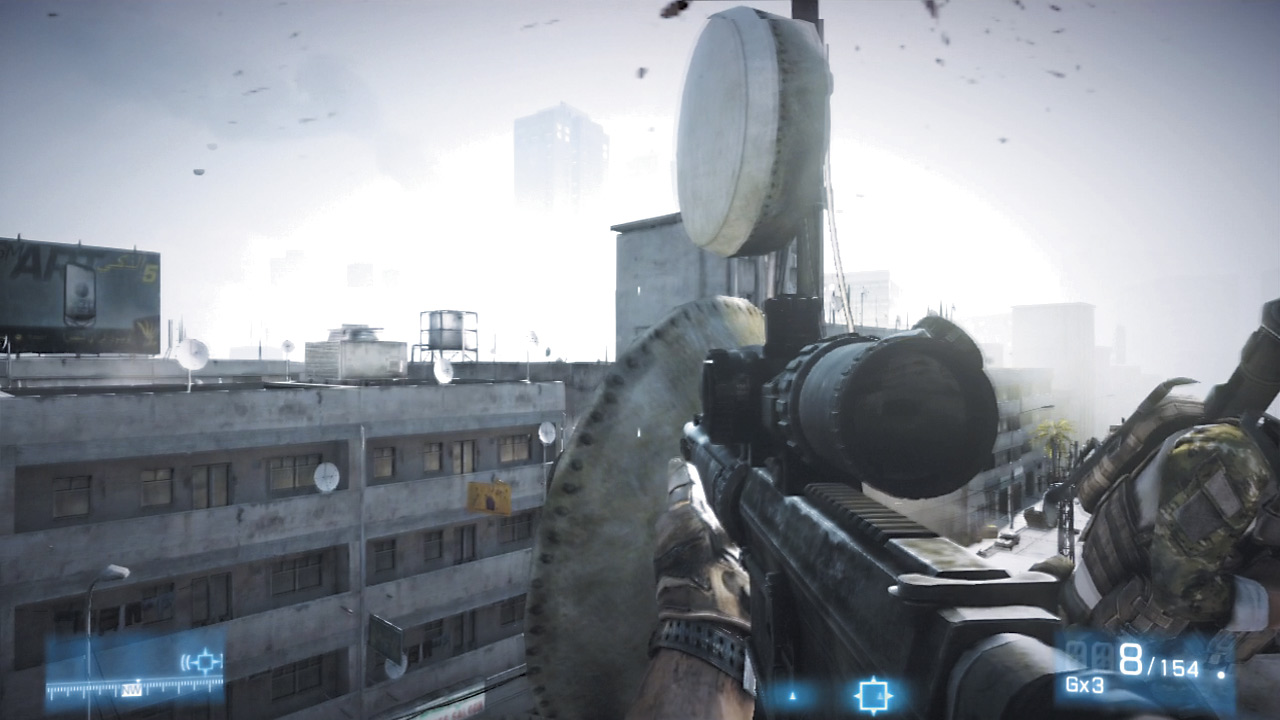
Eventually, the PLRs entering the parking lot will subside, but there’s still the issue of what to do with that sniper. Regroup with the rest of the squad back in the garage to figure out a better way to take on the scoped threat.
REGROUP IN GARAGE
Chaffin is definitely in a bad way. Thankfully another squad moves in to help provide medical support while yours deals with the sniper personally.
FOLLOW SQUAD
Another dizzying trip up a staircase inside the garage leads toward the rooftop, but not before another tremor rocks the whole structure and the group is forced to sprint past the exposed windows on the west side of the building.
The second you arrive at the far end of the room, more PLRs open fire from behind a desk. Take them out quickly, then continue to follow the rest of the squad up more stairs.
Stack up with your squadmates and head onto the roof to get a better look at the POS that took out Chaffin.
That sniper isn’t some rookie pushover, and your squad has only made it easier to get picked off by ascending to his level. Before even rounding the corner, the telltale sound (and impact) of a .50 cal sniper rifle makes it obvious the insurgent knows you’re there.
Tuck in close behind Montes, waiting for each member of the squad to move from one piece of cover to the next.
GET INTO POSITION
The PLR aren’t the only ones with some serious sniping talent. Black is just as adept, and he’s packing a rifle of his own—perfect for covering the wide-open streets below for Chaffin’s extraction.
Head to the edge of the rooftop and look down toward a group of burned-out cars in the middle of the street.
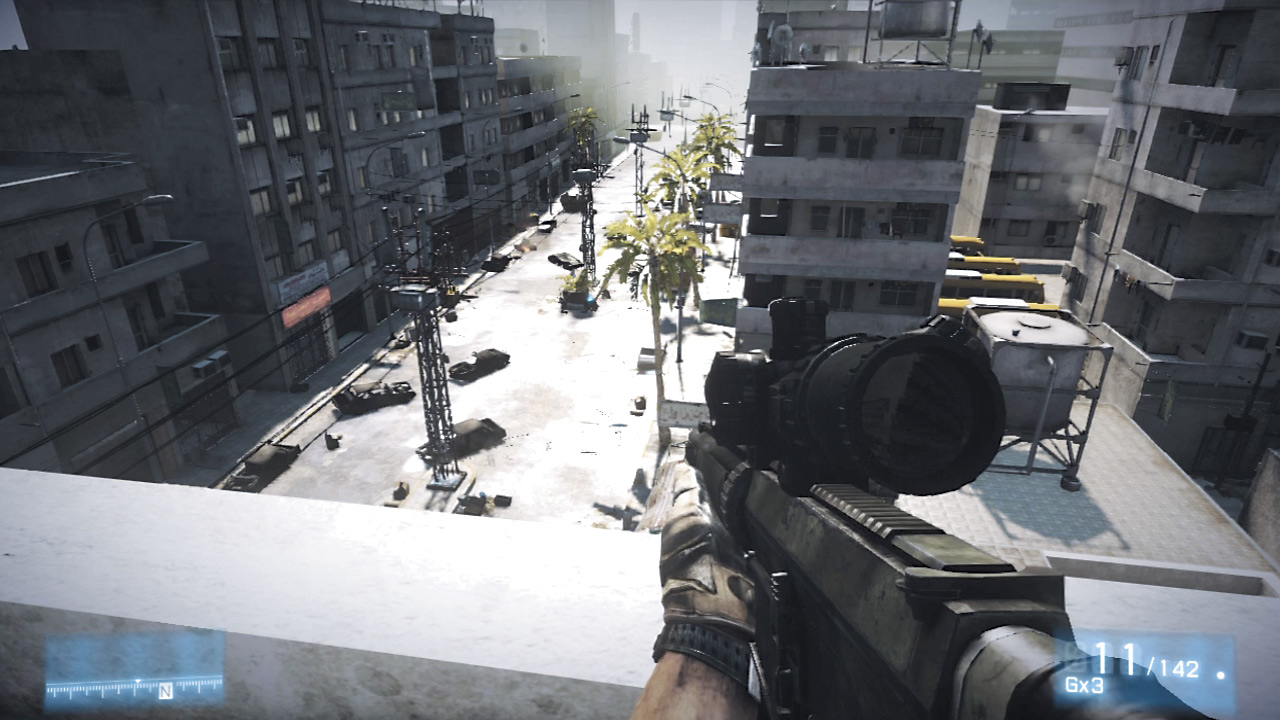
PROTECT SQUAD
Directly northwest of the debris, PLR troops begin streaming out of an alleyway. More soon join the fight from the right, taking cover near car frames and dumpsters. When this first wave has been dispatched, another group appears on the rooftops across the street.
Because of their higher vantage point they actually can hit you, so take cover behind the nearby satellite dish if need be.
The enemies on the topmost floor are particularly dangerous, so dispatch them as quickly as possible. To mitigate the the scope sway when zoomed in, click and hold the Left Stick to take a big gulp of air and steady the shot.
Black can only hold his breath for so long, so make sure to take a few seconds to let Blackburn catch his breath between shots when targeting enemies.
A third group of tangos will try to rush the extraction squad as they move up to another car, pouring into the street and popping out from the rooftops. Deal with this threat like the others, holding your breath if needed.
A final group streams out of the very same gate your squad left a while back.Bear in mind that this group has seen you taking out their friends and will be just as concerned with attacking your squad as the rescue one—especially the PLR in the alcove-like upper floors of the nearby building.
Unload on them to finally clear the way for Chaffin’s escort to get him to safety.
FOLLOW SQUAD
Just as Doc Holiday reaches safety, the PLR comes tearing out of the woodwork, utterly swarming the streets on the way to the very building your squad is sitting atop.
It’s not really necessary or even prudent to attack these insurgents as they’ll just keep coming. Follow the rest of the squad back toward the door you entered from, this time sweeping around to the left side.
Campo and Matkovic grab a nearby plank and use it to create a makeshift bride to the nearby rooftop. Cross slowly and drop down into the neighboring courtyard.
FOLLOW SQUAD
The meat market is anything but a pleasant place to go shopping. Viper Squad’s Humvee shows the signs of a brutal ambush, with a Viper squad member in grave condition.
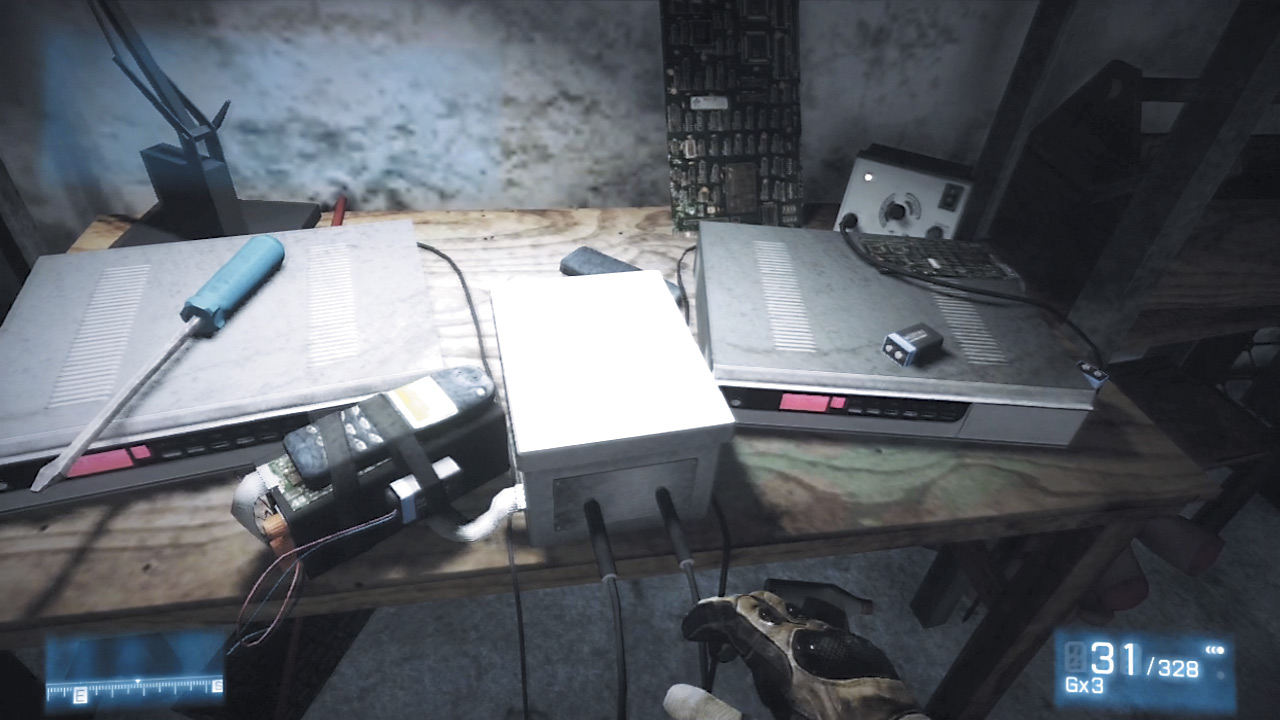
After radioing for a CASEVAC, the discovery of an IED attached to the nearby van only makes things worse. While the rest of the squad is exposed, it falls to Black to investigate where the wires attached to the IED actually start.
TRACE WIRE TO SOURCE
Black’s just been nominated for an emergency game of “follow the wire.” Use the Action Button to bust through the nearby door the wire runs under, into a laundromat and down a set of stairs to a decidedly dingy back room.
Both doors are locked, so you’ll have to go prone and crawl through the duct work to find out where the wire leads again.
Yet another tremor makes the crawl a little more interesting, but eventually the ducts lead to a hole that drops Black into the building’s basement. Head toward the wire and get ready to do a little disarming.
CUT THE RED WIRE
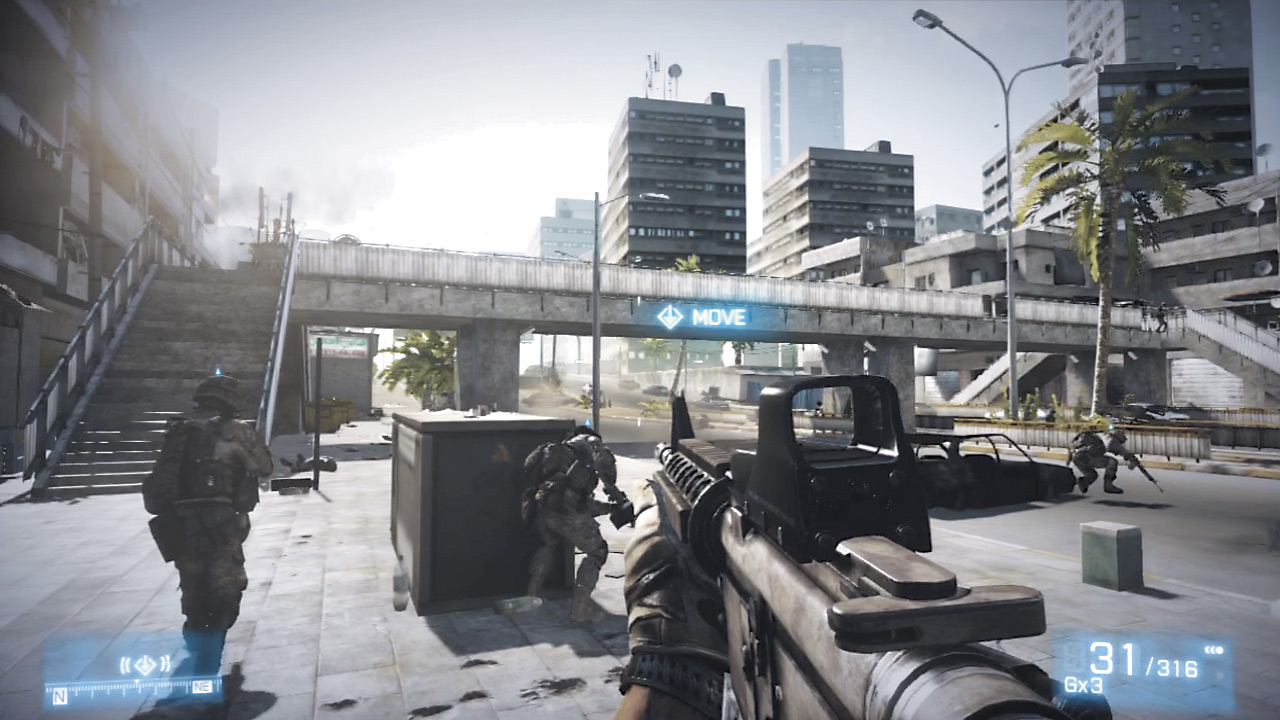
Before there can be any dismantling, an ominous shadow falls across Blackburn. It quickly reveals itself as a hostile that engages Black ina tense fistfight. Follow the on-screen prompts to knock this PLR goon out cold, but be quick about it.
The IED’s trigger is quickly counting down and if this fight isn’t over quickly, the rest of Blackburn’s squad will have front row seats to a Marine barbeque.
REACH THE TOP
Things topside haven’t gotten any less tense now that the bomb has been defused. Race up the stairs and then head back toward where you dropped in from the vent.
Hang a left and jump over the fallen shelving to arrive back at the crashed Humvee and van, steeling yourself for what is bound to be a huge fight in a very open, compromising market.
CLEAR THE WALKWAY AREA
CASEVACs may be used to extracting troops from dangerous areas, but no flying support can actually touch down to pull the injured Marines out without a clear, relatively safe place to land.
As Black exits the laundromat, more Marines are gunned down in front of him by serious weapons fire. Take up a position using the now-disarmed van as cover, taking out any PLR forces on the street.
Eventually, you’ll get the call to take up some heavier arms of your own.
HOLD THE WALKWAY AREA
Quickly move Black up the nearby stairs toward the waypoint on your screen. Grab the LMG and get ready to push back against the PLRs flooding the streets. If needed, the corrugated sheet metal offering paper-thin cover can be knocked out with a burst from the LMG.
Once it’s cleared out,you can go prone and pop the bipod to steady the LMG while looking through it’s scope.
Gun down as many of the insurgents as possible, making careful note of ones that are grouped near the building to the left. As the crude cover disintegrates under a barrage of gunfire, move to another sheet of metal to allow the color to seep back into Black’s world.
A pair of explosive threats must be mitigated as best you can; grenades will be lobbed up onto the walkway even as RPGs are deployed to add even more pain.
Take out the RPG grunts first, as they present the most pressing danger. Don’t forget to keep an eye out for that grenade indicator; these guys have better throwing arms than you might think.
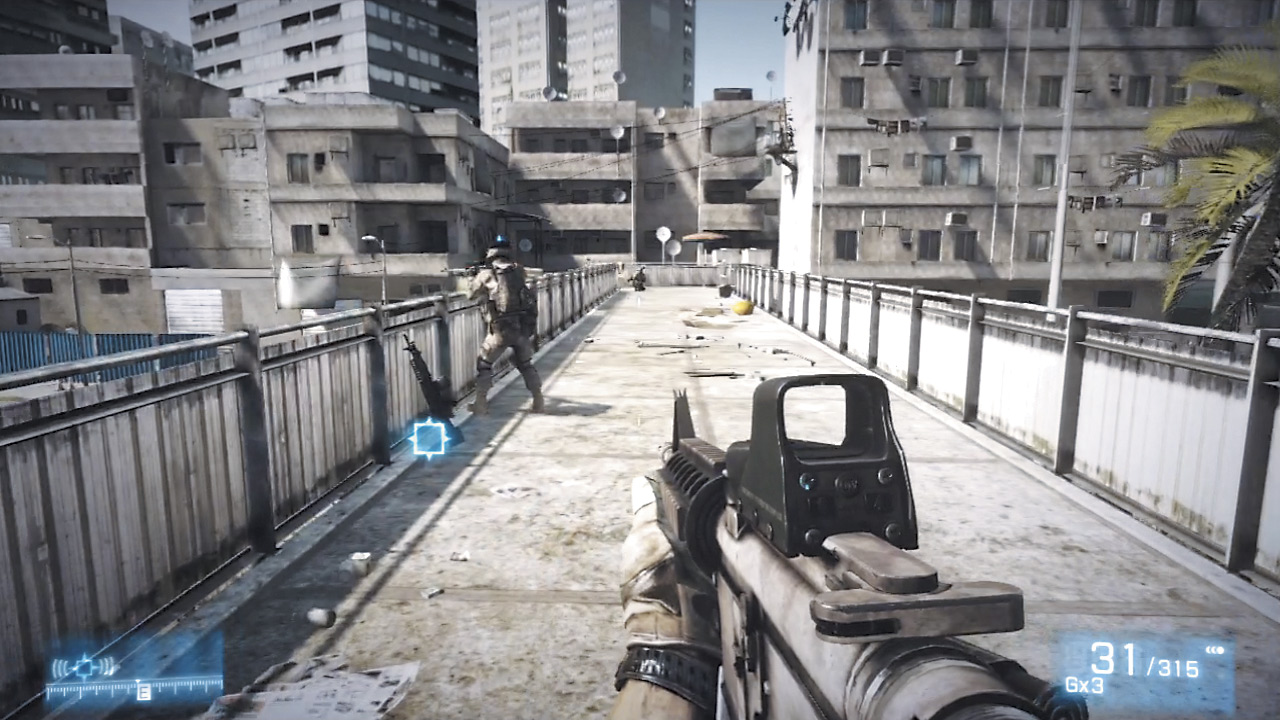
GET ON 50 CAL
Eventually, a pair of enemy vehicles with some heavier firepower will show up. Even with the LMG, Black’s not going to last long against them, so head back near the Humvee and hop in the .50 cal turret highlighted on the HUD to begin repelling more insurgent forces.
DEFEND
The most immediate threat that must be dealt with are a few PLRs directly in front of the turret and a few more near some cars to the right.
Both are capable of attacking Black quickly, so deal with them before turning the barrel on the stream of enemies pouring out of the street—at least until a real earthquake putting the previous tremors to shame rips through the streets of Al Sulaymaniyah.
Not only does it crinkle the concrete streets like so many sheets of paper, but the building dead ahead starts to pitch... and then tumble directly toward Black.