
Battlefield 3 Premium Guide Campaign Mission 11: Kaffarov
Kaffarov
Unit
GRU
Callsign
Dimitri “Dima” Mayakovsky
Location
Araz Valley, Azerbaijan
Date
November 9th
Time
0830hrs Zulu Time
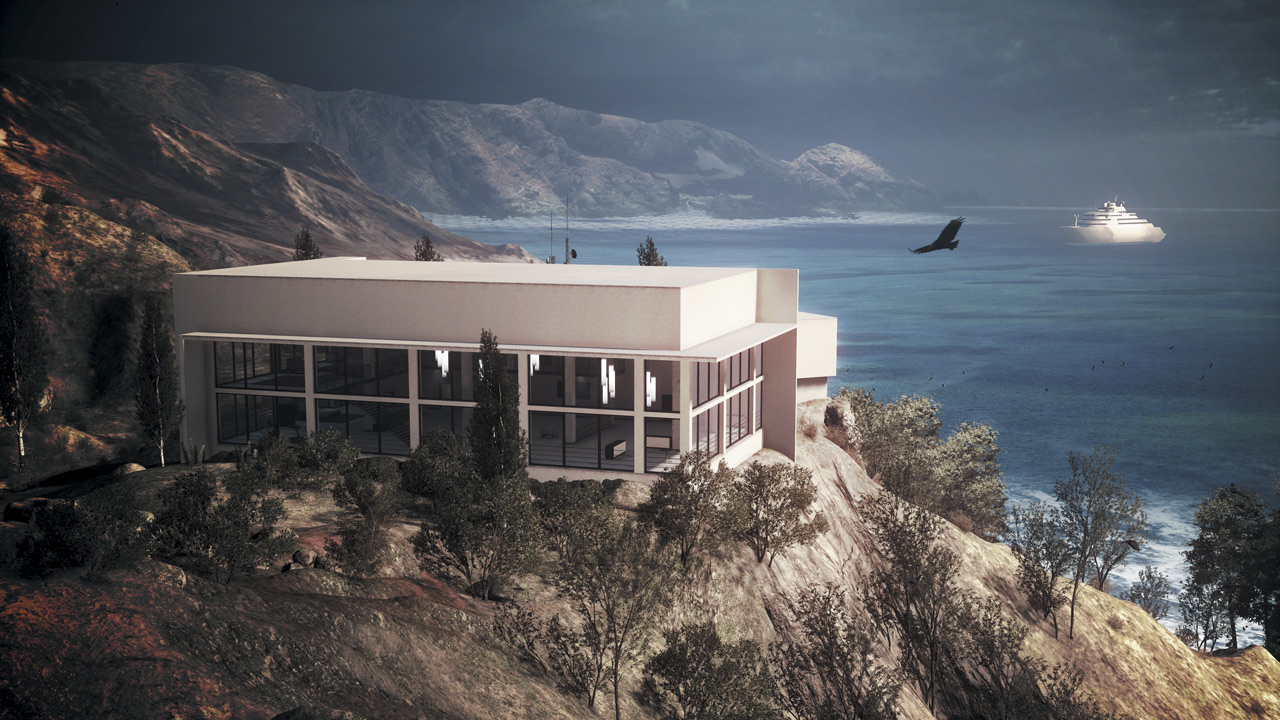
Dima and the GRU have precious little time left to reacquire and secure the nuke or risk an international incident over presumed involvement with Solomon. Even as Blackburn is crossing the valley, Mayakovsky plans to drop in on Kaffarov—literally.
In the dim red glow of a cargo plane’s belly, Dima and his friends check each other’s equipment and set their height sensors in preparation for the drop. After a few moments, Dima punches a button and the back of the plane opens.
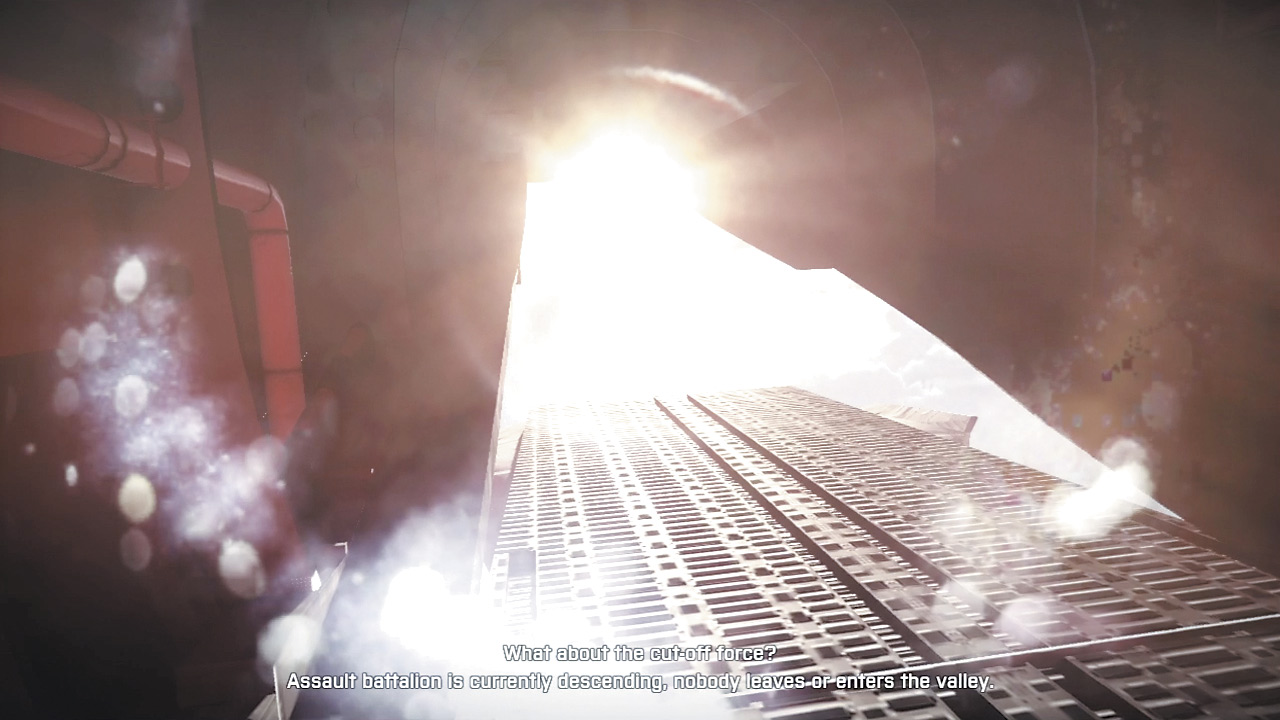
Looks like you’re taking the express route down to Kaffarov’s compound. When the green jump light comes on, take up a position alongside the supplies and push the whole thing right out the back before joining it in a thrilling free-fall.
HALO JUMP
After tumbling earthward for a few moments, enjoying one hell of a view, listen for a steady tone and use the Action Button to pull the ripcord. Once on the ground, stick close to the rest of the team and push onward through the forest.
The canister that was pushed out of the plane along with Dima’s crew was a weapons drop, a canister with serious firepower that will make getting into Kaffarov’s villa much easier.
Unfortunately, as you’ll discover when following the other GRU operatives, the canister has been discovered by a small group of Russians.
When your buddy drops to a knee next to a small mound, follow his lead but scoot around the right side to get a good firing position on the enemy below. Listen for the count to coordinate with your teammates, then simultaneously open up with small, quick bursts into the crowd.
The idea is to eliminate as many of these curious grunts in the opening salvo as possible. The moment the small group is fired upon, their friends near the cars to the south will quickly return fire.
Carefully drop down and open the ammo case to procure something a little beefier than your starting weapon.
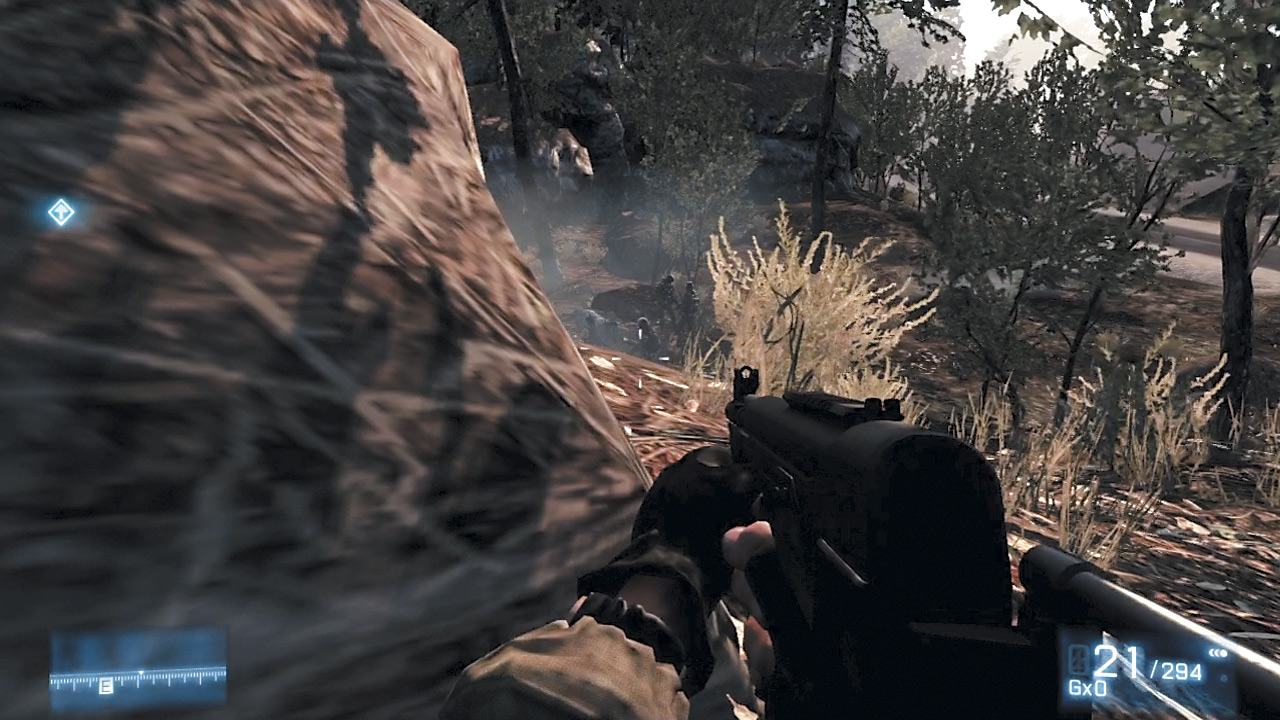
The enemies near the car can be surprisingly deadly thanks to their shotguns and eagerness to lob grenades right into whatever cover you’re currently using. Grab cover behind the smallish rocks closest to the vehicles.
Either pop up just long enough to find a target or scoot slowly around the rocks themselves to get a good firing position. Polish off the last of the threats before looking toward the vehicles themselves as a way in.
INFILTRATE KAFFAROV’S VILLA
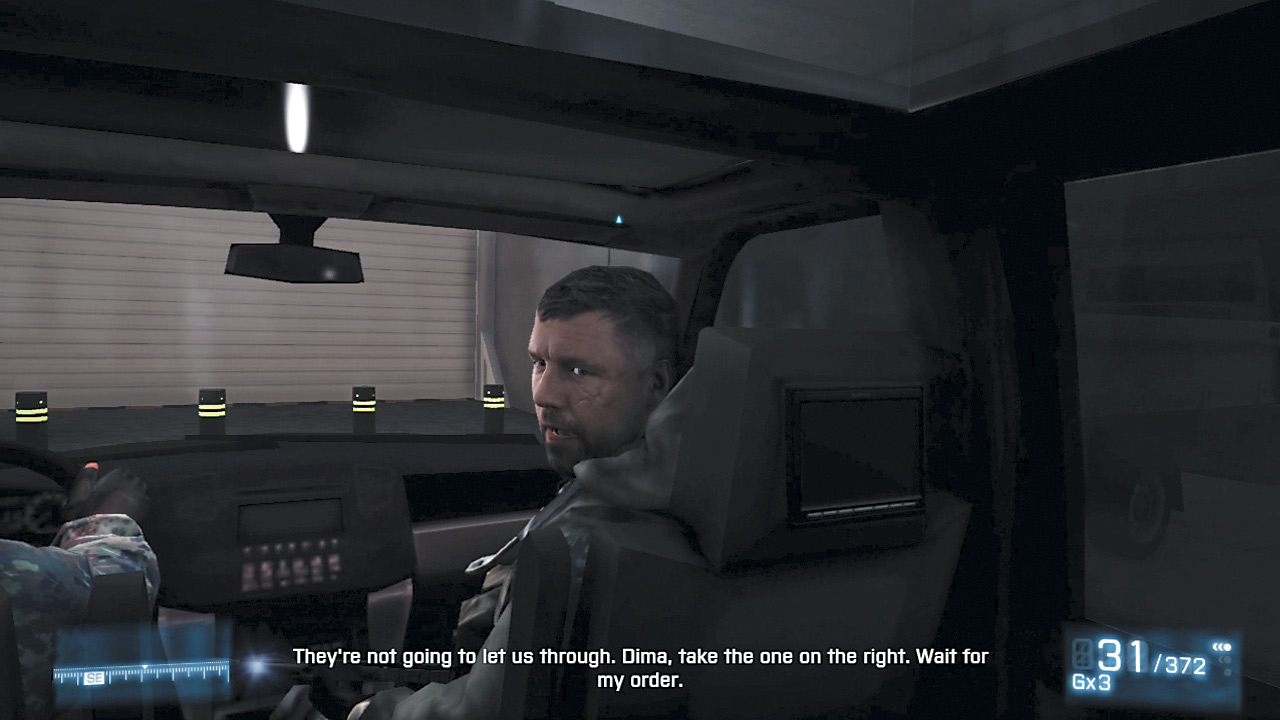
Hop in to the SUV’s back seat on the driver’s side and sit back while enjoying the privacy provided by the car’s tinted windows. Once inside the compound, get ready for a serious show of resistance.
Wait for the button prompt, then pull the trigger on the guard standing just outside the window and slip out of the vehicle.
The door to the control room is forced open, allowing the team to split up. Punch the switch on the wall to open your door and a sliding door for the other two GRU operatives.
ADVANCE THROUGH POOL HOUSE
A guard waits at the top of the stairs, alerted by the sound of the doors opening. Gun him down, then head up the stairs and immediately take cover near the stone wall ahead rather than one of the vehicles.
The reason becomes clear just seconds into this firefight: a RPG trooper up on the hill fires down at the cars whenever Dima takes cover near one. Pick off the RPG from your current position behind cover before taking aim at the many troops nearby.
They have no qualms about tossing an abundance grenades, so don’t be afraid to return the favor. Keep pushing up, gunning down more enemies as they spill out of more SUVs, but keep an eye out for more RPG fire as you push forward.
Slip into the small channel near the wall on the right side of the road and take out the tangos up above before pushing on.
Your GRU buddies move up quickly, taking cover near another series of walls and firing on the hostiles running down the hill. Although they mention a pipe nearby that can be crawled into to flank the enemy, it’s possible to just wait out the firefight here, pushing up as your teammates do, though it’s not nearly as sneaky or interesting as using the pipe to flank enemies.
Regardless, continue pushing toward the pool house. As Dima and squad near the house, they discover the garage door is sealed shut and take a detour to the front door. After entering, your teammates will stack up near one door, while you can take the one leading to the garage. Just as you breach, a guard tries to overpower Dima who shrugs the attack off without incident.
After Dima and the GRU bound up the stairs onto the pool house’s roof, another group of tangos opens fire from Kaffarov’s main villa. Deal with them easily using a scoped weapon with an infrared sight like the AEK-971 dropped by the guard in the garage below.
Stay low behind the planters here on the roof and pick off the enemies one at a time before moving up with your two buddies when the opposition starts to pull back.
Their retreat wasn’t a concession; snipers spill out onto the roof of the villa, and should be taken out as quickly as possible. Continue to counter them with the infrared scope.
The snipers come in waves, and can set up on the upper-most floor as well as the roof, so keep that scope moving to find the next target. Once all threats have been eliminated, it’s time to move into the villa and find Kaffarov.
Before moving on, keep the sniper rifle and swap out your other weapon with one of the DAO-12s laying around. The combination of short-range stopping power and infrared scope on this drum-fed semi-automatic shotgun is too useful to be overlooked.
CAPTURE KAFFAROV
The second the trio nears the front door, all hell breaks loose. Enemies try to push in from the left side of the room, so direct Dima’s shotgun spread to quickly take out the two guards on the right.
Flank any remaining enemies that are still engaging your buddies near the front door. When all hostiles have been cleared out, take a multi-story approach to tracking down Kaffarov; Dima heads up the stairs while the other two deal with ground-level threats.
A single guard waits at the end of the hall after heading up the stairs. Take him out, then move into the next room, keeping an eye out for a guard that’s standing on the deck.
If he retreats to the adjacent room off the deck, just take him out through the windows before he can draw a bead. An Ammo Crate is your reward, as is an empty set of hallways for the rest of this upstairs trip.
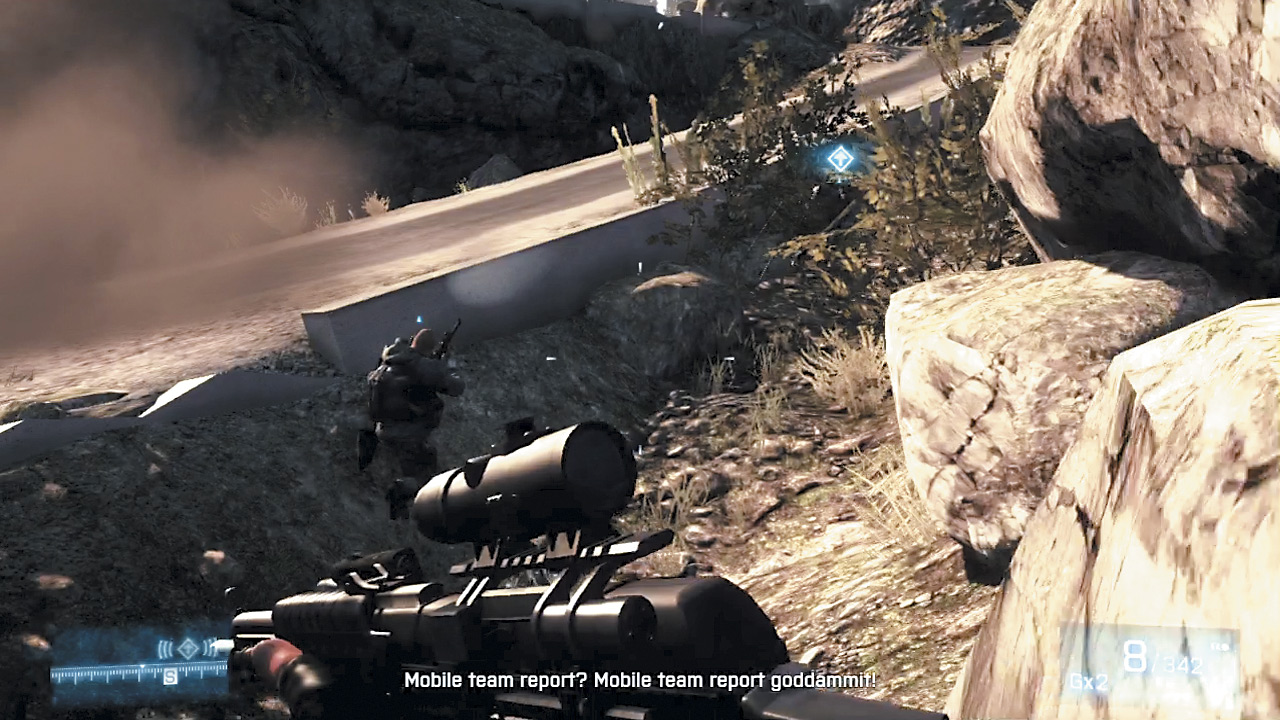
After heading back down the stairs ahead to meet up with your buddies, swing around the corner facing the sunny deck outside and gun down a few more guards in the room ahead.
The staircase leads up to an even sunnier pathway, but there’s a hidden danger lurking here, so proceed slowly.
Once the room is clear, your buddies will stack up on the door and wait for you to breach. Unfortunately, there’s another surprise waiting on the other side: a shotgun-armed grunt blows holes in the door when you draw near. Keep clear of the line of fire while Kiril tosses in a grenade the team breaches the room.
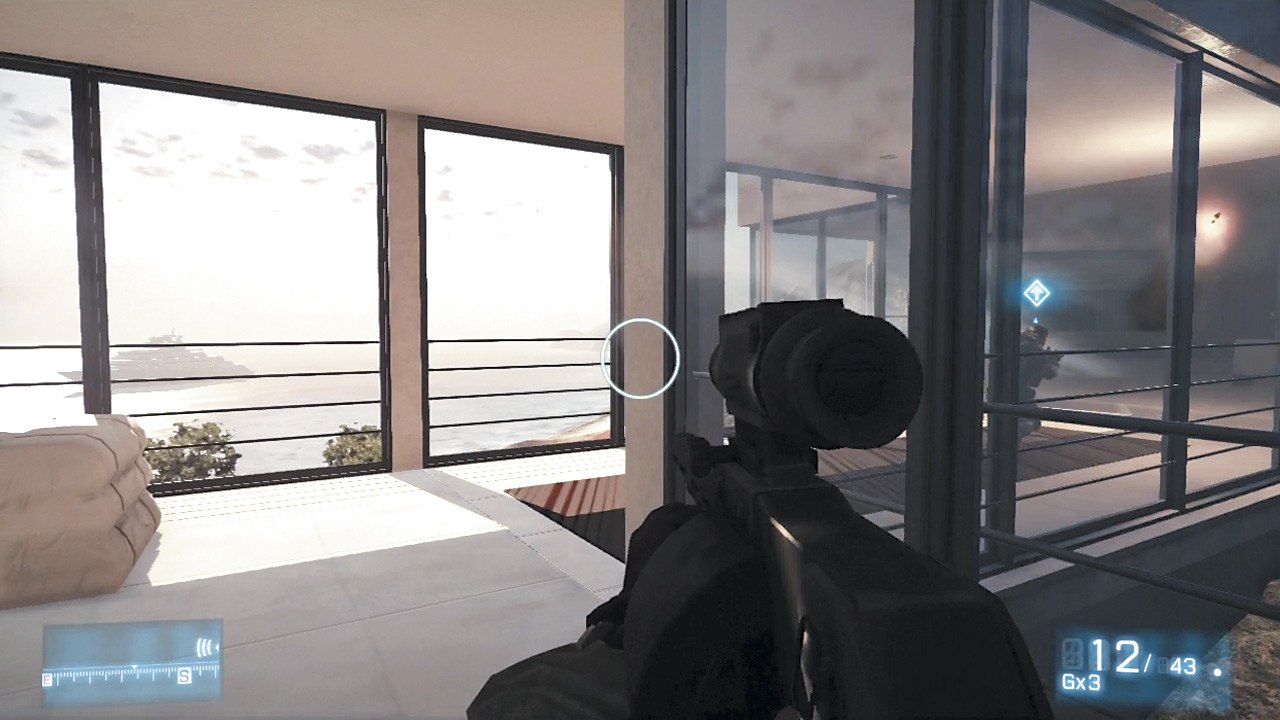
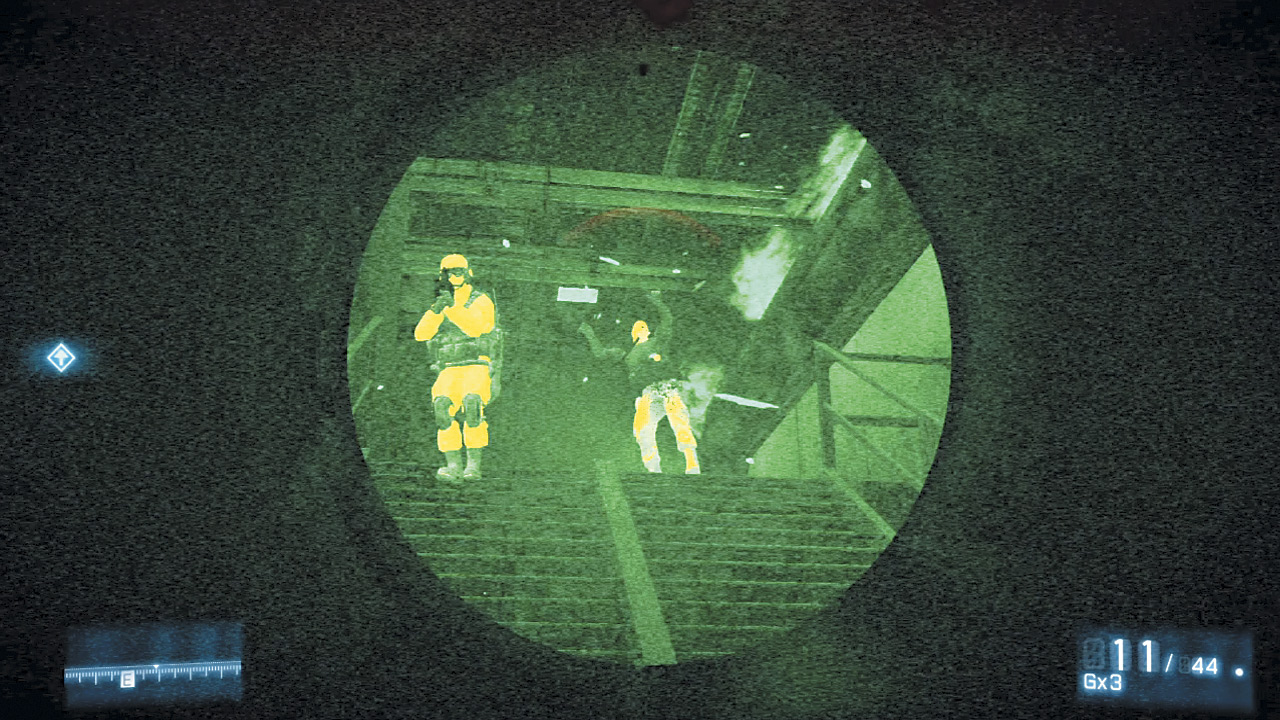
There are quite a few enemies in this darkened room, which makes having an infrared scope that much more important. Drop to a knee to use the many couches here for some cover, then sweep the outside of the room to take out as many guards as possible.
Head up the stairs and watch the left door at the end of the room for a surprise guard. The other two squadmembers will stay on the lower level, leaving the upper floor all yours. The door on the right leads out to another set of furniture being used for cover.
Eliminate the guards up here before helping your buddies below to avoid being tagged in the back while providing support. When all the guards are dealt with, head downstairs to regroup.
Head into the red room, restocking on supplies at the Ammo Crate as needed. This is it, the final push toward the fleeing Kaffarov. Head down through the blackened corridors before turning left into a long hallway absolutely swarming with enemies.
Infrared scopes are invaluable here, particularly on a sniper rifle. But in a pinch, the enemy’s own flashlights can be used to target and take them out before they can fire.
Move up slowly, using the columns as cover while eliminating as many enemies at long range as possible. It’s extremely easy to get flanked or to have cover blown away, so move between cover often and don’t be afraid to go prone behind a buddy to recover health.
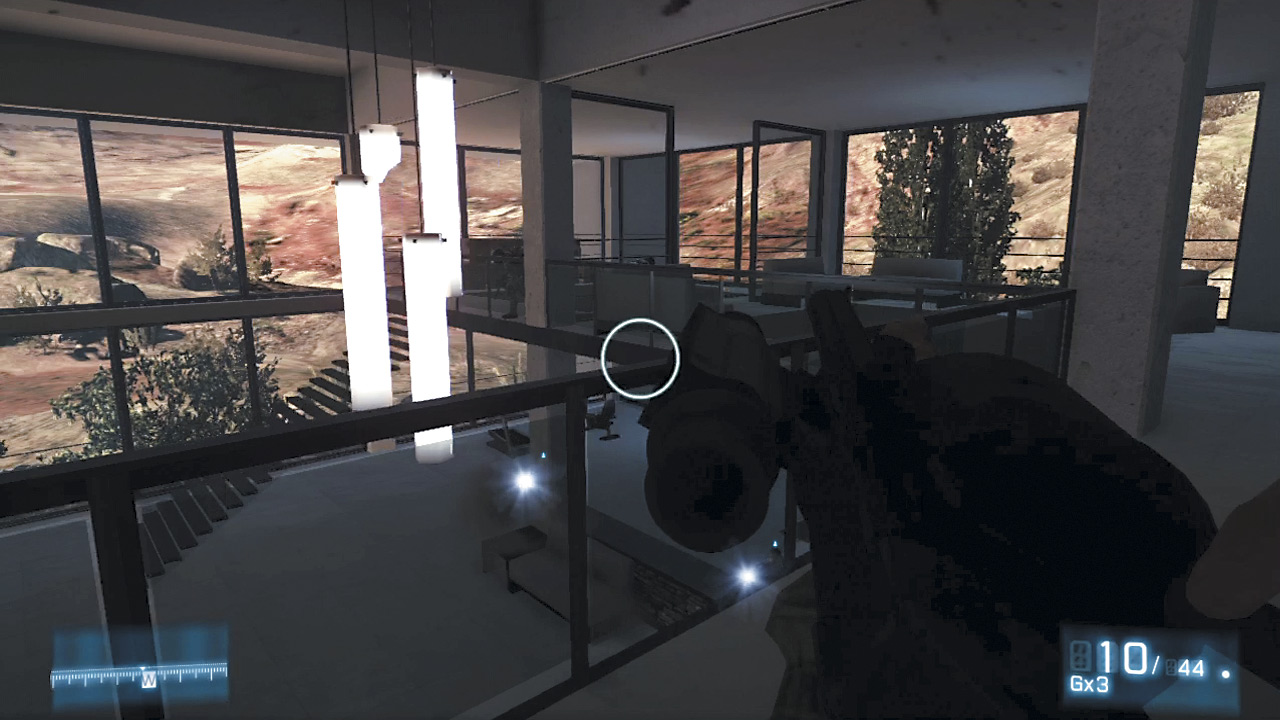
One of your comrades will kick open a door revealing a room beyond bathed in flames. There’s no point in trying to push through this area; the two lethal machine gunners laying down fire at the far end are protected by a wall.
Instead, follow the waypoints downstairs into a training area. This low-light section is filled with automated targets and hidden guards with laser sights that will blind if pointed directly at Dima’s face.
Move from room to room slowly, thoroughly eliminating each area’s threats before moving on. Be mindful of enemies that can appear on the upper catwalks.
[ ACHIEVEMENT | TROPHY ]
Practice Makes Perfect
While moving through this little practice range, don’t forget to stop and headshot all of the automated targets in here for an easy reward: the Practice Makes Perfect Achievement/Trophy—just don’t forget to concentrate on any enemies that might be in the room first.
Traverse the whole course, and don’t be afraid to head upstairs to make sure you’ve tagged everything before moving on.
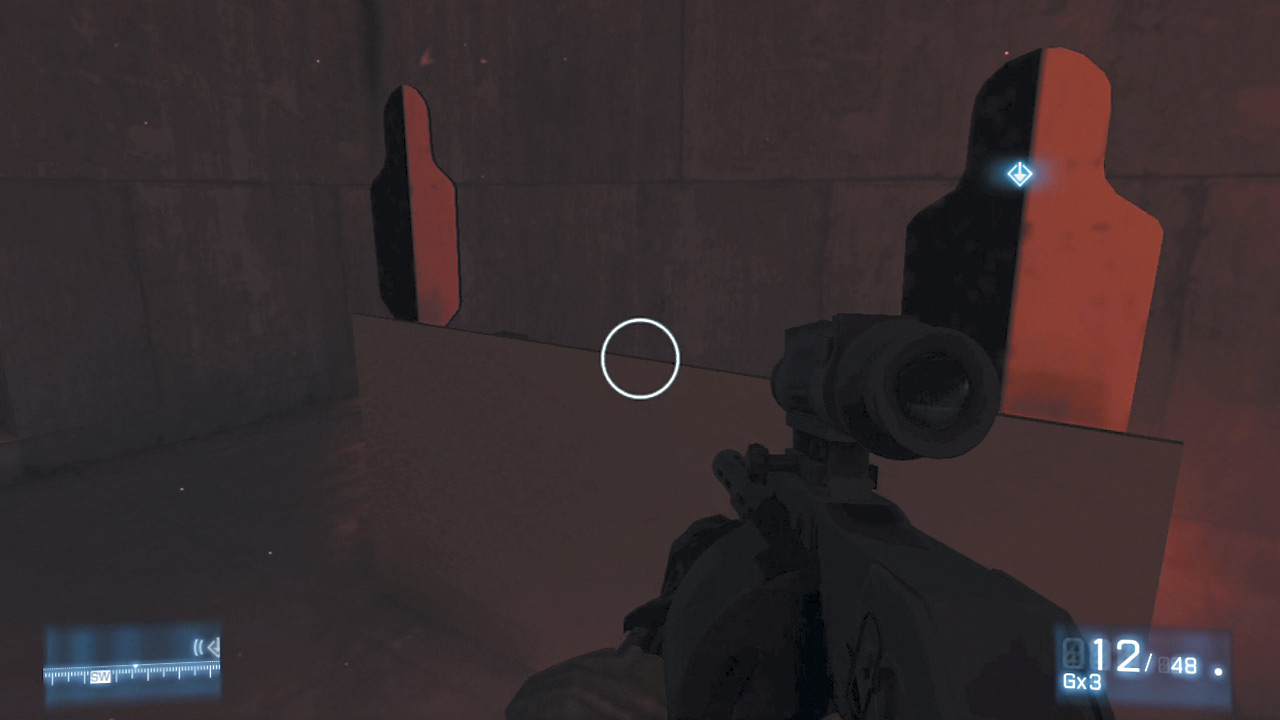
After dealing with the threats in the firing range rooms, head up the stairs to confront a few more guards in the room beyond the glass door. Inside wait the two machine gunners from that long, fiery hallway where your buddies have been waiting for you to flank the protected gunners.
Gun down all the guards in this room to open the way for your friends to regroup before pressing onward. One of your GRU teammates will kick open a door leading to another staircase revealing a few guards at the top.
Rush the staircase, unloading on any tangos as you push through the fire and explosions. At the top of yet another staircase wait a few more guards, but they can be taken down in a similar fashion as the last, especially if you’re still rocking that DAO-12. Gun them down, then head for daylight.
Kaffarov is getting away! Sprint toward the helicopter and press the Jump Button to grab onto one of the struts before the chopper can fully lift off. A simple Quick Time Event plays out, revealing an awesome mid-air bail-out and some parting words of disappointment.