
Battlefield 3 Premium Guide Campaign Mission 5: Operation Guillotine
Operation Guillotine
Unit
1st Recon Marines
Callsign
Sgt. Henry “Black” Blackburn
Location
Tehran, Iran
Date
October 31
Time
0645hrs Zulu Time
MISSION SUMMARY
Despite the military’s best efforts, there are no specifics regarding the valuable intel believed to be in Tehran. Black and the rest of the 1st Recon Marines must push past heavy defenses in the Iranian capital in the hopes of seizing vital information.
What Black doesn’t know is just how valuable that information will be...
SET UP MORTAR
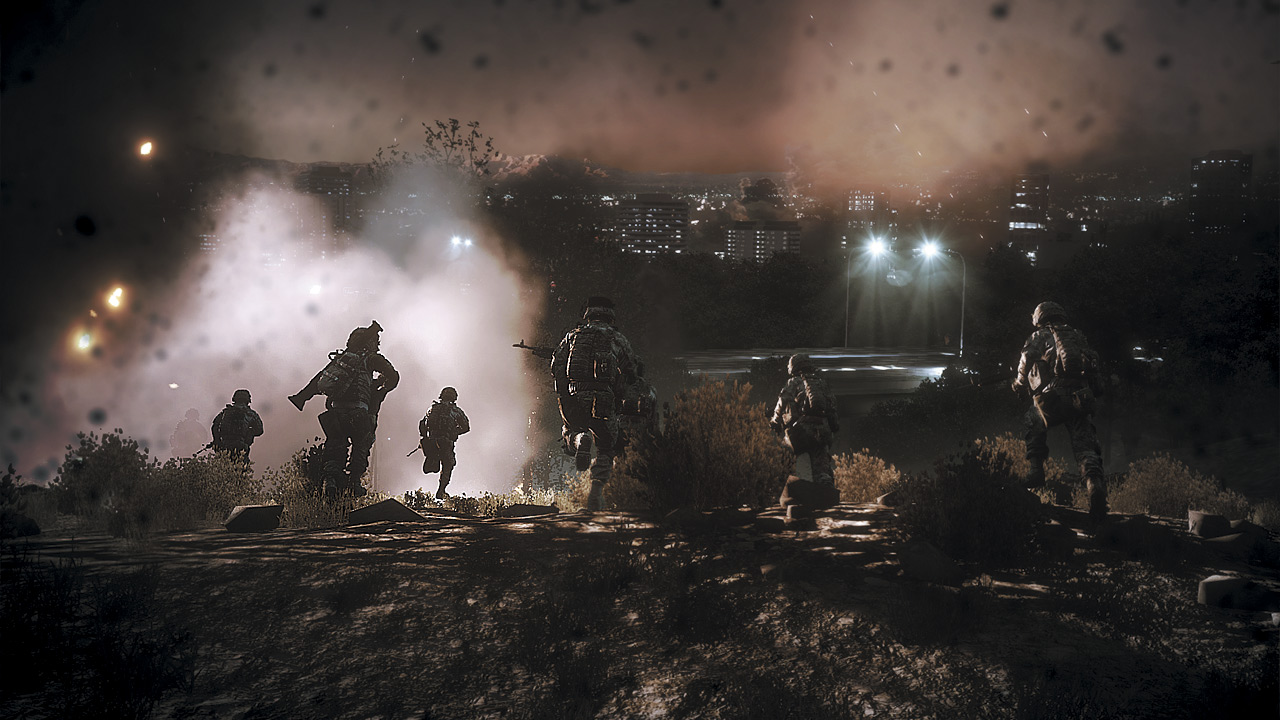
Seeing Tehran lit up by both buildings and weapons fire alike almost gives you pause to take in the beauty... if not for the fact that, in just a few seconds, Black and company will be sprinting for their lives through incoming fire. A
fter getting orders from HQ, a mass of Marines gears up and charges down the hill. Their destination is a site for Black to set up the mortar he’s carrying and provide light for the invading forces.
The enemy strikes aimed at slowing the advance have their targets dialed in. This helps Black avoid taking damage by skirting the areas that areregularly hit.
Travel along a slightly zig-zagging path right down the middle to arrive the mortar site without a scratch. Once in place, Campo assists Black in deploying illumination rounds to shed a little light on the situation.
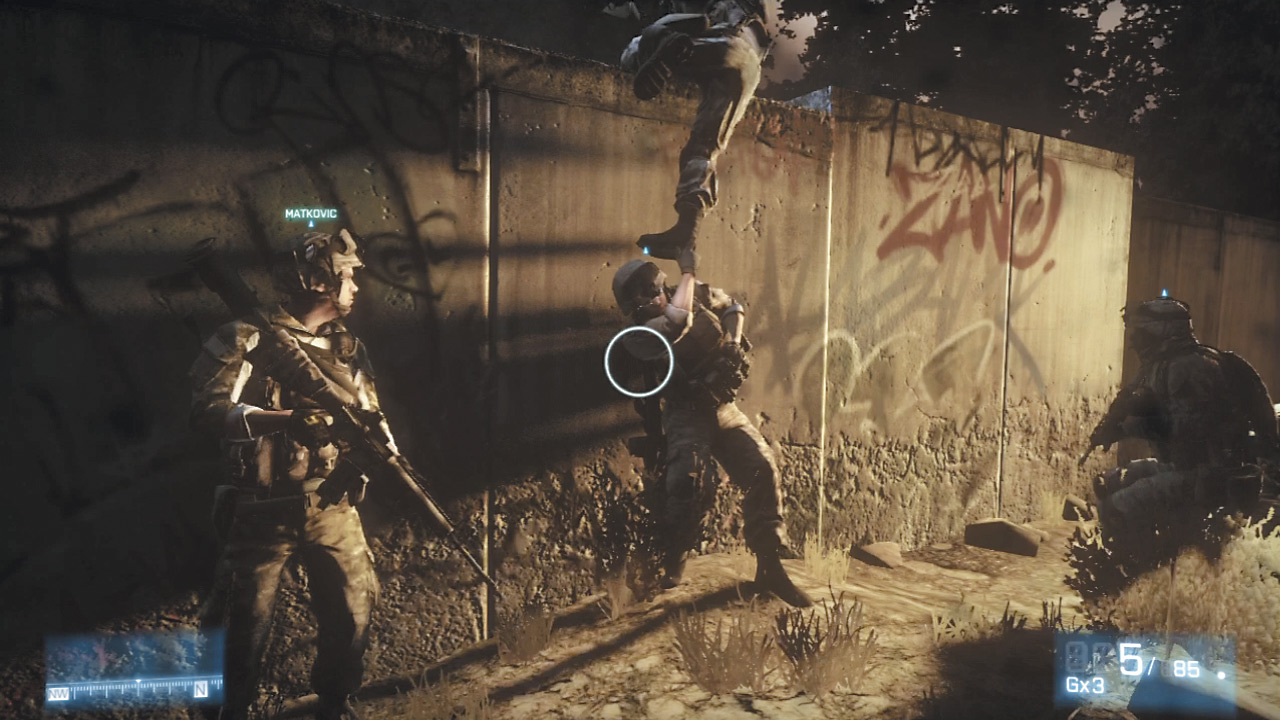
After that, Black gets boosted over the nearby wall by a helpful fellow Marine.
CLEAR RIVER BANK
Immediately after scaling the wall, all hell breaks loose. The PLR has set up a generous complement of ground forces and, farther up, machine gun nests to really complicate things.
Deal the most immediate threat first: the enemies on the other side of the canal. Move left behind the cover afforded by the large rocks, and then drop to a knee or go prone.
Sneak out slowly to the right while scoped to take out the bridge targets as they come into view. If you come under fire, simply scoot back to the left to recover health before resuming your attack.
Once all four enemies on the far side have been taken out, it’s clear to charge down the hill into the riverbank itself.
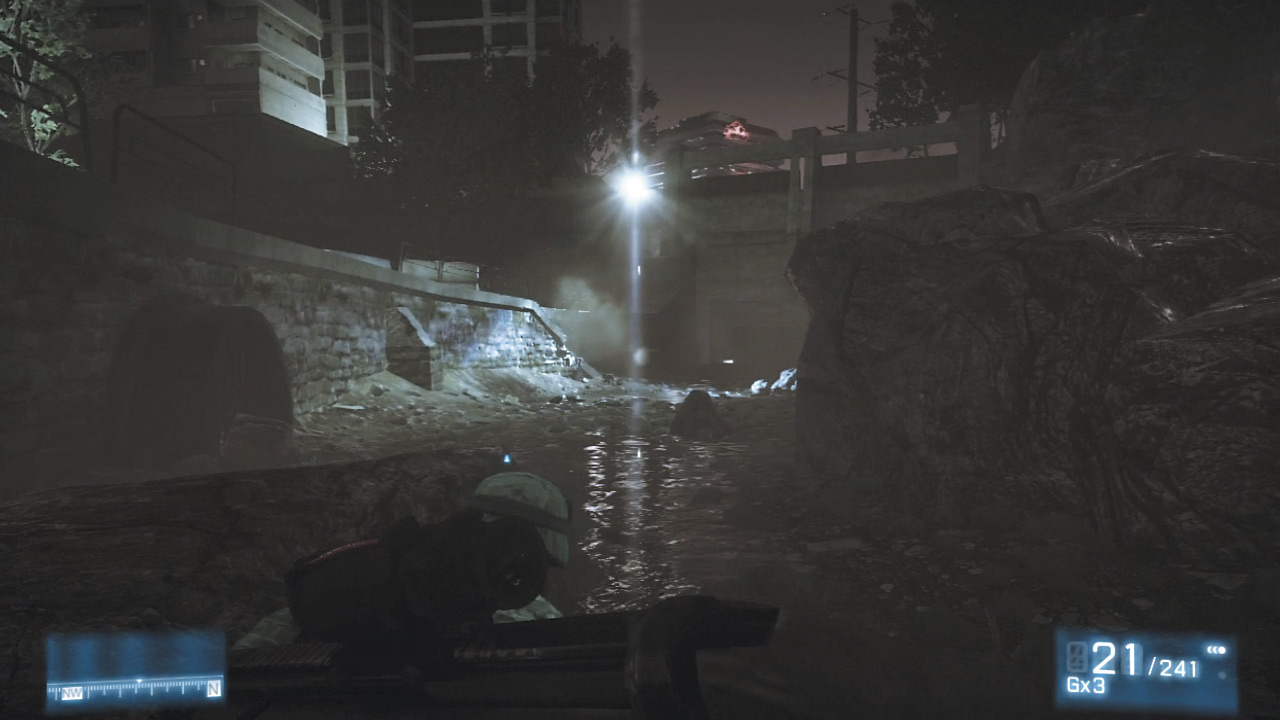
Danger in this next section can come from multiple angles; PLR up above will fire down into the canal as their friends use the staircase at the far end of the canal to push back at ground level.
Deal with the upper enemies first, using the boulders and wall to the left to avoid incoming fire as needed. Gun down the enemies in the creek bed next, pushing up toward the stairs where a waiting MG nest blocks further progress.
ELIMINATE MG NESTS
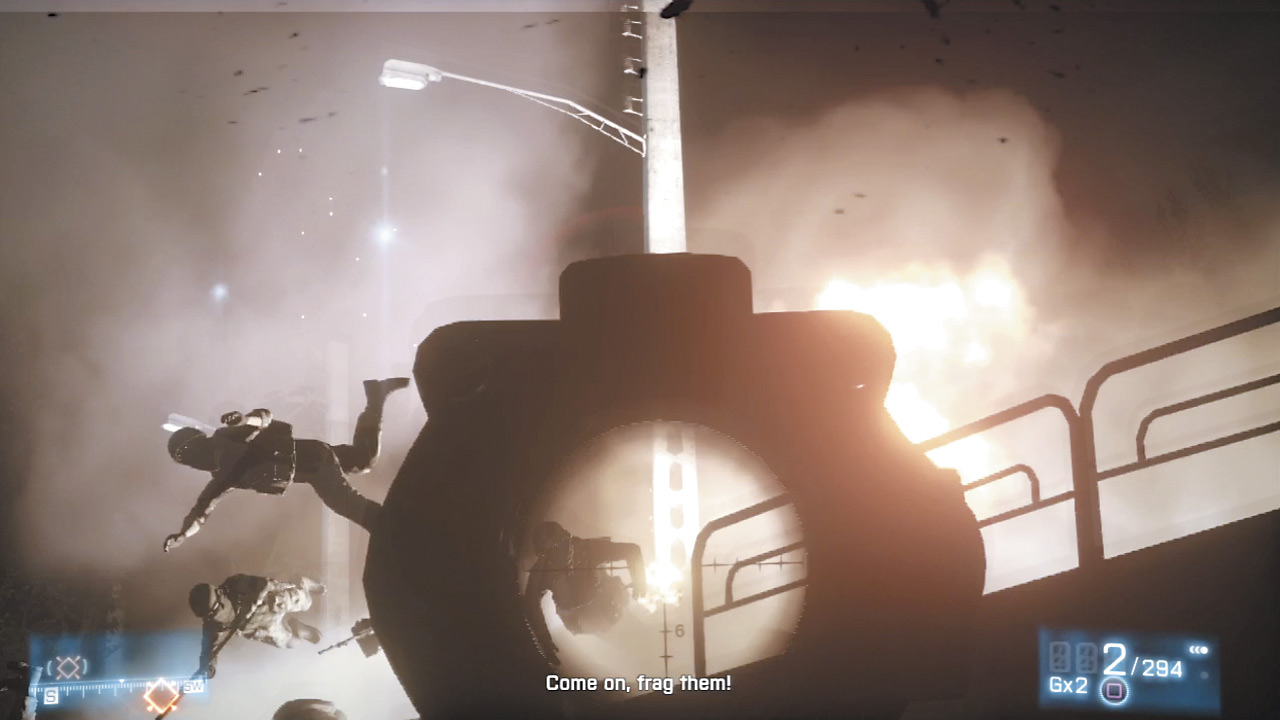
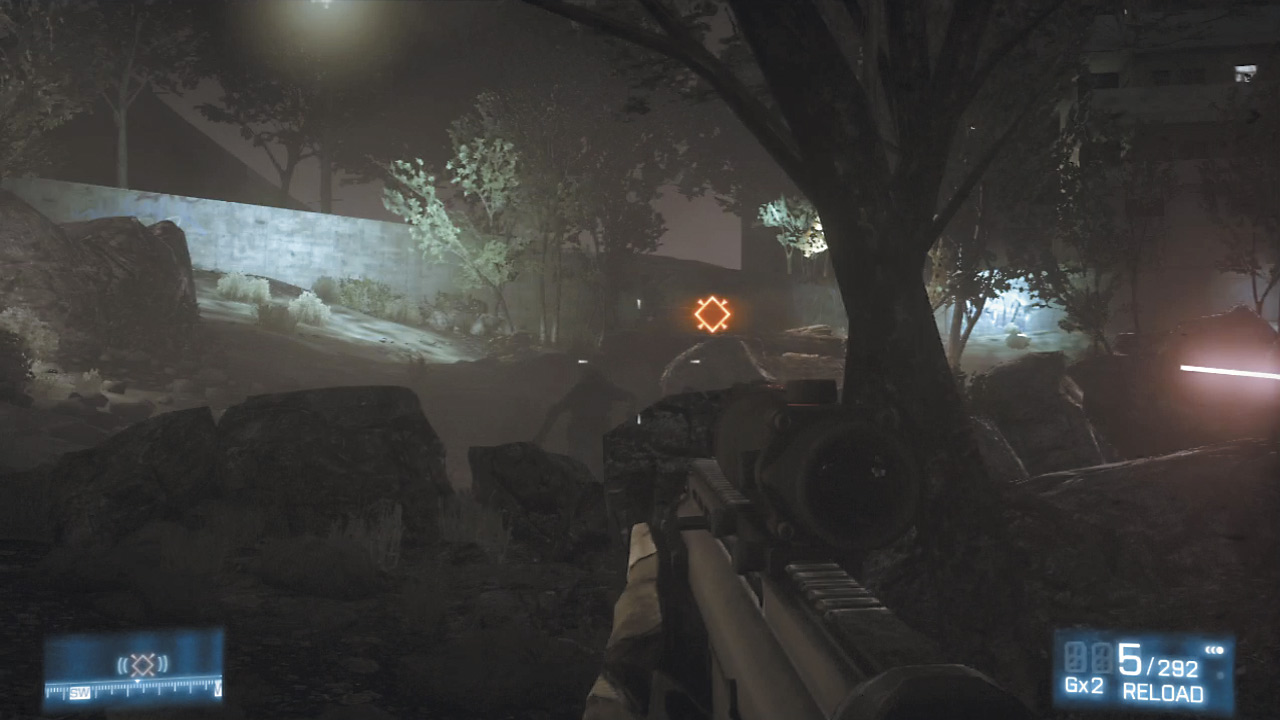
There’s a good chance Black and the other Marines will come under heavy fire as soon as they crest the hill, so dive into a prone position behind the sandbags of the second MG nest.
Sweep left, diving as needed, to a large rock that provides cover from the enemy forces. Keep an eye out for PLRs up on the top of the wall that might fire down, but focus on the bulk of incoming fire coming from directly ahead.
A few PLRs are standing, mostly stationary, off in the distance and can tag you quite well when in the open. Use the wall to the left as a guide and move up, leapfrogging over the nearby boulders that provide cover while watching your right flank for any PLRs that might still be up.
After taking out any remaining combatants near the stairs, push up them to reunite with more Marines as they lob a grenade into the nearby apartments.
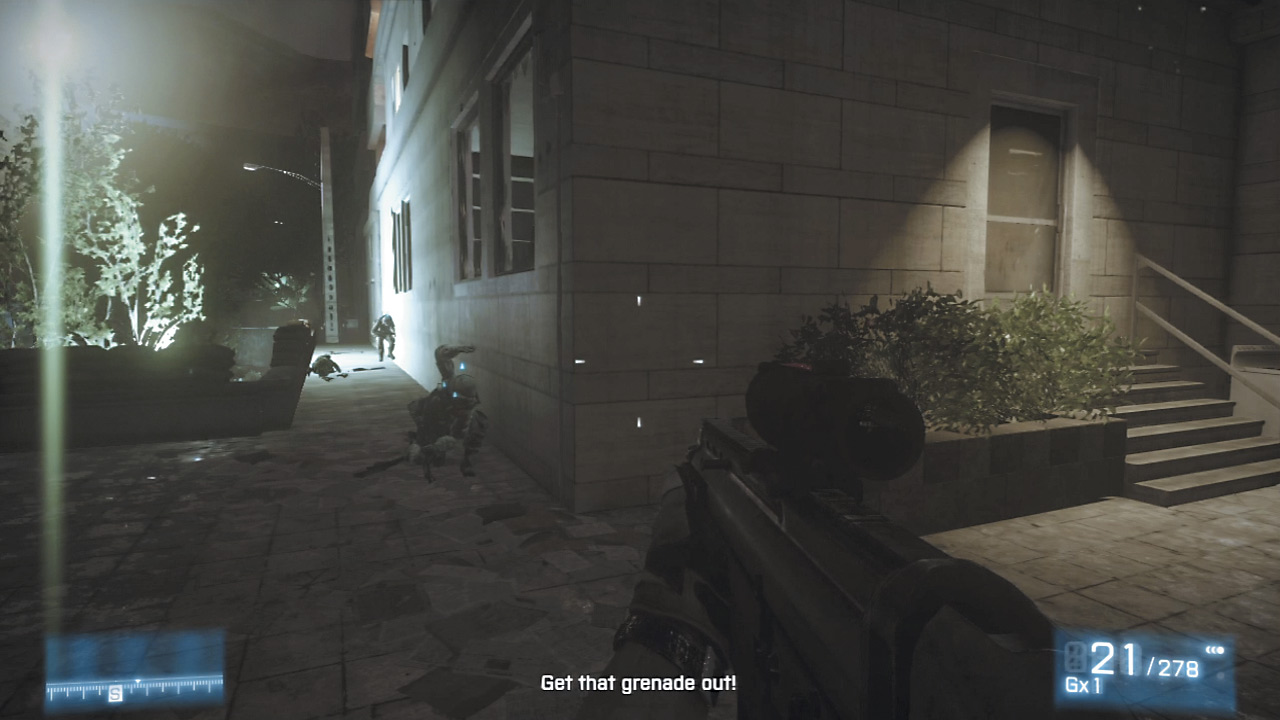
The grenade’s explosion has thoroughly cleared the first few rooms of PLR. After bypassing an insurgent that met an unfortunate, fiery end, move through the buildings until reaching a door that requires button mashing to breach.
Beyond wait more empty corridors and rooms, and another door to breach.
REGROUP WITH BRADY
Moving through the rest of the apartment complex is blessedly free of PLR encounters. Eventually, the corridors spill out into a garage where the rest of the Marines are being led by Captain Brady.
Black and his squad are ordered to jump into a Humvee convoy on the way into the heart of downtown Tehran. Obey orders by jumping into the passenger seat of the second Hummer in the convoy.
Enjoy a brief respite as the group of vehicles winds its way through what’s left of the captial on the way to the financial district.
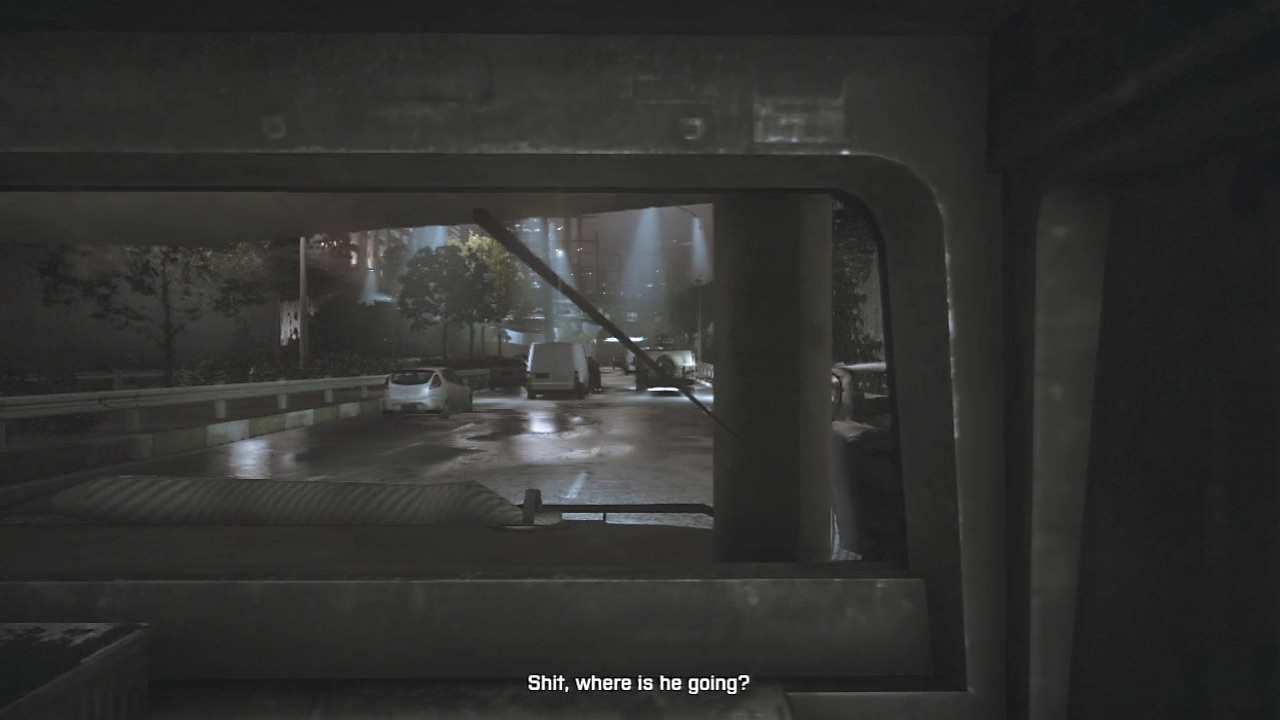
FOLLOW BRADY IN HUMVEE
The Humvees meander through the wreckage of Tehran’s highway system without incident, though Captain Brady’s talk of trying to catch the PLR off-guard by driving right into the middle of an ambush is a little disconcerting.
The convoy finally reaches an impasse due to a car parked right in the middle of the road. Ordered to investigate the blockade, Black and buddies hop out of their armored transports and into a potential trap.
MOVE VEHICLES BLOCKING THE ROAD
Oh, hey, a stalled vehicle, this definitely isn’t a trap or anyth-
Oh, yep, that was a trap alright. Well, if it’s a fight the PLR want, the United States Marine Corps can most definitely provide it.
FLANK ENEMIES
Follow your fellow squadmates’ lead and sprint as if your life depended on it because it does. Speed is of the essence here. When you arrive at the wall formed from the (literally) jacked-up street, make sure to duck or go prone and scoot under the overhang.
If you’re standing, the PLR on the overpass above can still snipe you well before you get a chance to get the drop on them. After a few seconds, another sprint up the stairs and under the overpass begins.
Follow your squad through the belly of the bridge, up a couple flights of stairs and to a door leading out to the overpass itself. Campo kicks open the door, and the counter-attack is on.
While this bridge provides plenty of cover, it’s also populated with some crack shot PLRs. Use the distraction of the convoy below to get the drop on the pair of PLRs on the left side of the bridge, then quickly duck back into cover behind the large truck nearby.
CLEAR THE BRIDGE
There are quite a few PLR tangos downrange, both on the bridge itself and on an elevated bit of rubble far off in the distance. Take this shootout slowly; just a few shots from these enemies can end Black’s career quickly (especially on higher difficulties).
Peek out, squeeze off a few shots if a target hasn’t already acquired you, then get back into cover. When there are no clear targets from your position, sprint forward and find another safe piece of cover.
Keep taking out threats here and advancing until nothing stands between the squad and that ledge at the far end of the bridge.
FOLLOW SQUAD
Head toward the wall and use the Jump Button to climb up, then quickly take stock of the situation down below on the other side. There are plenty of cars to use as cover, so resist the temptation to use this lofty perch to take out enemies.
There’s nothing in the way of quality cover here, and Black will be just as exposed as the PLR troops stationed here. Jump down and slowly make your way up through the makeshift parking lot, making sure to drop to full prone if you take too much fire.
These enemies are well hidden by darkness, so look for muzzle flash and do a little medium-range sniping as needed before moving up a bit more. As the squad makes its way to the top of the hill, something far more dangerous crashes through the wall to the left.
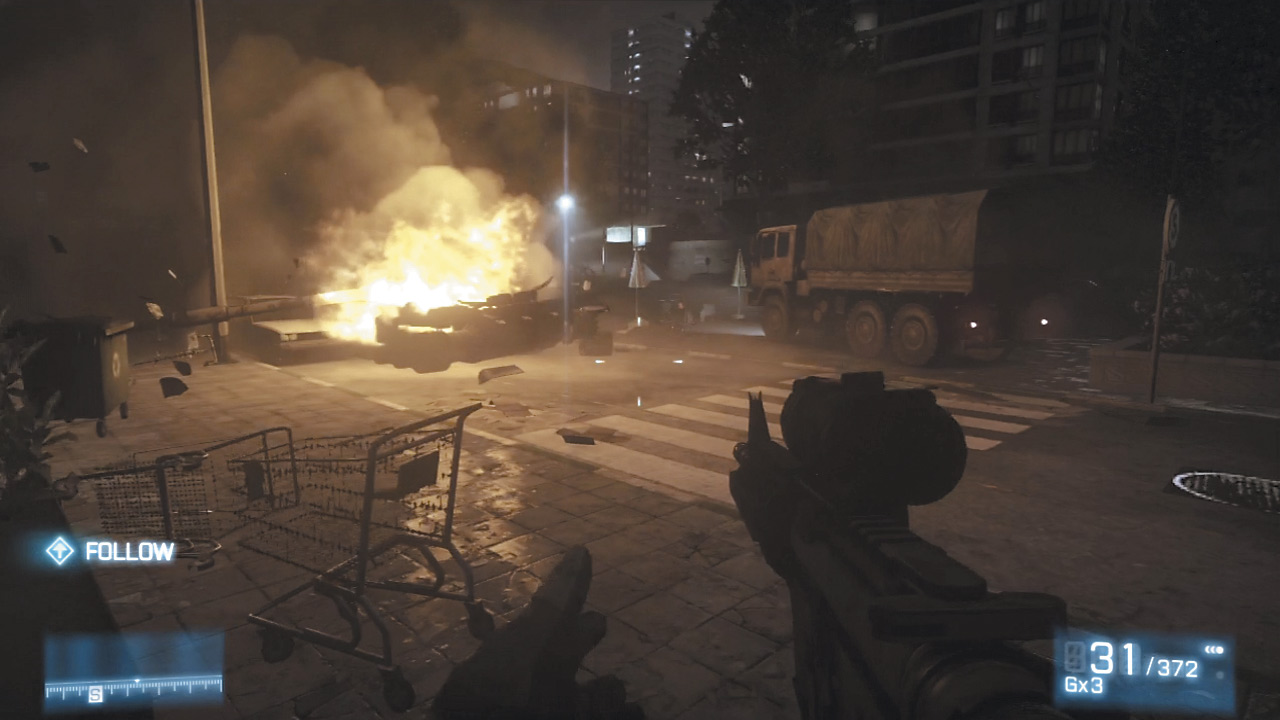
FLEE TANK
Yep, that’s a friggin’ tank. Without anti-tank weaponry to even the odds, the only smart move is retreat. Run toward the rest of the squad as they make their way through a small channel cut out of the earthquake-riddled street and do not stop sprinting until you reach safety.
The tank is seconds from completely obliterating the entire squad, so this is most definitely a run for your life scenario.
FOLLOW SQUAD
Worm your way through the darkened building with your buddies until finally reaching the outside again and one hell of view. A massive bank looms overhead, dwarfing the other buildings nearby and allowing a small breather... right before a familiar friend shows up to spoil the sightseeing tour.
Thankfully, that air support that was called in seconds before the squad emerged from the building does its thing in the nick of time, reducing the tank to a burning mess of rended metal.
Count your blessings while following the rest of the squad toward the bank, taking heed of the warning that this wasn’t the last tank the PLR has at their disposal.
SUPPORT JAVELIN TEAM
Sprint across the street, leaping over the low dividing walls between lanes and up the stairs to encounter a trio of PLR goons that have overwhelmed the Javelin team.
A fourth insurgent attempts a flanking attack by kicking open the door to the portable building to the right after his friends are down. Show him what waits for those that try to surprise a Marine before considering what’s next.
DESTROY REMAINING ARMOR
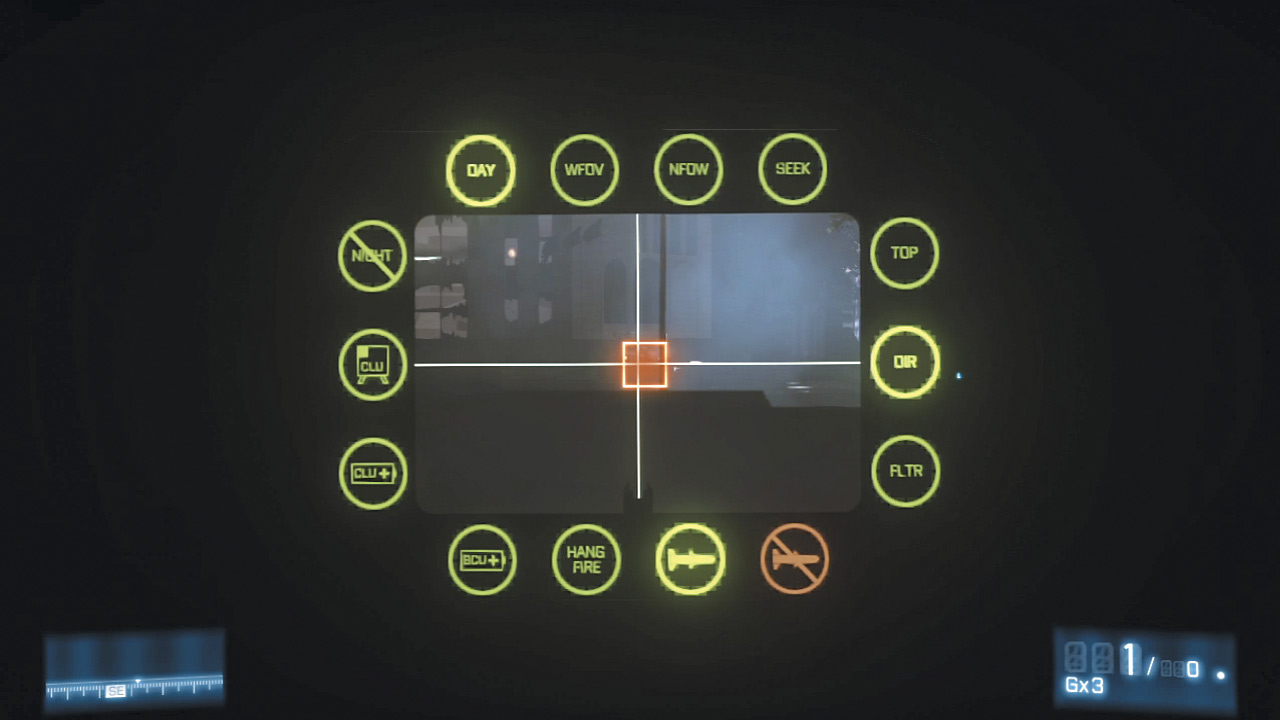
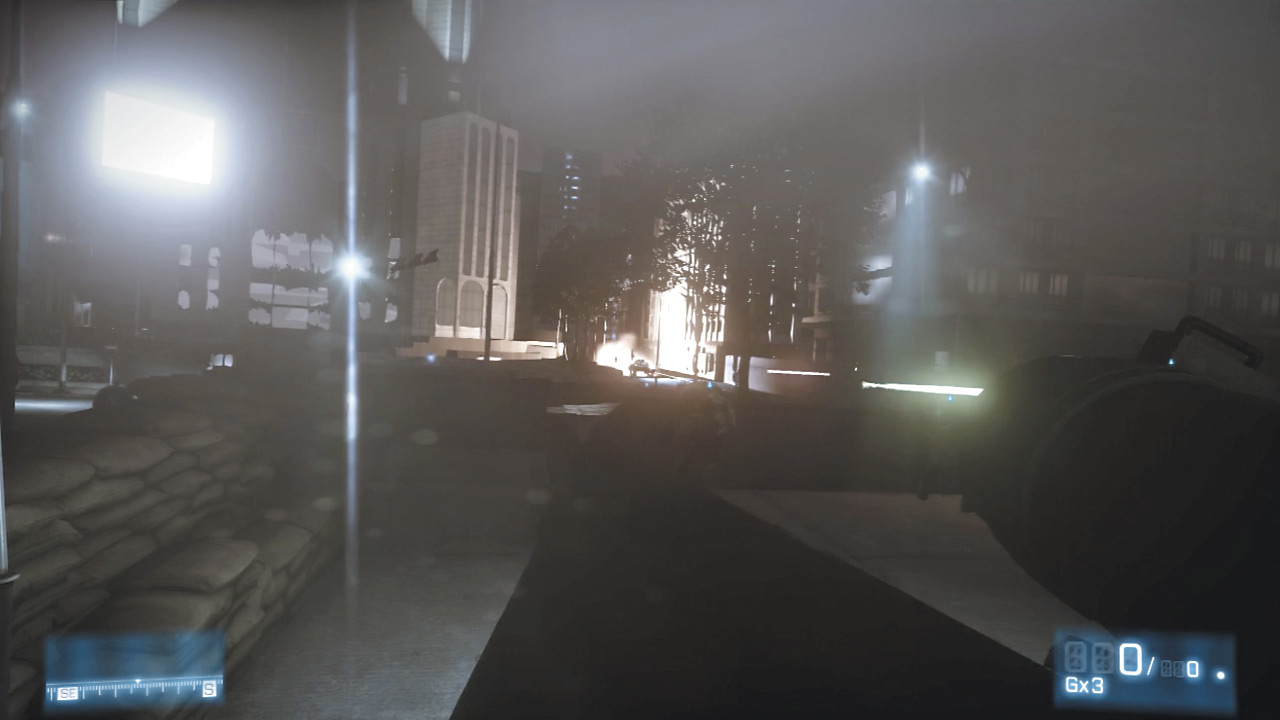
With heavy armor quickly approaching, securing a means to remove them in lieu of a dedicated team is vital to the success of the mission. Thankfully, there’s a Javelin waiting near the sandbags.
The only problem? The tank guarding the bank is pointed right at the squad, meaning standing up with a giant anti-tank weapon is only going to make Blackburn a priority target.
Drop to the ground and listen for the tank’s main cannon to fire, then stand, aim, and lock on before firing. Immediately drop back down into a prone position to avoid the tank’s inevitable return fire while the Javelin completes its roller coaster trip toward that lock-on target.
Once the tank is out of the way, it becomes a little easier to pop Black’s head up to scope out the situation, but things are going to change, and fast.
If one tank is bad news, then two is akin to getting bathroom duty for a year. While the head’s in constant use. In Hell. The strategy here isn’t wildly different from last time, but the importance of keeping your ass down most definitely is.
The only time you should be doing anything other than laying down and listening is when you’re getting ready to fire. Keep an ear out for the main cannon’s fire (bearing in mind it’s more than capable of destroying any nearby walls to get at the squad), pop up, lock on and then flatten yourself immediately.
Try to slide to the right or left a ways while listening for the second tank’s cannons to fire, then pop up and repeat.
The first tank will roll from the main street to the left, right up into the center of the bank’s courtyard, allowing a precious few seconds to lock on before it can swivel the main gun around to take aim.
The second tank isn’t nearly as forgiving, steaming straight toward the squad down the street to the right of the bank. Take your time here and stay mobile even while on the ground; if Black goes down here, the entire three-tank disposal sequence must be repeated.
REGROUP
When all three tanks have been taken out, sprint across the street below toward the bank’s courtyard. There’s plenty of incoming fire from the PLR sitting in the upper windows of the bank, so use cover as needed until crouching with the rest of the group and awaiting orders.
The push toward the bank was only the first part of the mission. Now it’s time to find the back way into the massive building.
FLANK THE BUILDING
With so much firepower coming from the bank, a frontal assault would be suicide, but perhaps a smaller group of Marines could sneak by and slip in through a different entrance.
Follow the squad, making sure to sprint by the staircases as the group rounds the plaza. When everyone stacks up near the left set of stairs, wait with them, then make a run for the sandbags near the middle of the plaza.
Pop up when the other Marines offer suppressing fire and continue sprinting up the stairs directly ahead, slipping around the left side of the building toward a few more PLR obstacles.
Gun down these grunts and continue skirting the left side of the building, getting a boost over the wall toward the next obstacle.
ENTER THE BANK UNDETECTED
After dropping into this back area, head toward the waypoint marker and get ready to give your buddy a boost. He’ll climb up and kick down the ladder so you can join him in a seriously precarious bit of gymnastics.
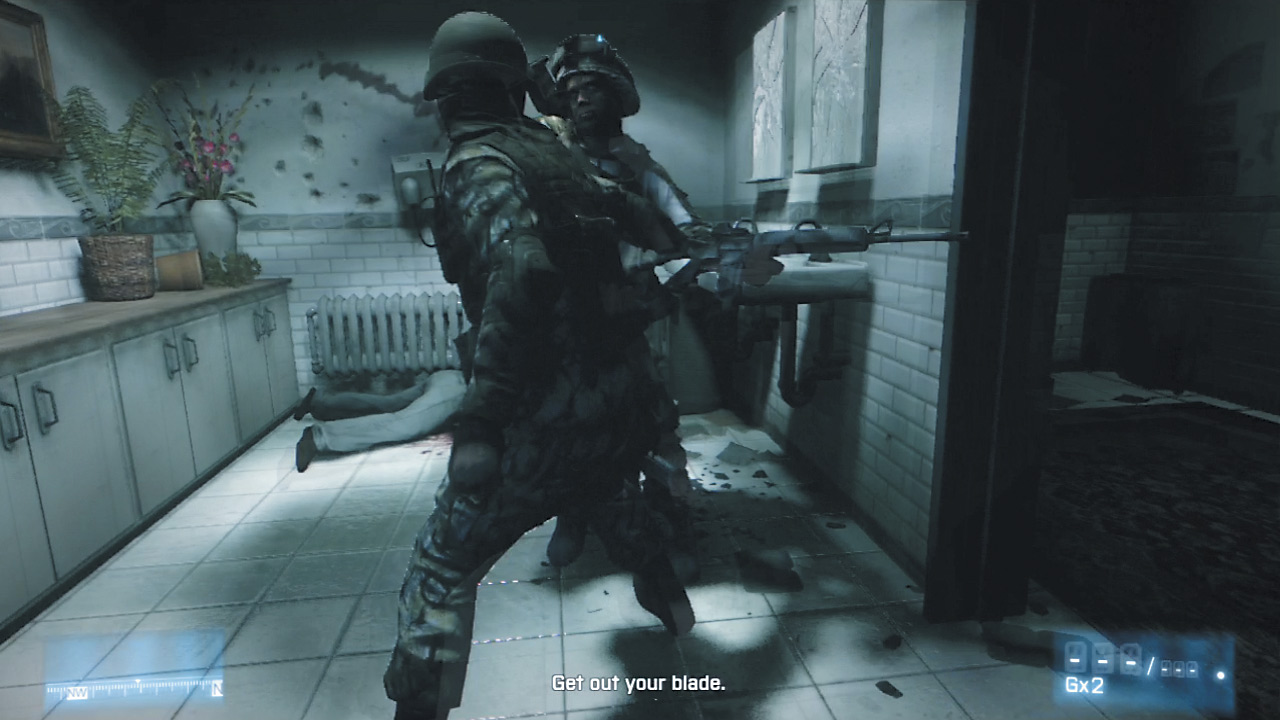
After watching him climb in through the bathroom window, it’s time to do the same. Almost immediately after dropping into the room, a PLR insurgent attacks your ally.
Follow the on-screen prompts to quietly and gruesomely eliminate this threat before getting ready to punch into the bank proper.
CLEAR THE ATRIUM
Giant, open structures might make for an awe-inspiring sight during normal business hours. But trying to re-take an occupied bank in the dead of night when every building occupant is packing assault rifles is a completely different story.
This shootout is going to be more difficult than any you’ve faced so far, but by taking things very slow and picking off one enemy at a time, it can be done with minimal frustration.
The most immediate threat is that of the PLR at the end of the short hallway beyond the last knifed guard. One insurgent will come to investigate things, but he’s quickly joined by a couple more buddies.
The shootout here is a matter of carefully peeking out of cover just long enough to fire off a burst or two. Since your buddy is already using the copier, hang back inside the doorway and pop out to gun down the PLRs at the end of the walkway.
Once they’re gone, things get really interesting.
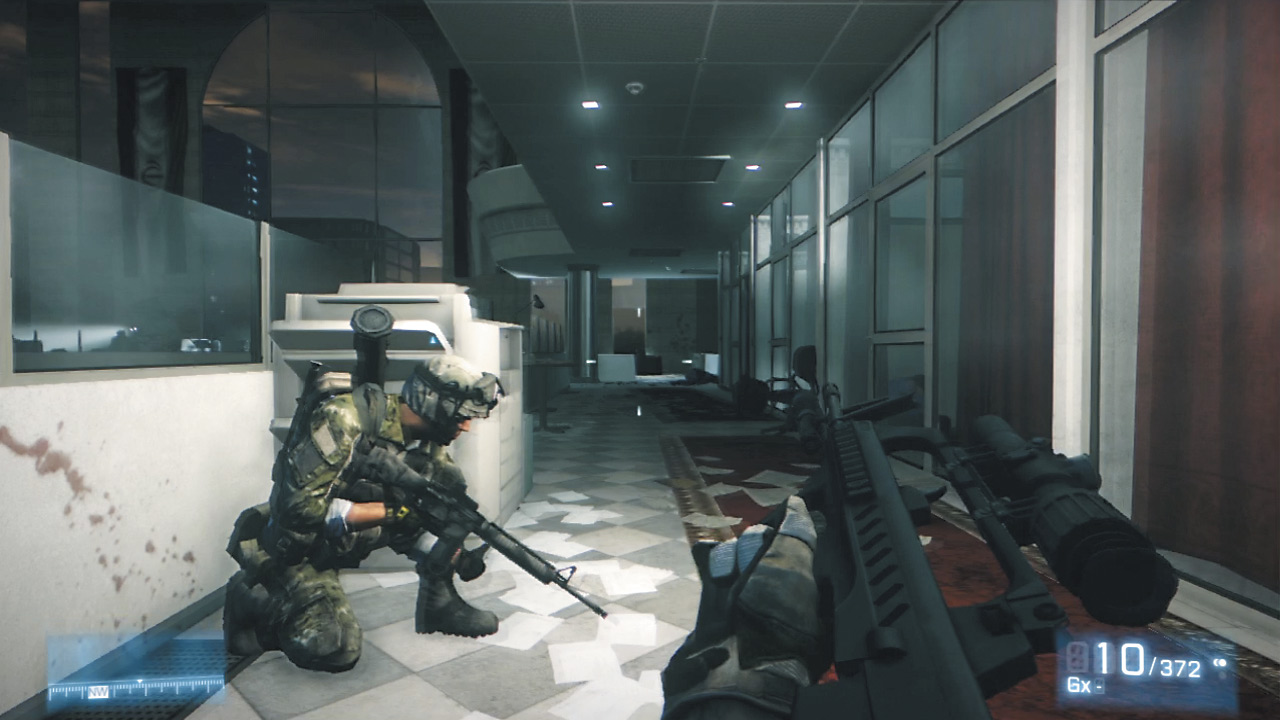
After taking out the trio of baddies, avoid the temptation to push forward just yet. The threats ahead attack from above, positioned throughout multiple floors across the way.
Hug the left wall and pop up just long enough to acquire a target before grabbing cover again. One particularly pesky tango waits on the second floor from the top all the way to the right of the room, giving him a great angle to fire down on you.
He’s hardly alone up there. Multiple PLRs dot that level, sniping from just about every angle. Take your time here, either popping up very briefly to find a target or by staying prone and slowly inching backward until one is revealed.
This leaves Black’s legs rather exposed, so it’s best to use this only when you’re sure you’re lined up for a headshot.
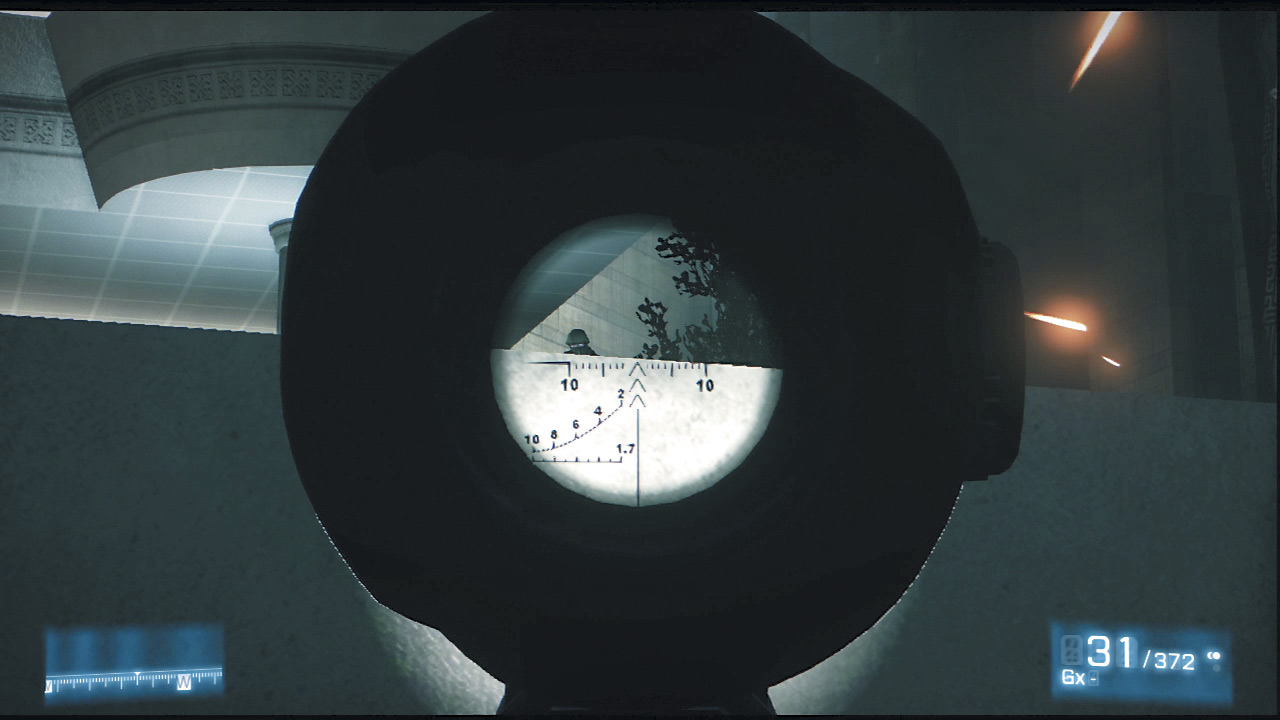
After removing the upper-level threat, there’s still plenty of forces on this floor to contend with, so stay low and inch around toward the rows of cubicles. These flimsy walls offer hardly any real protection.
Instead, use the more solid stone walls to the left to block incoming fire as needed. Enemies will bunch up near a set of crates and a pillar around the opposite side of where you came in.
Retreat to the walkway where you knifed the guard and pop up long enough to reduce their numbers from a distance before inching forward.
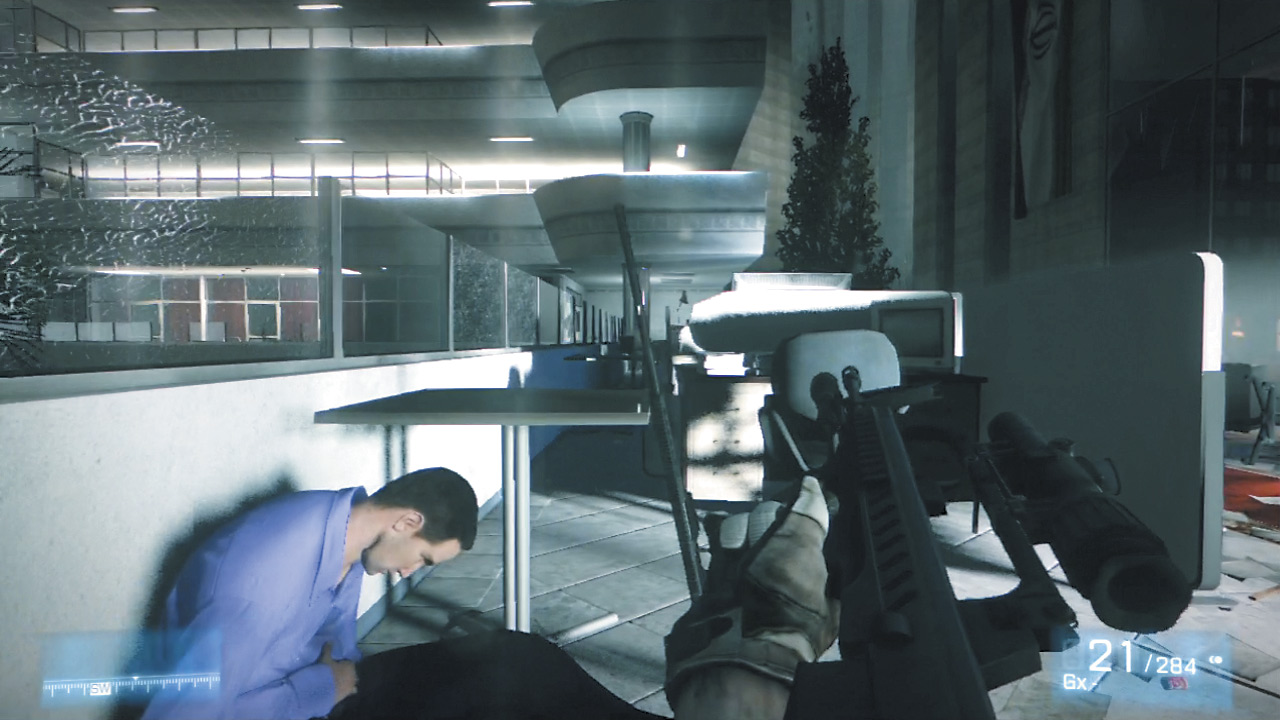
Patience is key here. If Black dies, everything has to be done again, starting with the knifed guard. There’s simply too many enemies here to try to blast your way through on the easier difficulty levels, to say nothing of the challenge of doing this on the hardest.
If a scoped assault rifle isn’t doing the trick, try the M98B sniper rifle resting next to a table to the left of where the cubicles start.
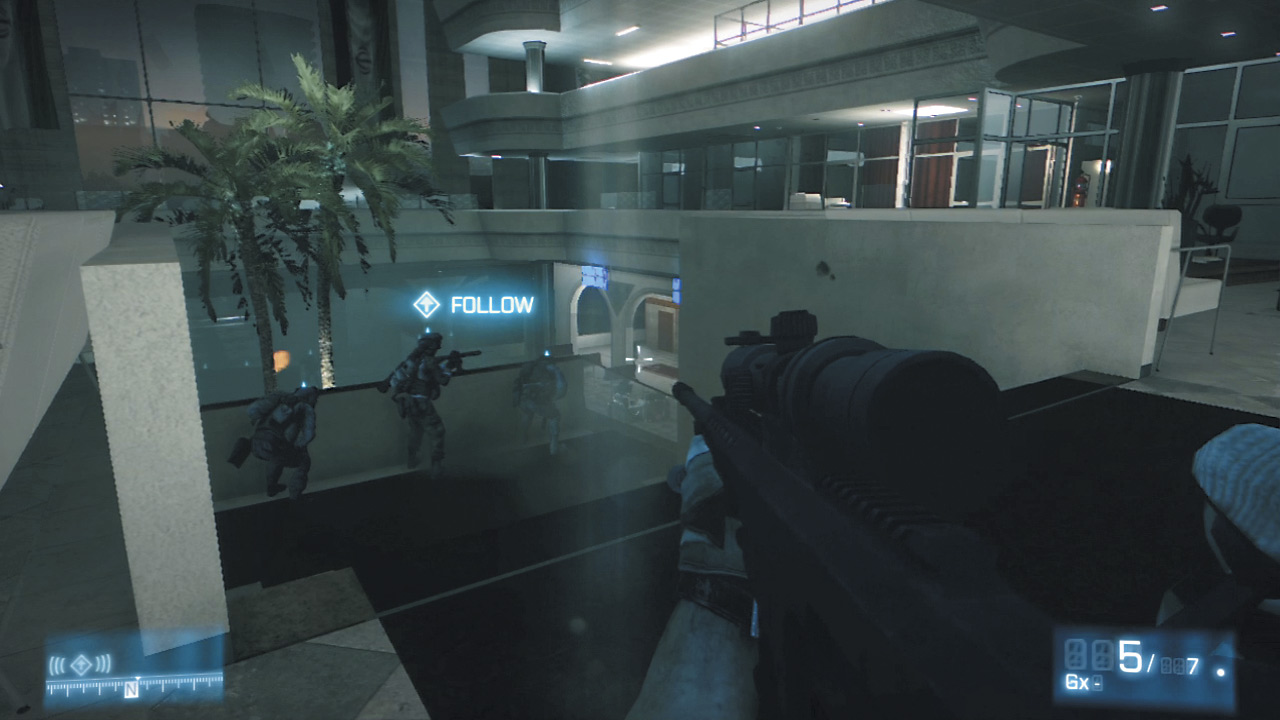
Even with the opposite hallway cleared of enemies, don’t start breathing easy just yet. Backup is waiting for you and your buddy down below, but there’s still plenty of danger about.
A few straggling PLRs appear on the opposite side just one floor above where you first entered this massive shootout. Take them out the same way as you have until now with slow, deliberate progression.
Rather than trying to fire down into the open area below, pause near the stairs leading down to the other squad and snipe at enemies that are exposed to the right and left.
A few PLRs will try to stick to cover near the columns on either side of the room. Once they’ve finally been cleared out, it’ll be safe to move on.
REGROUP
Head down the stairs and bunch up with your fellow squadmates near the door leading deeper into the bank. After a bit of coordination, Black’s squad is told to find the vault and hopefully with it, Al-Bashir. Montes kicks down the door and the way forward is revealed.
GAIN ENTRY TO THE VAULT
Signs of violence only grow more grim as the Marines head lower into the depths of the building. Bodies are strewn everywhere and an open elevator shaft isn’t making things any easier. It falls to Blackburn to lead the charge down the shaft.
Follow the on-screen prompts to hook up the rapelling gear and then slowly slide down toward the floor below. A pair of flashlights betrays a PLR presence and, after lobbing a QTE-assisted flashbang down into the room below, a slo-mo flying kick starts yet another shootout.
Deal with the closest enemies first, then sidestep right to use the wall ahead and columns to the side for cover. Shoot through the shelves to take out enemies down the hallway, but don’t forget to monitor the hallway to the left.
There are a few columns here where enemies will bunch up for cover, though they can be chipped away with enough weapons fire to allow for easier shots. Always maintain a solid wall rather than a column between you and enemy fire. Pop out quickly and unload, then duck back into cover to reload and recover health if needed. Once these small rooms have been cleared out, Black and his squad can make their way into the vault—and the terrifying discovery within.