
Battlefield 3 Premium Guide Battlefields Rush
Operation Métro
Prepare yourself for a frantic fight through four distinct zones centered around a métro station in the heart of Paris. Like the other game modes for this map, there are no vehicles available in Rush mode, so it’s up to infantry to attack and defend the objectives on their own.
Starting in the park to the north, the battle continues through the métro station before the RU defenders make their last stand in the city streets to the south. The combat in each zone differs drastically, so prepare to alter your classes, loadouts, and tactics based on the environment.
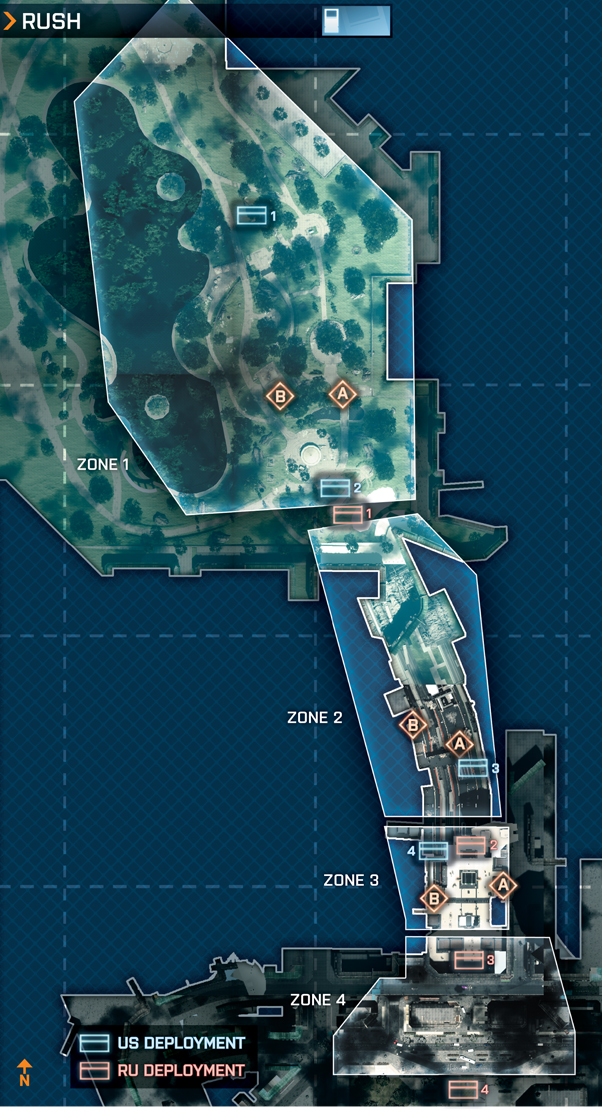
For example, engagements in the park tend to take place at intermediate to long range, making recon and assault soldiers quite effective.
Meanwhile, support and engineer troops armed with light machine guns and carbines are successful during the firefights in the métro station.
The team that manages to adapt to each unique environment stands the best chance of achieving a victory here. So if things aren’t going your team’s way, perhaps it’s time to switch weapons and tactics.
ZONE 1: PARK
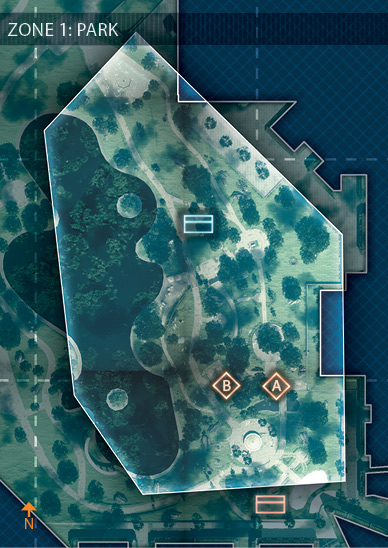
M-COM STATION A
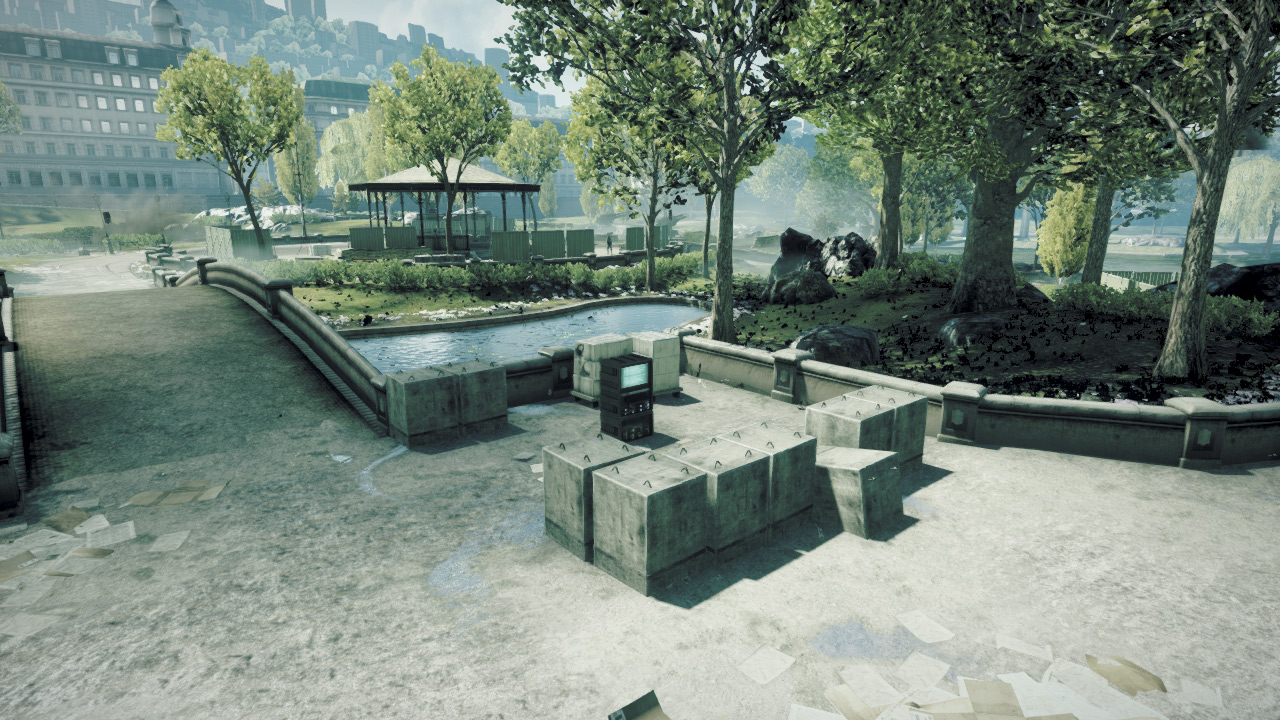
M-COM Station A is located on the east side of the park, in a small plaza near a mobile radar dish. With the exception of some small concrete blocks on the north side, there is very little cover around the objective.
Therefore, both teams must work hard to secure the area around the M-COM station before attempting to arm or disarm a charge. When attacking as the US team, try sneaking around the east side and huddling near the radar dish before moving in on the objective.
The RU team usually reinforces this position from the nearby footbridge to the south. Hiding near the radar dish allows you to flank these reinforcements.
The RU team has the easiest time defending here if they maintain a solid presence on the north side of the objective. If the US team secures the plaza north of the footbridge, always flank from the east to catch them by surprise—avoid crossing the bridge.
Regardless of which side you’re playing on, always deploy smoke on this objective and remain prone while attempting to set or disarm a charge. Otherwise you’ll be an easy target to pick off.
M-COM STATION B
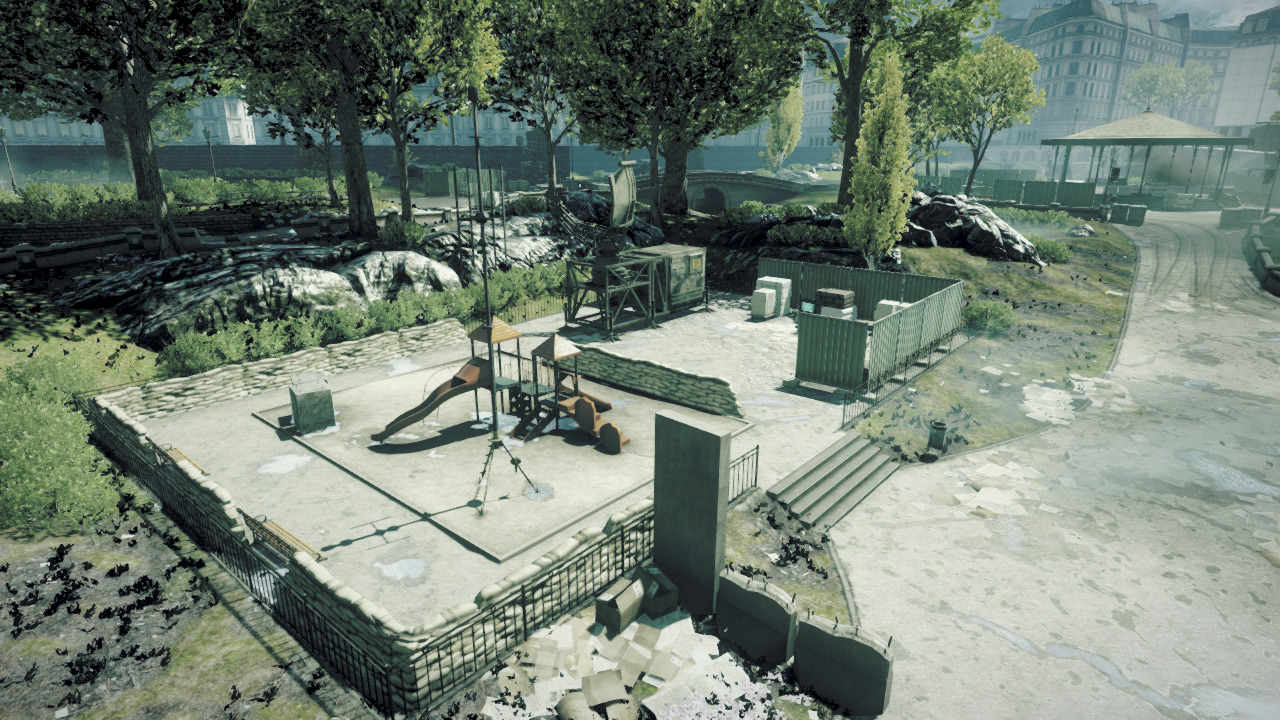
This objective is located within a playground on the west side of the park. Compared to M-COM Station A, there is quite a bit of cover surrounding this objective, including a high metal wall to the west, a radar dish to the east, and a low sandbag wall to the north.
Once the area surrounding the playground has been secured, US troops have little trouble planting a charge on the objective. The RU defenders should position themselves along the rocks to the south and east to get a good vantage point on the northern approaches to the playground as well as the objective.
The trees and rocks to the north of the playground also provide a good defensive position, allowing the RU team to cover the western footpaths.
For the US team, it’s best to avoid a frontal assault here, especially once the defenders have had time to get settled. So look for flanking opportunities from the east, a maneuver that is best accomplished once M-COM Station A has been destroyed.
But if you can rout the defenders around the objective, rush toward the objective and plant a charge while preparing for counterattacks from the south.
US DEPLOYMENT
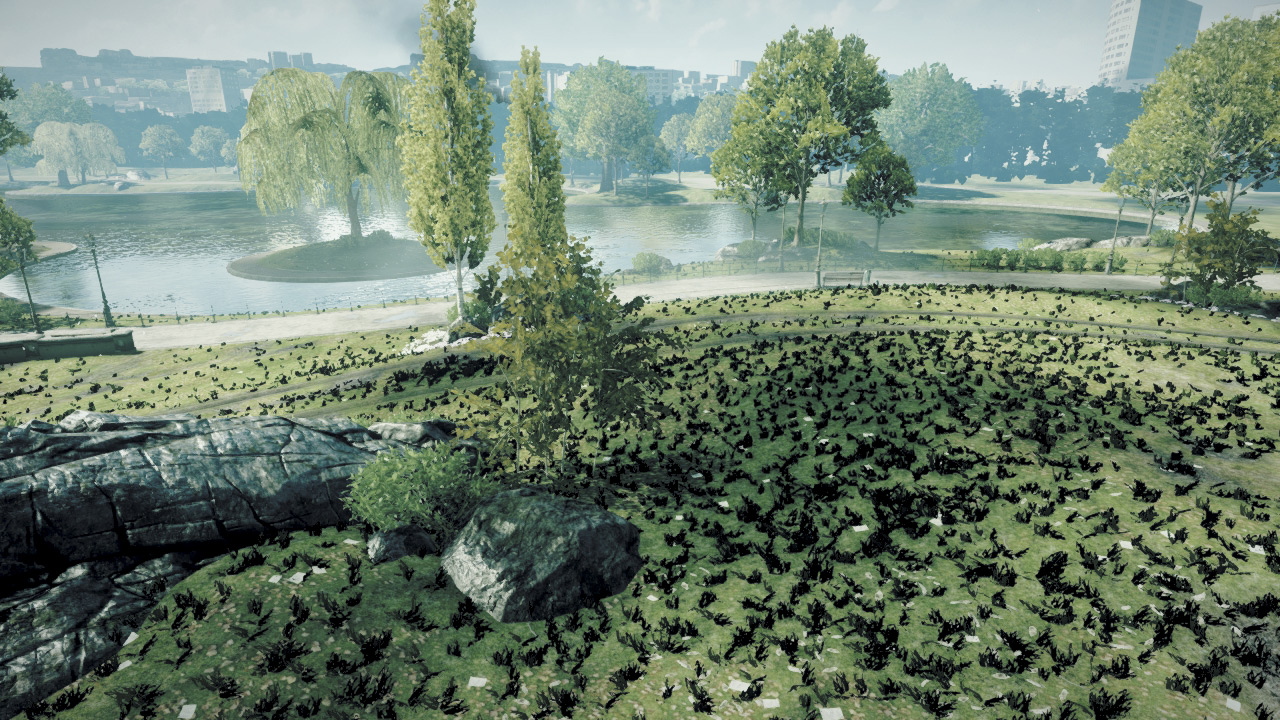
At the start of the battle, US troops deploy on the north end of the park. There are no vehicles at this deployment area or any other locations in this Rush match.
The RU team doesn’t have any vehicles either, so both teams are on an even footing. However, the RU team has the benefit of defending static locations; they can take cover and hide around each objective.
With the exception of some trees and large boulders, the park is relatively open, with long sight lines stretching from north to south. So stay low as you advance from one piece of cover to the next, slowly working your way toward the objectives.
Running flat out toward an objective is suicide here, so calm down and take it one meter at a time. If you come under fire, immediately drop prone and crawl to the nearest piece of cover.
Don’t attempt to retaliate—you’ll be dead before you locate your attacker. Also, try to avoid the paved footpaths, as they offer little cover.
Given the tough advance in the park, you should deploy Radio Beacons to the south to give your team’s squads spawn points closer to the objectives. At the very least, use squad spawning to stay close to the action.
RU DEPLOYMENT
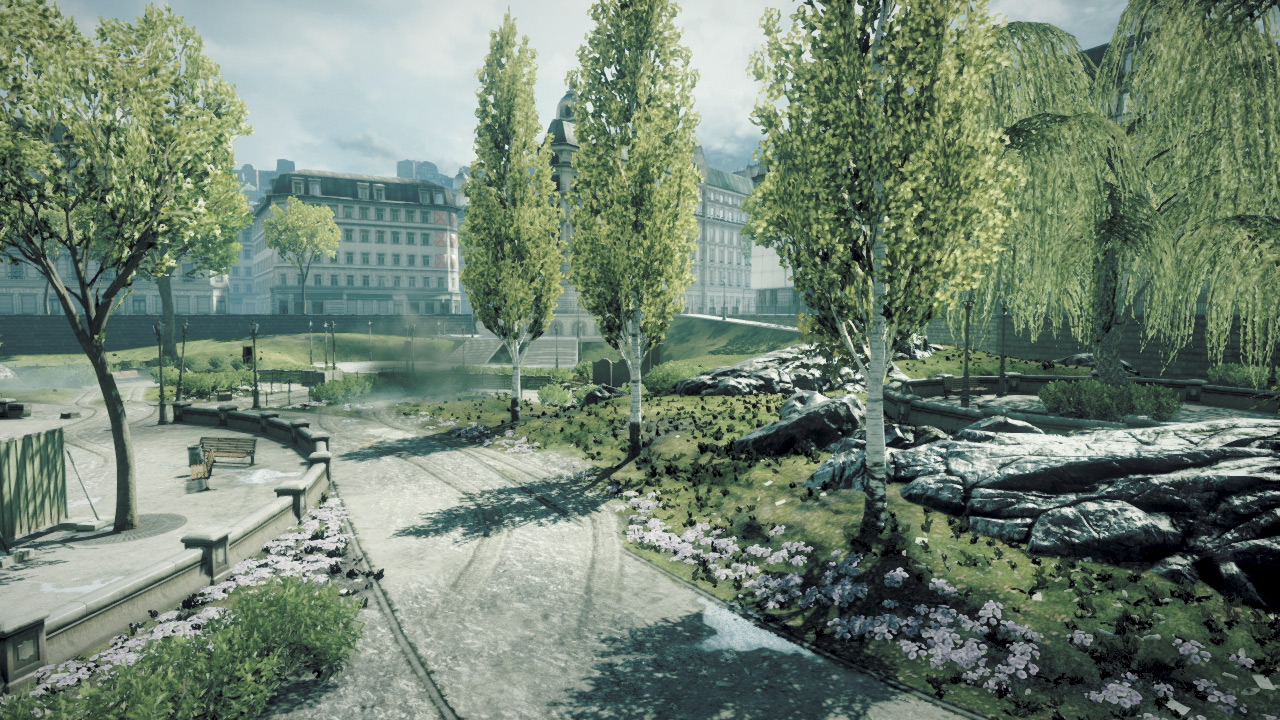
The RU team deploys on the south side of the park within a few meters of the objectives. Despite starting close to the objectives, the RU team must act quickly to establish a defensive perimeter.
It’s an absolute footrace at the beginning of the round as both teams rush toward the M-COM stations, so make sure your team spreads out and covers both objectives.
It’s important that squads cover the low area on the west side of the park to defend M-COM Station B as well as the high ground to the east to cover M-COM Station A.
Although the objectives are relatively close to one another, the elevation differences in terrain make it difficult to cover both from any one position.
So when playing as squad leader, pick an objective for your team to defend and stick with it. Recon troops are ideal here, as they are capable of scoring long-range kills.
Support troops, armed with light machine guns, are also very effective at suppressing and ultimately slowing the US advance.
This is crucial at the start of a match, so lay down some heavy fire to send the US troops scrambling for cover while your team moves into defensive positions around each objective.
Remember, when firing sniper rifles or light machine guns, always drop prone and use a bipod for increased stability.
ZONE 2: PLATFORM
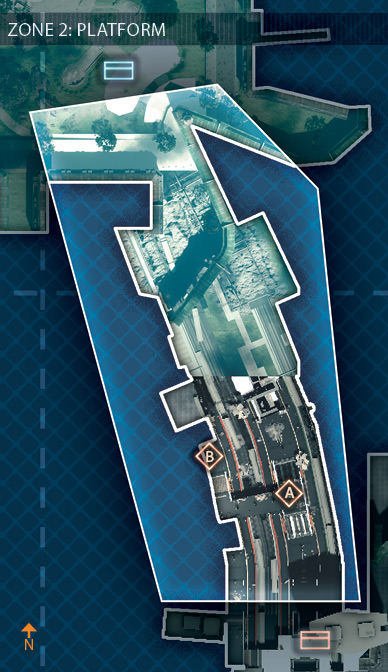
M-COM STATION A
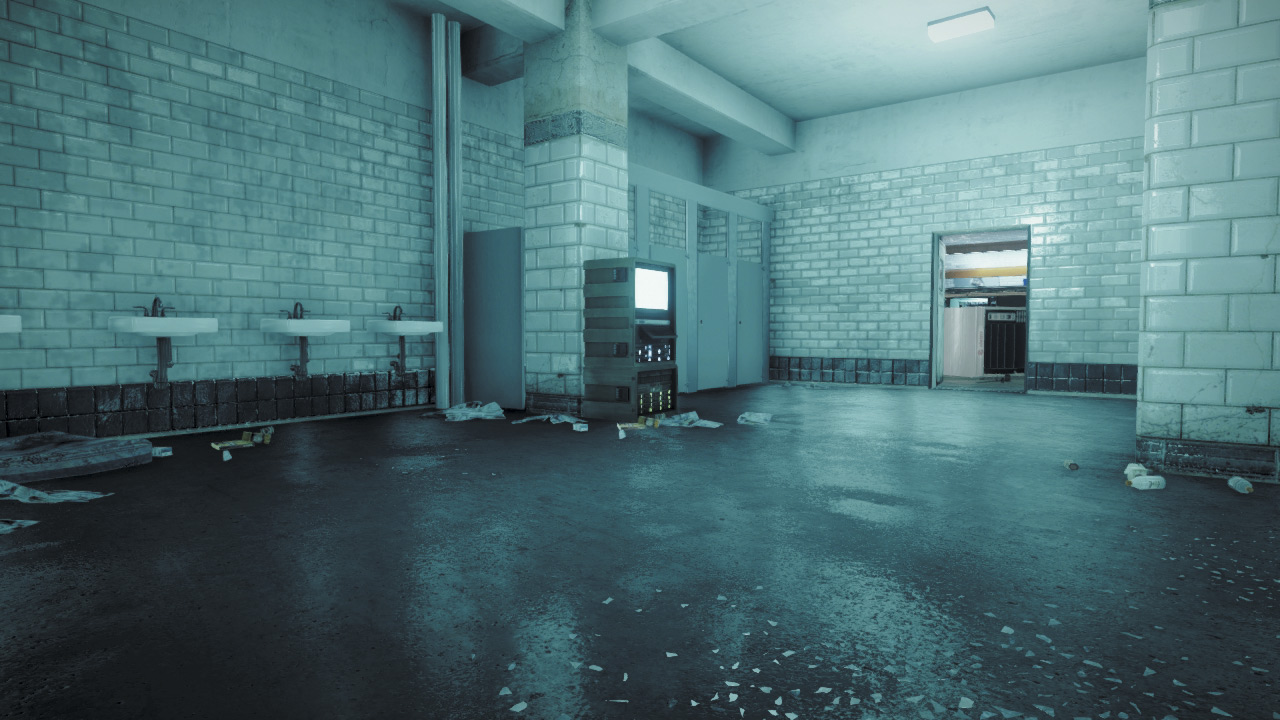
Of the two objectives in this zone, M-COM station A is the most defensible. Located in a restroom on the Platform, the objective can only be approached from two narrow doorways on the east and west sides.
There are a couple of ways to defend this location. If manpower allows, it’s best to cover both doorways from outside the restroom. But this requires careful coordination.
The most direct option is to cover the M-COM station from within the restroom—post defenders in each corner to constantly watch both doorways.
The pillar opposite the objective is also a good hiding spot; it helps absorb shrapnel from incoming grenades. In any case, US attackers should always expect to find at least a few defenders clustered around the objective.
For this reason, always toss grenades (or C4) through the doorway before entering, and always enter with at least one other teammate. A simultaneous assault through both doorways is most effective.
M-COM STATION B
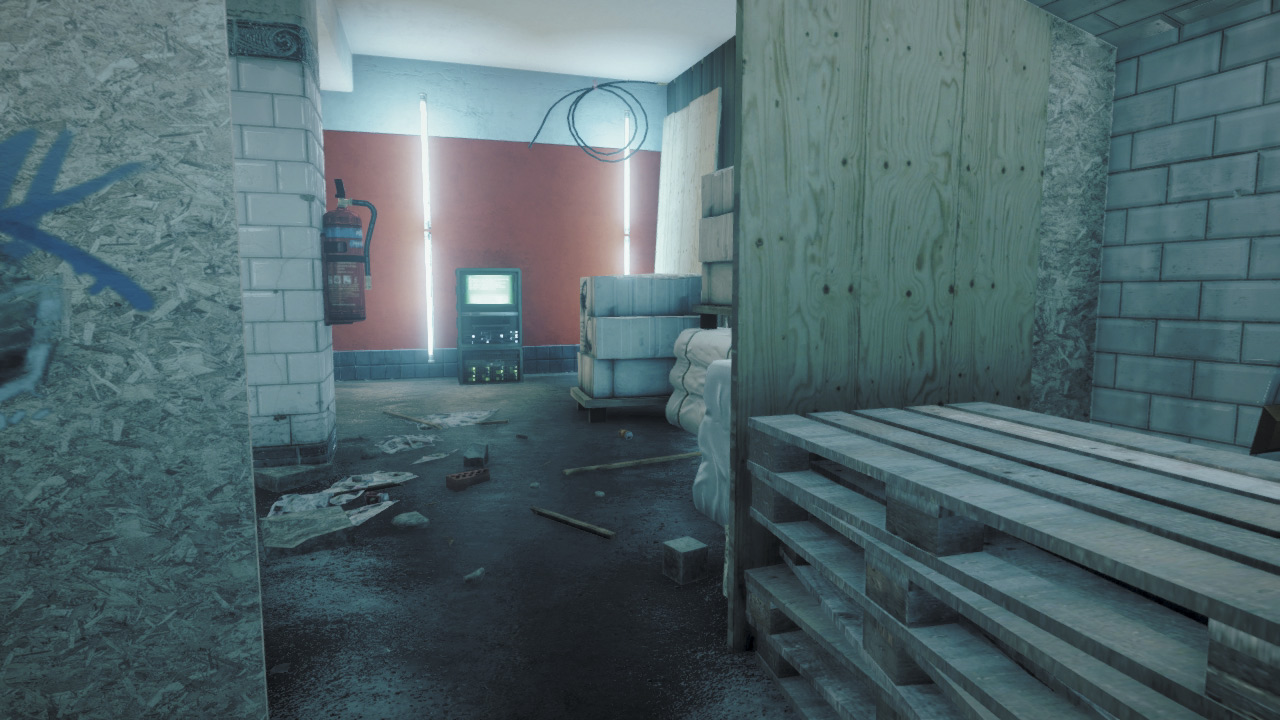
M-COM Station B is nestled in a cramped storage area along the western wall of the métro station. It can only be approached from the narrow opening to the east and the stairway to the south.
When defending this location, consider taking up position along the stairs. This allows you to keep an eye on the M-COM station and flank anyone approaching it from the east.
Hiding near the objective is less effective and makes you vulnerable to grenades.
While attacking through the narrow opening to the east is the most direct path, it’s safest to head up the escalators on the central platform and loop around to attack from the stairs south of the objective.
This allows you to flank any defenders posted on the steps as well as spot anyone hiding near the objective. Securing this southern approach is vital when playing against a well organized team of defenders.
US DEPLOYMENT
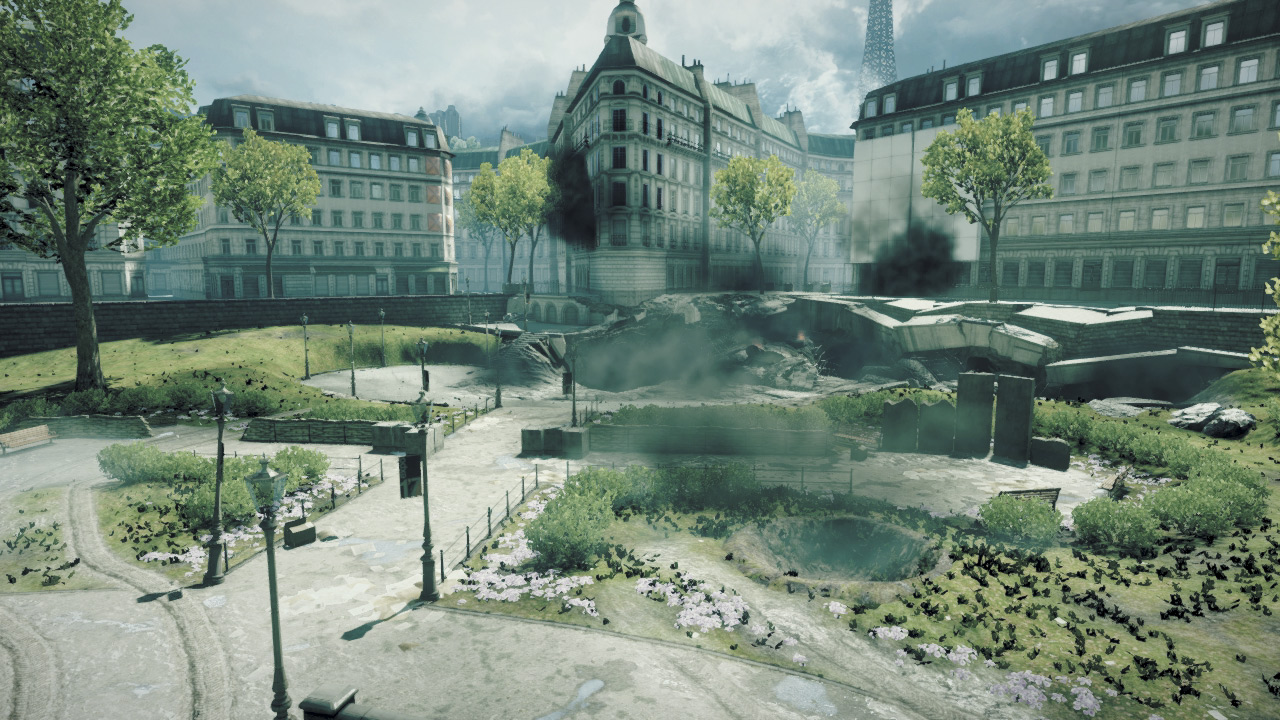
Immediately following the destruction of the previous M-COM stations, a massive explosion rocks the south side of the park, leaving behind two massive holes in the ground.
Each hole in the ground leads into a separate tunnel of the subway system. The US team deploys outside, just north of these tunnel entrances. The tunnels are parallel to each other and ultimately lead to the Platform area of the métro station.
However, those wishing to attack M-COM Station A should use the eastern tunnel, while those attacking M-COM Station B should travel through the western tunnel.
Both tunnels are very dark and filled with smoke, making the advance extremely dangerous especially if well-defended. To gain the upper hand, consider equipping a Tactical Light or Laser Sight to blind your opponents.
If unlocked, the IRNV IR 1x scope is also very effective; with it you can spot the infrared signatures of enemies hiding in the tunnels without giving away your position.
RU DEPLOYMENT
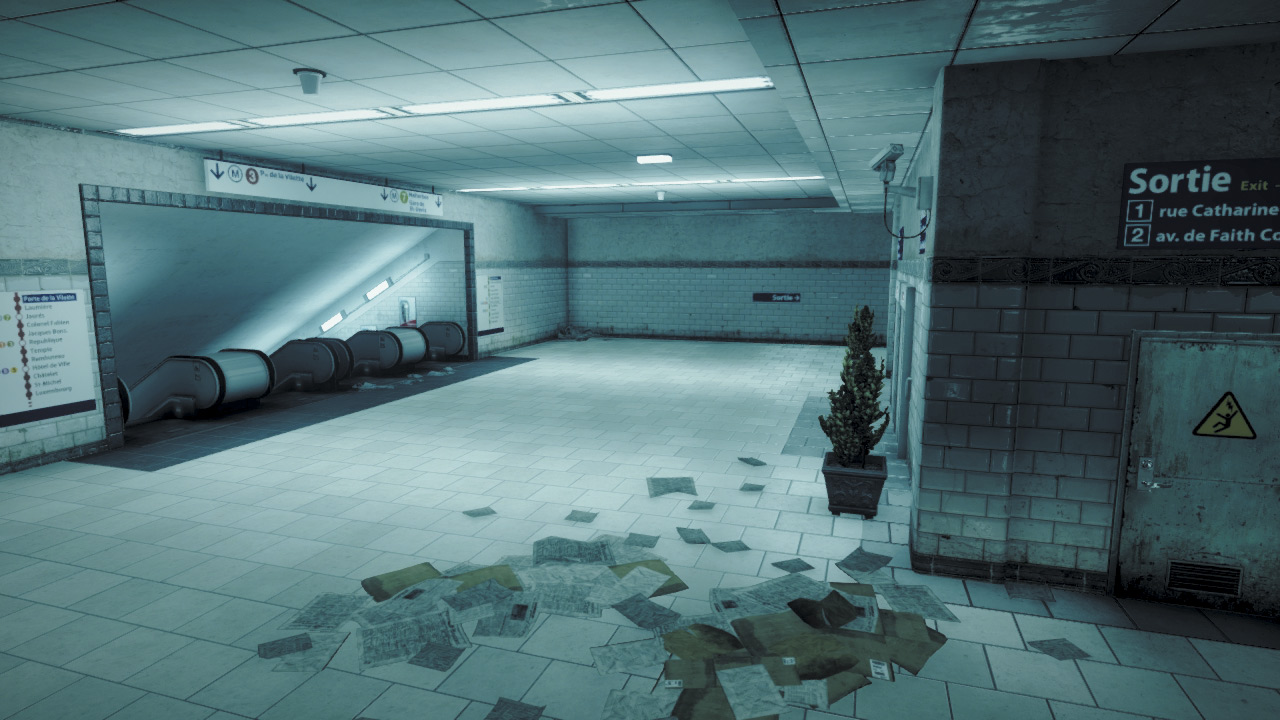
The RU team deploys from the station’s upper level, south of the objectives. After losing the objectives at the park, the RU team has a few seconds to establish their defensive perimeters around each objective.
Division of labor is extremely important in this phase of the battle as the US advances down two separate tunnels. So make sure at least two squads cover each tunnel, while the remaining squads focus on covering the objectives.
Ambushing the US troops in the tunnels is very effective and can completely halt the enemy advance, but only if your squads maintain a constant presence in each tunnel.
Radio Beacons and squad spawning are essential for maintaining forward positions in each tunnel. Hide among the rubble and within the subway cars to catch the attackers by surprise.
Destroy the plywood barriers in the eastern tunnel to open a longer sight line for defenders positioned to the south.
In addition to the tunnels, don’t forget to cover the maintenance passage in the middle—this is a popular flanking path and should be patrolled or monitored with a T-UGS motion sensor.
ZONE 3: TICKET HALL
M-COM STATION A
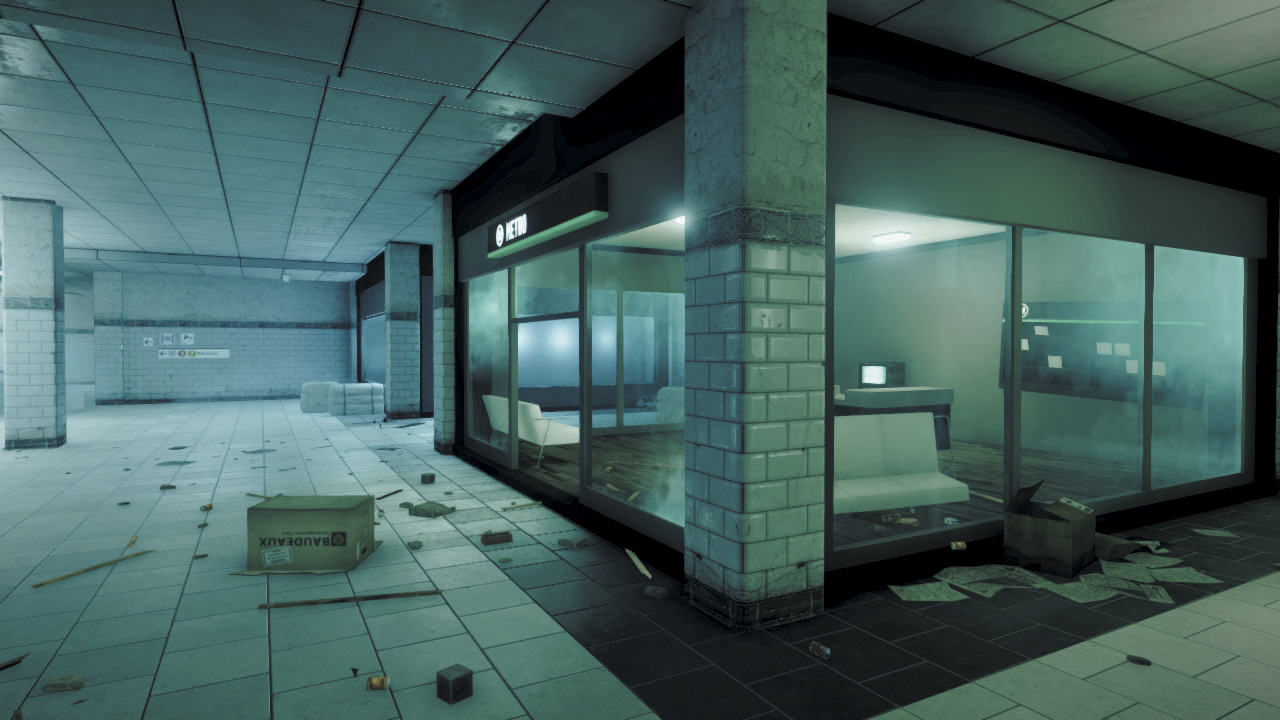
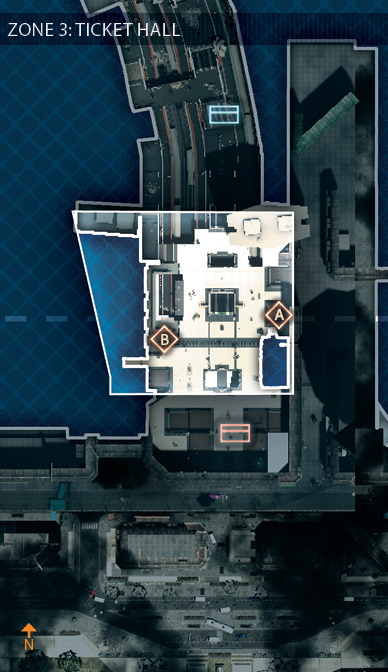
M-COM Station A is positioned behind a counter in a small office on the east side of the Ticket Hall. While the counter provides excellent cover for players attempting to arm or disarm a charge on the objective, simply getting to this location can be dangerous.
There’s a long north-south sight line just outside the office to the west, where both teams score long-range kills. Anyone entering the office must cross this sight line.
So if you need to get to the objective, deploy smoke outside the office to break this sight line and give yourself just enough time to race into the office.
The office is surrounded by large windows and can also be watched from the alcoves directly to the north and south.
These flanking positions are great for keeping an eye on the objective without exposing yourself to the chaotic firefights in the middle of the Ticket Hall.
M-COM STATION B
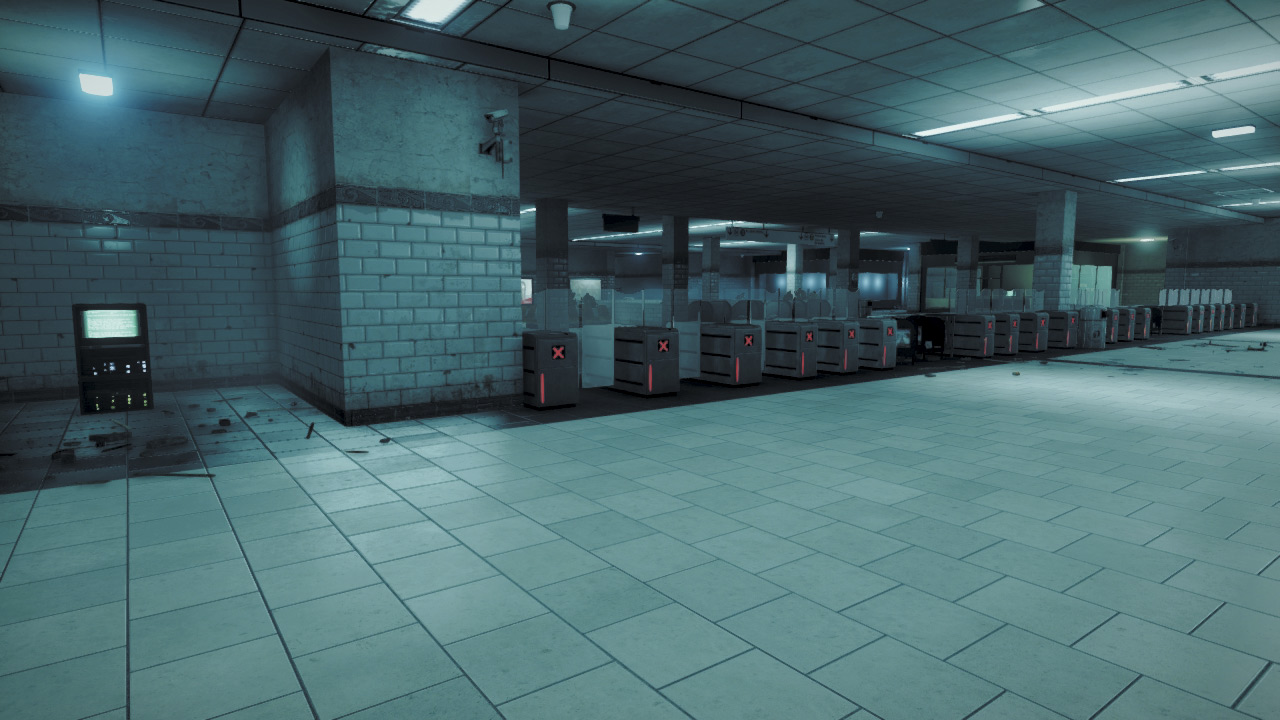
Because it is sandwiched between the turnstiles and maintenance corridor, the fight for M-COM Station B is always intense, dominated by close-quarters combat.
To reach this objective, the US attackers must pass through one of two deadly choke points. The turnstiles to the east of the objective are always a good area to avoid since they’re easily covered by defenders posted anywhere in the Ticket Hall.
That leaves the maintenance corridor as the safest route. This passage can be accessed after climbing the western steps, and it provides a direct path to M-COM Station B.
For this reason, it’s essential that the RU team defend this passage as well as the adjacent western steps. Shotguns, submachine guns, and grenades are ideal for both attacking and defending this tight corridor.
The team that manages to control this corridor determines the fate of M-COM Station B.
US DEPLOYMENT
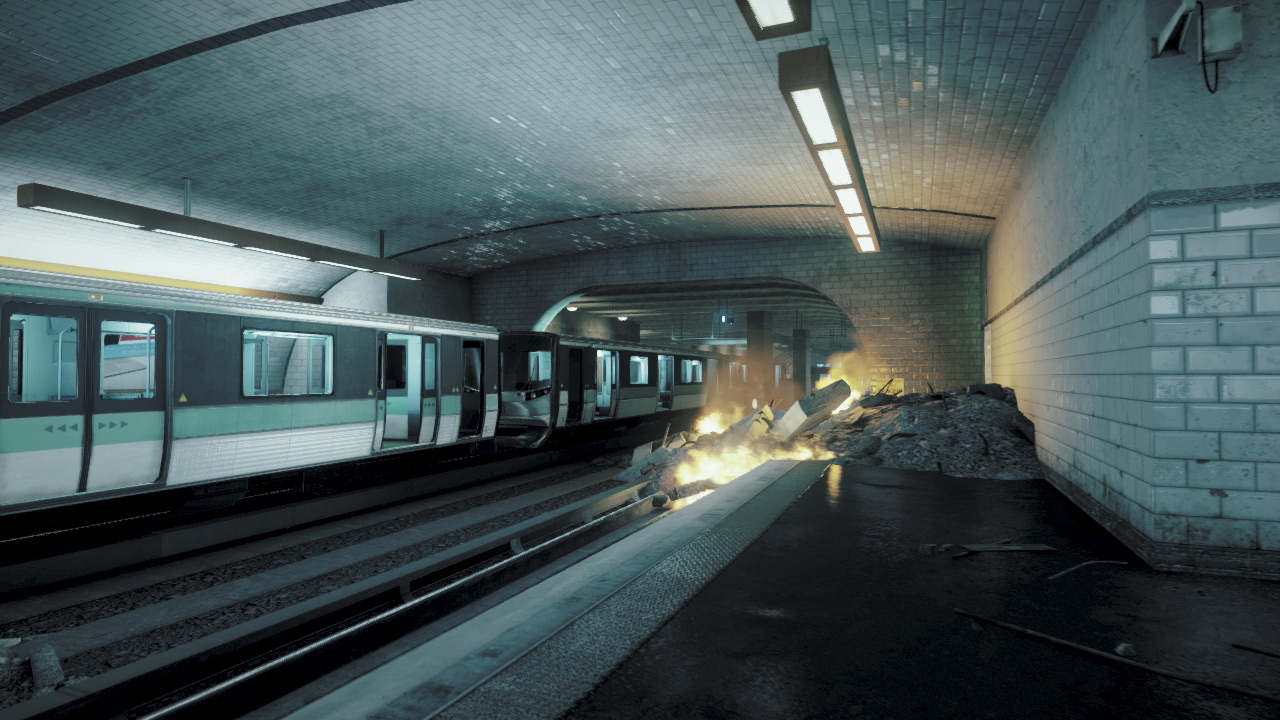
Now that the US team has secured a foothold within the métro station, they deploy from the Platform area, poised for the attack on the Ticket Hall.
Advancing from the lower level of the tunnels to the upper level where the next objectives are located can be dangerous. Avoid the escalators at all costs.
These narrow stairways are deadly choke points that are likely to be camped and booby-trapped by the RU defenders. The stairway to the west offers safest route to reach the upper level, but it is probably defended, too.
Therefore, only attempt the ascent when accompanied by a full squad or two. Once on the upper floor, immediately seek cover in the maintenance corridor on the west side.
Deploy Radio Beacons here and use the corridor as a staging area for attacks on the objectives.
RU DEPLOYMENT
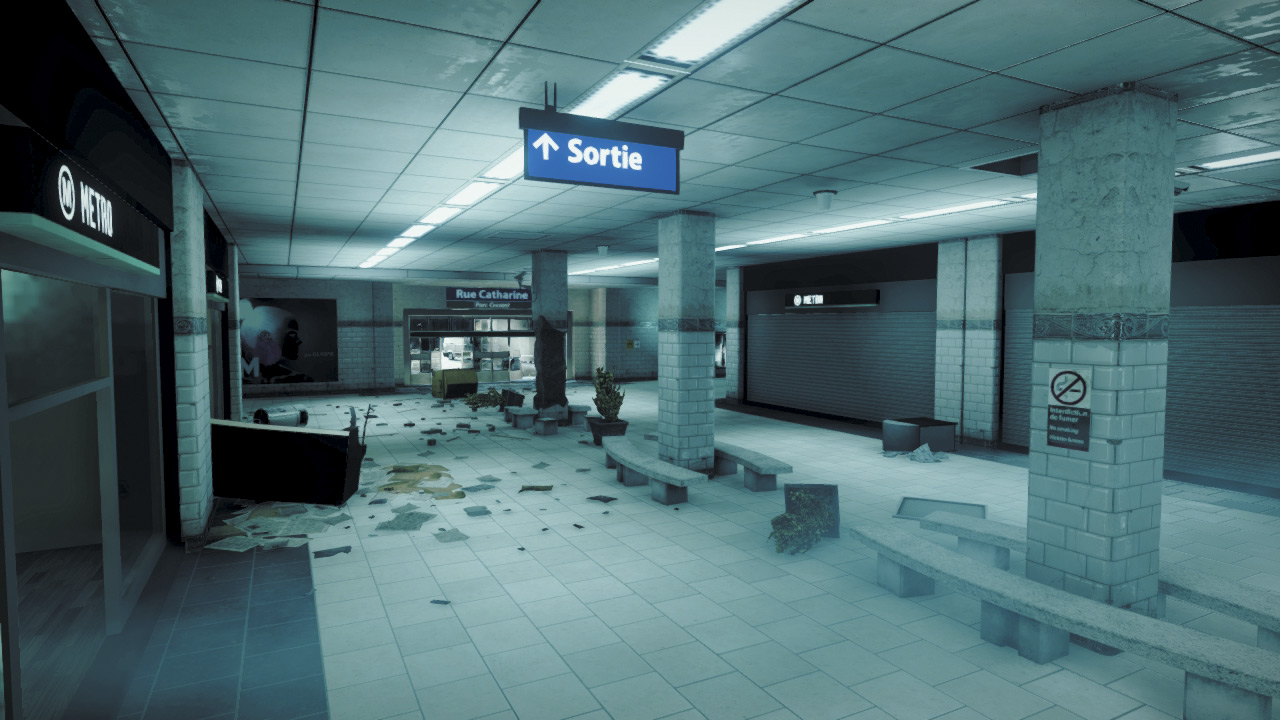
In this stage of the battle, the RU team spawns at the station’s entrance, just south of the Ticket Hall. This gives them just enough time to get into position before the US team rushes toward the objectives.
The RU team holds the high ground here and should take advantage by covering the two sets of escalators and the western stairway. By locking down these choke points, the RU team can prevent the US from even reaching the upper floor.
However, breaches in the forward line are likely, so form a second defensive line near the two objectives in the Ticket Hall. The western maintenance corridor is a popular hiding spot for attackers, so be sure to actively defend or at least patrol this area.
Defenders posted near the turn styles have a clear view of the Ticket Hall—shoot out the glass between the turnstiles for a better view and easier north-south movement.
The central ticket booth in the center of the Ticket Hall is also a good defensive position with a good vantage point on the areas around both objectives.
ZONE 4: RUE CATHARINE
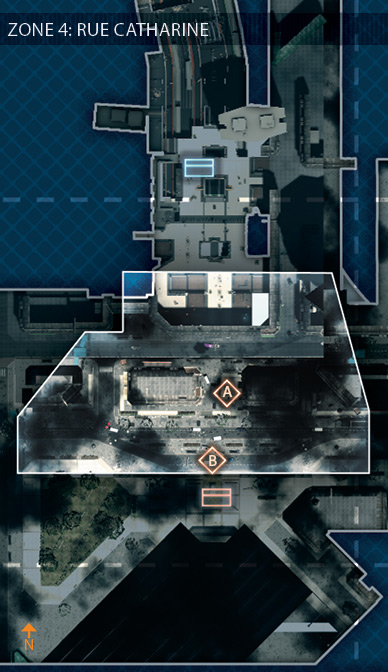
M-COM STATION A
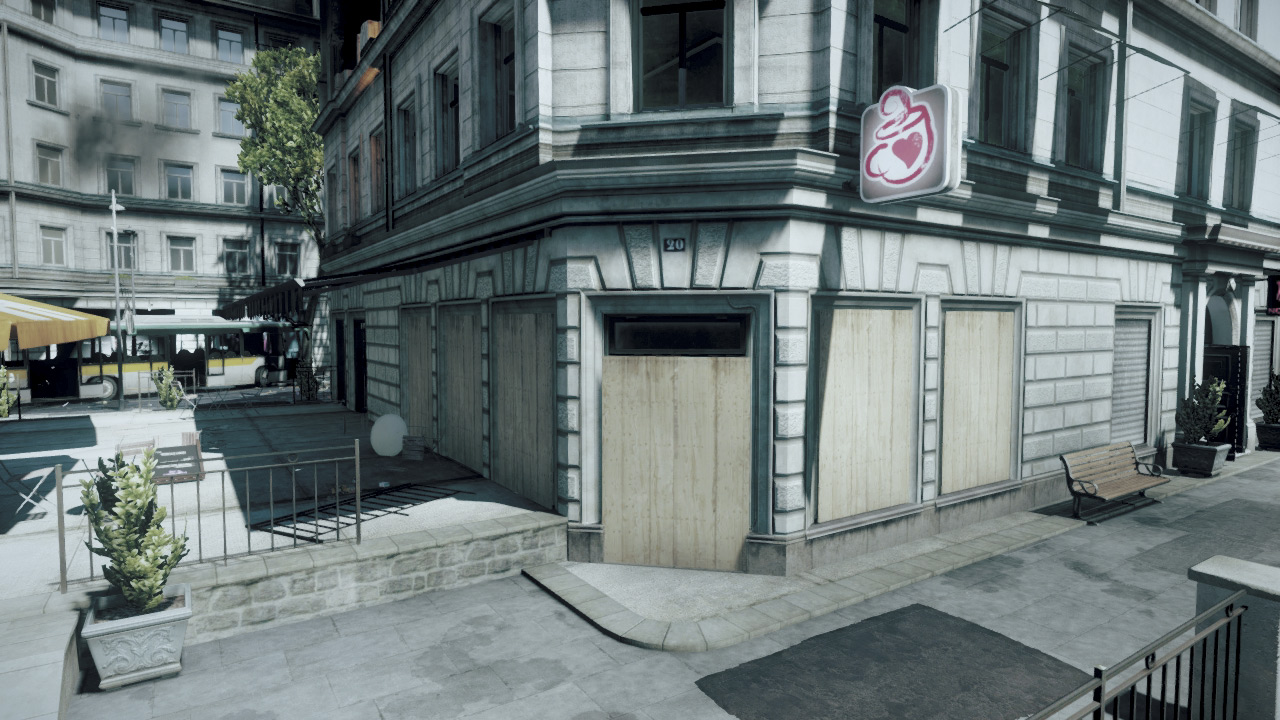
This objective is housed within the Cafe directly south of the métro station. Initially the Cafe’s windows are boarded up with large sheets of plywood.
So attackers must destroy these barriers before hopping through a window—sustained small arms fire is enough to break the plywood sheets. The M-COM station is behind the Cafe’s display case.
While the upper floor windows of the building to the west offer great elevated views of the Cafe, defenders should also be posted closer to the objective to fend off flanking attacks from the east.
With so many potential hiding spots, it may be necessary to perform floor-by-floor sweeps of each building to root out attackers. Consider placing a T-UGS motion sensor near the objective to locate enemy troops.
When playing as the US, try to sneak into the cafe from the south side, as it’s less likely to be defended. Once inside, the display case provides adequate cover while you set the charge. Once the charge is set, defend the Cafe from within, blasting any defenders that rush inside.
M-COM STATION B
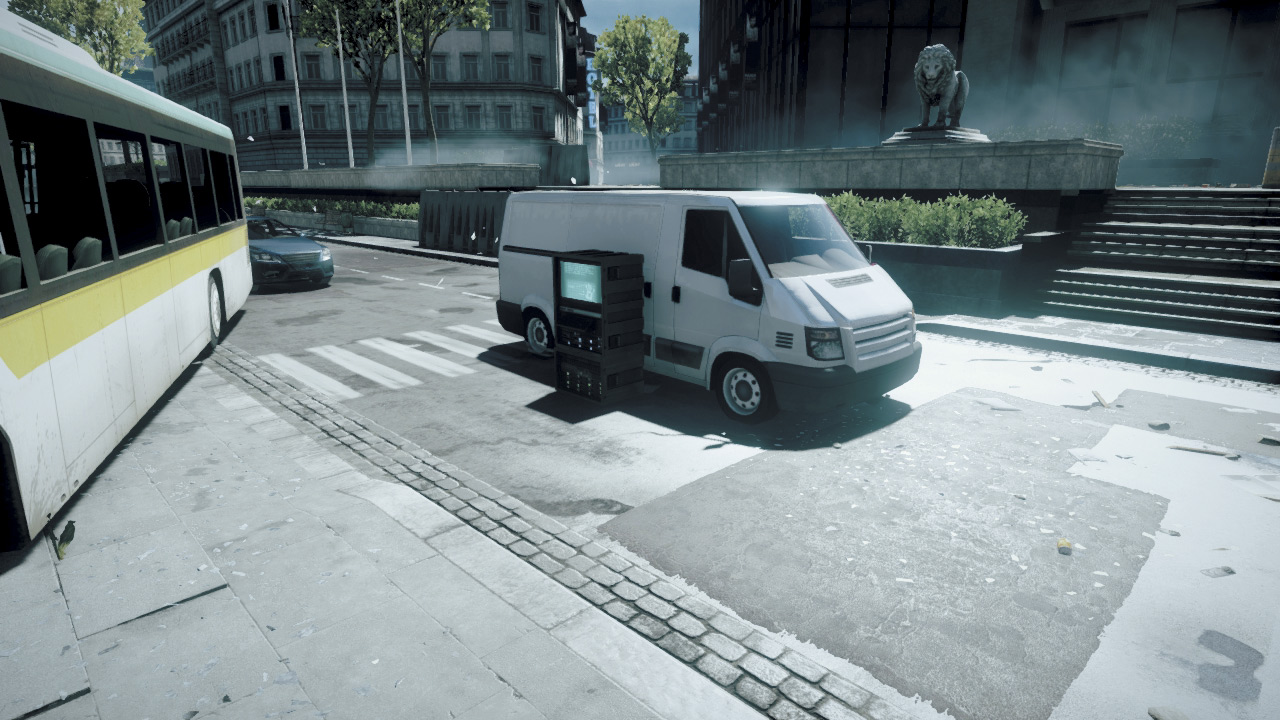
M-COM Station B is in the street directly north of the Finance Ministry building where the RU team spawns. Although it’s the objective farthest from their deployment area, the US team should try to take out M-COM Station B first.
If this is the last standing objective, the RU team has an easy time defending it, thanks to their nearby deployment area.
So early on, the US team should try to sneak up on this objective by flanking from the east or west while the bulk of the RU forces are gathered around the métro station and Cafe.
The objective is located next to a white van in the middle of the street, which blocks views from RU defenders spawning at the Finance Ministry building. The nearby bus offers excellent cover from snipers posted in the buildings to the north.
However, defenders posted along the street to the east and west have clear views of the approaches to this objective.
Ultimately, it may require defenders posted near the objective to stop the US team from planting a charge—consider hiding in the bus to surprise attackers.
US DEPLOYMENT
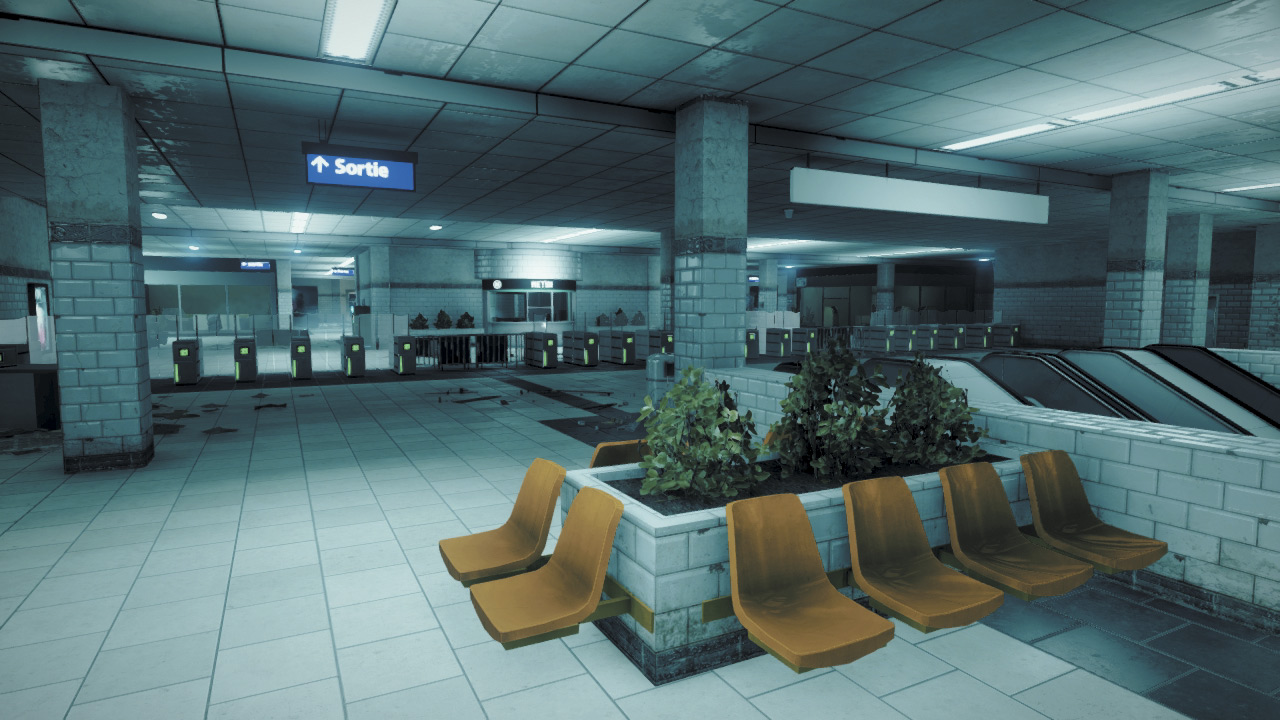
For the final stage of the battle, the US team deploys from the Ticket Hall. Before advancing on the last two objectives, the US team’s first goal is to simply exit the métro station. There are three exits to choose from to the east, south, and west.
The southern exit is the most heavily traveled and defended. Stepping out here leaves you open to attacks from all directions.
The eastern exit is a little better, and you can sneak along the eastern edge of the map for stealthy, flanking attacks on M-COM Station B. The western exit offers the most cover and is less likely to be watched by RU defenders.
When exiting here, race across the street and take up positions in the upper floors above the Cafe where M-COM Station A is located. Deploy Radio Beacons inside this building and use it as a forward staging area for attacks on the final objectives.
RU DEPLOYMENT
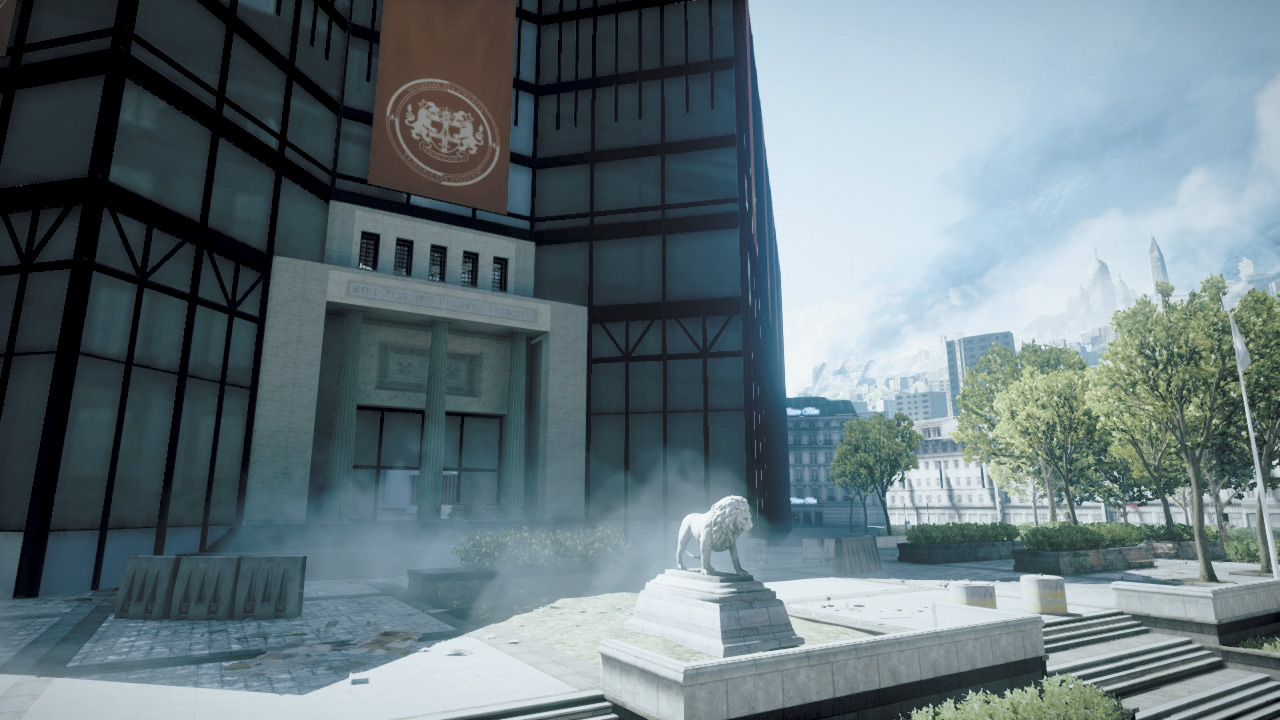
The RU team deploys from the Finance Ministry building, only a few meters from M-COM Station B. Despite losing control of the park and métro station, the RU team has a good chance of holding off the US advance here.
After losing the objectives in the Ticket Hall, quickly gather around the métro station’s three exits in an attempt to contain the US attack. These three narrow exits serve as excellent choke points.
Posting at least one squad at each exit is a great way to prevent the attackers from even leaving the métro station. In preparation for break-out attacks, post a squad at each of objective as well.
There are many defensive cover positions in the streets and buildings that are ideal for containing the US attack. But securing a victory here largely hinges on wearing down the US at the métro station exits.