
Battlefield 3 Premium Guide Battlefields Rush
Nebandan Flats
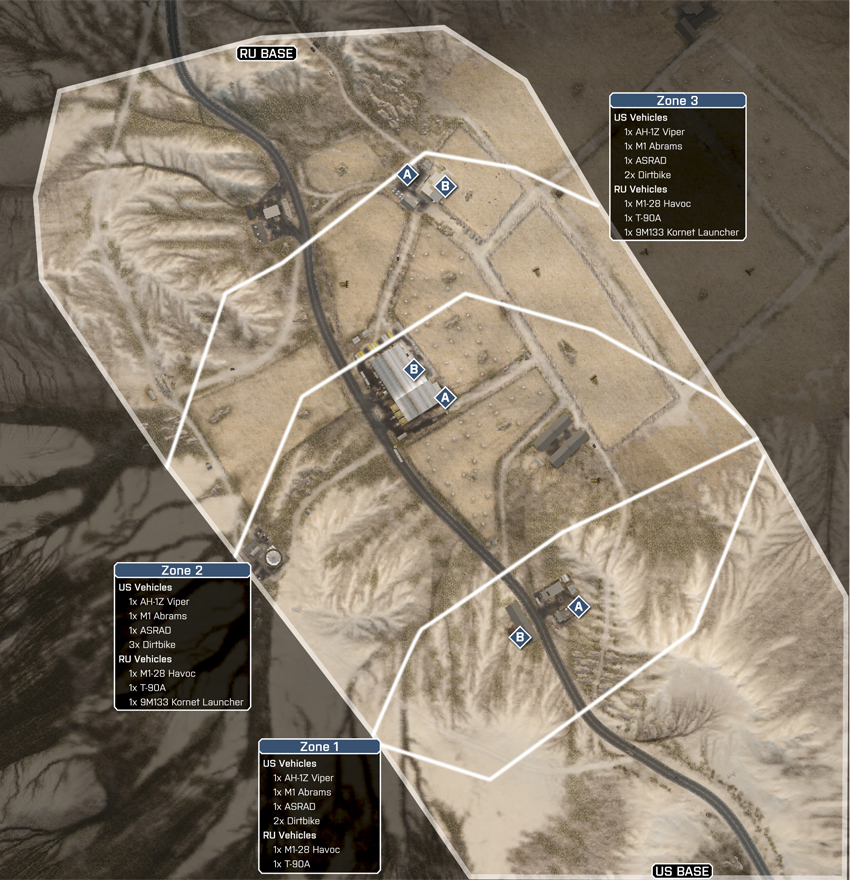
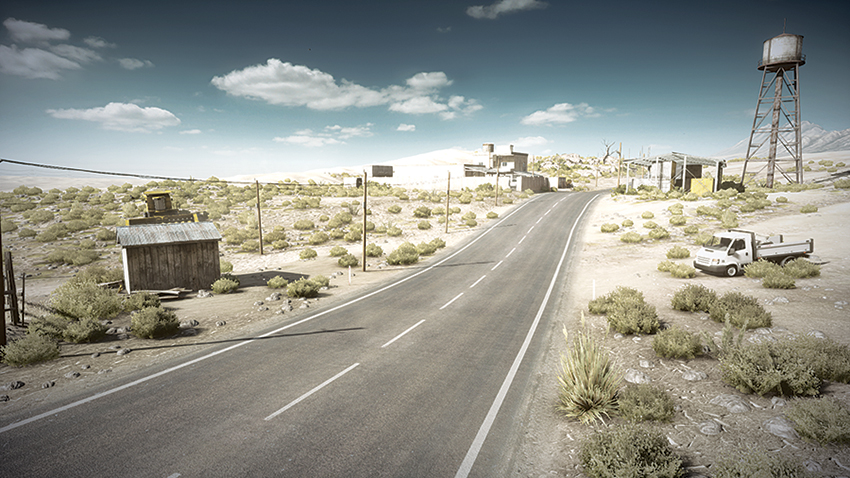
The Rush battle for Nebandan Flats is a fast-paced and fierce one. Beginning at the Residential area and pushing back through the Warehouse until eventually concluding at the Farm, the battle ranges over a sprawling landscape. This arid land offers little cover for attackers as they approach the M-COM Stations, which makes the combat a battle for inches every step of the way. Throughout the course of the battle, each team will have access to one attack helicopter, and for the team with an experienced pilot, this can be used to turn the tide of battle. The attackers will have the advantage in this battle, due to each zone offering an ASRAD, which can be used to eliminate the defender’s attack helicopter. The defenders are not without some heavy firepower of their own, however, as each zone affords them the deployment of a T-90A. In the hands of a skilled tank operator, it can make quick work of the attackers’ helicopter presence. Due to the long sight lines offered by this map, defenders that have skilled recon soldiers will find them essential in pushing back attackers as they approach.
Zone 1: Residential
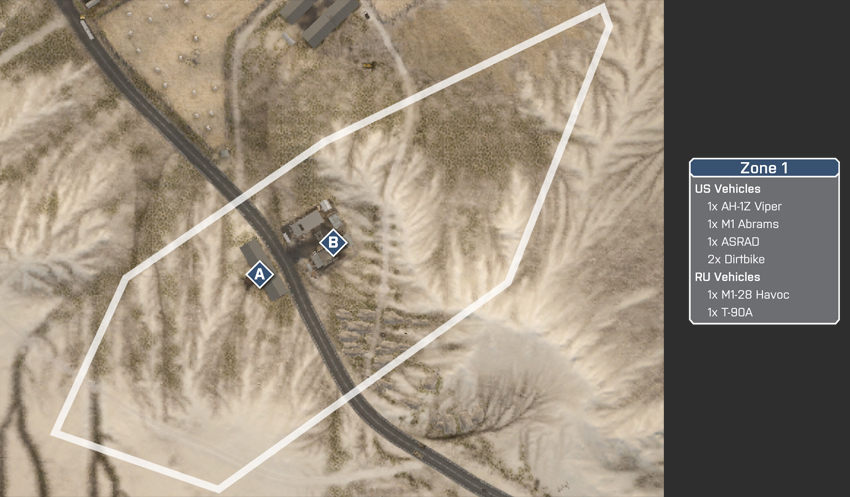
US Deployment
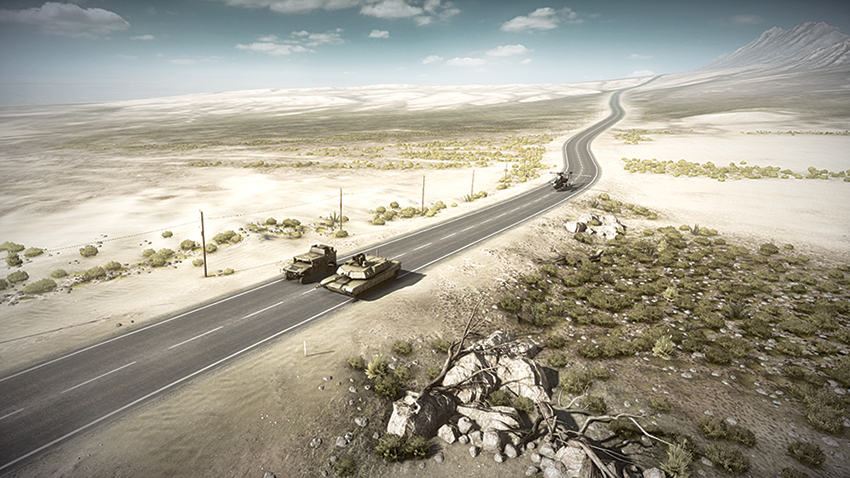
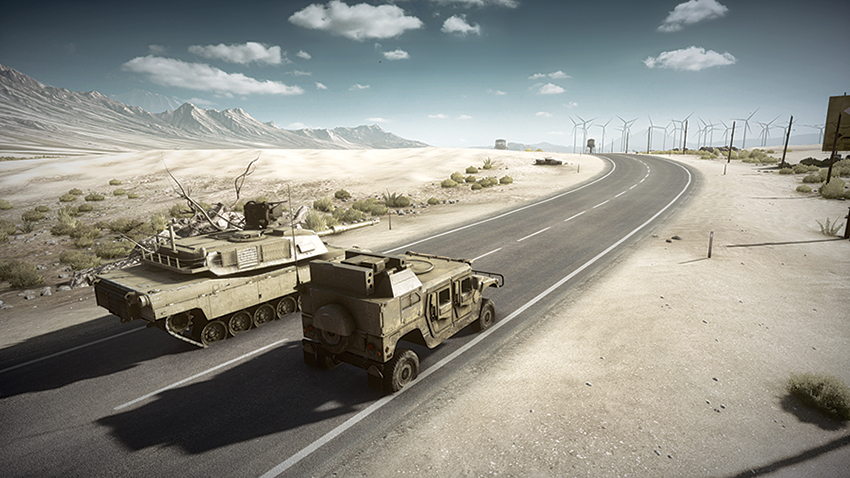
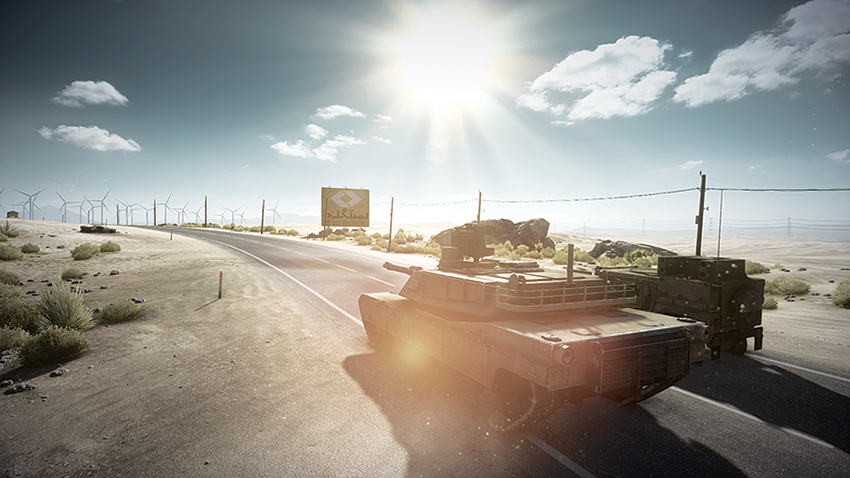
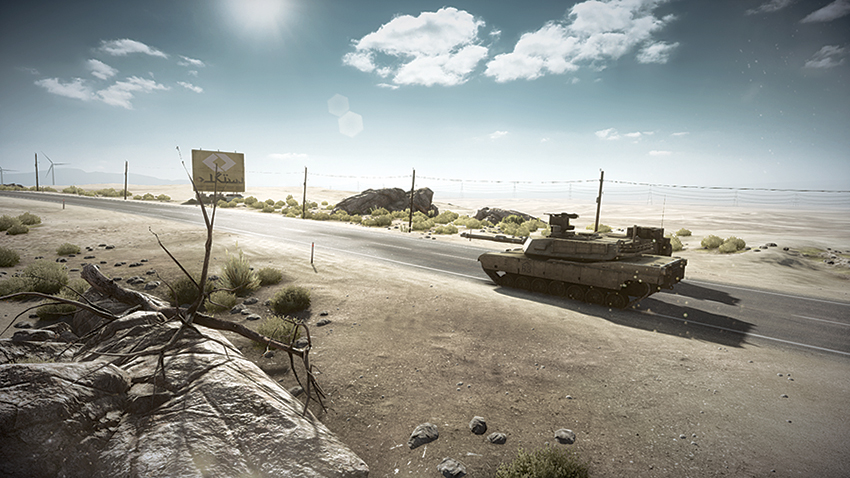
Deploying from the south, the US team has a significant advantage due to the vehicles afforded them. Attackers should keep in mind that the map’s long sight lines result in a not-so-stealthy approach to the objectives. With this in mind, sending the AH-1Z Viper ahead to scout ahead and clear the objectives of camping defenders is an efficient tactic to use during the approach. Another essential vehicle is the ASRAD, which can keep the sky clear and provide safety for the AH-1Z Viper as it focuses its firepower on land enemies. The M1 Abrams should be used to primarily counter the defenders’ T-90A throughout the battle, as well as eliminate the fence line surrounding M-COM Station A, thus allowing dirtbikes to attack from multiple angles.
RU Deployment
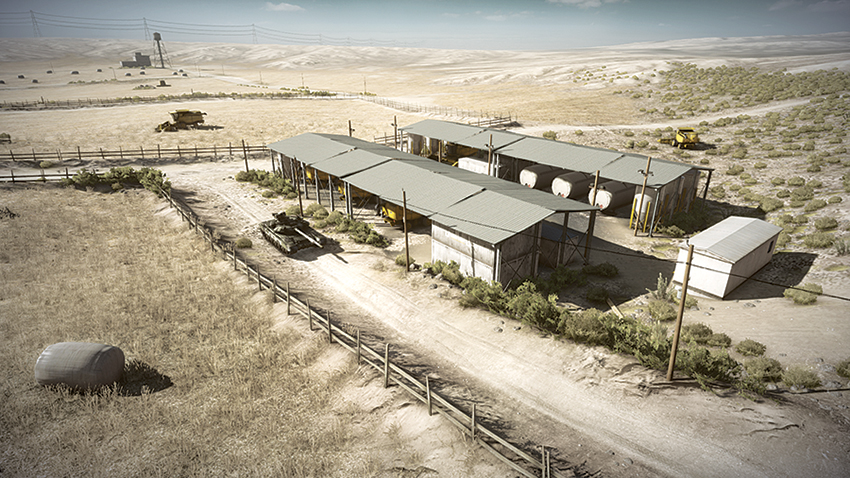
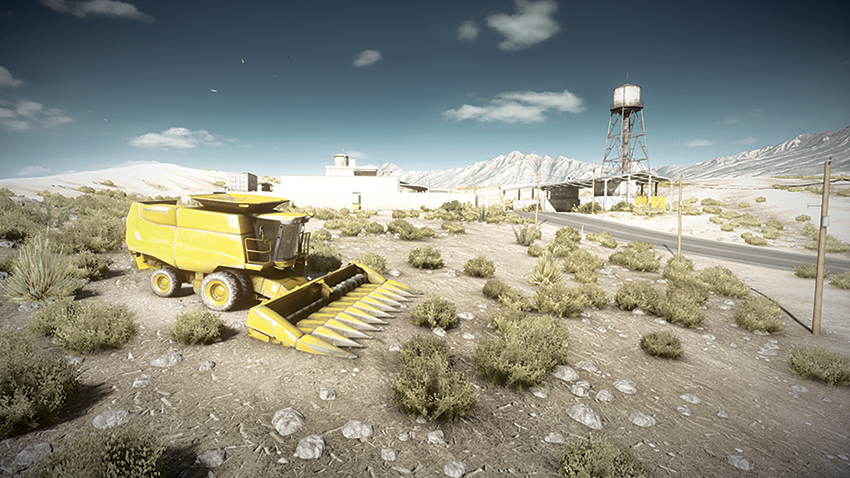
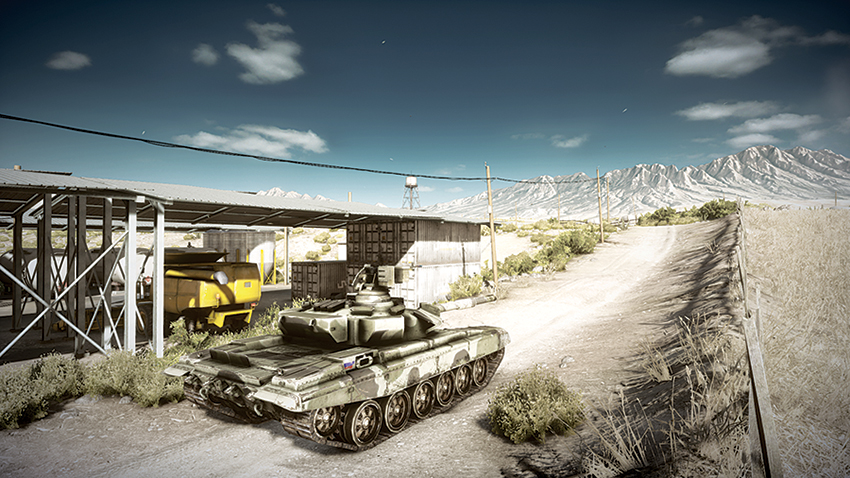
Deploying north of the Residential area, the defenders will find themselves at a disadvantage. Due to a small number of vehicles they get, making use of mines around the Residential area will be useful in pushing back attackers that quickly flood the area surrounding the objectives. Making use of engineers will help even the playing field by keeping the attackers’ heavy vehicles at bay. The T-90A should focus on patrolling the Residential area and attempt to destroy the attackers’ ASRAD and AH-1Z Viper, two vehicles that pose the greatest threat in defense of the objectives. Although the T-90A deploys from the Unloading Sheds area, the vehicle should proceed south, past the Residential area to flank the attackers’ tank and ASRAD as that team approaches the Residential area, keeping its distance to avoid the attention of the attackers’ helicopter that is circling the objective overhead.
M-COM Station A
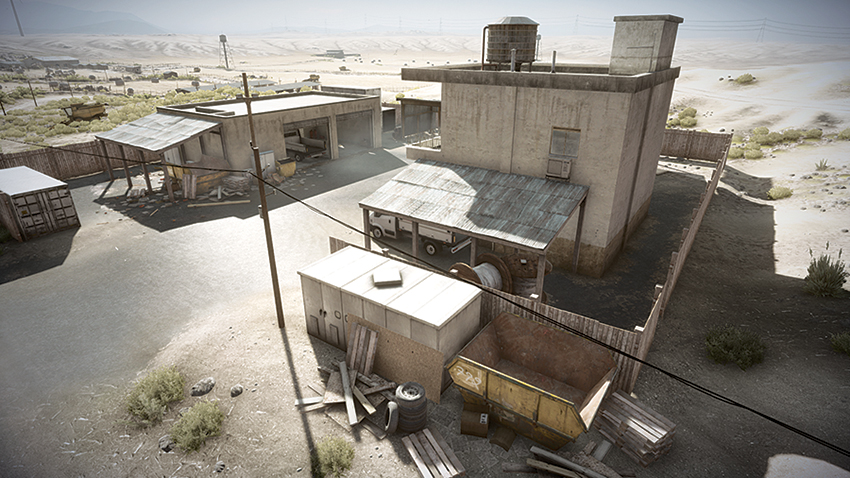
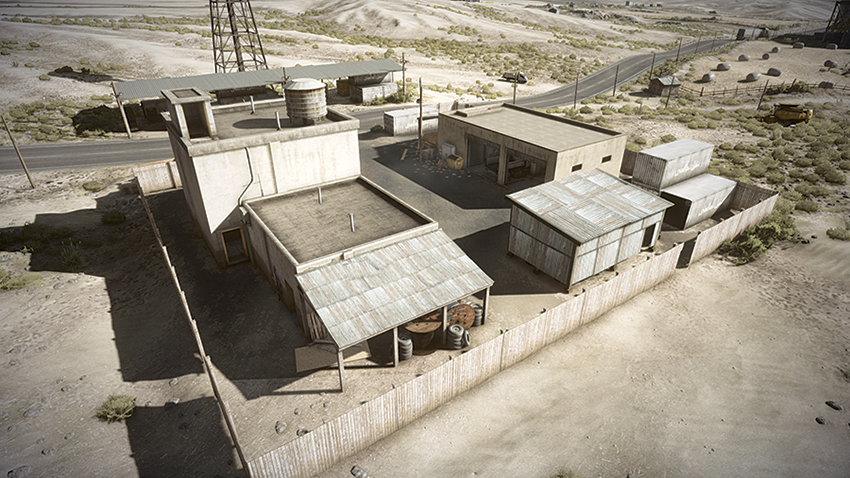
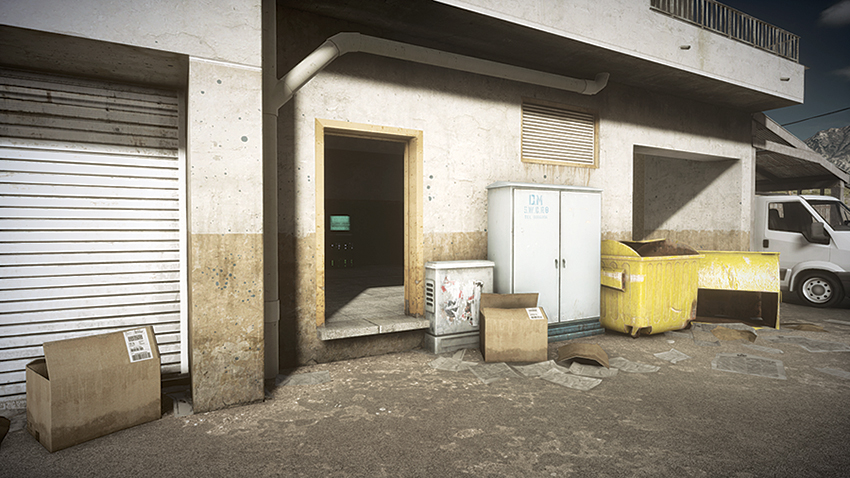
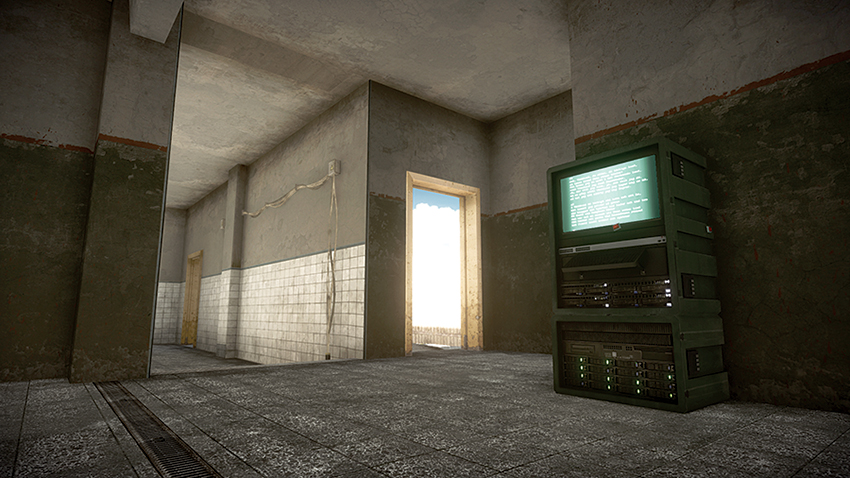
Located within the south building of the Residential area, this M-COM Station is less vulnerable to attack than its M-COM Station B counterpart. Defenders should not take the inside placement of this objective lightly, though, as the room that houses the objective is accessible by four separate doorways. The most dangerous of these is the doorway on the south side of the building, as this can be accessed once the fence line is breached and can allow for streams of attackers to flood in and overwhelm defenders. Attackers should have the AH-1Z Viper circling the objective to monitor defender positions and engage the enemy as they approach the objective, as well as eliminate campers in the garage on the north side of the Residential area.
M-COM Station B
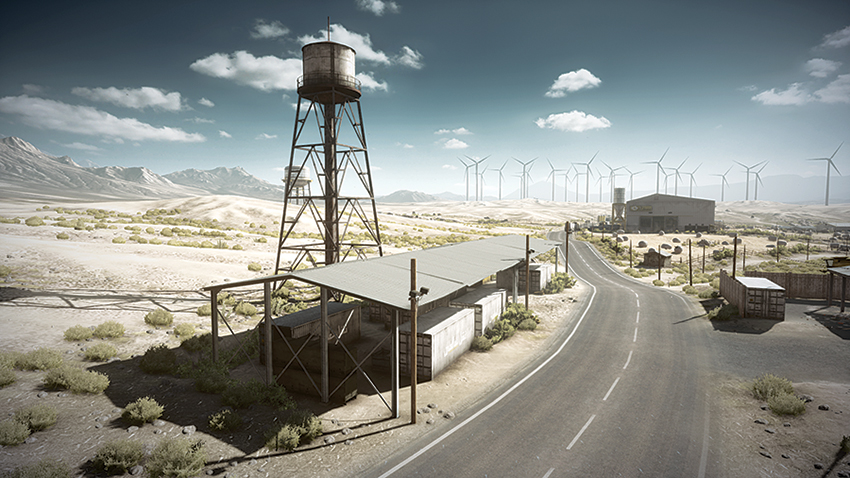
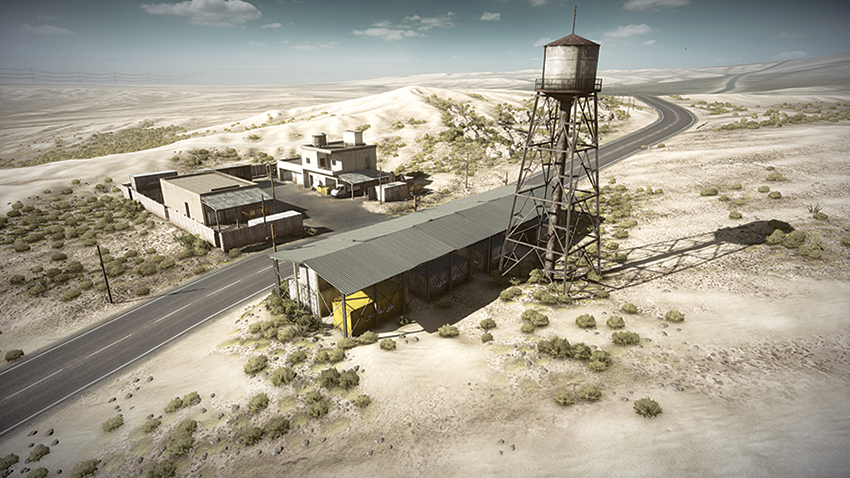
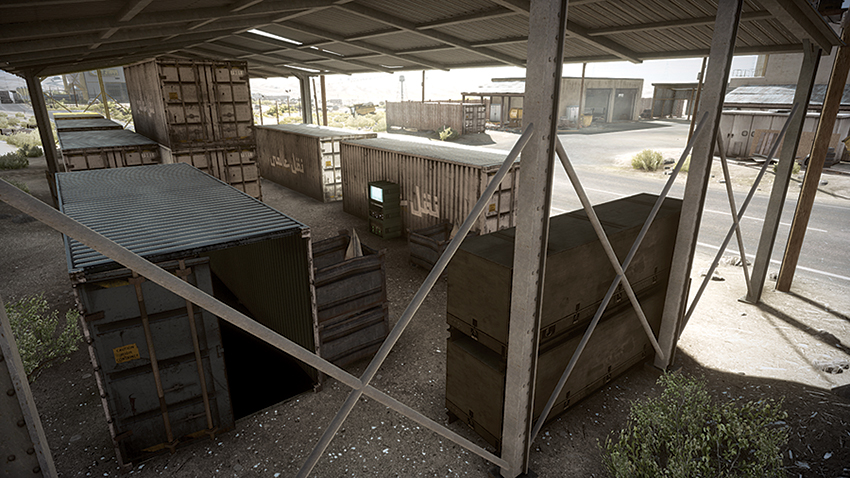
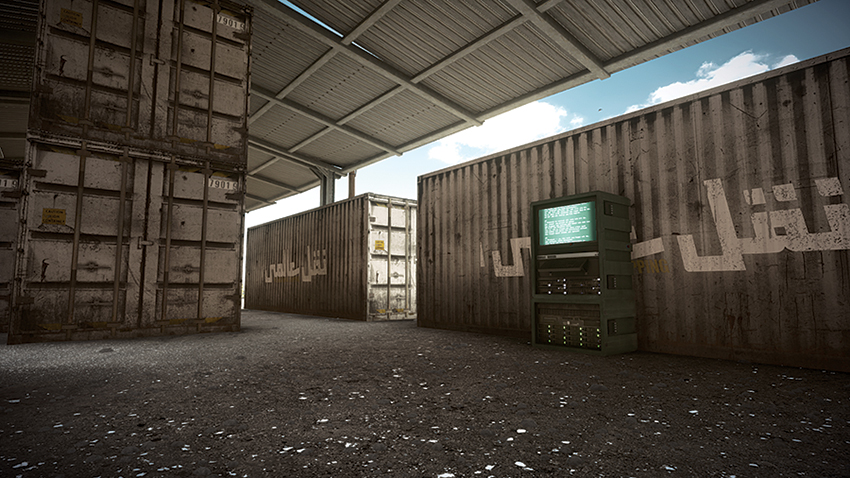
M-COM Station B is between shipping containers that are housed within a covered storage area west of the Residential. Although more exposed than M-COM Station A, attackers will still face heavy resistance from defenders that have taken root among the shipping containers, which results in close-quarters combat when attackers attempt to plant a charge. Defenders will benefit from maintaining their distance west of M-COM Station B, as attackers can be fired upon while they attempt to plant the charge. Attackers that attempt to approach the area on anything other than a dirtbike will find that doing so leaves their vehicles open to attack by the MI-28 Havoc that is patrolling the skies above. Teams should make use of a T-UGS motion sensor when around the shipping containers to prevent the likelihood of being the victim of a surprise assault while attempting to maintain control of the objective area.
Zone 2: Warehouse
US Deployment
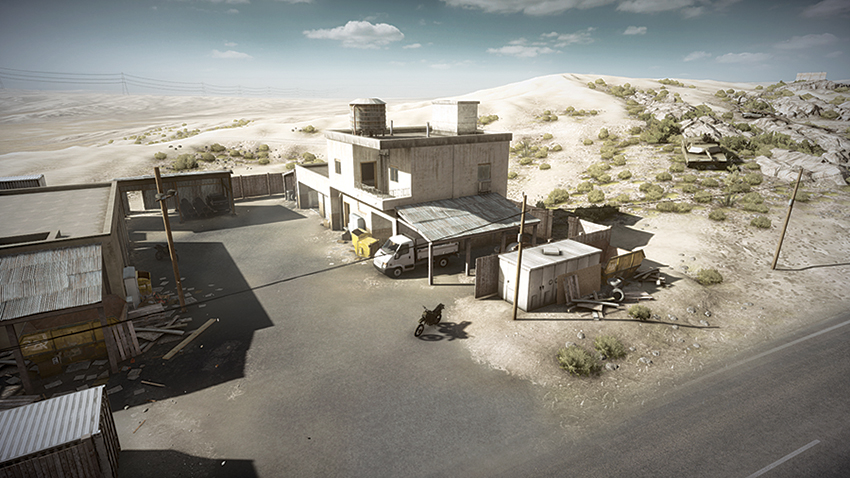
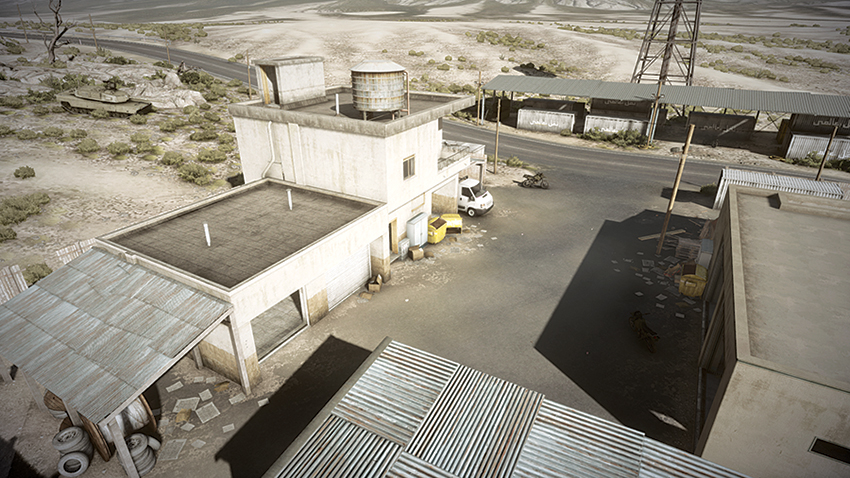
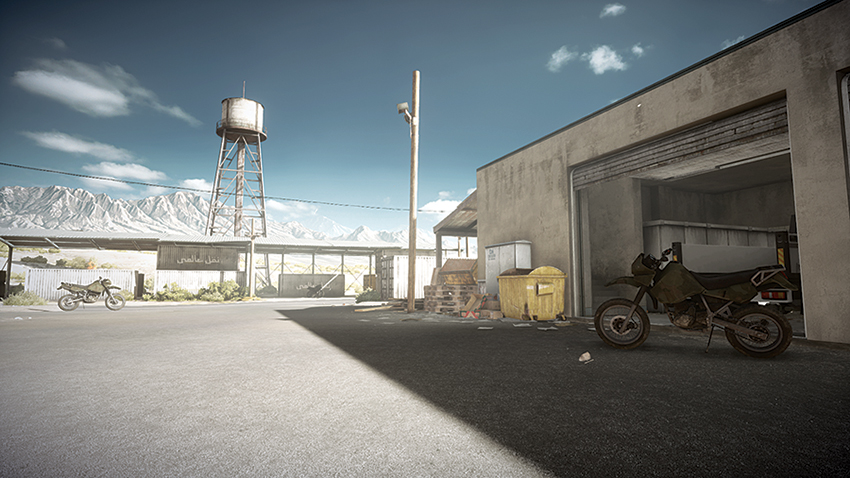
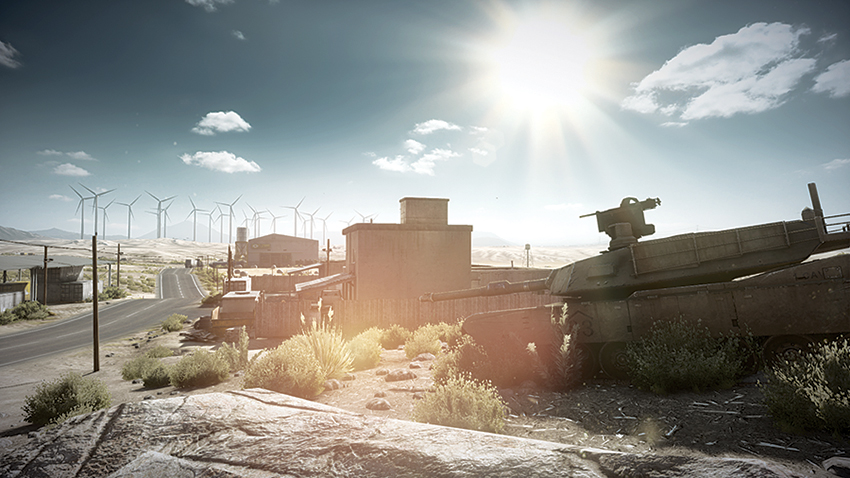
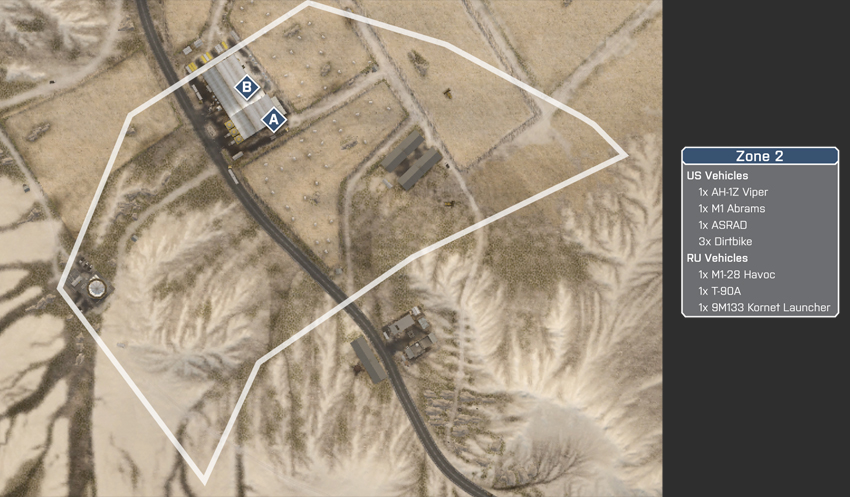
Deploying from the Residential area, the US team has the ability to capitalize on the deployment position of the RU team here. Since most defenders will move through the Warehouse and camp within the room housing M-COM Station B early on, this leaves the large hangar where M-COM Station A is found exposed to assault. Another advantage to attacking M-COM Station A is that the large hangar space allows for the M1 Abrams to approach the hangar doors and fire into the room and eliminate any defenders that may be taking position among the defunct AA turrets housed within. The AH-1Z Viper, on the other hand, should monitor the west side of the Warehouse and its rooftop for defenders attempting to fire upon attackers that are making their approach.
RU Deployment
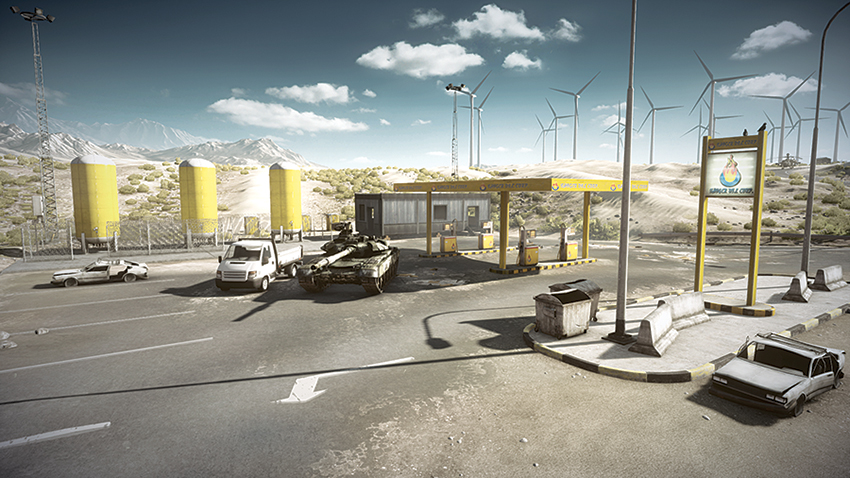
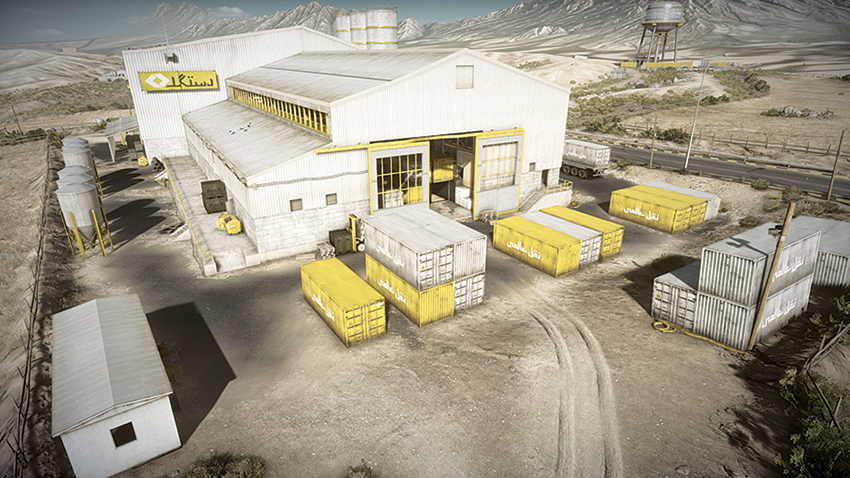
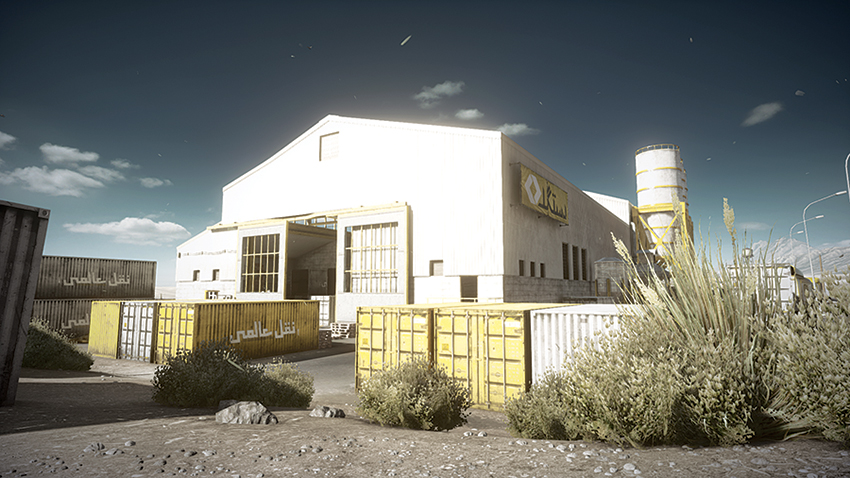
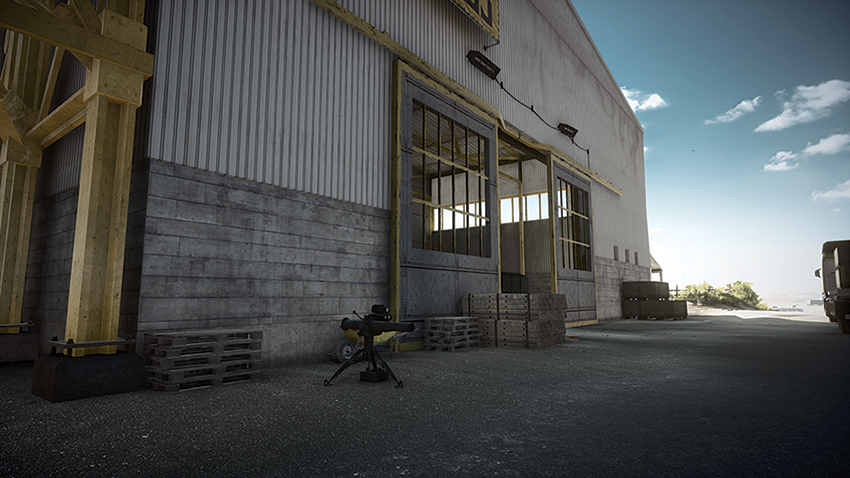
Deploying on the north side of the Warehouse, defending squads should work to secure both the hangar that houses M-COM Station A and the rooftop of the Warehouse (accessible via the ladder on the Warehouse building’s east side) early on. Once in position atop the Warehouse’s roof, engineers can target attackers’ vehicles with a Javelin or RPG as they approach from the south. While this defense is taking place, the squad that has taken position within the Warehouse should be laying claymores throughout the interior —in particular, the catwalks of both rooms should be booby-trapped to prevent attackers from exploiting the elevated position in their attempt to destroy the objectives.
M-COM Station A
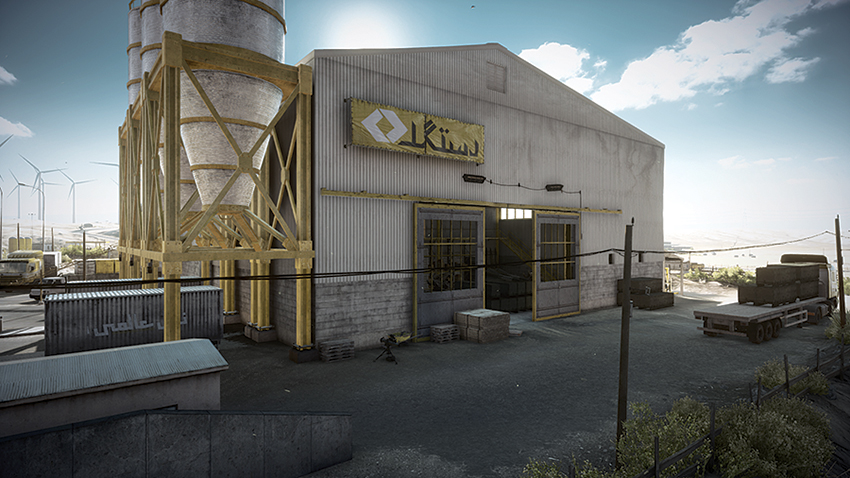
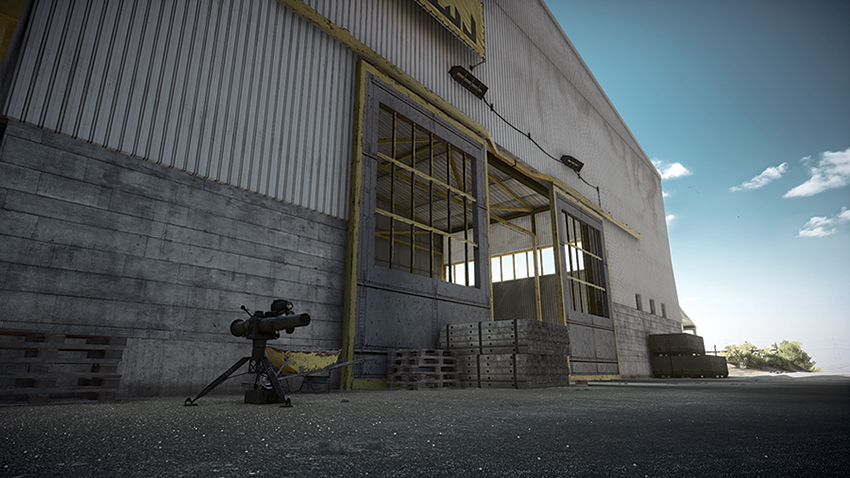
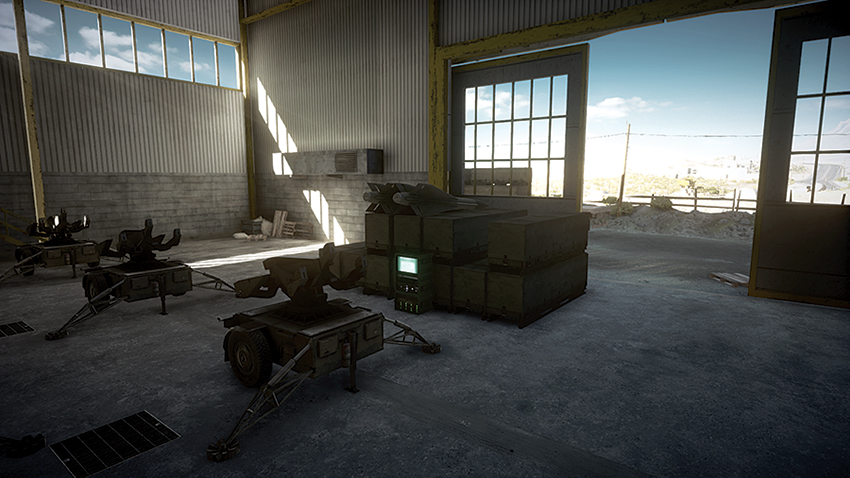
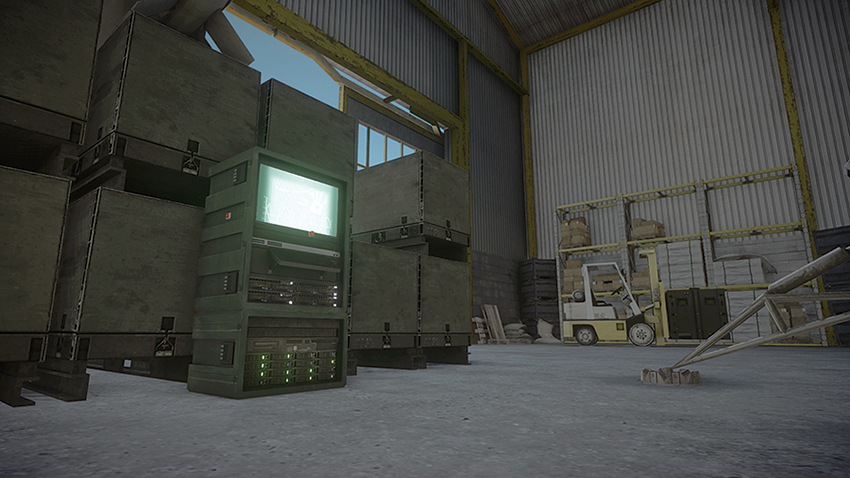
Positioned against crates of missiles, M-COM Station A requires attackers to enter the large hangar located on the south side of the Warehouse. This leaves attackers vulnerable to being overwhelmed by the defenders that are camping on the catwalk overlooking the objective. Attackers should make use of the M1 Abrams or the ASRAD to bombard the catwalk within and eliminate or suppress defenders while their squad mates flood the room and plant the charge. Defenders are not left without a means to defend this objective, though, as the 9M133 Kornet Launcher immediately outside of the hangar doors can be used to hold back the attackers’ heavy vehicles. But dirtbikes will pose a threat to the Kornet’s operator, as their speed makes for a difficult target. When defending the objective, placing claymores near the objective will help to eliminate large numbers of attackers with relative ease.
M-COM Station B
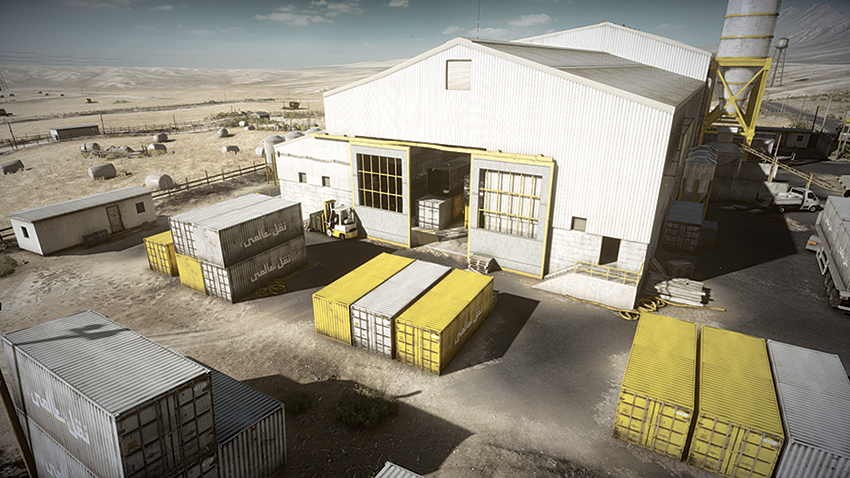
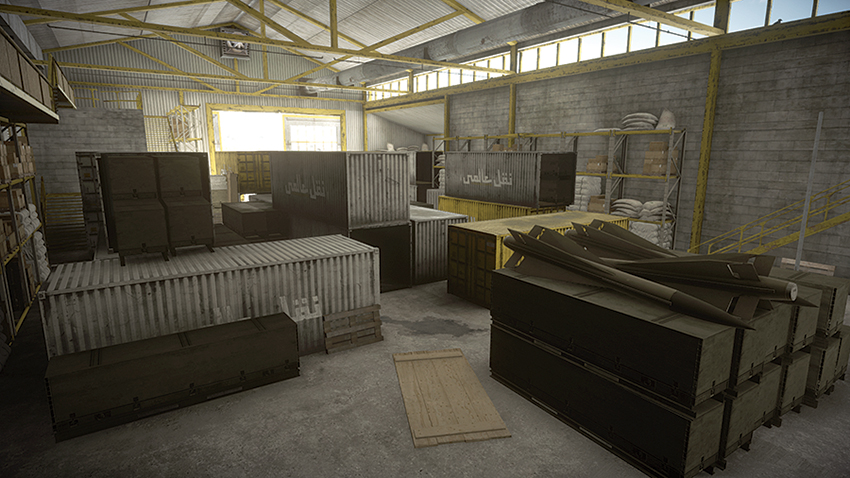
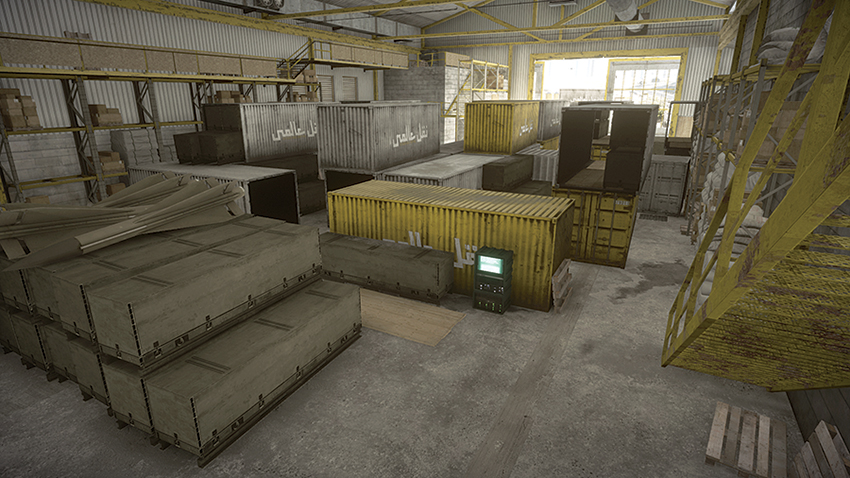
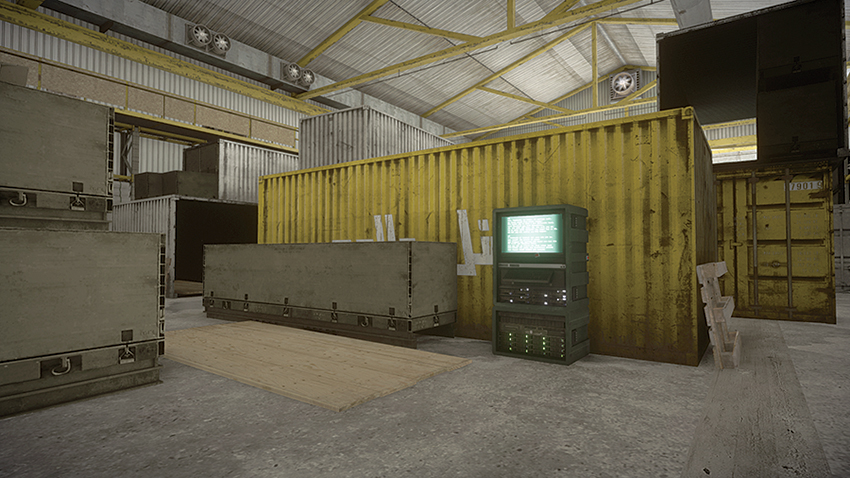
M-COM Station B is positioned within the Warehouse in its north side room, which houses a significant number of shipping containers. The fight that ensues around this objective will be an intense close-quarters battle. Although the space can be accessed by dirtbikes, bringing one of these vehicles inside this space is only a novelty; the tight quarters will prevent a dirtbike from continuing at high speeds. Defenders will find the catwalk surrounding the area useful in maintaining control of the objective, but they should place claymores near the entrances to the rooms to prevent being flanked here. Attackers looking to gain the advantage should make use of shotguns, PDWs, and grenades to overpower the defenders that have taken hold here. Although M-COM Station B is accessible via the doorway on the east side of the Warehouse, attackers approaching from this side should climb the ladder and make use of the windows to eliminate threats by using grenades or the M320 GL before their squads enter the room.
Zone 3: Farm
US Deployment
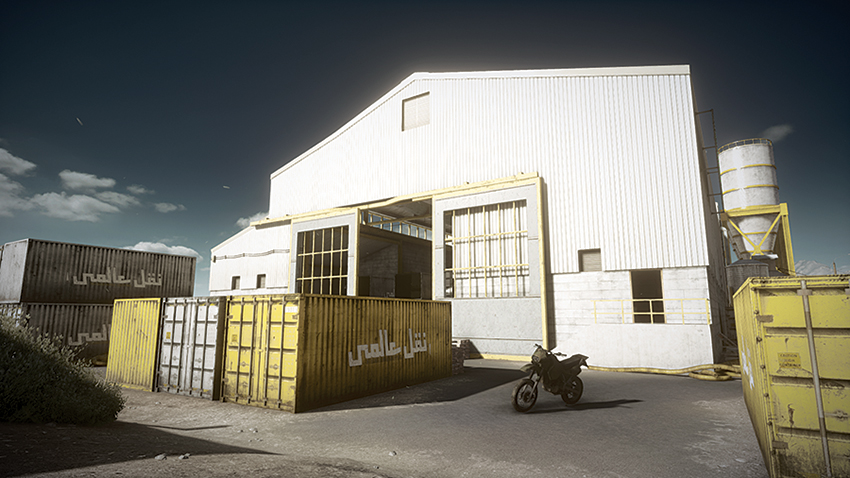
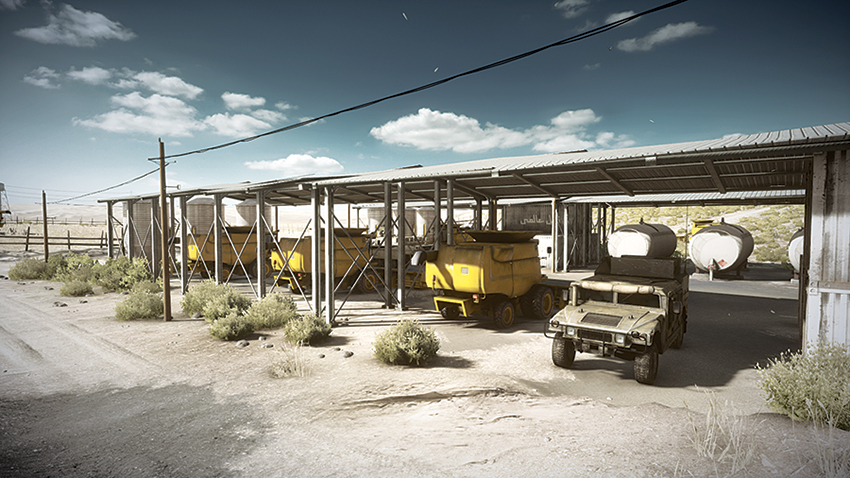
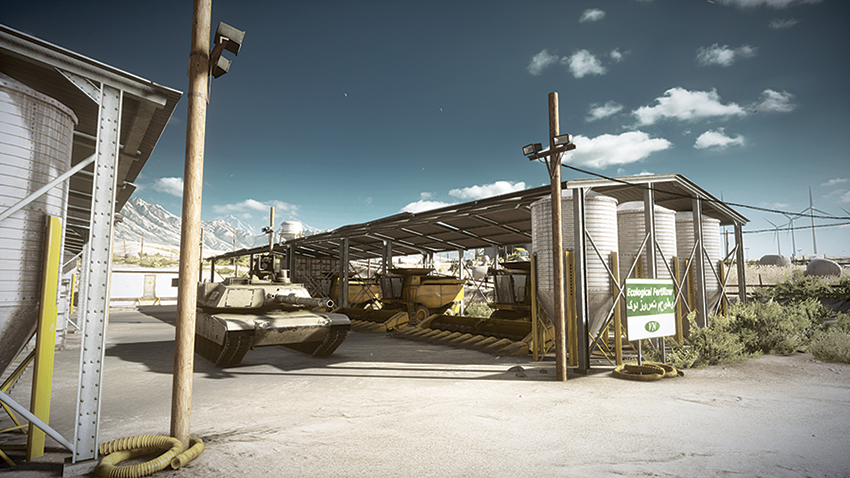
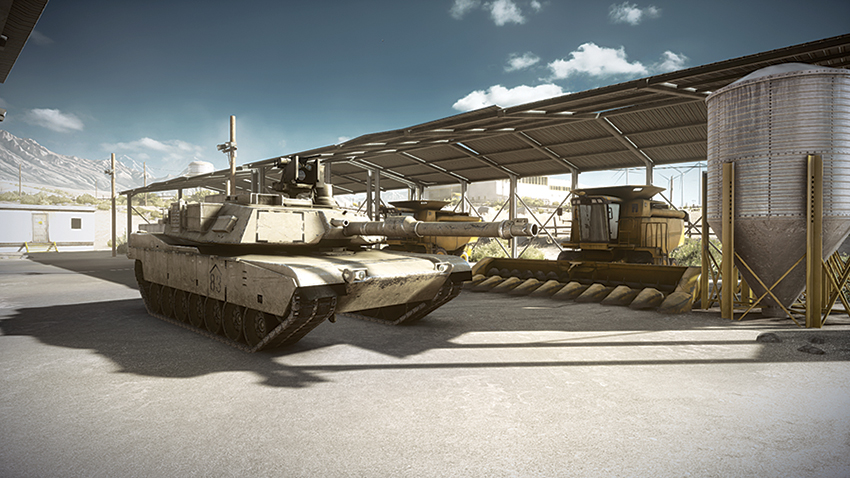
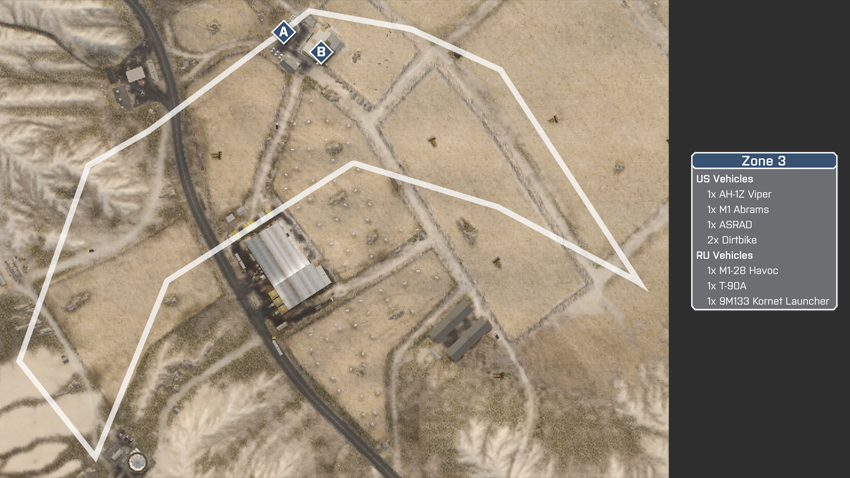
This last stage of the battle sees the US team deploying from the Warehouse. With the objectives located northeast of the Warehouse at the Farm, the US team should allow the charge to be led by the AH-1Z Viper and M1 Abrams, which can assault the Farm and push back defenders within the area. While this assault is taking place, the ASRAD and dirtbikes should be attempting their assault from the east of the Farm, splitting up to attack both the stables and north side of the farm where M-COM Station A is found. When approaching the Farm, the M1 Abrams should be aware of the 9M133 Kornet Launcher on the south side of the stables and fire upon it from afar to ensure that any operator present is dealt with before getting within range.
RU Deployment
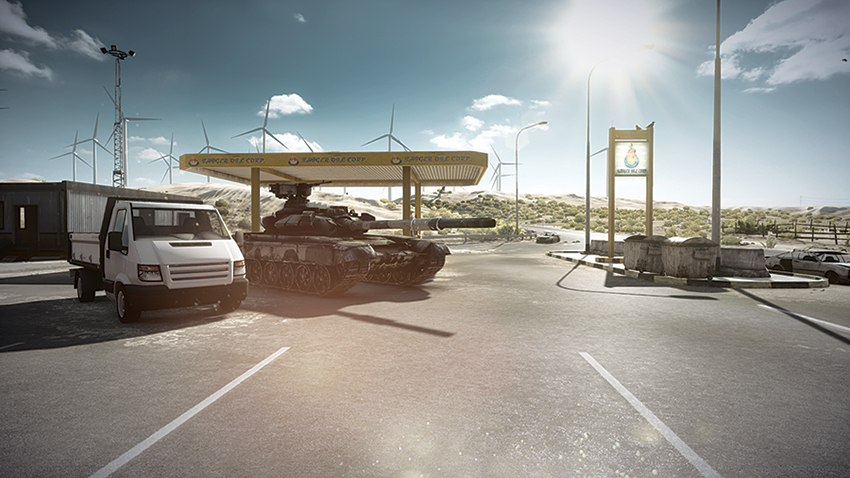
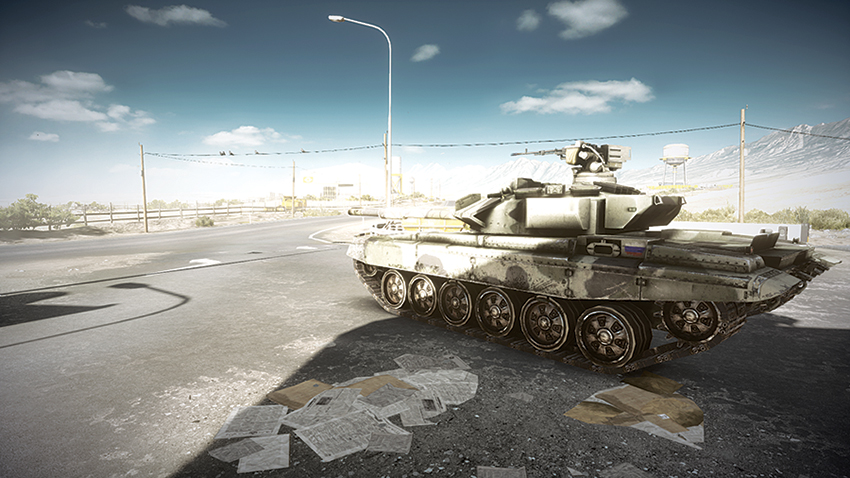
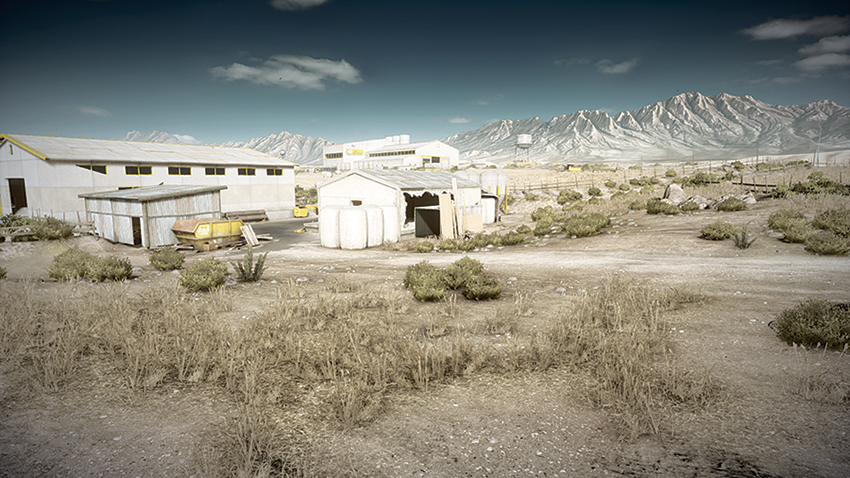
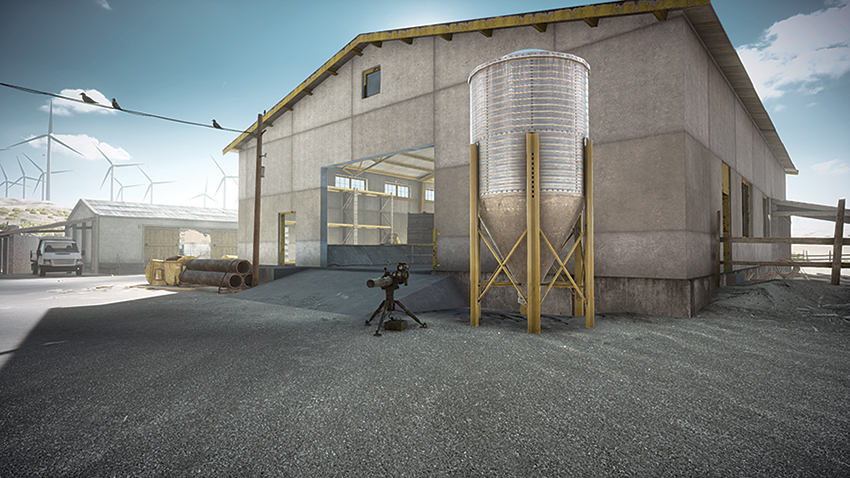
Deploying northeast of the Farm, the RU team should work on placing claymores near M-COM Station A quickly, as their T-90A makes its approach from the Gas Station to the west to defend the objectives. While the T-90A makes its approach, the MI-28 Havoc should take to the air and suppress the advance of attackers that are trying to plant the charge within the stables. Defenders should place a T-UGS motion sensor within the stables, as monitoring the approach of attackers can be difficult here. The T-90A should avoid being within the Farm lot itself, as movement within this tight space makes it vulnerable to attack from the US team’s AH-1Z Viper and C4-toting support soldiers. Instead, the T-90A should patrol the perimeter of the Farm and bombard enemies with cannon fire as they attempt to take cover among the carport and vehicles present.
M-COM Station A
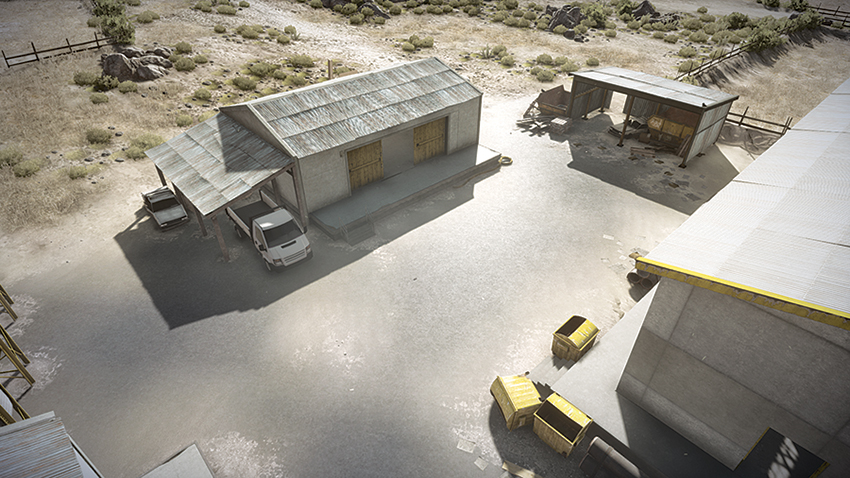
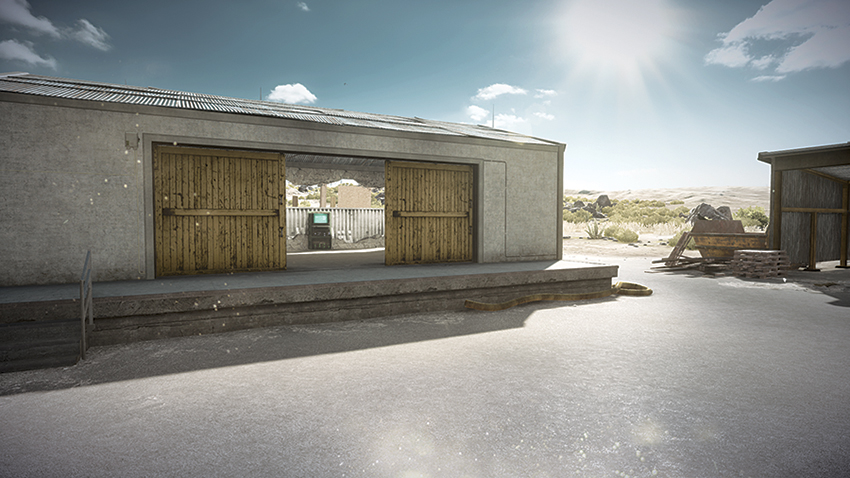
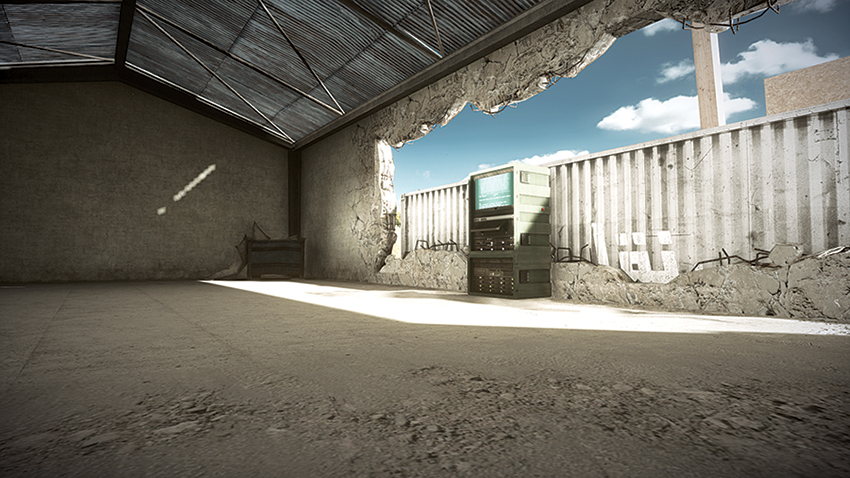
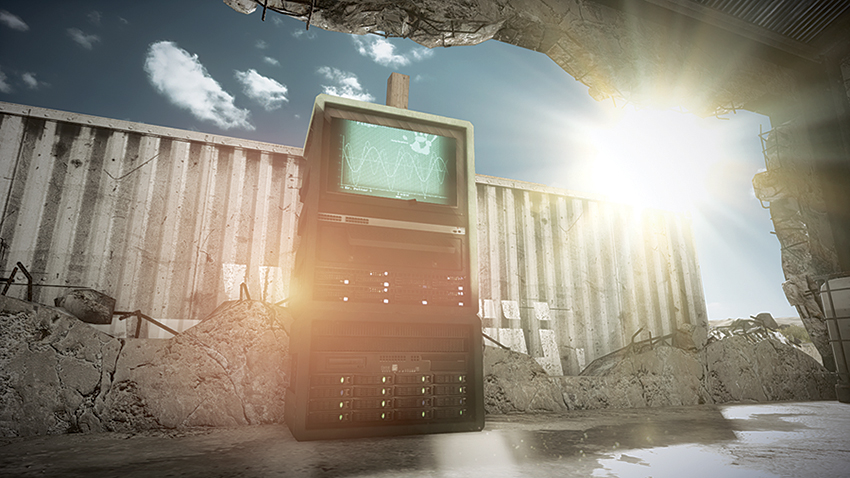
Concealed within a building on the north side of the Farm, M-COM Station A is not very exposed to attack. Defenders would benefit from the placement of claymores within the building, capitalizing on the confined space to eliminate a high number of attackers with a single explosion. Attackers will find that dirtbikes are the best vehicles for approaching the building that houses the objective, as their high speed allows for squad mates to be dropped off before escaping the area, drawing the fire of nearby defenders. When attacking, making use of the AH-1Z Viper to patrol the area and prevent defenders from disarming the charge is critical to maintaining control of the objective. Monitoring the east side of the stables is critical in controlling the flow of attackers into this area. Deploying a MAV will help to maintain an overview of the chaotic combat this area tends to invite.
M-COM Station B
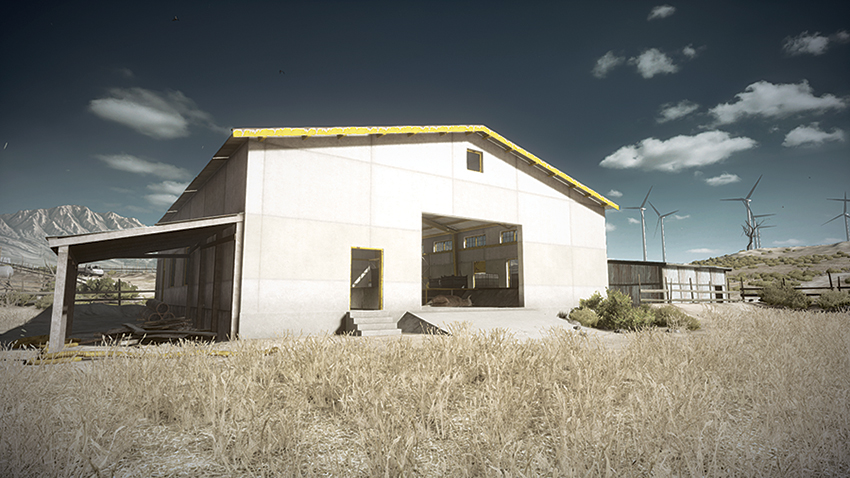
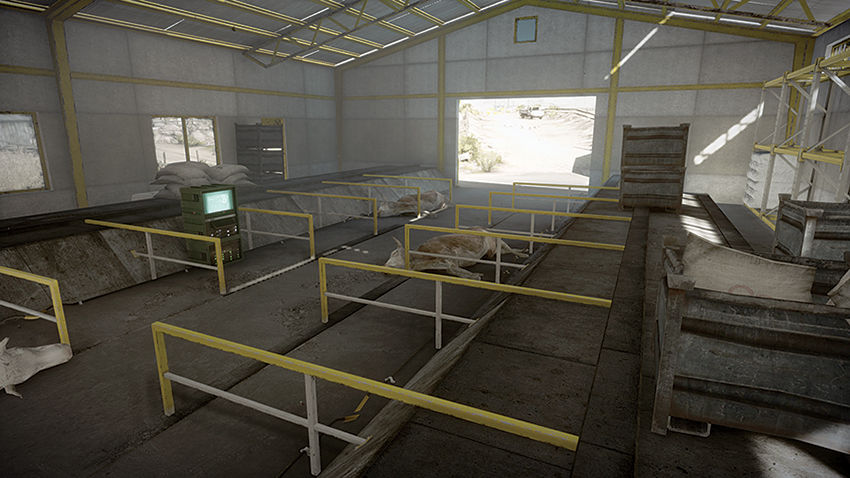
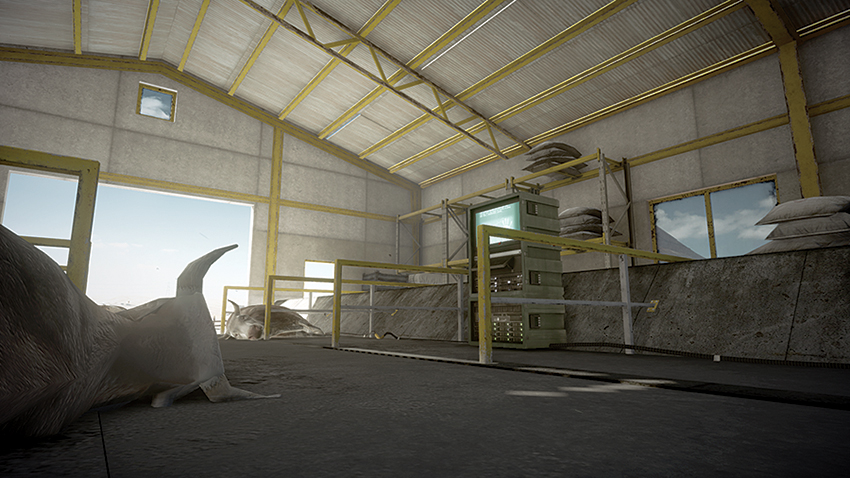
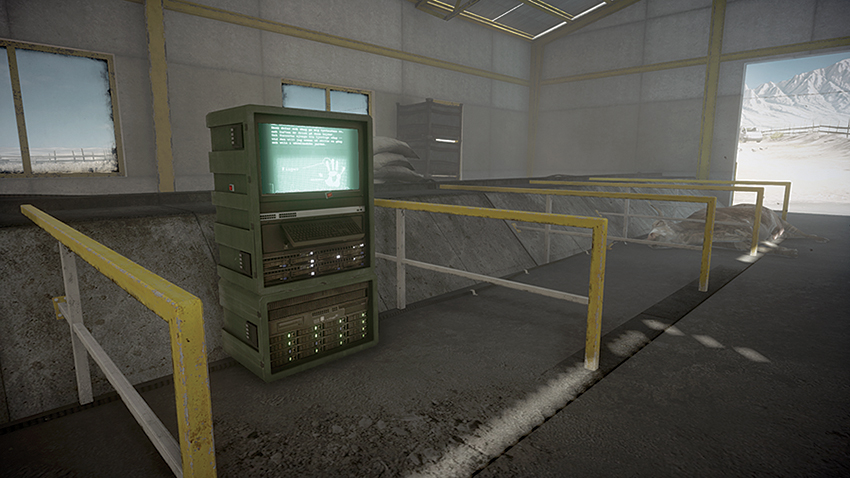
Placed among cattle carcasses within the stables, M-COM Station B is particularly prone to attack. With both the west and east sides of the stables wide open, as well as little cover within the structure, this space will be prone to close-quarters battles. Attackers will have to clear the interior of defenders and, through the use of the M1 Abrams and ASRAD on each side of the stables, prevent defenders from reentering the space, thereby allowing squad mates to descend upon the objective. Defenders should defend the interior of the stables with claymores, while their MI-28 Havoc circles the Farm area, firing upon vehicles that enter the vicinity. Planting a T-UGS motion sensor early on will help monitor traffic within the stables as well, preventing defenders from being overwhelmed by attackers flooding through both entrances.