
Battlefield 3 Premium Guide Battlefields Squad Rush
Markaz Monolith
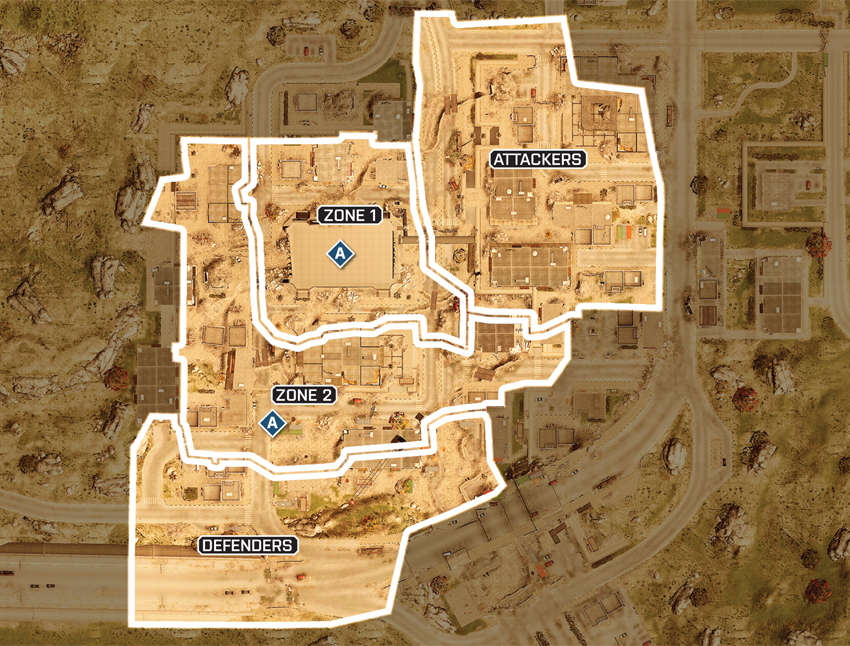
During this small-scale Rush battle, both objectives are situated in very exposed locations, adding a degree of difficulty for the attacking squad. The areas around the Mall and Construction Site offer long sight lines, so prepare to engage opponents at intermediate and long range—sniper rifles and assault rifles are ideal. To avoid walking into a trap, the attacking squad should carefully survey each location with a MAV before approaching either objective. Likewise, the defending squad should rely on a MAV of their own (or T-UGS motion sensors) to locate the attackers. Given the lack of cover around each objective, always deploy smoke to provide some concealment when attempting to arm or disarm a charge.
Zone 1
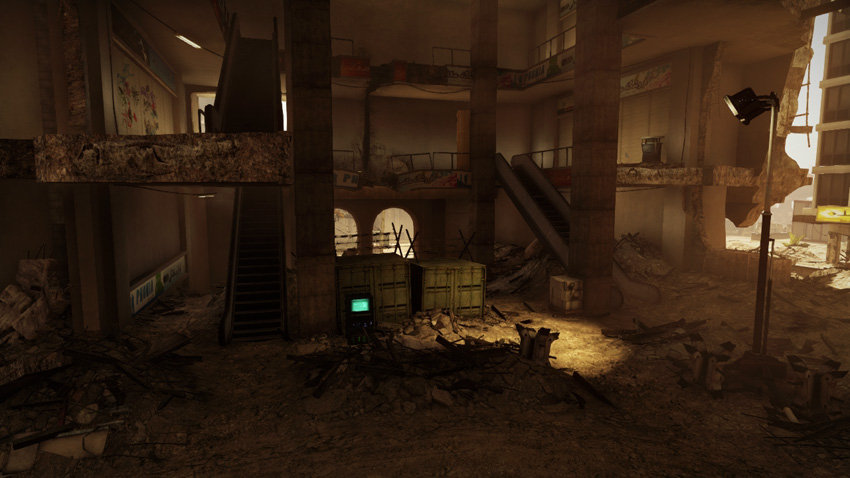
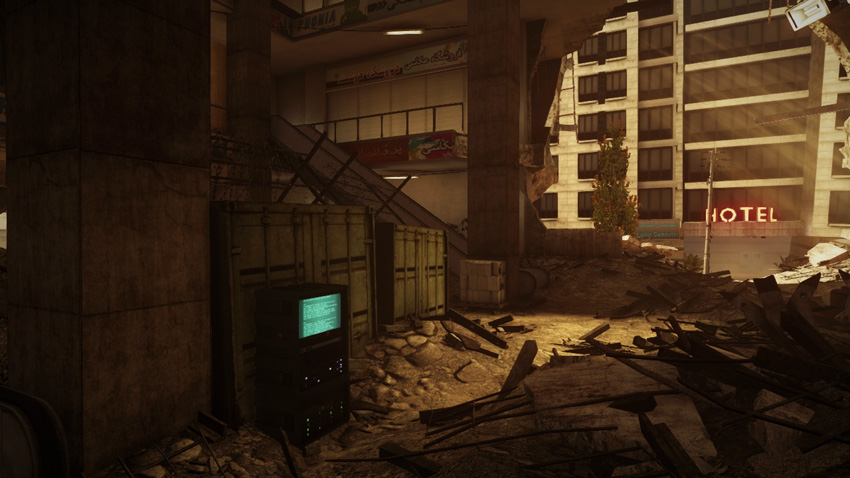
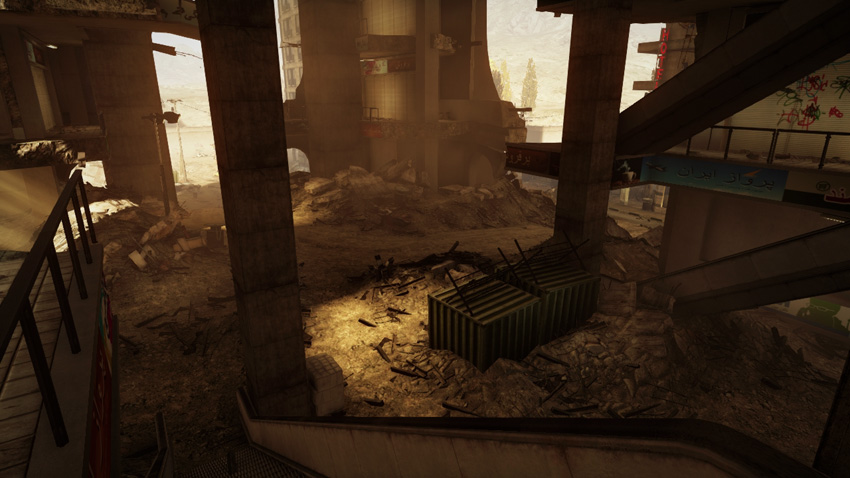
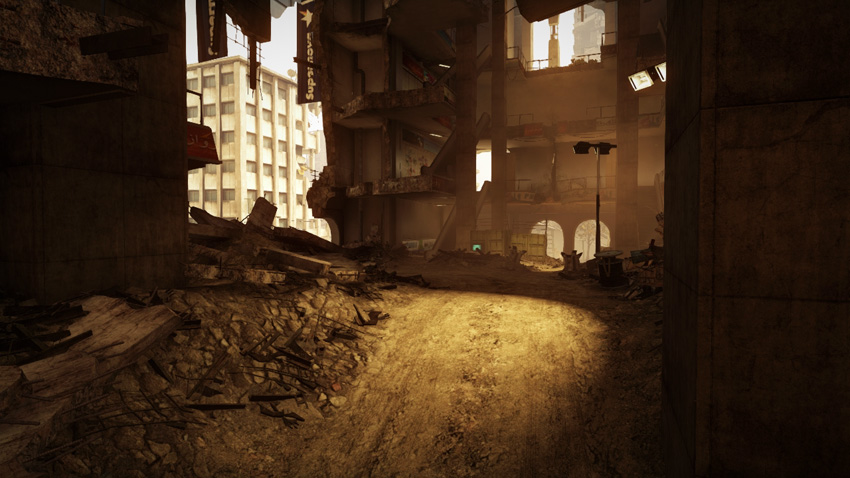
The first M-COM station is located on the ground floor of the Mall. With so many potential entry points, this massive structure is extremely difficult for only one squad to lock down. So instead of trying to hunt down the attacking squad in the surrounding streets, the defenders are better off camping within the Mall and staking out positions where they have a clear view of the objective. Instead of attacking from one of the street-level breach points, the attacking squad should access the Mall’s interior from the sky bridge on the east side. This path provides access to the Mall’s second floor promenade, an ideal overwatch position. However, the sky bridge is an obvious path, and may be watched or booby trapped by the defenders. Therefore, deploy a MAV and fly it into the Mall to locate the defenders. This may reveal weaknesses in their defenses, allowing your squad to find an alternate path. Whether arming or disarming a charge, use grenade launchers to mask the objective in smoke.
Zone 2
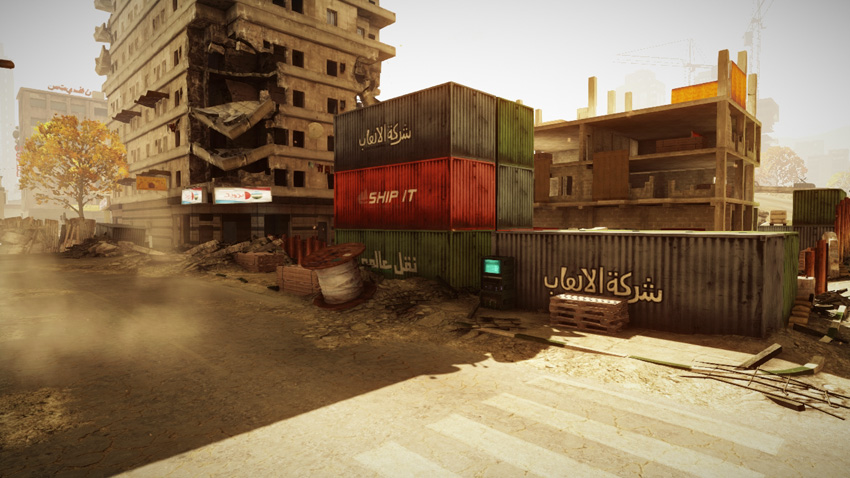
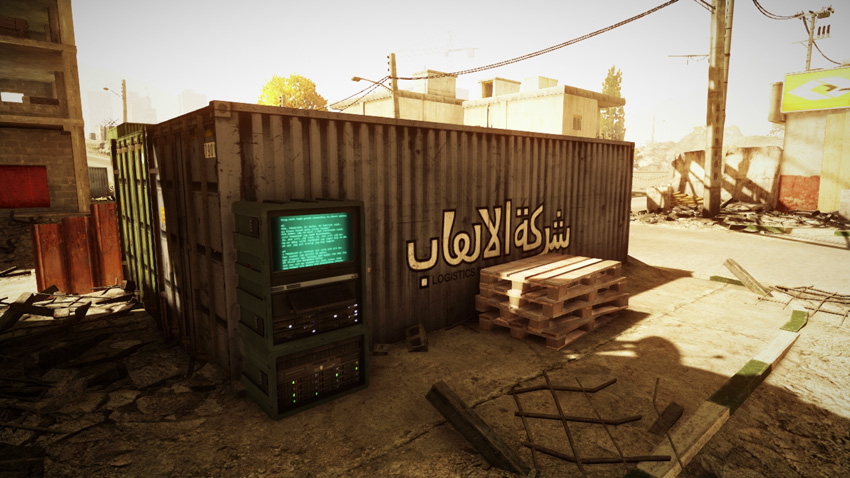
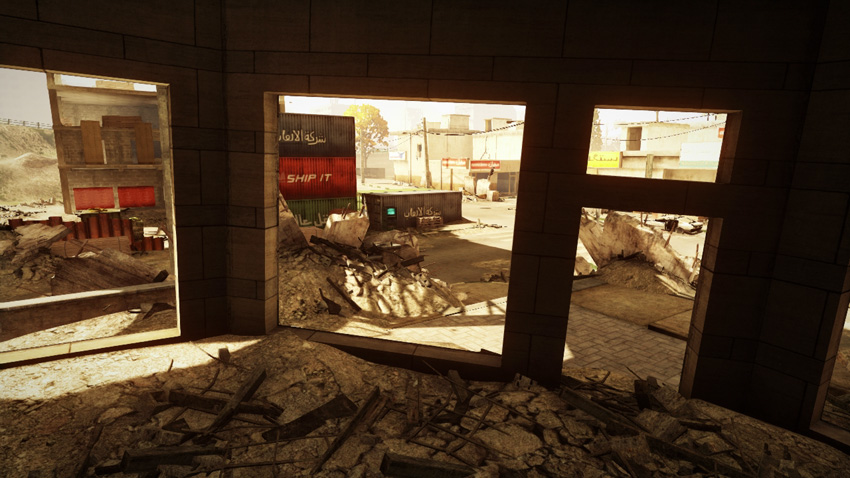
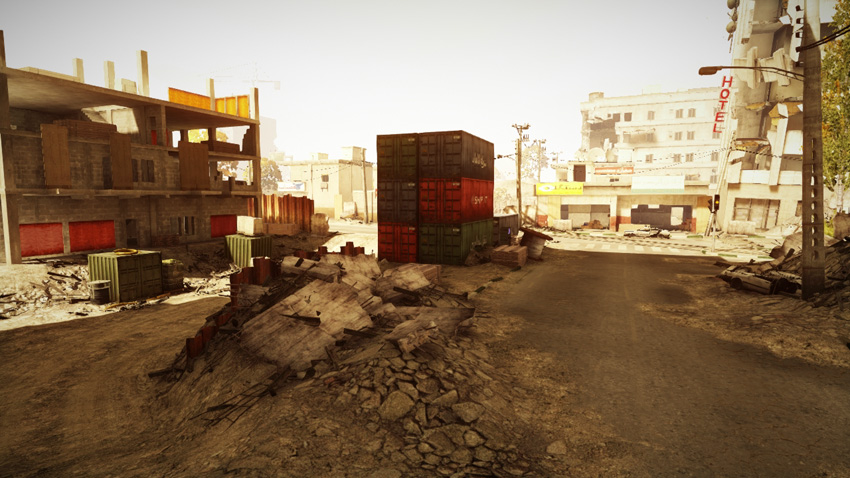
The second M-COM Station is located along the street near the Construction Site and across the street from the hotel. This objective is completely exposed, giving the attacking squad another challenge. The defending squad can monitor the objective from multiple vantage points, including the rooftop to the west as well as from within the storefront on the hotel’s southwest corner. Instead of charging down the adjoining streets, the attacking squad should cut through the hotel and establish a presence to the north of the objective—place a Radio Beacon within the hotel to maintain a spawn point nearby. Short of completely eliminating the defending squad, there’s no safe or easy way to approach the objective. So use grenade launchers to saturate the area with smoke then elect one squad member to rush into the smoke screen and set the charge. The defending squad should be prepared to use similar tactics when attempting to disarm the charge.