
Battlefield 3 Premium Guide Multiplayer Co-Op Mission 3: Exfiltration
Exfiltration
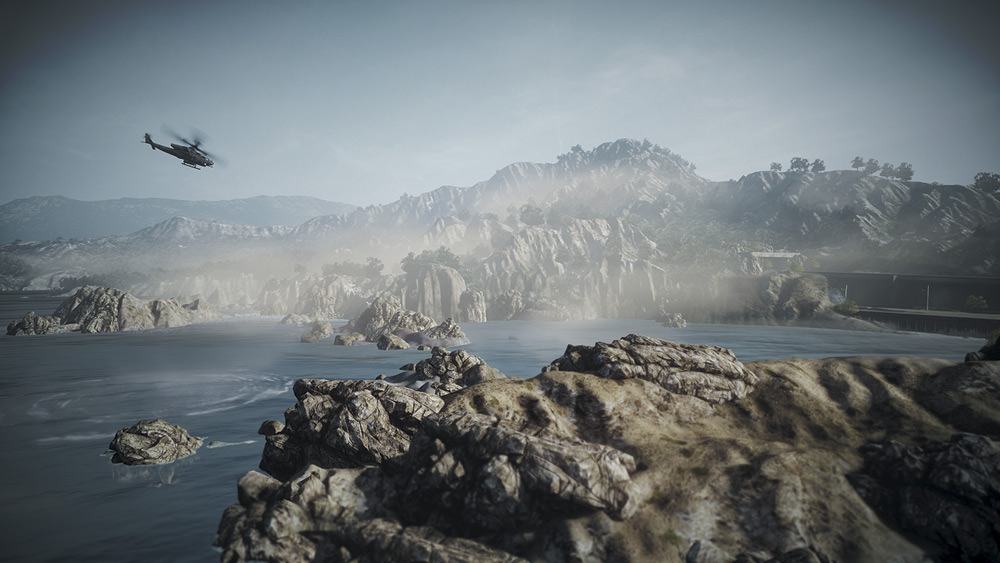
Thanks to extensive intelligence work, we’ve been able to locate El Zakir. He was not expected to give himself up, but when local agents located and captured his immeadiate family, he agreed to negotiate his surrender.
El Zakir is awaiting extraction in an apartment complex in the outskirts of Bagh-dad. You need to secure him and bring him back to the Green Zone.
Although El Zakir has contacted the US and is willing to surrender himself, the PLR is not willing to give up one of their own so easily. Several PLR troops guard the complex he’s being held in.
Once he is freed, the entire army reacts and engages the extraction team with a full-on assault through the streets of Baghdad.
LOCATE EL ZAKIR
ESCORT EL ZAKIR TO THE HUMVEES
[ ACHIEVEMENT | TROPHY ]
Ninjas
Baghdad doesn’t exactly mirror feudal Japan, but the extraction team can execute their plan quietly like the notorious asssassins of that era. To obtain this co-op Achievement/Trophy, reach El Zakir without comprimising the extraction team’s presence.
To avoid detection, crouch and quietly move through the complex, eliminating any guards or security systems that may reveal your position.
When you encounter a PLR post manned by several hostiles, kill the guards swiftly and quietly using the silenced pistol or save ammo with the knife when their backs are turned.
Most of the rooms and halls in the area have more than one guard posted, and all must be eliminated simultaneously
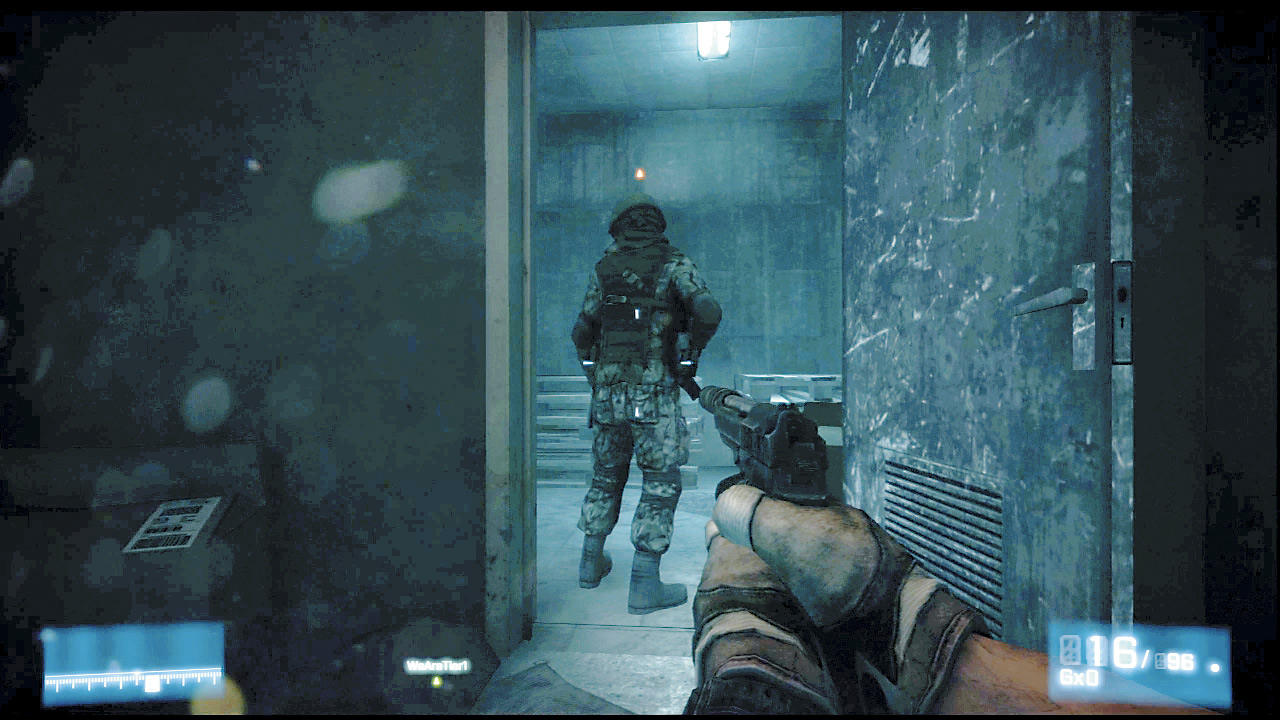
to remain hidden. Failing to coordinate attacks with your teammate results in a PLR guard tripping the alarm and alerting the entire complex to your presence. With those alarms blaring, the complex becomes the center of an intense firefight rather than a swift, stealthy extraction.
Hop off the Humvee, pass by all the garage doors and enter the complex through the door on the west side of the building. As you enter the complex, crouch to stalk carefully through the garage until you reach a pair of guards lounging in front of a television.
While they watch the latest news reports, aim your pistols from just outside the door or through the entryway window and take them out.
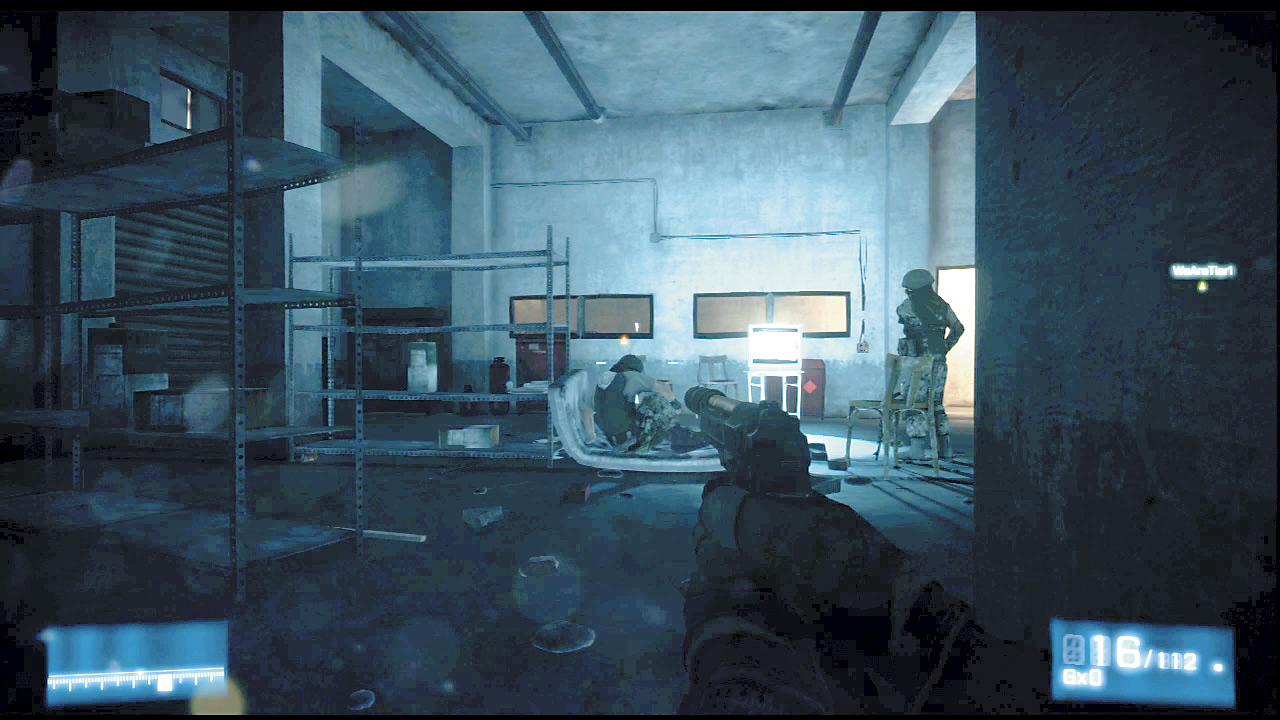
With the garage clear, continue your search for El Zakir, traveling through a hallway that leads to the laundry room. Take position in the small room just before the laundry room and carefully aim your pistols at the next set of guards posted there.
After putting some permanent bloodstains in the guards’ clothes, watch out for the Closed Circuit TV (CCTV) camera installed in the hallway ahead.
Take a cautious peek at the CCTV as you go around the storage shelf in the center of the room, place the device between your sights and disable it with a shot or two.
There are two more CCTVs placed in the storage hall ahead. To be absolutely sure you don’t get caught in either cameras’ view, aim at each CCTV through the storage grates.
Slowly edge past the first storage grate to spot the camera installed in the second corner of this storage hall and uninstall it with authority.
With one camera down, set your sights on the next one placed in the corner near the door at the end of the hall.
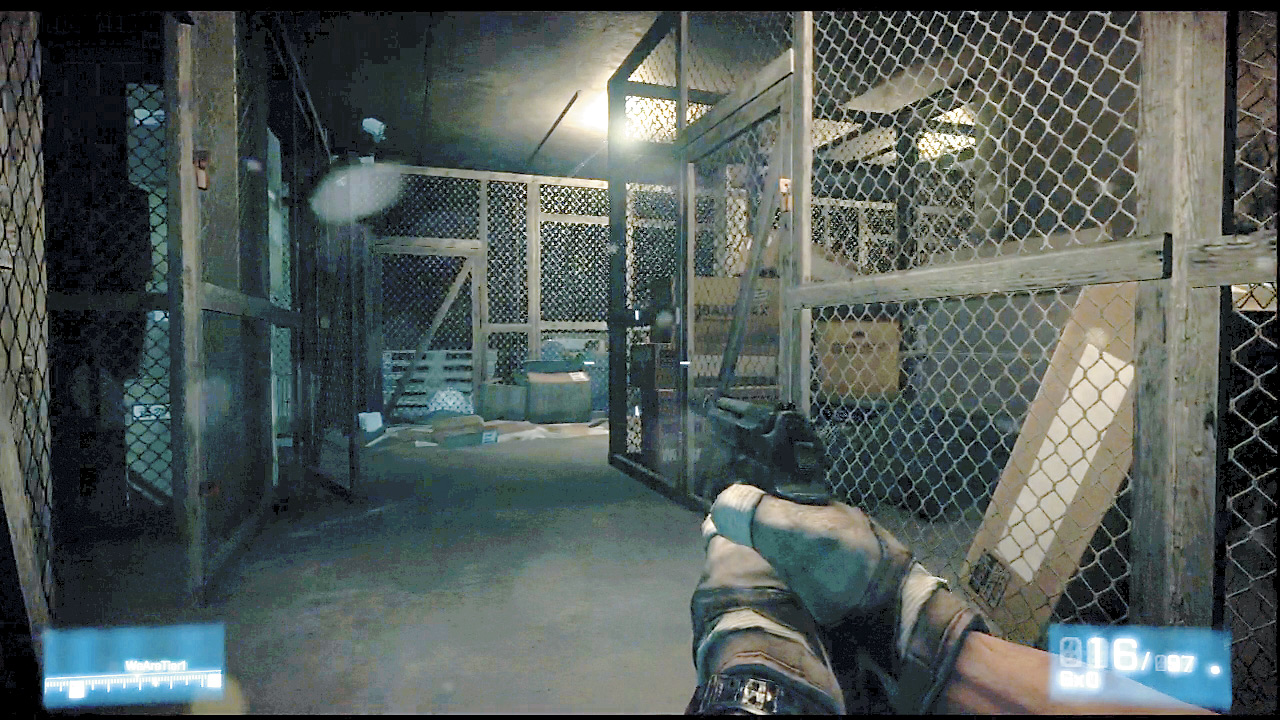
Now that those voyeuristic viewfinders are out of commission, go through the door at the end of the storage hall to reach the apartment’s stairway. A PLR guard, with his back turned away from you, is standing at the base of the stairway.
There is no need to waste any bullets on this guard; simply sneak behind him and silently put him down with your knife.
Intel says El Zakir is on the third floor of this building, but the path up to his apartment is dense with heavy security. Keep those sights trained ahead as you quietly climb the first flight of stairs.
A single guard and a CCTV are positioned next to the second floor doorway. Stay out of view near the top of the first set of stairs and decide with your teammate who takes down which hostile.
Get a precise bead on your designated target and coordinate a simultaneous attack to continue the journey upward undetected.
Don’t congratulate each other just yet; there is another security post occupied by two guards and a CCTV near the third floor doorway. Follow the same strategy that worked for the last set—one person handles the CCTV and the other tackles the guards.
However, whoever is charged with taking care of both guards has the tough task of finding the precise angle to carefully line up both guards in their sights. In order to maintain the team’s cover, the bullets must penetrate the first target and take out the one behind him. Fire multiple bullets to ensure that both targets go down to clear out the stairway.
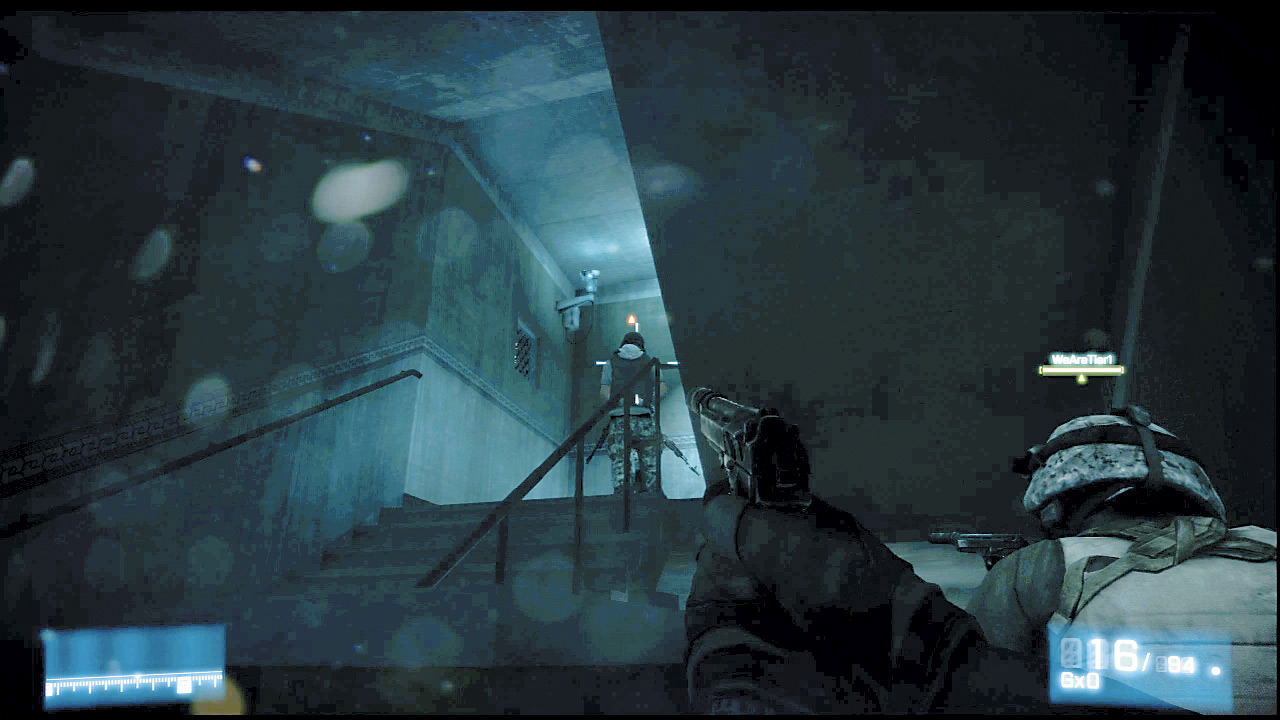
Enter the third floor and sneak down the hall to find El Zakir’s apartment, where two more guards are stationed in front of the door. Move into a good firing position without alerting them and aim for a headshot this time.
Since both targets have their backs to the wall, shooting at center of mass and right into their body armor does not take them out fast enough to remain hidden.
Eliminate the door guards in one shot, and your team is awarded this mission’s Achievment/Trophy.
With ninja status obtained, breach the the apartment door and surprise the last two guards inside the living room. Now that all hostiles have been cleared out of the building, get to the frightened El Zakir cowering in the kitchen.
After he equips himself with a weapon, escort the PLR defector to the stairway at the other end of the hall, down the stairs to the ground floor, and finally out of the building and to the waiting Humvees.
TAKE POINT
The asset is secure and all that is left is to escort the convoy out of Baghdad. Of course, an exit strategy out of Baghdad is never a simple proposition. Move ahead of the convoy and trek down the street to scout for any threats.
Turn left at the first corner, load up at the Ammo Crate on the left sidewalk and equip the sniper rifle next to it.
Travel south down this short road and hang another left onto the narrow street ahead. Upon reaching the corner, the waiting PLR springs their trap. Suddenly, dozens of soldiers flood out from the far end of the street and begin firing upon the convoy.
They’re backed by additional hostiles camping out along the rooftops and balconies on the buildings on the south (right) side of the street.
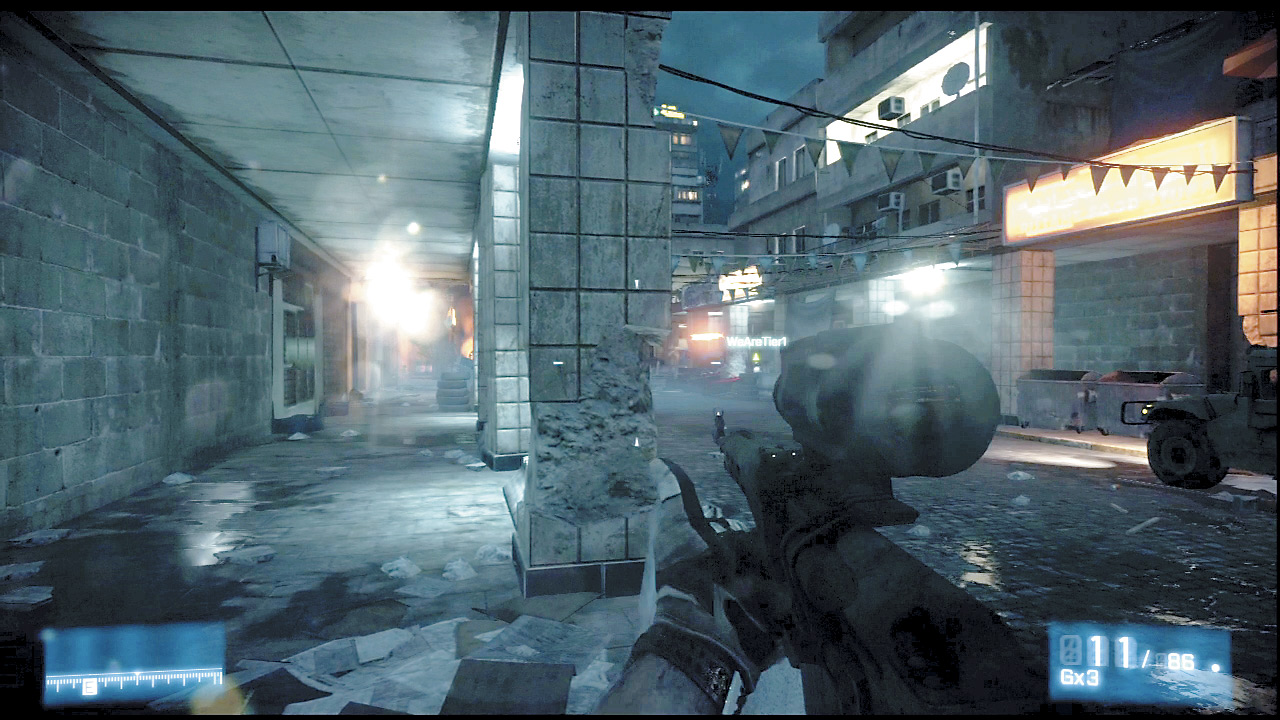
The Humvee convoy begins moving again once the PLR trap is thwarted and the opposition eliminated. Before trudging ahead to the next area, take this opportunity to replenish your supplies from the Ammo Crate located in a small gap on the north (left) side of the street.
Now that you are rearmed and ready to go, head down the street and turn right at the next road to find a gate blocking the end of it. Wait for the Humvees to arrive and apply their ample horsepower to crashing through the gate.
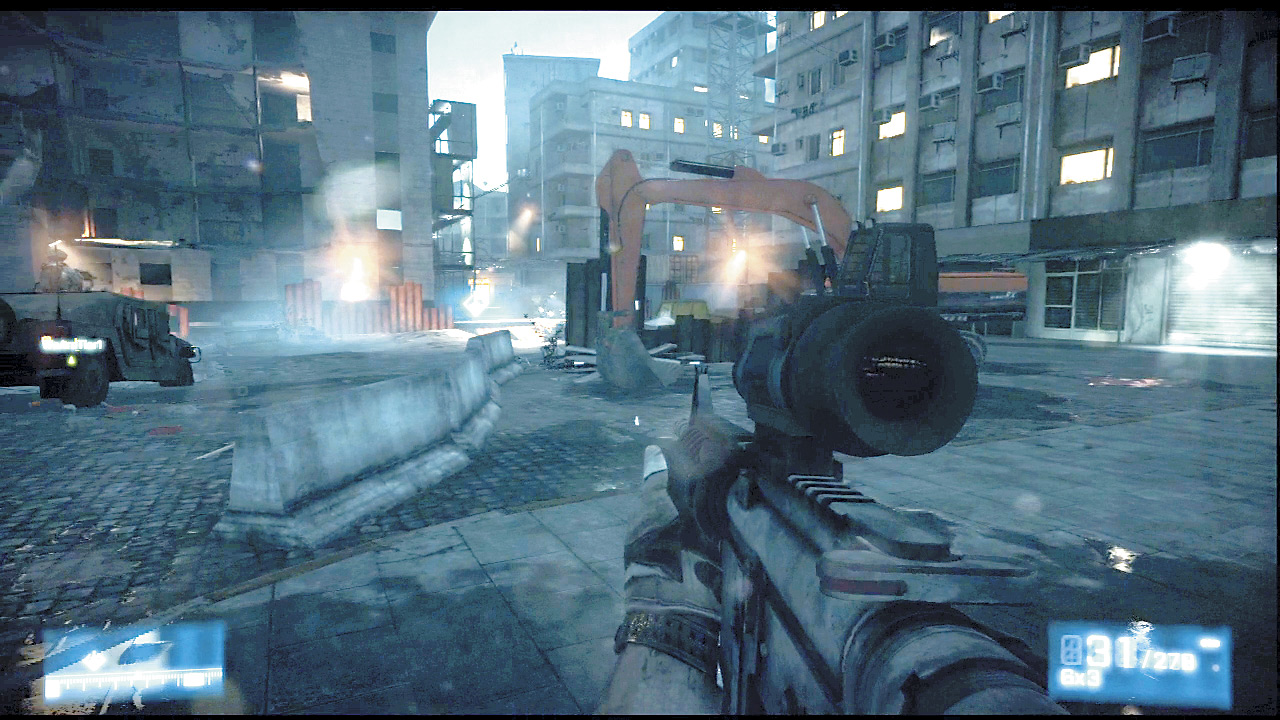
Follow them into a construction work site where another PLR ambush takes out several Humvee gunners. Without their gunners, the vehicles are extremely vulnerable to attack and your team has to provide immediate support.
Find cover behind the crane at the north end of the area while your teammate locates some cover on the opposite side to cover your flank. The PLR ground troops can only enter the site through the corner on the south end.
Fire on any enemy that comes through the corner, and scan the two buildings for any RPG equipped enemies.
If you spot one on any of the balconies, focus your full attention on dropping those targets before they can blow up a Humvee.
TAKE GUNNERS POSITION
After your team survives the PLR’s second ambush, the extraction team orders you and your partner to replace the Humvees’ vacant gunner cabs. Run over to an open transport and get in the vehicle.
The team is off scouting detail and now in the relative safety of the Humvee, but the exposed 50. cal turret reminds you that this is no leisurely drive to the extraction point.
The convoy starts to move again through the streets, but is interrupted when the lead Humvee is destroyed by a hidden IED. Open fire on the PLR troops’ fortified position on the corner in front of the convoy while the Humvees regroup on the road to the left.
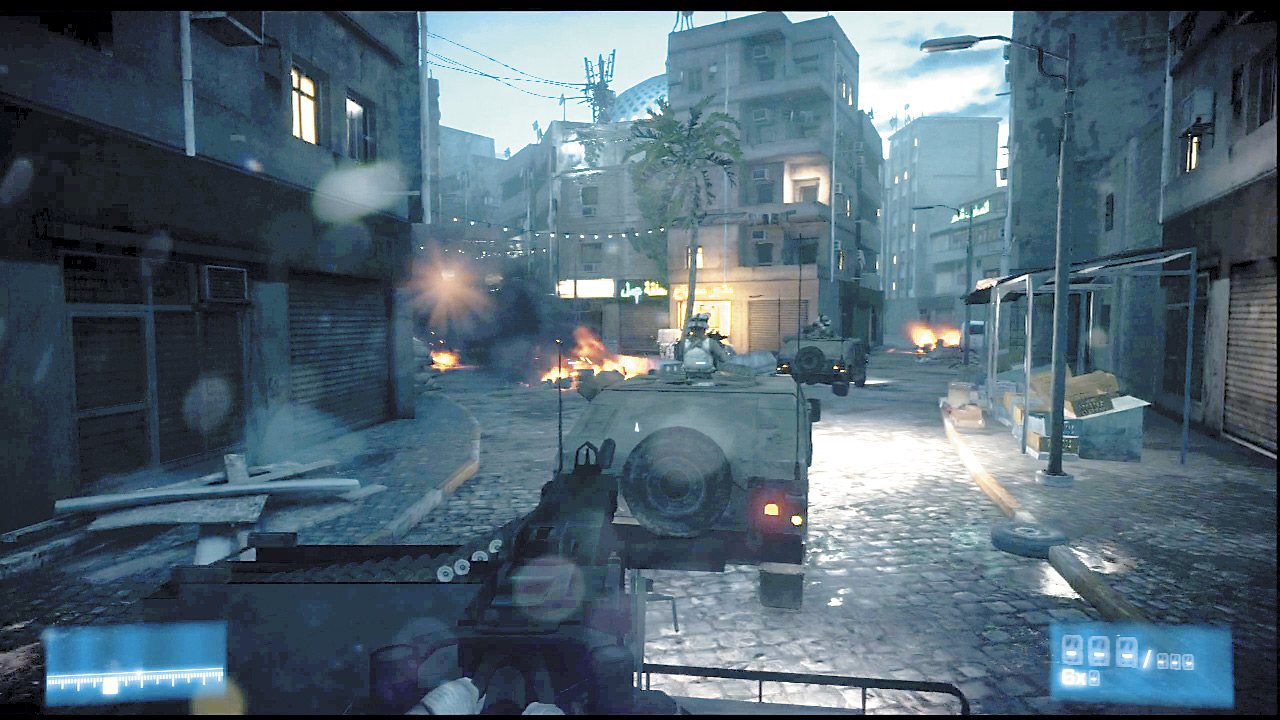
Spray bullets at the enemies camping upon the building balconies above as the Humvees pick up speed down the narrow market road.
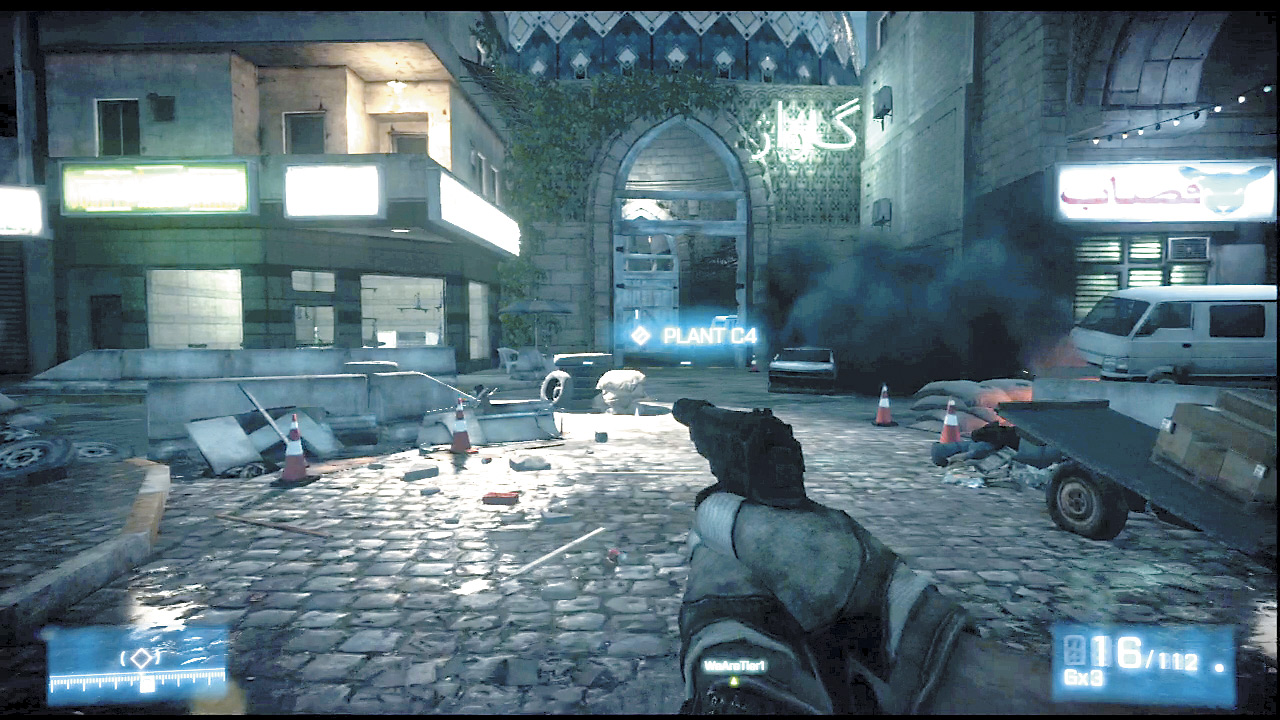
DETONATE C4 ON THE GATE
A domed structure ahead houses several parked cars and a heavily-reinforced wooden gate blocking the convoy from reaching the extraction point. Tasked with clearing the obstruction with a C4 charge, your team exits the vehicles.
While inside the building, stock up on supplies from the Ammo Crate before you place the charge on the gate and blow it up.
Once you open up the path, PLR troops arrive to cut your team off from the convoy. They take positions in the alleyways flanking the stretch between you and the Humvees, laying down heavy fire.
Utilize the Ammo Crate in the garage and lob enough grenades into both alleys until the coast is clear for the team to return.
The convoy continues its run for the extraction point once the team reaches the Humvees.
CLEAR THE AREA
The path has reopened and the convoy burns rubber as they blaze a trail to the extraction point. Unfortunately, the open square ahead is swarming with PLR troops. Before the evac choppers can land and dust off El Zakir and the extraction team, the area has to be cleared of all hostiles. Doing so is easier said than done. The PLR have secured positions both in the center of the square and inside the Iraqi Union building to the south. Even worse, reinforcements are pouring in from both the east and west end of the square. With the multiple hostile contacts firing and attempting to flank the team, this firefight is going to take plenty of skill and endurance to survive.
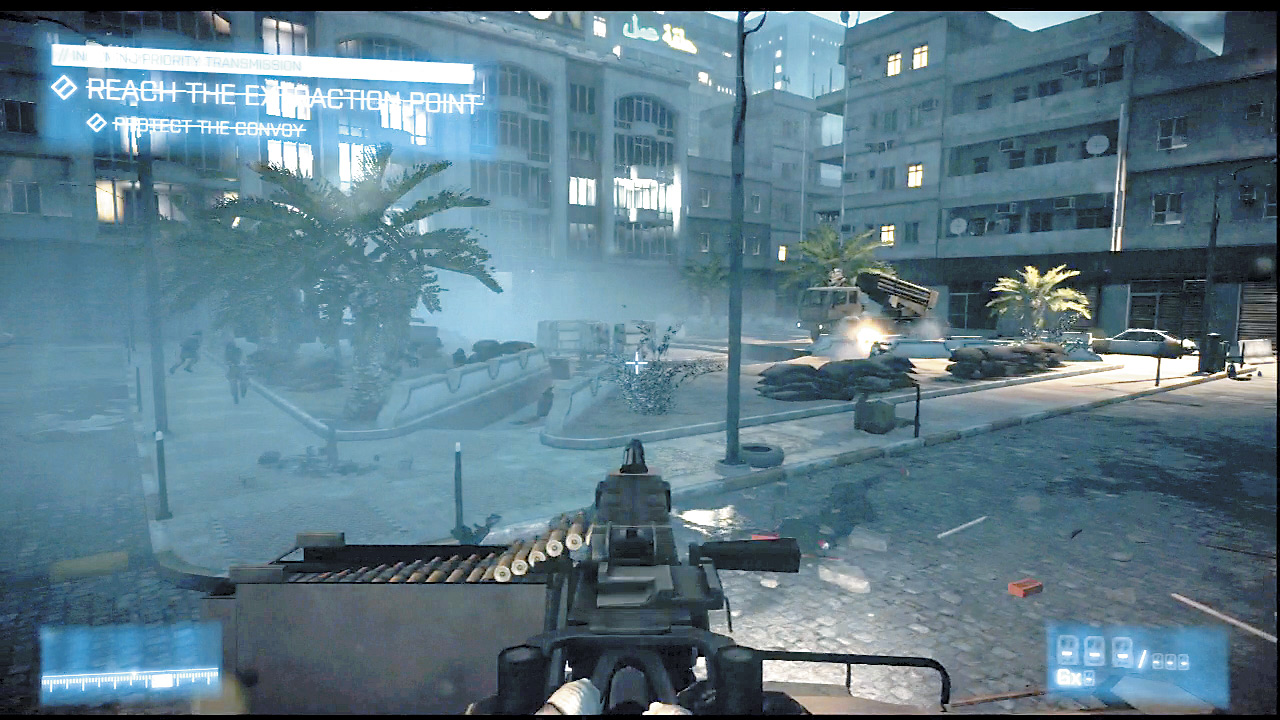
El Zakir and the rest of the extraction team have taken refuge, but are pinned down in a small storage garage in building on the northwest corner of the square. If you are running low on supplies, an Ammo Crate is in front of the northern building, directly behind the remaining Humvees.
In fact, the most secure cover in the area is found behind the Humvees. Crouch or lay prone while keeping the Humvee between you and the enemy. Alternate between firing from the rear or the front of the vehicle to retaliate against the numerous enemy PLR.
Focus on weeding out the ground forces around the square first before even attempting to tackle the troops firing from the Iraqi Union Building. Staying behind the Humvees keeps you protected from the high ground, but the street level threats are constantly trying to flank your position.
Only after taking down the bulk of the forces down here should you shift attention to the targets above. Once the main ground forces have been thinned to a more manageable number, be on the lookout for the RPG-toting enemies scattered across multiple floors in the building ahead. By launching a couple of rockets, they can virtually obliterate most areas of cover in the square.
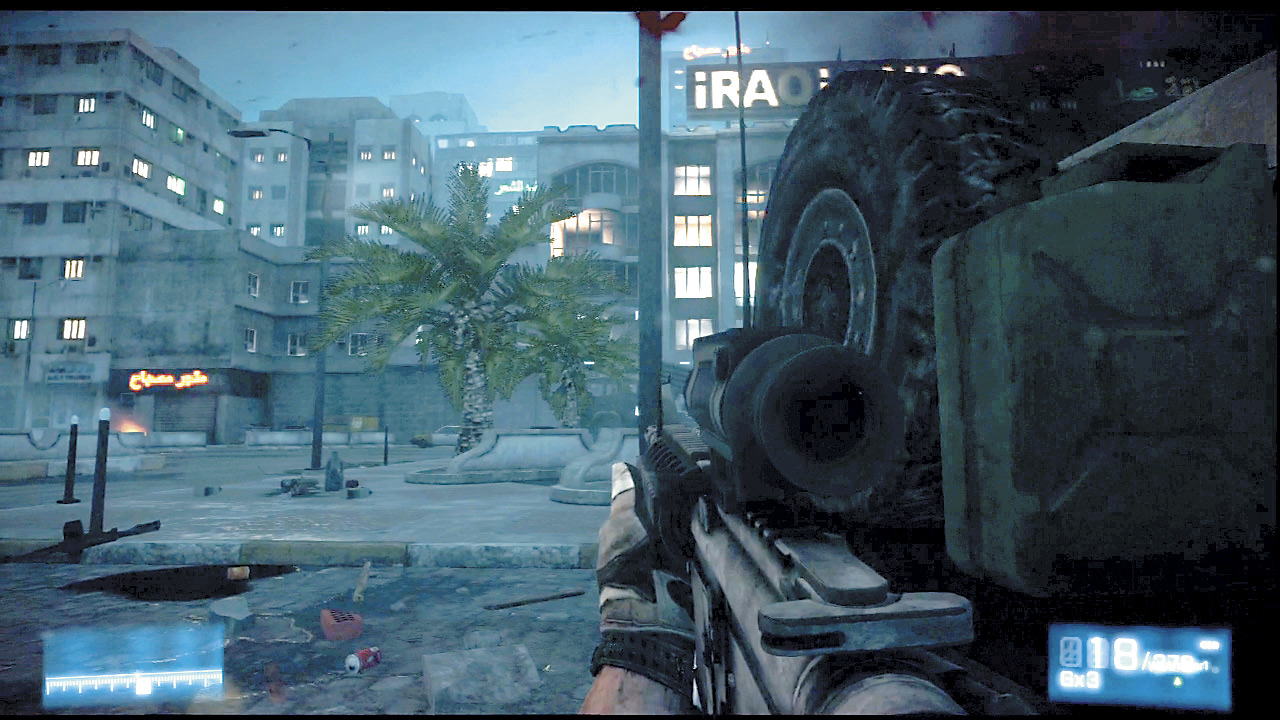
Once the Union building and the ground troops are cleared, the extraction chopper arrives to remove El Zakir and the extraction team from the PLR forces. Climb into the chopper and give the team that long awaited congratulations.