
Battlefield 3 Premium Guide Battlefields Conquest 64
Tehran Highway
The Conquest 64 variant of Tehran Highway is exactly the same size as the standard Conquest version. However, there are four control points instead of three, offering more flags to fight over.
With four flags up for grabs, each team must try to hold at least three to begin bleeding the opposing team’s ticket count. The US team should focus their efforts around the Back Yard (A), Foot Bridge (B), and Construction Site (C).
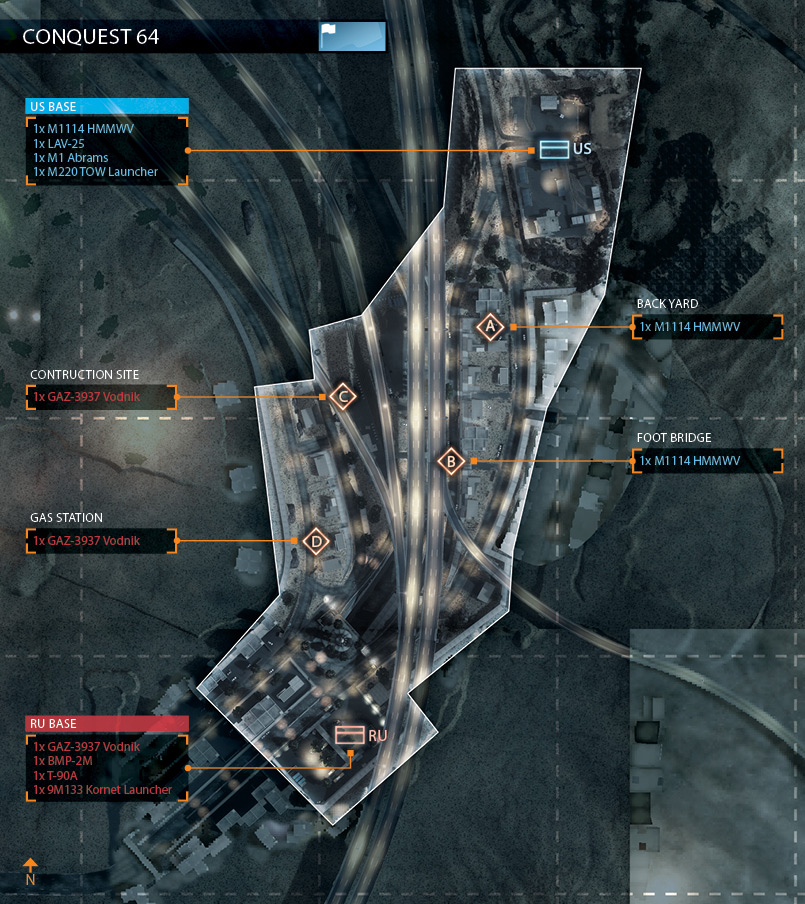
Meanwhile, the RU team should try to capture the Gas Station (D), Construction Site (C), and Foot Bridge (B). The centrally located Construction Site (C) and Foot Bridge (B) are likely to see the heaviest action.
So move your team’s tank and IFV (spawned back at your base) to these spots to help defend these flags. If the fight in the center of the map becomes too heated, consider flanking attacks against the Back Yard (A) or Gas Station (D).
Just because these flags are near bases doesn’t mean they’re hard to capture. Despite the swarms of infantry racing around this map, it can still be tough to spot enemies due to the low light conditions.
So consider choosing the Thermal Optics upgrade when selecting loadouts for your vehicles. When on foot, the IRNV (IR 1x) scope is a great way to zero in on the heat signatures of enemy troops and vehicles.
US BASE
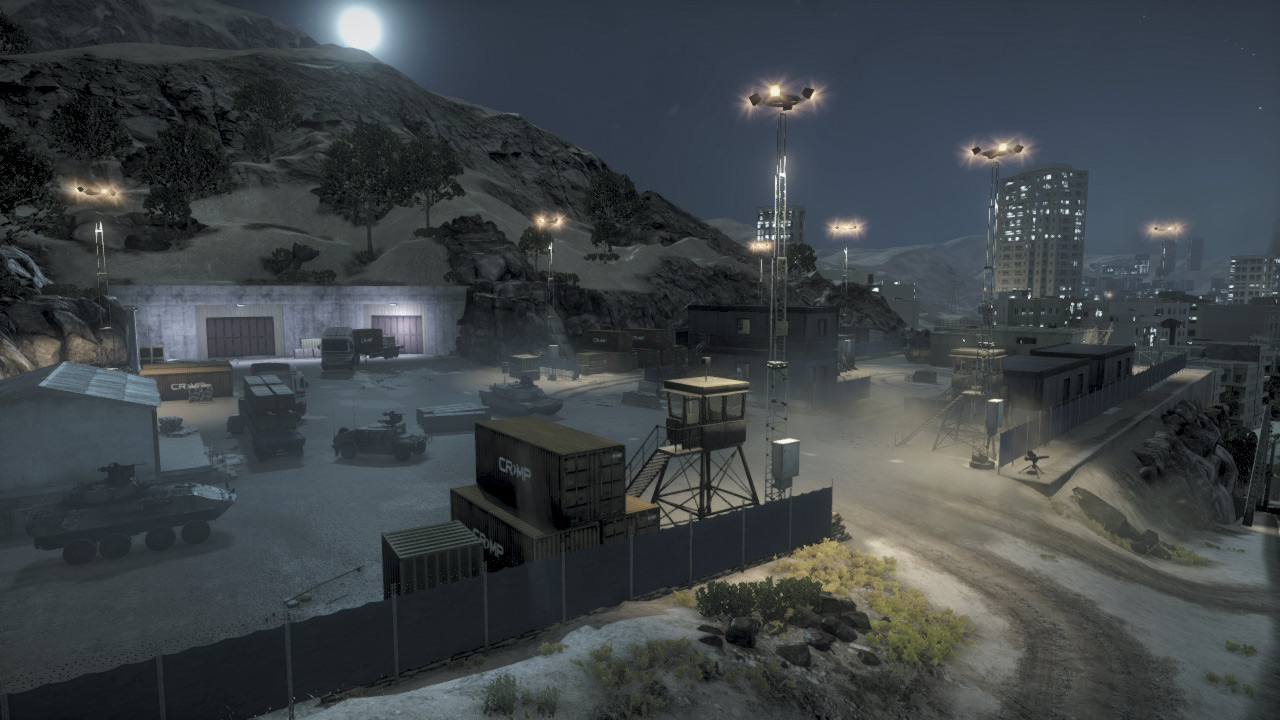
Base Assets
| Name | Quantity | Respawn Time |
|---|---|---|
| M1114 HMMWV | 1 | 20 sec. |
| LAV-25 | 1 | 60 sec. |
| M1 Abrams | 1 | 90 sec. |
| M220 TOW Launcher | 1 | 60 sec. |
As in the standard Conquest mode, the US team deploys from this base on the north side of the map. Considering the number of players in this battle, the three vehicles provided disappear fast.
But instead of hopping in a vehicle and driving to some random control point, it’s best to determine your destination based on the speed of the vehicle and distance to the flags.
The HMMWV is the fastest vehicle and should race toward the distant Foot Bridge (B) at the start of the match. Send the LAV-25 to the Construction Site (C) while the M1 Abrams and infantry secure the nearby Back Yard (A).
By deploying the vehicles in this fashion, your team has a good chance of snatching three flags at the start of the battle. But it takes reinforcements to hold these positions, especially the front line flags at the Foot Bridge (B) and Construction Site (C).
So move troops and vehicles to these areas to support defensive efforts. The US Base supplies the only LAV-25 and M1 Abrams on this map, so don’t forget to transport these valuable assets to the front line positions where they can make a difference.
RU BASE
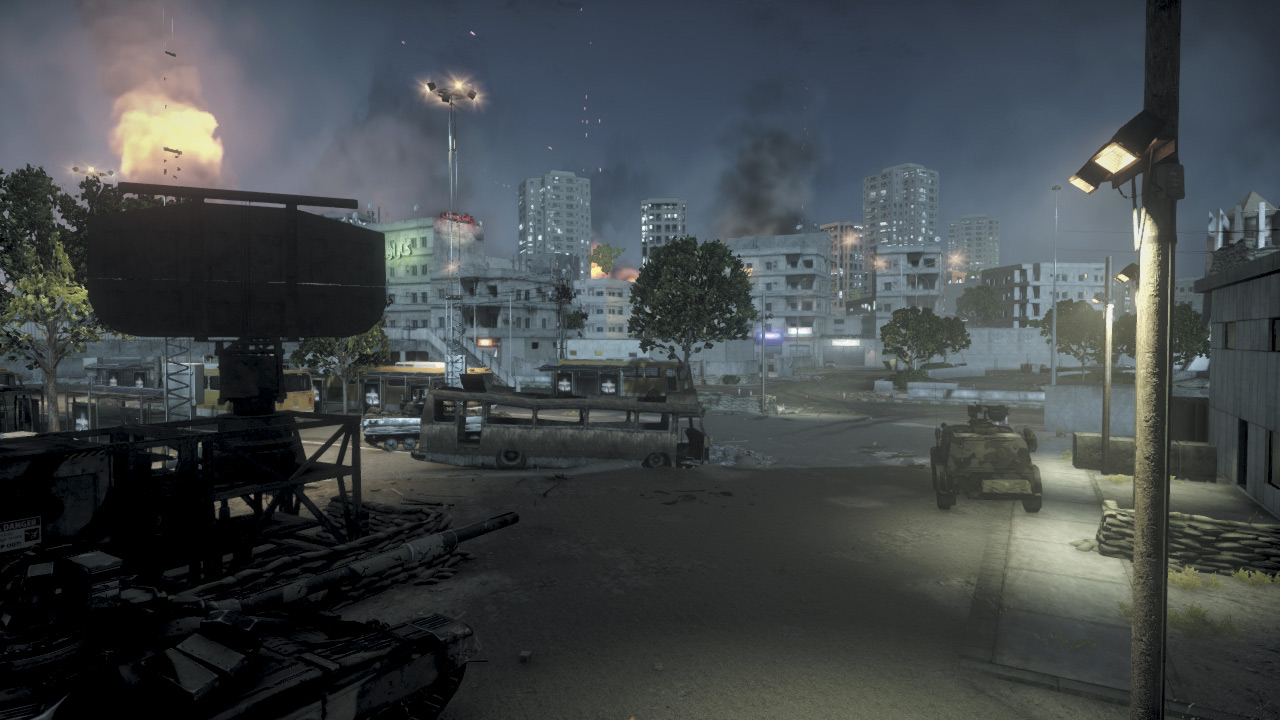
Base Assets
| Name | Quantity | Respawn Time |
|---|---|---|
| GAZ-3937 Vodnik | 1 | 20 sec. |
| BMP-2M | 1 | 60 sec. |
| T-90A | 1 | 90 sec. |
| 9M133 Kornet Launcher | 1 | 60 sec. |
Once again, the bus depot on the south side of the map serves as the RU Base, providing them with just enough vehicles to make a move on three of the four flags. Forget about trying to secure the Back Yard (A)—it’s too far away and too close to the US Base.
Instead, focus on the other three control points. But it takes speed and coordination to secure these control points before the US team can. Send the speedy Vodnik (filled with troops) to the Construction Site (C) while the BMP-2M advances on the Foot Bridge (B).
The T-90A and troops spawned at the RU Base can secure the nearby Gas Station (D), but don’t leave the tank there—it’s needed to attack and defend the forward positions of the Construction Site (C) or Foot Bridge (B).
With the exception of one or two squads left behind at the Gas Station (C) to defend, the rest of the team should focus on attacking and defending the two central flags throughout the duration of the match.
The RU Base is the team’s only source for a T-90A and a BMP-2M, so don’t forget to bring these armored assets forward to counter the US team’s vehicles.
A: BACK YARD
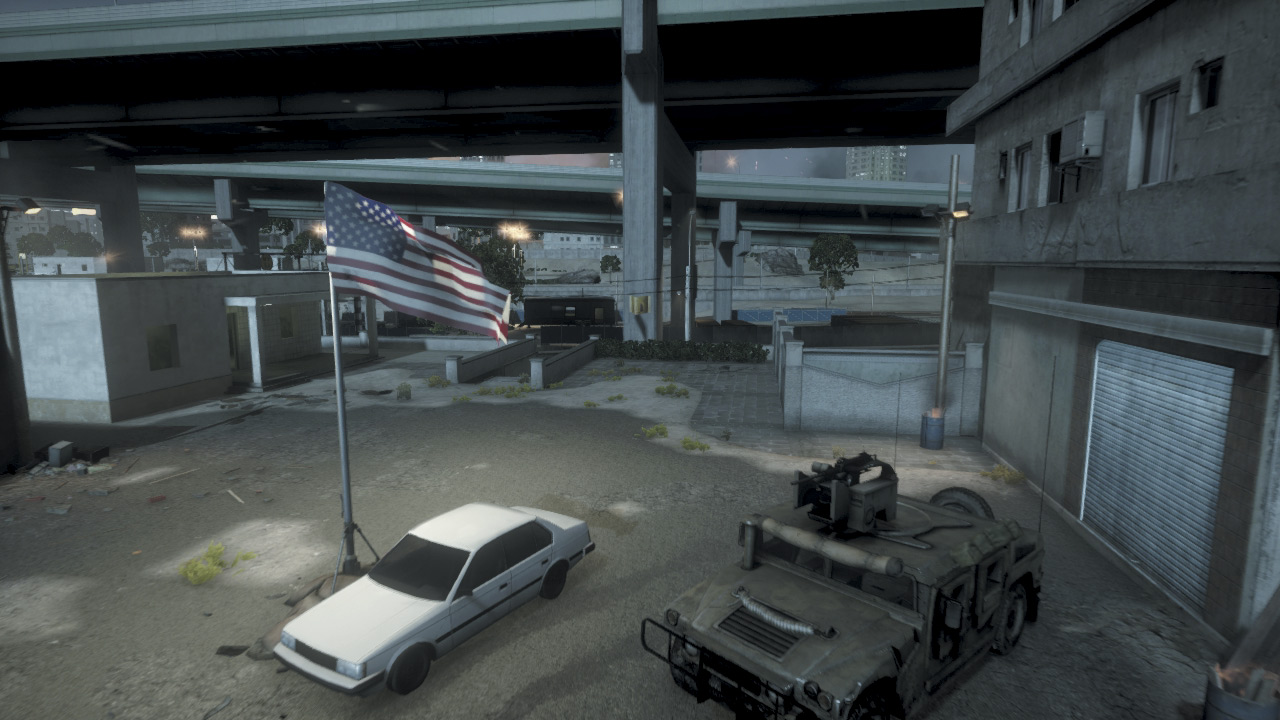
Control Point Assets
| US Control | RU Control | Respawn Time |
|---|---|---|
| M1114 HMMWV (1) | — | 20 sec. |
The Back Yard (A) control point is closest to the US Base so it is relatively easy for the US team to capture early on during the match. However, in a battle this crazy, the US team should never take this flag for granted.
Once captured, at least one full-time squad should hold here and defend. A HMMWV is spawned here when controlled by the US. Instead of using this vehicle to transport troops, consider using its machine gun turret to defend the road to the east—this is the most popular route for approaching vehicles.
The road to the west is accessible only via a set of steps, making it the preferred approach by infantry attacking from the Foot Bridge (B) or Construction Site (C).
While the flagpole sits in the middle of an open area much like a parking lot, the flag has a large capture radius that allows it to be captured or contested from pieces of cover along the perimeter.
So take cover behind the crates to the northeast or inside the garage to the south while attempting to capture the flag.
B: FOOT BRIDGE
Control Point Assets
| US Control | RU Control | Respawn Time |
|---|---|---|
| M1114 HMMWV (1) | — | 20 sec. |
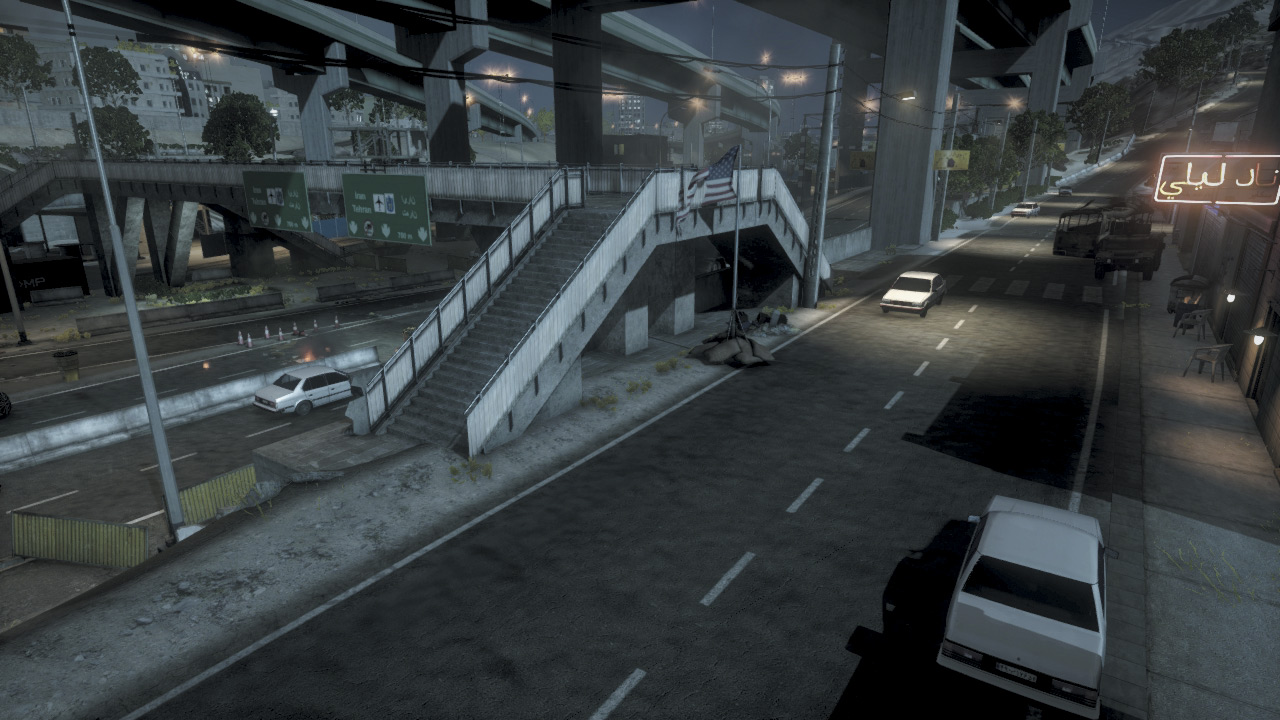
Surrounded by the Gas Station (E) to the southwest, the Construction Site (C) to the northwest, and the Back Yard (A) to the northeast, the Foot Bridge (B) is a high-traffic area likely to change hands several times during the match.
The flag here is located on the east side of the narrow bridge crossing over the nearby highway. With the flag so close to the road, this control point is best captured by tanks and IFVs capable of withstanding small arms fire.
If you’re on foot, don’t huddle near the flag. Instead, get to the top of the bridge and drop prone on its eastern side. You can capture or contest the flag without exposing yourself to incoming fire.
The street spanning the north/south approach has a long sight line that makes it a popular kill zone for snipers. Vehicles (like the HMMWV spawned here for the US) positioned at the northern and southern ends of this street can also score some long-range kills by using the zoom function on their machine gun turrets.
This is a great way to cover the flag from a distance, but it might not be possible to see attackers on the bridge itself.
Therefore it takes a squad to keep a close eye on the flag and the nearby bridge to deter sneaky infantry attacks. If attacks along the bridge persist, consider deploying Claymores or C4 within the capture radius.
C: CONSTRUCTION SITE
Control Point Assets
| US Control | RU Control | Respawn Time |
|---|---|---|
| — | GAZ-3937 Vodnik (1) | 20 sec. |
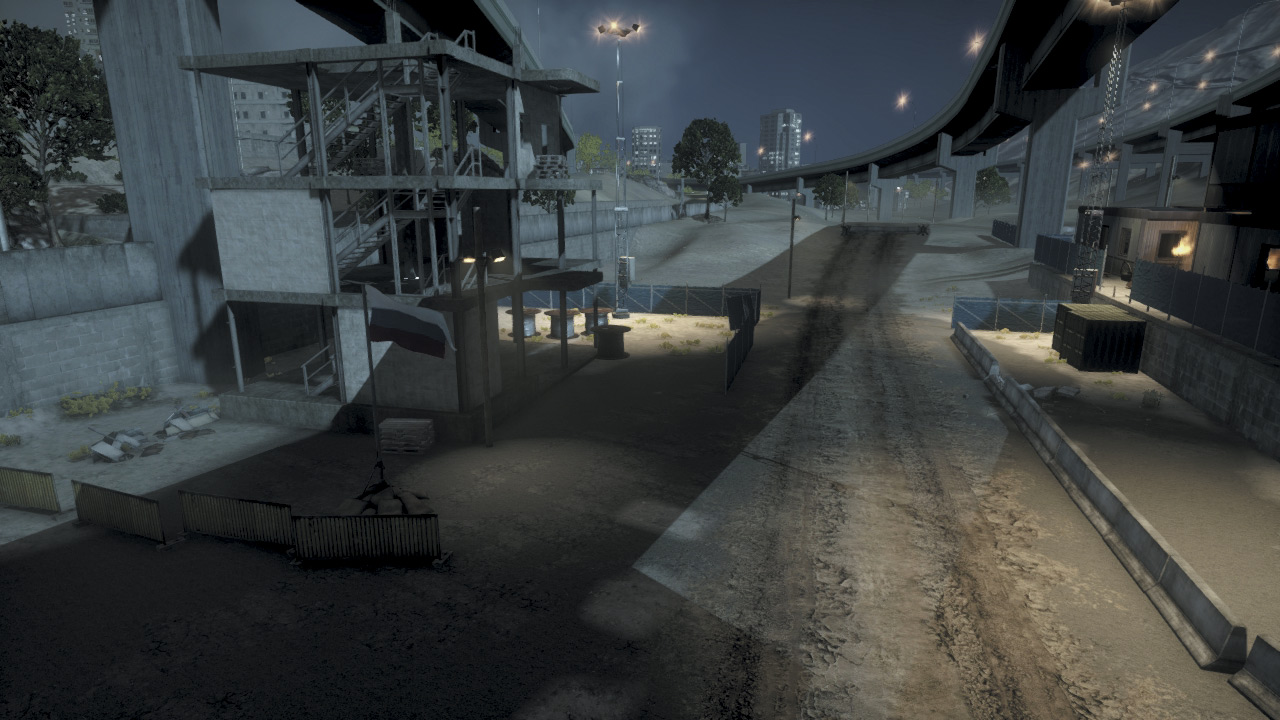
Like the Foot Bridge (B) to the west, the Construction Site (C) is another high-traffic central location likely to see plenty of action. If rushed early with a Vodnik, the RU team has a slight edge when it comes to capturing this flag first.
Regardless of which team secures this control point first, don���t leave it undefended. The flag is flanked by two large, partially constructed buildings to the north and south. Both buildings provide excellent overwatch positions.
Recon troops posted on the upper floors or rooftops of these structures also have clear views of the areas around the Foot Bridge (B) to the east. So holding the Construction Site (C) only strengthens defenses around the Foot Bridge (B).
While there are plenty of hiding spots around the flag for infantry, vehicles can also easily access the capture radius by entering the site from the roads to the east and west.
But vehicles parked near the flag are vulnerable to attacks from the upper floors of the surrounding building, not to mention mines or C4 planted near the flagpole.
So unless the enemy team has completely abandoned this flag, consider attacking on foot and start by sweeping the nearby buildings.
The RU team gains an extra Vodnik here, which is useful for defense or launching speedy raids on the Gas Station (C) or Back Yard (A)—don’t attack the Foot Bridge (B) with such a lightly armored vehicle.
D: GAS STATION
Control Point Assets
| US Control | RU Control | Respawn Time |
|---|---|---|
| — | GAZ-3937 Vodnik (1) | 20 sec. |
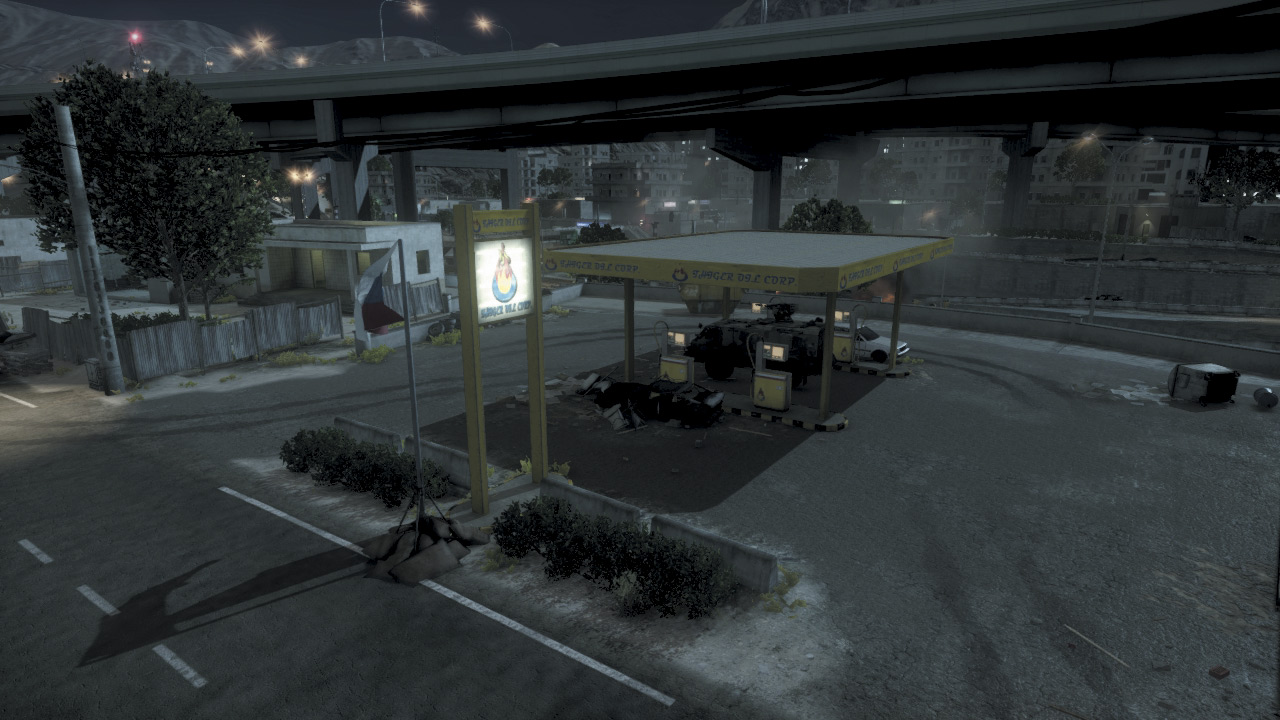
Located only a few meters north of the RU Base, the Gas Station (D) sits firmly within the RU team’s zone of control. But in this chaotic fight, anything can happen. So after the RU team captures this flag early during the round, they should leave at least one squad behind to defend it.
The Gas Station (D) is easily accessible by traveling along the road on the map’s western edge—this is the only route vehicles can take to reach the flag. However, infantry attacks often come from the eastern steps, usually by infantry approaching from the Foot Bridge (B) or Construction Site (C).
Therefore, defenders here must prepare for attacks from both sides. The machine gun turret on the Vodnik, spawned here for the RU team, is great for covering both approaches.
Consider parking it on the western road to deter vehicle attacks, or park it on the road to the east to counter infantry attacks. When capturing or contesting the flag here, stay far away from the explosive gas pumps.
Instead, seek cover in or near the service station to the south. The interior of this small building offers a good view of the flag, so it is a great defensive cover point.