
Battlefield 3 Premium Guide Battlefields Rush
Armored Shield
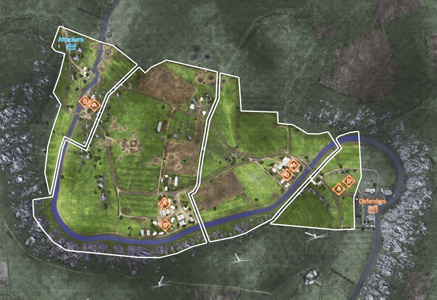
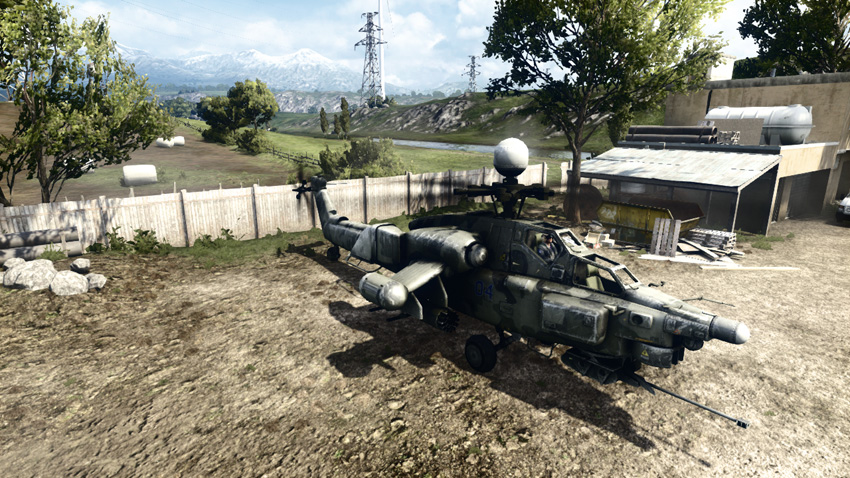
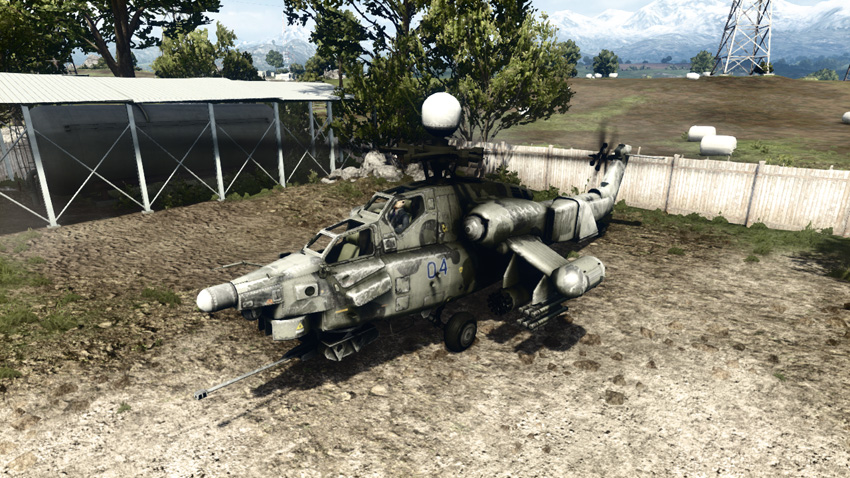
This Rush battle is spread across four separate zones, requiring the US team to destroy a total of eight M-COM stations to secure a victory. Throughout the battle the RU defenders have access to only two vehicles: a T-90A tank and an Mi-28 attack helicopter. Holding back the US advance largely hinges on the effective deployment of these assets. A skilled pilot and gunner in the Mi-28 can make all the difference, laying waste to US ground units while harassing the gunship. But once the battle commences to the second zone, the US gains an attack helicopter too, somewhat offsetting the RU team’s advantage. As a result, the RU team’s best chance at winning this battle is by holding out in the first zone. If the first two M-COM stations fall, the US team gains an even greater vehicle advantage, making it much more difficult for the RU team to hold back the attackers.
Zone 1: Treatment Plant
US Deployment
Deployment Area Assets
| Name | Quantity | Respawn Time |
|---|---|---|
| Growler ITV | 1 | 20 sec. |
| M1128 | 2 | 20 sec. |
| Gunship | 1 | 120 sec. |
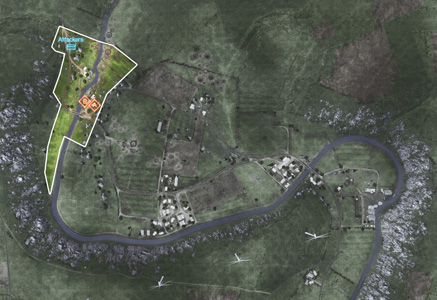
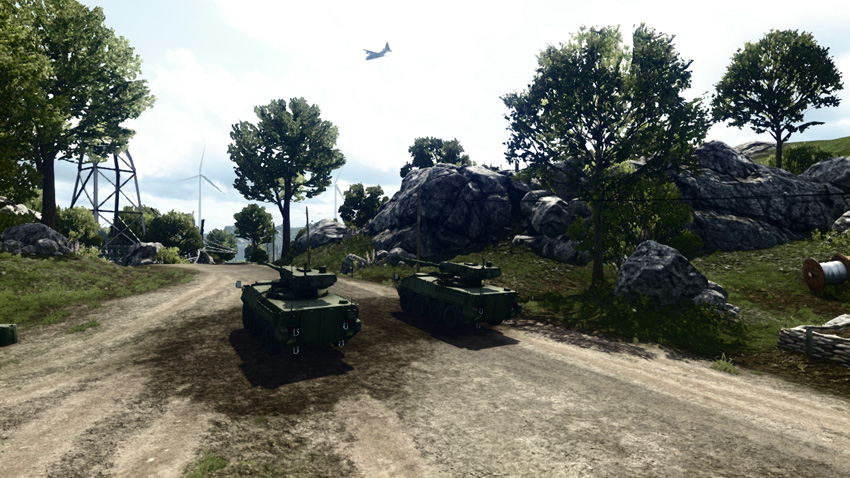
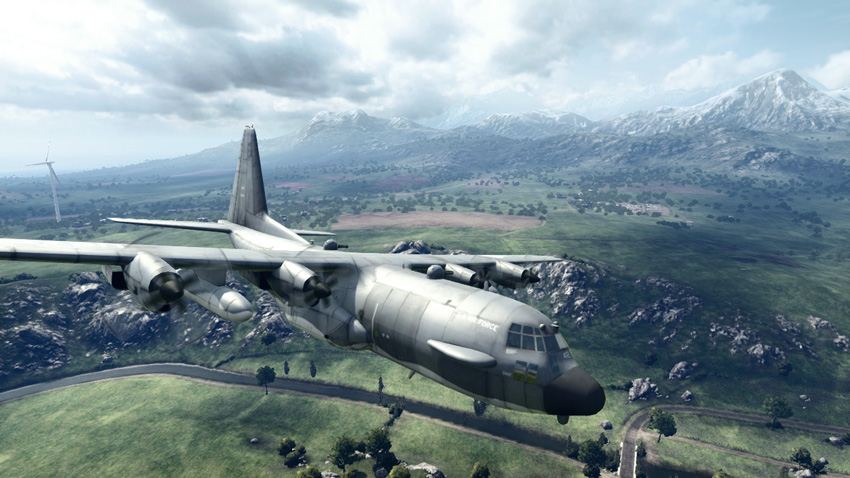
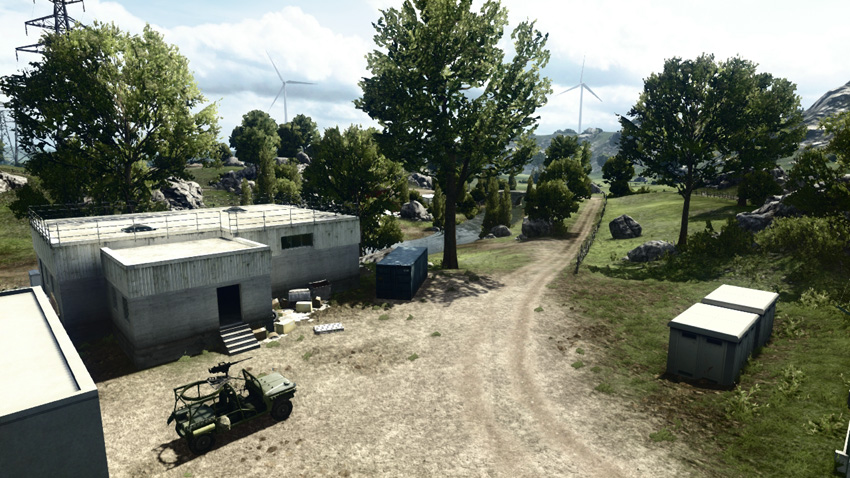
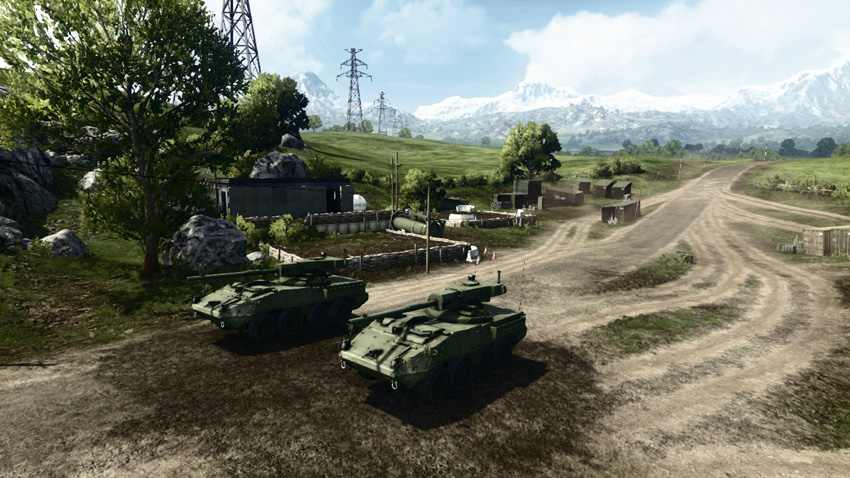
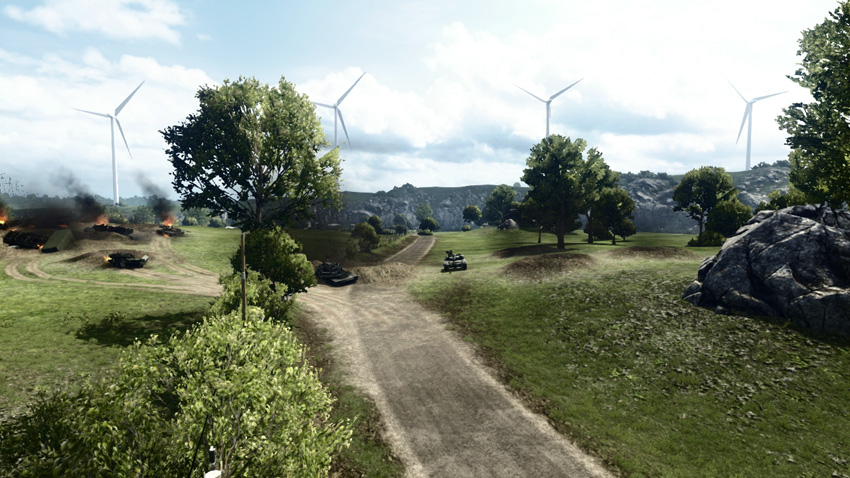
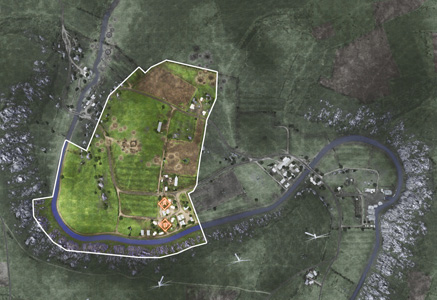
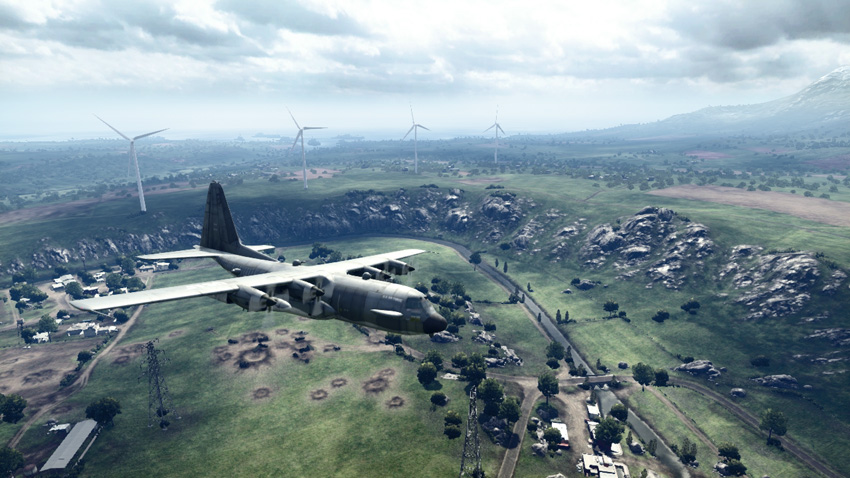
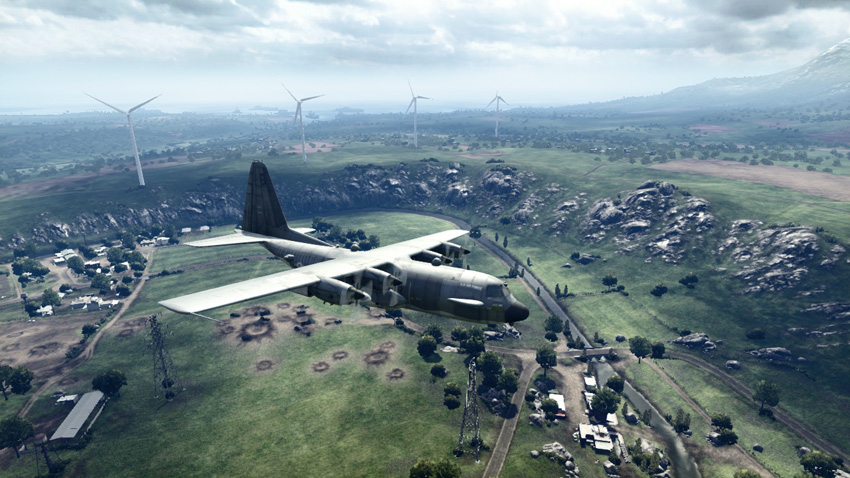
At the start of this battle the US team deploys from a small cluster of buildings on the north edge of the map. Vehicle selection is relatively sparse, consisting of two M1128 tank destroyers and one Growler ITV. If you spawn here, be sure to give your teammates rides to the front. Otherwise it’s a long hike on foot. Early on, US troops can enjoy success by parachuting down to the first pair of M-COM stations from the gunship orbiting above the battlefield. However, once the RU team digs in around the objectives, the M1128 tank destroyers will be necessary to engage the T-90A. Outside the gunship, the US team has no form of air cover during this phase. As a result, the RU team’s Mi-28 Havoc can pose a significant threat. Stinger missiles fired by engineers are your best option for deterring this threat, helping keep your tank destroyers and gunship safe.
RU Deployment
Deployment Area Assets
| Name | Quantity | Respawn Time |
|---|---|---|
| T-90A | 1 | 60 sec. |
| Mi-28 Havoc | 1 | 60 sec. |
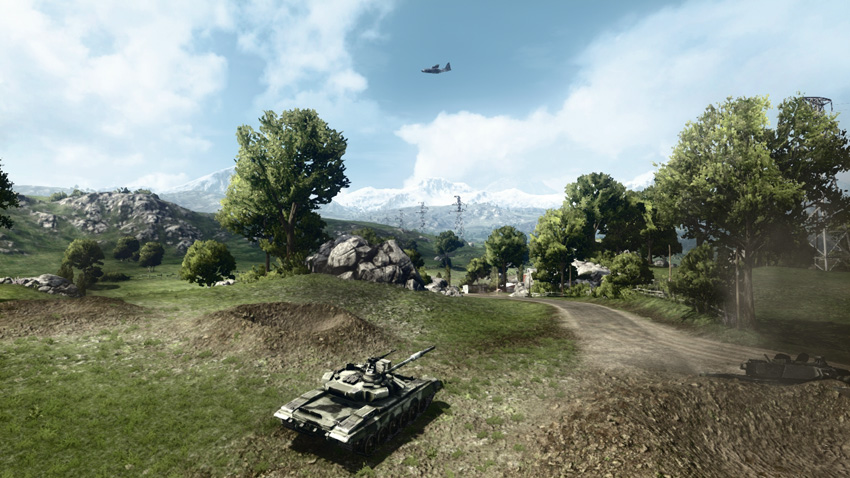
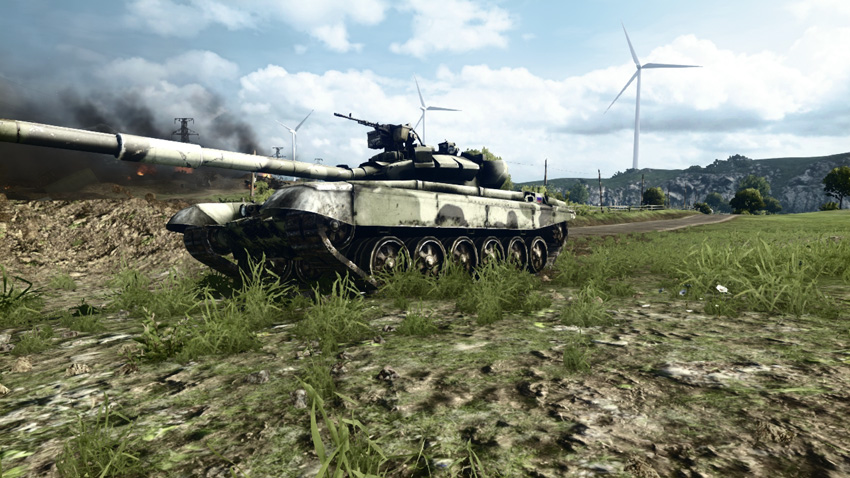
As in any Rush battle, early-round rush attacks by the US team pose the biggest threat during this phase of the battle. Therefore the RU team must race toward the objectives and secure them before US troops can swarm the area. Expect most attacking troops to parachute in from the gunship circling above. Attacking the gunship with the Mi-28 is the best way to temporarily eliminate this airborne spawn point. Pound the gunship from a distance with heat-seeking missiles to knock it out of the sky. With the gunship out of the way, turn your attention to enemy infantry and the M1128 tank destroyers. The T-90A can assist in holding back ground attacks, but it is defenseless against the gunship’s bombardment. So consider parking it beneath trees or other forms of concealment to make it harder to spot from the air. It isn’t easy, but if the RU team can hold out here, the fight will be much easier. Otherwise, the US team gains a AH-1Z Viper in subsequent phases.
M-COM Station A
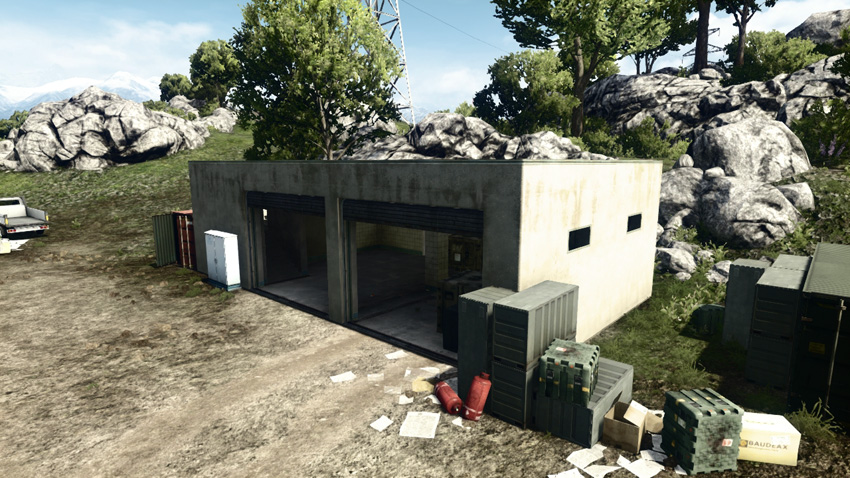
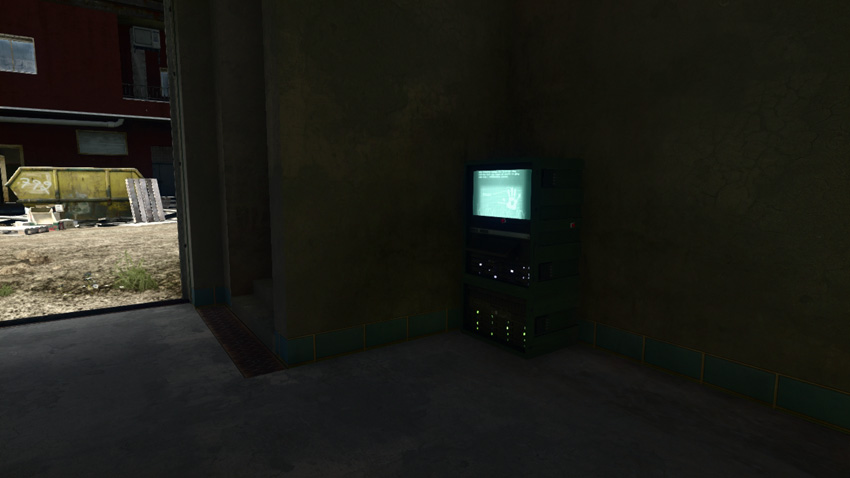
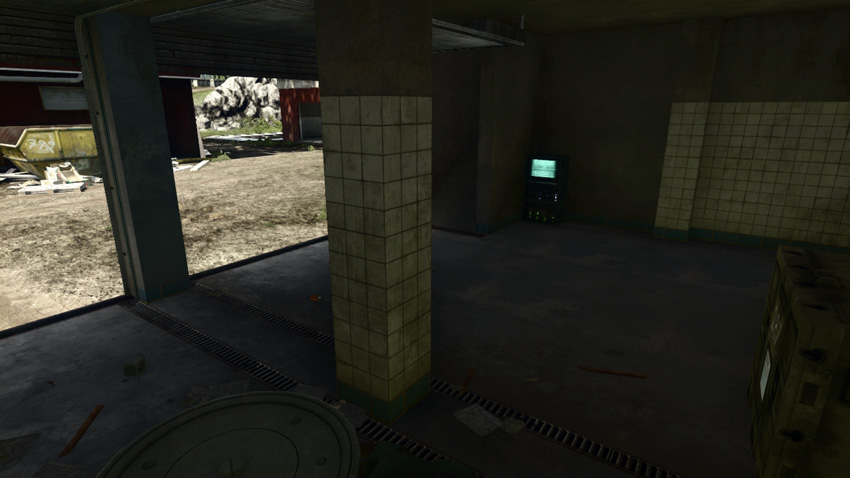
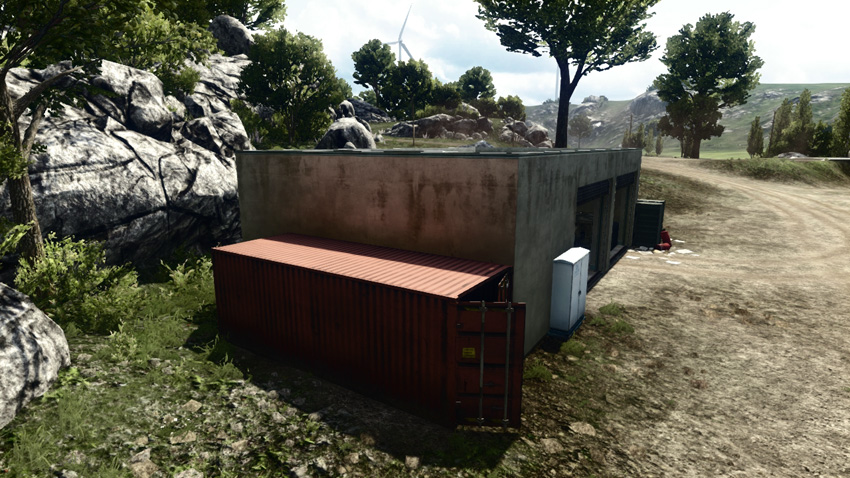
M-COM Station A is located in a small garage nestled along the southeast side of the first zone at the treatment plant. Although the concrete walls can be reduced to rubble, the US attackers should strive to preserve the exterior walls of this building, because they provide cover and concealment while you plant a charge on the objective. So limit explosive attacks by the tank destroyers and gunship when attempting to secure this area. On the other hand, the RU team may benefit from demolishing the garage’s exterior walls, opening longer lines of sight for the defenders. Alternatively, consider placing booby traps (claymores and C4) around the objective and within the stairwell connecting to the garage’s roof—attackers approaching via parachute often land on the roof and use these stairs to reach the ground floor.
M-COM Station B
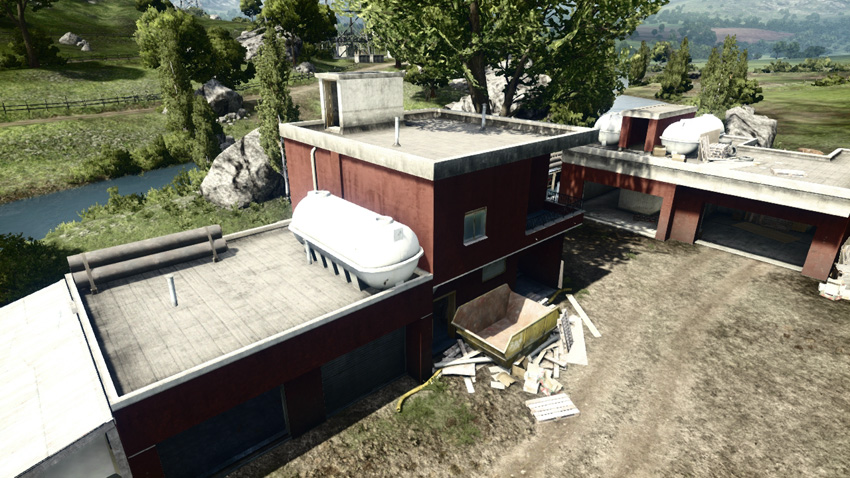
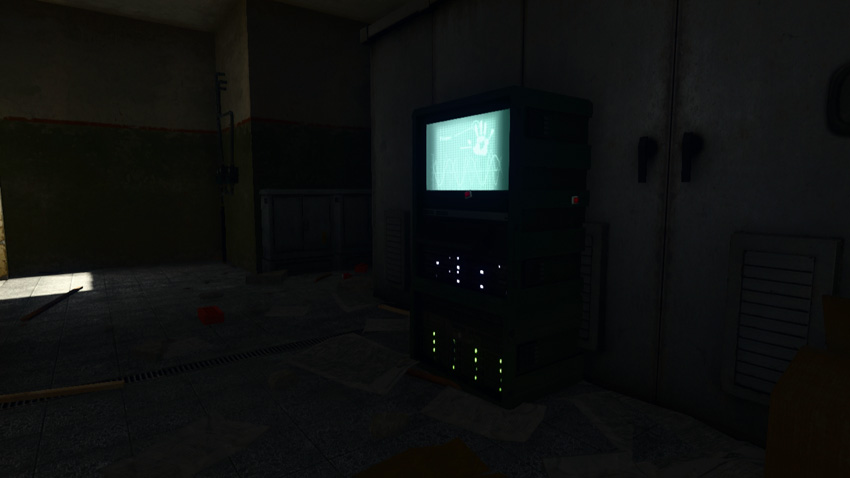
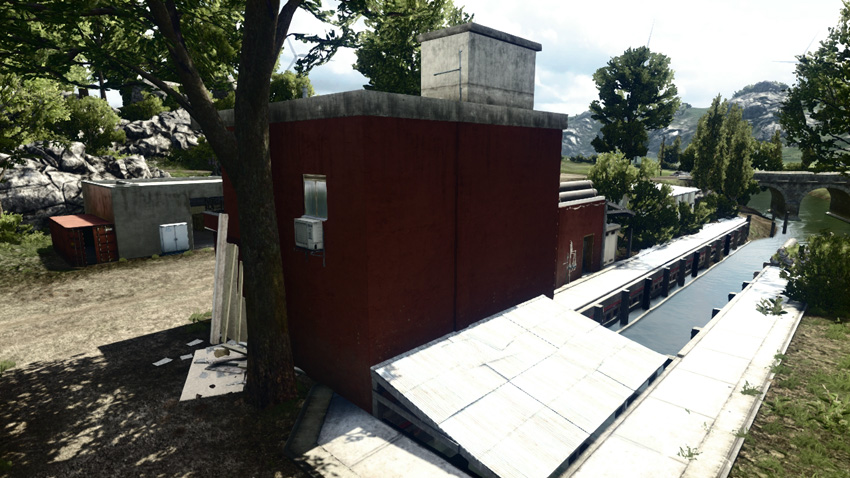
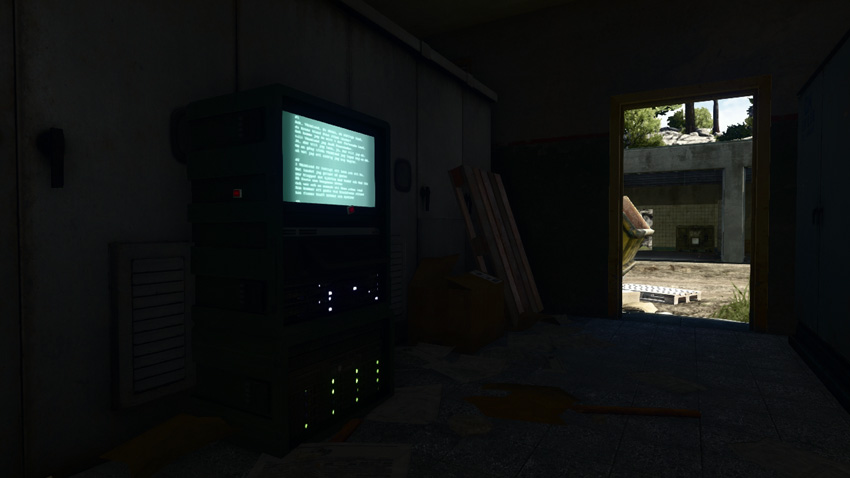
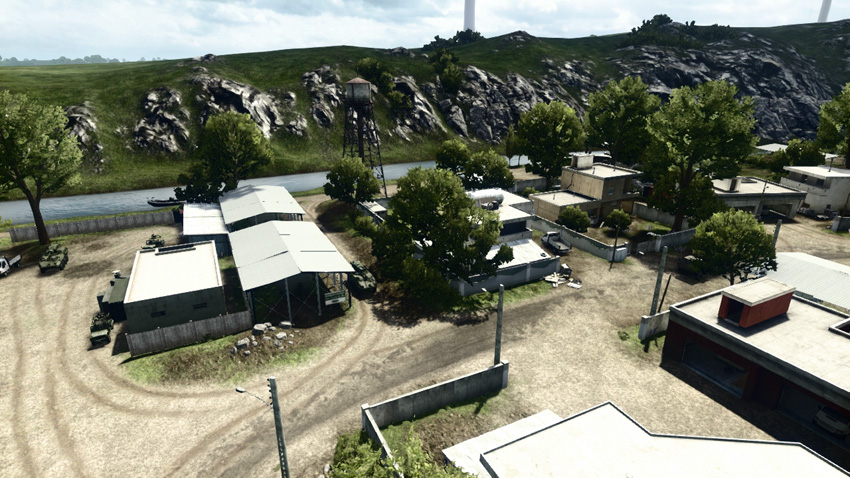
This M-COM station is housed within the ground floor of the large red building on the west side of the treatment plant. Given this objective’s proximity to the US deployment area, M-COM Station B is likely to come under attack first, often rushed by troops arriving in a Growler ITV. The narrow canal on the west side of the building serves as a natural barrier. But this can easily be jumped by troops seeking to gain entrance into the building. RU defenders should consider posting troops and booby traps along this oft-traveled west side to deter attacks. In addition, RU troops should consider booby-trapping the dark interior of the building to catch unsuspecting attackers by surprise as they rush toward the objective.
Zone 2: Village
US Deployment
Deployment Area Assets
| Name | Quantity | Respawn Time |
|---|---|---|
| Growler ITV | 4 | 20 sec. |
| RHIB | 1 | 10 sec. |
| M1128 | 2 | 20 sec. |
| M142 | 1 | 60 sec. |
| AH-1Z Viper | 1 | 60 sec. |
| Gunship | 1 | 120 sec. |
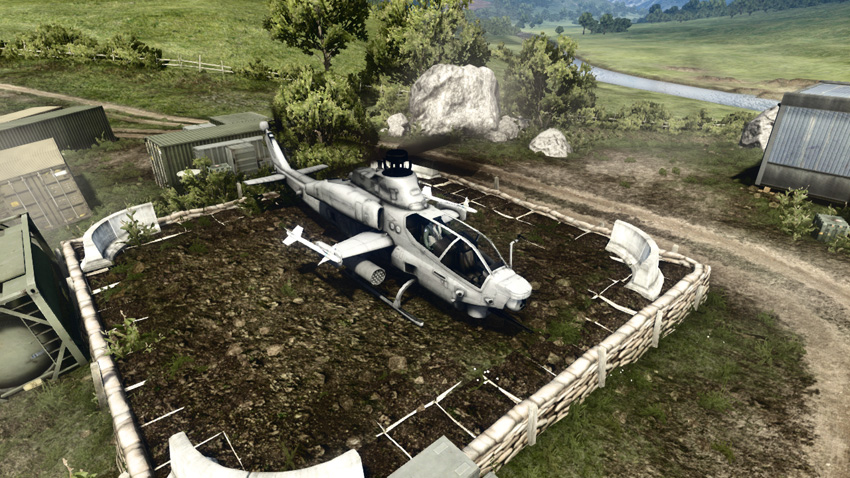
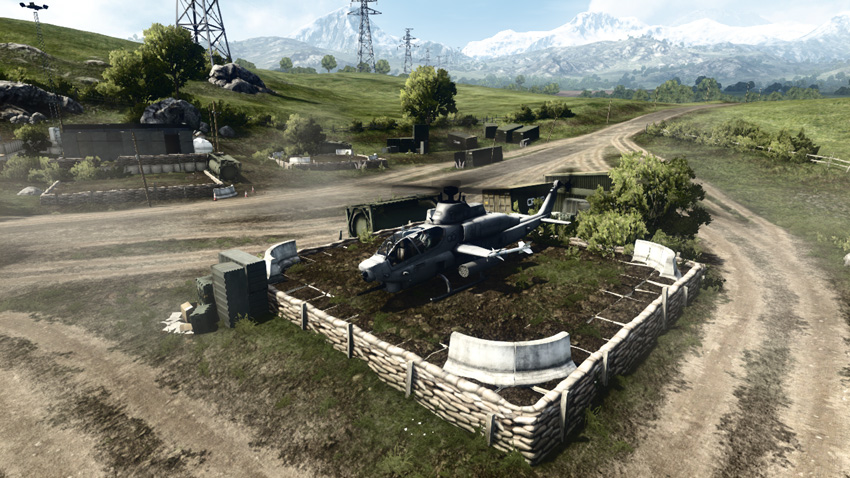
If the US team can take out the first set of M-COM stations, they gain a huge vehicle advantage in the second phase of this battle. The addition of an AH-1Z Viper definitely tilts the odds in favor of the US team—but only if manned by a competent pilot and gunner. The AH-1Z can help neutralize the RU team’s Mi-28 and T-90A while the attacking infantry and ground vehicles focus on pounding the objectives. Use the M1128 tank destroyers and M142 rocket artillery to provide fire support from a distance while infantry rush in to plant charges on both M-COM stations. Meanwhile, rely on the surplus of Growler ITVs to transport troops from the deployment area to the objectives. At this stage, parachuting from the gunship is risky unless you’re joined by a large number of fearless teammates.
RU Deployment
Deployment Area Assets
| Name | Quantity | Respawn Time |
|---|---|---|
| T-90A | 1 | 60 sec. |
| Mi-28 Havoc | 1 | 60 sec. |
| 9M133 Kornet Launcher | 1 | 30 sec. |
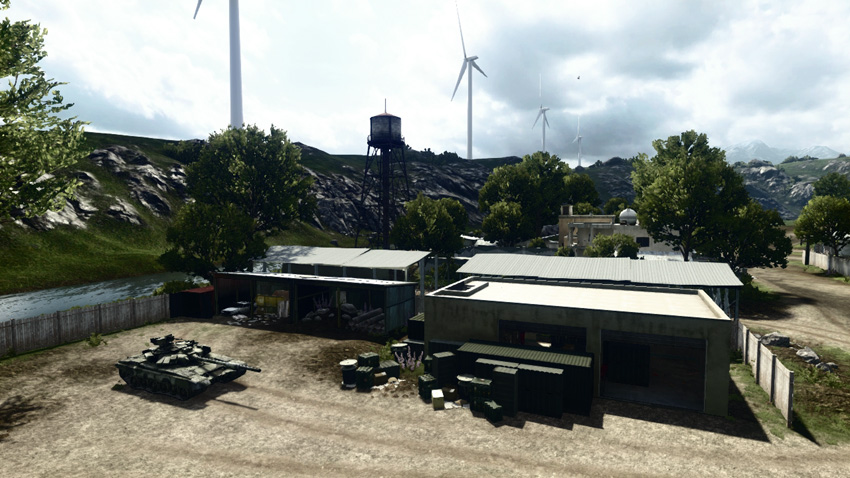
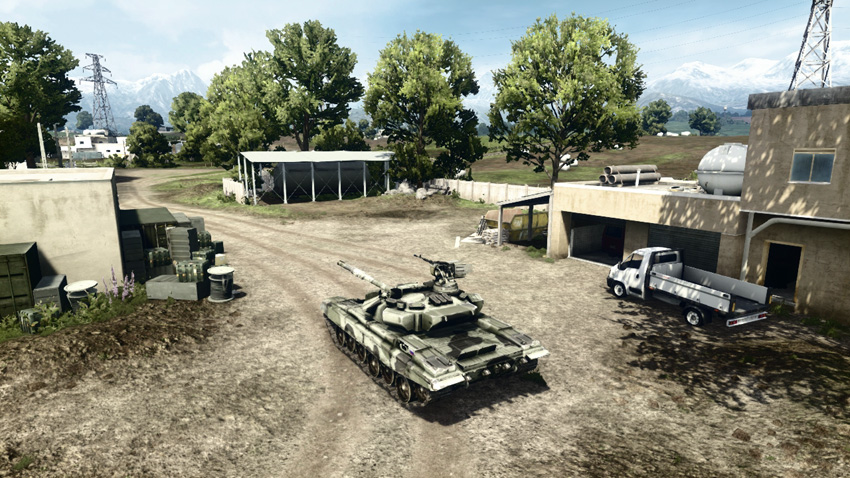
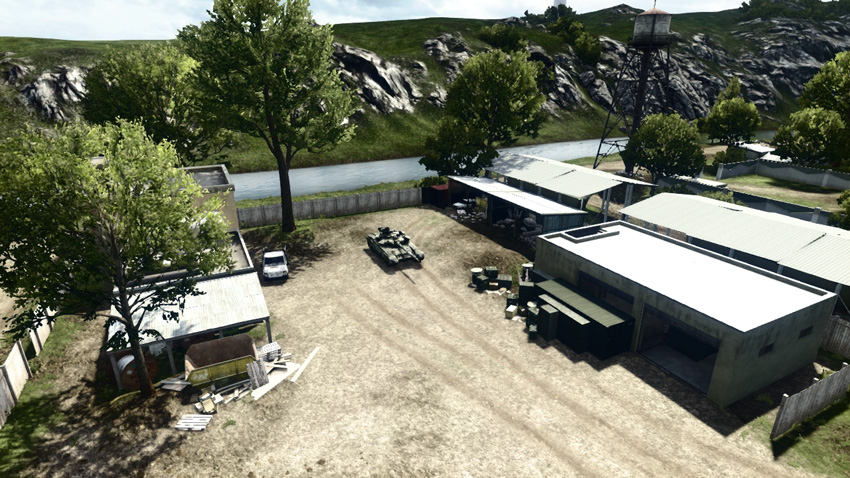
In this phase the RU defenders face an onslaught of US vehicles while gaining no additional resources of their own. Therefore the defenders must make the most of their T-90A and Mi-28 Havoc in an effort to push back the attackers. In addition, the RU team must rely heavily on engineers to make a dent in the US offensive. Mines, anti-tank missiles, and anti-aircraft missiles are all needed to neutralize these threats. Despite the superior showing of US vehicles, the objectives can only be armed by infantry. So don’t neglect to defend the M-COM stations directly. Immediately following the end of the first phase, use your time wisely to carefully position troops and vehicles before the attackers arrive. With some skill and coordination, it’s possible to make a stand here—but it won’t be easy.
M-COM Station A
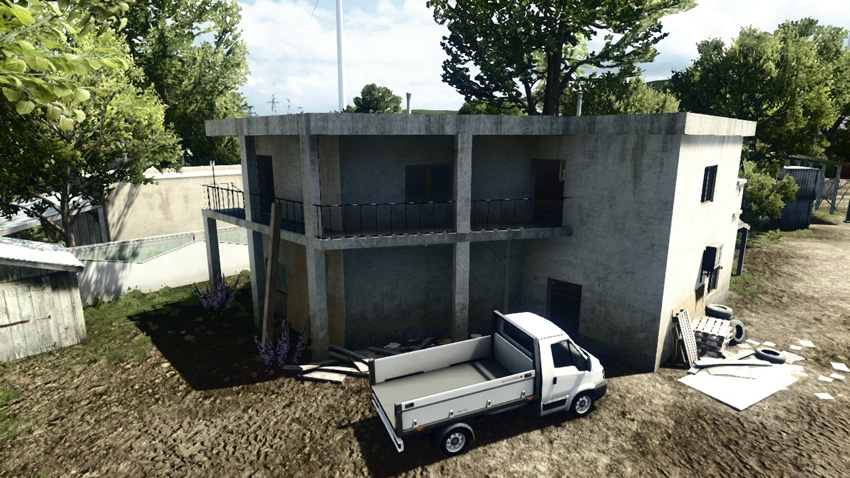
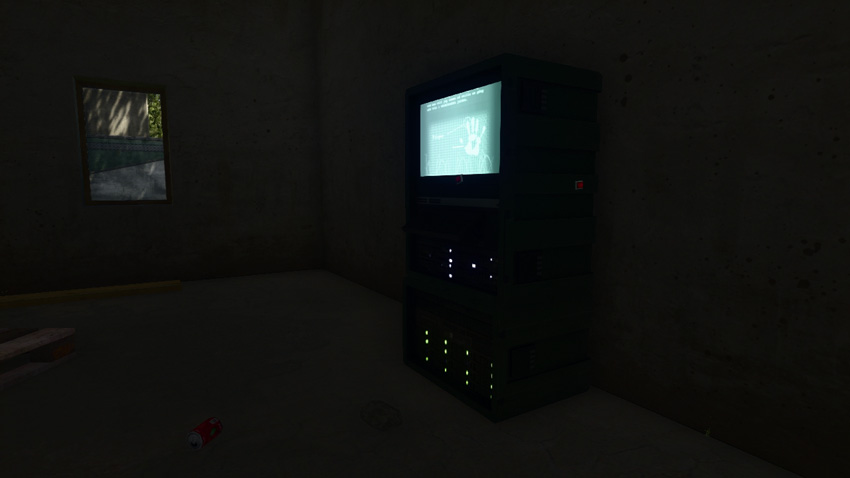
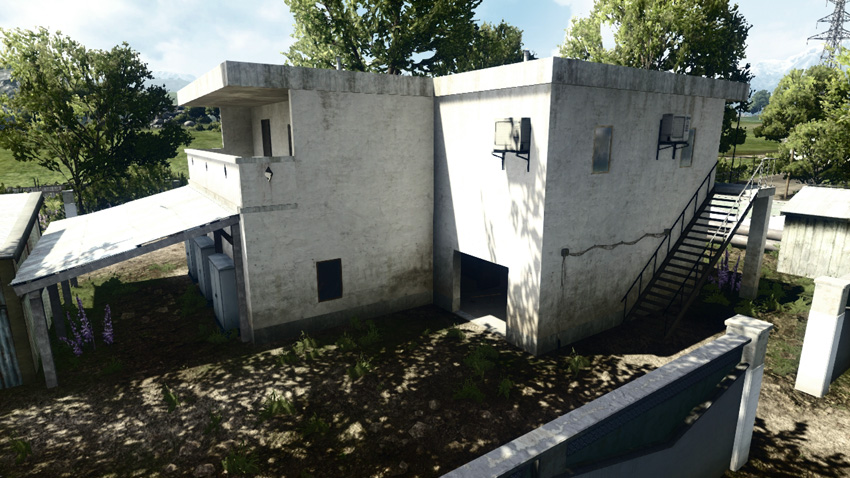
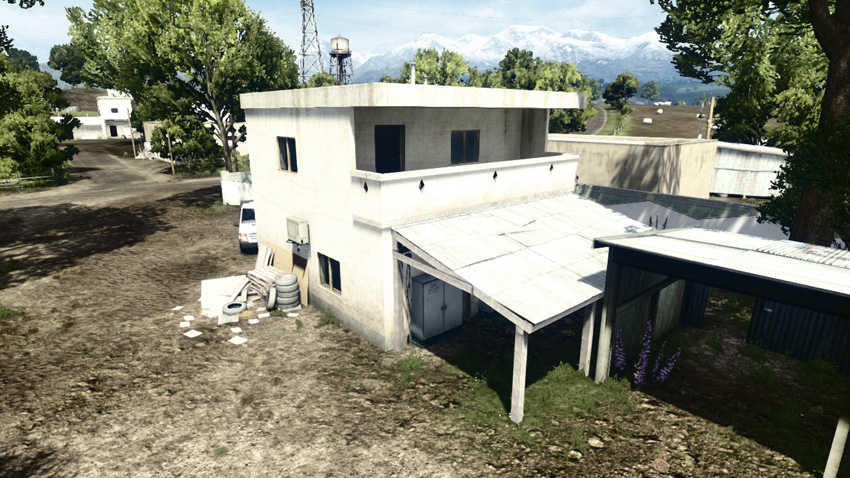
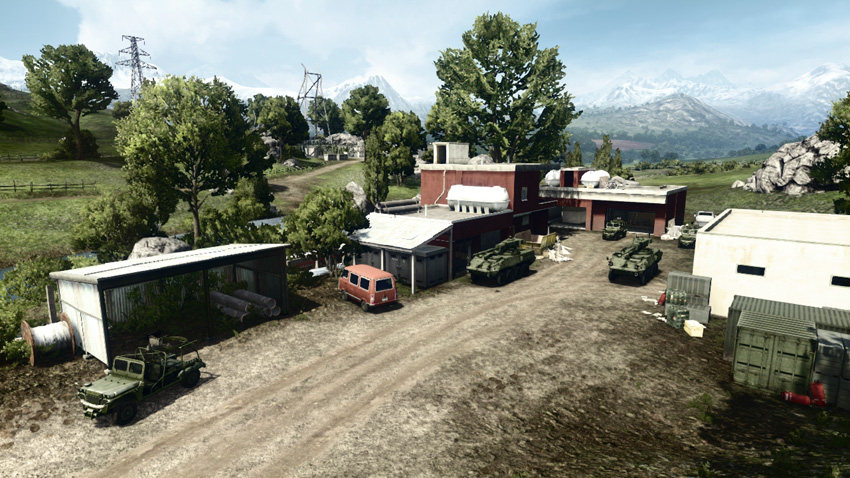
M-COM Station A is on the first floor of a two-story concrete farmhouse in the center of the rural village. The exterior walls of this building are destructible, allowing attackers to breach from virtually any direction. While the fighting in surrounding fields is dominated by vehicles, infantry with close-quarters weapons are best suited for attacking and defending this objective. The RU defenders can benefit from securing the building interior as well as watching the objective from surrounding structures. As a result, attackers should always strive to secure the perimeter before moving in to set the charge. Close air support offered by the gunship and artillery support from the M142 can help suppress defenders in the area prior to and during an attack.
M-COM Station B
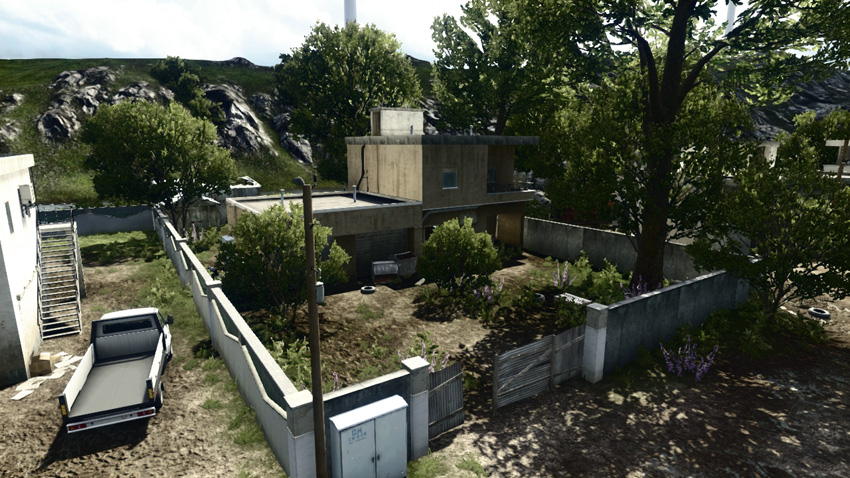
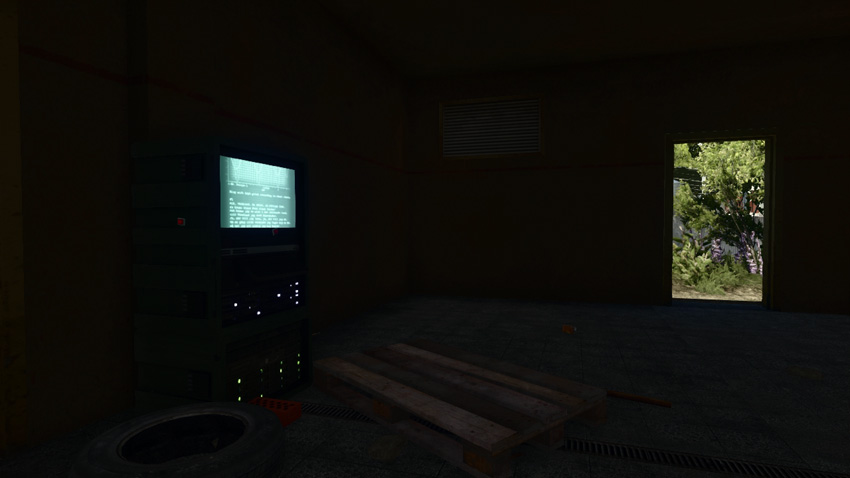
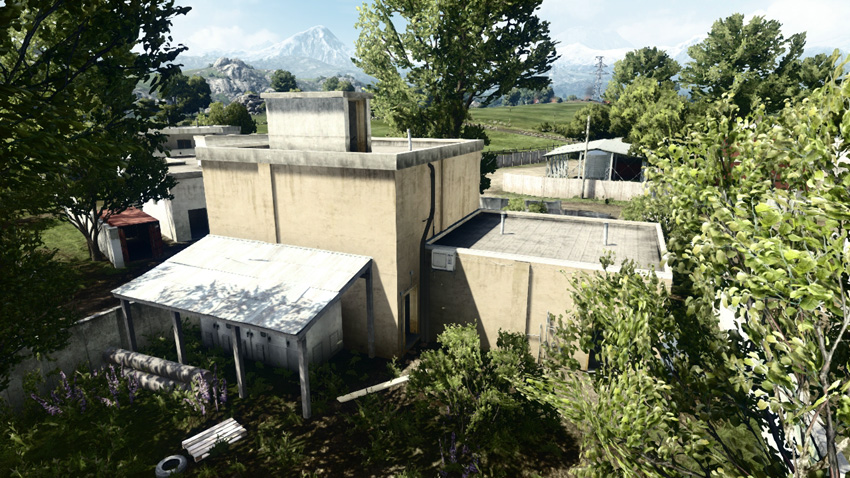
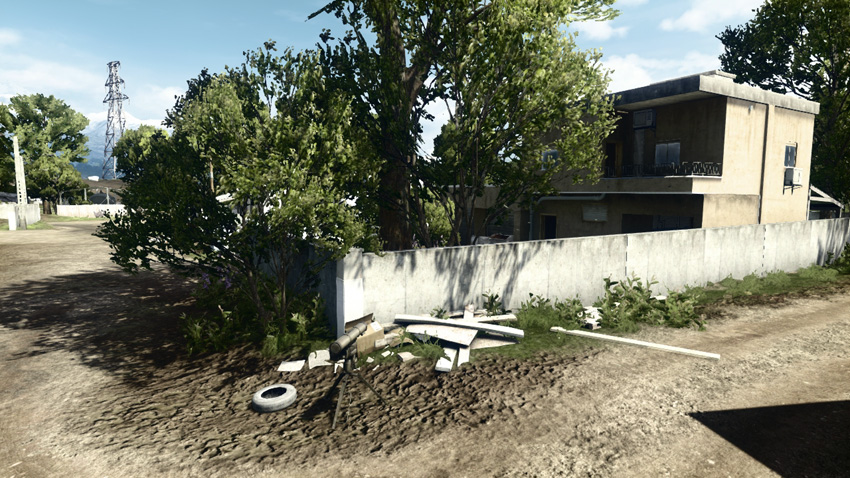
Like M-COM Station A, this objective is located within a farmhouse. But this house sits on the south side of the village, not far from the canal. Sneaky attackers can use the RHIB spawned at the US deployment area to reach this area without drawing too much attention. RU defenders should always stay nearby to respond to such sneak attacks. A Kornet launcher posted outside the house is ideal for targeting enemy ground vehicles approaching along the village’s dirt roads. But infantry attacks pose the biggest threat. When attacking, US troops should bring along explosives to breach the perimeter wall around the house. Alternatively, the gunship or other vehicles can obliterate this wall prior to any infantry attack, helping friendly troops gain entry without delay.
Zone 3: Repair Shop
US Deployment
Deployment Area Assets
| Name | Quantity | Respawn Time |
|---|---|---|
| Growler ITV | 2 | 20 sec. |
| RHIB | 1 | 10 sec. |
| M1128 | 2 | 20 sec. |
| M142 | 1 | 60 sec. |
| AH-1Z Viper | 1 | 60 sec. |
| Gunship | 1 | 120 sec. |
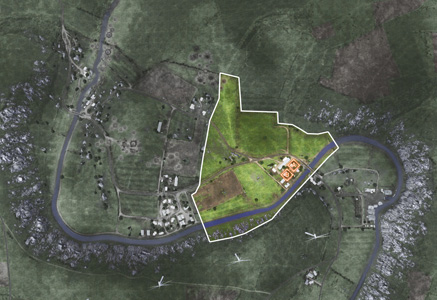
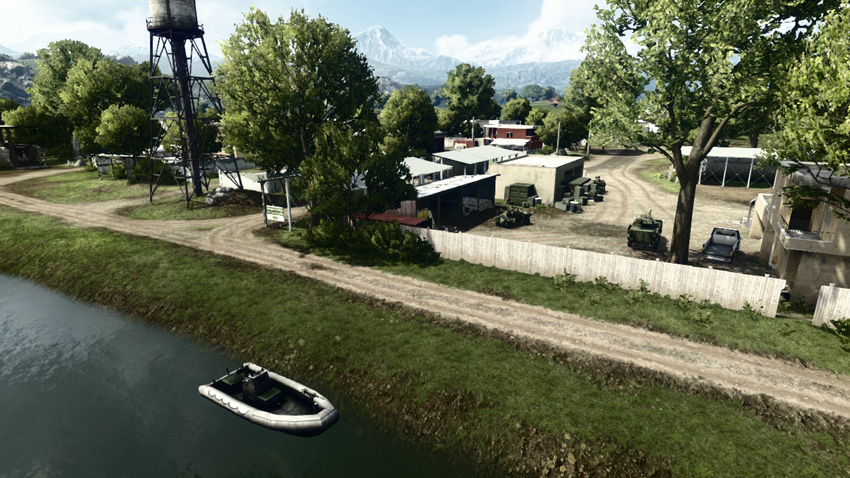
By the third phase of the battle, the momentum is definitely on the US team’s side. However, the battle is far from over. The next group of objectives is to the east, requiring the attackers to cross a vast field with sparse cover. While the speed of the Growler ITVs and M1128s is effective for conducting frontal assaults, consider less risky options. The RHIB spawned here can travel along the canal to sneak up on the objectives from the south. This is the safest way to quickly reach the objectives without drawing too much attention. Such sneak attacks are more effective when accompanied by diversionary attacks. So keep the defenders distracted to draw their attention away from their exposed southern flank.
RU Deployment
Deployment Area Assets
| Name | Quantity | Respawn Time |
|---|---|---|
| T-90A | 1 | 60 sec. |
| Mi-28 Havoc | 1 | 60 sec. |
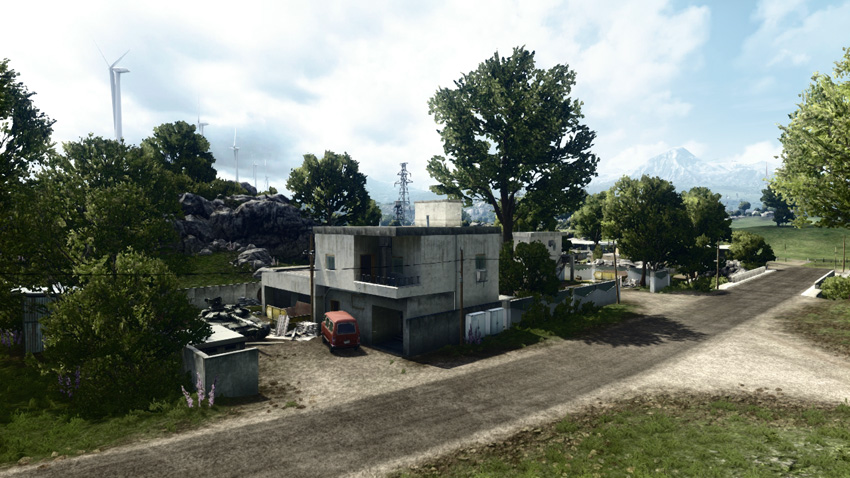
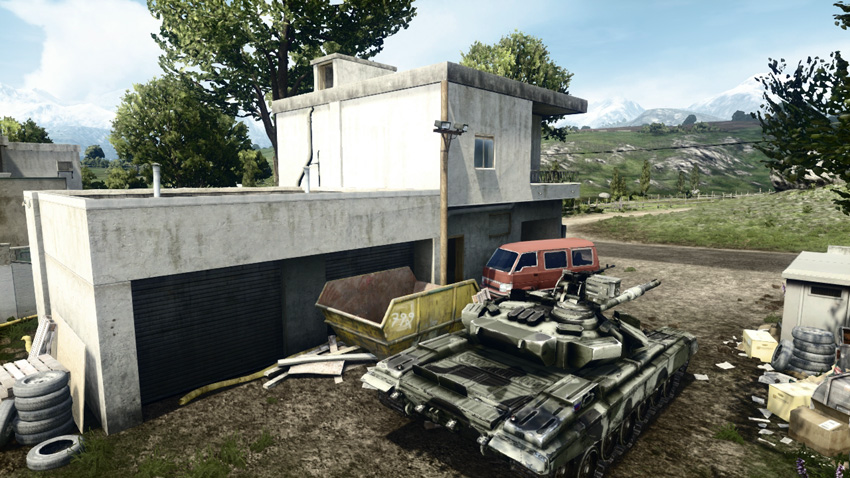
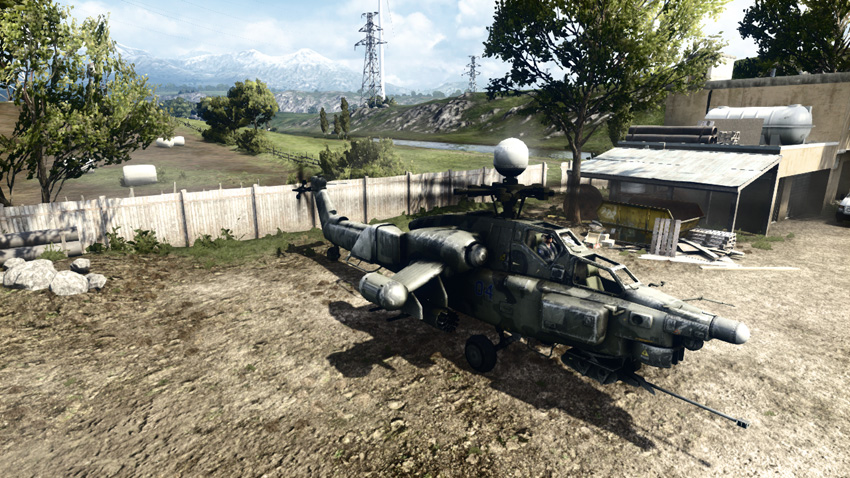
The RU team continues to suffer from a shortage of equipment, once again fielding only one T-90A and an Mi-28 Havoc. While confronting the US attackers in the field to the west may be tempting, it’s best to hide the T-90A back near the objectives, where it is easier to conceal among the structures. Meanwhile, rely on engineers and the Mi-28 Havoc to engage incoming US vehicles crossing the field to the west. Guided missiles, such as Javelins, are very effective here. But don’t let the action in the field distract you from potential flanking attacks approaching from the south, along the canal. Keep at least one squad posted around each objective to deter surprise infantry attacks.
M-COM Station A
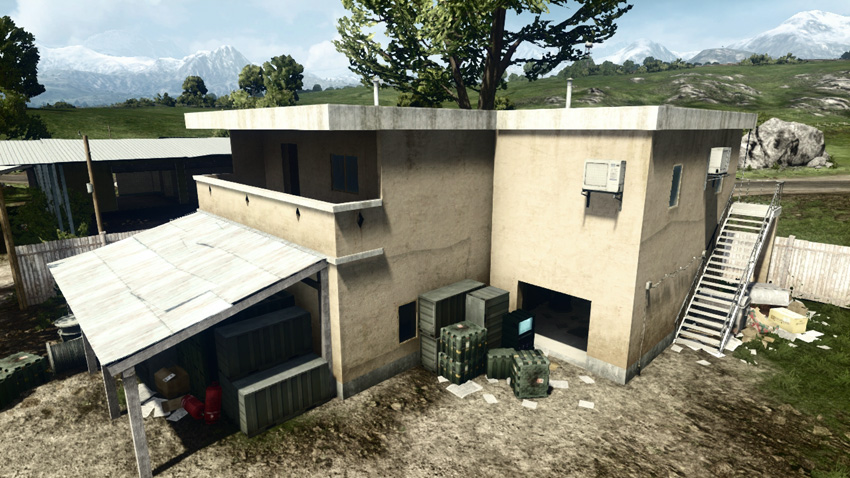
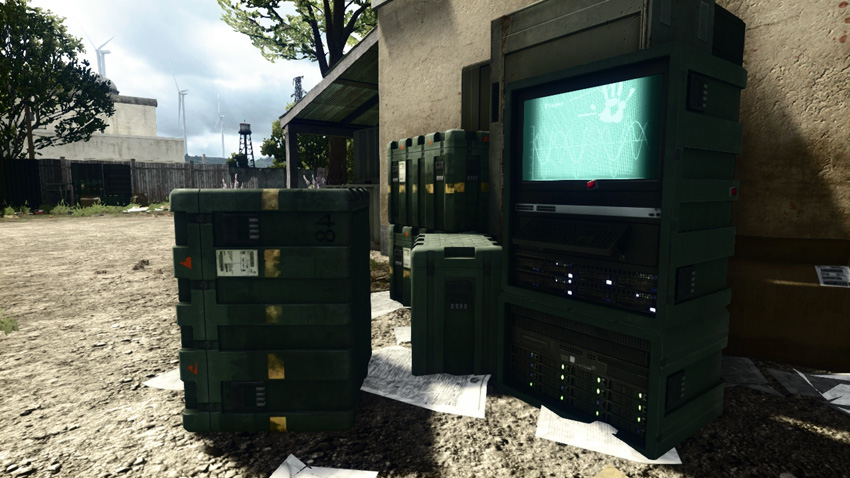
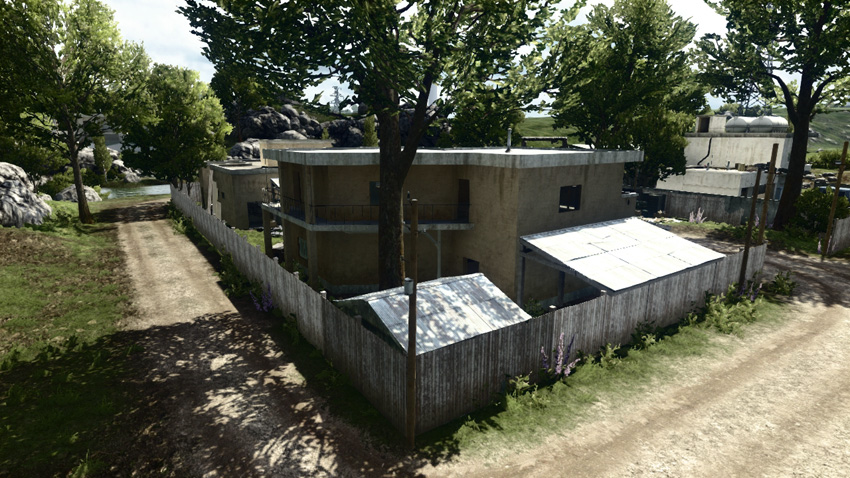
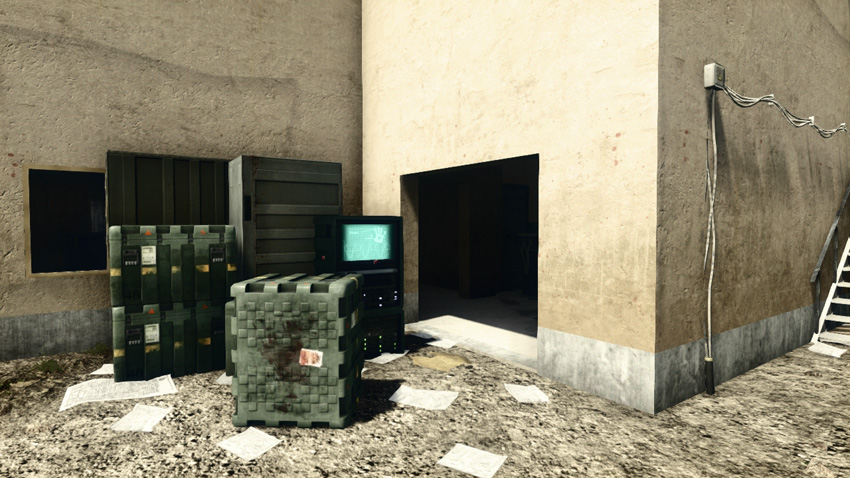
M-COM Station A is just outside a two-story farmhouse amid a small cluster of agricultural structures. Although the objective is outdoors, a few large green crates help provide cover and concealment for troops attempting to arm or disarm a charge. When possible, approach from within the farmhouse and sneak up alongside the M-COM station. By taking this approach you’re far less likely to be spotted (or sniped) while moving through the open courtyard. While the nearby crates offer some protection, consider popping smoke before approaching the objective. No matter how carefully your team has secured the area, always assume an opponent has a line of sight on this M-COM station.
M-COM Station B
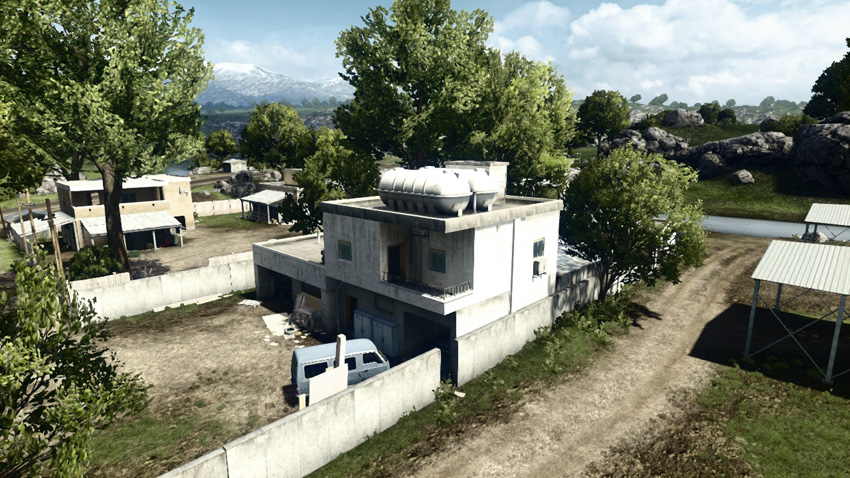
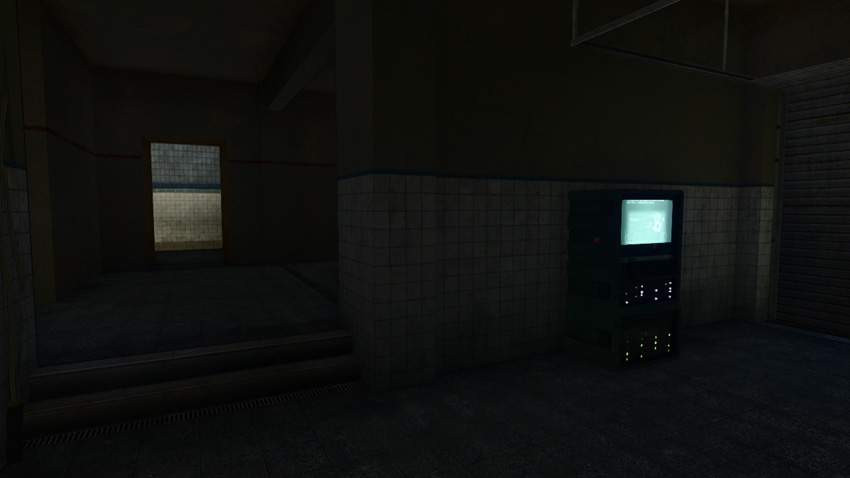
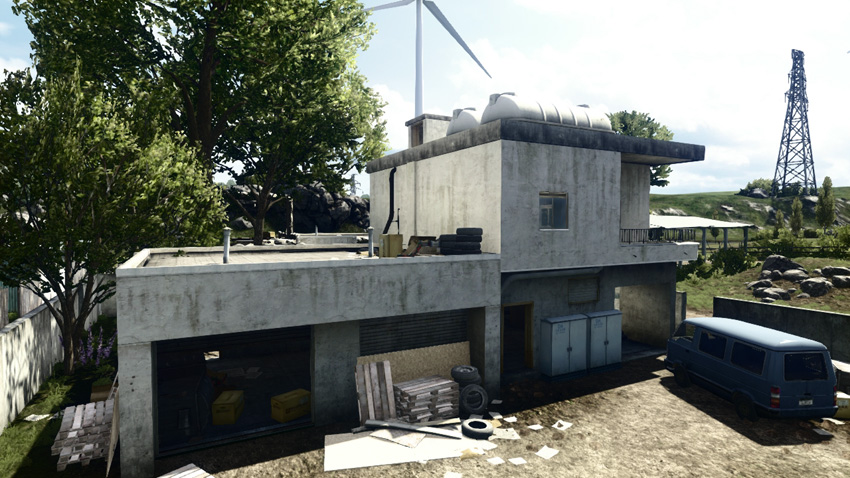
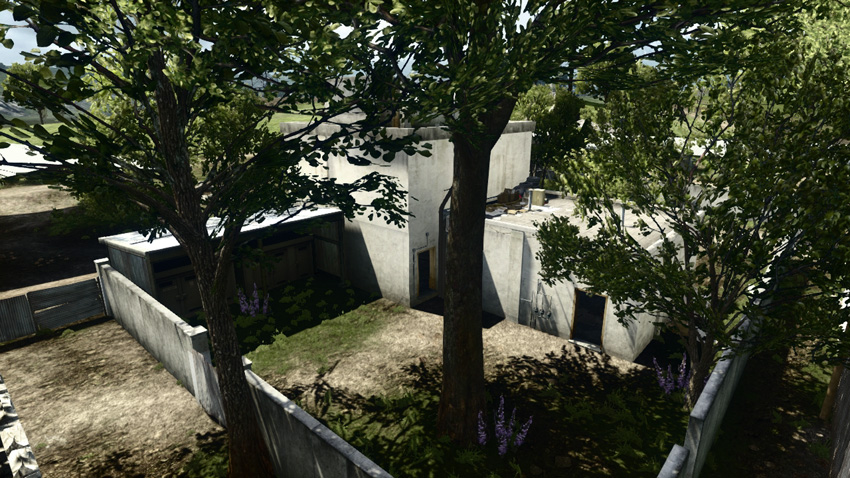
This objective is in a small concrete farmhouse on the south side of the area, only a few meters from the canal. Given the objective’s nearness to the canal, it is the perfect candidate for amphibious assaults staged by US troops arriving in a RHIB. RU defenders must constantly prepare for such attacks, monitoring the canal for incoming boats. The perimeter wall surrounding the house serves as a decent line of defense. So attackers should come prepared to breach the wall with explosives in an effort to avoid the few entry points, which serve as natural choke points.
Zone 4: Artillery Base
US Deployment
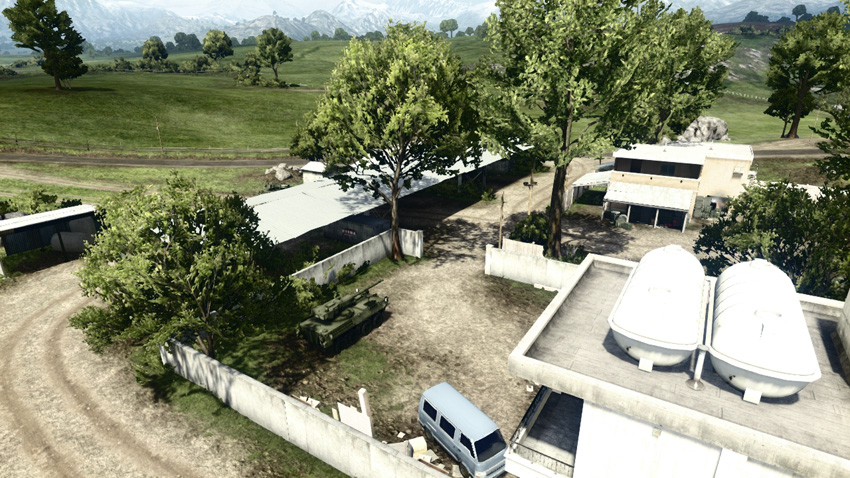
Deployment Area Assets
| Name | Quantity | Respawn Time |
|---|---|---|
| Growler ITV | 2 | 20 sec. |
| M1128 | 2 | 20 sec. |
| AH-1Z Viper | 1 | 60 sec. |
| Gunship | 1 | 120 sec. |
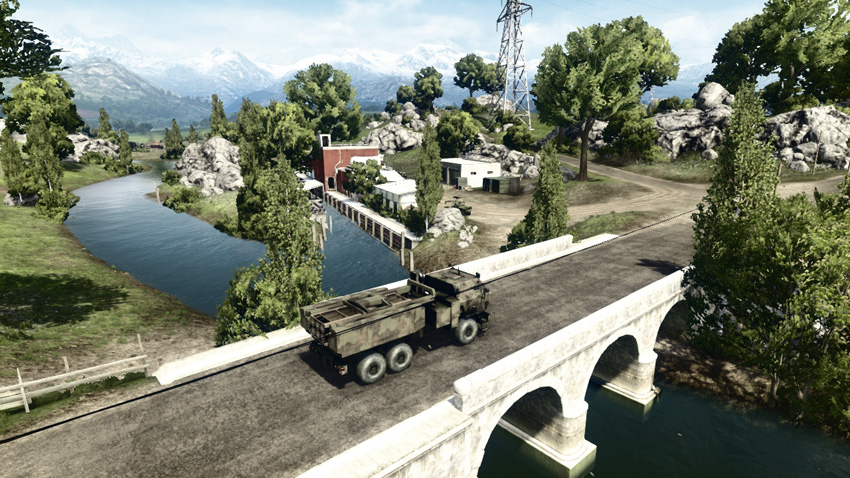
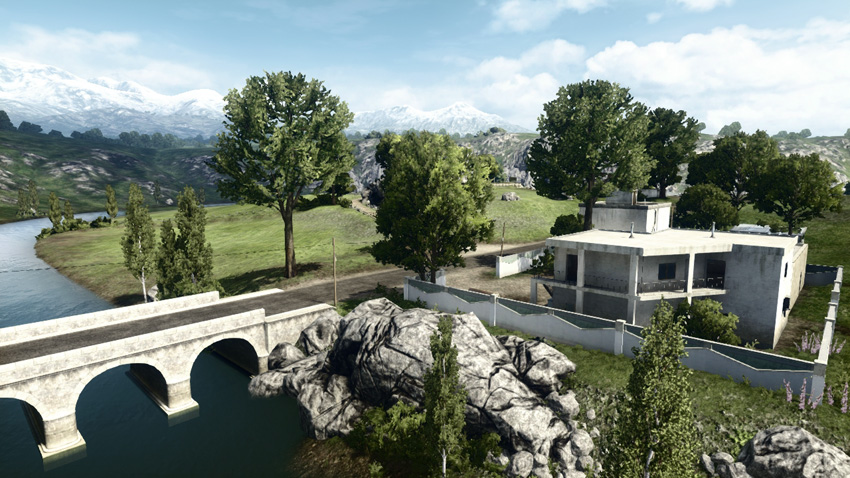
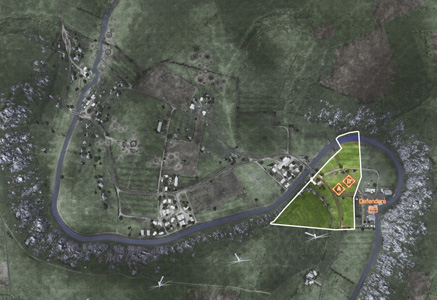
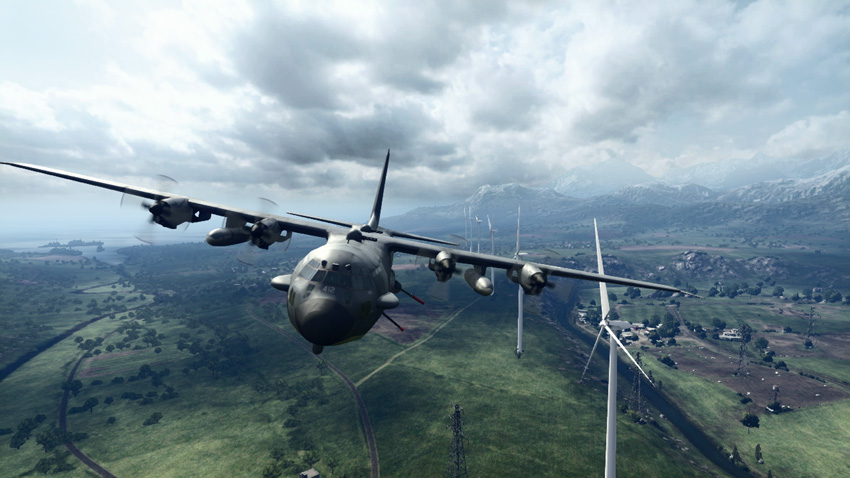
For the final phase of the battle the US team has lost some of the vehicles that made the attack such a success to begin with. However, there are still more than enough vehicular assets to secure a decisive victory. The RU artillery base to the east is the location of the final two M-COM stations. It’s important to cross and secure the nearby bridge to the east before the RU team can lock it down. This bridge is a choke point and can become a deathtrap for your Growler ITVs and M1128 tank destroyers as they try to cross. Using the AH-1Z Viper and gunship, it’s important to apply pressure from the air to help secure the bridge and clear a path to the final two objectives.
RU Deployment
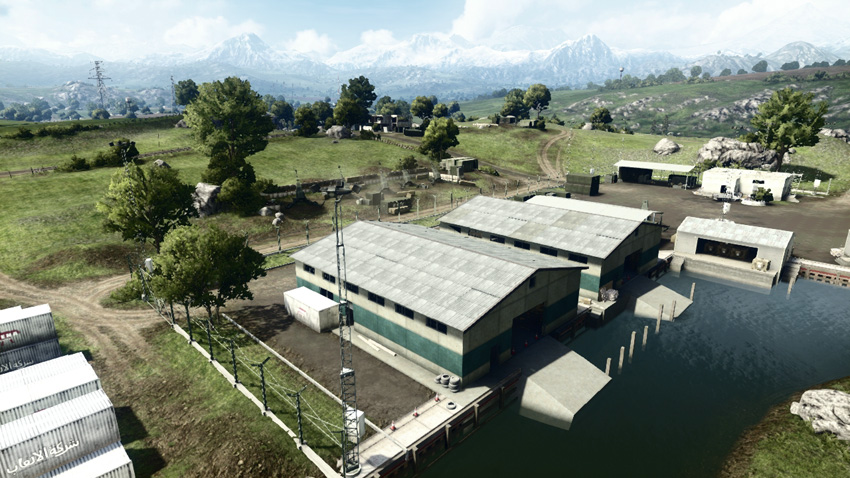
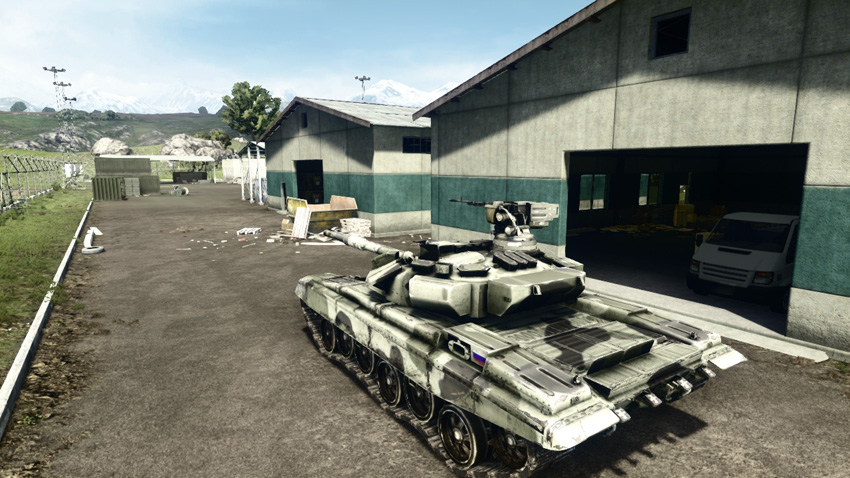
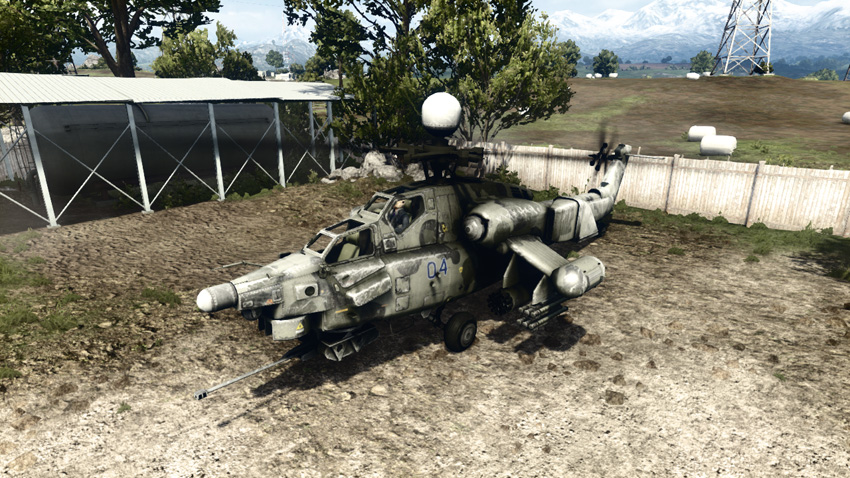
Deployment Area Assets
| Name | Quantity | Respawn Time |
|---|---|---|
| T-90A | 1 | 60 sec. |
| Mi-28 Havoc | 1 | 60 sec. |
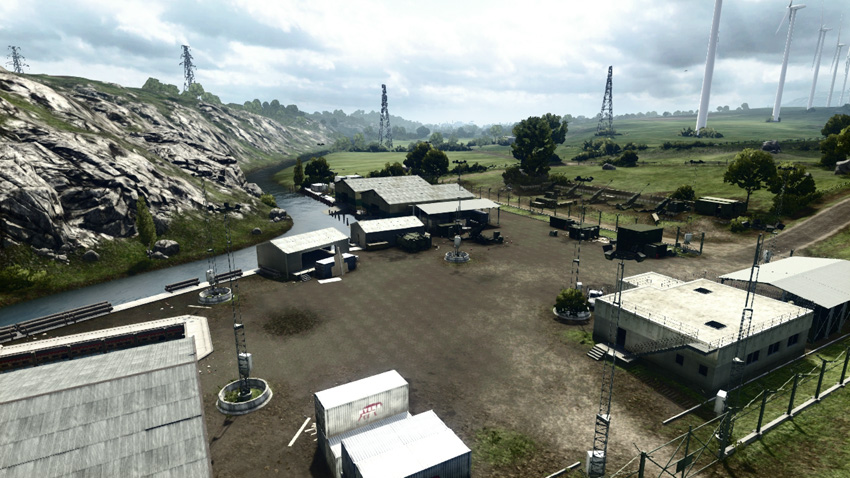
After three unsuccessful attempts to stop the US advance, the RU team is eventually pushed back to this base, where five artillery guns are positioned, shelling distant targets. Once again the RU team has only a single T-90A and an Mi-28 Havoc to assist in their last stand. The RU team can enjoy some success at containing the US team to their deployment area by controlling the east bank of the canal as well as the bridge. Engineers and other infantry can successfully harass US ground movement in this area. However, the defenders must also cover the objectives, too, protecting them from parachuting US troops dropping from the orbiting gunship. In many instances, consolidating forces around the objectives is the best way to approach this final phase.
M-COM Station A
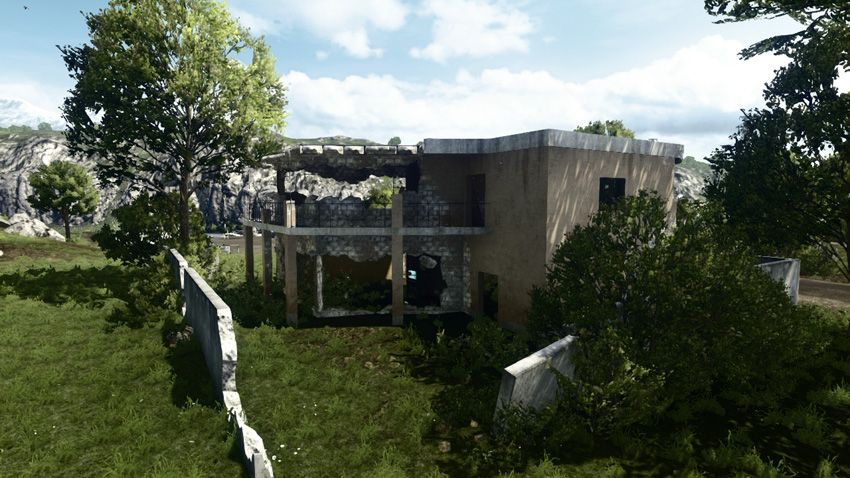
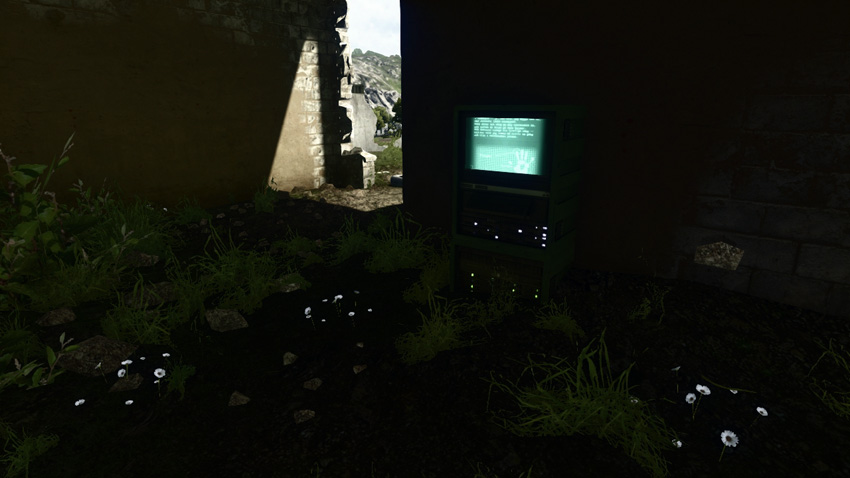
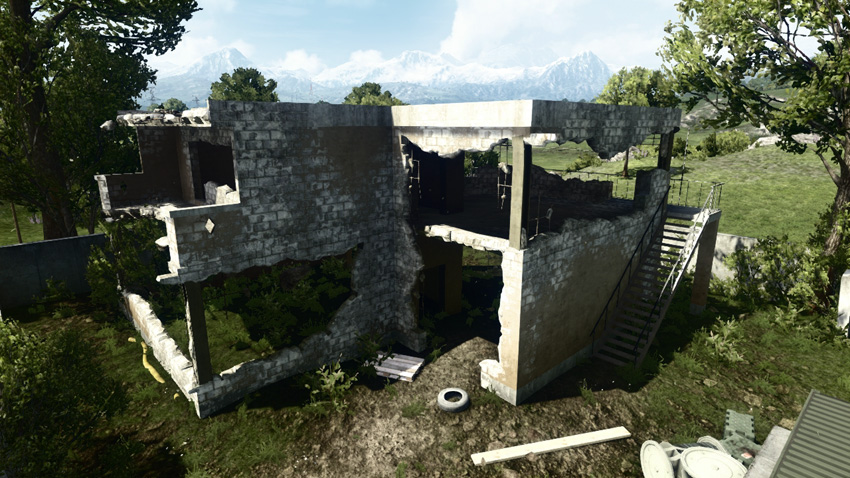
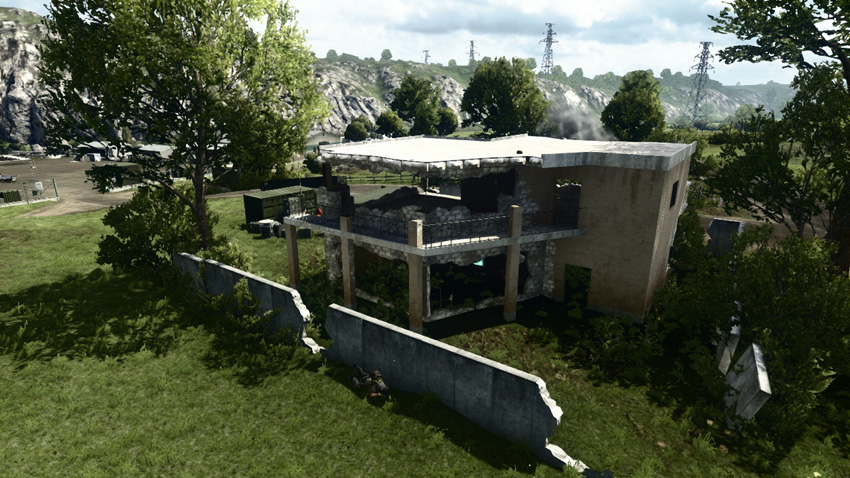
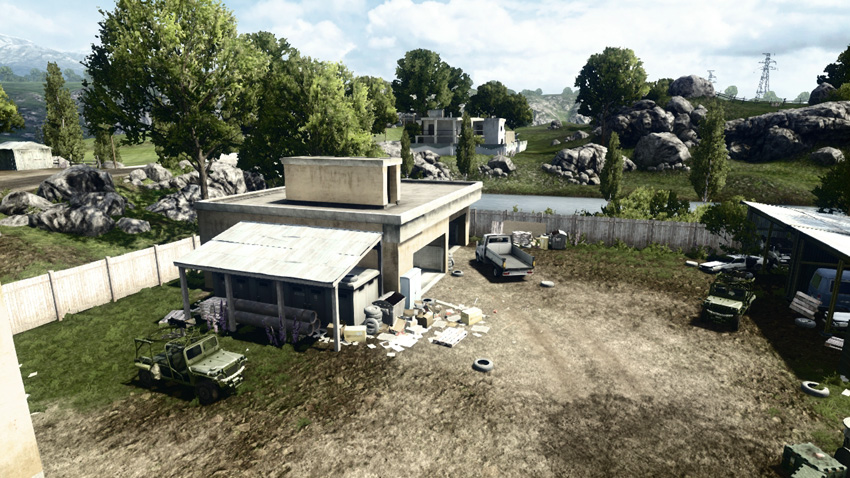
M-COM Station A is the closest objective to the US deployment area, making it the most likely first target of the attackers. The objective is on the ground floor of a partially bombed-out farmhouse. Many of the exterior walls of this house have been destroyed, offering relatively long sight lines to the objective. Anyone attempting to arm or disarm this objective should watch for opponents positioned around the perimeter of the house. To safeguard against long-range threats, pop smoke on the objective before approaching to set or disarm a charge.
M-COM Station B
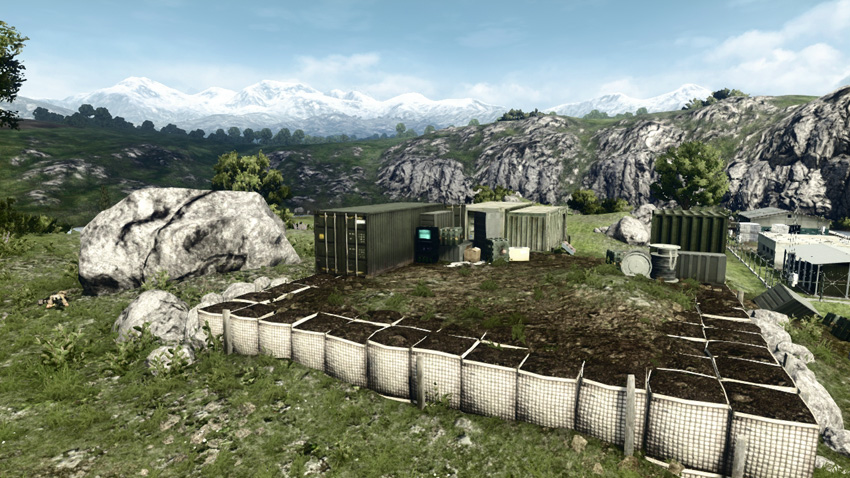
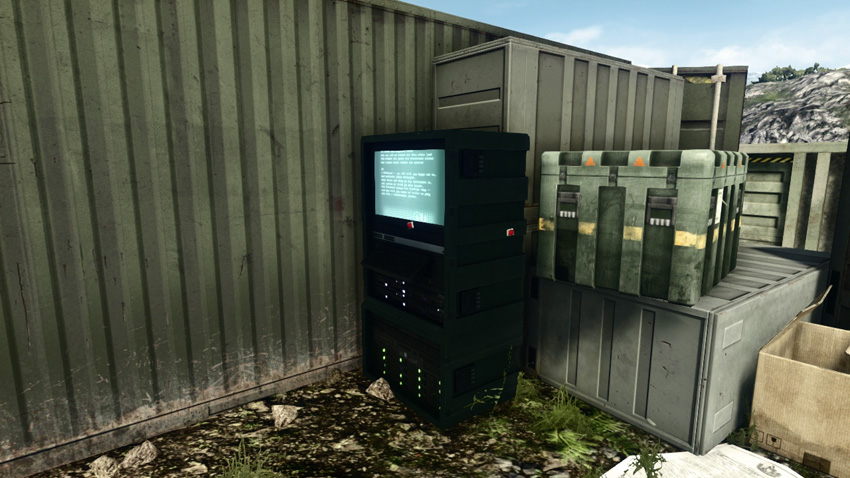
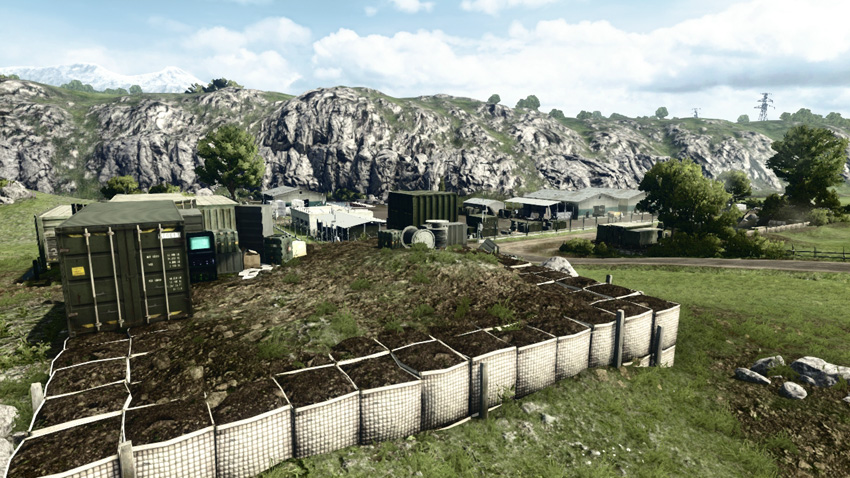
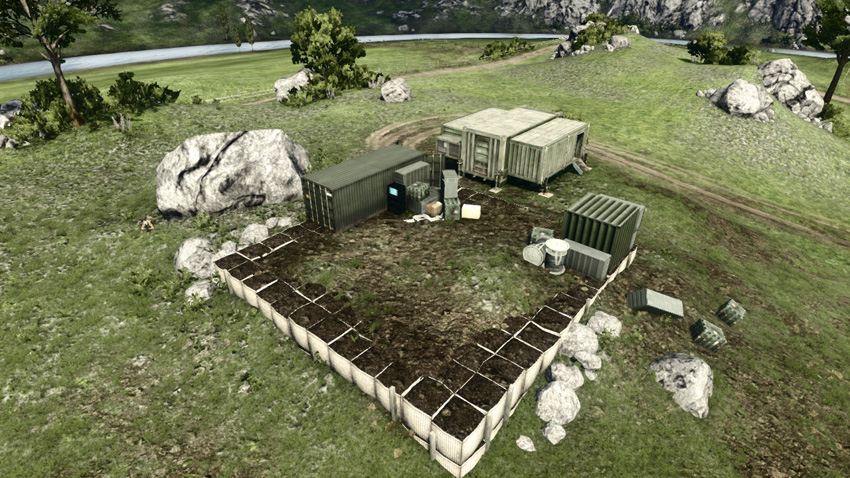
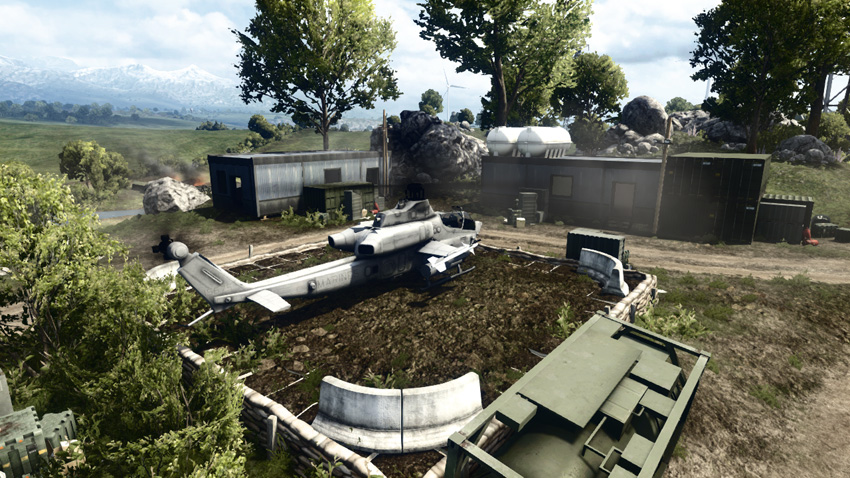
This objective is positioned atop a small reinforced hill outside the artillery base, northwest of M-COM Station A. If properly defended, this objective can be extremely difficult to arm or disarm due to the lack of cover. With the exception of a few crates and containers on the north side of the hill, the objective is completely exposed. As a result, both sides should deploy smoke on the objective prior to setting or disarming a charge. If the US is successful in setting a charge, they can use the gunship’s devastating weapons to defend the objective until their charge explodes. As long as the gunship is airborne, the RU team will have a difficult time reaching this objective.