
Battlefield 3 Premium Guide Campaign Mission 3: Uprising
Uprising
Unit
1st Recon Marines
Callsign
Sgt. Henry “Black” Blackburn
Location
Al Sulaymaniyah, Iraq
Date
March 15th
Time
2036hrs Zulu Time
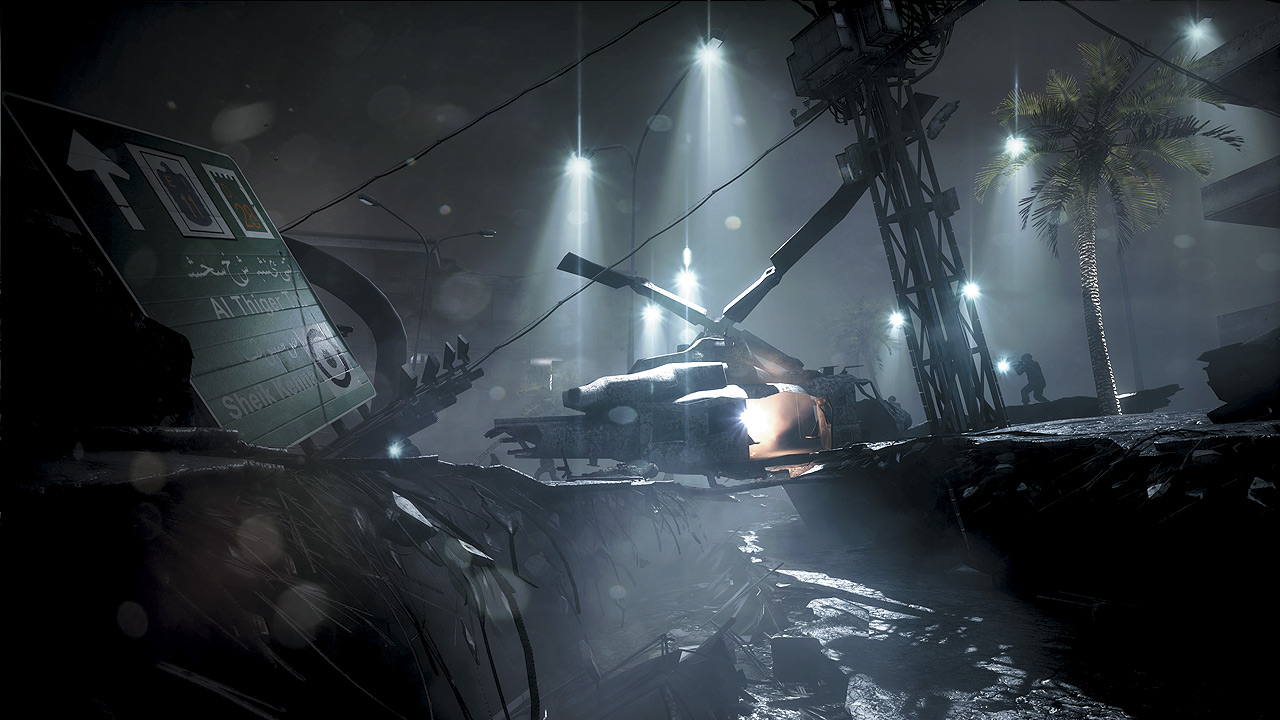
After an Impromptu CHANGES nap, Blackburn wakes to find Al Sulaymaniyah in ruins. The quake has absolutely ravaged not just Iraq, but neighboring Iran as well.
The whole border area is left in shambles while a madman and the PLR occupy the former Iraqi town en masse.
If Black is to have any chance of surviving, he must make his way under the cover of night to first find a weapon, then reach the extraction zone without becoming another POW—or worse.
RETRACE STEPS TO BAZAAR
Despite the raw troop numbers and generally unfavorable lighting conditions, there’s still plenty of shadow here to hide within. Stay out of sight of the PLR as they scour the area.
Move slowly along the channel created by the quake, sticking to the right wall where the lip above keeps Black out of the light.
Crouch under the downed heli’s skids and continue to stay to the right within the shadowy passage created by the overhang.
A lone guard with a flashlight complicates things a little as you inch farther ahead. Fortunately, the sweep of his light follows a pretty simple path.
Wait for it to sweep toward Black, then to the left to inch underneath the guard, hugging the wall to the right.
Another sweep back to the left allows further movement toward a pipe in the distance reveals some startling news: a dead Marine tumbling out of the wreckage of a Humvee has a radio quietly broadcasting that the allied forces here are leaving—and soon. Time to get to that RZ.
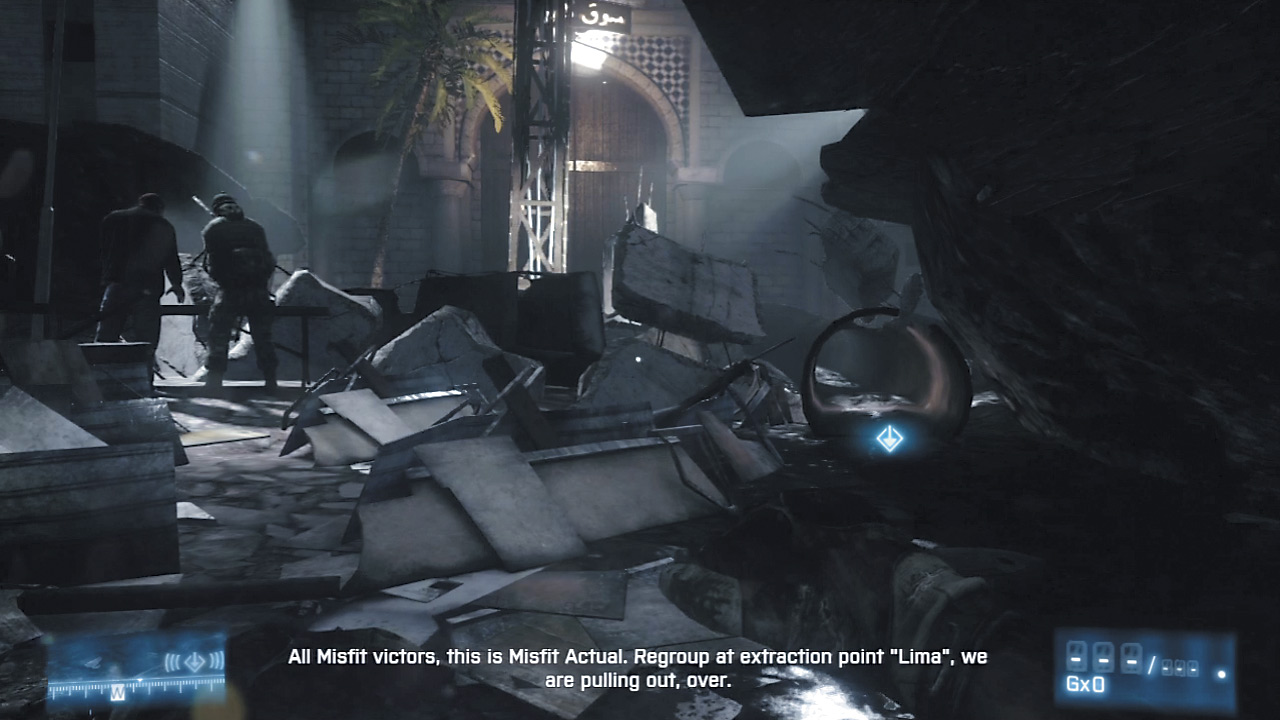
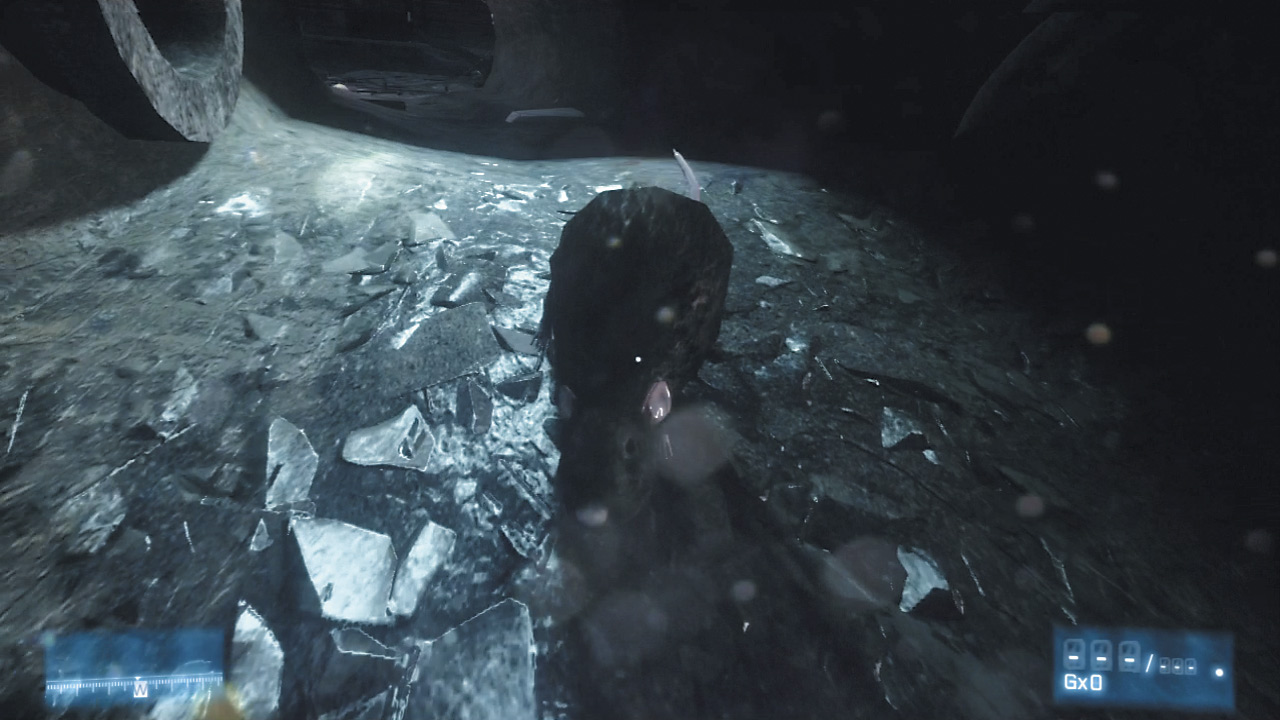
Upon nearing the pipe, a prompt to go prone appears, allowing access away from the PLR patrols. Head through the pipes, dealing with a surprisingly tenacious rodent, then head toward the open door in the distance by using the familiar Action Button prompt.
SECURE A WEAPON
An oblivious PLR combatant is too busy studying something on top of all those rugs to notice Black’s presence until his blade opens up the opportunity to pilfer his weapon.
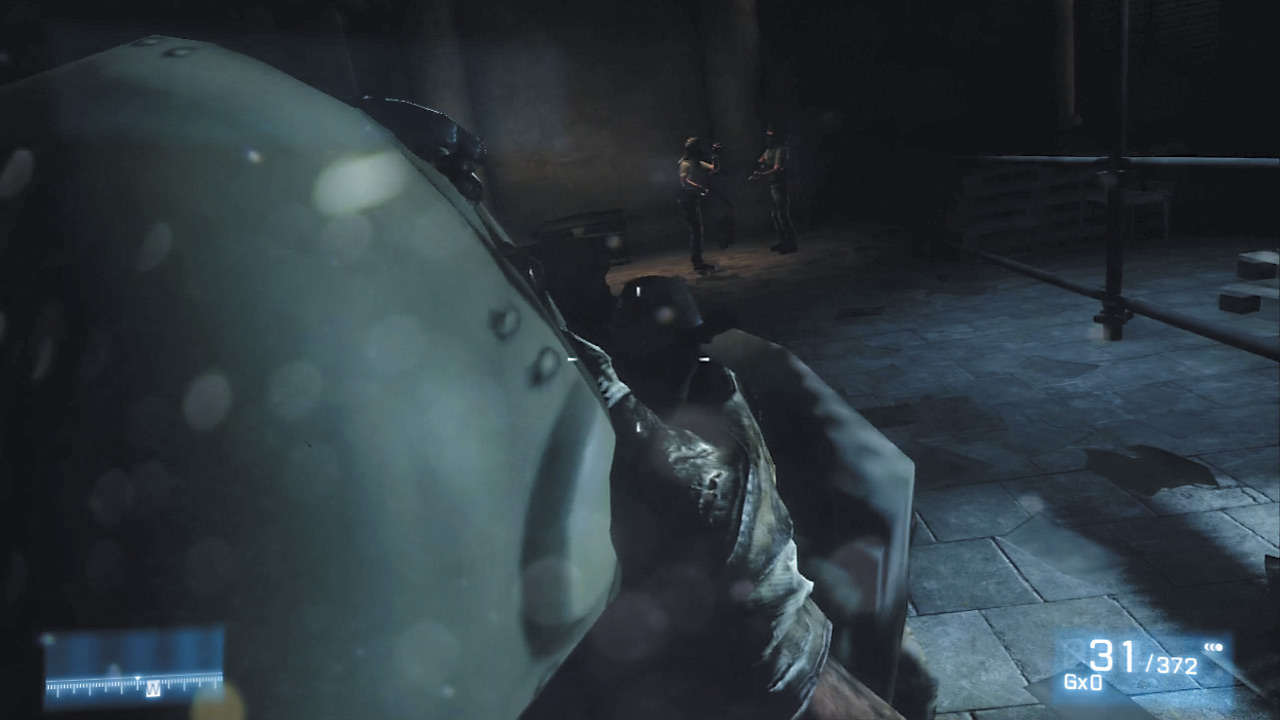
Quickly draw a bead on the alerted soldiers and take them out if possible, but taking cover is the absolute priority here. At such close range, these enemies can easily end your game even on lower difficulty levels, and on the harder ones? Forget it.
Pop up quickly to spot a target, line up a shot, then drop to recover any health if needed. Squeeze off quick double-taps to the targets’ centers of mass or quick headshots to end this bit of resistance. Once they’re eliminated, gear up for their backup to arrive.
RETRACE STEPS TO PARKING LOT
A few latecomers will round the corner to the right. Deal with them similarly, using low cover to sneak out and add a few more headshots to Black’s total.
As soon as they’re dealt with, proceed down the darkened hallway toward a blaze at the far end toward another short encounter with a few more PLRs before rounding the corner to the left.
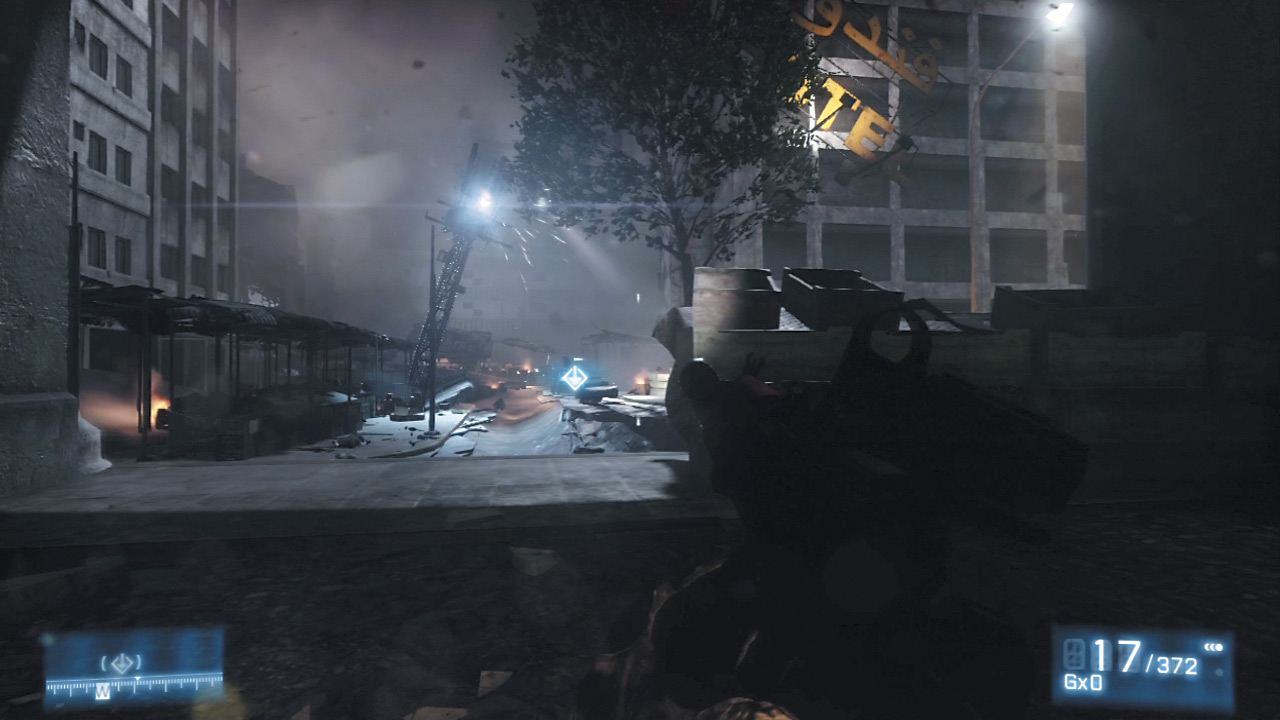
An ominous chopper patrol and a few far-off troops are still scouring the area. Deal with them from the relative safety of the nearby crates, then move forward toward even more quake-riddled streets and a handy Ammo Crate.
CLEAR THE AREA OF ENEMIES
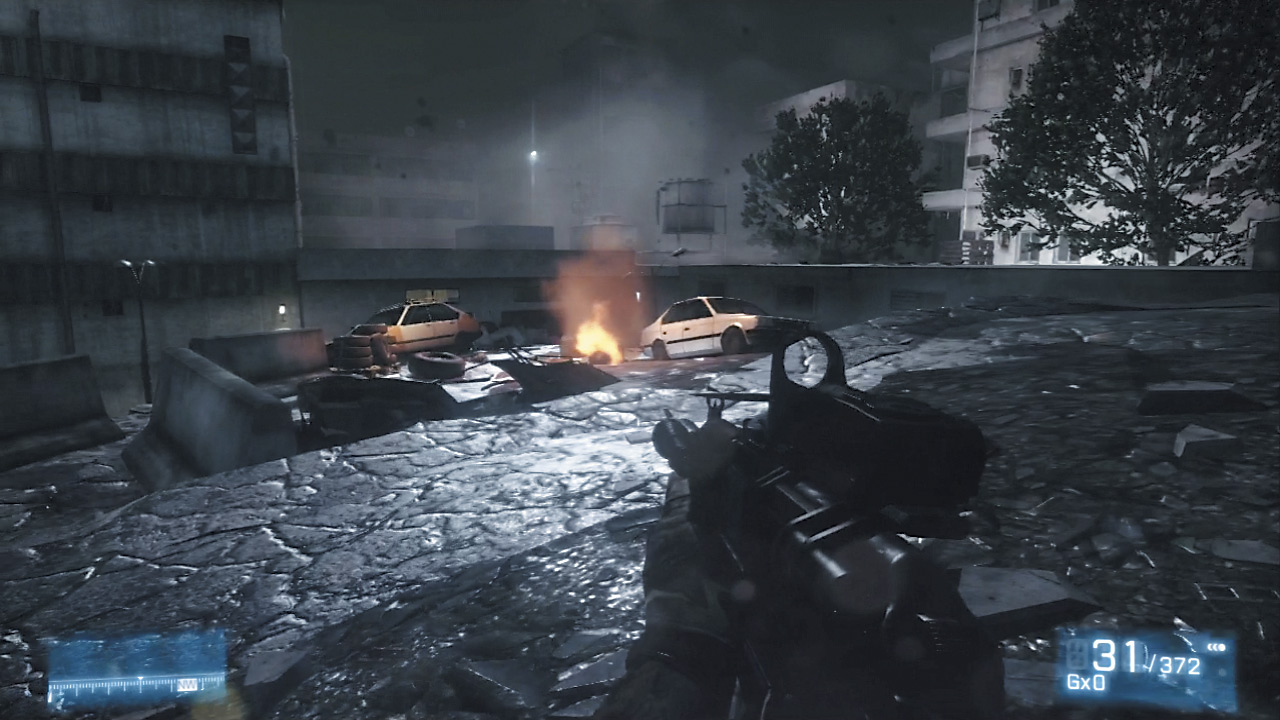
This parking lot is far more rife with threats than it first appears. A pair of PLR patrols are busy snaking their way through the few cars that haven’t been completely destroyed by the quake down below.
Unseen, more wait to the right, obscured by a small outcropping of concrete and burned-out car frames. Obviously, dropping down into this lower area would be a bad idea. For one, the upper area provides a terrain advantage.
But more importantly, there’s only one place that the enemy can actually flank you: on the far right past the cars, there’s a small ramp allowing enemies up.
Keep this in mind while going for a fairly easy Achievement/Trophy—easy as long as none of the PLR actually catch sight of Blackburn.
ACHIEVEMENT | TROPHY
Heads Up
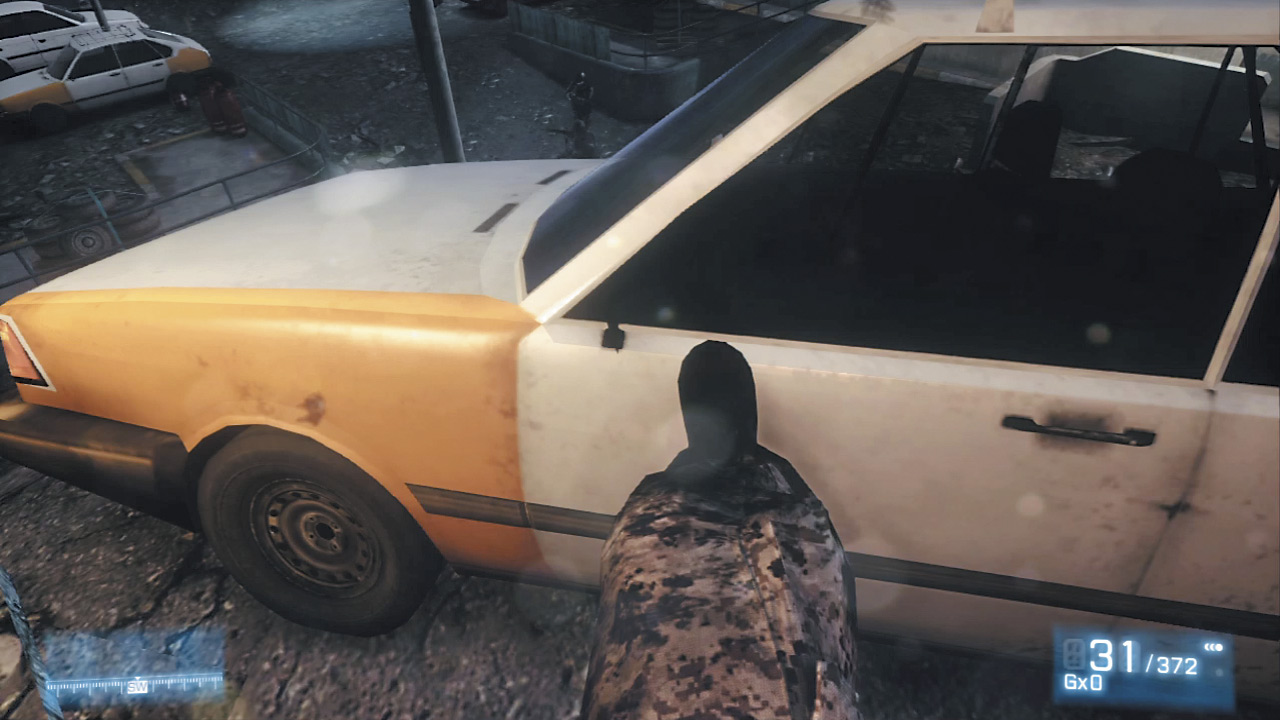
Head right while staying crouched to avoid the patrols below. Scoot around the fire toward a precariously positioned taxi. Look down to the left, waiting for the two-man patrol to slowly make their way toward the cab.
They’ll never walk directly underneath it, but that’s fine; they aren’t the ones that are going to made into Liberation pancakes.
When they’ve swept back out into the parking lot, mash the Action Button to kick the cab down onto the poor sap below to snag the Achievement/Trophy, then quickly shift left to grab a bit of cover, as the cab has now left this landing exposed.
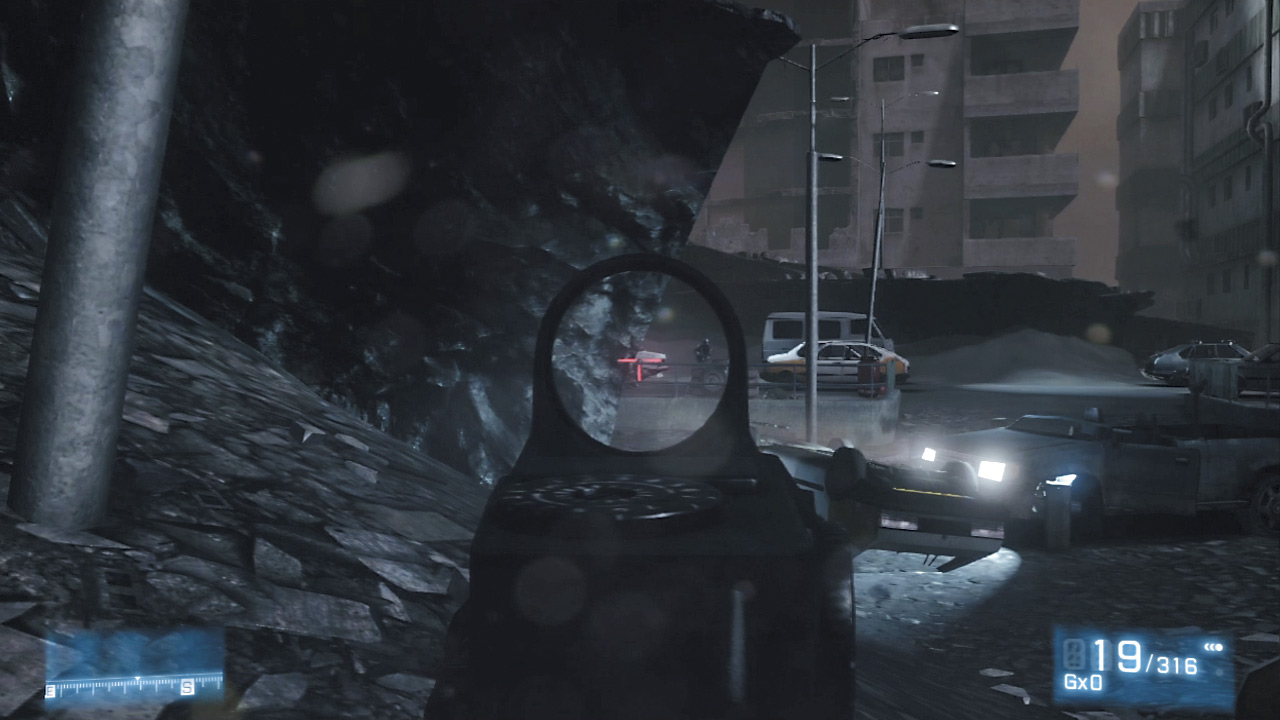
Whatever your strategy, make sure all the enemies are cleared out of this area before following the waypoint marker back into the garage.
A small aftershock rocks the building, killing the lights and offering a few audio cues that things are about to get dicey again.
Hit up the Ammo Crate to the right of the rolling doors, but quickly beat a path back into the small side room in the northwest corner of the building.
Keep your eyes on the leftmost door for a few more PLR interlopers. After the investigative unit is taken out, proceed from cover slowly, gunning down any other PLRs in the open—there’s one near the white car, and another next to the planters in the street.
The surprisingly intact bus ahead is blocking the main path. There’s no way to get to the upper landing where its back end sits, so it’s time to hop on the bus and investigate.
As Black nears the edge of the vehicle, an RPG strike tears open the roof and creates a second point of entry. Stay crouched to avoid incoming fire, popping out to zero in on the flashlights the PLR are carrying.
Take them down one at a time, ducking back into cover as needed. Once all the lights have been permanently extinguished, make note of the next waypoint objective and keep your sights trained on the distance.
After another, more powerful aftershock hits, there’s precious little time to gun down the two targets in the distance.
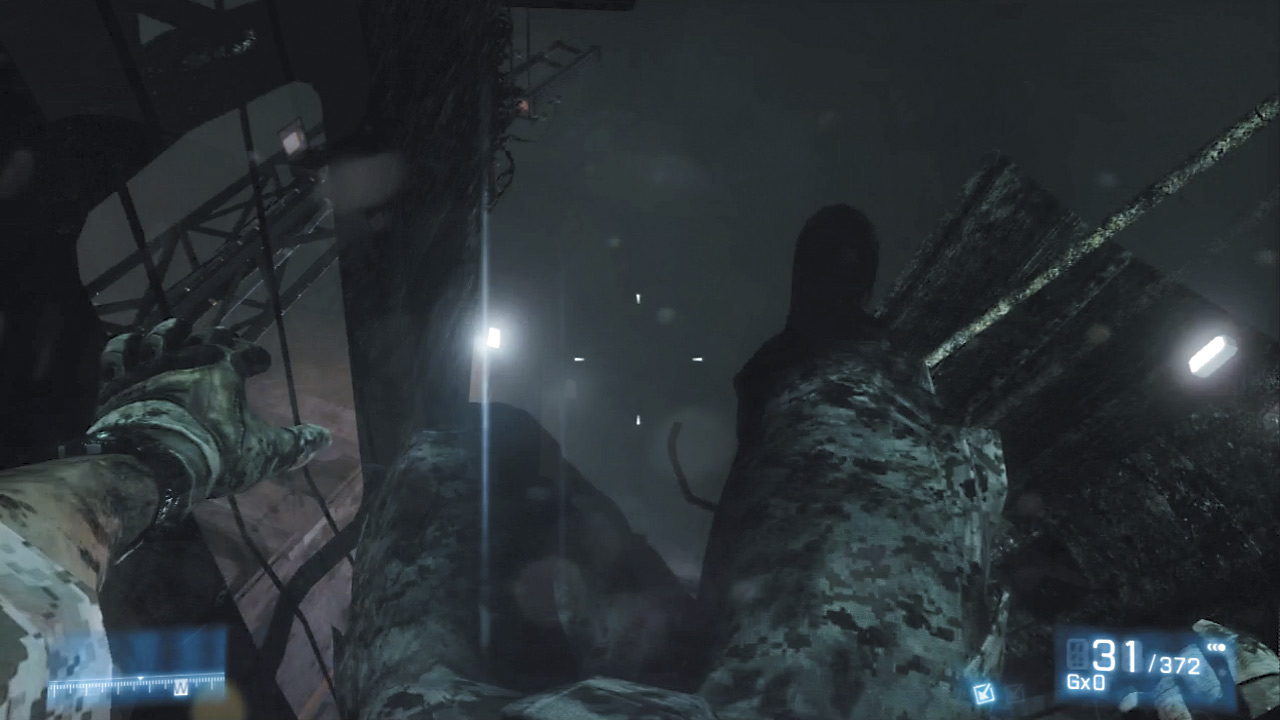
After making your way back through a familiar gate, an insurgent will kick open the very same door Black’s squad moved through what seems like ages ago.
Gun him down quickly, then retrace your steps back through the choked (and now half-destroyed) rooms on the way to the original rallying point before everything went to hell.
ACHIEVEMENT | TROPHY
Involuntary Euthanasia
Speed is absolutely critical here; the falling building ahead offers just a scant few seconds to acquire the twin targets before the building pancakes the pair as only tons of falling debris can.
The first begins sprinting away to the left more or less out in the open, while the second is frozen in his tracks next to the wreckage of a car.
Go for the target on the left first and then move on to the right before debris can claim them.Montes makes for an unlikely reunion Black spills out into a hallway, delivering a grim bit of news: the dust-off of the extraction vehicle is quickly approaching.
Time to race back to the extraction point—and fast.
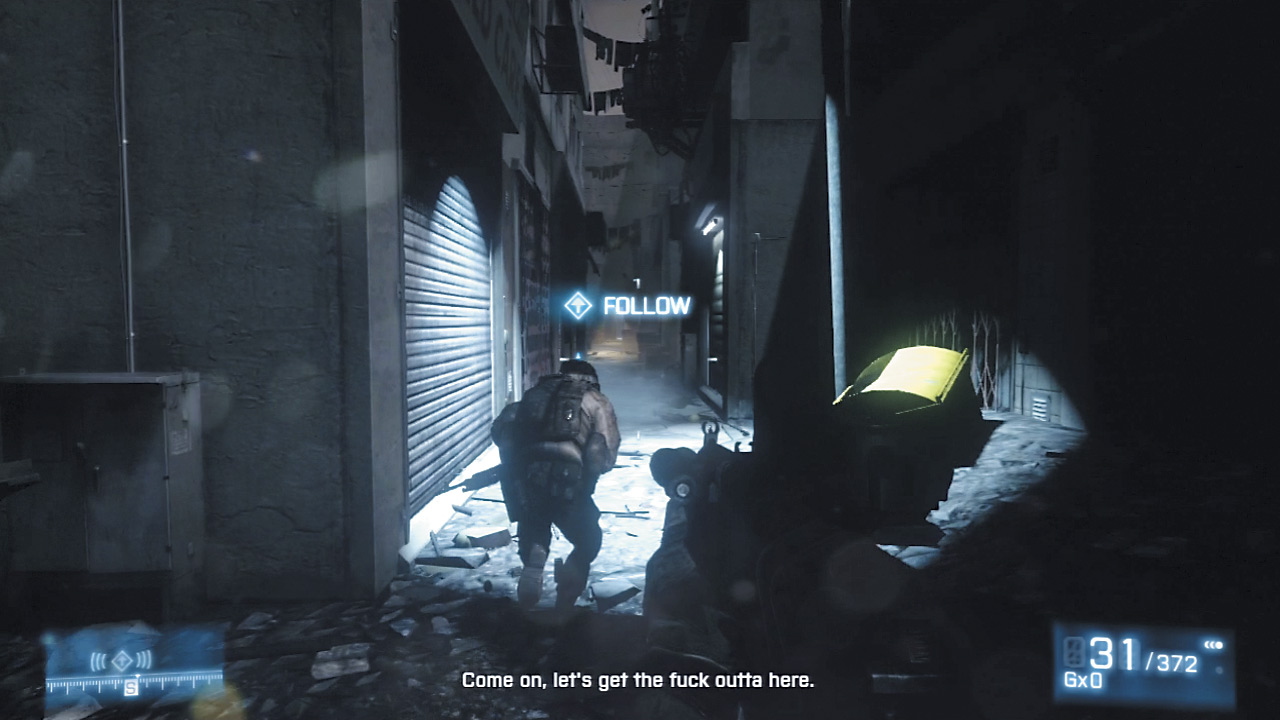
FOLLOW MONTES
The initial sprint back toward the Ospreys should feel eerily similar. In the darkness, the small alleywayscrowded with covered shops just a few hours ago looks quite a bit different now.
Duck into the hookah bar and wait for Montes to raise the door just enough to duck under, then keep on his tail as he sprints back toward freedom.
Hardly a few seconds go by before yet another firefight breaks out, this time between departing Marines and more PLR insurgents.
Sprint down toward the flares and take cover behind the left Humvee to assist Montes and the others with the extraction.
REACH EXTRACTION POINT
ENTER HUMVEE TURRET
HOLD OUT FOR OSPREY
There’s really nothing the Marines can do but lay down enough suppressing fire to hold back the swarms of PLR that threaten to compromise the extraction landing zone.
Hop in the nearby Humvee’s turret and swivel the mounted .50 cal turret around easily to acquire targets. Thankfully, there are really only a few places the PLR seem to be coming from.
The first is dead ahead; a set of cars, one with its lights still on, offer a steady trickle of PLR targets to mow down. The second is a small covered camp-out spot near the central lighting towers on the street.
The third is a wall near a white car offering cover to the PLR streaming out of the alleyway behind it. Avoid taking out the car if possible; while it makes for a satisfying explosion, the flames and smoke it spews out help to obscure the PLR coming out of the alleyway.
Quickly find and take out the various targets as they continue to leak into this area while waiting for the arrival of the Ospreys.
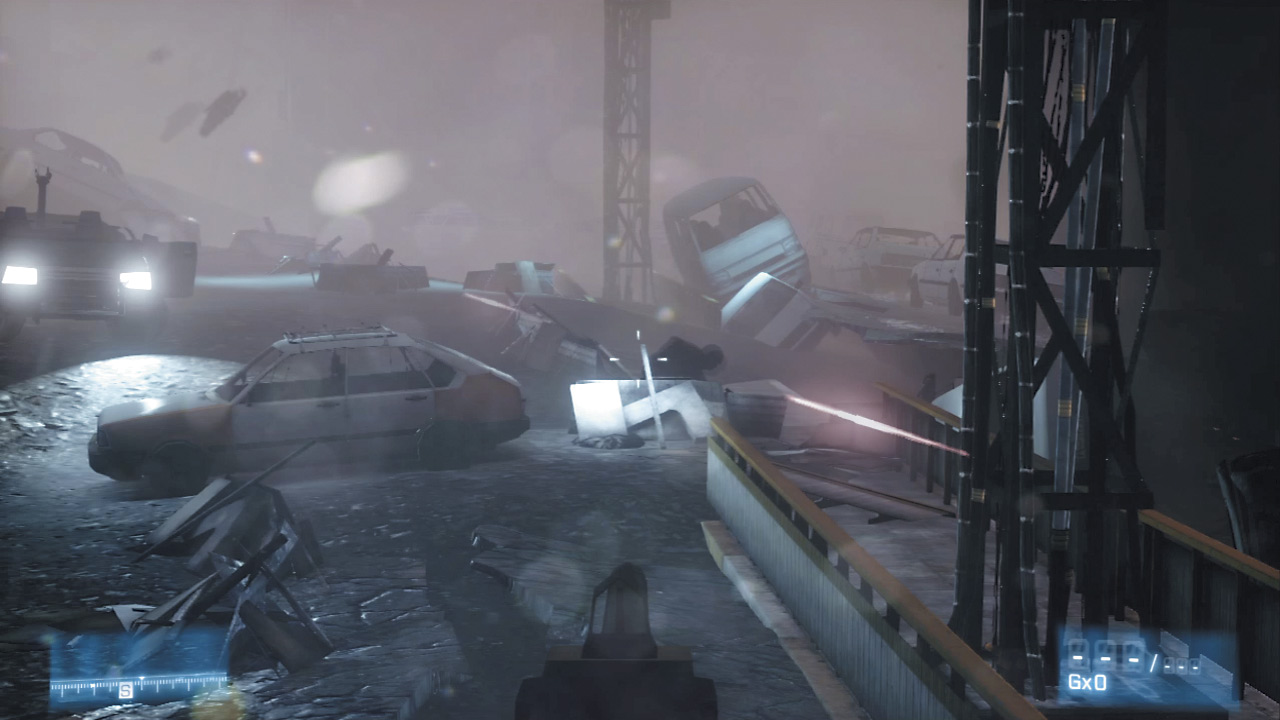
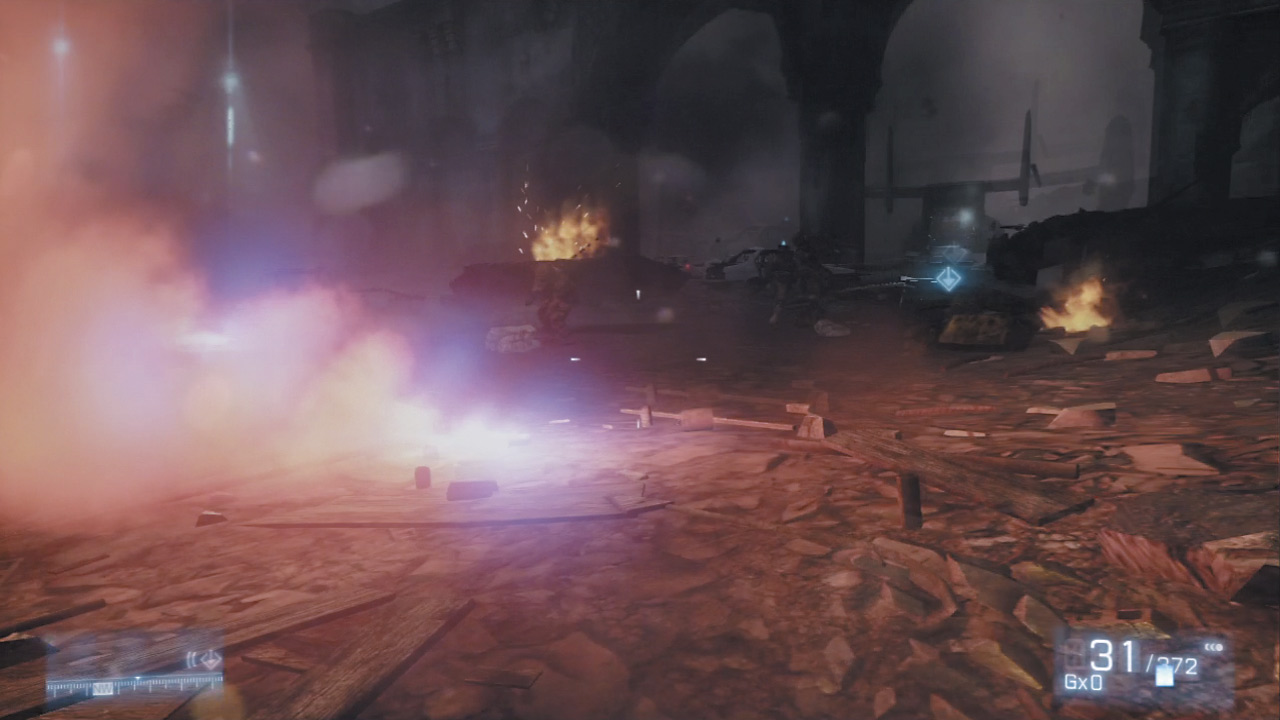
The Osprey takes a little small arms fire while beginning its descent into the LZ, but shrugs it off. It’s not until an incoming RPG from the nearby rooftops smacks into it that the pilot must find a more secure LZ to pull everyone out.
While it relocates, concentrate fire to the front of the Humvee, down a darkened alleyway where plenty of PLR targets offer a chance to really unload with the .50 cal.
After a gunning down a wave of enemies, a well-placed RPG will streak straight towards Black and the Humvee, knocking him clear.