
Battlefield 3 Premium Guide Battlefields Rush
Bandar Desert
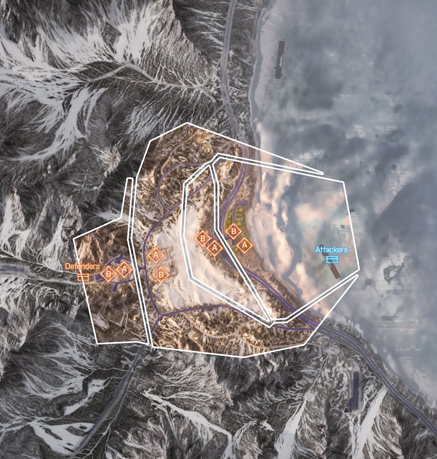
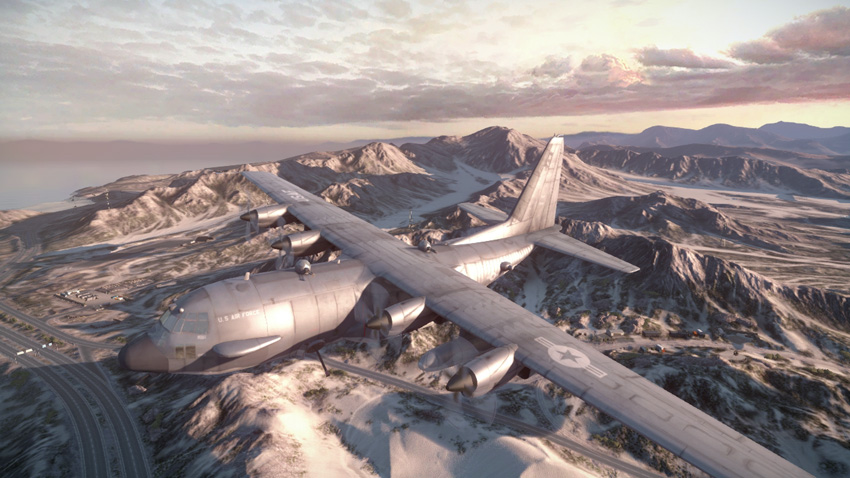
This Rush battle starts off on the east side of the map, at the village, as the US attackers attempt to take control of four separate zones. As in all Rush battles, the attackers have the advantage when it comes to vehicles. But it will take a coordinated effort by the US to knock out all eight M-COM stations. Try to overwhelm the defenders by hitting one objective at a time, simultaneously attacking with tank destroyers and the AMTRAC while using the A-10 and gunship to provide close air support. This is a very large map, and the RU defenders must stay disciplined, focusing on the objectives instead of racing off into the desert in an attempt to hunt down the attackers. Careful deployment (and constant repair) of the tank destroyers and a good SU-25TM pilot can make all the difference for the defenders. But defending engineers are also essential for stopping the onslaught of attacking vehicles. The US team’s gunship circling above each zone can also be a game changer. This airborne spawn point and weapons platform is a constant threat to the RU team. So they should look to shoot it down early and often using the SU-25TM or shoulder-fired IGLA missiles. Maintaining air superiority is no easy task for the defenders, but it goes a long way in securing the objectives.
Zone 1: Village
US Deployment
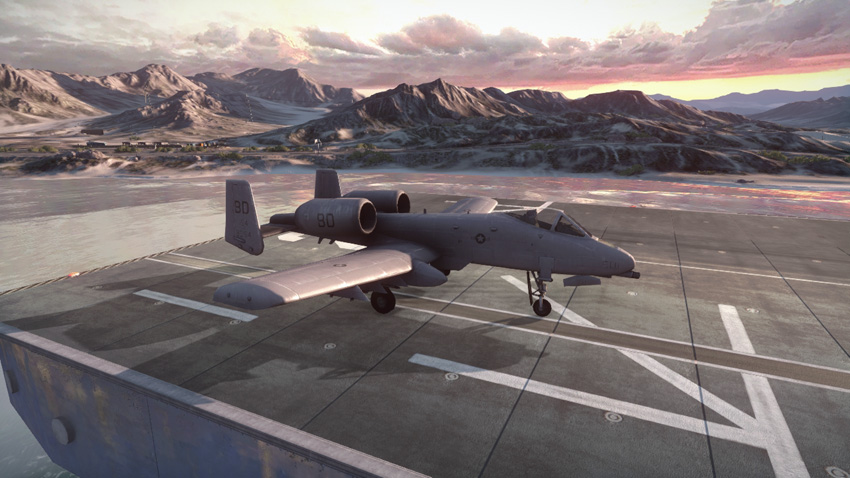
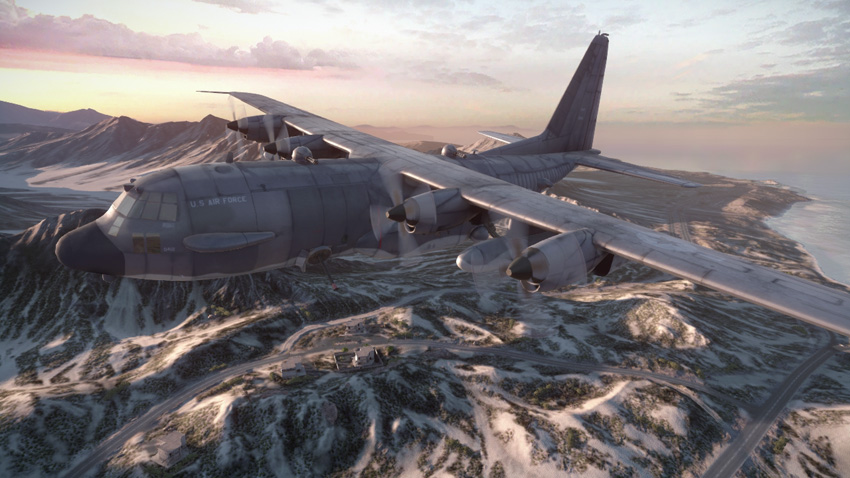
Deployment Area Assets
| Name | Quantity | Respawn Time |
|---|---|---|
| M1128 | 2 | 5 sec. |
| AAV-7A1 AMTRAC | 1 | 60 sec. |
| RHIB | 3 | 10 sec. |
| A-10 Thunderbolt | 1 | 40 sec. |
| Gunship | 1 | 120 sec. |
| Centurion C-RAM | 1 | — |
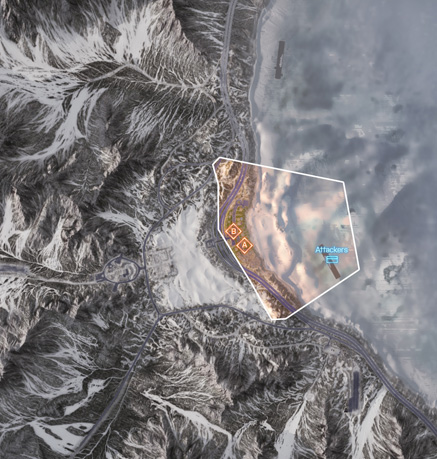
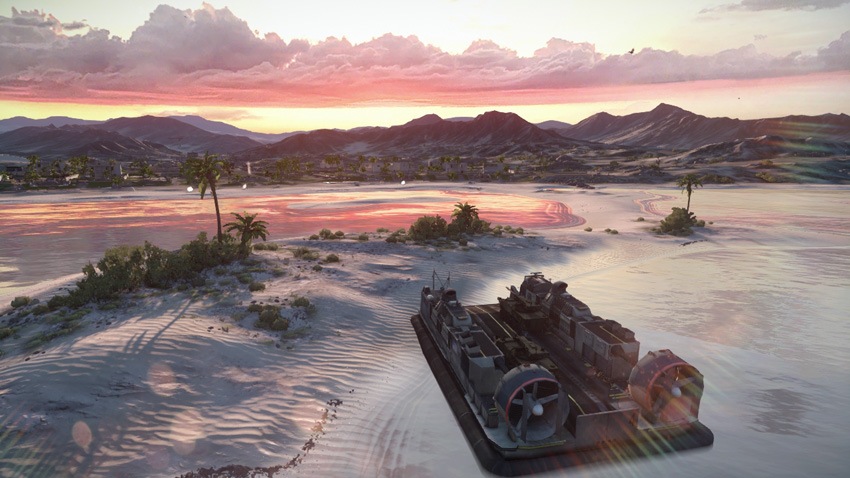
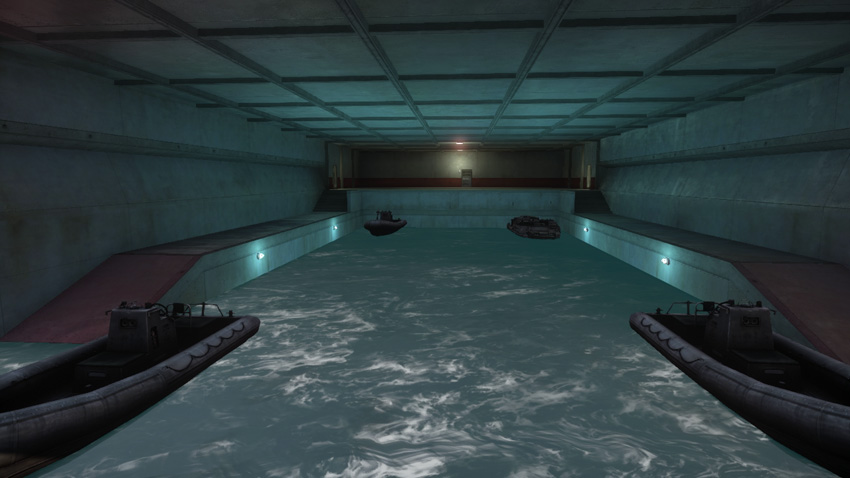
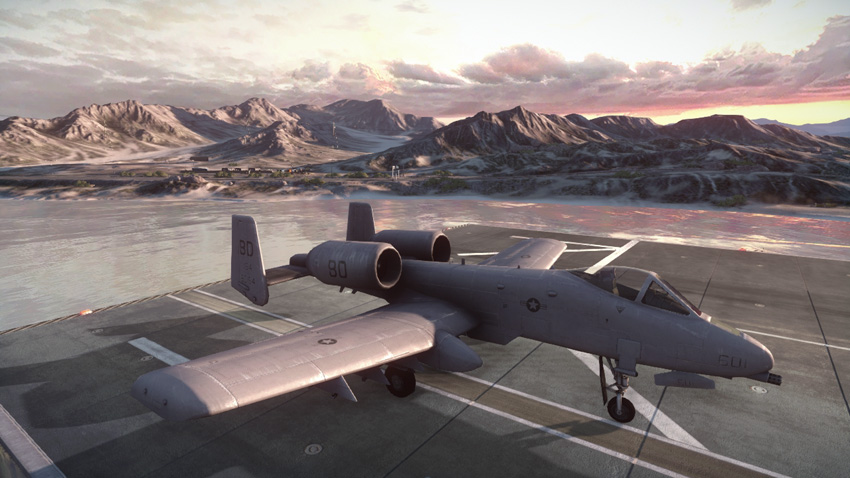
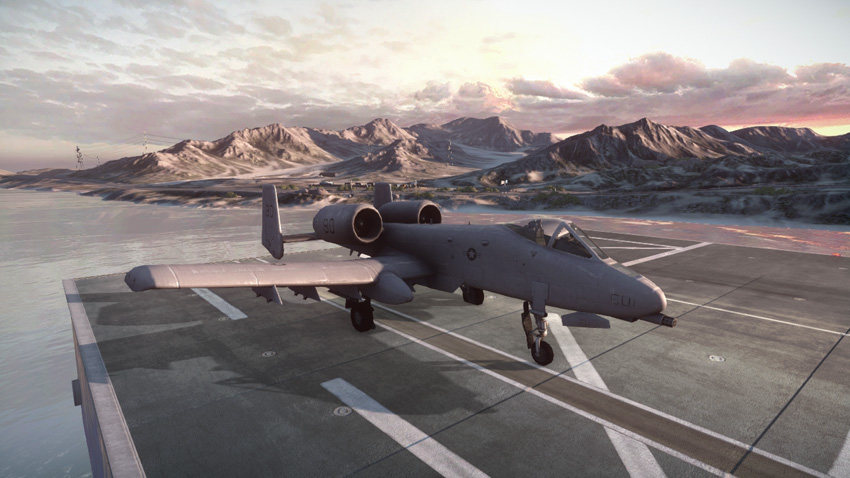
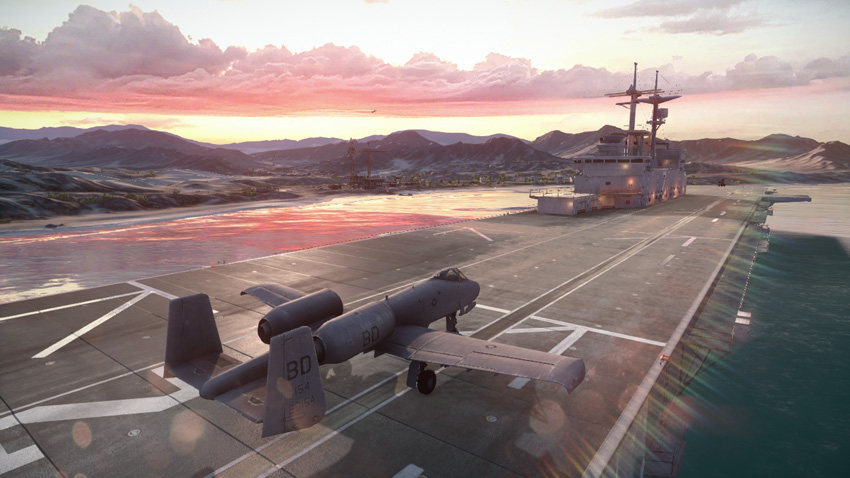
In the first phase of this Rush battle, the US team’s vehicle assets are spread across two distinct deployment areas as they prepare their amphibious invasion. The two M1128 tank destroyers spawn on a hovercraft located on the sandy peninsula east of the village. The rest of the US team’s assets spawn at the aircraft carrier, including the A-10 Thunderbolt, a few RHIBs, and the AMTRAC. Simply getting troops near the objective is the first challenge for the US. Use the tank destroyers as troop transports, delivering squads to the outskirts of the village. Air-dropping troops via the gunship is also very effective. Once within the village, recon troops should deploy radio beacons within the buildings, giving squad members spawn points close to the objectives. The AMTRAC is also a worthwhile mobile spawn point. Consider parking it out of sight from the RU team and using it to spawn teammates near the village. The A-10 is primarily a ground attack aircraft, but in this battle its main goal is to shoot down the RU team’s SU-25TM. The Centurion C-RAM at the aircraft carrier can lend a hand when it comes to clearing the skies. Man this powerful anti-aircraft gun if the RU team’s jet is making frequent strafing runs on the carrier or friendly vehicles leaving the carrier.
RU Deployment
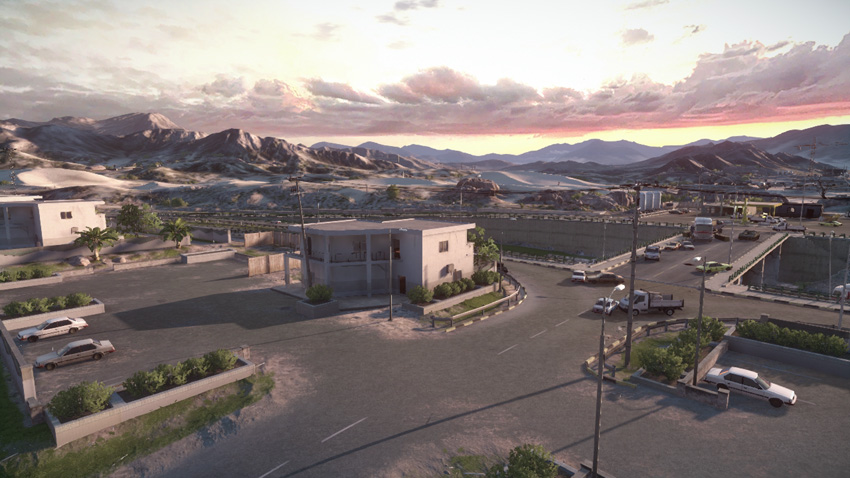
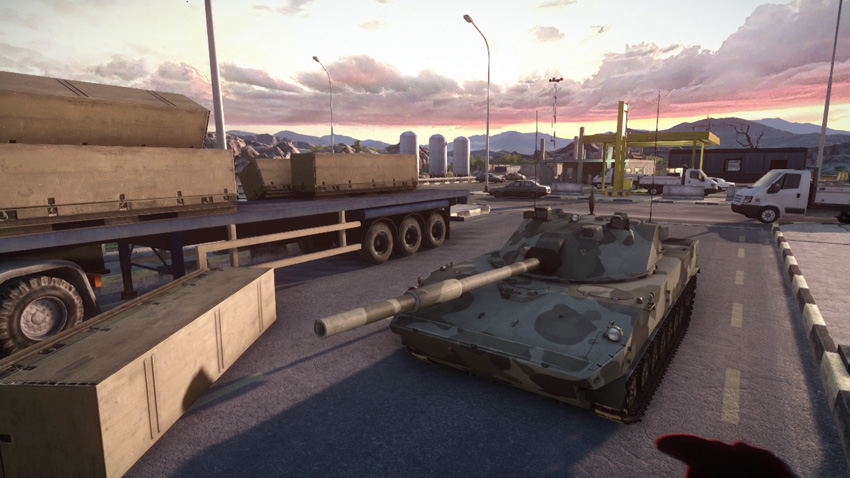
Deployment Area Assets
| Name | Quantity | Respawn Time |
|---|---|---|
| SPRUT-SD | 1 | 40 sec. |
| SU-25TM Frogfoot | 1 | 40 sec. |
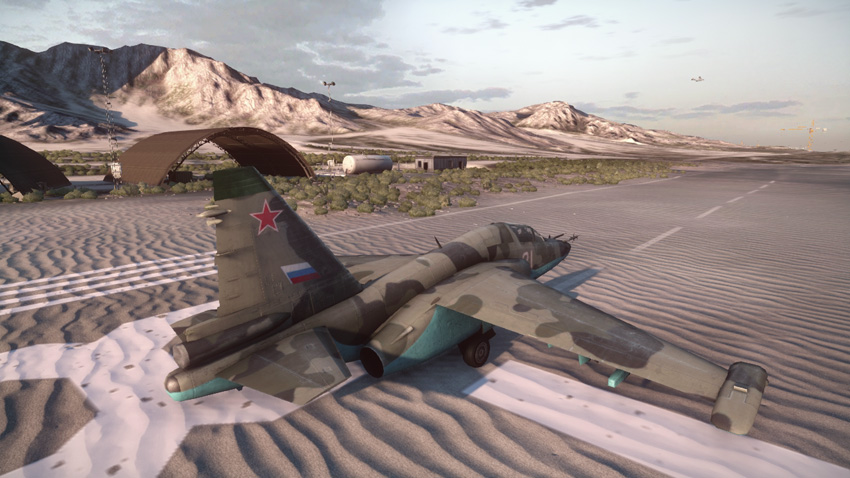
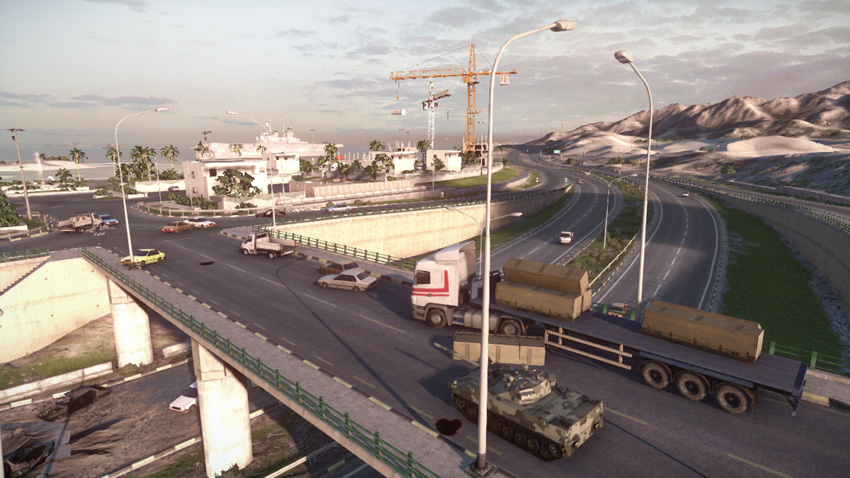
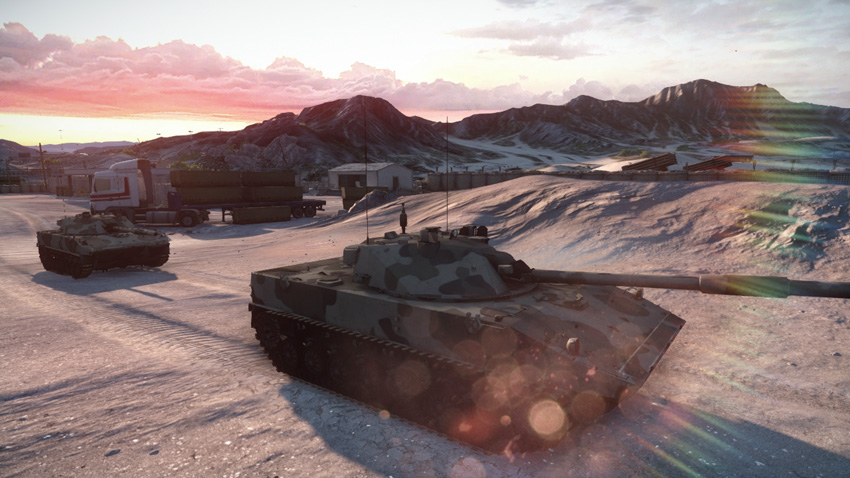
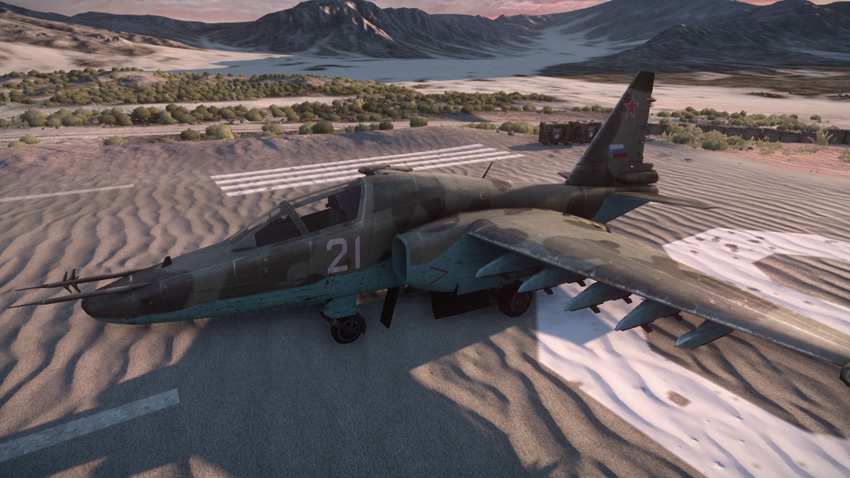
The RU team has a good chance of holding out at the village during this battle. But with only a single SPRUT-SD and one SU-25TM Frogfoot at their disposal, it takes a coordinated effort to hold back the onslaught of attacking vehicles. The defending infantry spawn near the village center while the SPRUT-SD spawns on the overpass near the gas station. Use the SPRUT-SD to transport troops near the objective. But instead of facing off against the attackers as they rush onto the beach, keep the SPRUT-SD and the bulk of defending infantry near the objectives. Consolidating forces around the objectives will make breakthrough attacks by the US team much more difficult. Two of the biggest threats come from the US team’s A-10 and gunship. The SU-25TM is the RU team’s best chance of shooting down these pesky aircraft. Get the SU-25TM into the air as soon as possible and use heat-seeking missiles to pound away at the gunship and A-10. Shooting down these aircraft gives the defenders on the ground a better chance of holding back the attackers. However, be careful not to fly too close to the US aircraft carrier—if manned, the carrier’s Centurion C-RAM can rip a jet to shreds.
M-COM Station A
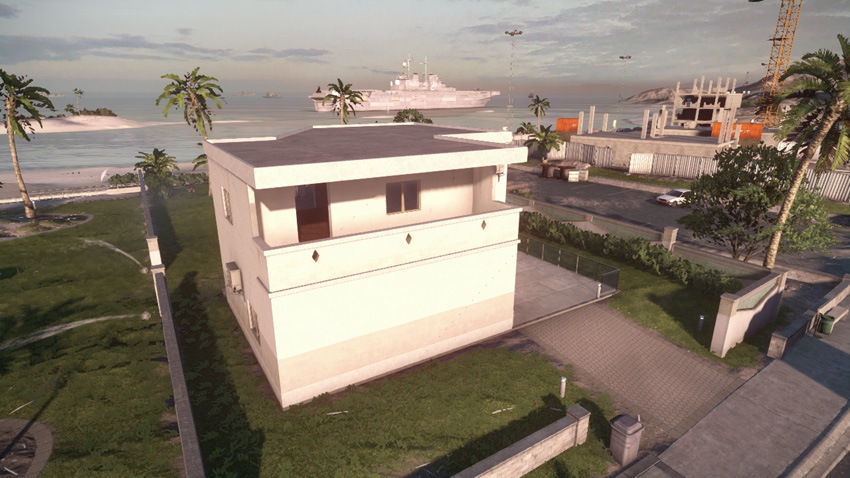
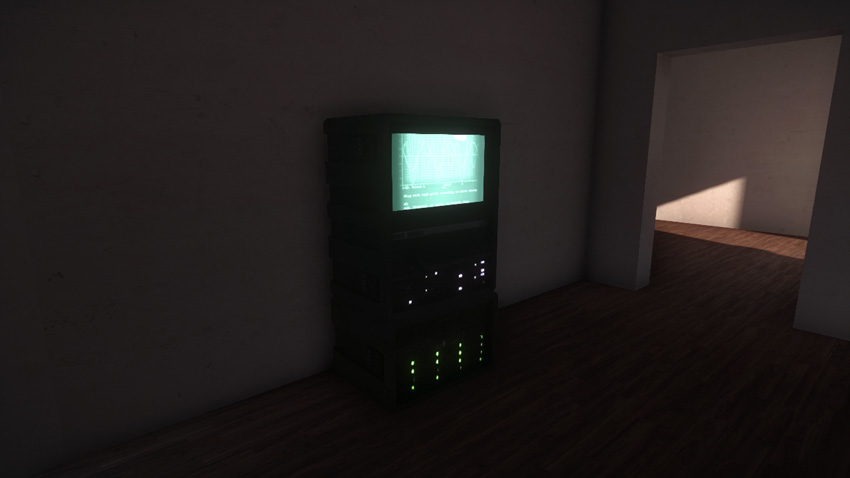
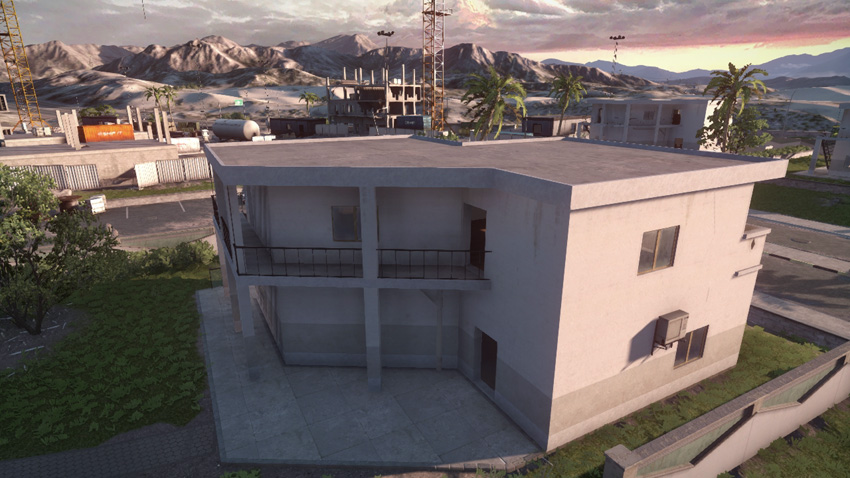
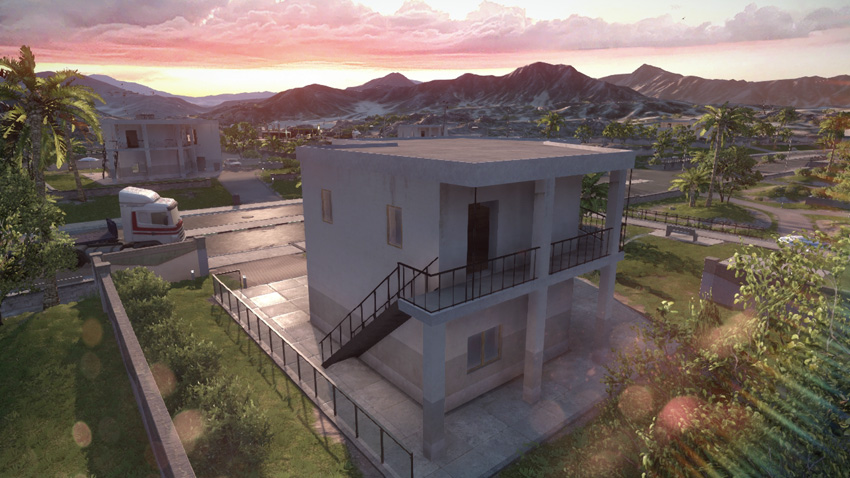
M-COM Station A is on the first floor of a two-story structure on the north side of the construction site’s parking lot. This nondescript concrete house is easily accessible from the beach and is likely to be rushed by the US team’s M1128 tank destroyers early during the round, often before the RU defenders can establish a perimeter. But if the US team can’t reach this location quickly, attackers should prepare for booby traps and close-quarters fighting within the house. Instead of utilizing the building’s few ground-floor entry points, consider making one of your own by blowing holes in the perimeter walls with rocket launchers or other explosive weapons. The interior of the house is rather dark, making it the ideal location for laser sight and tactical light attachments. If the RU team hopes to hold onto this objective, they need to move troops here fast using the SPRUT-SD as a transport. This is often the first M-COM station to come under attack, so it pays to be ready for anything.
M-COM Station B
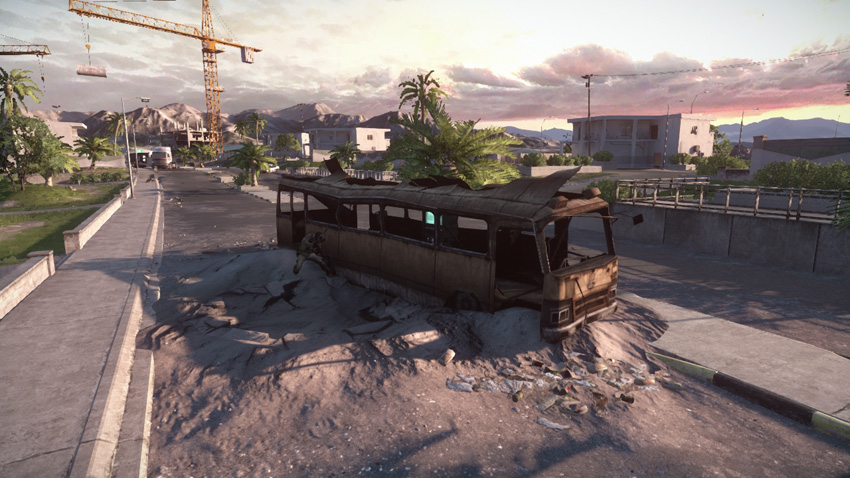
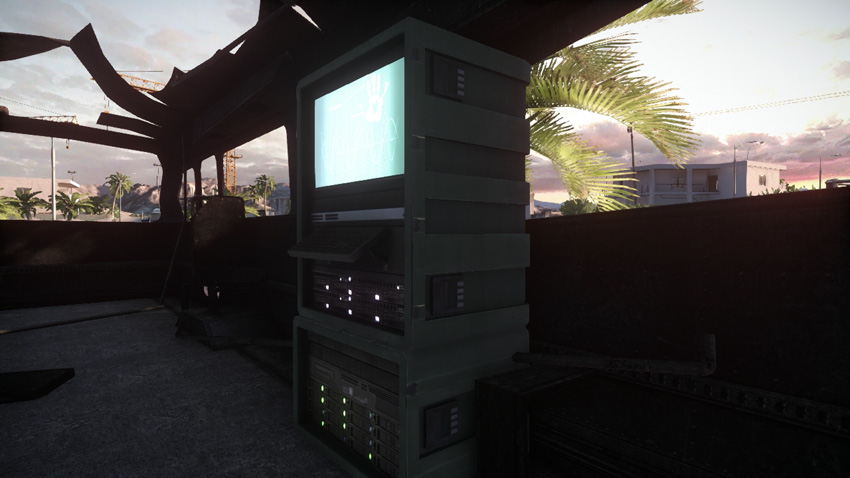
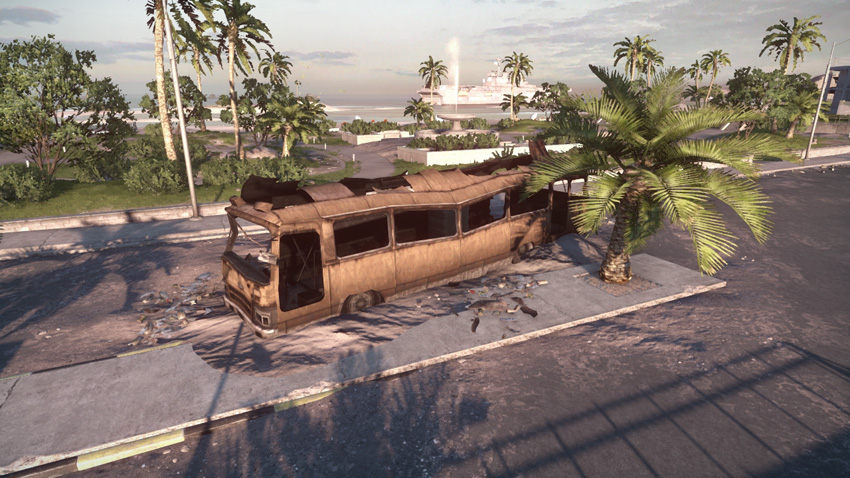
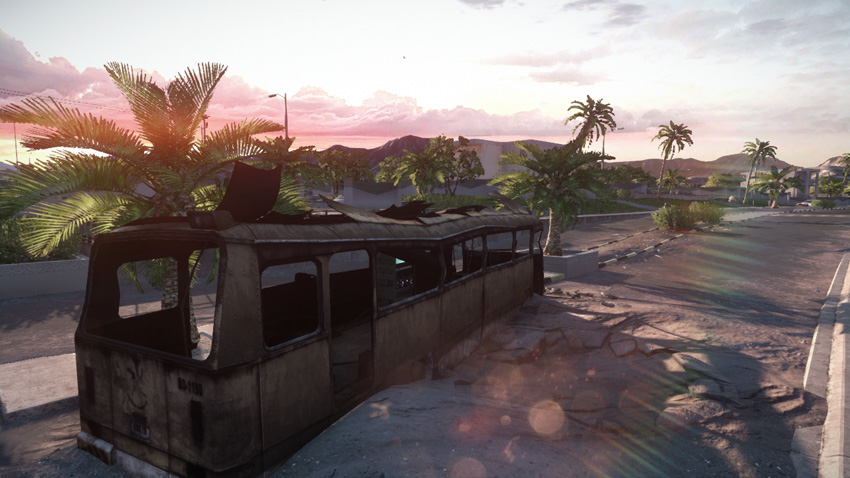
The burned-out bus wreck in the middle of the village’s main street is the home of this objective. While infantry must enter the bus and manually set a charge on the M-COM station, vehicles play an important role when it comes to securing the area. Using their tank destroyers and/or AMTRAC, the US team should attack this objective aggressively. Use these vehicles to establish a perimeter while infantry rush in and set a charge. Approaching this objective on foot isn’t wise, as there are many hiding spots for defenders. Defending troops can keep an eye on the objective from the surrounding buildings and engage any opponents tampering with the M-COM station. The interior of the bus is cramped, making it the perfect spot for claymores. When attacking, always toss a grenade inside the bus to detonate such booby traps. Also, when attempting to set or disarm a charge, always do so while prone. Otherwise the bus’s large windows leave you vulnerable to attack.
Zone 2: Gas Station
US Deployment
Deployment Area Assets
| Name | Quantity | Respawn Time |
|---|---|---|
| Quad Bike | 2 | 5 sec. |
| M1128 | 2 | 5 sec. |
| AAV-7A1 AMTRAC | 1 | 60 sec. |
| RHIB | 1 | 10 sec. |
| A-10 Thunderbolt | 1 | 40 sec. |
| Gunship | 1 | 120 sec. |
| Centurion C-RAM | 1 | — |
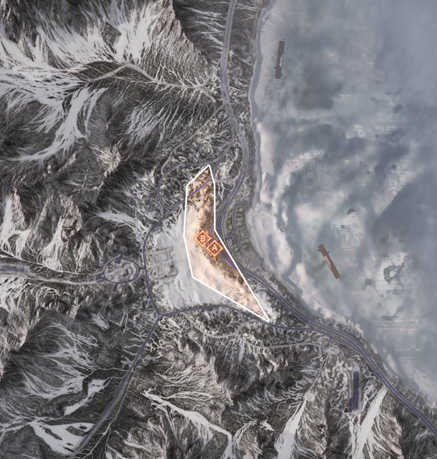
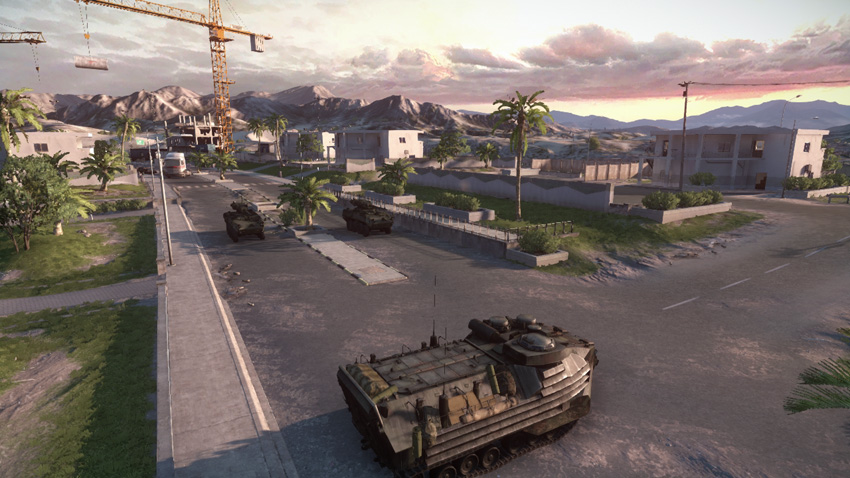
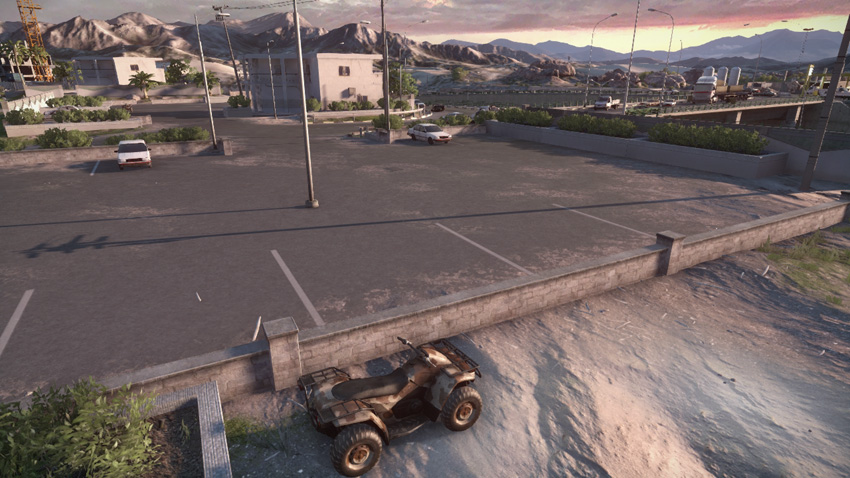
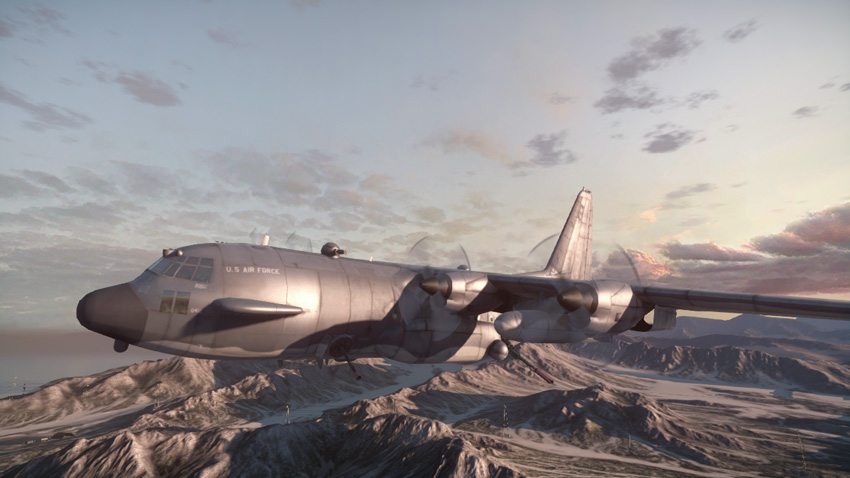
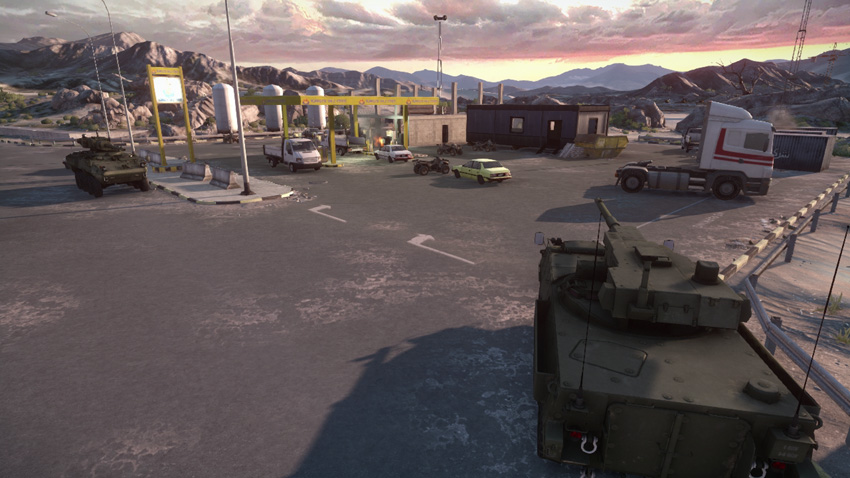
Having knocked out the first pair of M-COM stations, the US team has established a firm foothold within the village. Now the bulk of the US team’s assets spawn near the village center, just east of the overpass leading to the gas station. This overpass can become a deadly choke point favoring the RU defenders. So always look for flanking opportunities, even if it means taking the long way around. Quad bikes make such flanking attempts relatively painless—consider attacking the objectives at the gas station from the north or south instead of plowing across the highly contested overpass. While the gunship continues to be a great close air support asset, avoid parachuting down to the gas station because you’re likely to be spotted and shot before your boots even touch the ground. Meanwhile, continue using the A-10 Thunderbolt to shoot down the RU team’s SU-25TM. When the skies are clear, use the Thunderbolt’s powerful cannon to strafe the SPRUT-SD tank destroyers and enemy troops clustered on the overpass.
RU Deployment
Deployment Area Assets
| Name | Quantity | Respawn Time |
|---|---|---|
| SPRUT-SD | 2 | 40 sec. |
| SU-25TM Frogfoot | 1 | 40 sec. |
| 9M133 Kornet Launcher | 1 | 30 sec. |
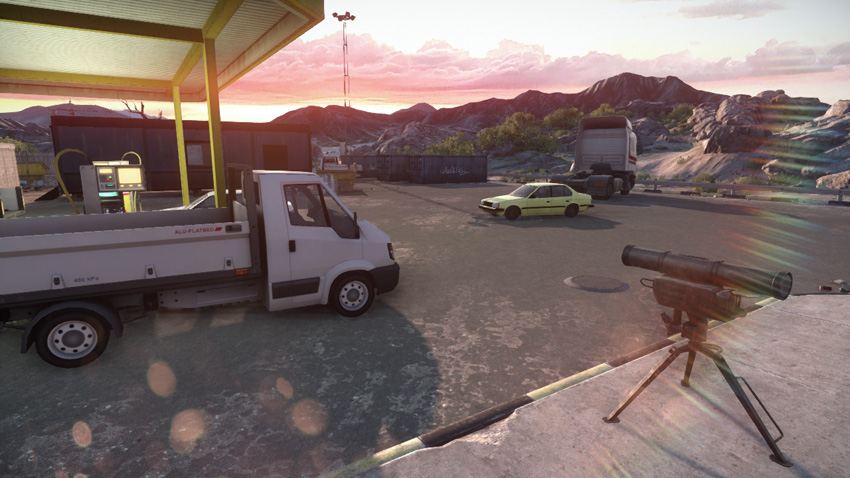
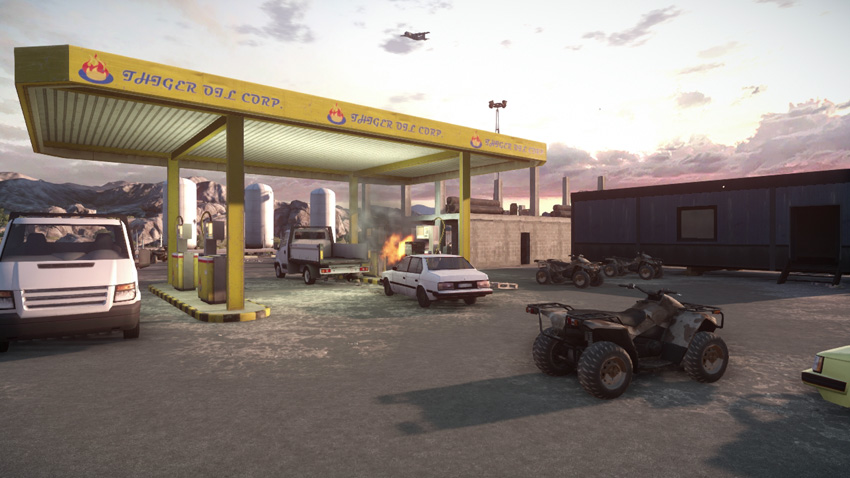
Having been pushed back from the village, the RU team must now prevent the destruction of the two M-COM stations at the gas station. Fortunately, all RU infantry spawn on the west side of the gas station, giving them just enough time to establish a perimeter before the US team comes charging across the overpass to the east. While infantry rush to defensive positions, move the two SPRUT-SD tank destroyers (spawned way back at the artillery base) forward to help secure the overpass. While the bulk of US attackers approach from the overpass, don’t rule out the possibility of flanking attacks coming from the north or south—not to mention troops dropping in via parachute from the gunship. Keep at least one squad posted near each objective to deal with these potential surprise attacks. As in the previous phase, keep the SU-25TM airborne as long as possible to contest the US team’s gunship and A-10. If the SU-25TM can clear the skies, the defending ground forces have a good chance of holding out for a win by locking down the overpass between the village center and gas station. The Kornet Launcher on the west side of the gas station is ideally positioned for blasting incoming vehicles rushing across the overpass.
M-COM Station A
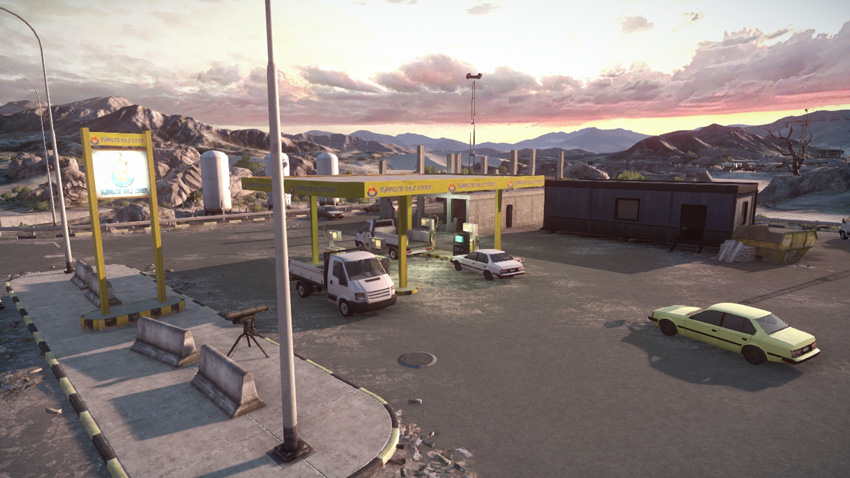
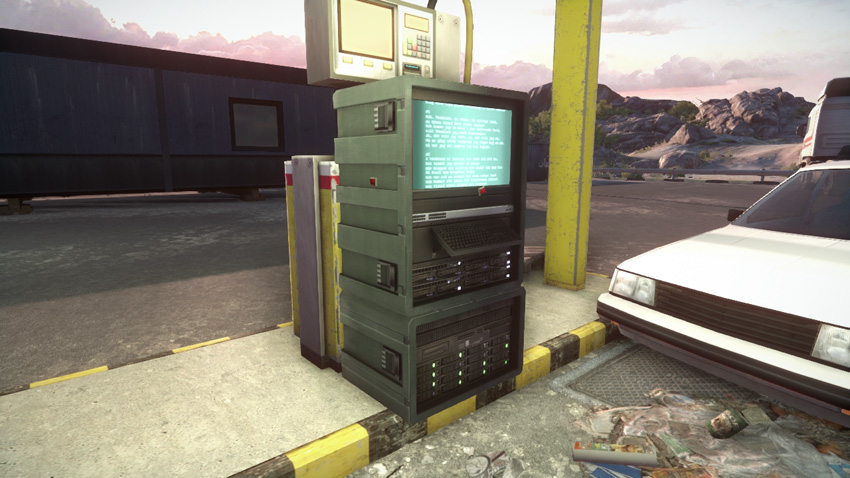
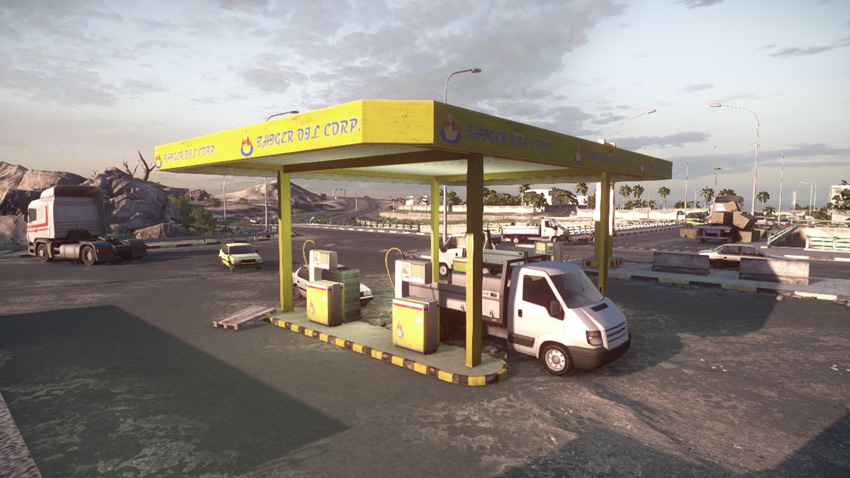
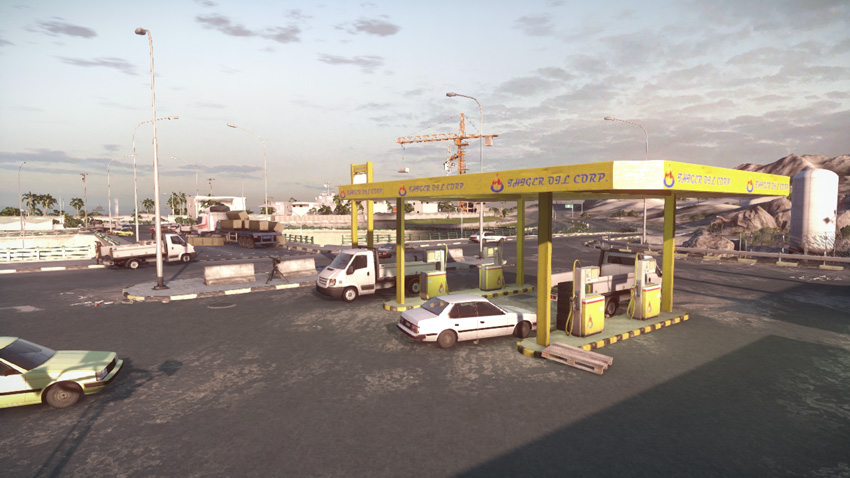
Situated among the pumps at the gas station, M-COM Station A is most likely to come under attack first during this phase of the battle. Given its nearness to the overpass, this objective is often rushed by US attackers arriving on quad bikes. Of course, the best way to stop such attacks is by blocking off the overpass with mines and the SPRUT-SD tank destroyers. But even if the overpass is cut off, the attackers can flank from the north or south. Consider driving the AMTRAC around to the north side of the gas station, where it can serve as a forward spawn point for the US attackers. The AMTRAC’s weapons are also great for providing covering fire while teammates set the charge. Whether attacking or defending, it’s a good idea to detonate the gas pumps before getting too close to the objective. If these pumps explode while you’re attempting to arm or disarm a charge, you’ll find yourself back at the respawn screen.
M-COM Station B
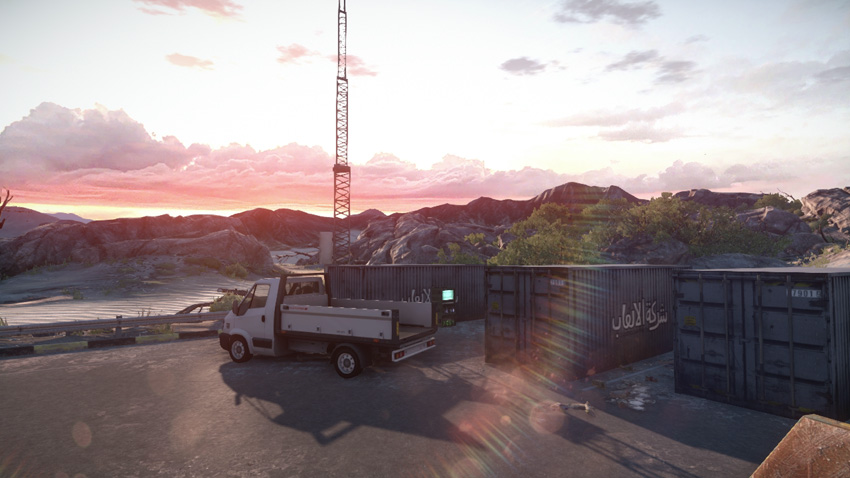
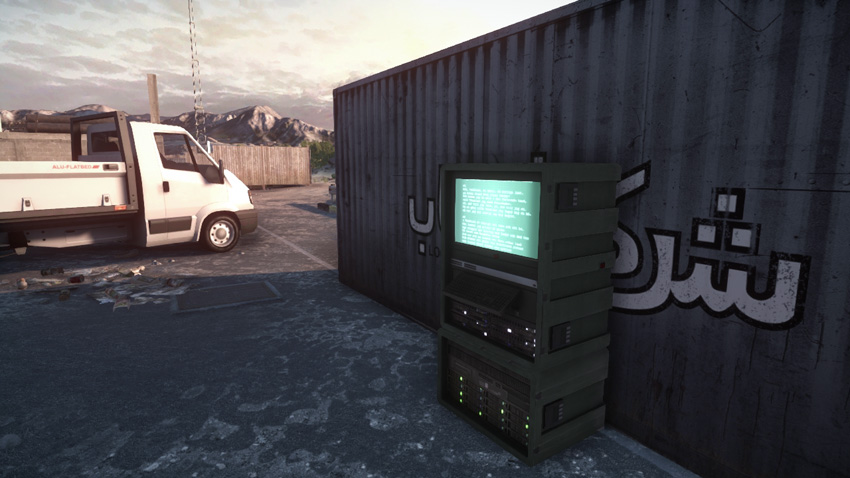
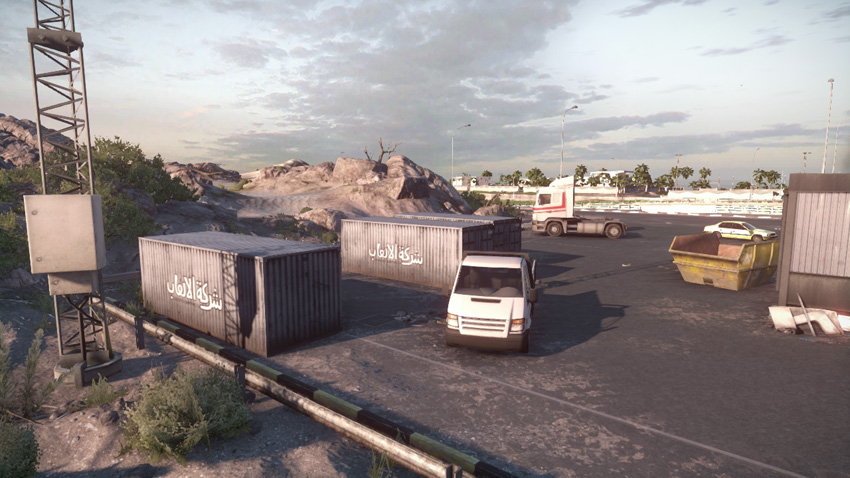
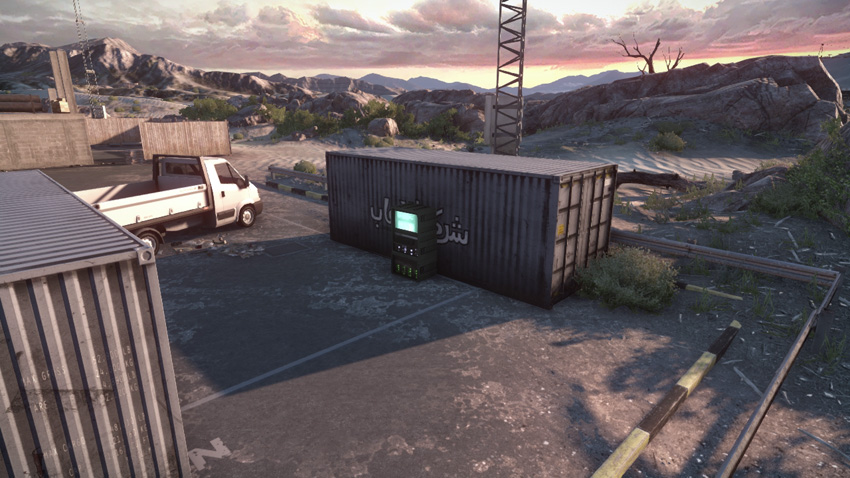
M-COM Station B is on the northwest edge of the gas station, sitting between a pair of gray shipping containers. The RU team has a good chance of securing this objective before the US attackers arrive. When defending, consider planting C4 and claymores in the narrow alley between the two shipping containers. The nearby rocks to the north and east serve as good overwatch positions for defenders tasked with keeping an eye on the objective. In many Rush battles here, most of the heavy fighting occurs near the overpass and M-COM Station A. As a result, this objective is sometimes overlooked by defenders assuming this rear position is secure. This opens the door for the US attackers to approach from the north or south. Use quad bikes to circle around and perform sneaky flanking attacks on this objective. Troops landing via parachute from the gunship can also make a push for this objective, assuming they land a safe distance from the gas station.
Zone 3: Artillery Base
US Deployment
Deployment Area Assets
| Name | Quantity | Respawn Time |
|---|---|---|
| Quad Bike | 4 | 5 sec. |
| M1128 | 2 | 5 sec. |
| AAV-7A1 AMTRAC | 1 | 60 sec. |
| RHIB | 1 | 10 sec. |
| A-10 Thunderbolt | 1 | 40 sec. |
| Gunship | 1 | 120 sec. |
| Centurion C-RAM | 1 | — |
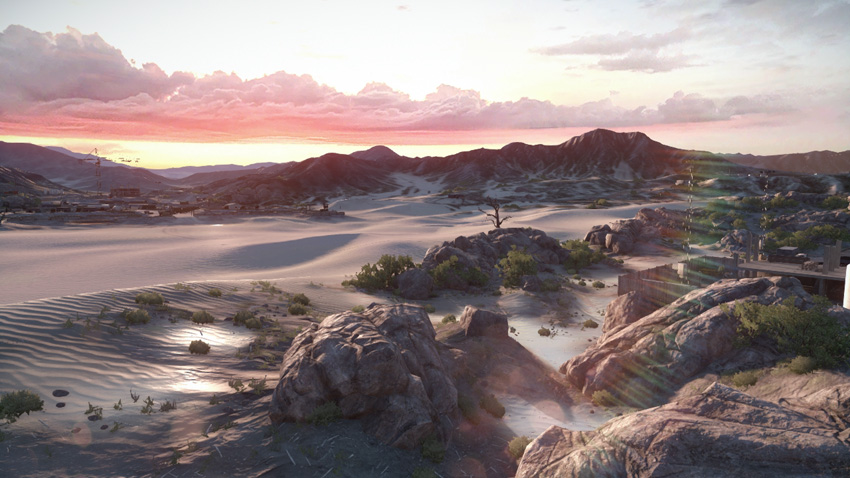
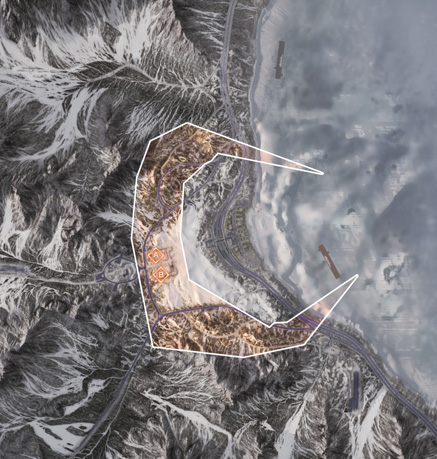
Having destroyed the last set of M-COM stations, the US deployment area has been moved inland to the gas station. In this phase of the battle the US team must cross the desert to the west and approach the next pair of objectives at the artillery base. Given the distance and lack of cover, the desert is no place for infantry. Fortunately there are plenty of vehicles provided here to serve as transportation for the US team. Just be sure to give your teammates a ride before racing off into the desert—don’t leave your buddies stranded at the gas station. The M1128 tank destroyers are great troop transports, but the quad bikes are faster and more maneuverable, making them ideal for infiltrating the artillery base early on. Sneak into the artillery base from the north or south, then plant radio beacons in one of the many structures within the facility to maintain a forward spawn point for your squad. As usual, use the A-10 to suppress the RU team’s SU-25TM while the gunship targets the SPRUT-SD tank destroyers and RU infantry at the artillery base.
RU Deployment
Deployment Area Assets
| Name | Quantity | Respawn Time |
|---|---|---|
| SPRUT-SD | 2 | 40 sec. |
| SU-25TM Frogfoot | 1 | 40 sec. |
| 9M133 Kornet Launcher | 1 | 30 sec. |
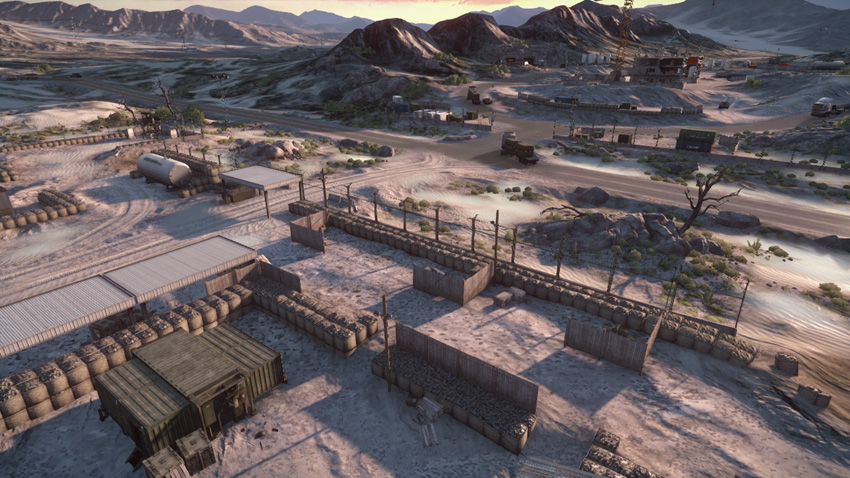
The US advance has pushed the RU team back to the artillery base, where they must defend another set of M-COM stations. The RU team’s infantry spawn on the west side of the facility, but the SPRUT-SD tank destroyers spawn far to the west, near the army base. While most players want to spawn close to the action, it’s important to bring these tank destroyers forward in an effort to lock down the objectives at the artillery base. Although the artillery base has a perimeter fence, don’t count on it keeping the attackers out. So instead of guarding the perimeter of the large sprawling facility, focus defensive efforts around the two objectives. Consider parking a SPRUT-SD close to each objective to serve as a deterrent. Most attacks will come through the artillery base’s eastern gate, but watch for flanking attacks from the north or south. Placing mines at these entry points is a great way to slow down attackers. The SU-25TM is still primarily needed to shoot down the US team’s aircraft. But the desert to the west presents a good opportunity to strafe incoming vehicles approaching from the gas station. So when you’re not maintaining air superiority, target the US team’s tank destroyers and AMTRAC as they cross the open desert.
M-COM Station A
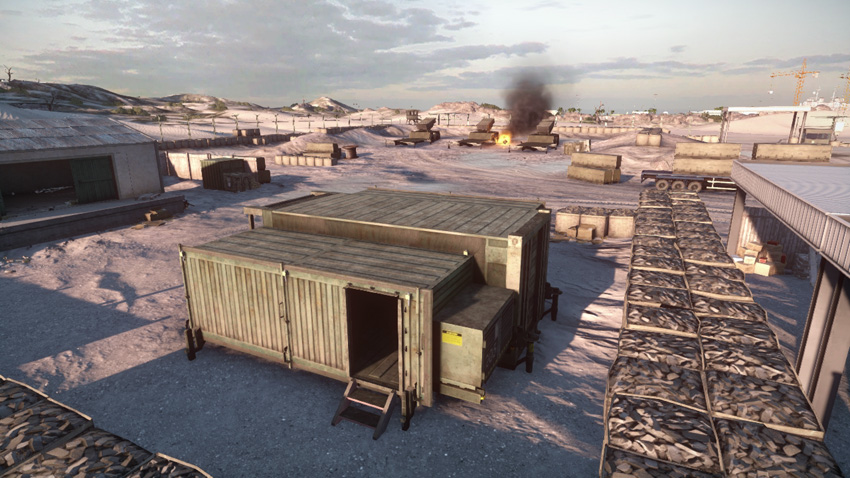
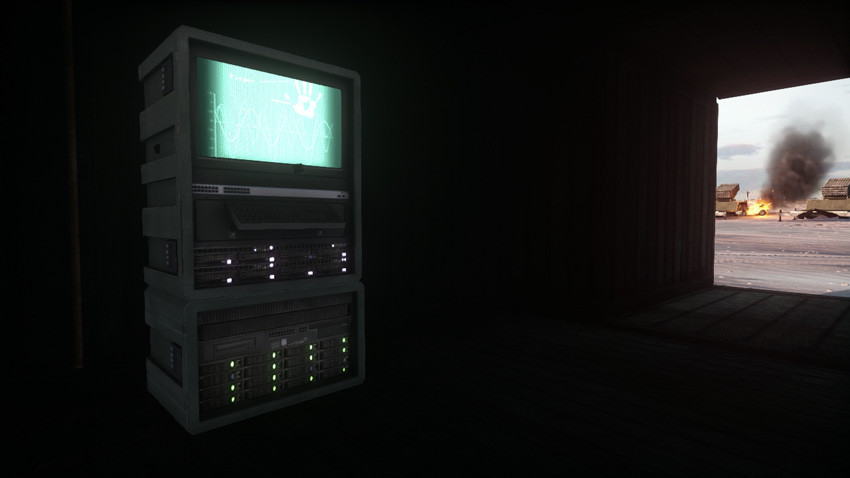
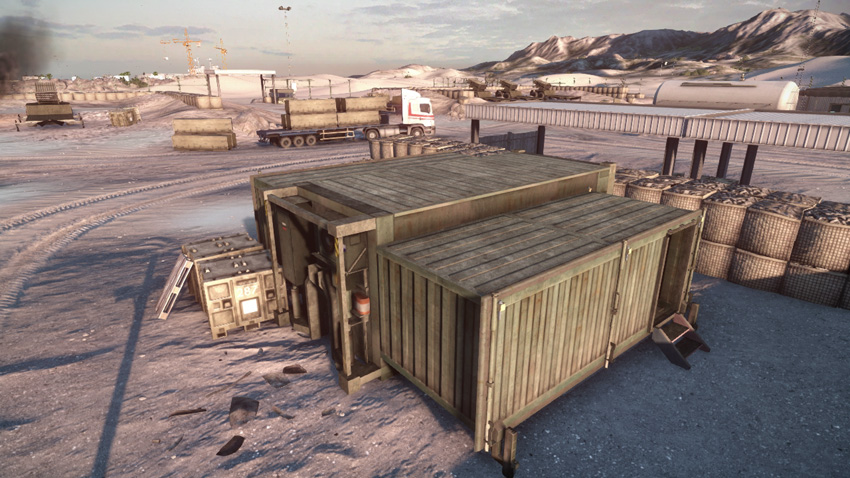
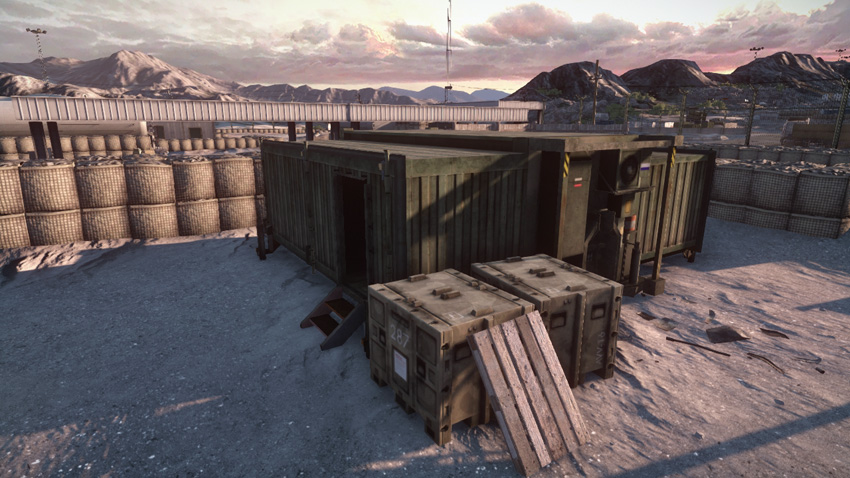
M-COM Station A is inside a portable communication structure on the north side of the artillery base. For the attackers, this objective is easiest to approach from the facility’s northern gate. Taking this flanking route often allows the attackers to avoid the high concentration of enemy infantry and vehicles gathered on the artillery base’s east side. Both teams can benefit from placing radio beacons nearby in an effort to maintain a spawn point near the objective. The storage building north of the communication structure is an ideal spot to place a radio beacon. The communication structure has only two entry points, on the east and west sides. These entrances and the structure’s interior are often booby-trapped with claymores and C4. So before rushing in to set a charge, toss a grenade inside to detonate these nasty traps.
M-COM Station B
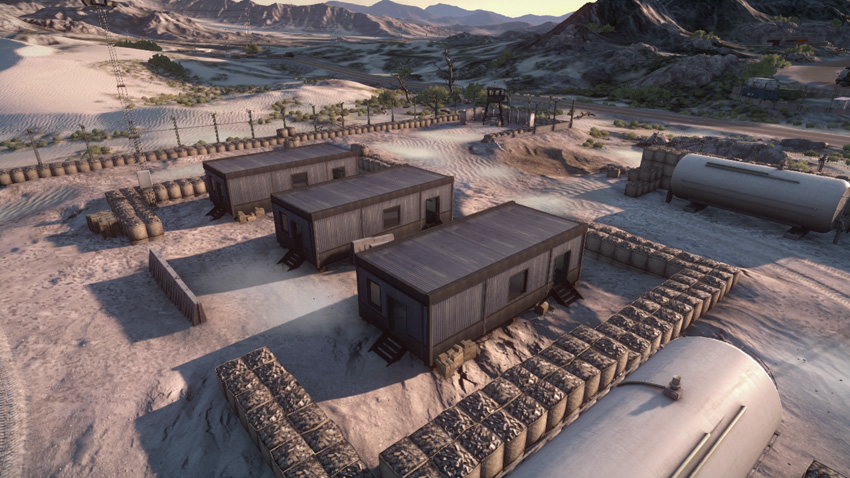
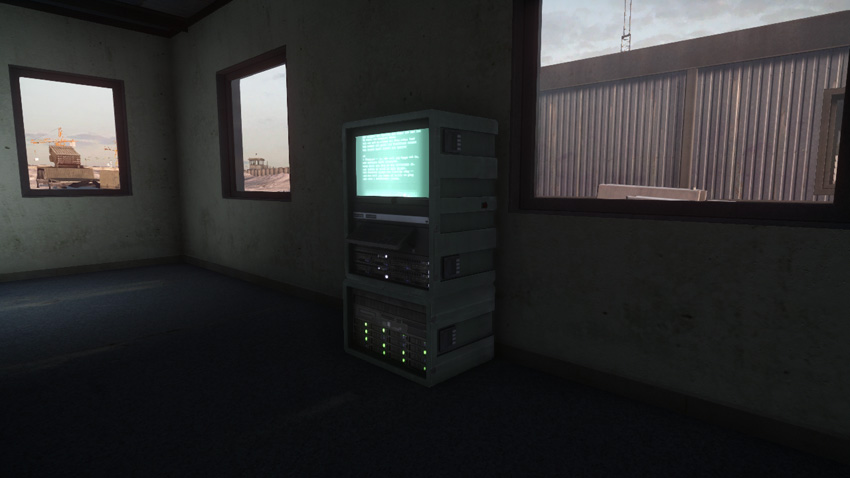
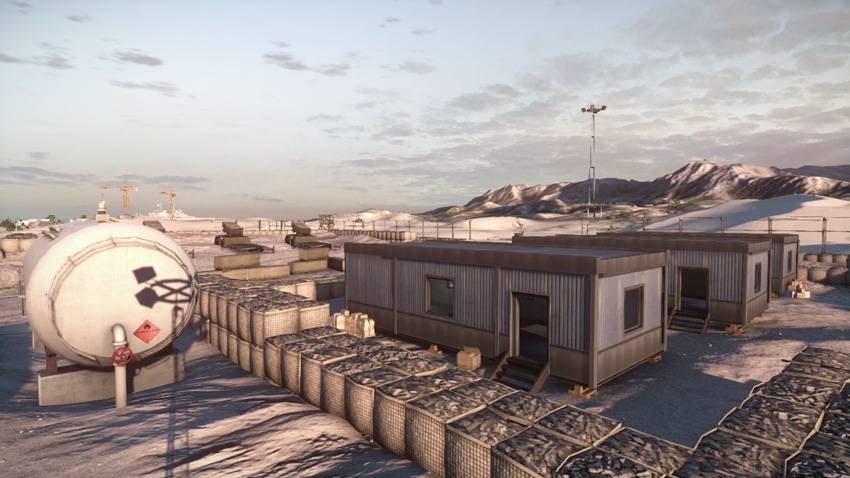
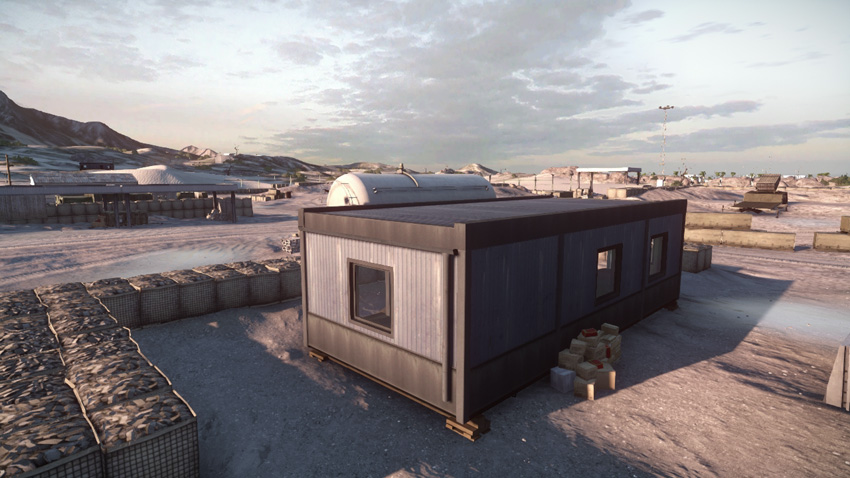
This objective is housed in a gray prefabricated office on the south side of the artillery base. When attacking, make an effort to approach this objective from the facility’s southern gate. This is the best way to avoid the heavy fighting likely occurring to the east. This office is one of three gray portable trailers on the south side. Both sides can take advantage of these neighboring trailers when it comes to hiding or planting radio beacons. Given the size of the artillery base and the distance from the deployment areas, both teams should try to maintain a spawn point nearby. The US team’s AMTRAC is another option for spawning troops close to the action. By parking the AMTRAC on the south side of the artillery base, US attackers can easily infiltrate the facility and make a move on M-COM Station B. Spotting and predicting attacks is difficult in such a large facility, so the defenders should rely heavily on T-UGS motion sensors and MAVs to help detect the attackers.
Zone 4: Army Base
US Deployment
Deployment Area Assets
| Name | Quantity | Respawn Time |
|---|---|---|
| Quad Bike | 1 | 5 sec. |
| M1128 | 2 | 5 sec. |
| AAV-7A1 AMTRAC | 1 | 60 sec. |
| RHIB | 1 | 10 sec. |
| A-10 Thunderbolt | 1 | 40 sec. |
| Gunship | 1 | 120 sec. |
| Centurion C-RAM | 1 | — |
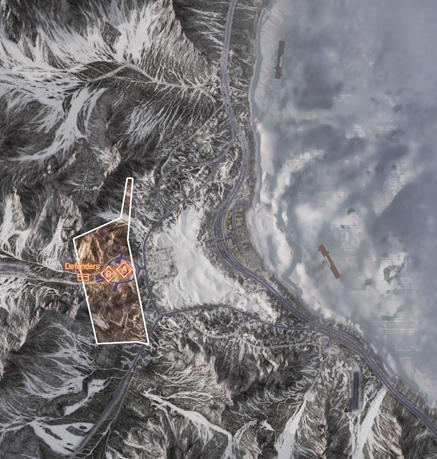
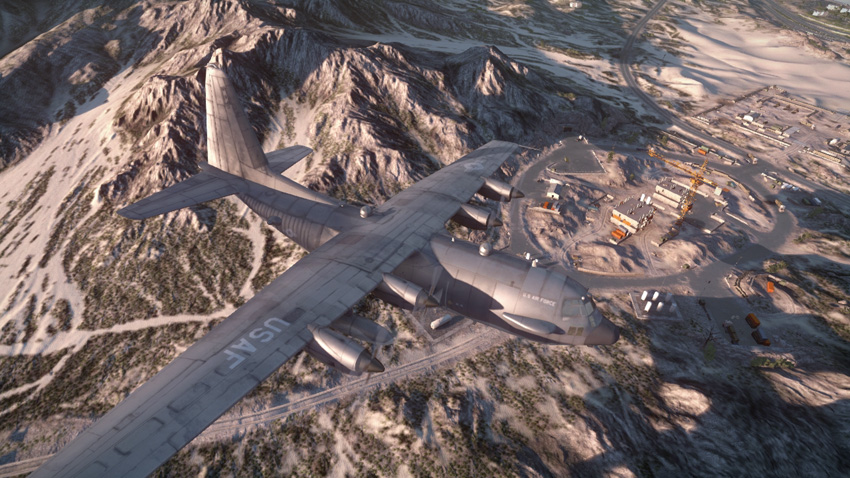
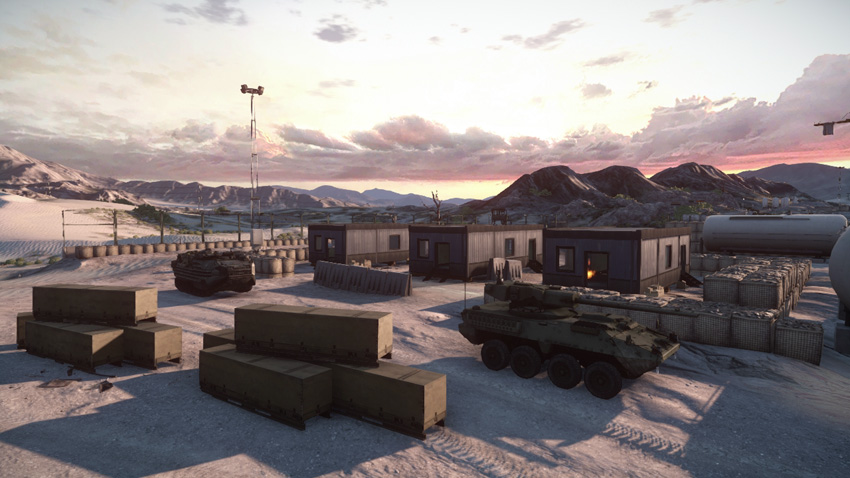
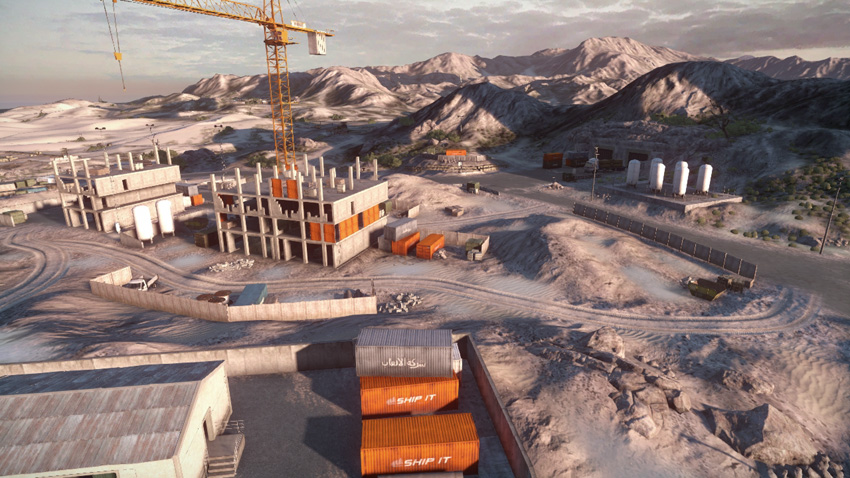
Having secured the objectives at the artillery base, the US team is now poised for the final push against the army base to the west. The bulk of the US team’s vehicles now deploy from the artillery base. But this time there is only one quad bike. As a result, the M1128 tank destroyers and AMTRAC play a much larger role in transporting infantry—don’t leave the artillery base until you have some passengers. As usual, deploying from the gunship remains risky. If possible, parachute in along the north or south side of the army base and deploy your chute as late as possible to avoid being spotted and hunted down by the RU defenders. Once again, the A-10 Thunderbolt must counter the RU team’s SU-25TM in an effort to maintain air superiority. The SU-25TM deploys from the airstrip directly west of the army base. It may be cheap, but strafing the SU-25TM before it can take off is a surefire way to keep the skies clear. Due to the various structures, be careful when strafing targets at the army base. Make sure you have plenty of room to maneuver, and avoid collisions with the crane.
RU Deployment
Deployment Area Assets
| Name | Quantity | Respawn Time |
|---|---|---|
| SPRUT-SD | 2 | 40 sec. |
| SU-25TM Frogfoot | 1 | 40 sec. |
| 9M133 Kornet Launcher | 2 | 30 sec. |
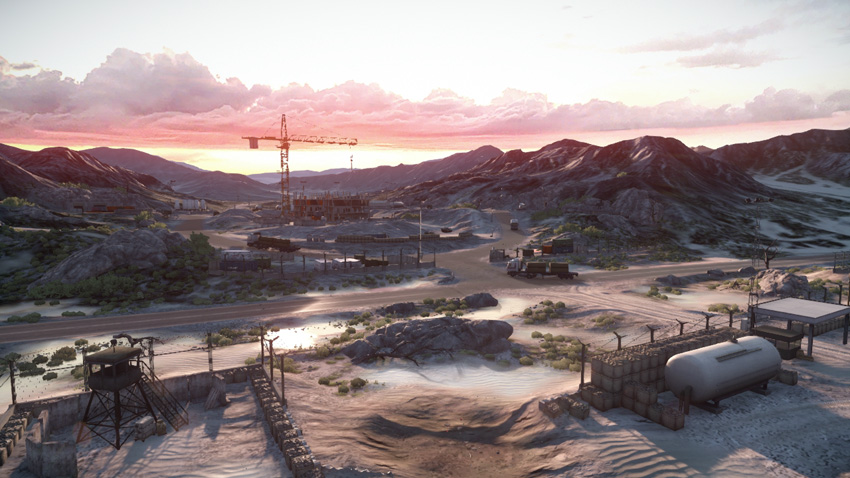
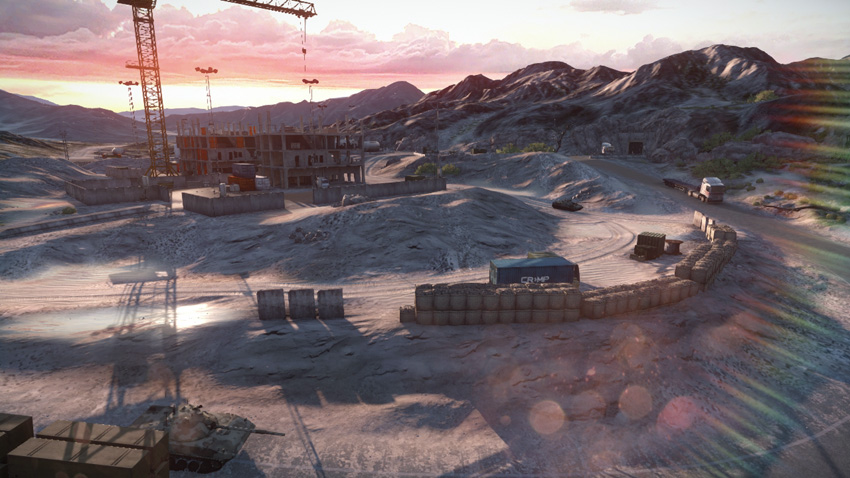
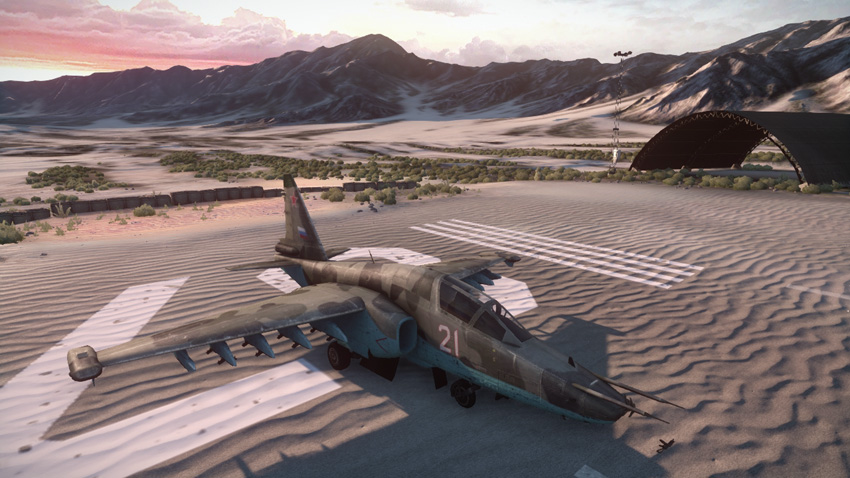
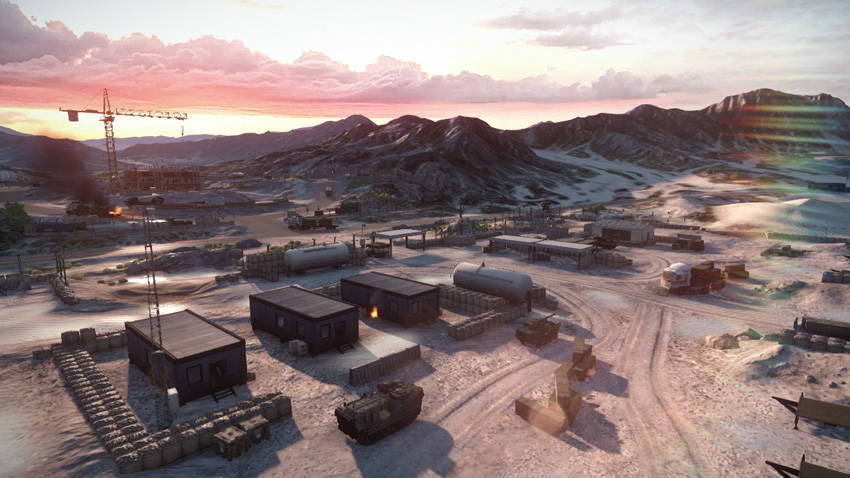
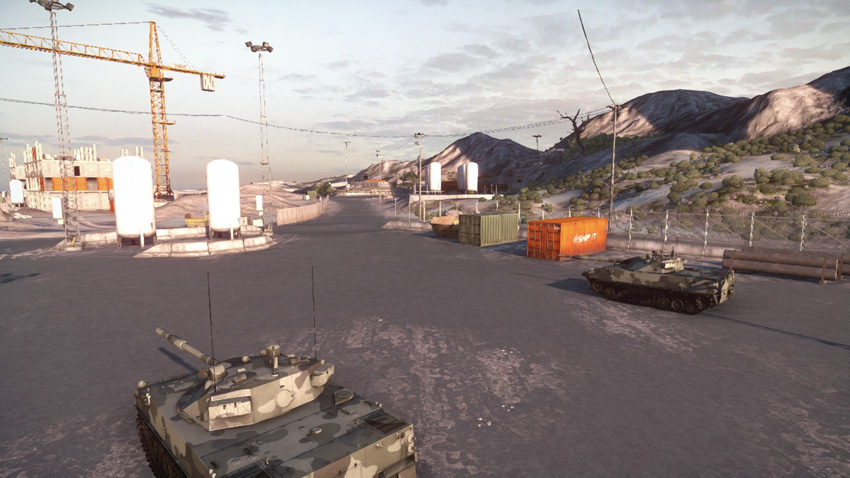
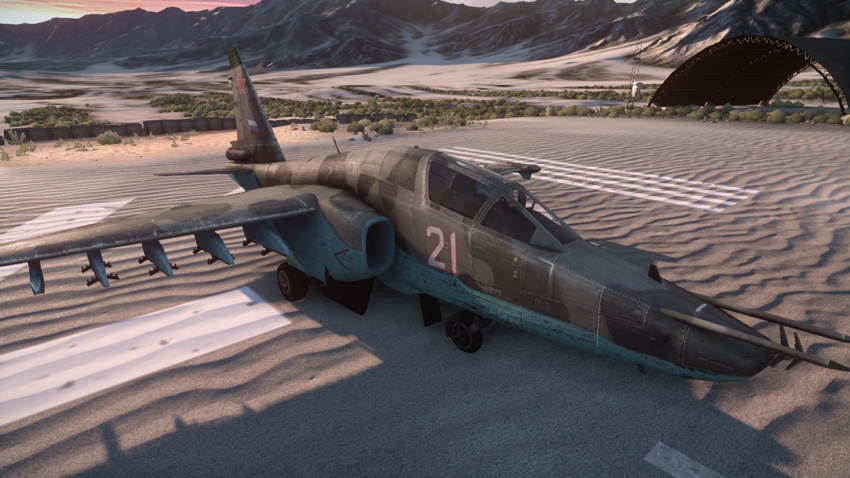
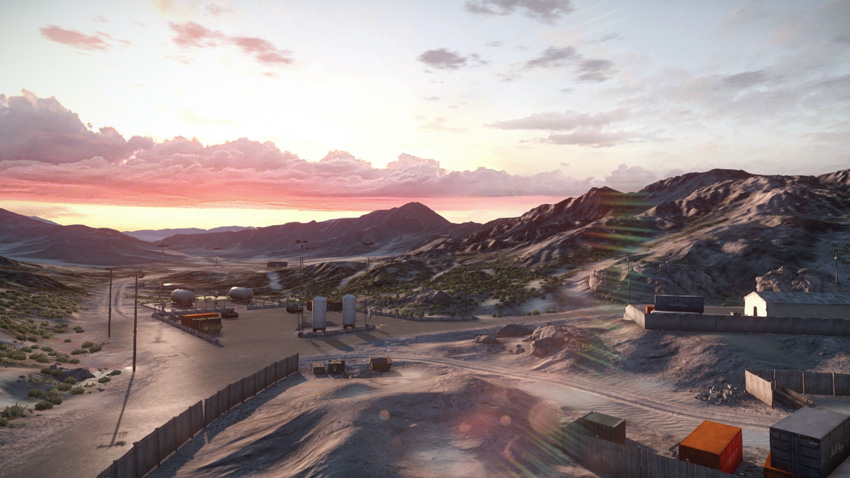
The army base is the last stand for the RU team, giving them one more chance to hold back the US attackers. Immediately following the destruction of the M-COM stations at the artillery base, fall back to the army base and begin establishing a perimeter around the two final objectives before the US team rushes in from the east. Move infantry into the nearby buildings and rush the SPRUT-SD tank destroyers to the east side of the facility. Consider placing radio beacons within the buildings to maintain a spawn point close to the objectives. While the crane at the army base is a popular sniping perch for the defenders, loading this structure with multiple recon soldiers will do little to stop the invasion. So if the crane is already occupied by a teammate, find another defensive position closer to the objectives. If you do climb the crane, place a SOFLAM at the top so it can be used to laser-designate incoming US vehicles. The SU-25TM spawns dangerously close to the action, deploying from the airstrip to the west. While this area is still off-limits to US troops, attacks by the A-10 are likely. So scan the skies before taking off to avoid being killed on the runway. While vehicles play a role in this final phase, most of the fighting in the army base is conducted by infantry. So stay close to the objectives at all times and be ready to engage opponents at close range.
M-COM Station A
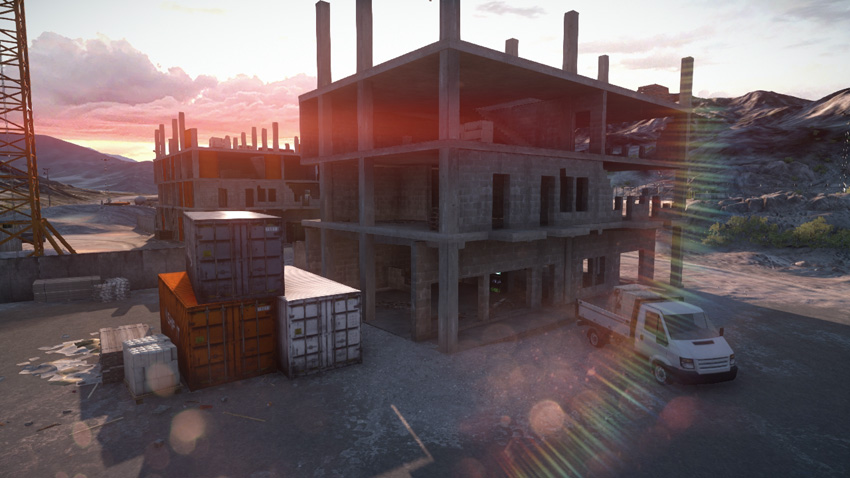
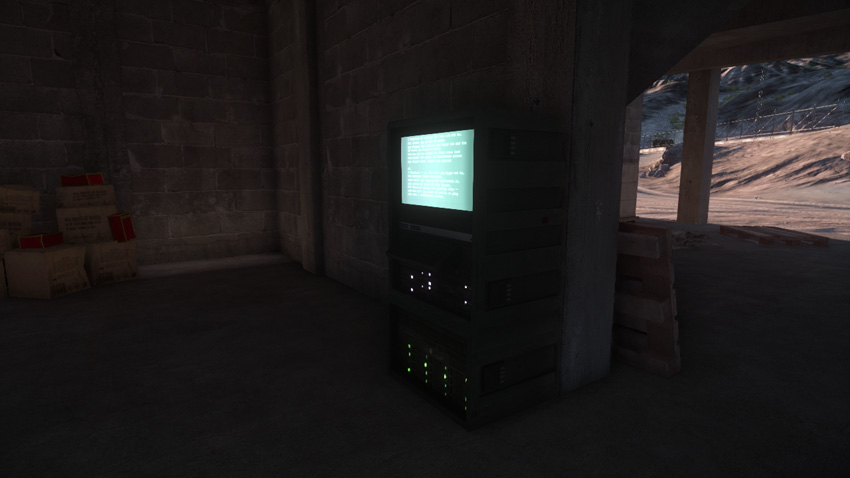
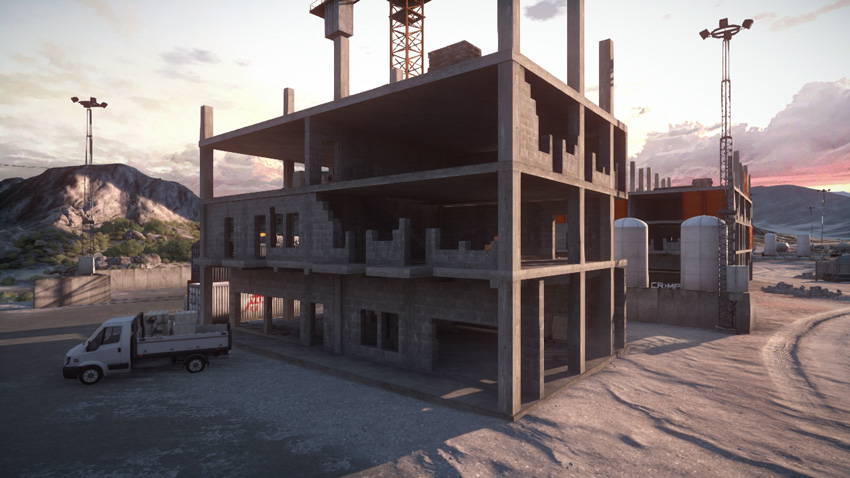
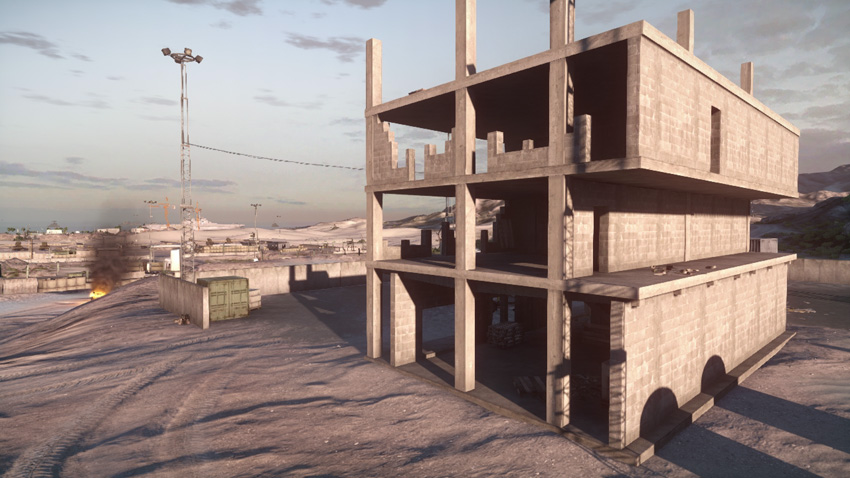
M-COM Station A is on the ground floor of a partially constructed three-story building on the east side of the army base. Given its relatively close proximity to the US deployment area, this objective is likely to come under attack first. As a result, RU defenders must rush this location early during this phase to establish a defensive perimeter. The ground floor is extremely porous, with multiple entry points thanks to the incomplete perimeter walls. So attacks can come from any direction. As a result, defenders should place booby traps around the objective to slow down the attackers. Both teams can benefit from planting radio beacons on the upper levels of this building. Maintaining a spawn point just above the objective is a great way to apply consistent offensive or defensive pressure on this location. The US attackers can gain a little extra support by parking the AMTRAC outside the building and within view of the M-COM station. This allows the vehicle to constantly spawn attackers while covering the objective with its machine gun and grenade launcher.
M-COM Station B
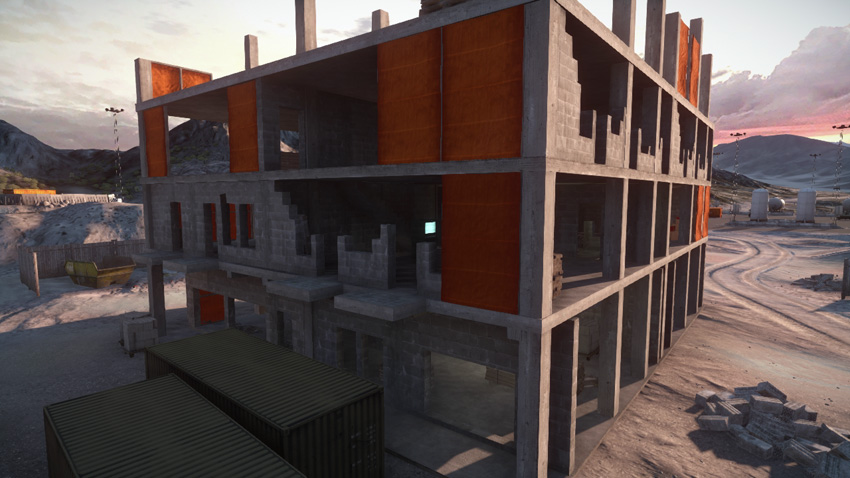
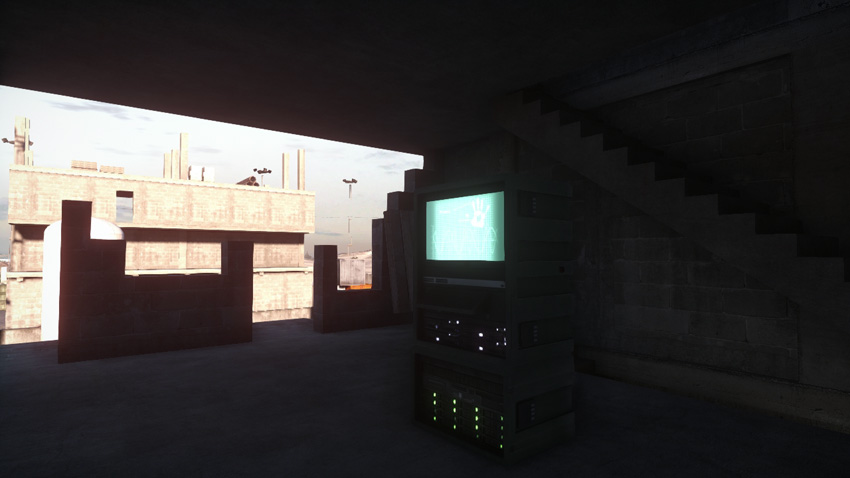
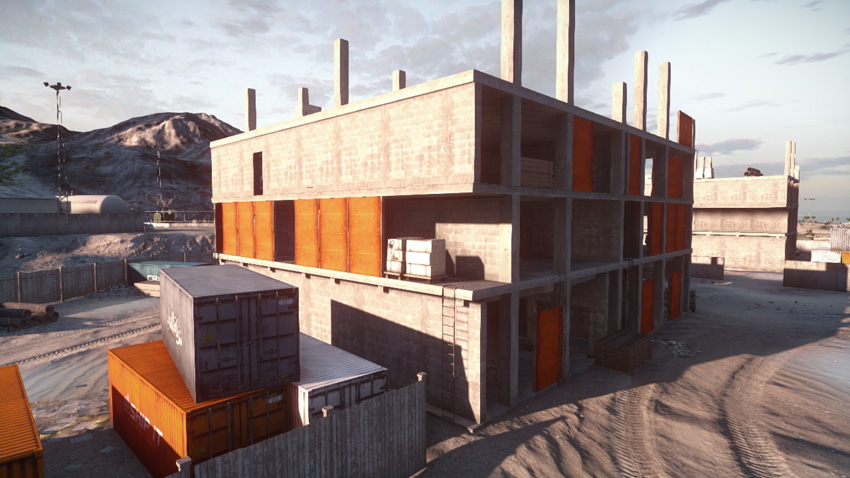
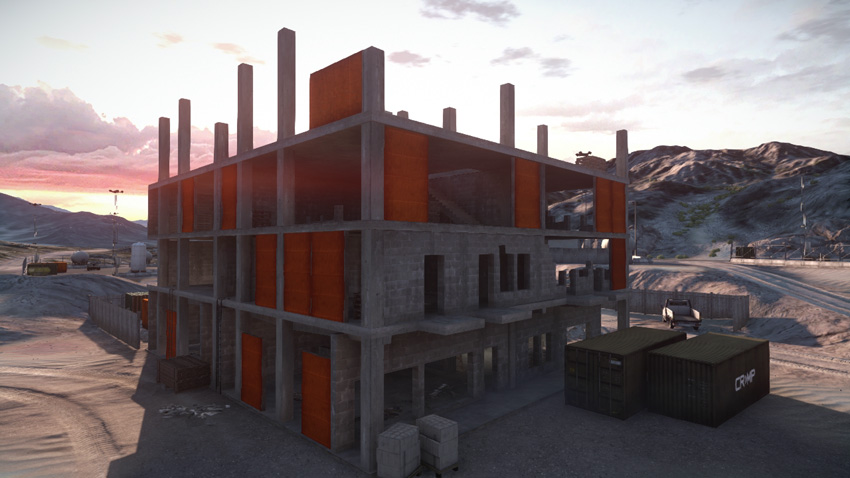
This objective is the RU team’s best chance of holding out for an upset. M-COM Station B is on the second floor of the large three-story building on the west side of the army base. If properly defended, this maze-like building can become an absolute death trap for the US attackers. But the size of the structure can also make it incredibly difficult to lock down. While the interior stairways are the most popular route to the second floor, there are also multiple ladders on the perimeter of the building leading up to the second floor. For the attackers, climbing these ladders can be risky, but no more so than the dark stairways, which are often booby-trapped and camped on by defenders. When seeking cover inside the building, steer clear of the orange wooden panels on the perimeter. These panels will shatter under heavy fire, leaving you exposed. Instead, use the cinder-block walls and concrete vertical supports to absorb incoming fire. Fighting on the second floor is almost entirely conducted by infantry. So bring along a solid shotgun or PDW to take down opponents near the objective. Tactical lights and laser sights are also good additions in this dark, close-quarters environment.