
Battlefield 3 Premium Guide Multiplayer Co-Op Mission 2: Fire from the Sky
Fire from the Sky
An American convoy escorting a general privy to classified intel has been ambushed on their way back to base. The general is being held captive in a remote mountain village. You will be providing close air support for a strike team sent in to rescue him.
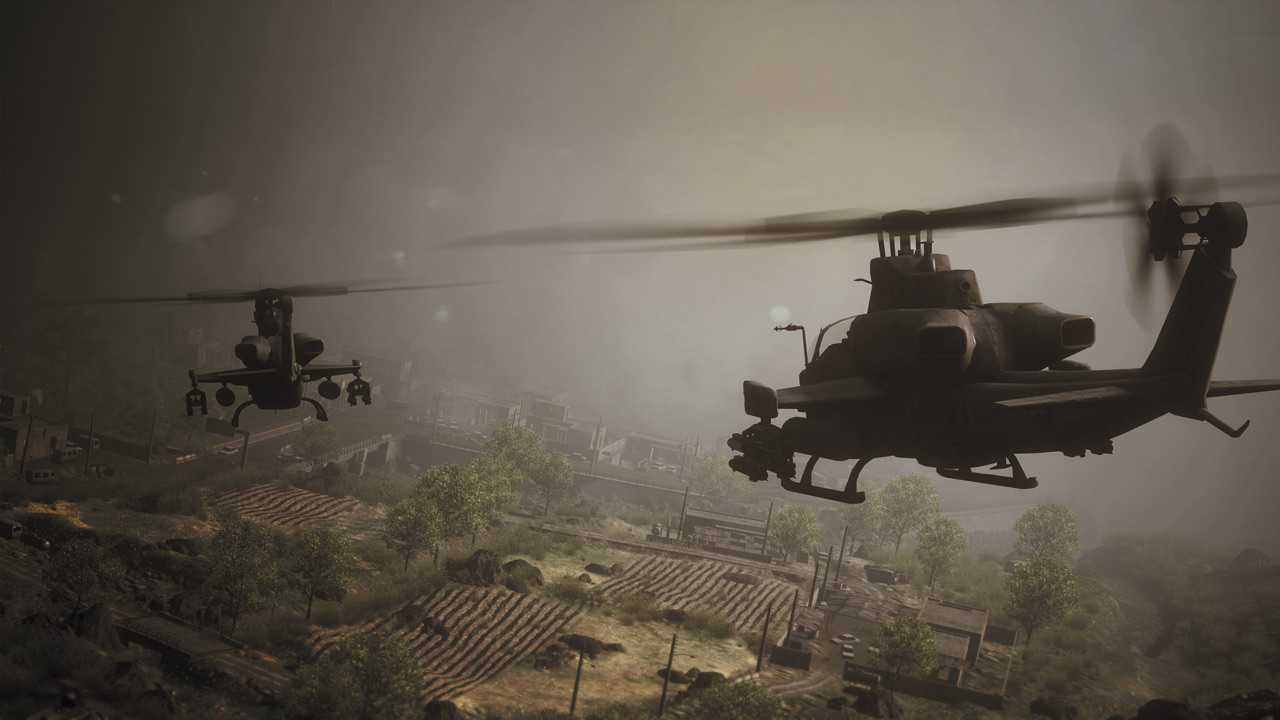
Finally, a taste of the Battlefield series’ hallmark vehicles without having to actually deal with the chaos of online multiplayer. The vehicle being offered can be difficult to master at first: the helicopter.
If you’re looking for a bit of training before putting the lives of your online brethren at risk, this is the way to do it.
Just don’t expect to become an expert your first time through this lengthy mission. When playing as the pilot, your gunner is counting your flying skills to keep the helicopter level and help them line up targets.
Steering the craft takes a light touch and a steady hand, so this guide focuses on the pilot’s perspective during the mission. Compared to navigating this valley intact, operating the main guns and guided missiles is a piece of cake.
ESCORT FIRE TEAMS TO LZ
[ ACHIEVEMENT | TROPHY ]
Untouchable
Despite the name, you can indeed take a little incoming fire—from small arms, mostly—and still earn this Achievement/Trophy. What you can’t do, however, is withstand too many sustained attacks from the mobile anti-air vehicles and BMPs that appear throughout this mission.
If facing ground troops, feel free to venture close to allow your gunner to take out the targets. But when engaging a vehicle, attack from afar and don’t be afraid to beat a hasty retreat if you’ve drawn too much attention.
If that pounding from the ground becomes too much for the engines, a fire warning will sound for the pilot, necessitating the use of the Fire Extinguisher, which instantly kills the chances of becoming Untouchable.
As with all co-op Achievements/Trophies, attempting this on the Easy difficulty is absolutely recommended.
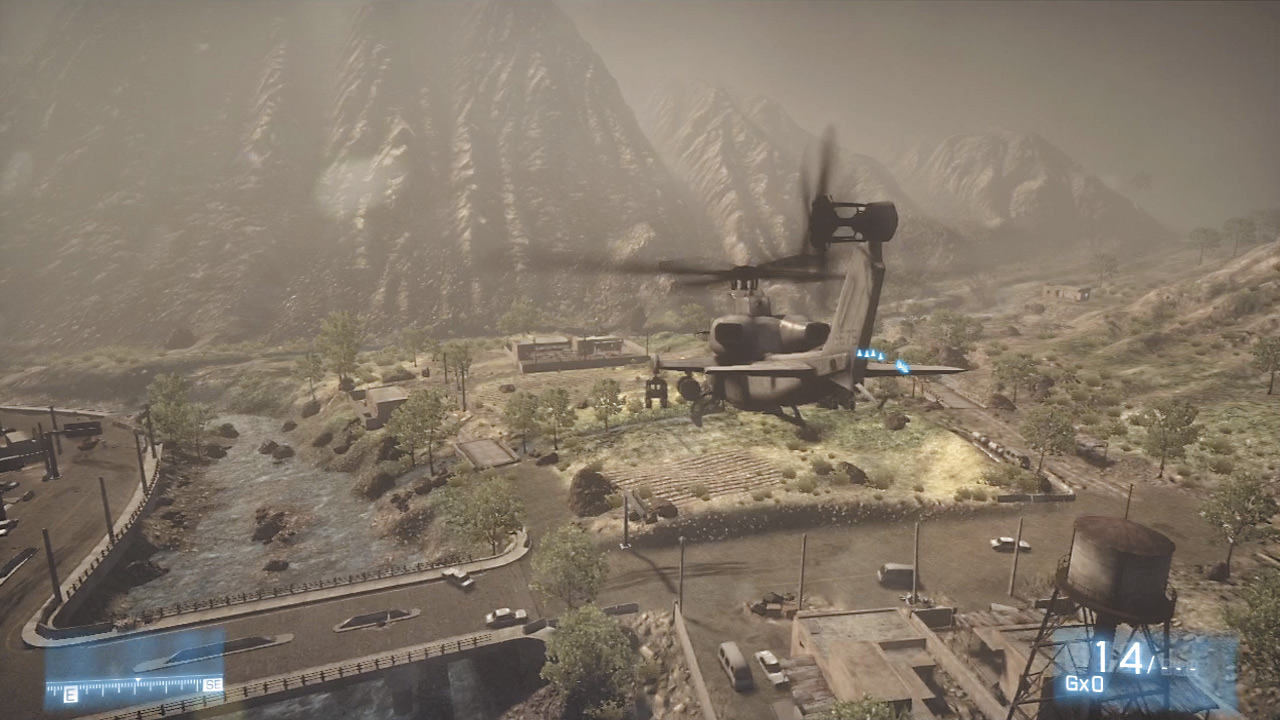
Start by taking off from the landing pad and cruising at relatively high altitude through a narrow canyon that spills out into a small farm village. Your helicopter is faster and more agile than the troop transports moving Fire Teams Alpha and Bravo into the combat zone, so use the opportunity to move out into the farmland just past their landing zone.
Here you can turn to face them and practice leveling out and hovering. The pilot’s external view here comes in handy when first wrapping your head around the concept of controlling the pitch of the aircraft.
Watch how the whole helicopter responds to each subtle adjustment to the controls to acclimate to their sensitivity. Once the Fire Teams get their boots on the ground, the mission proper begins.
SUPPORT THE FIRE TEAMS
The first target the air support is tasked with is a pair of mortar batteries on opposite ends of the river that snakes through the middle of the map.
As a pilot, resist the temptation to unload with rockets since lining up the target requires that the helicopter pitch downward, which will in turn cause the craft to lose altitude and begin moving forward.
Instead, the gunner should take out the targets by switching to infrared and targeting the mortars with the main cannon. The pilot’s rockets’ explosive payload might seem a good way to make a strafing run, but the cannon is far more effective.
As a gunner, concentrate fire on the targets until they’re turned from HUD blip to non-issue. You can save ammunition by targeting the nearby vehicles and catching the mortars in the ensuing explosion.
After removing the mortar threats, the Fire Teams will come under attack from multiple tangos in the tilled field directly ahead of them.
Use the same techniques here as before, hovering as a pilot with minimal altitude changes or lateral movement to let your gunner get the best position. Try to hover parallel to the lines of the field, as the trees between them offer ample cover for the enemy ground forces.
It’s critical that gunners take note of the infrared scope’s incredible usefulness. It lights up targets that would otherwise be almost completely camouflaged against the backdrop of the brown soil and leafy trees below.
When the initial threats have been gunned down, Alpha and Bravo will move up a short distance. They don’t get very far before coming under fire again from more enemies in the twin fields ahead, as well as enemies in the modest structures bordering the fields.
While responsibility for taking these enemies out still falls to the gunner, pilots can finally make use of those rocket volleys to completely destroy the structures tangos are firing from.
Unload with a salvo, then manually reload as you would on foot instead of waiting for the current rocket supplies to dwindle to nothing. Reload on your terms to avoid being caught with less than a full complement of firepower in fights to come.
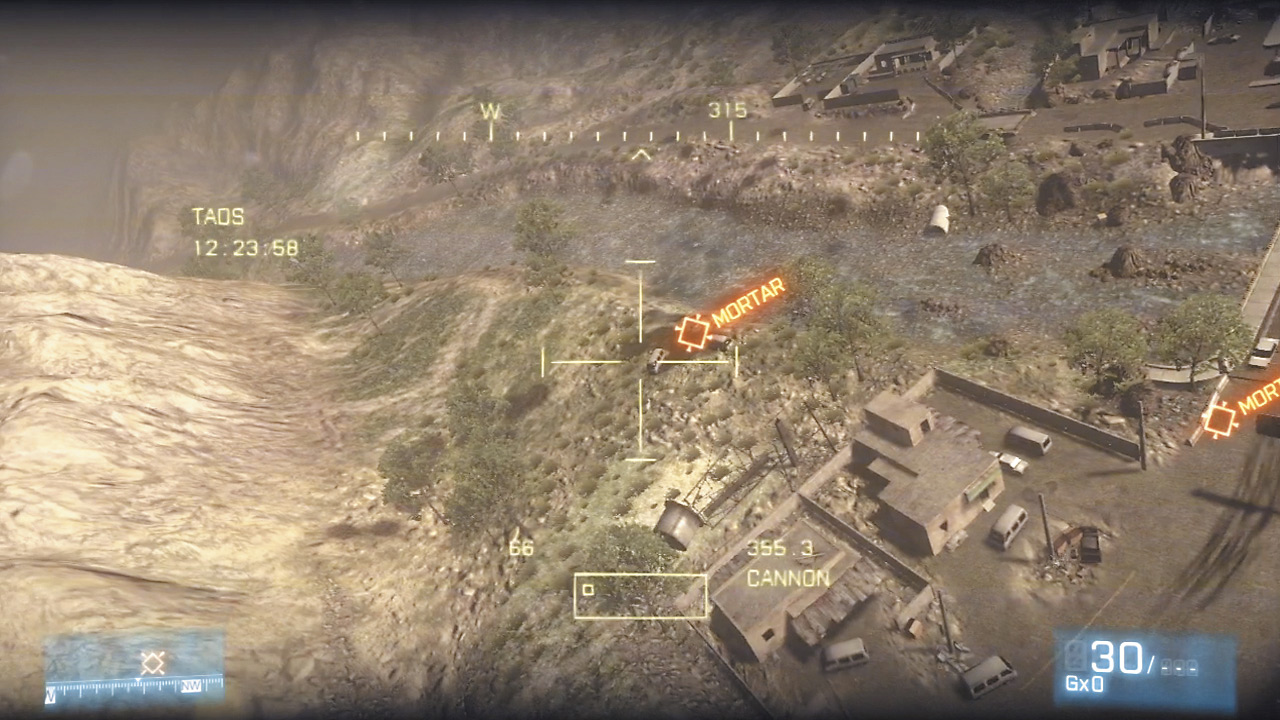
Only once the threats near the fields have been removed can Alpha and Bravo move up again, this time to the bank of the river. A pair of RPG-wielding PLR are waiting on rooftops to the right and left of the gas station in the middle of town.
Unload on them with the gunner or make use of the rockets’ ability to collapse the rooftops entirely, robbing the RPG troops of their footing.
Having eliminated the threats to the heli, assist the Fire Teams with the PLR that pour out of buildings on the other side of the river. Take things slowly, clearing each squad of enemies in an area before slowly moving to the next group.
Always keep in mind the many nearby vehicles can be destroyed to provide some explosive deterrence. Look for a large explosion at the gas station as a sign that enemy numbers are dwindling and take out any remaining ground forces so the Fire Teams can continue pushing up.
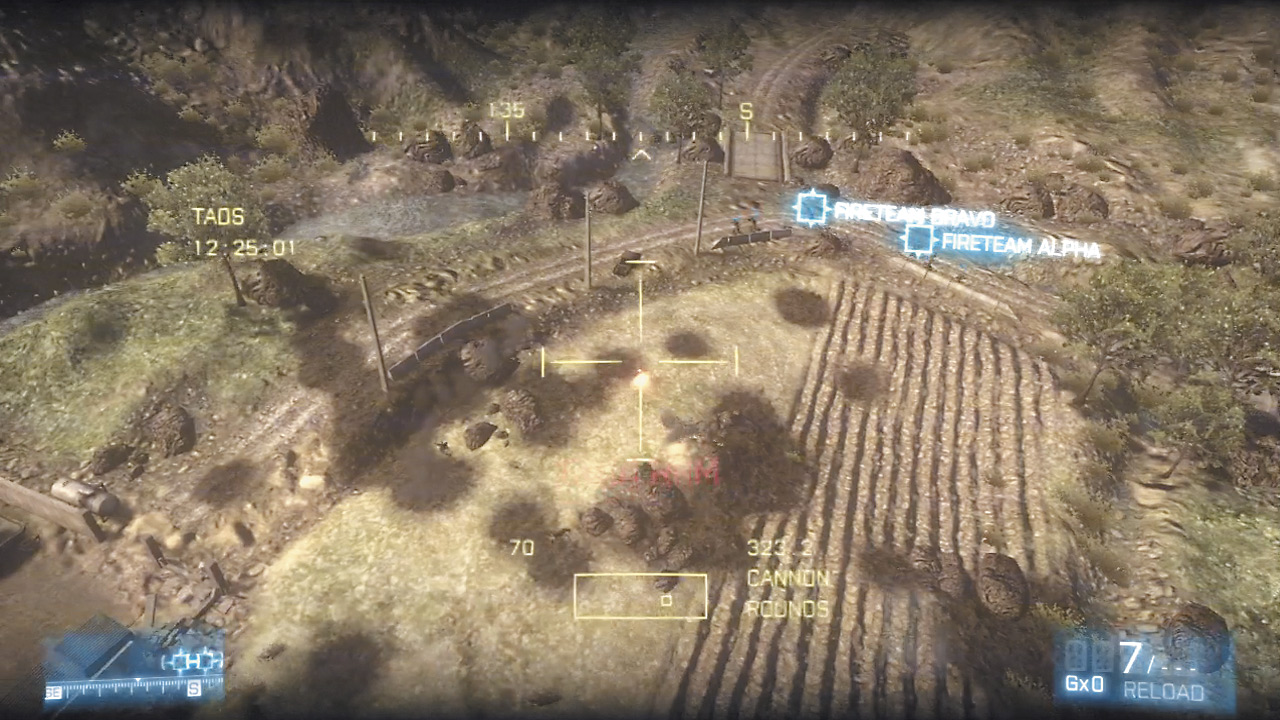
As they do, a pair of BMPs will roll out of the main compound at the far end of the map. Taking these armored vehicles out is best done at a distance, with the gunner switching to the guided missiles the helicopter is packing.
These aren’t fire-and-forget weapons; the missiles must be guided toward their target by keeping them painted in the center of the targeting reticule, so ask your pilot to hover from afar to allow a clear line of sight toward the BMPs. It may take multiple tries to hit home as the vehicles are constantly on the move.
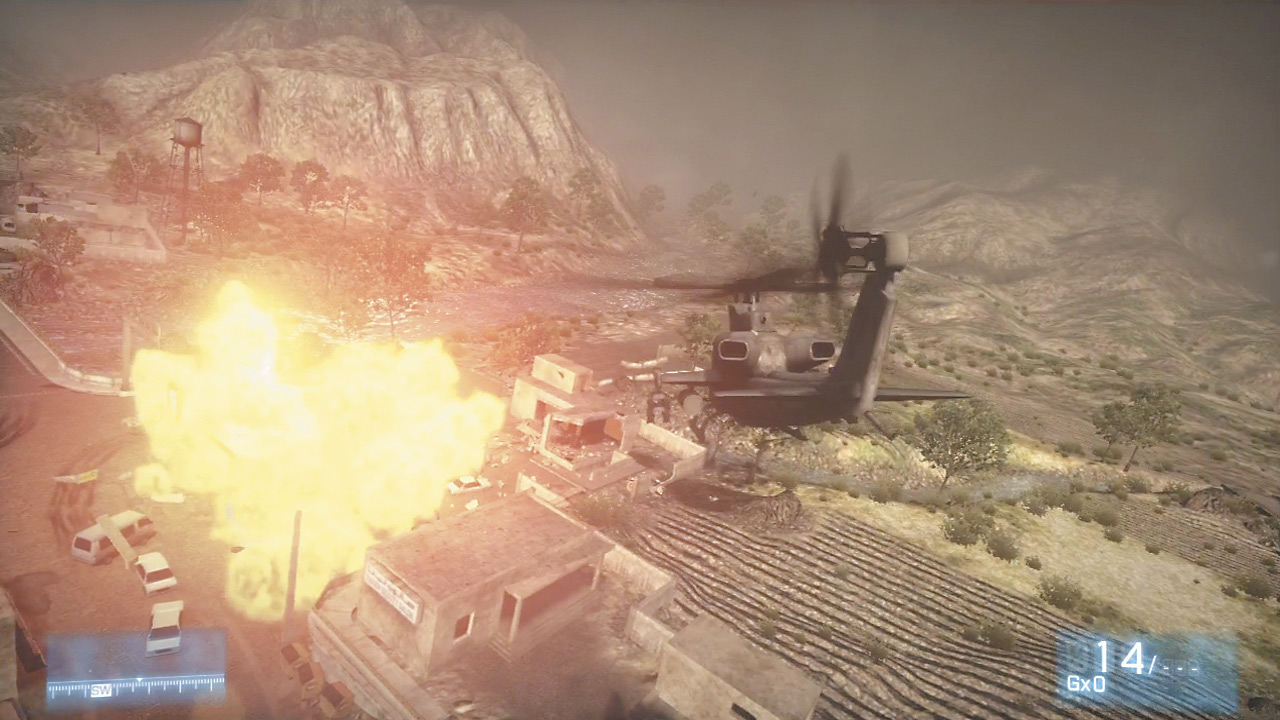
Strafing runs are generally not recommended here, though the pilot’s rockets can help pour on the damage to eventually take out the enemy. However, getting close to these armored mobiles is a risky proposition than can cost you the Untouchable Achievement/Trophy before you know it.
The Teams will come under fire again as they push up the street cutting through the middle of town—the most dangerous targets being a pair of RPG PLRs. Take them out as you and your co-op partner did before, then switch to hovering alternately near the buildings on the left side of the street and the grassy areas on the right to help thin out the opposition.
A trio of threats present themselves as the teams move up: a pair of BMPs and a far more dangerous mobile anti-air vehicle with its sights trained directly on your helicopter. Focus on the AA first, using guided missiles as available.
Note that the pilot’s own missiles and the gunner’s cannon fire are more effective on the AA than the BMPs. Once the AA has been dealt with, concentrate on the BMPs, hitting them with everything you and your partner have got.
With the major threats eliminated, move on to take out any remaining ground forces with the cannon, including gun trucks. You can pick them out easily from their surroundings with the infrared view.
REPEL THE ATTACK
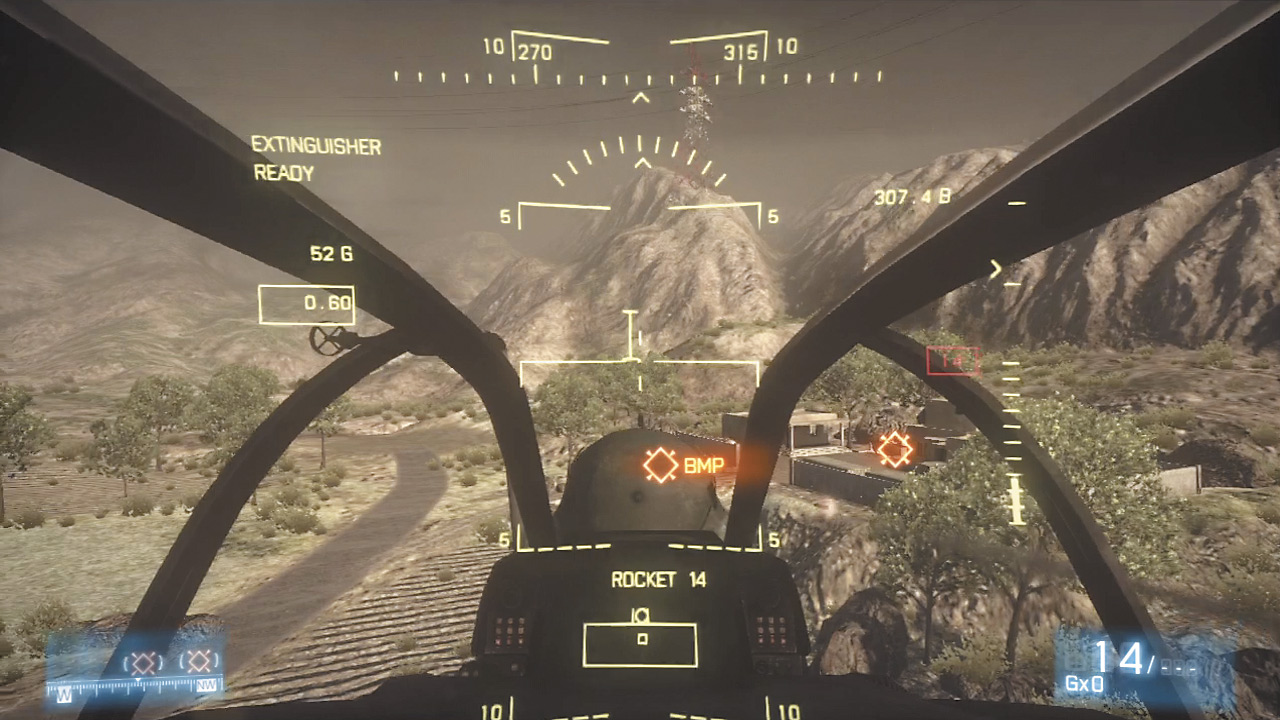
The Fire Teams may have infiltrated the compound and found the general, but the PLR aren’t going to let him go without a fight. A pair of BMPs and a mobile anti-air appear on opposite sides of the map and must be dealt with quickly.
Focus on the single BMP coming out of the tunnel near the river on the right side of the map first, watching out for its gun truck escort.
Then take out the remaining BMP and AA moving toward the compound, dusting any nearby gun trucks as your strafing runs allow. Remember that while distance is important here, so is line of sight for those guided missiles.
The catch is that whenever a gunner has a clear shot toward the mobile anti-air, it can fire back just as cleanly so work quickly.
Any remaining gun trucks and ground troops that weren’t taken out while attacking the trio of main threats will take up position near the compound, so gun them down to help with the extraction effort.
ESCORT THE FIRE TEAMS TO EXTRACTION ZONE
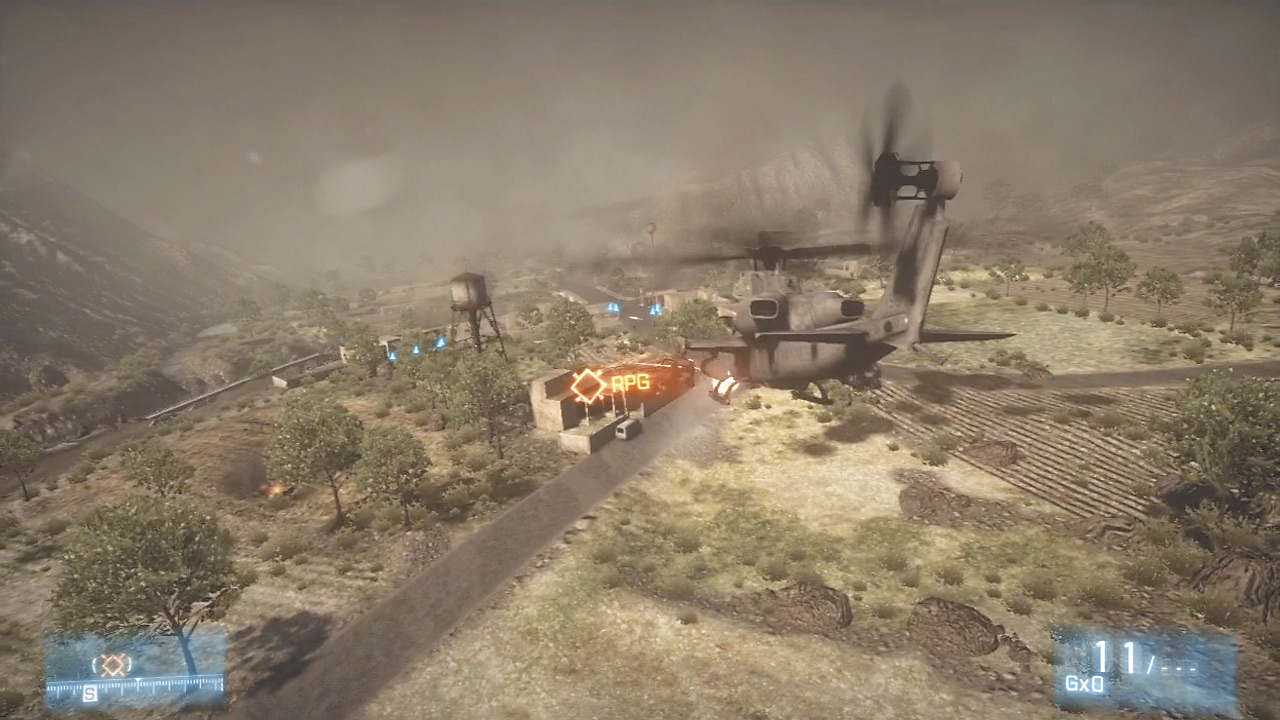
As the Fire Teams move out of the compound and begin pushing right toward another field, a mass of ground troops and gun trucks attempt to route them. Pilots should hover around the open plain to the right of the compound to allow gunners to lay down heavy fire on the enemies there.
Before the fight is over, yet another pair of armored vehicles spills out from the tunnel near the river where the single BMP emerged before. Quickly move to eliminate the anti-air, then the BMP to allow the Fire Teams to move to the extraction point.
Keep eyes on the twin troop transports as the teams board and dust off, then enjoy a well-deserved high five from your co-op buddy or buddies for a job well done.