
Battlefield 3 Premium Guide Battlefields Conquest 64
Armored Shield
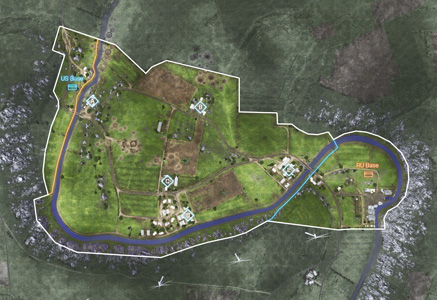
The map is exactly the same size in this larger-scale variant of Conquest, with the same configuration of control points. However, the battlefield is packed with even more vehicles, making the fight more intense and deadly. With five flags up for grabs, both teams should strive to capture the three central control points as quickly as possible—capture and hold a minimum of three flags to initiate a drain on the opposing team’s ticket count. The antenna (B) and village (D) are particularly valuable control points, granting each team access to the gunship and a tank. In addition to the central control points, both teams should capture and defend the flags closest to their bases. Both the treatment plant (A) and repair shop (E) spawn a mobile artillery. These long-range artillery units are great for bombarding enemies in the middle of the map. In a battle packed with tank destroyers and other ground vehicles, competent helicopter pilots can make all the difference. The attack and scout helicopters are ideal ground-attack aircraft. But pilots should always keep their eyes peeled for the LAV-AD and 9K22 Tunguska-M mobile anti-aircraft units. Using their powerful cannons, these vehicles can chew through a chopper’s armor in seconds, giving both teams the chance to achieve air superiority from the ground.
US Base
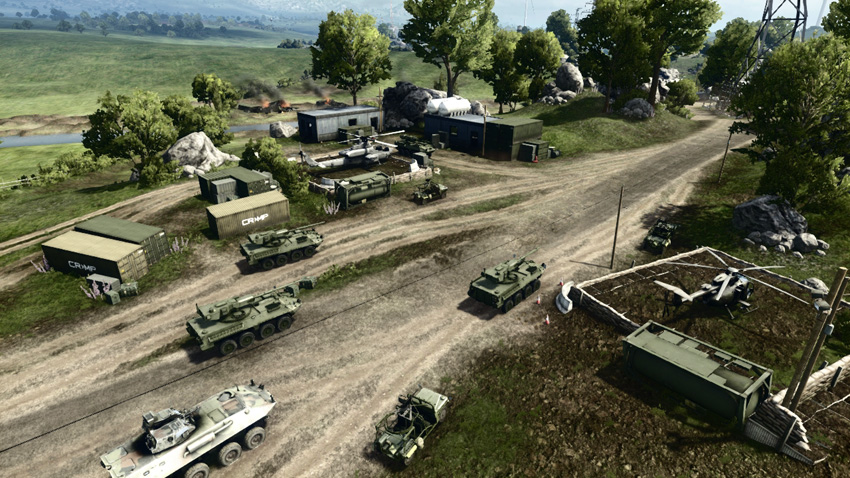
Base Assets
| Name | Quantity | Respawn Time |
|---|---|---|
| Growler ITV | 3 | 20 sec. |
| M1128 | 4 | 40 sec. |
| LAV-AD | 1 | 40 sec. |
| AH-6J Little Bird | 1 | 60 sec. |
| AH-1Z Viper | 1 | 60 sec. |
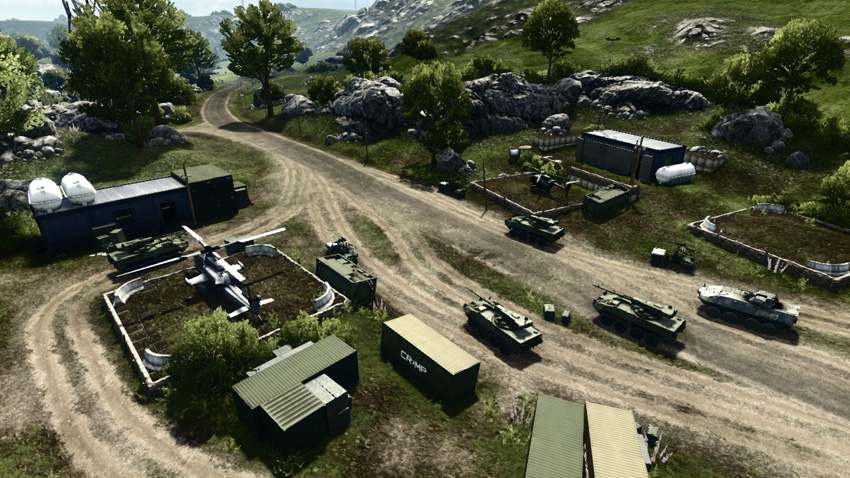
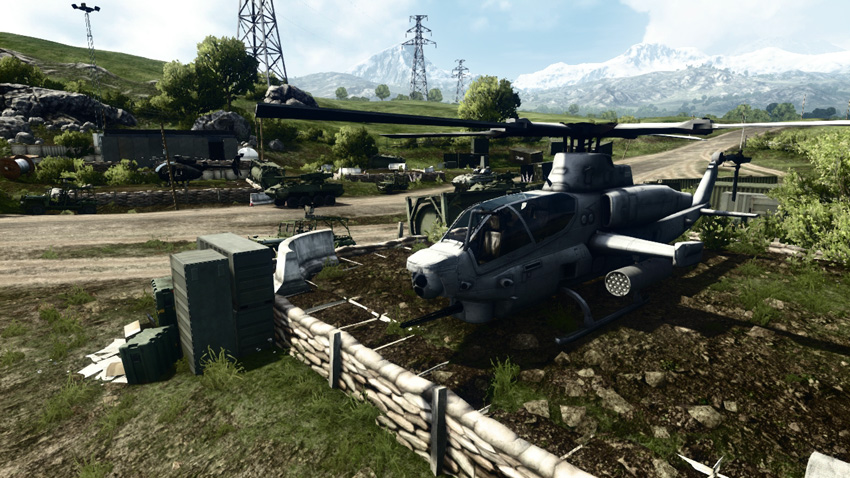
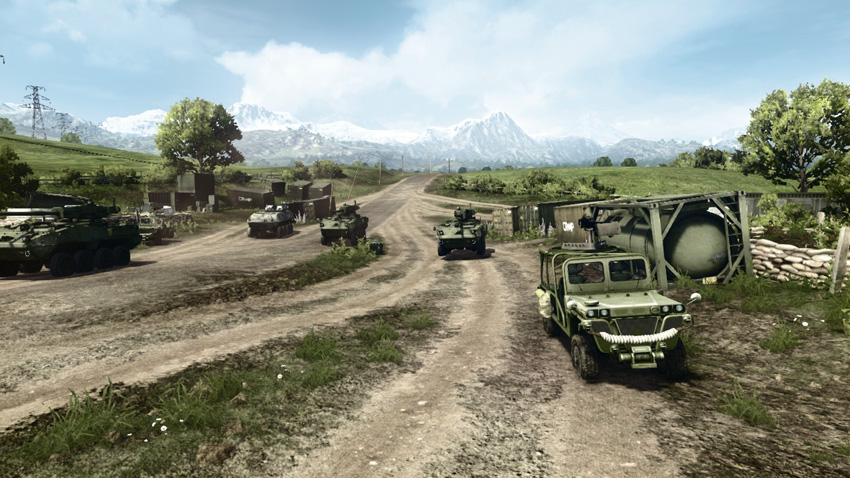
The US base is on the northwest edge of the map. In addition to serving as the initial US deployment area, the base also produces the bulk of the US team’s vehicles. As a result, it’s important to revisit the base throughout the course of the battle and deploy these vehicles. The M1128 tank destroyers are particularly valuable when it comes to taking and holding control points in the center of the map. Early during a round, the speedy Growler ITVs should make a move for the central control points, like the antenna (B), farm (C), and village (D), while the tank destroyers secure the nearby treatment plant (A). The AH-6J Little Bird is another good option for moving troops to distant control points. Meanwhile, use the AH-1Z Viper to target enemy ground vehicles as well as hostile choppers. But when it comes to air defense, the LAV-AD is the US team’s best option for shooting down enemy helicopters. Move the LAV-AD to the east, where it can provide air cover for friendly units near the center of the map. Just be sure to keep the LAV-AD away from the RU team’s SPRUT-SD tank destroyers—it won’t last long in a duel.
RU Base
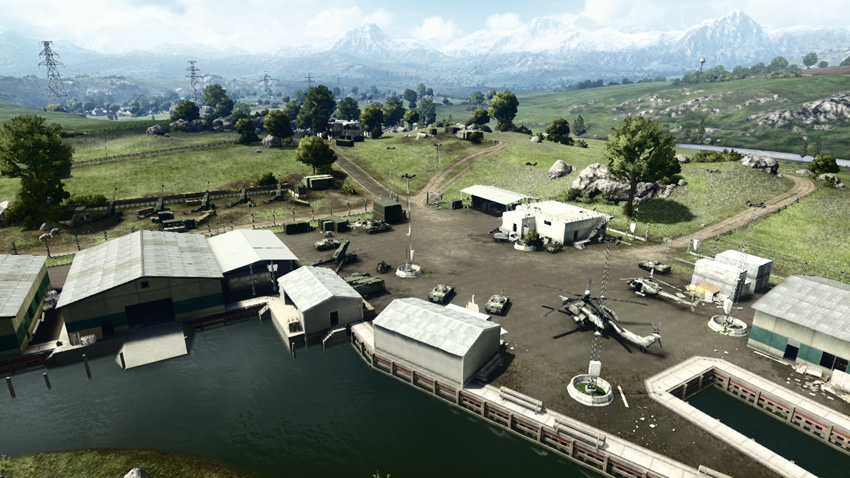
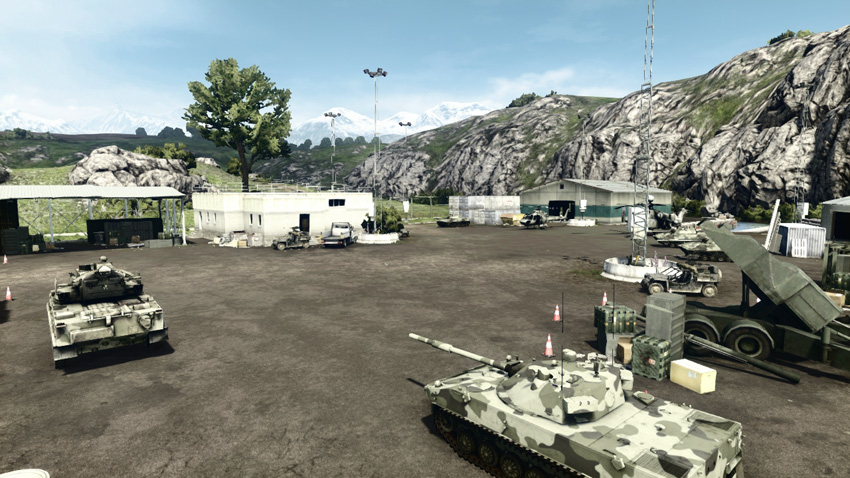
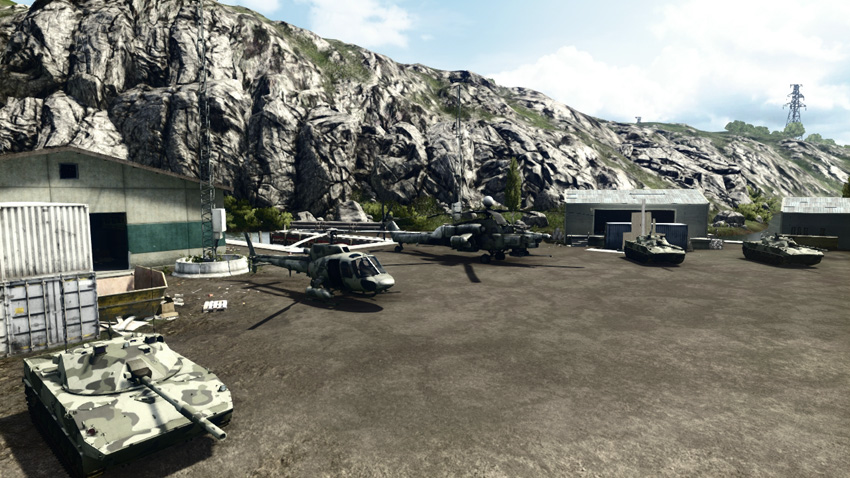
Base Assets
| Name | Quantity | Respawn Time |
|---|---|---|
| VDV Buggy | 3 | 20 sec. |
| SPRUT-SD | 4 | 40 sec. |
| 9K22 Tunguska-M | 1 | 40 sec. |
| Z-11W | 1 | 60 sec. |
| Mi-28 Havoc | 1 | 60 sec. |
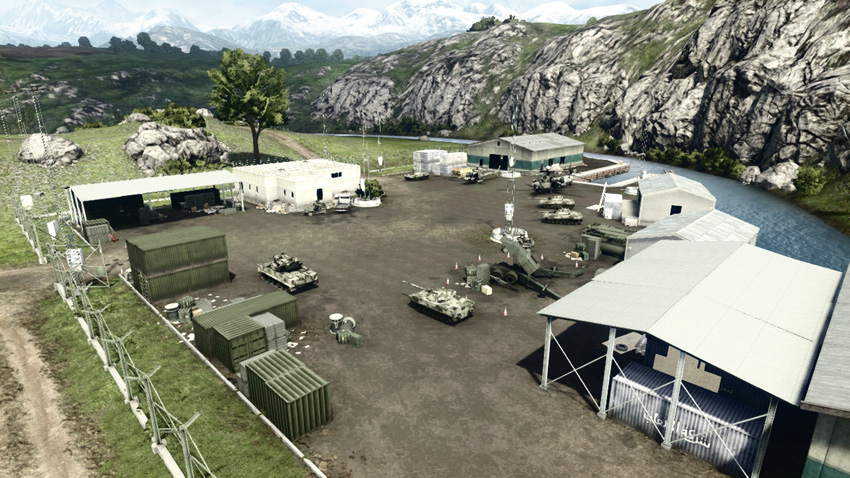
The RU team deploys from their base on the east side of the map. Like the US base, this base is home to the bulk of the RU team’s vehicles. So as the RU team extends their presence to the west, it’s important to periodically spawn at the RU base in an effort to field these valuable vehicles, such as the SPRUT-SD tank destroyers. The nearby repair shop (E) control point should be captured and held early during the battle, preferably rushed by the tank destroyers. Meanwhile, use the quick and nimble VDV Buggies to rush the three central flags before the US team arrives. Dropping troops from the Z-11W helicopter is an even faster option for capturing the antenna (B), farm (C), and village (D). Whenever piloting one of the helicopters, always be aware of the US team’s choppers. If you’re not careful, they may shoot you down. The threat posed by the US team’s choppers can be mitigated by fielding the 9K22 Tunguska-M in the field west of the repair shop (E). The Tunguska-M can chew through enemy choppers, helping secure the air space above the central control points. But the Tunguska-M is vulnerable to attacks by tank destroyers and infantry, so keep it in an isolated part of the map where it’s less likely to face direct assaults.
A: Treatment Plant
Control Point Assets
| US Control | RU Control | Respawn Time |
|---|---|---|
| Quad Bike (1) | Quad Bike (1) | 5 sec. |
| Growler ITV (1) | VDV Buggy (1) | 20 sec. |
| M142 (1) | BM-23 | 50 sec. |
| RHIB (1) | RHIB (1) | 10 sec. |
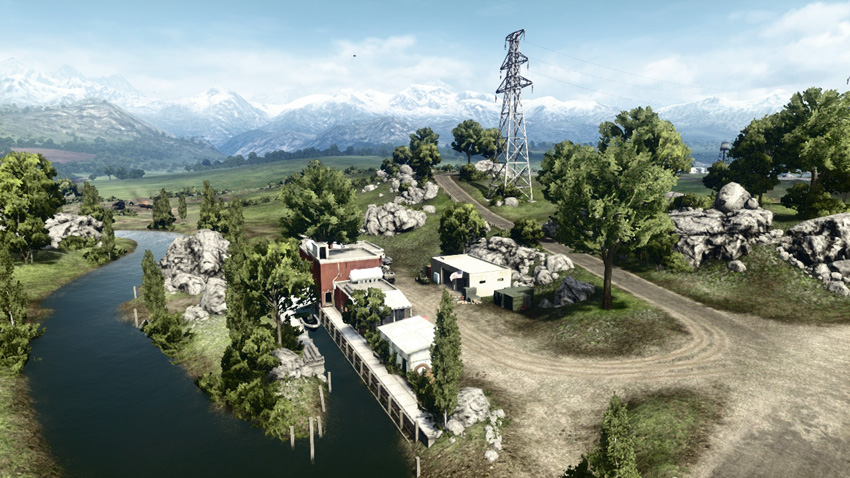
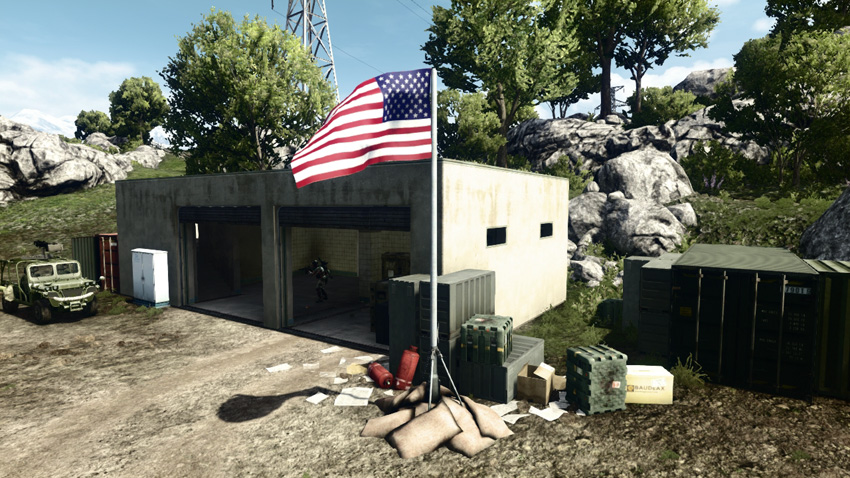
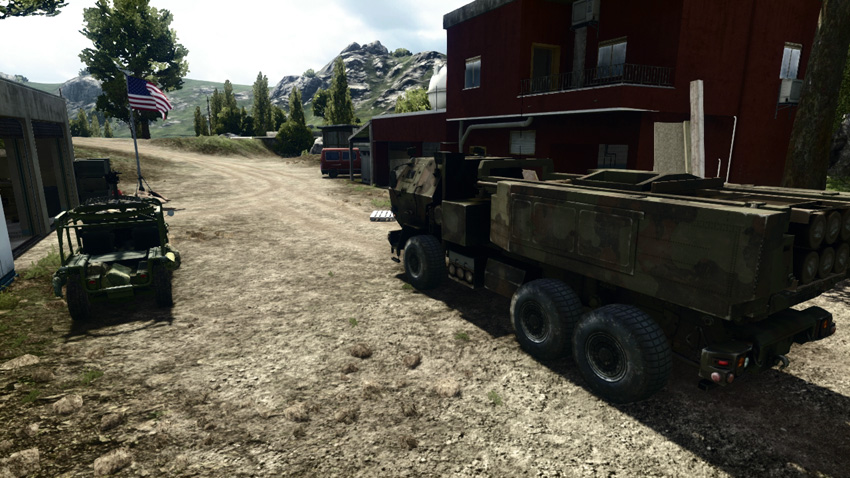
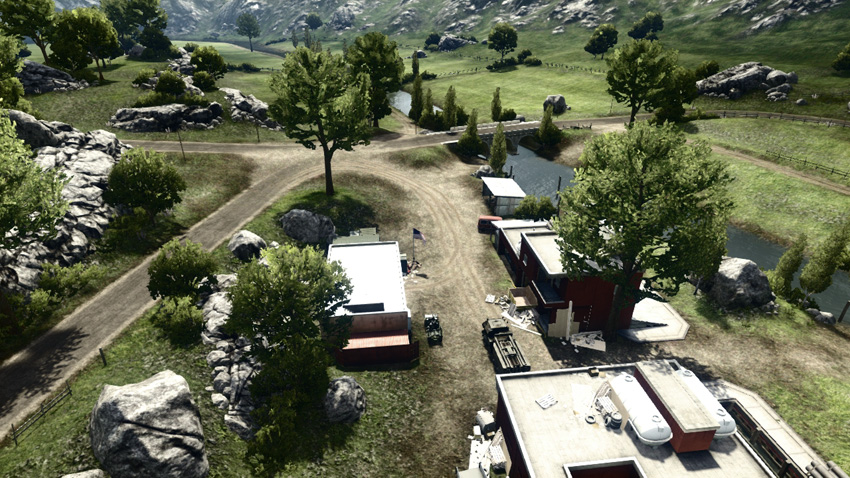
Located only a few meters from the US base, the treatment plant (A) is likely to remain under the US team’s control for most of the battle. This facility consists of a few small structures gathered around a central courtyard. The flag sits in the middle of the courtyard, and its capture radius can easily be approached by infantry and vehicles. The structures provide plenty of cover and concealment for infantry. As a result, think twice before driving a vehicle toward the flagpole in the courtyard—there’s a good chance you’ll get slammed by a rocket fired from an engineer hiding in one of the buildings. Instead, when attacking here, consider going in on foot and capturing the flag from within one of the structures. Although the control point spawns a mix of vehicles for both teams, it’s one of only two flags that produce mobile artillery units. The US should take extra care to maintain control of this flag in an effort to secure the M142. The M142 is a powerful asset, capable of bombarding enemy units as far away as the antenna (B), farm (C), or village (D). However, if this flag falls into the hands of the RU team, they can use the BM-23 spawned here to bombard the US base to the northwest. Also, don’t neglect the RHIB spawned in the canal—it’s ideal for launching amphibious attacks on the village (D) and repair shop (E).
B: Antenna
Control Point Assets
| US Control | RU Control | Respawn Time |
|---|---|---|
| Quad Bike (1) | Quad Bike (1) | 5 sec. |
| Growler ITV (1) | VDV Buggy (1) | 20 sec. |
| M1128 (1) | SPRUT-SD | 40 sec. |
| 9M133 Kornet Launcher (1) | 9M133 Kornet Launcher (1) | 30 sec. |
| Gunship (1) | Gunship (1) | 60 sec. |
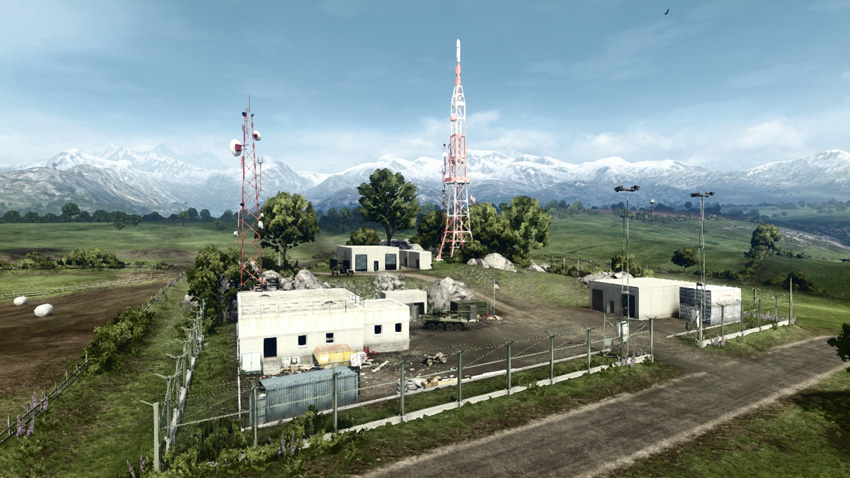
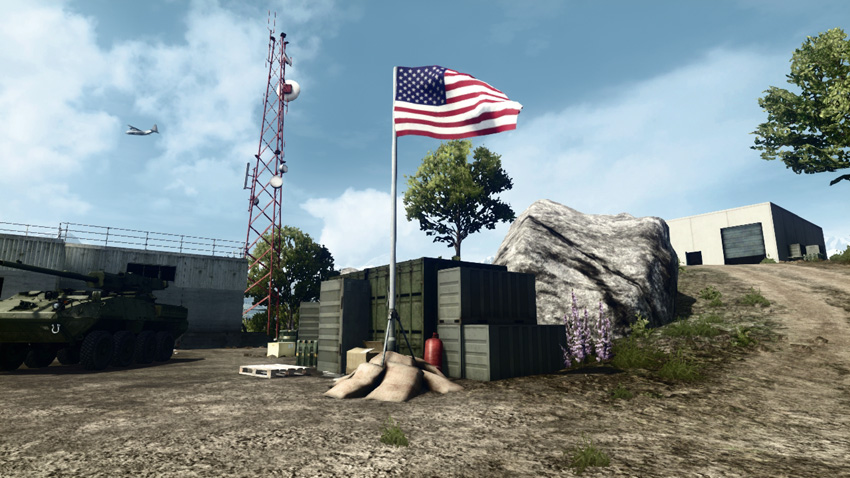
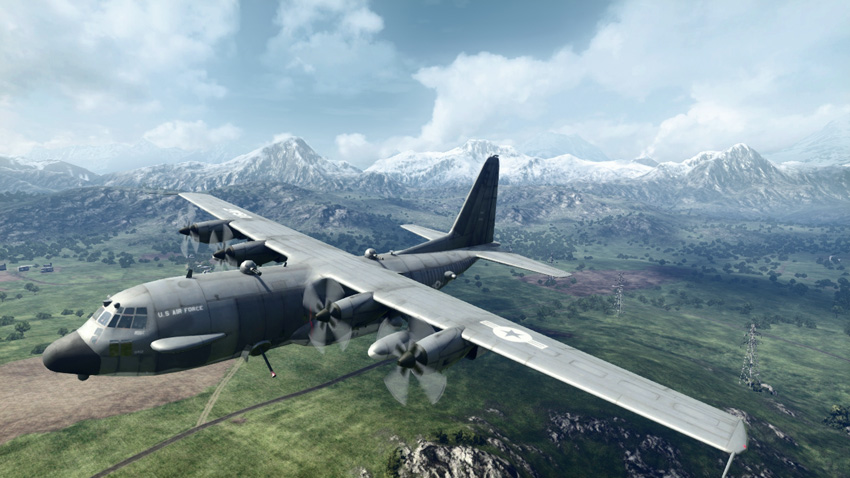
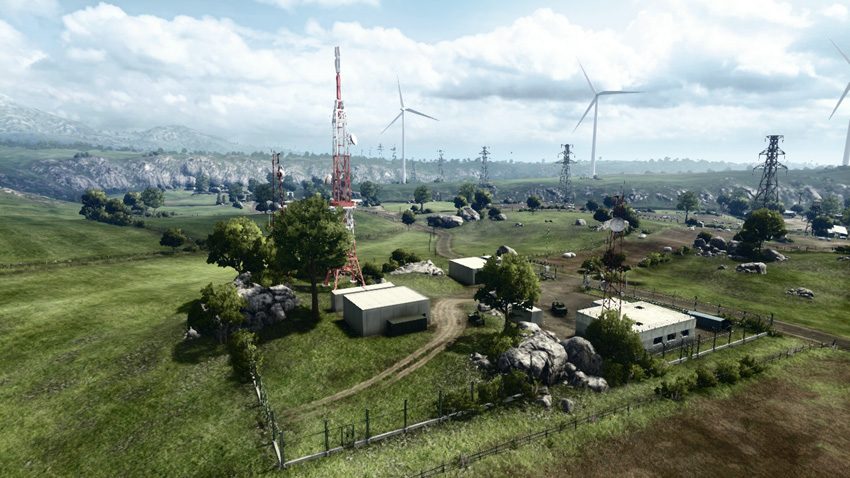
This northern control point grants access to the powerful gunship, making it one of the most contested flags on the map. Both teams should rush to the antenna (B) early during the round, preferably with their helicopters. The control point is along the northern dirt road approximately equidistant between the treatment plant (A) and repair shop (E). While there are only a couple of entry points to the facility (to the north and south), the perimeter fence can be easily breached, making it possible to rush the flag from virtually any direction. With the exception of some crates, there isn’t much cover near the flagpole. Therefore it’s safest to capture this flag from within the armored confines of a tank destroyer. But even when within a vehicle, watch out for defenders hiding within the surrounding structures. Attackers and defenders should also take note of the Kornet launcher located on the hill just north of the flag—this is perfect for targeting enemy vehicles parked near the flag. Once captured, the antenna (B) should never be left undefended. Engineers are effective at holding back most attacks, but the addition of a tank destroyer can make a big difference in any defensive effort.
C: Farm
Control Point Assets
| US Control | RU Control | Respawn Time |
|---|---|---|
| Quad Bike (1) | Quad Bike (1) | 5 sec. |
| Growler ITV (1) | VDV Buggy (1) | 20 sec. |
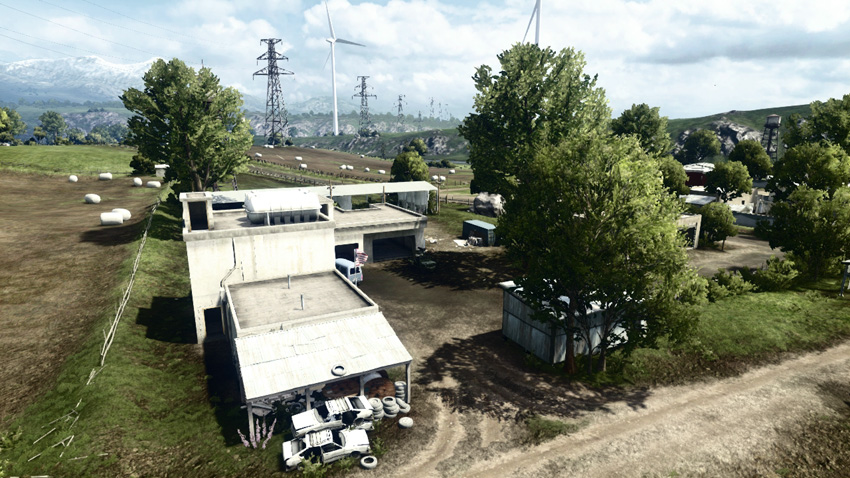
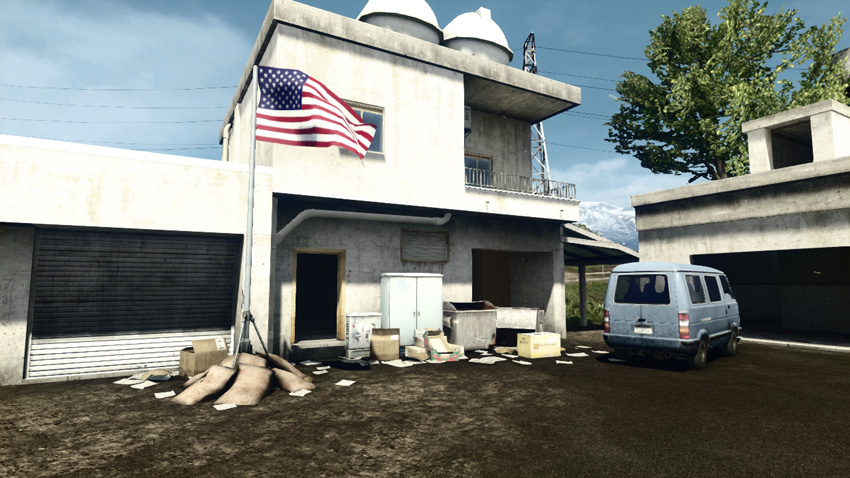
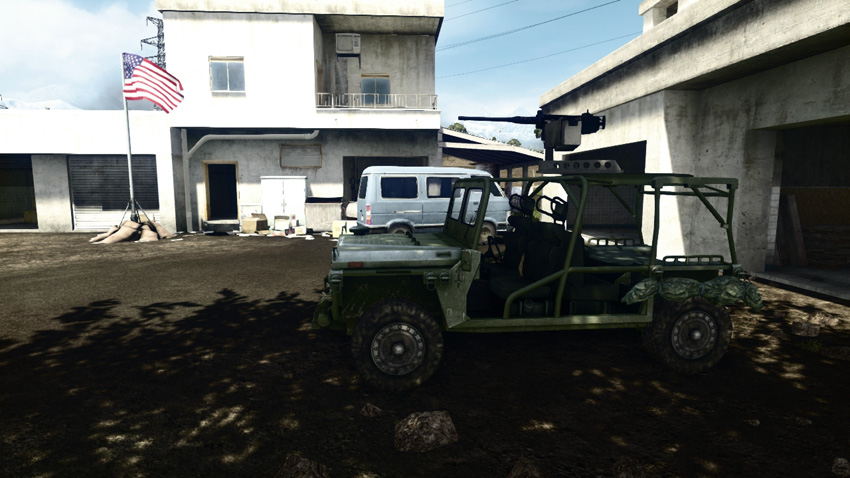
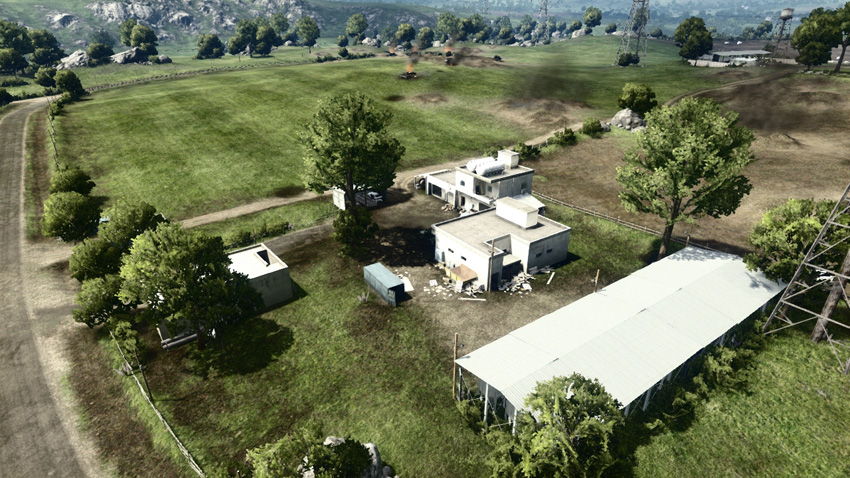
The farm (C) control point is near the center of the map, flanked by massive, open fields to the north, east, and west. These fields are often the site of some intense armored duels, making travel by anything but tank destroyers extremely dangerous. Although the farm (C) produces only a couple of vehicles for each team, with only five flags up for grabs capturing and holding this point is crucial to either team’s strategy. The flagpole is situated in a small courtyard next to two concrete buildings. Infantry can enter these structures and capture or contest the flag from the interior. When attacking, this is the preferred method of capturing the flag. Parking a vehicle next to the flag may be dangerous, allowing defenders posted within the building to fire rockets. But hiding in the buildings isn’t totally safe. The walls of the buildings will crumble under repeated shelling by tank destroyers or the gunship. So if necessary, consider finding hiding spots away from the flag and utilizing mines or C4 to defend the flag against enemy vehicles.
D: Village
Control Point Assets
| US Control | RU Control | Respawn Time |
|---|---|---|
| Growler ITV (1) | VDV Buggy (1) | 20 sec. |
| M1 Abrams (1) | T-90A (1) | 60 sec. |
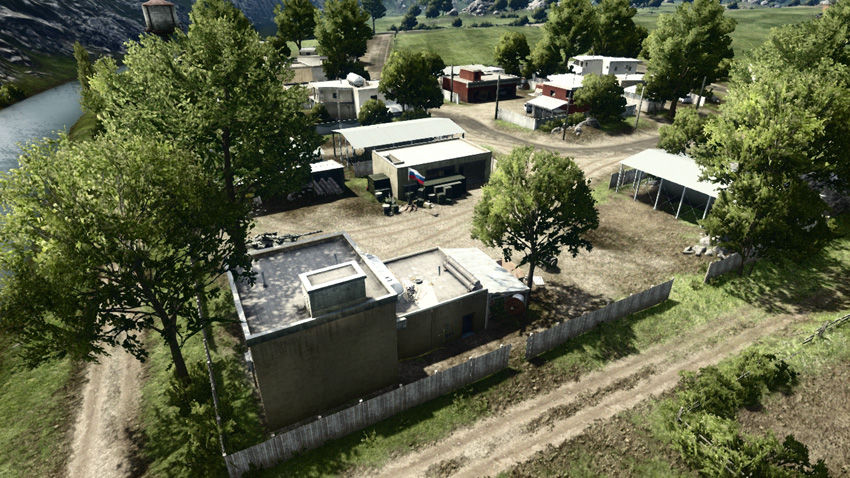
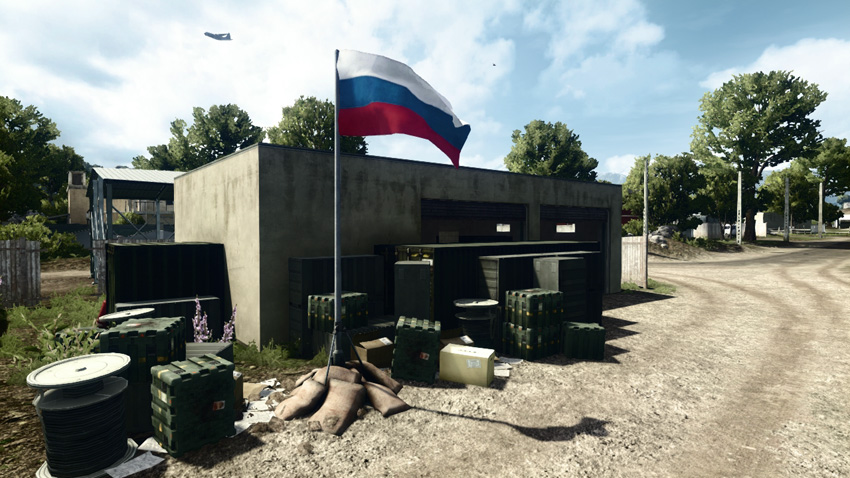
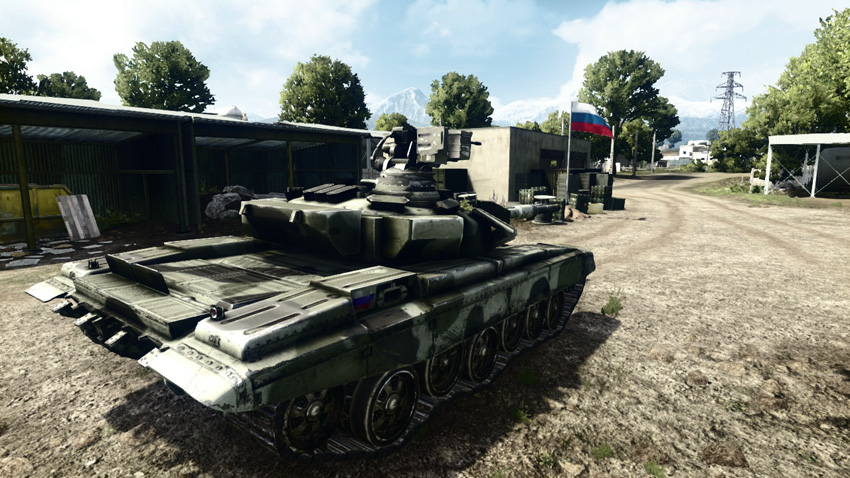
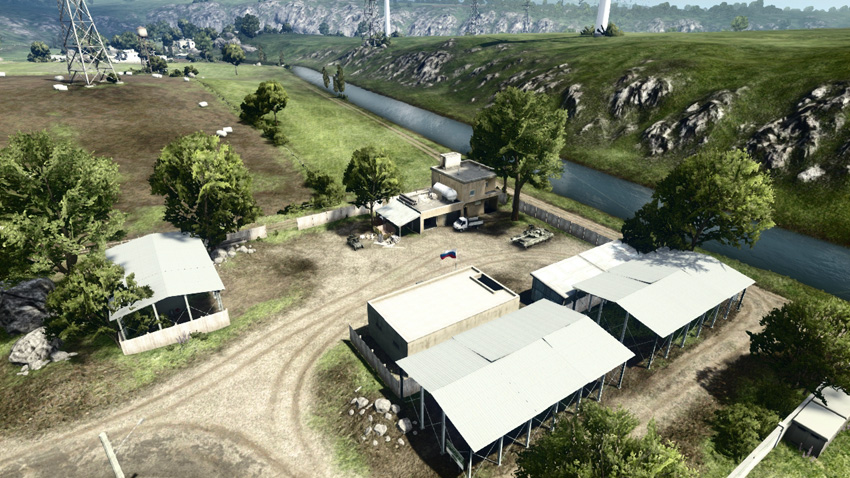
The village (D) is on the south side of the map, only a few meters from the farm (C). This control point produces the only tanks on the map, spawning an M1 Abrams for the US team and a T-90A for the RU team. A single tank may not seem like much of a prize, but these heavily armored vehicles can help turn the tide in a close battle, punching through the thinner armor of tank destroyers. The area comprises multiple buildings, including farmhouses, sheds, and other agricultural structures. Most of the buildings are located to the north and west of the flag. Given the cramped quarters of this area, it’s easiest to maneuver on foot or on quad bike. However, the courtyard where the flag is situated is large enough to easily accommodate larger vehicles. By crashing through the wooden perimeter fence, vehicles can approach this courtyard from the north, south, or east. Given the open nature of the courtyard, this flag is best attacked by armored vehicles. Infantry can capture and contest the flag from within the garage-like structure to the west. Defenders should consider hiding in the houses on the east side of the courtyard, where they have a clear view of the flag. Incursions by enemy vehicles can be prevented by placing mines near the flag or along the main dirt road access point to the north. The canal to the south is another possible avenue of attack, with RHIBs approaching from the treatment plant (A) or repair shop (E).
E: Repair Shop
Control Point Assets
| US Control | RU Control | Respawn Time |
|---|---|---|
| Quad Bike (1) | Quad Bike (1) | 5 sec. |
| Growler ITV (1) | VDV Buggy (1) | 20 sec. |
| M142 (1) | BM-23 | 50 sec. |
| RHIB (1) | RHIB (1) | 10 sec. |
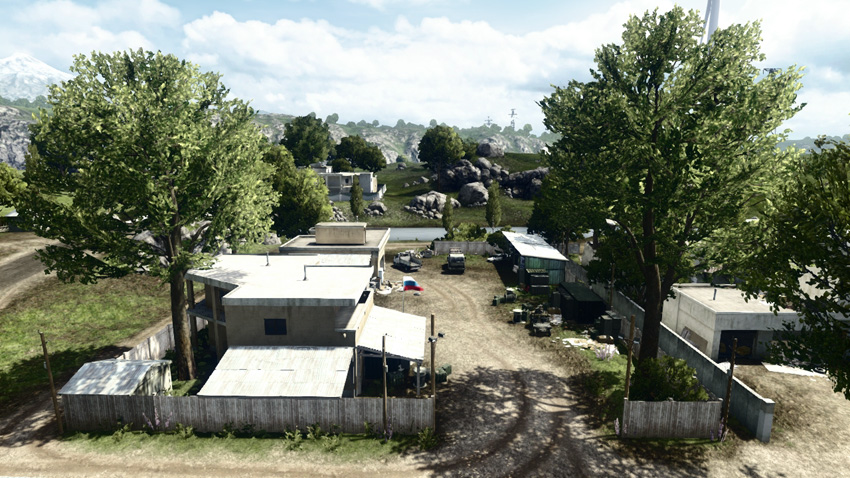
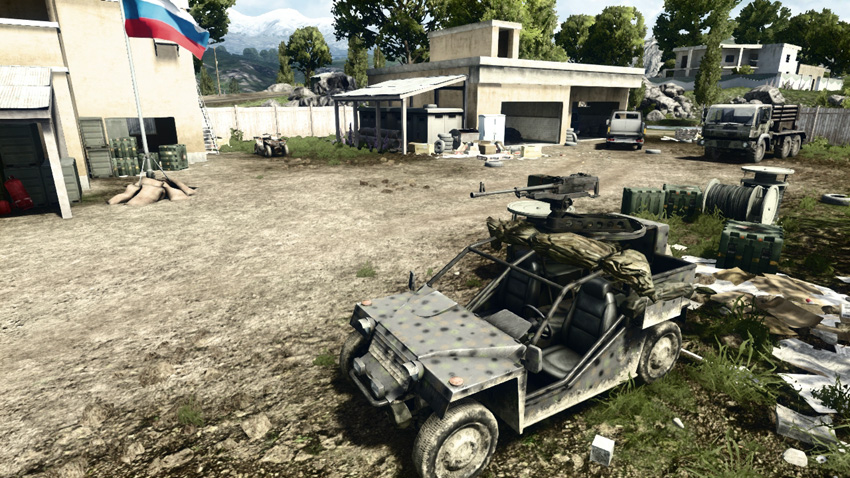
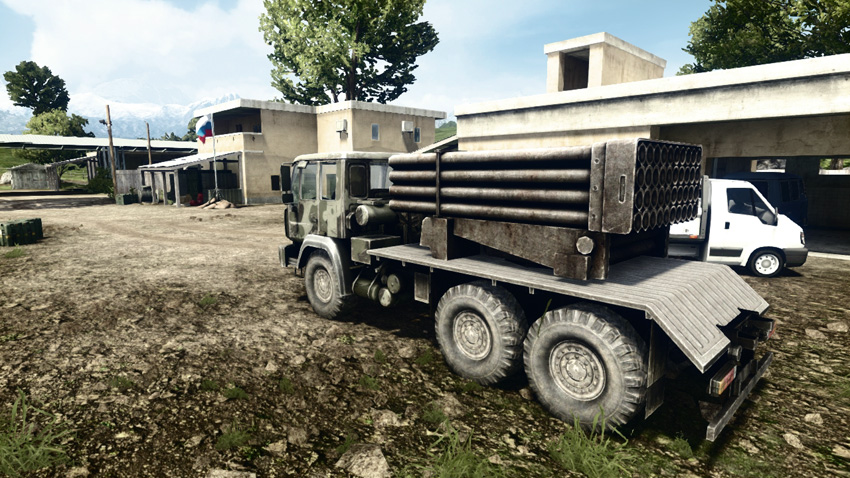
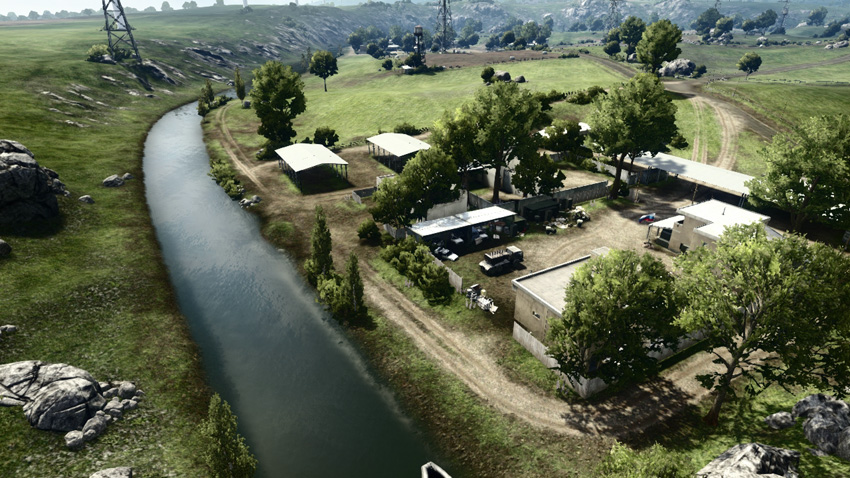
The repair shop (E) is on the east side of the map, only a short distance from the RU base. As a result, the RU team should have little problem maintaining control of this flag throughout the battle. In terms of assets, the repair shop (E) is like a mirror image of the treatment plant (A). The most notable asset produced here is the mobile artillery unit spawned for both teams. The M142 and BM-23 are perfect for bombarding the central control points, hammering enemy units at the antenna (B), farm (C), or village (D). But the RU team should take extra care not to let this flag fall into the US team’s hands. Otherwise they can use the M142 to bombard the RU base to the east. The RHIB spawned here is also ideal for launching amphibious attacks on the treatment plant (A) and village (D). As at many of the other control points on the map, the flag here is located in a central courtyard surrounded by a few buildings. The courtyard can become a little cramped for large vehicles like tank destroyers to easily maneuver. So it’s best to approach this flag on foot or on a quad bike. The flag can be captured and contested from within the adjacent two-story house to the north. Defenders should always prepare for vehicle attacks by mining the dirt road access point on the west side. Planting C4 near the base of the flagpole is also a good deterrent to stop vehicle captures.