
Battlefield 3 Premium Guide Battlefields Close Quarters/Gun Master
Close Quarters - Operation 925
Points of Interest
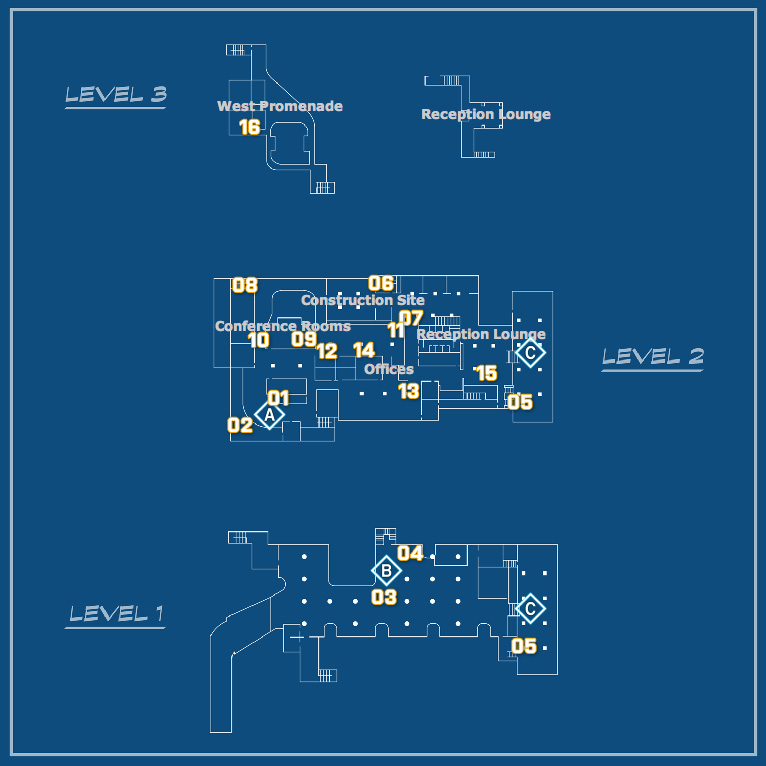
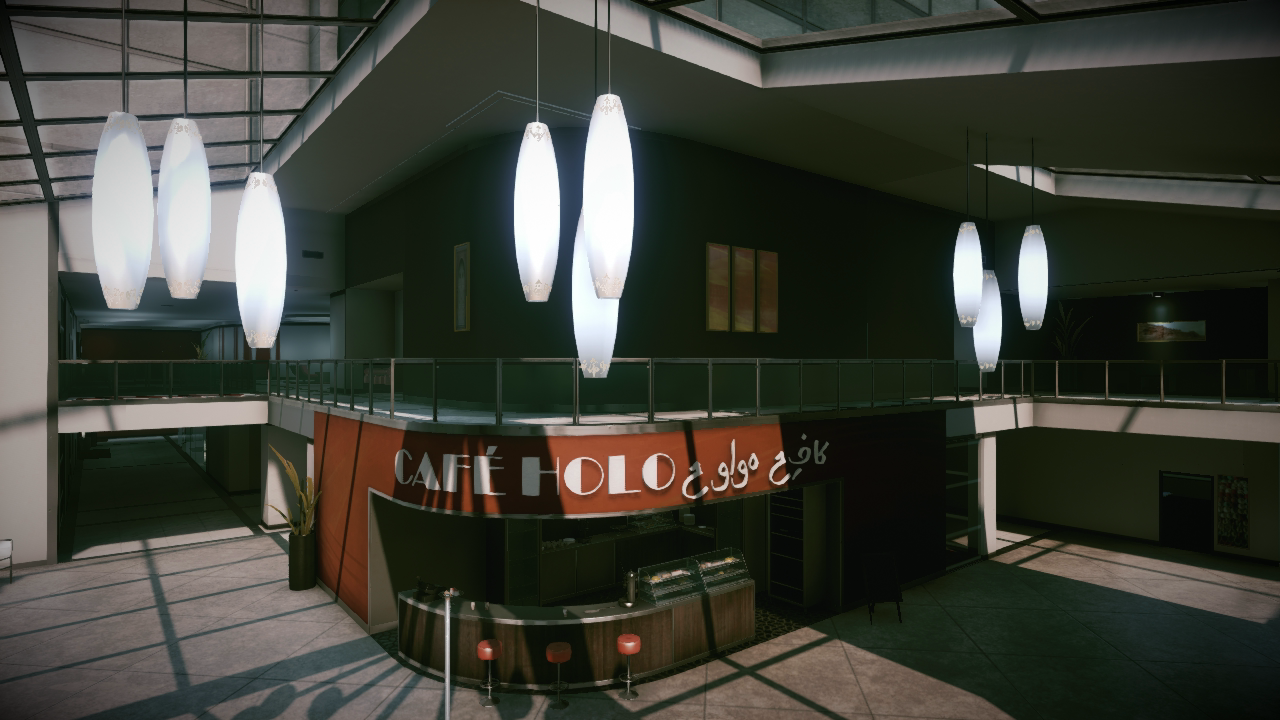
Café (Flag A)
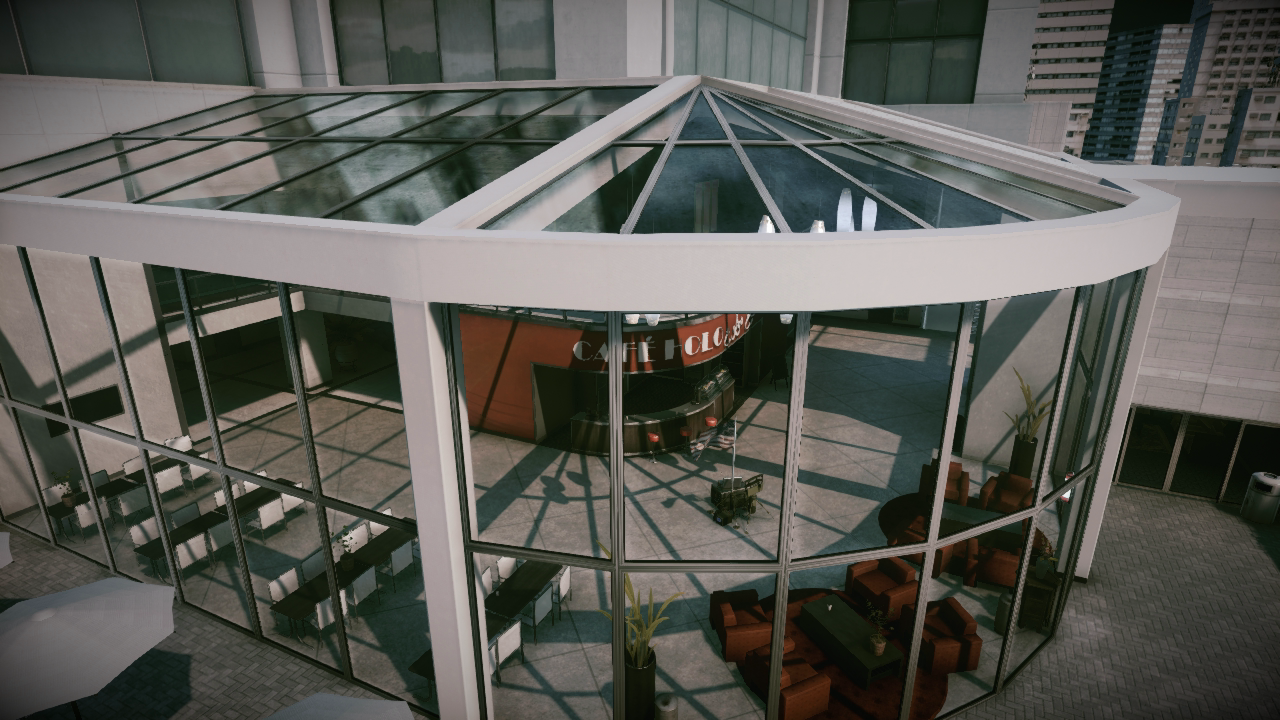
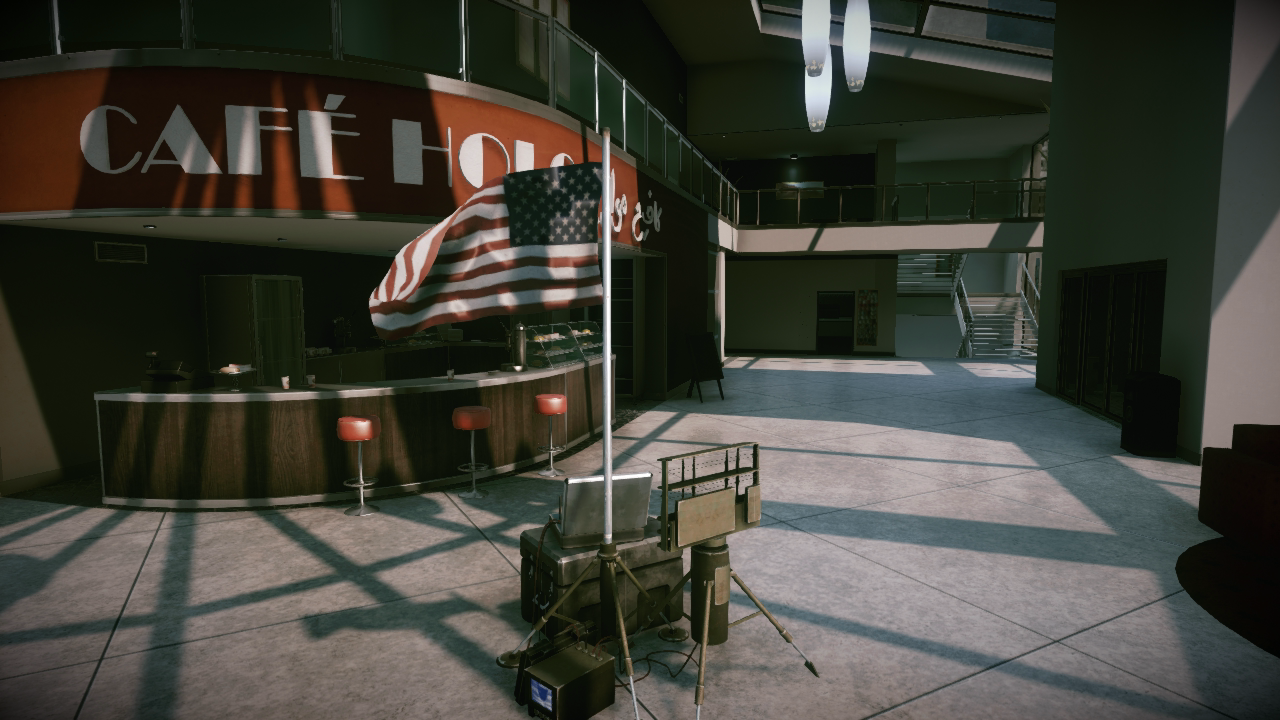
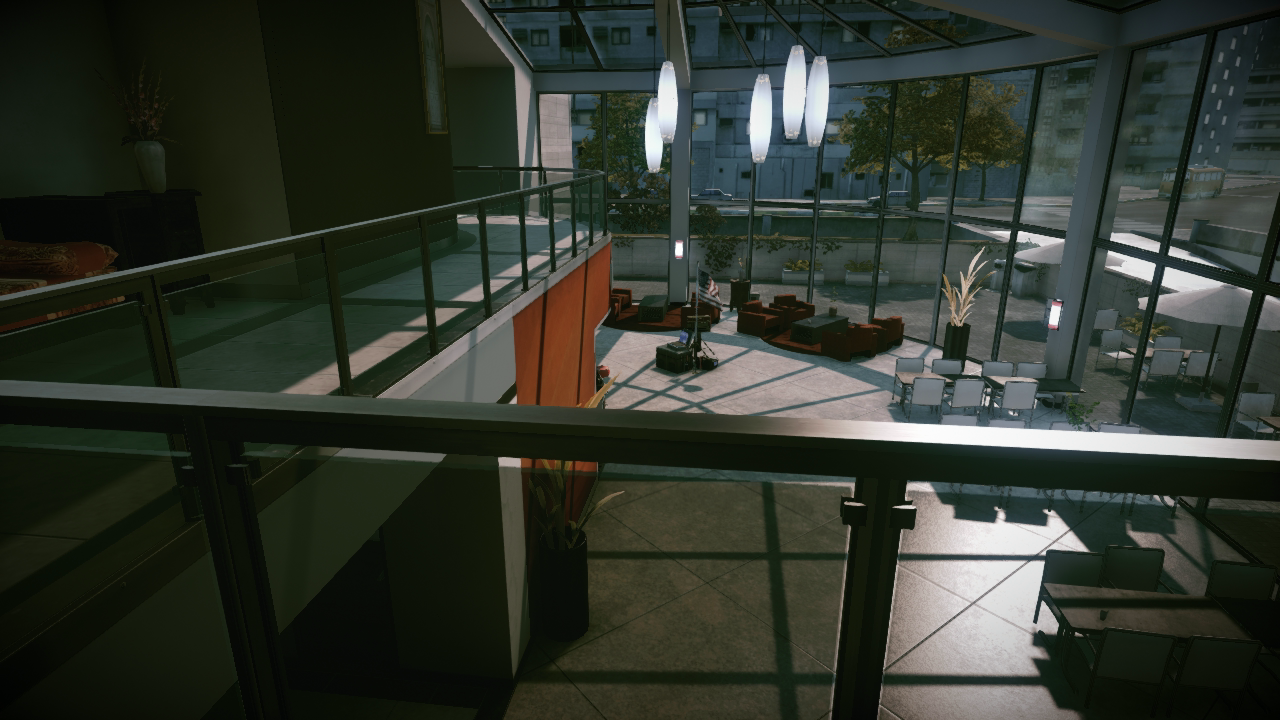
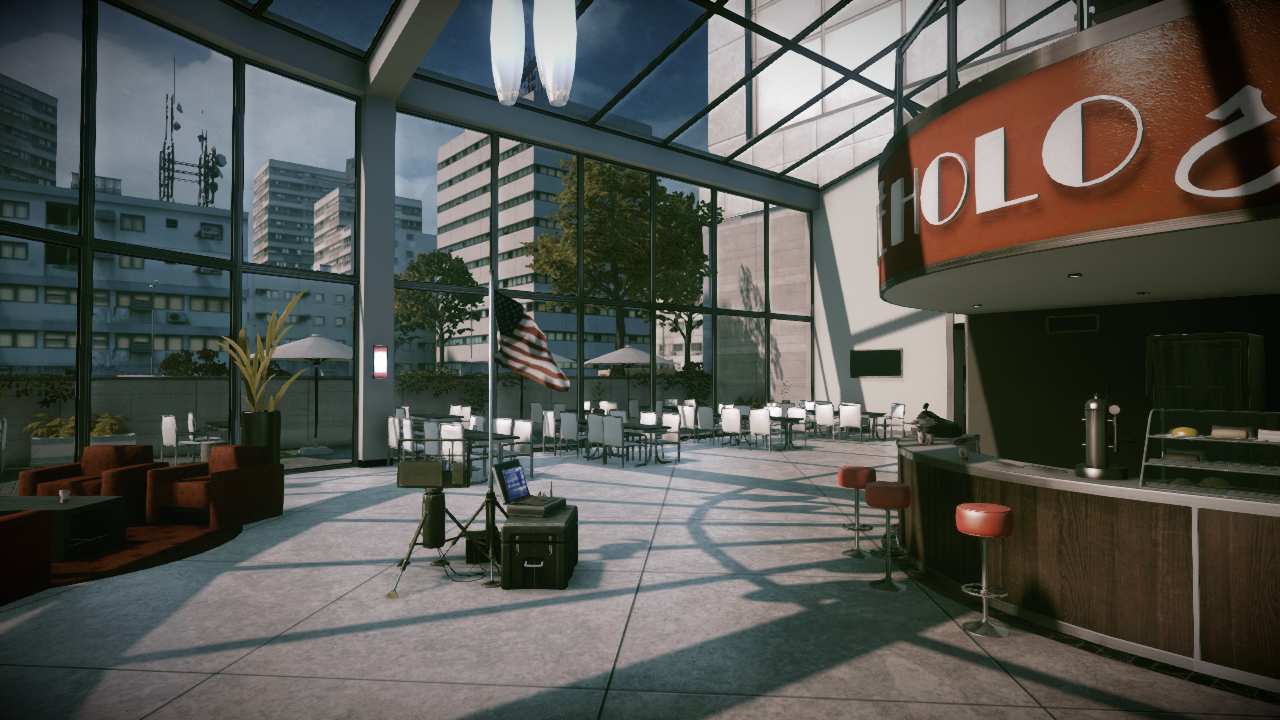
The café is located in the southwest corner of the building’s first floor. During Conquest Domination matches, this is the home of Flag A, sitting just south of the café’s counter. There is virtually no cover or concealment within the flag’s capture radius, so consider deploying smoke before attempting to convert this flag, especially if you suspect opponents are camping nearby. The area behind the café’s counter is accessible and is a popular hiding spot. Also watch the outdoor veranda to the south and the upstairs promenade, just above the café. Defenders posted on the promenade and connecting walkways have a clear view of the café, often allowing them to get the jump on attackers scurrying about the floor below. This area has one of the more wide-open spaces on the map; prepare for engagements at intermediate range. As a result, carbines and assault rifles are well suited for firefights in this area.
Level 1 [01]
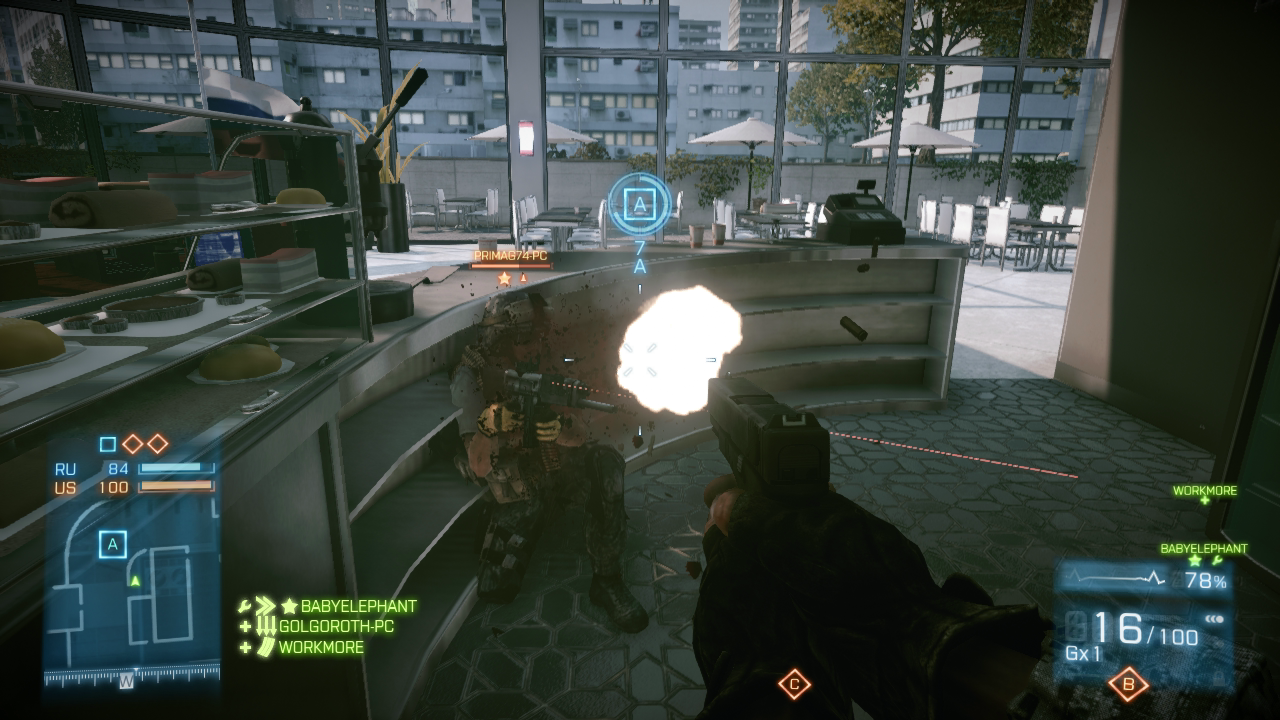
Watch the area behind the café’s counter. This is a popular hiding spot, especially during Conquest Domination matches. Flag A can be converted and contested from behind the counter.
Level 1 [02]
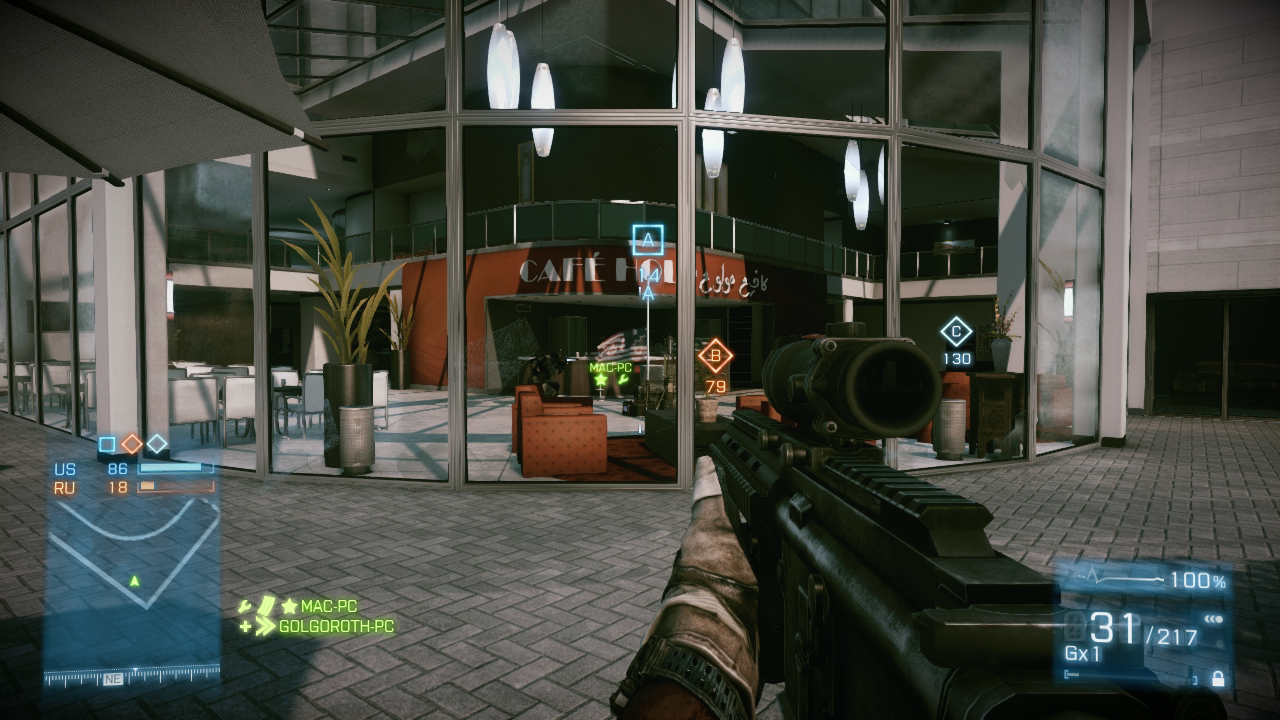
The outdoor veranda is one of the few places near the café where you can put your back up against a wall and engage the cross-traffic. This is a good defensive position while watching Flag A during Conquest Domination matches.
Parking Garage (Flag B)
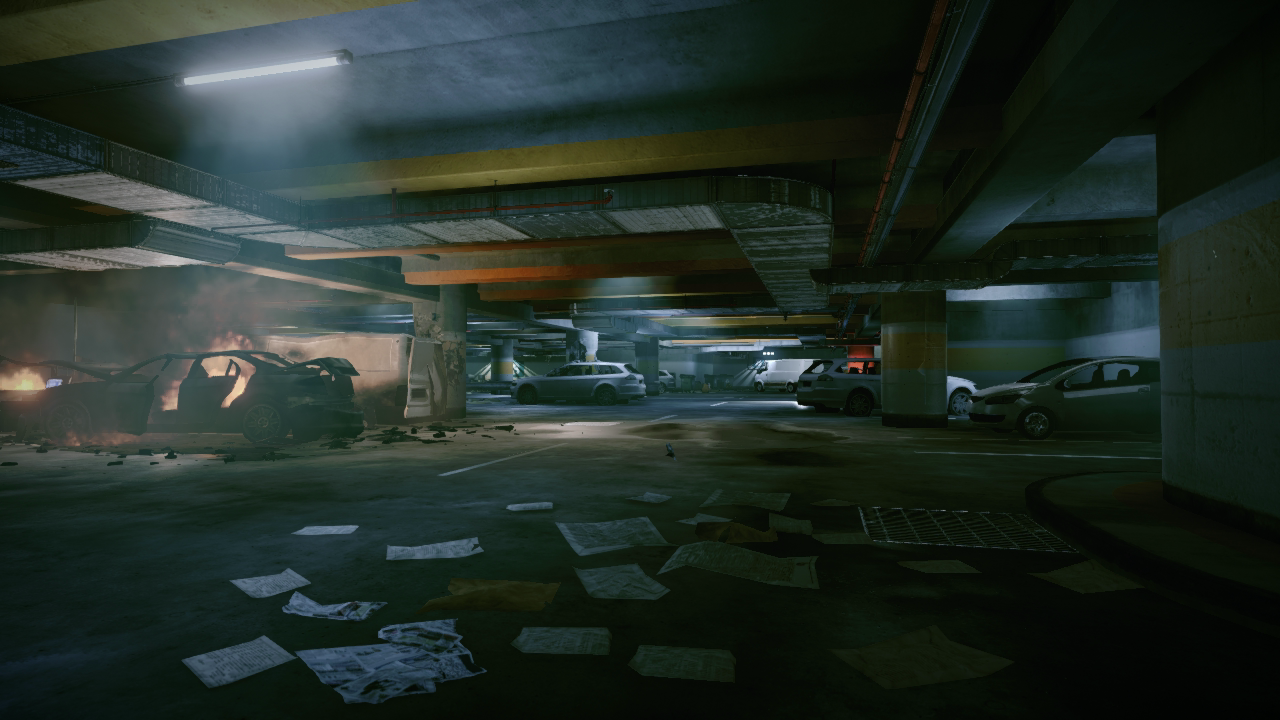
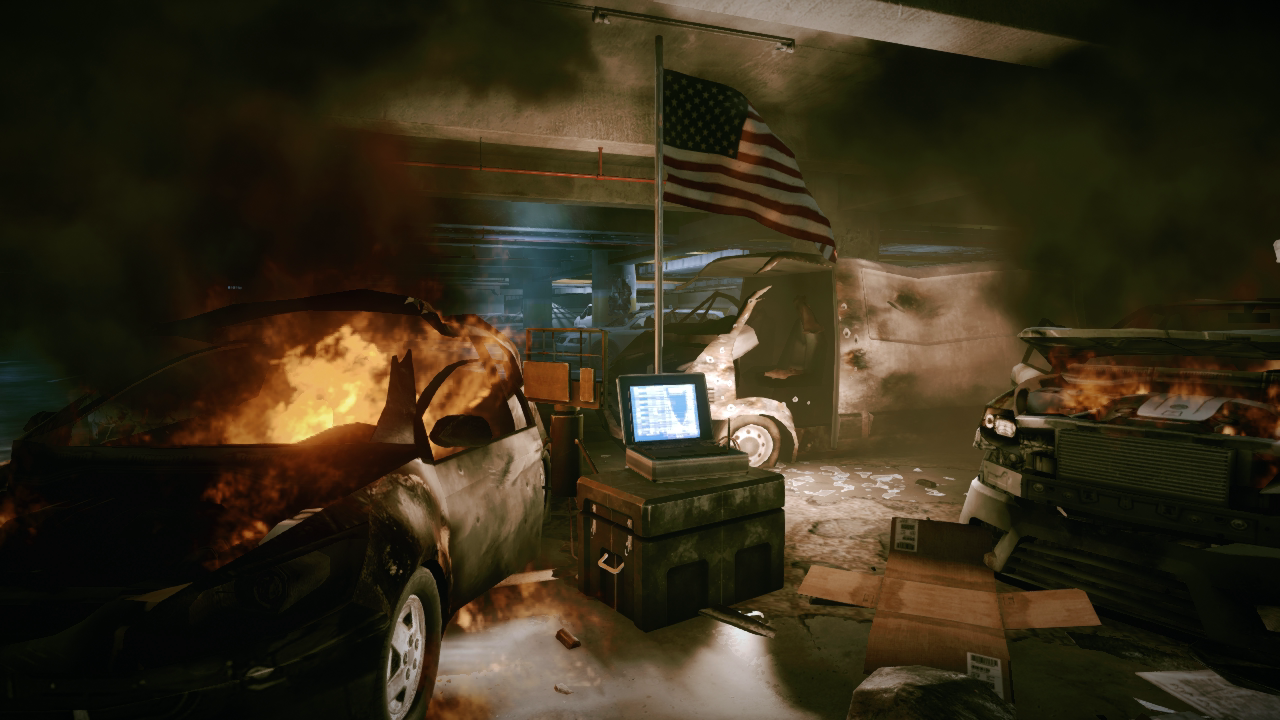
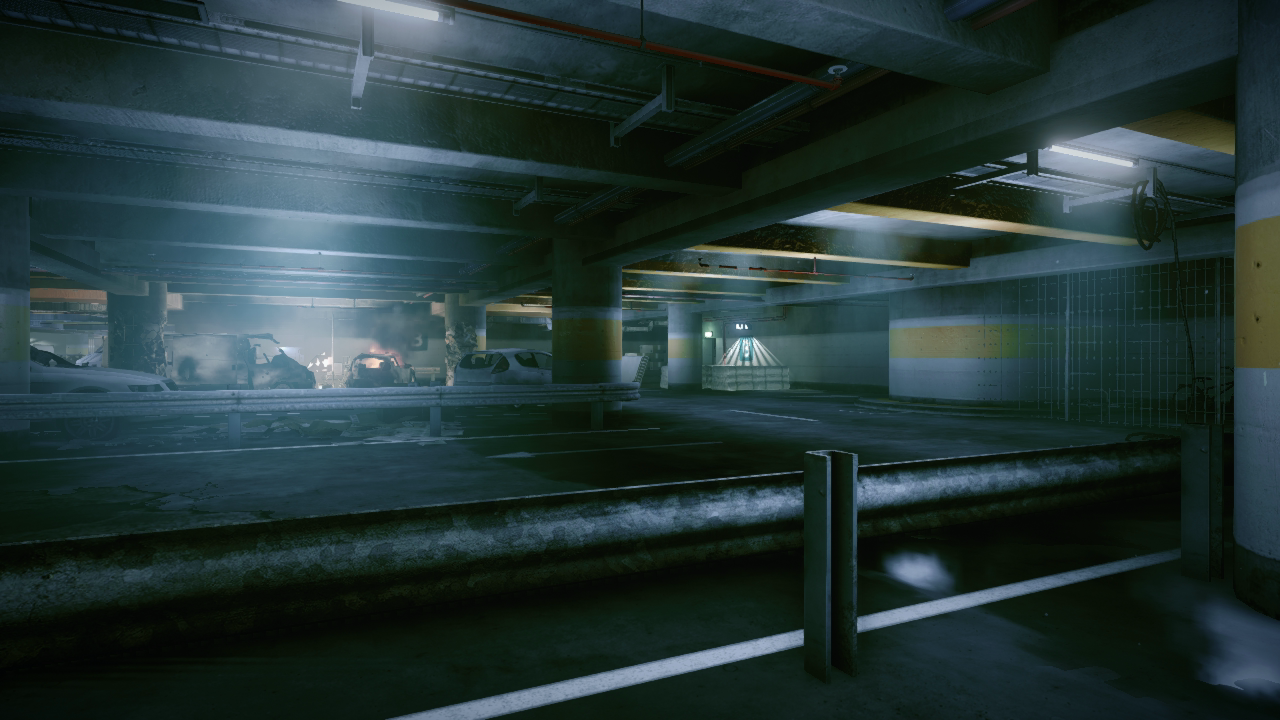
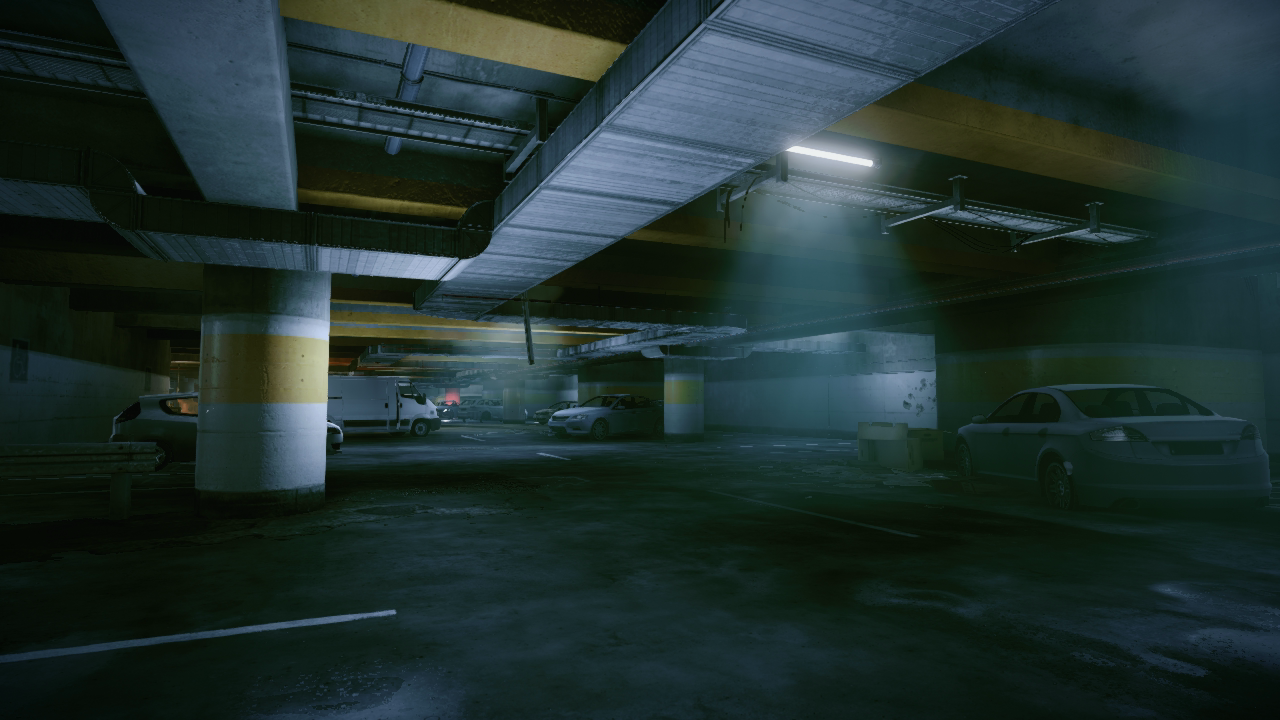
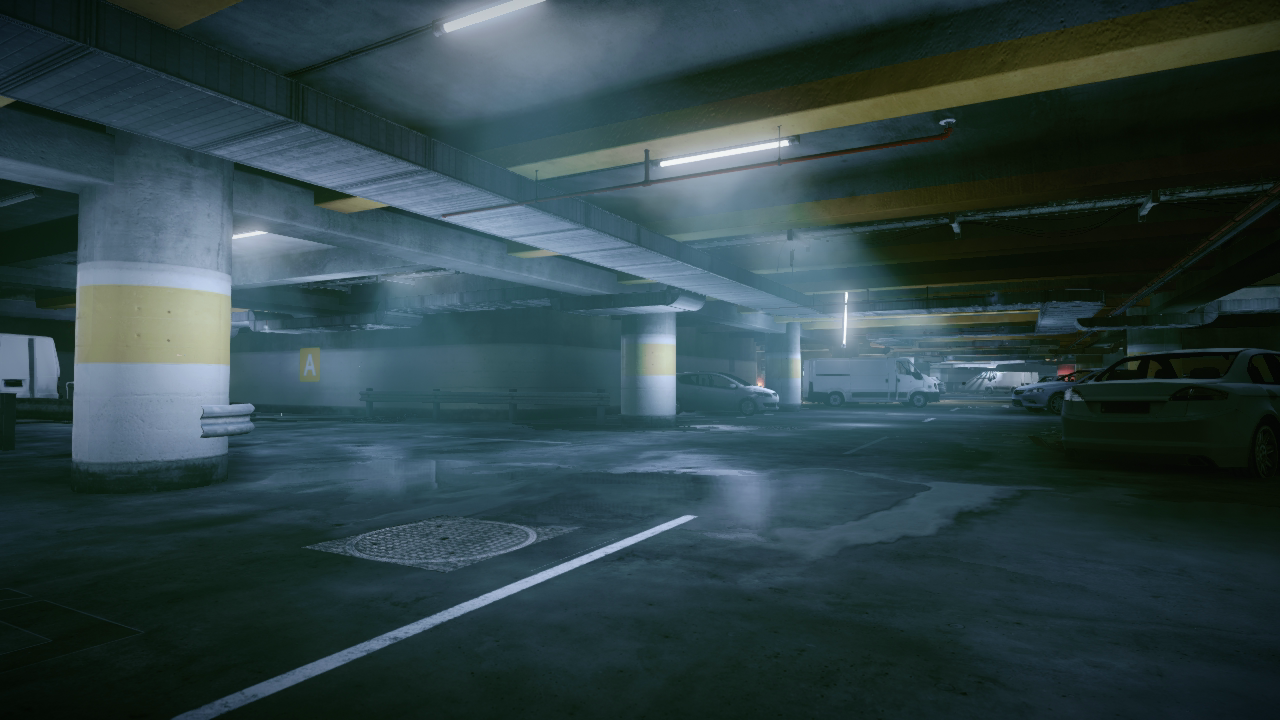
The parking garage comprises the map’s entire bottom floor, offering remarkably long sight lines that are ideal for assault and sniper rifles. Flag B is also here during Conquest Domination matches, situated between three burning vehicles near the center of the floor.
The fire, smoke, and vehicles all provide excellent cover and concealment while within the flag’s compact capture radius. But always prepare for booby traps and ambushes when moving into this tight space, as there isn’t much room to maneuver while converting the flag. Regardless of game mode, exercise caution while moving through the parking garage, always using the various pillars and parked cars for cover to avoid getting sniped. There are various staircases leading down into the parking garage, so always be mindful of these entry points when operating down here. If you’re not careful, an opponent can sneak up behind you and steal your dog tags. When possible, keep your back to a wall to avoid such surprise attacks.
The parking garage is somewhat dark, but tactical lights and laser sights aren’t terribly beneficial here; they can give away your position. You’re better off attaching suppressors or flash suppressors to hide your muzzle flash.
Level 0 [03]
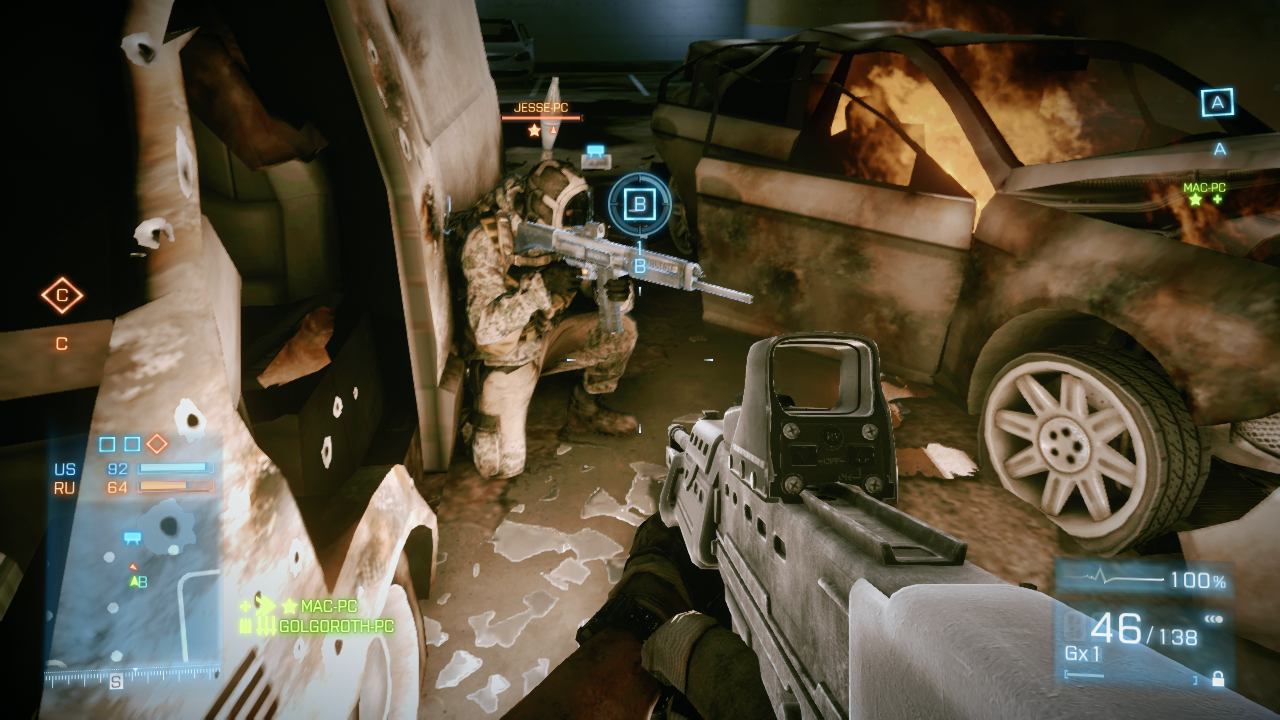
Visibility around Flag B is very limited due to the smoke and fire pouring out of the nearby vehicles. This makes it a good place to score kills with claymores and knives.
Level 0 [04]
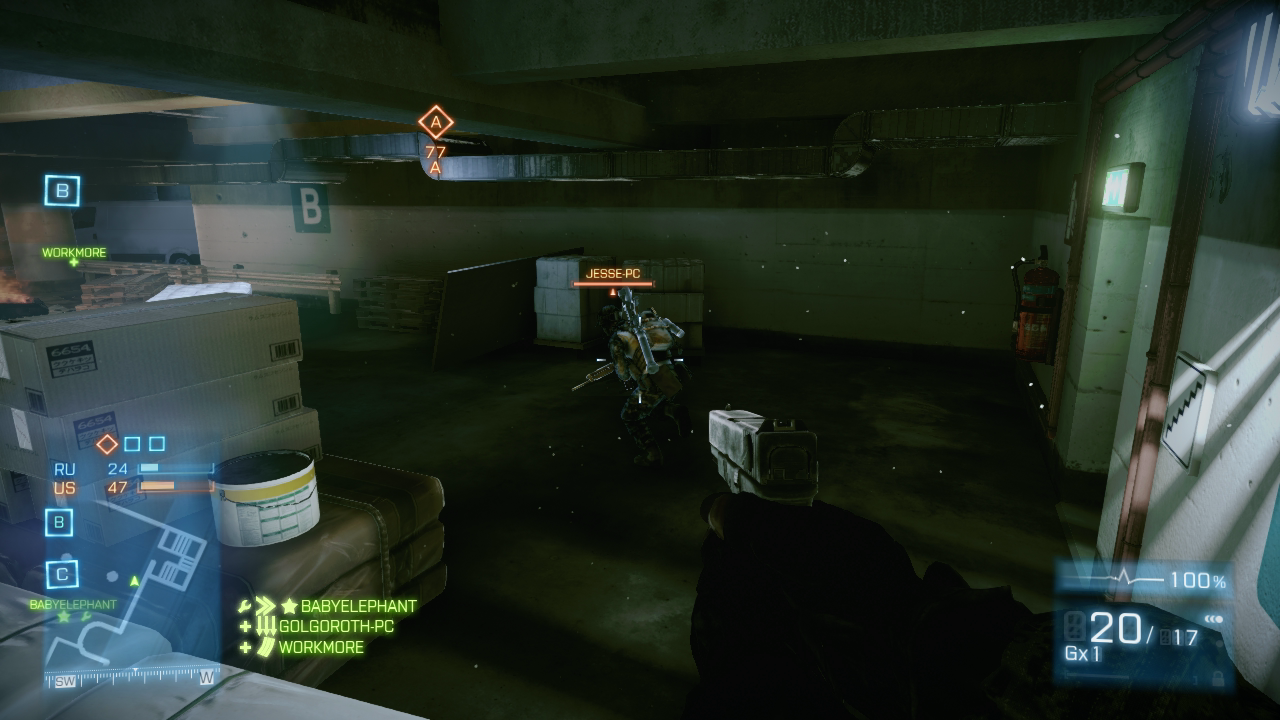
The stairwells leading down to the garage are natural choke points. During Squad or Team Deathmatch games, consider locking down the whole garage by ambushing traffic moving through these narrow passages.
Lobby (Flag C)
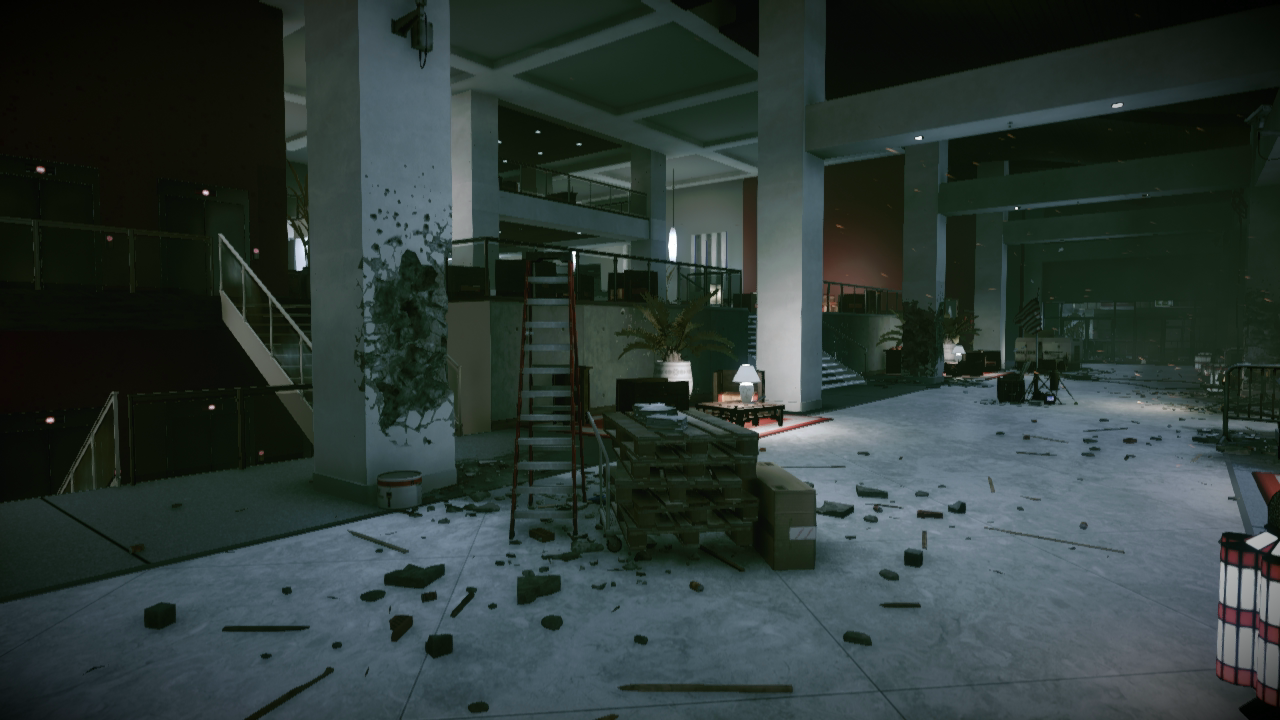
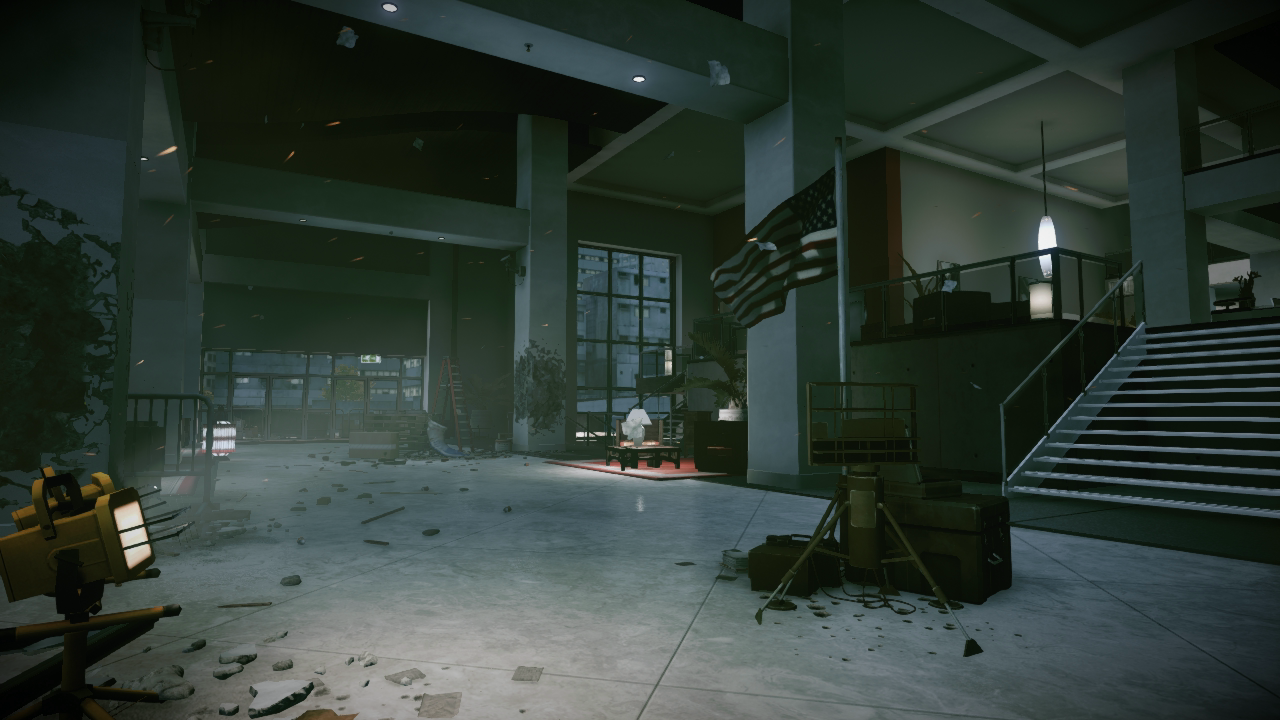
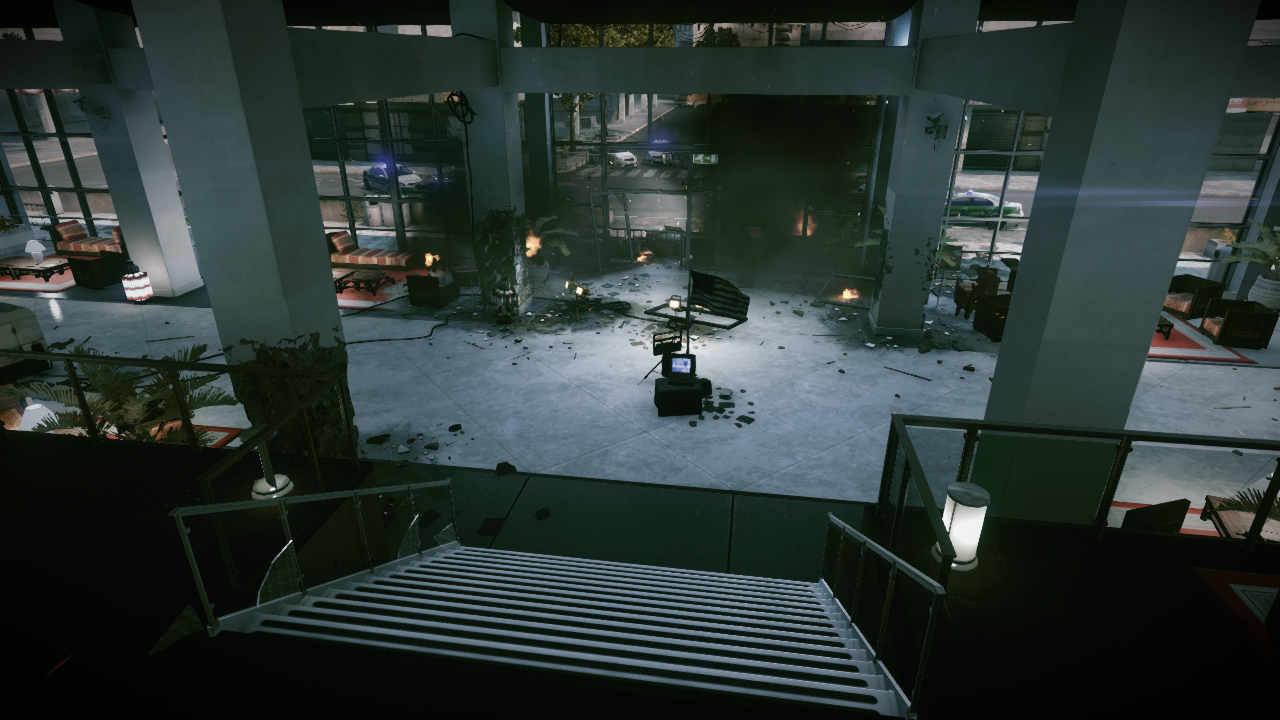
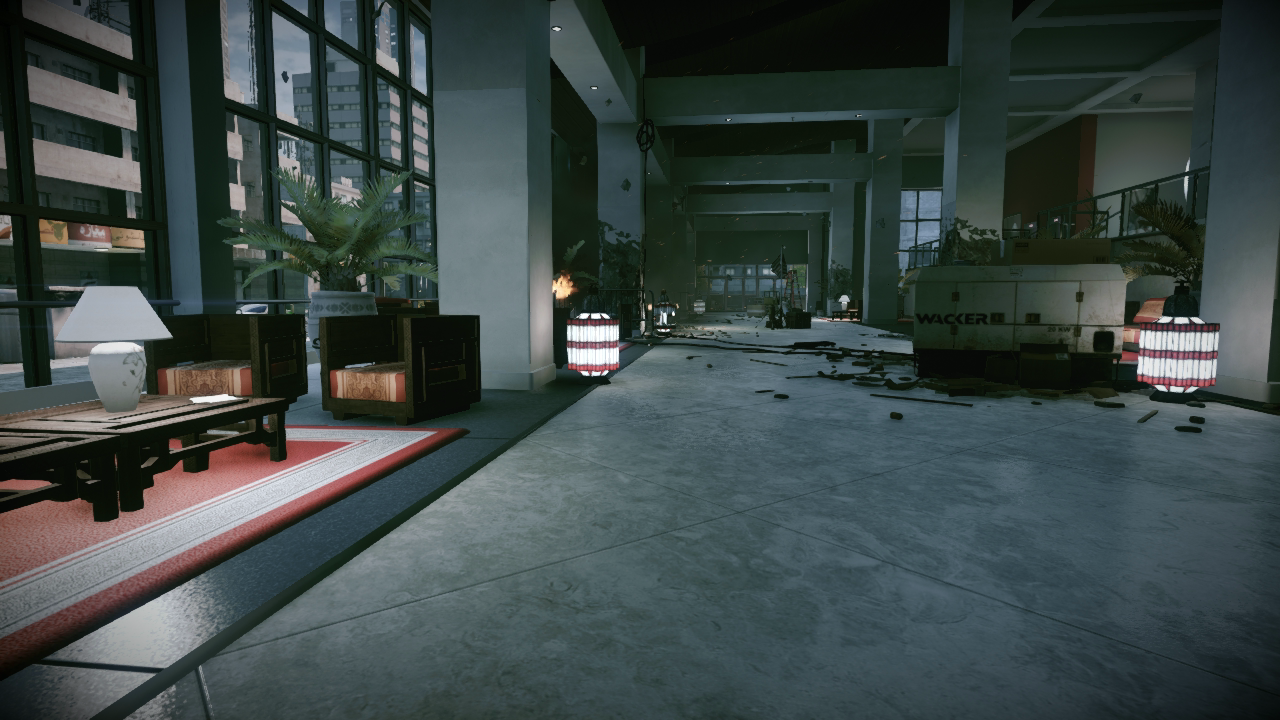
The lobby is a midlevel floor between the building’s parking garage and first floor on the map’s east side. This is also home to Flag C during Conquest Domination maps, with the flagpole posted in the dead center of the lobby. There isn’t much cover or concealment near the flag, so either deploy smoke or keep moving while attempting to convert this position.
The lobby’s rectangular layout allows for some exceptionally long sight lines, particularly from north to south. Expect to find recon troops posted on the north or south ends of the lobby, looking for sniping victims. On the lobby’s southern side is a small staircase leading up to a small upstairs lounge. This is also a popular defensive position, so don’t forget to look up. Given the openness and long sight lines afforded by this location, consider avoiding the lobby unless you’re equipped with an assault rifle or carbine. Sniper rifles can also be effective here, but because of the fast-paced action, opt for the semiautomatic variety over bolt-action rifles.
Level 0 [05]
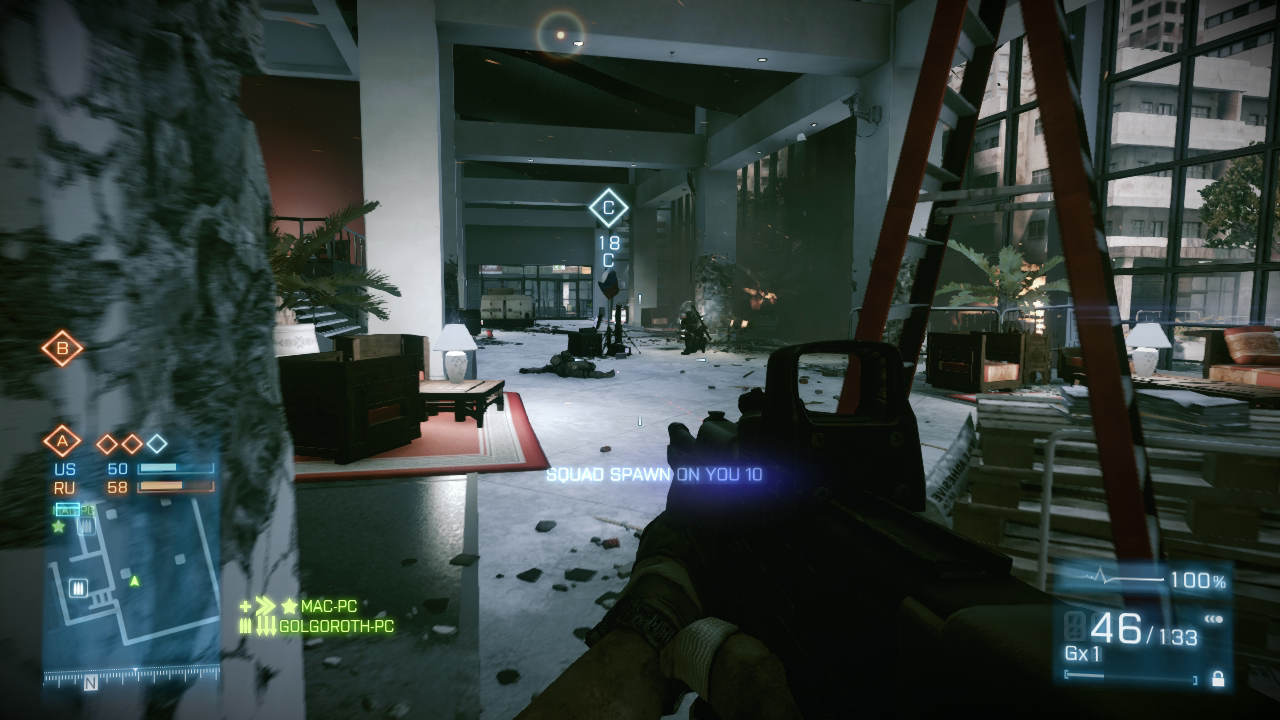
During Conquest Domination matches, watch Flag C from the north or south sides of the lobby. Either side offers a great view of the flag, allowing you to drop opponents from long range.
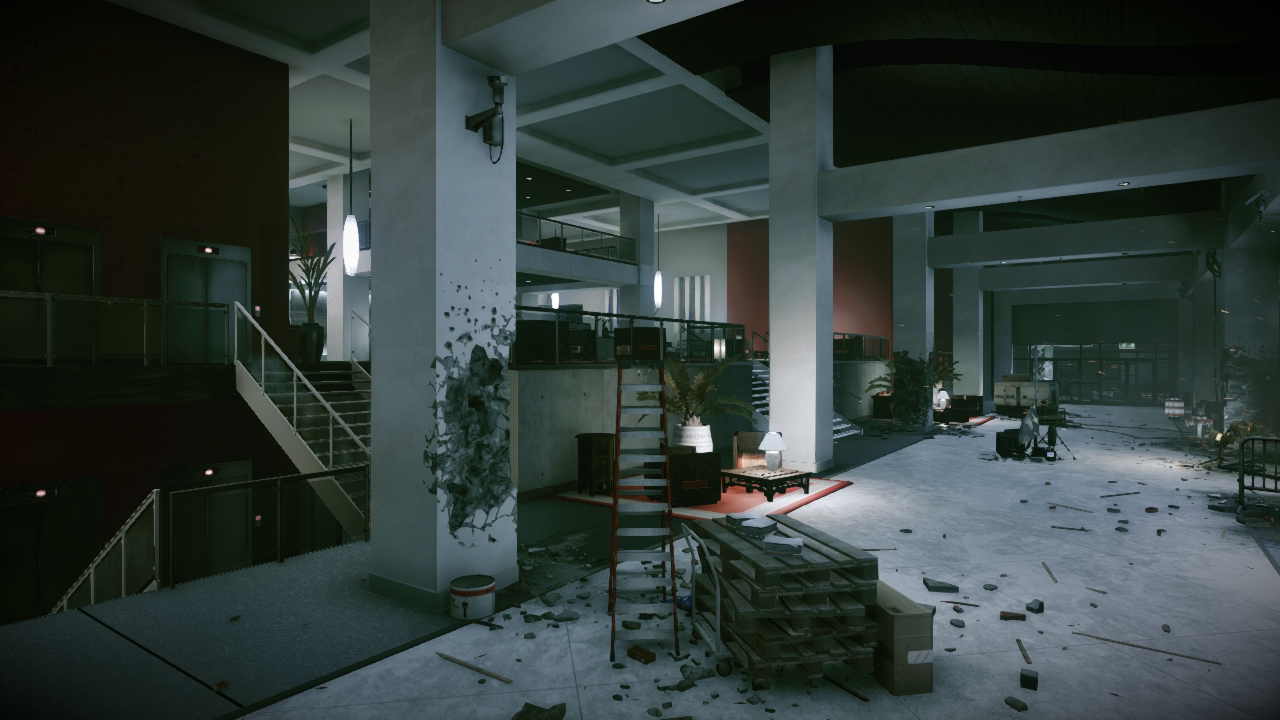
Construction Site
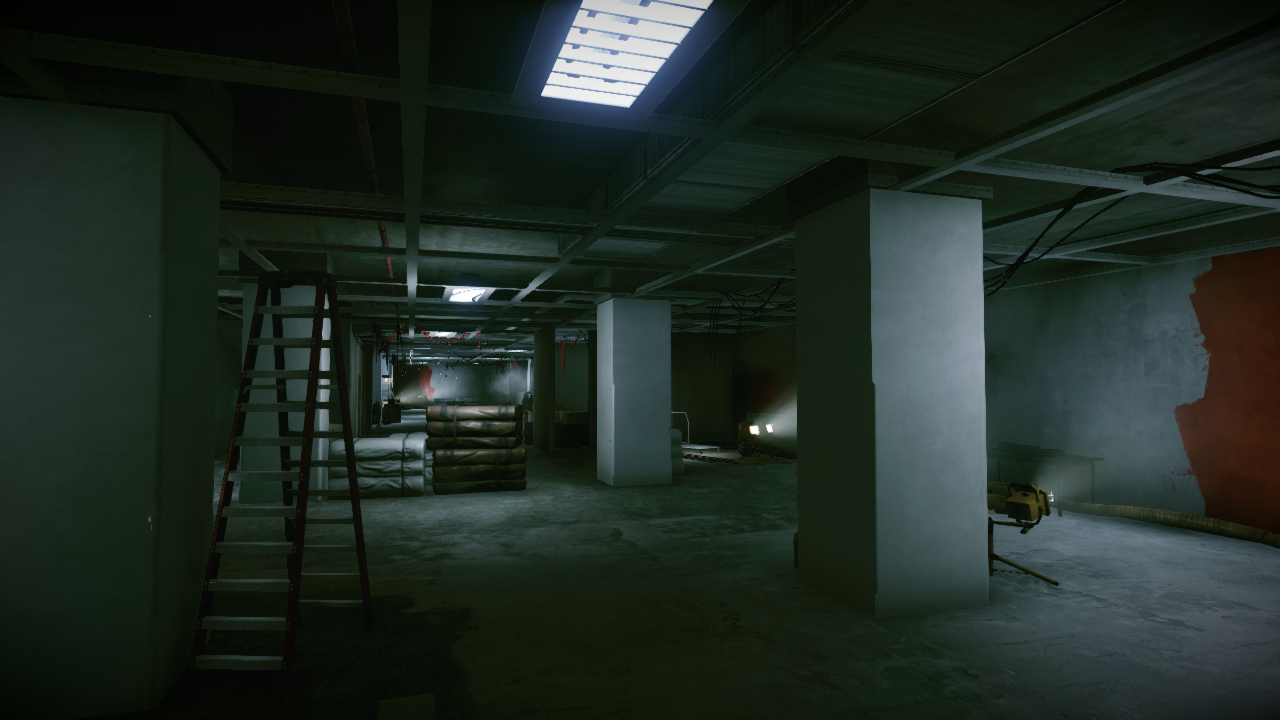
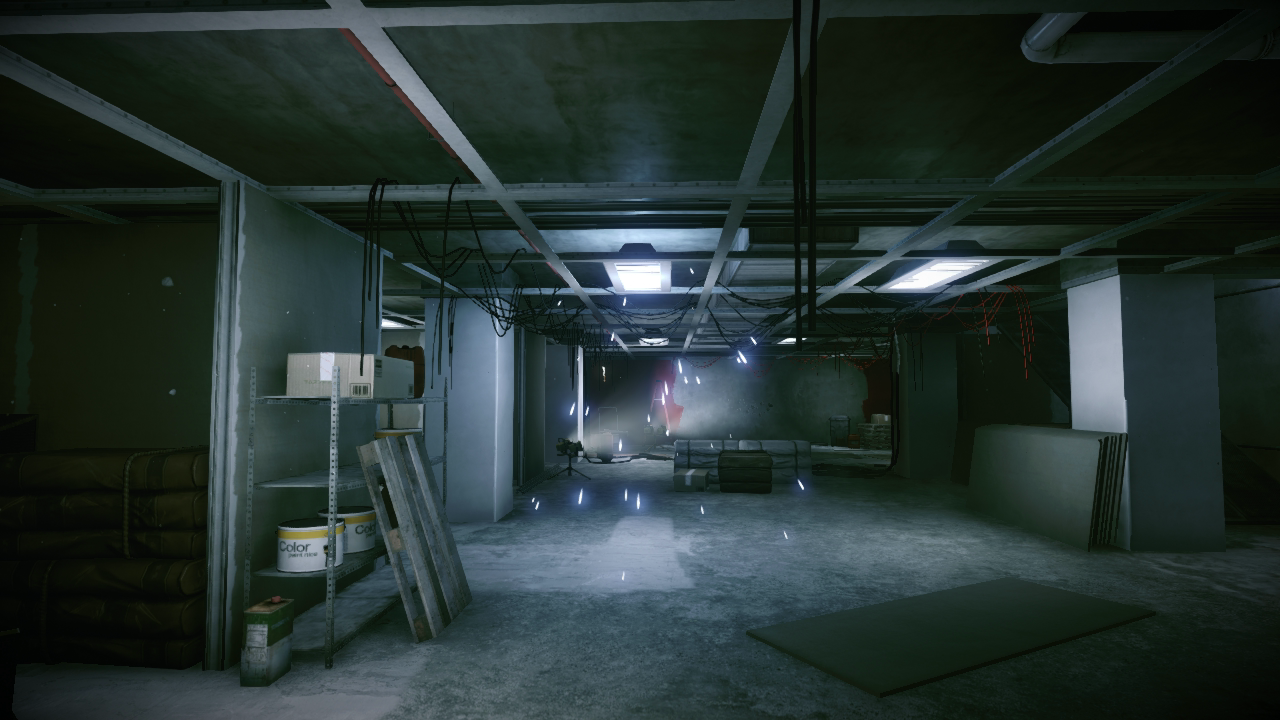
Level 1 [06]
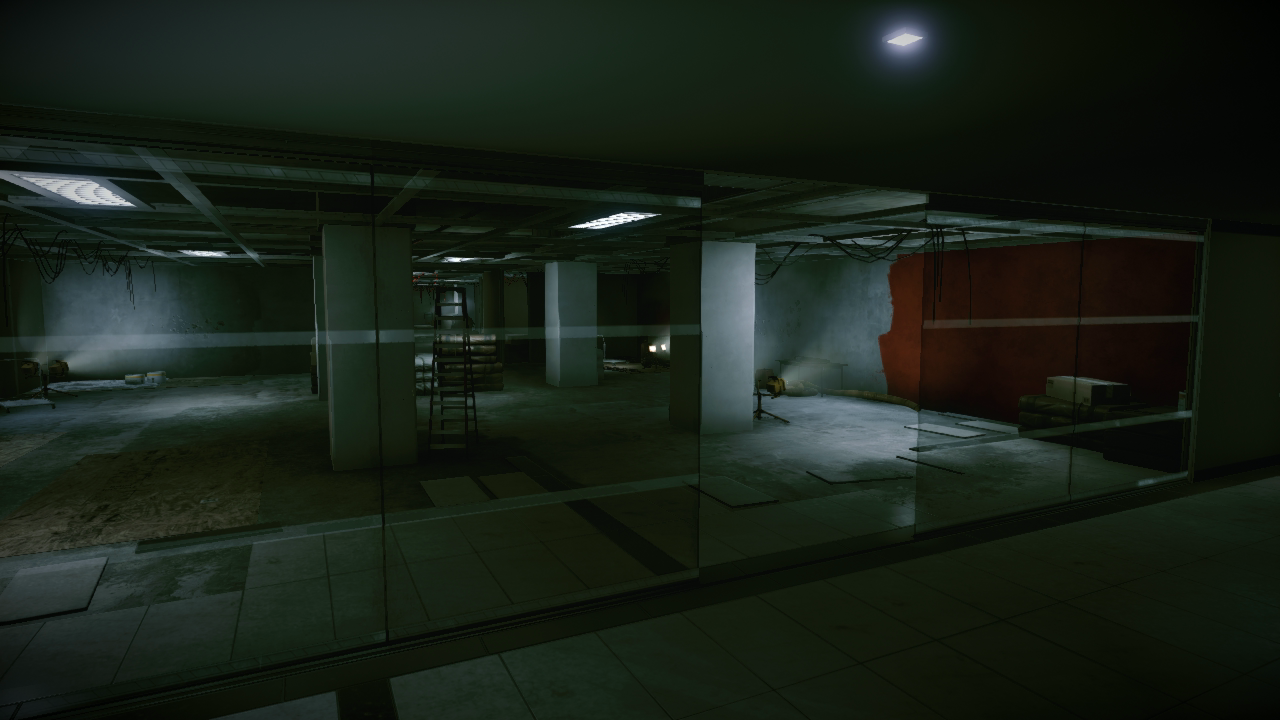
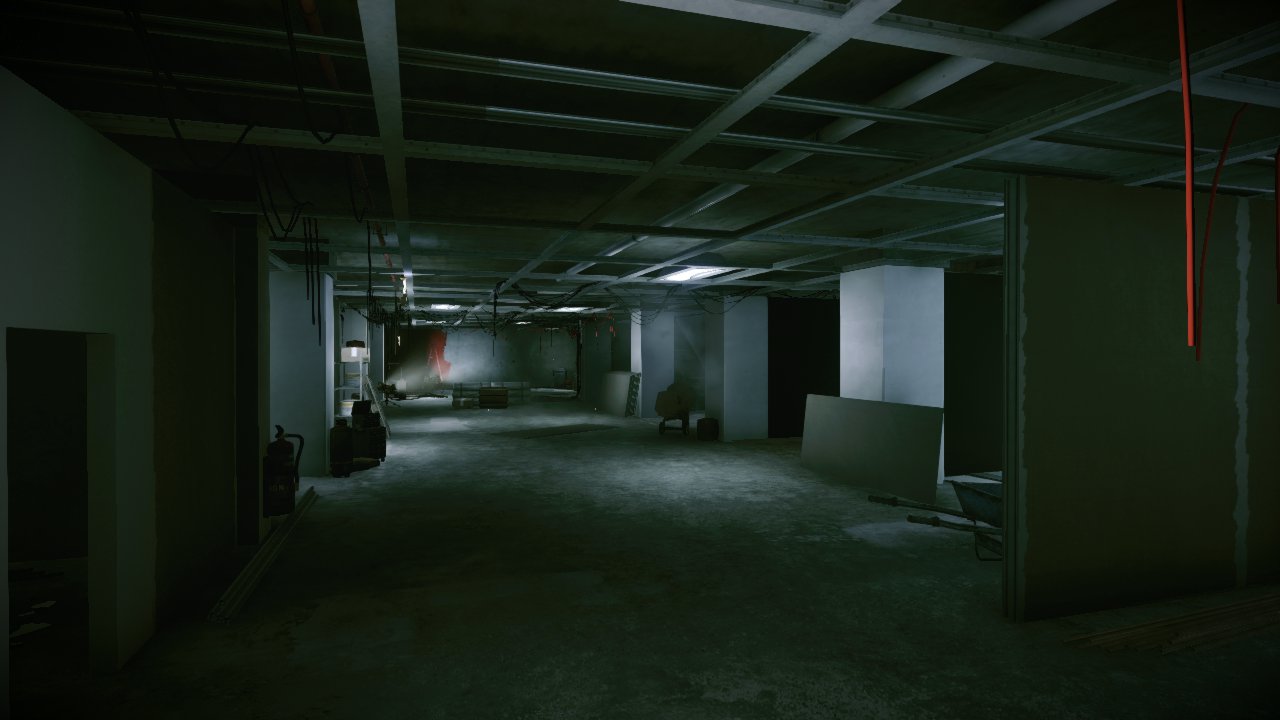
Don’t be in a hurry while moving through the stairwells. A laser sight can help during these close encounters, increasing your weapon’s accuracy while firing from the hip. There’s no need to aim at this range.
Level 1 [07]
There are plenty of hiding places here, so watch out for knife-wielding opponents lurking in the shadows. If you’re trying to win a Gun Master match, this is a good place to stalk your prey.
Conference Rooms
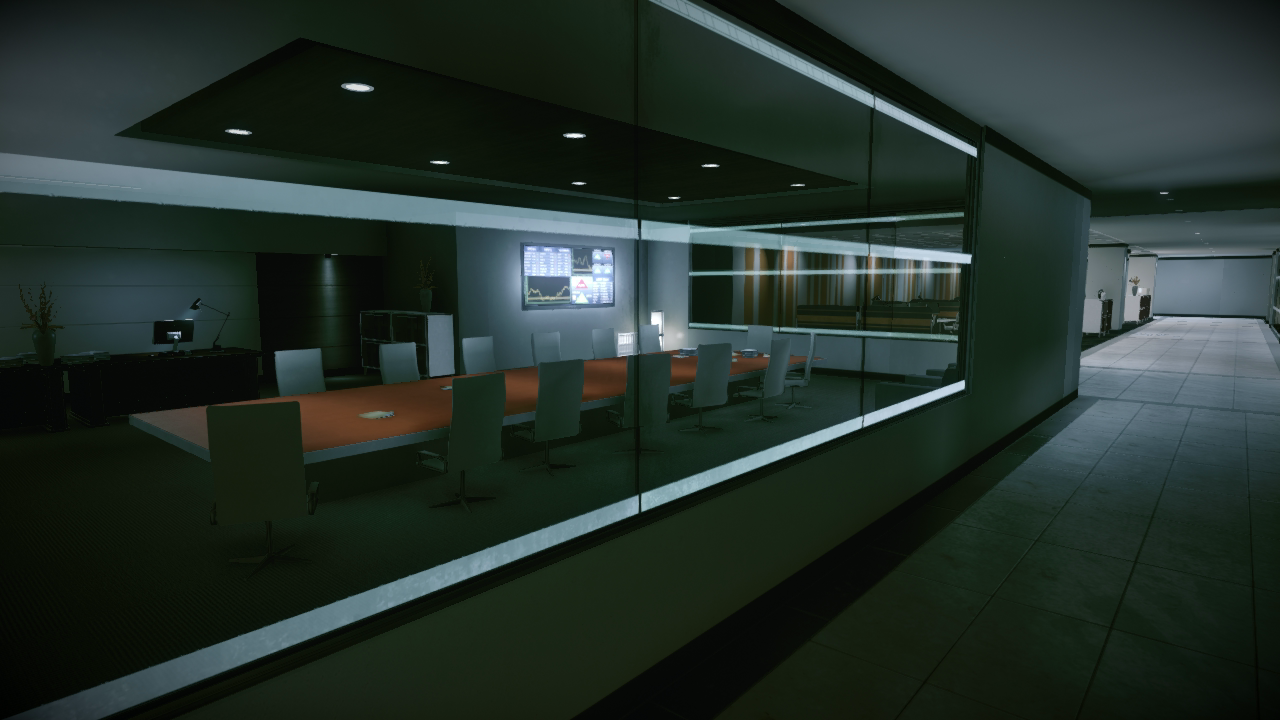
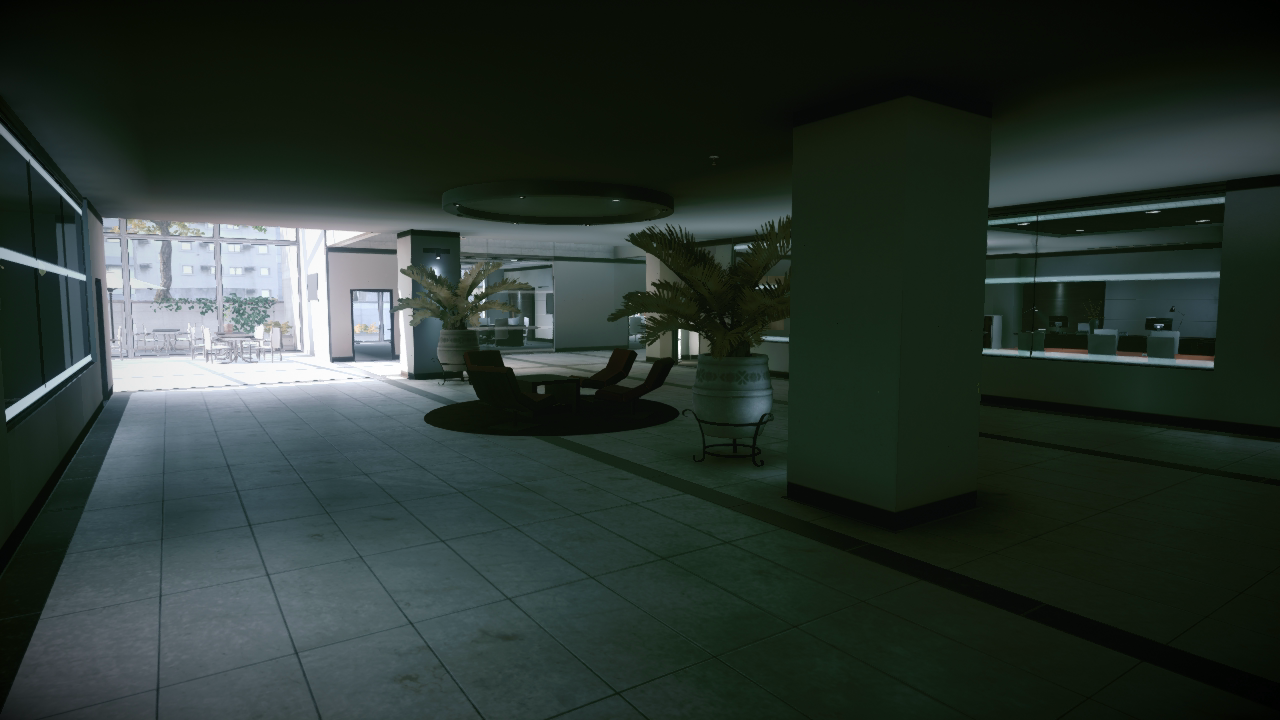
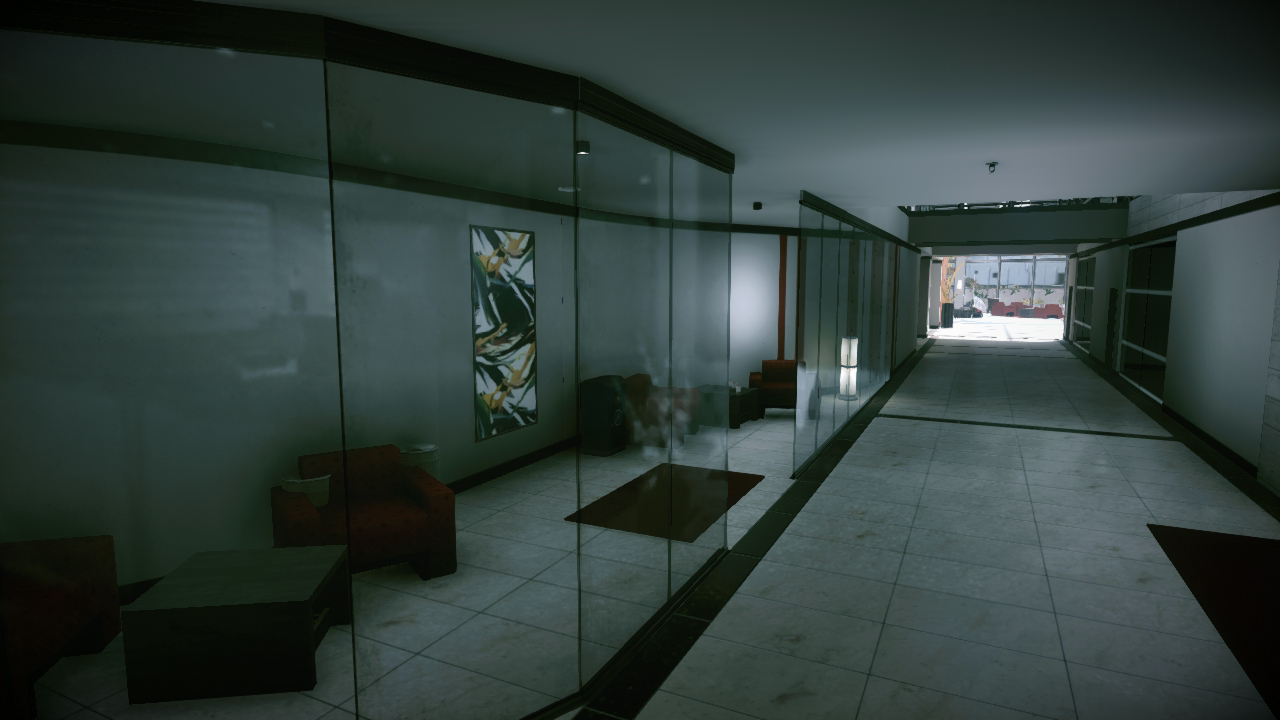
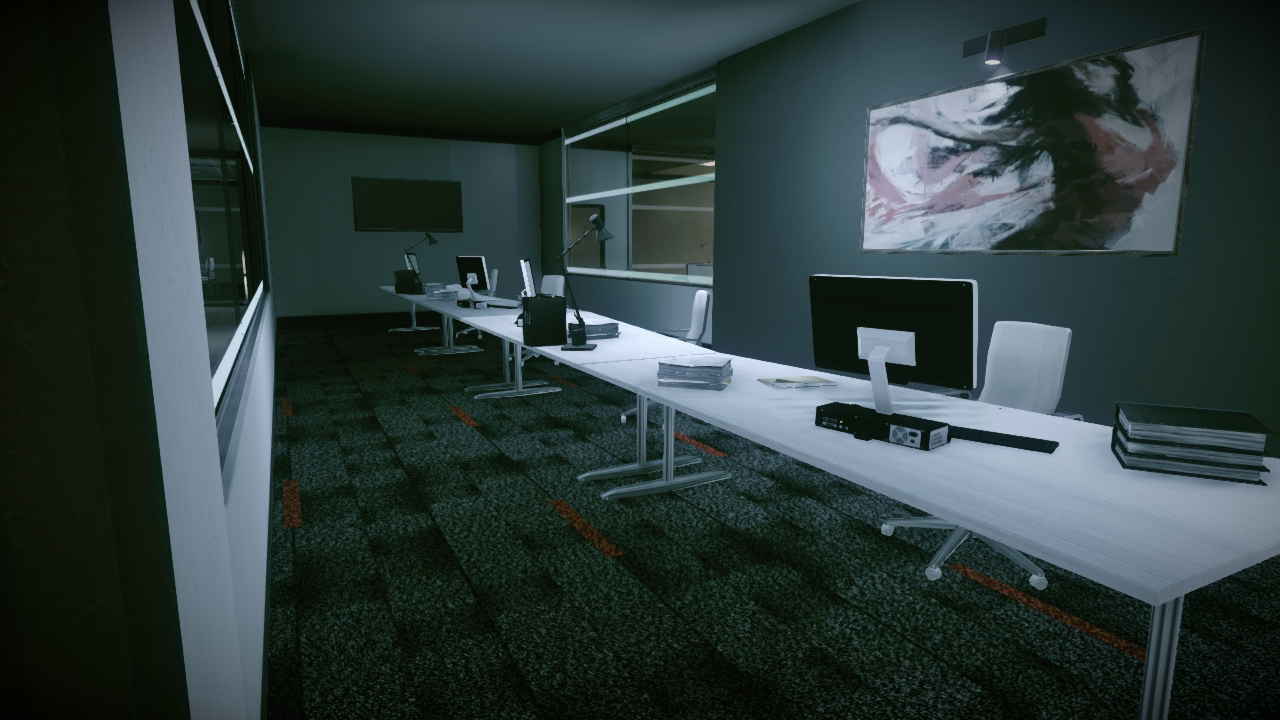
A series of conference rooms are located directly north of the café on the building’s first floor. In most instances, these rooms have only one entry point. But you can always make more by shattering the glass windows. These rooms are sometimes popular hiding spots for campers looking to engage the cross-traffic in the adjoining halls. If you’re not careful, you can get trapped in these rooms as opponents lob grenades and launch rockets in your direction.
Maneuvering in these tight spaces is made more difficult by collisions with furniture such as desks and chairs, so think twice before cornering yourself in one of these cramped rooms. And don’t think the walls will provide you much protection. Most of the walls here can be penetrated by small-arms fire. The nearby corridors don’t offer much refuge either. Players positioned at the east or west ends of these long hallways can take advantage of these long sight lines, dropping opponents with precision sniper rifles and assault rifles.
Level 1 [08]
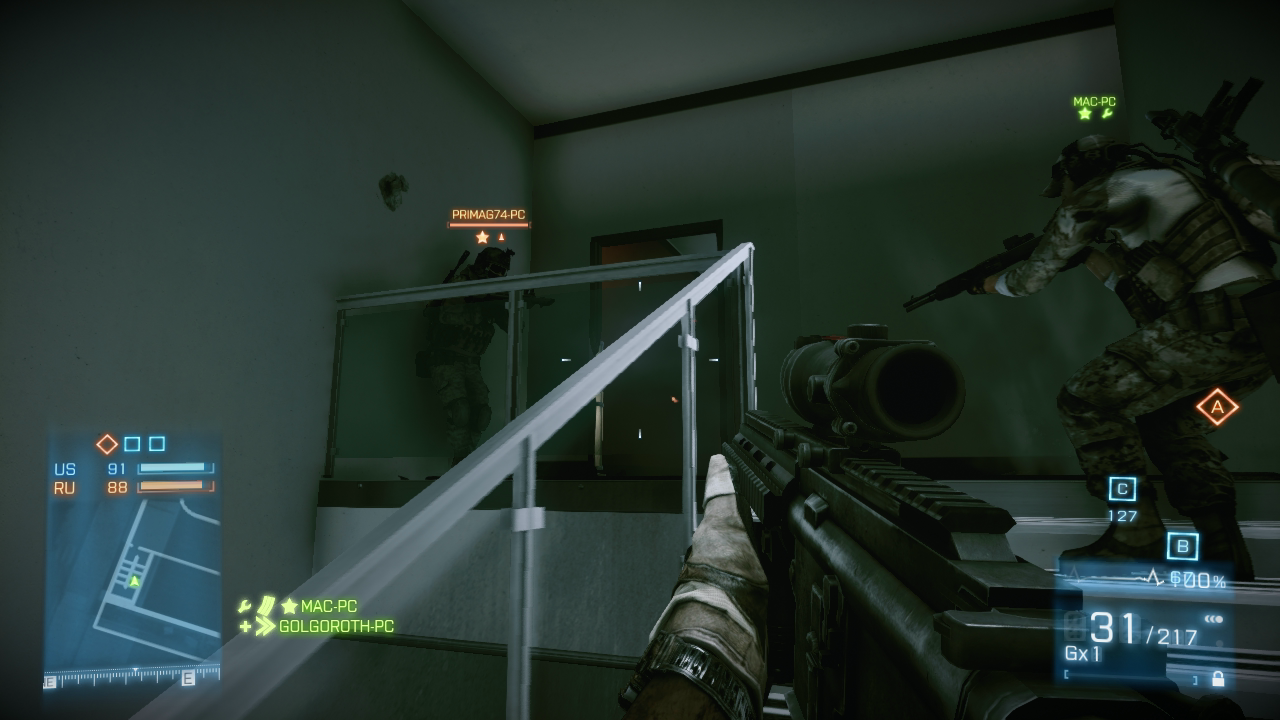
Shotguns rule in the stairwells. When possible, advance through the stairwells with at least one teammate, but don’t bunch up. If you’re too close to each other, a few shotgun blasts could send you both back to the spawn screen.
Level 1 [09]
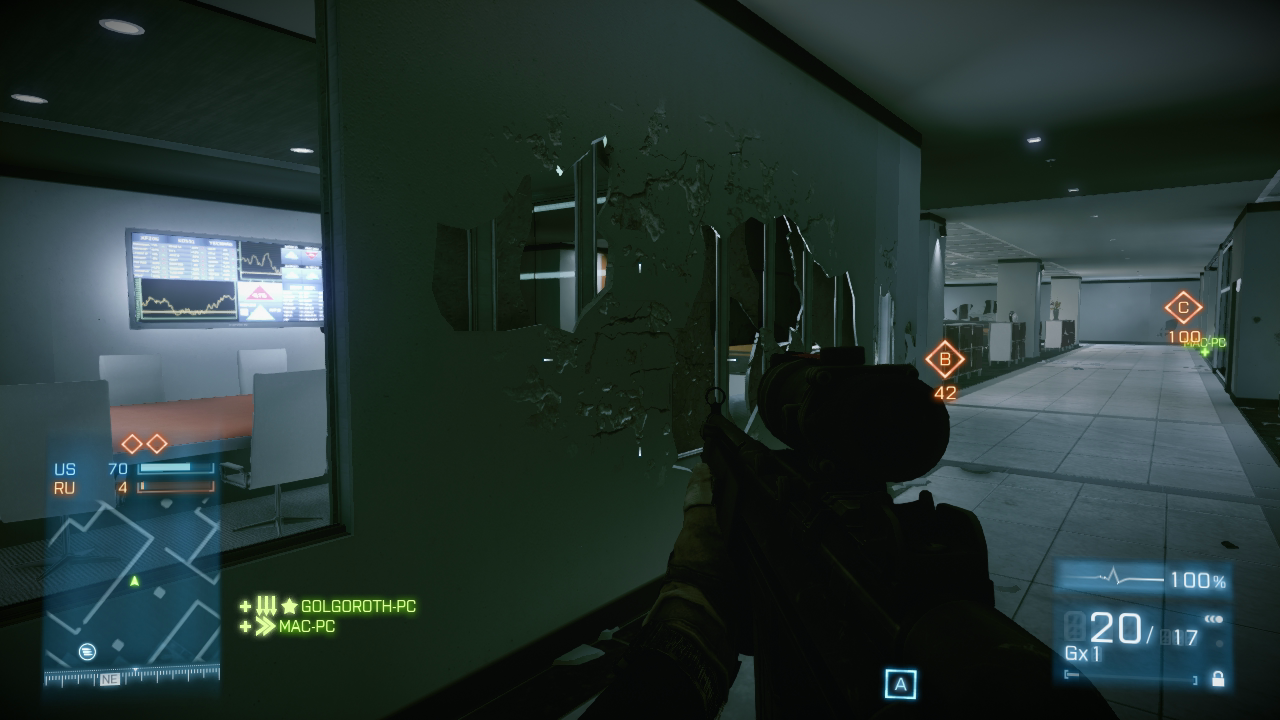
Many of the conference room walls are destructible. So don’t rush inside these rooms to escape incoming fire. Small-arms fire and explosives can open large holes in these walls.
Level 1 [10]
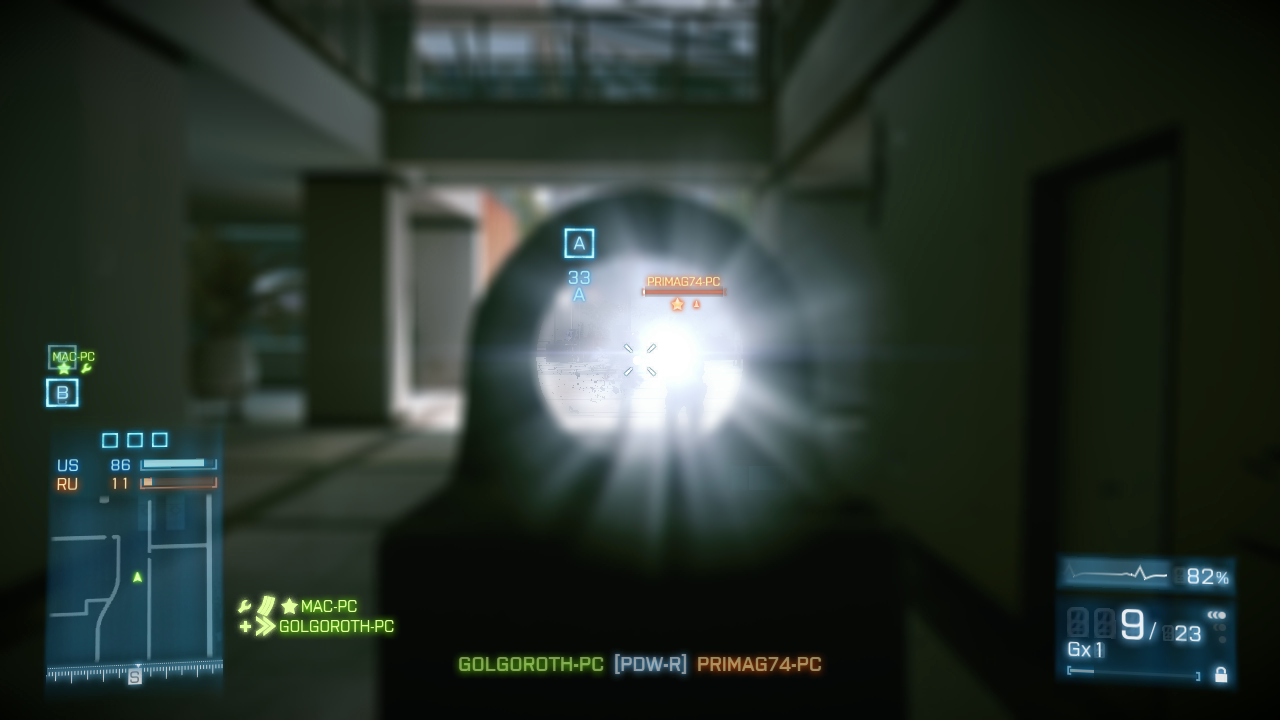
The dark halls around the conference rooms, offices, and construction site make tactical lights and laser sights very effective when it comes to blinding your opponents.
Offices
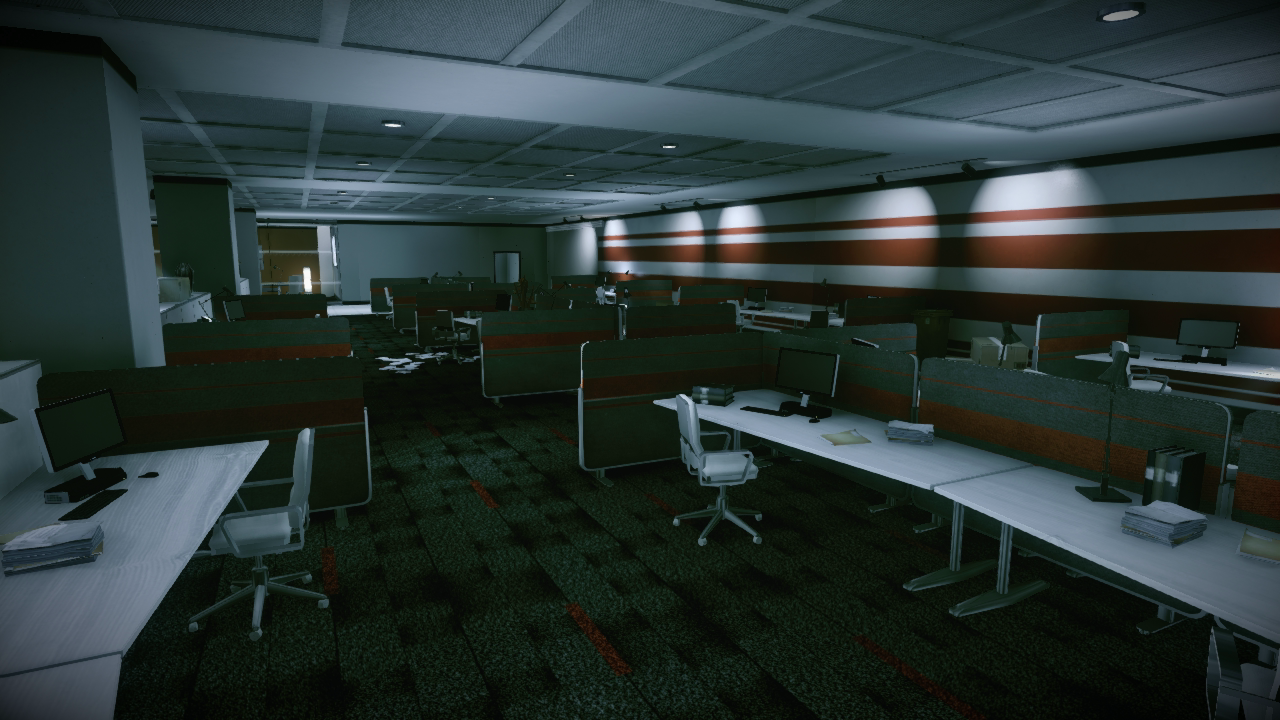
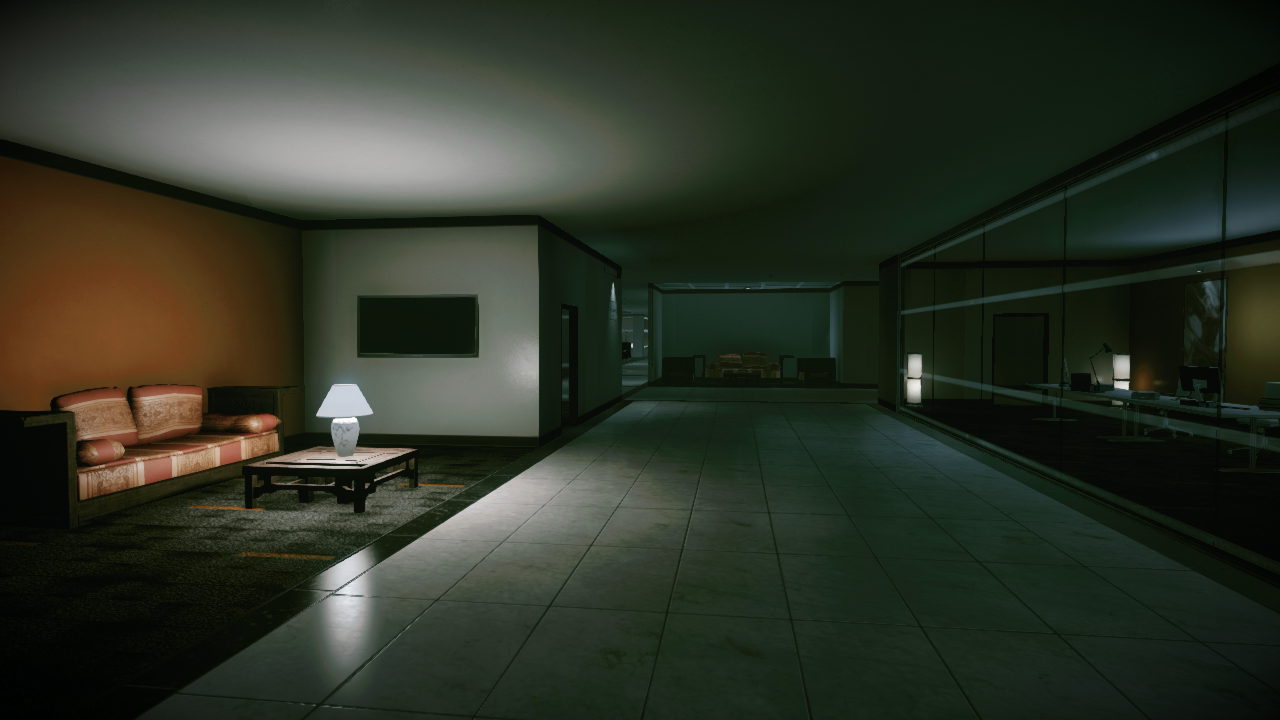
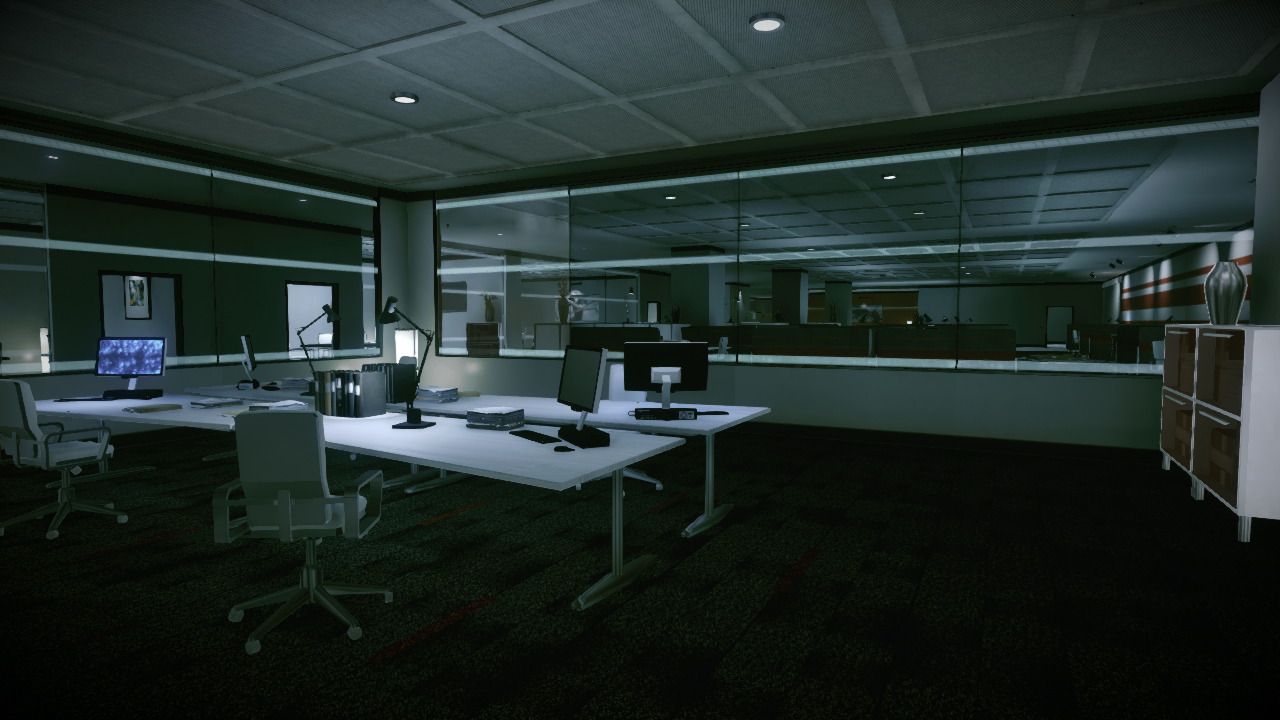
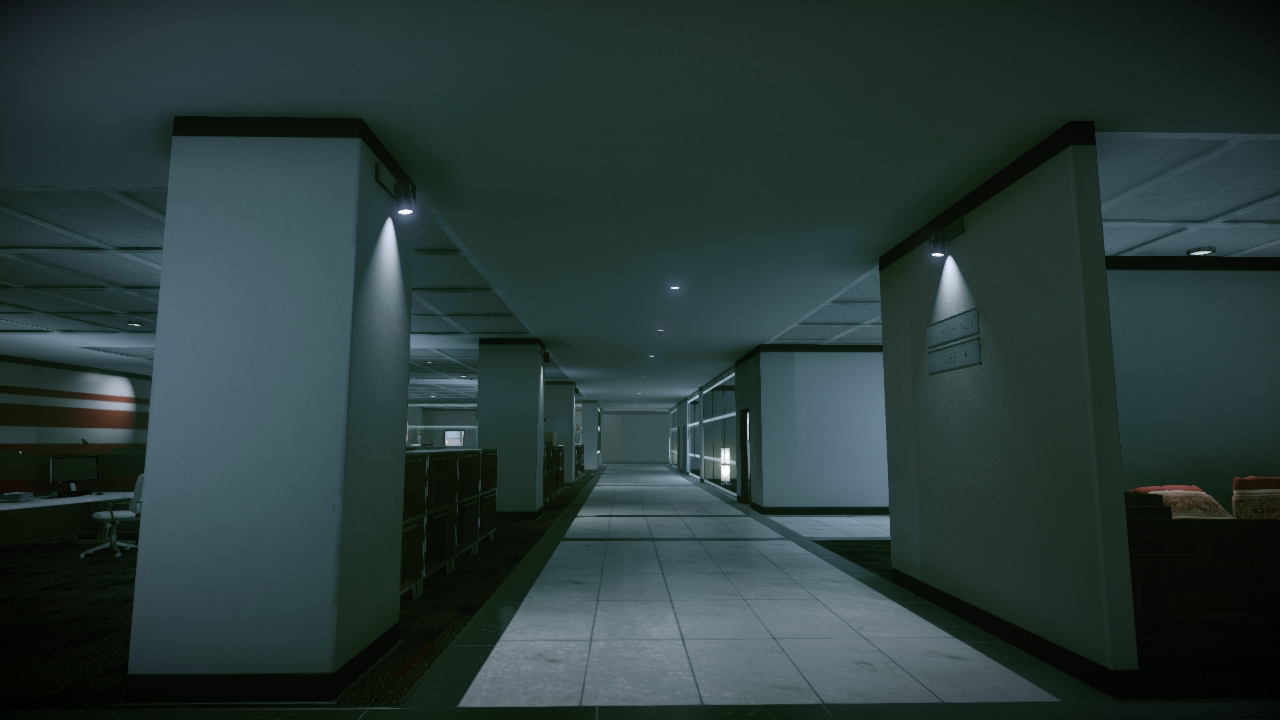
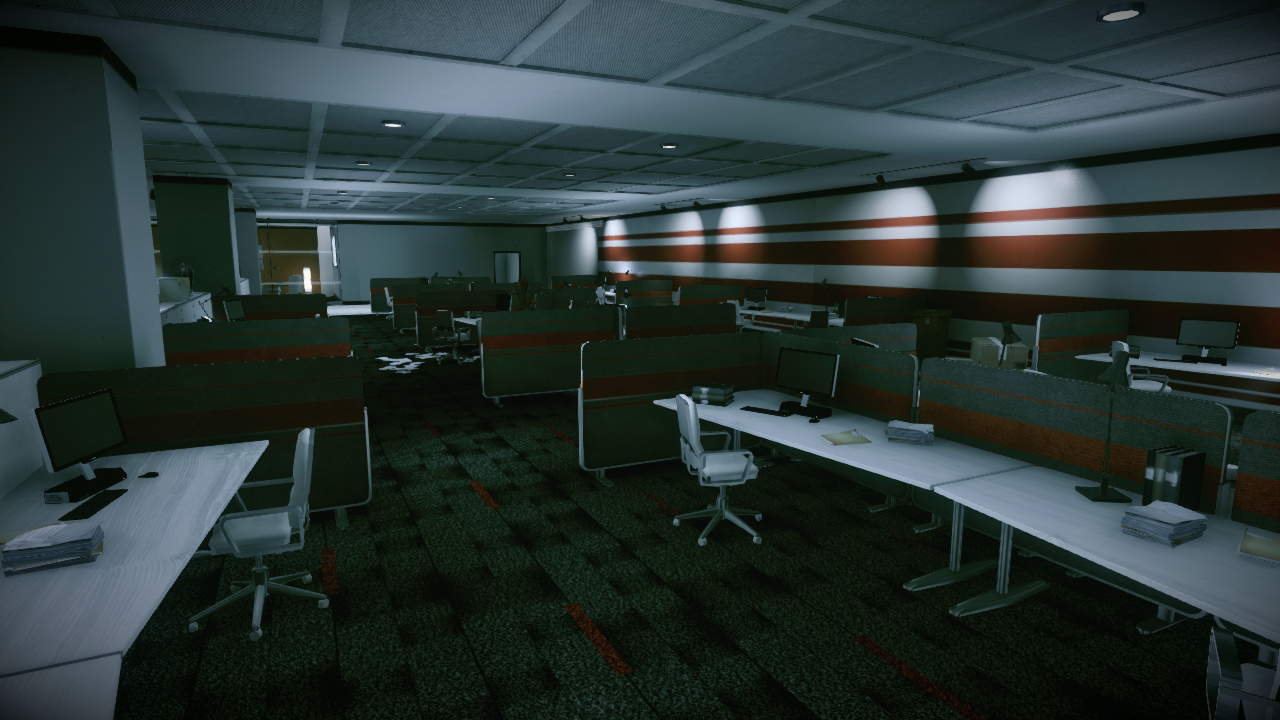
The offices make up the majority of the building’s first floor, occupying the space between the lobby and café. As a result, this is usually a high-traffic area in all game modes and the site of some intense firefights occurring at varied ranges. Expect plenty of shattering glass and holes punched through wall as the bullets start flying. There are two separate cubicle banks situated on the north and south sides of this area.
When moving through the cubicle areas, stay low to avoid being spotted. While the cubicles provide excellent concealment, they make for lousy cover, breaking apart at the slightest impact. If you start taking fire, drop prone to avoid getting hit through the flimsy cubicle walls. The offices between the two cubicle banks don’t offer much more protection, surrounded by glass and thin walls.
Only duck inside these offices momentarily to avoid getting hit by incoming fire. Like the nearby conference rooms, there’s usually only one entry point to each office. If you’re not careful, you can get cornered here. Overall this is a dangerous high-traffic area. The construction area to the north offers a bit more cover and concealment, making it the safer route to transition between the east and west sides of the map.
Level 1 [11]
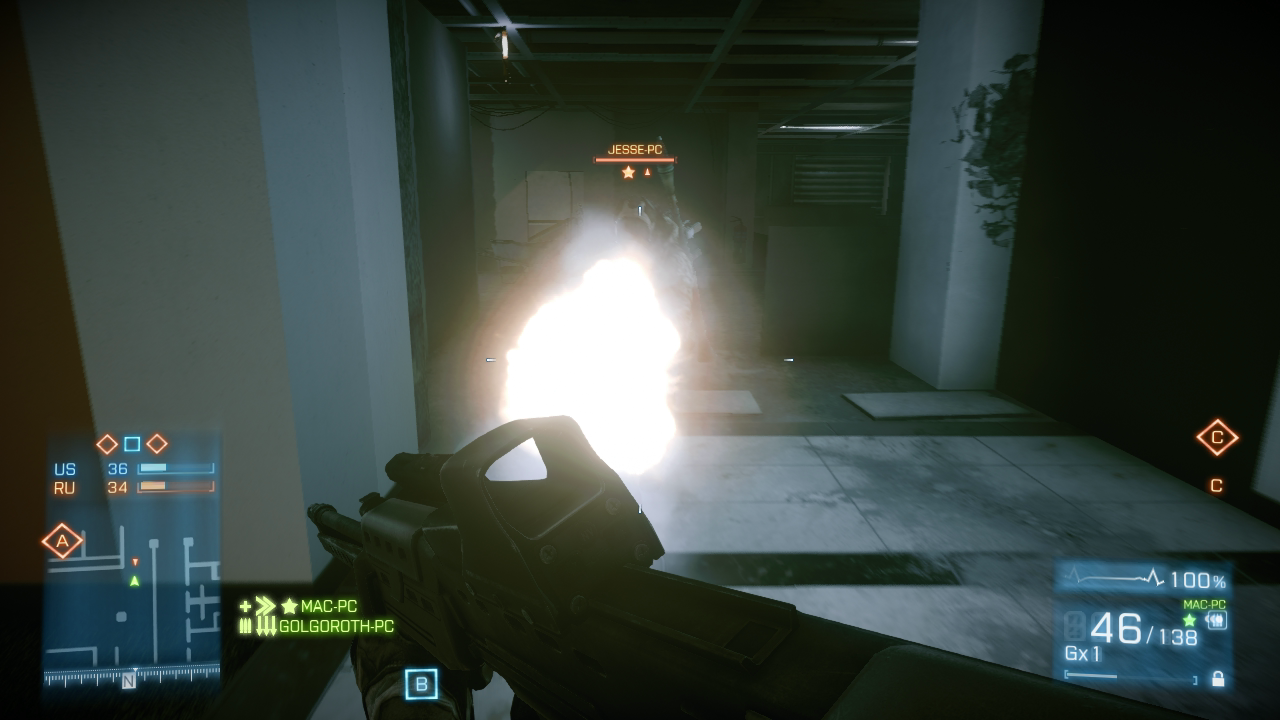
Watch your speed when rounding corners around the offices and construction site. If you’re sprinting and come face-to-face with an opponent, you probably won’t have a chance to raise your weapon before you’re shot at point-blank range. It’s better to move slowly with your weapon raised.
Level 1 [12]
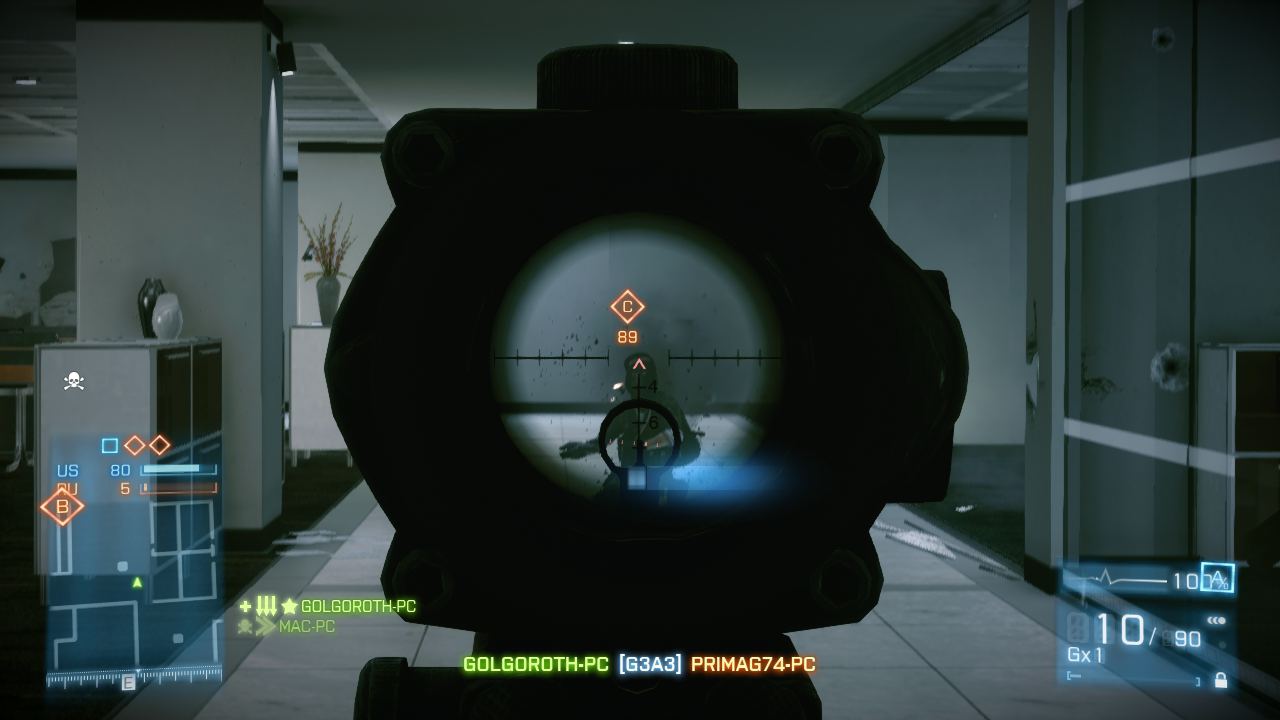
Avoid long hallways like this one unless you have a rifle with a scope. Assault rifles and sniper rifles work well here.
Level 1 [13]
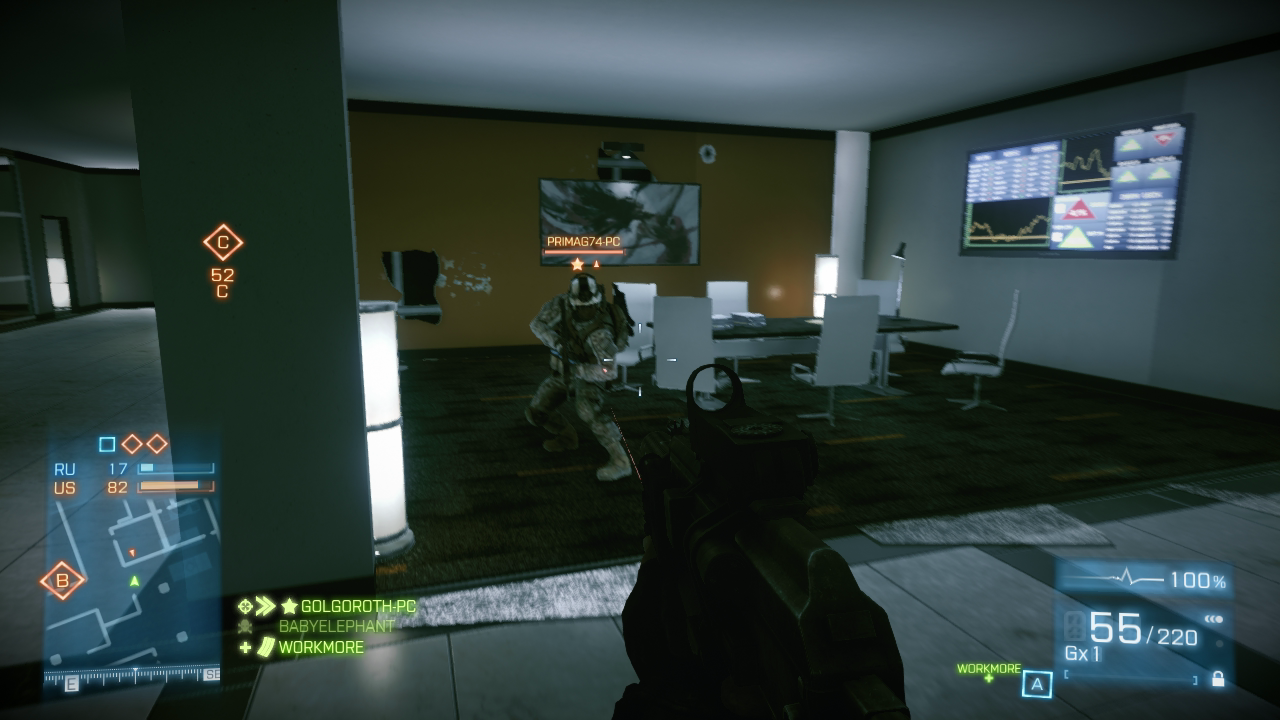
PDWs with large-capacity magazines, like the PP-19 or P90, work well when fighting at close range in the offices. Equip a laser sight to improve hip accuracy, then simply hold down the trigger while spraying your opponents with automatic fire.
Level 1 [14]
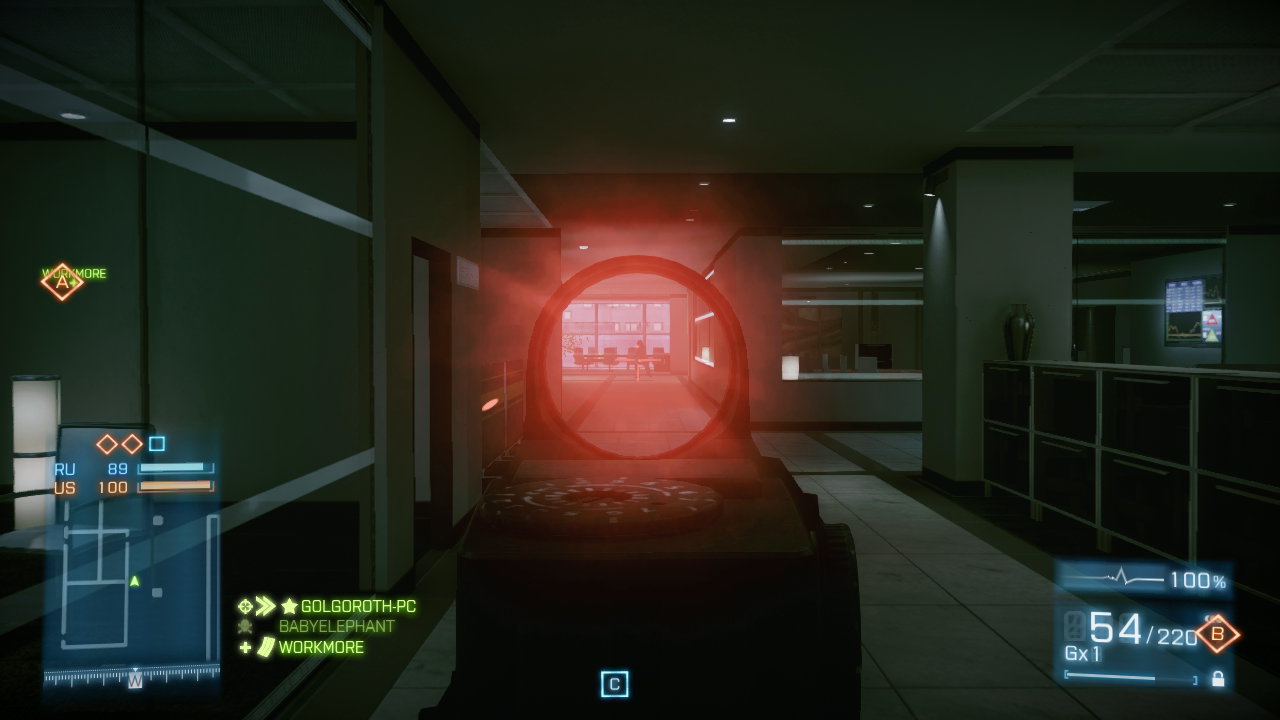
PDWs with large-capacity magazines, like the PP-19 or P90, work well when fighting at close range in the offices. Equip a laser sight to improve hip accuracy, then simply hold down the trigger while spraying your opponents with automatic fire.
Reception Lounge
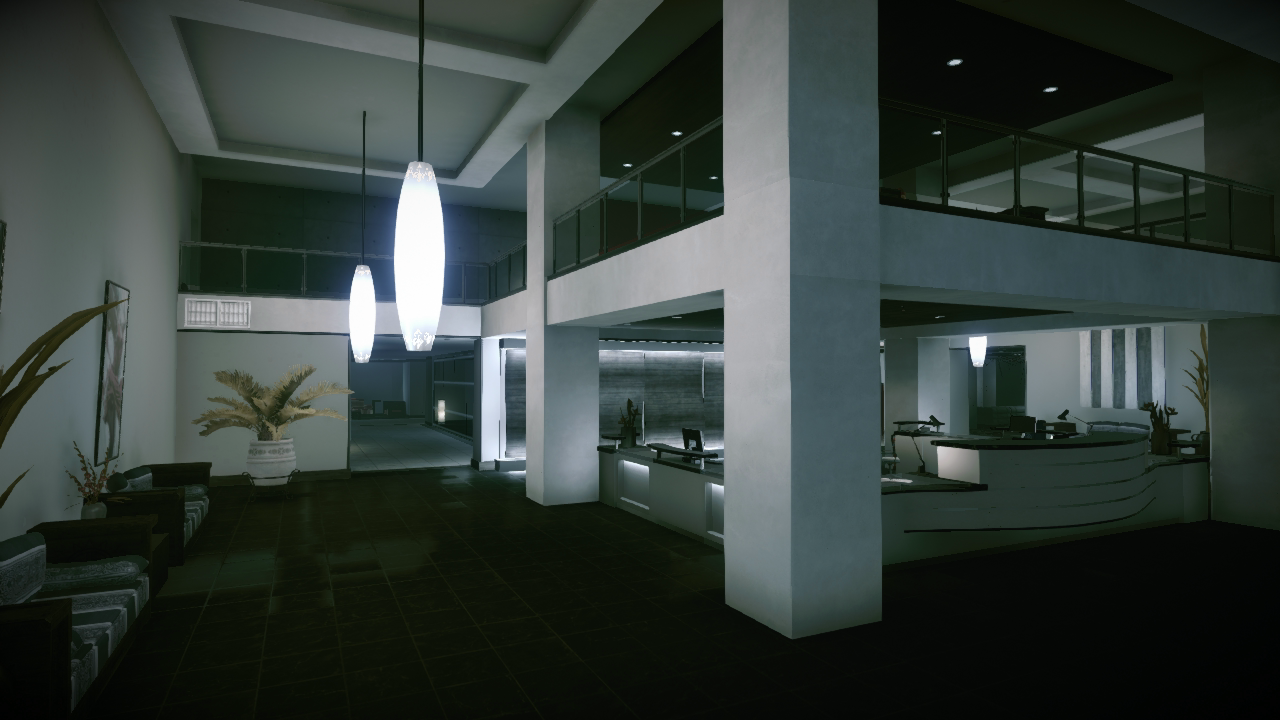
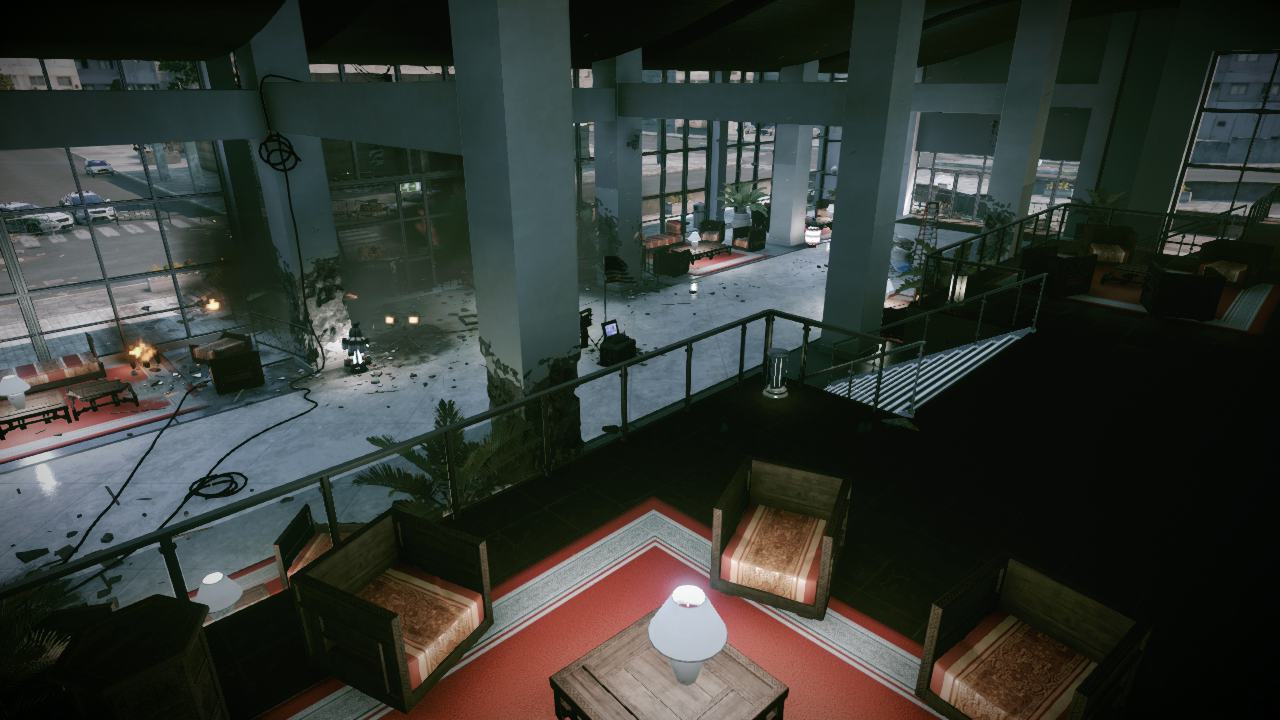
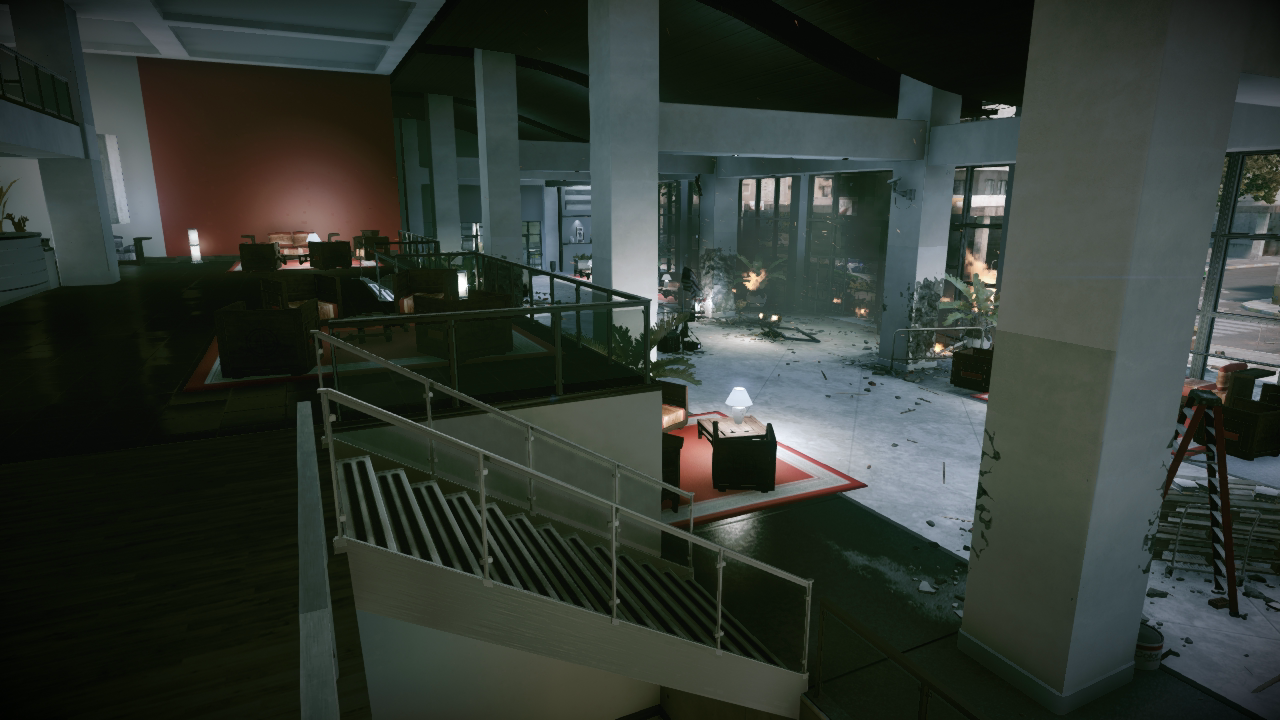
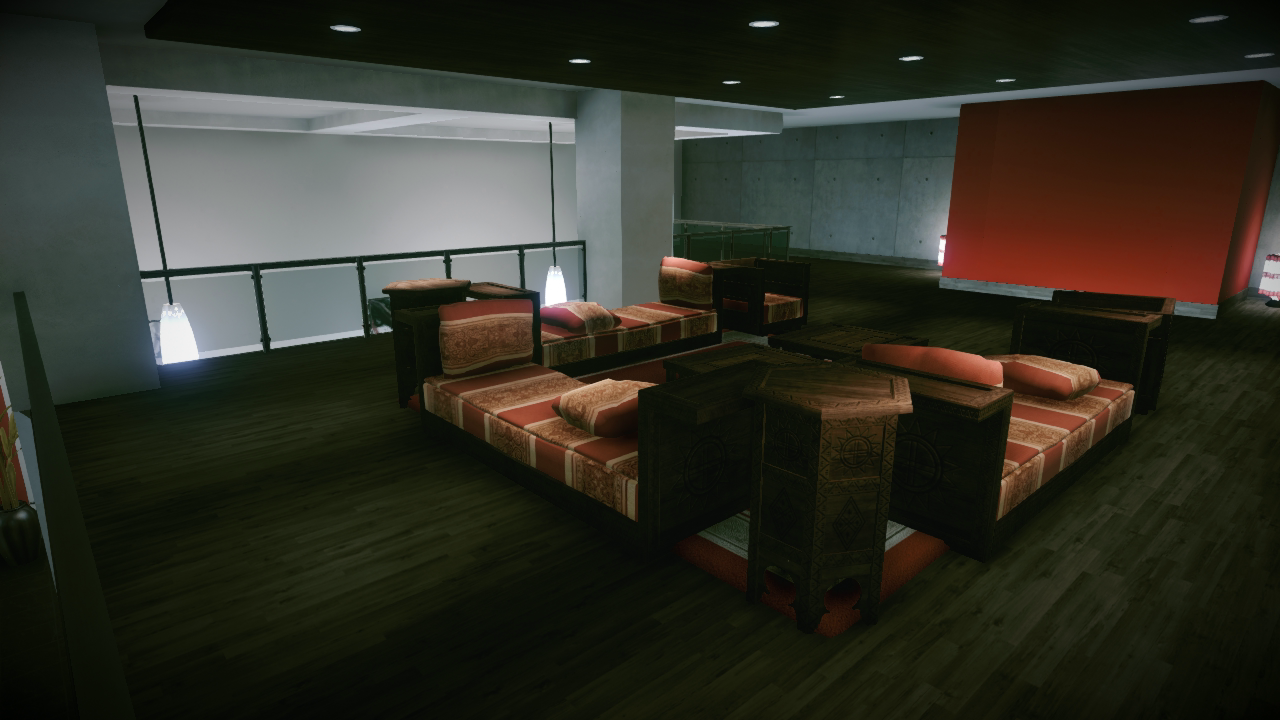
The reception lounge is located just west of the lobby. A large reception desk dominates the floor plan here. It is surrounded by plush seating, potted plants, and modern art. While the ground floor here is mostly a transitional area, there is an elevated seating area just above the reception desk that can serve as a great defensive overmatch position.
You can access this elevated lounge via two staircases to the south and north, offering great views of the floor below. This is a popular sniper perch during Conquest Domination matches as recon troops pick off attackers rushing toward Flag C. But this elevated position is popular in other game modes, too, because it offers a brief reprieve from the chaos on the floor below. But if you wish to hold this position, make sure you have a teammate or two to watch your back. Alternatively, you can deter opponents from sneaking up on you by planting claymores on the two staircases leading up to this platform.
Level 1 [15]
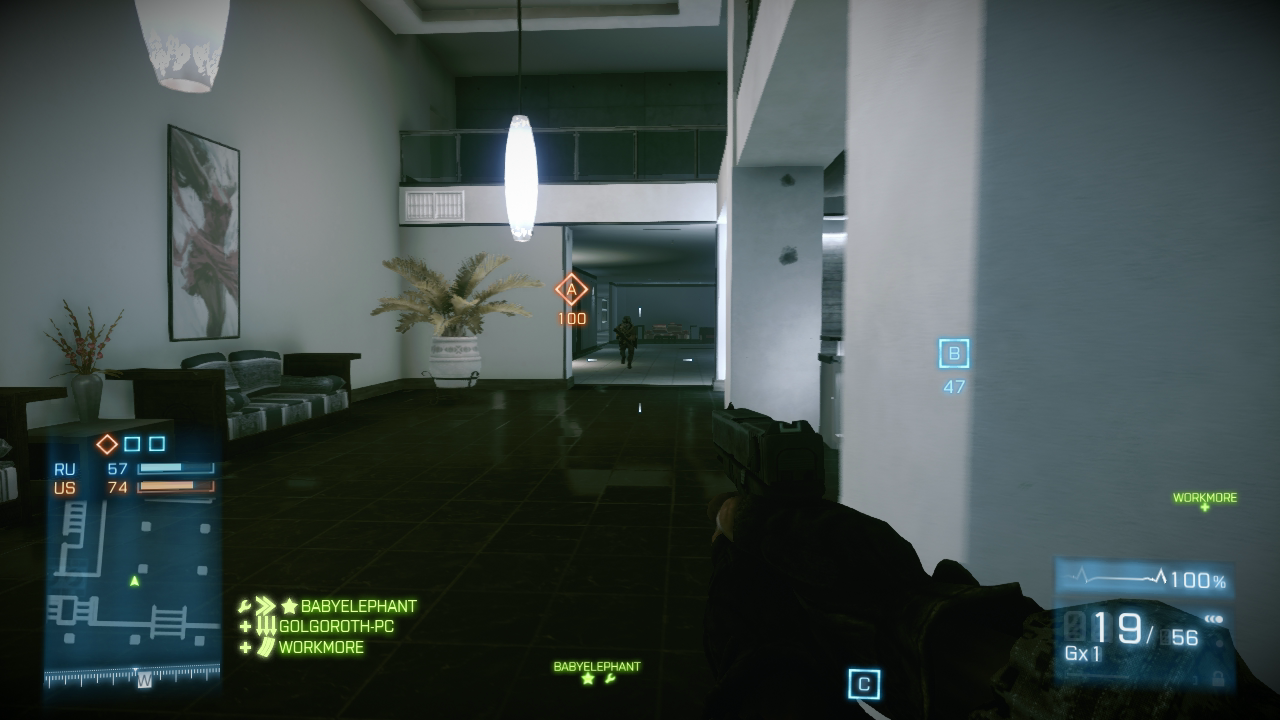
This long hall west of the reception lounge is great for spotting opponents rushing through the offices. But you’ll want a weapon with some range to deal damage at this distance.
West Promenade
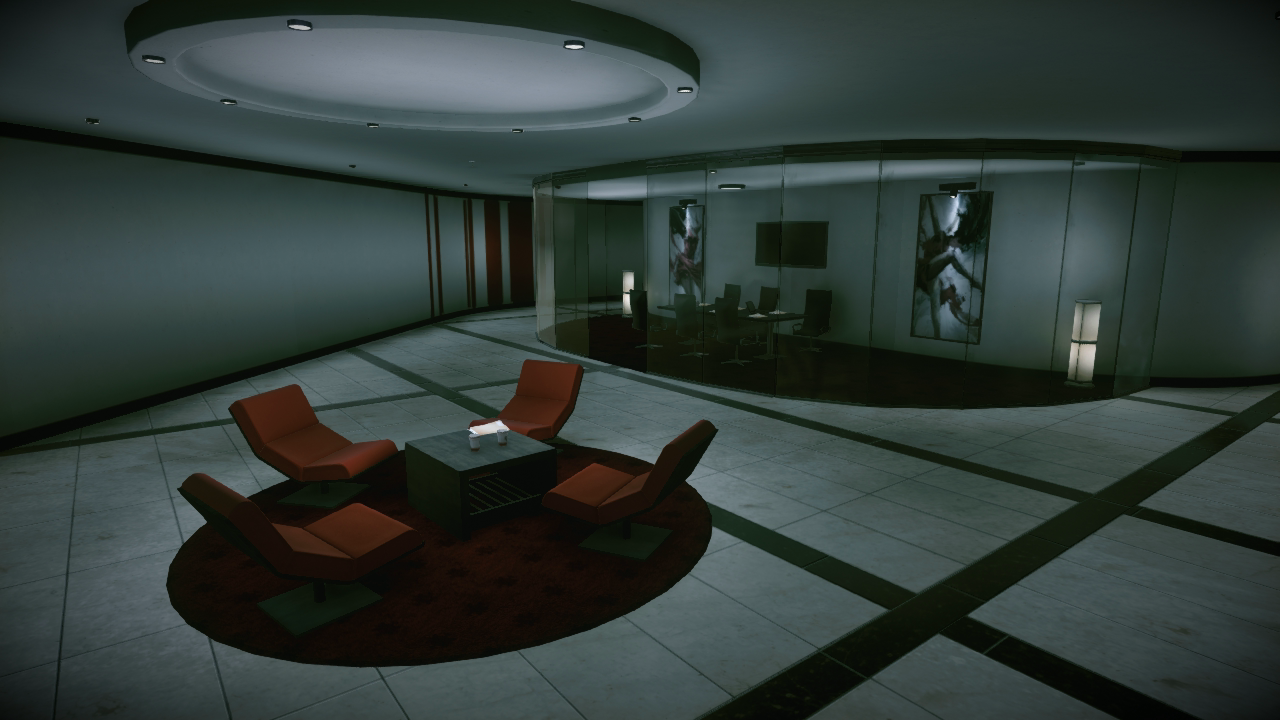
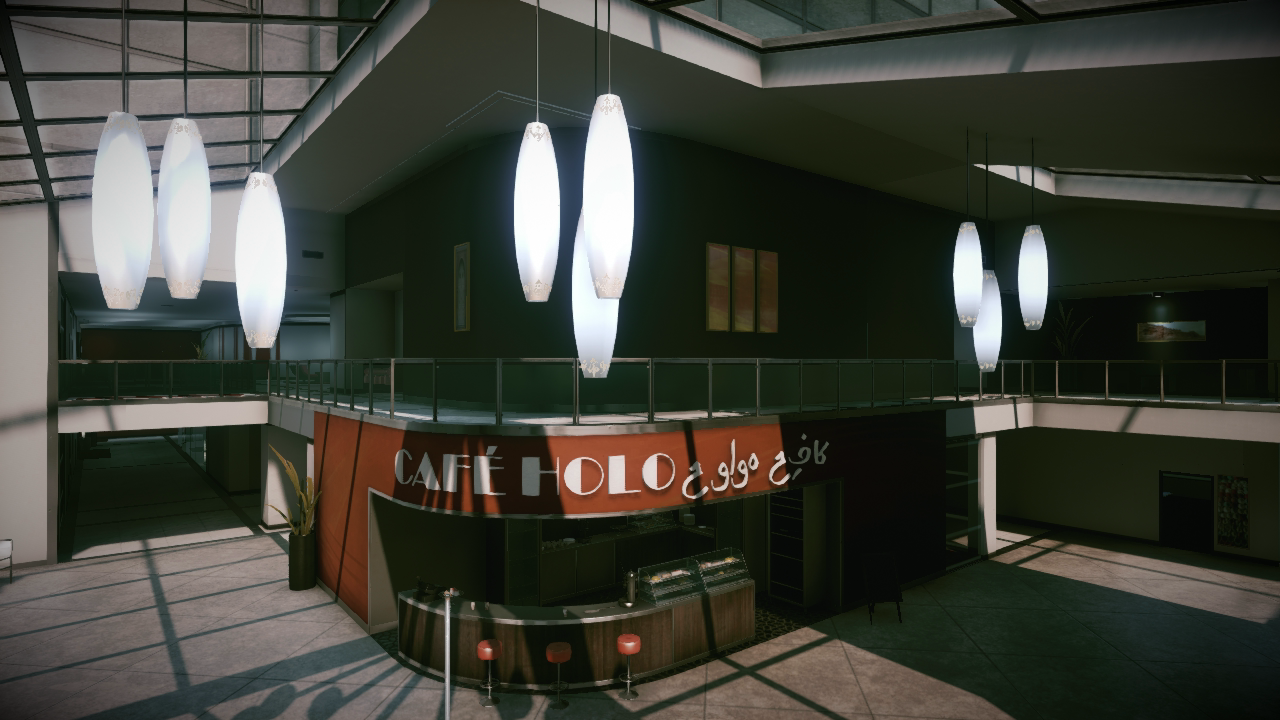
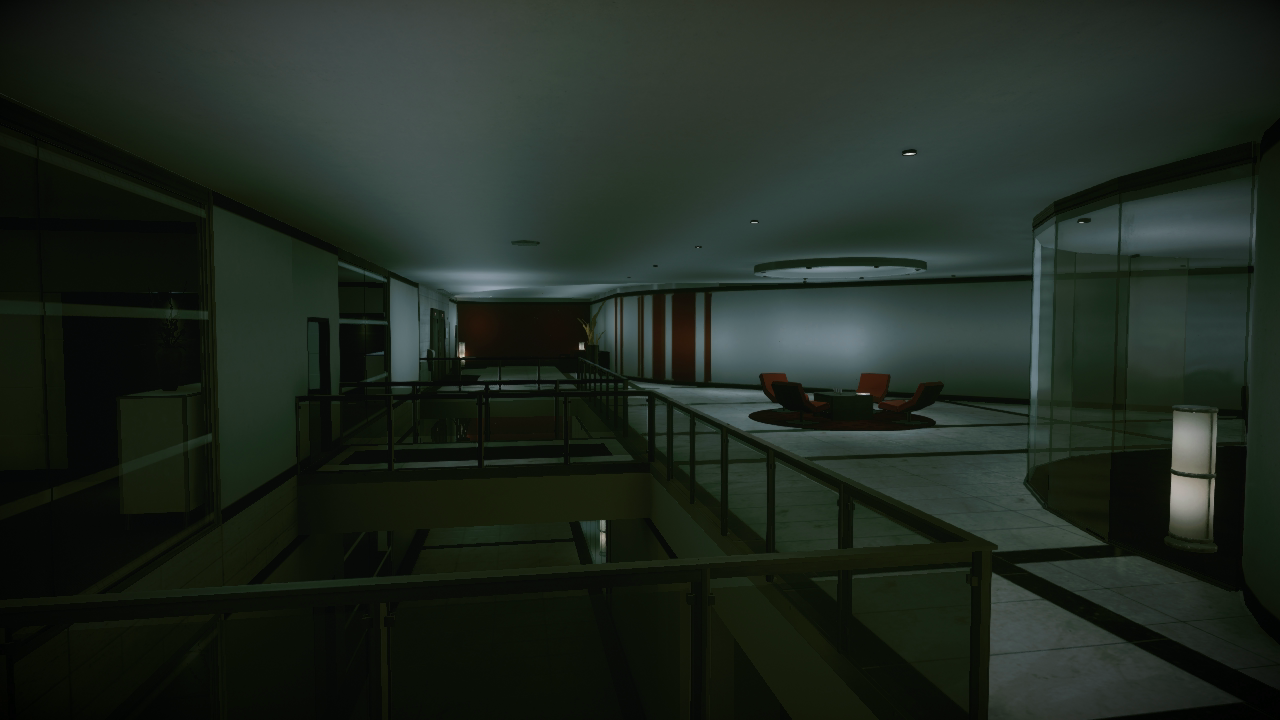
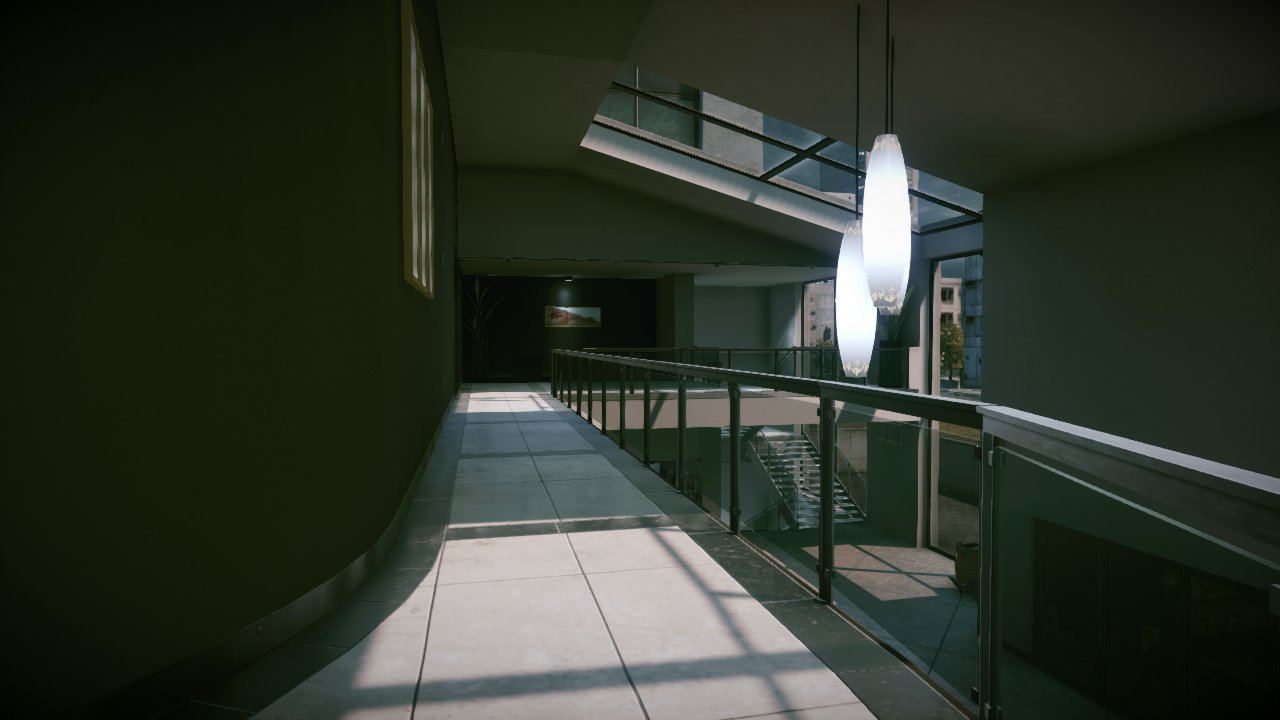
This second-floor promenade spans the area above the café and conference rooms on the map’s west side. The promenade features a conference room and a couple of large executive offices. But the key feature here is the elevated position offered by the walkway above the café. This becomes a crucial overwatch point during Conquest Domination matches. It can also prove vital during different game modes, allowing you to fire down on opponents scurrying about the floor below.
You can access the promenade via two stairwells located on the north and south ends. During Team or Squad Deathmatch games, consider holding this area with the help of your teammates. By locking down the two stairwells, it’s possible to maintain this elevated position and get the jump on your opponents. But unless you have both stairwells covered or booby-trapped, don’t get too comfortable up here. It’ll only be a matter of time before one of your opponents approaches to steal your perch.
Level 2 [16]
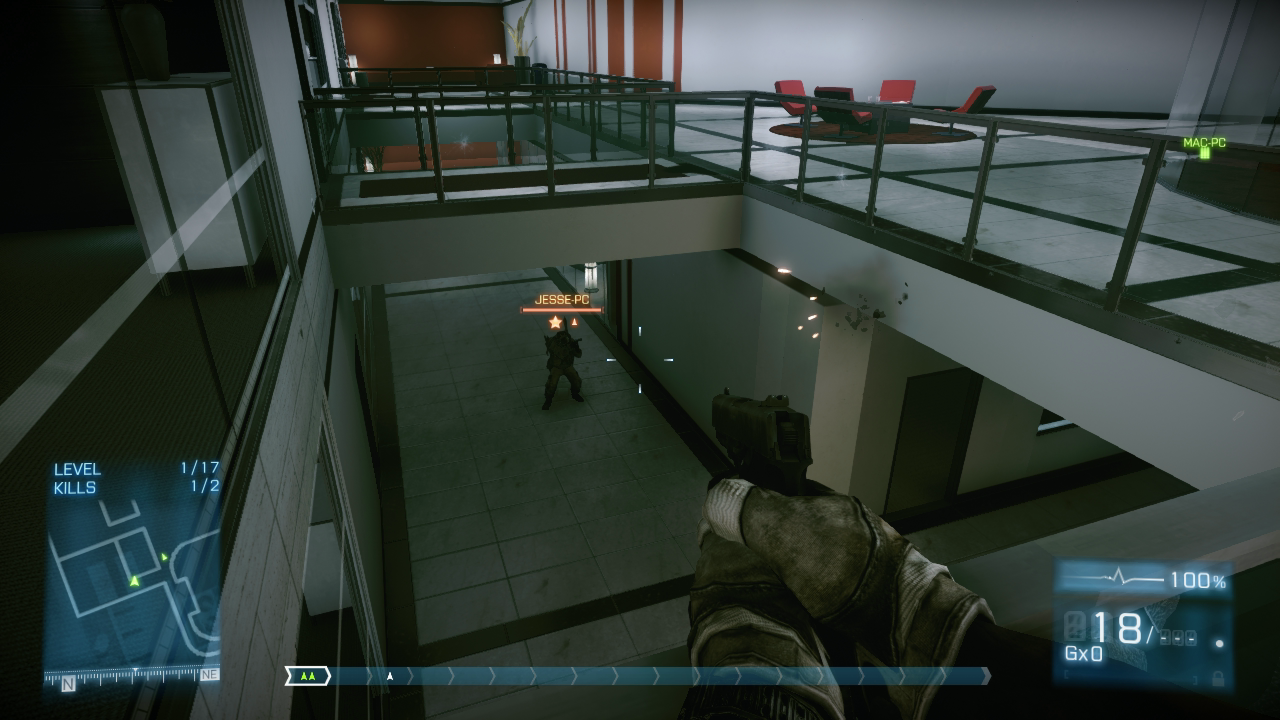
The walkways in front of both executive offices provide a good view of the floor below. Use these elevated positions to get the jump on your opponents. But be ready to retreat into an office if you take return fire. The walkway’s glass railing offers zero protection.