
Battlefield 3 Premium Guide Battlefields Conquest 64
Caspian Border
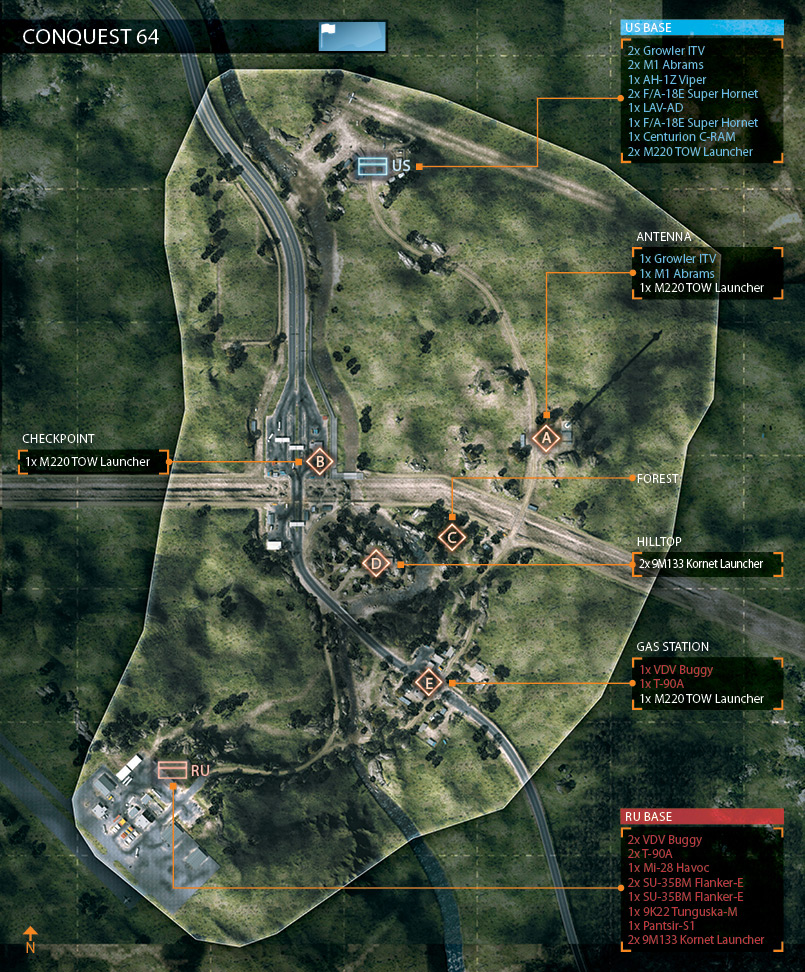
This 64-player variant of Caspian Border adds one new control point: the Antenna (A) located on the map’s eastern edge.
To compensate for the larger number of players, the map has also been loaded with vehicles, which mostly spawn at the US and RU Bases.
Now with five control points in play, team strategies should adjust accordingly.
Your team must hold at least three of the control points to drain the opposing team’s ticket count. For the US team, this means focusing primarily on the Antenna (A), Checkpoint (B), and Hilltop (D).
The RU team should try to capture an hold the Gas Station (E), the Hilltop (D), and the Forest (C). Even with a full complement of 64 players, it’s important not to spread your resources too thin.
Decide which three control points you must hold early on, then constantly reinforce each point with vehicles spawned at your team’s base.
The logistics of moving vehicles from your base to the front line control points is extremely important and should not be overlooked.
US BASE
Base Assets
| Name | Quantity | Respawn Time |
|---|---|---|
| Growler ITV | 5 | 5 sec. |
| M1 Abrams | 2 | 30 sec. |
| AH-1Z Viper | 1 | 60 sec. |
| F/A-18E Super Hornet | 2 | 40 sec. |
| LAV-AD | 1 | 120 sec. |
| Centurion C-RAM | 1 | — |
| M220 TOW Launcher | 2 | 30 sec. |
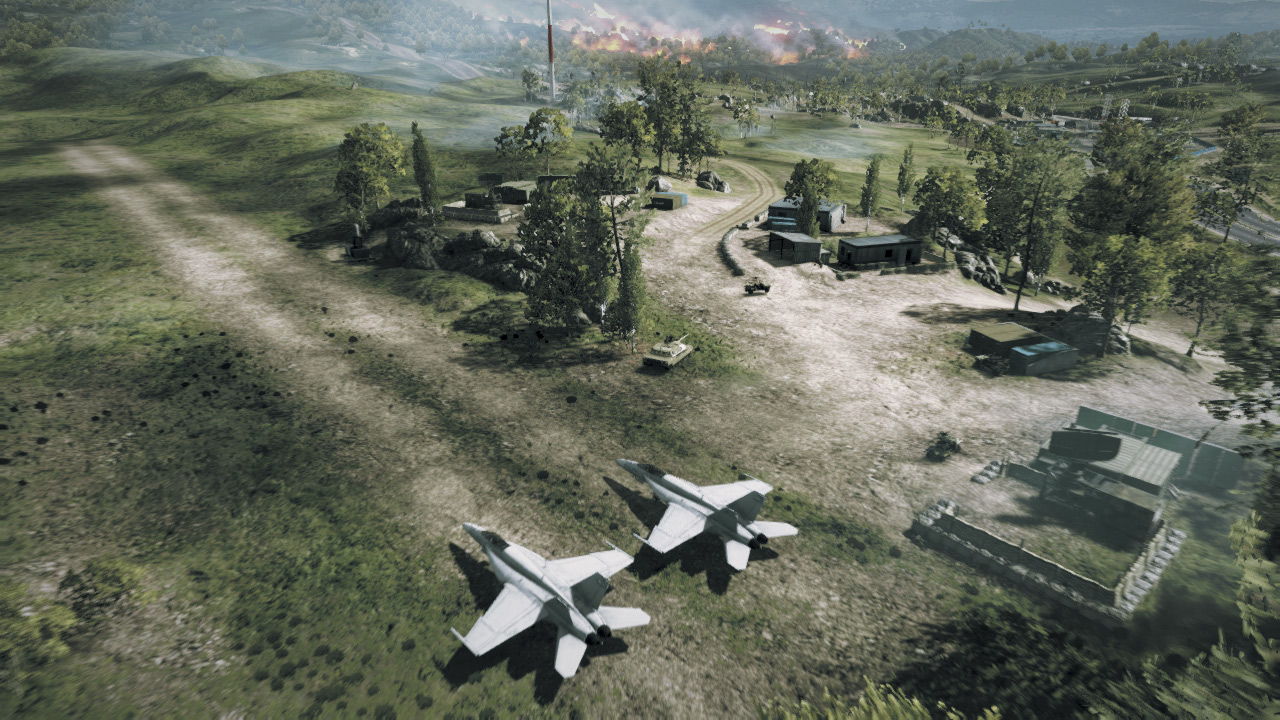
Positioned on the north edge of the map, the US Base is a long hike from even the nearest control points, so make sure you hitch a ride if you choose to spawn here—likewise, make sure you offer rides to teammates before taking off.
By taking the highway to the west, you can quickly race to the Checkpoint (B). To the east of the US Base is a dirt road leading toward the Antenna (A), Forest (C), and Gas Station (E).
The Growler ITVs are well suited for traveling this road, particularly at the start of a round. Capturing the Antenna (A) is critical for the US team, as it provides them with a couple of extra vehicles.
While the US Base is off-limits to RU troops, be ready for aerial harassment. If aerial assaults become a problem, man the Centurion C-RAM air defense system to fend off the attacking jets and choppers.
The LAV-AD is also well suited for countering air strikes at the US Base, but is best deployed at nearby control points.
RU BASE
Base Assets
| Name | Quantity | Respawn Time |
|---|---|---|
| VDV Buggy | 5 | 5 sec. |
| T-90A | 2 | 20 sec. |
| Mi-28 Havoc | 1 | 60 sec. |
| SU-35BM Flanker-E | 2 | 40 sec. |
| 9K22 Tunguska-M | 1 | 120 sec. |
| Pantsir-S1 | 1 | — |
| 9M133 Kornet Launcher | 2 | 30 sec. |
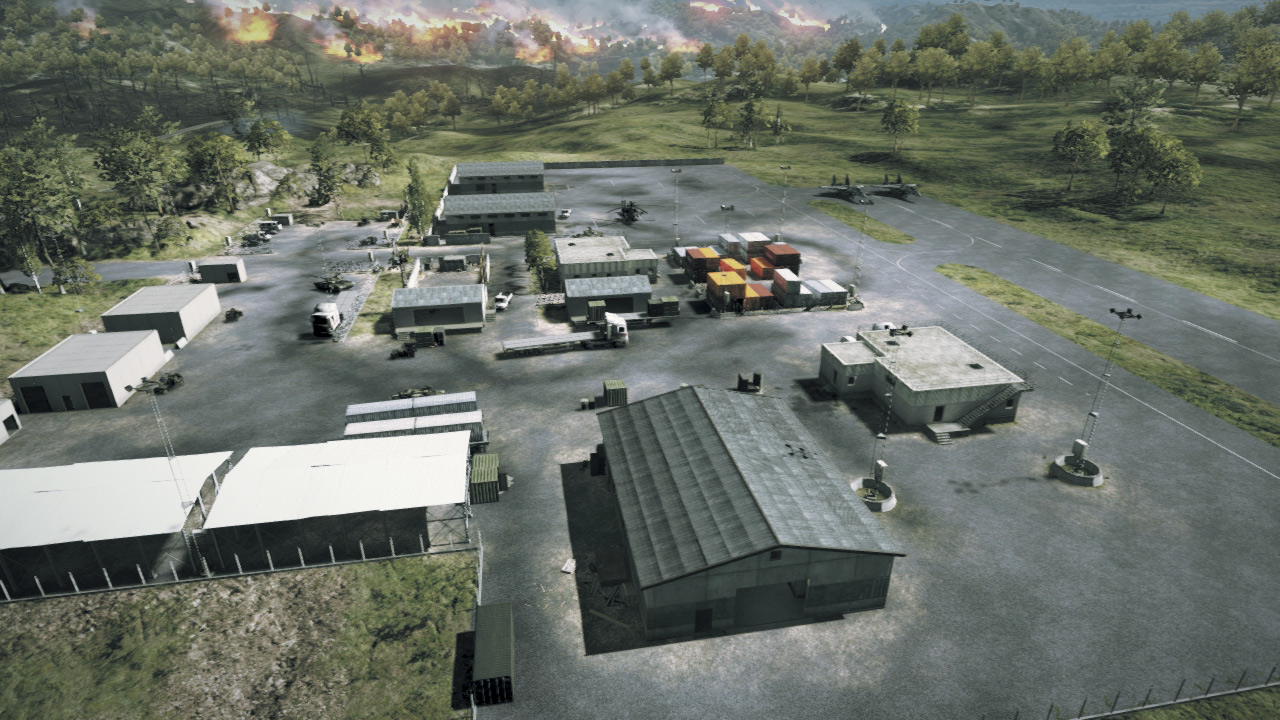
The RU team has set up camp in the large base to the south. Like all bases in Conquest, this one is off-limits to US troops and ground vehicles. However, be prepared to fend-off frequent strafing runs by US jets and attack helicopters, particularly early in the round.
The Pantsir-S1 air defense system and 9K22 Tunguska-M should be manned early on to deter such aerial attacks. The dirt road to the east is the major artery leading out of the RU Base, leading directly to the Gas Station (E) and Hilltop (D)—use the VDV Buggies to capture these points early during the round.
Also, make a play to capture the Forest (C) and Antenna (A). Although distant, taking control of the Antenna will deny the US team a couple of vehicles, making it a worthwhile venture.
A: ANTENNA
Control Point Assets
| US Control | RU Control | Respawn Time |
|---|---|---|
| Growler ITV (1) | — | 40 sec. |
| M1 Abrams (1) | — | 60 sec. |
| M220 TOW Launcher | M220 TOW Launcher | 30 sec. |
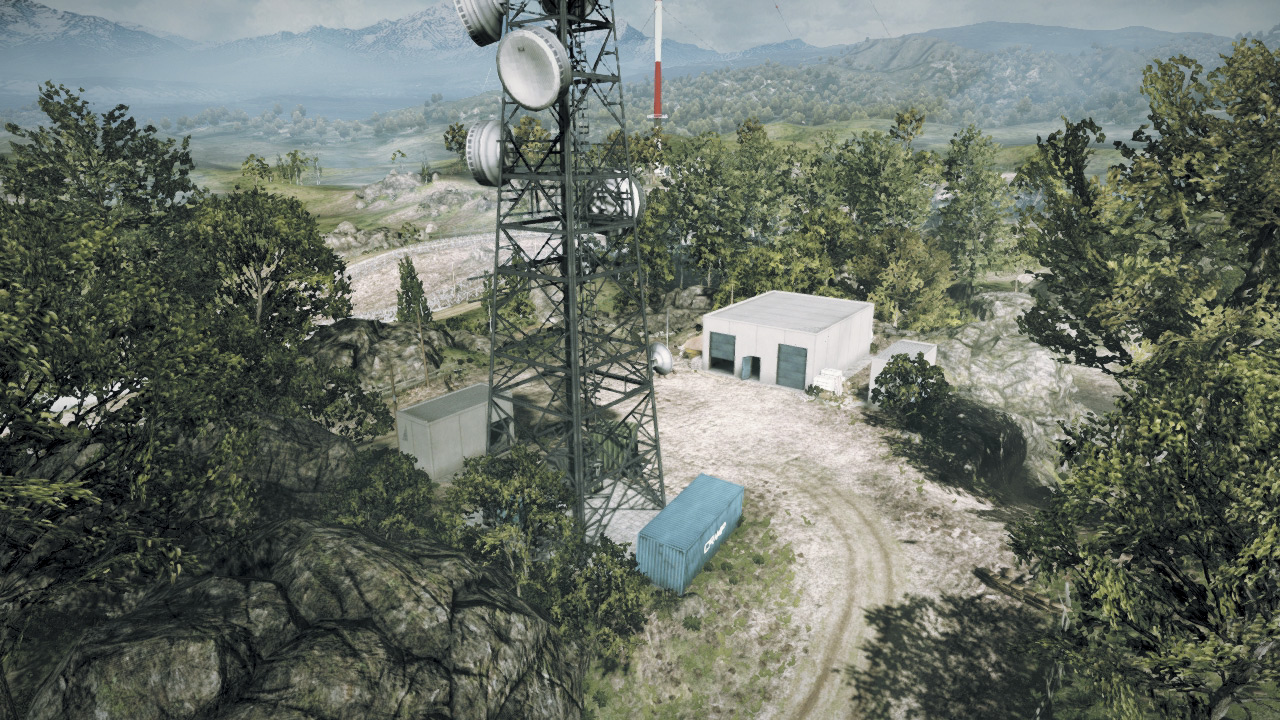
This control point (A) is exclusive to Conquest 64 and serves as a forward base for the US team, providing them with a Growler ITV and an M1 Abrams.
While these vehicles may not seem like much, they can make a big difference when attacking the nearby Forest (C), Gas Station (E), or Checkpoint (B). Located along the dirt road on the east side of the map, the Antenna is easily accessible from the US Base, Forest (C), or Gas Station (E).
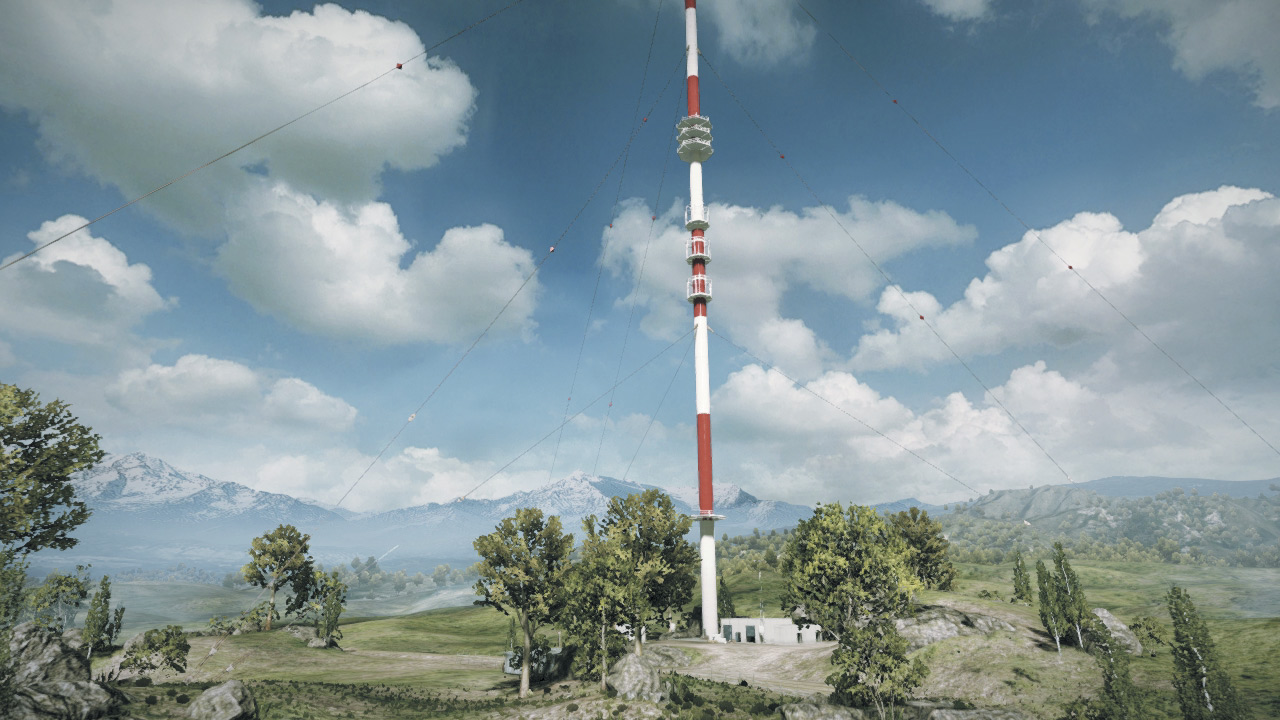
As a result, defenders should monitor the control of the nearby flags and prepare for attacks originating from these directions. The control point’s flag is located only a few meters from the base of the massive Antenna. Infantry can capture or contest the flag from within the nearby concrete structure.
This small building provides adequate protection while it remains standing. Otherwise, seek cover among the rocks or within the hollow Antenna itself. Pilots should note that colliding with the Antenna’s various support cables does not damage their aircraft or helicopter—you simply pass right through them.
But colliding with the Antenna is a different story, so be sure to steer clear of the massive red and white structure.
B: CHECKPOINT
Control Point Assets
| US Control | RU Control | Respawn Time |
|---|---|---|
| M220 TOW Launcher | M220 TOW Launcher | 30 sec. |
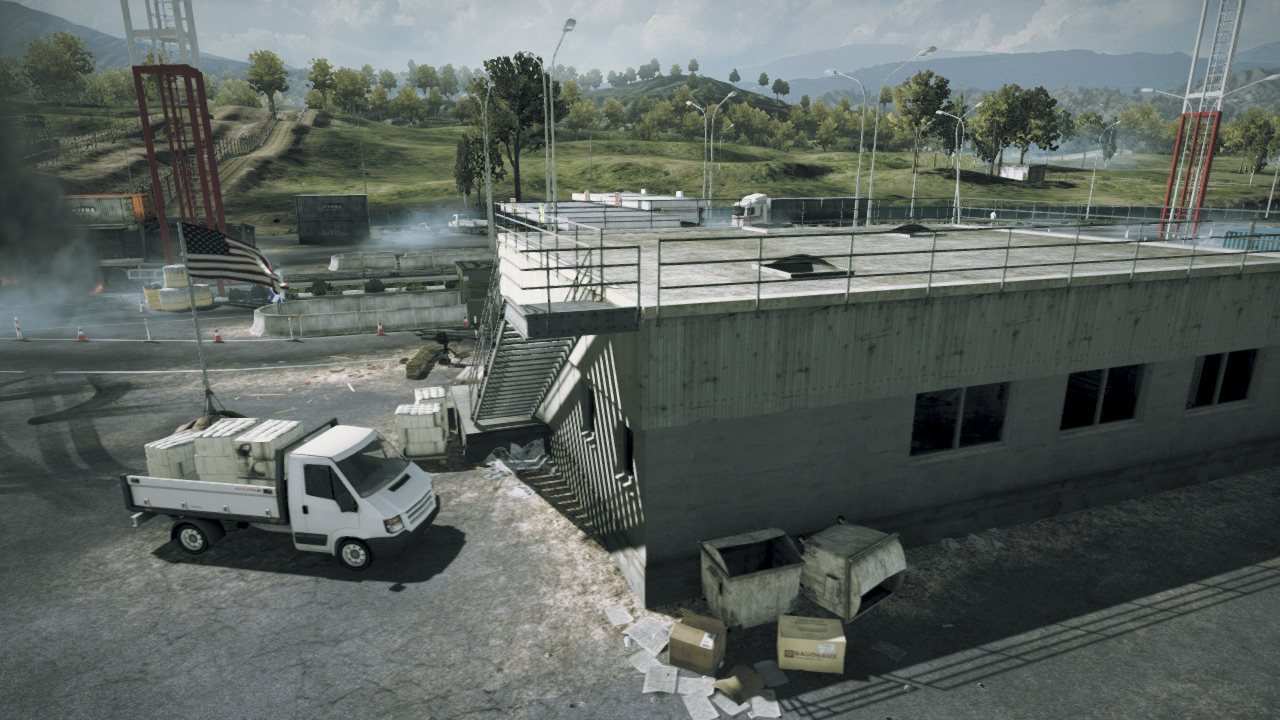
This control point (B) sits on the major highway on the west side of the map. Although it is centrally positioned, the US team has a slight edge when it comes to capturing this point early in a round.
Utilizing the smooth, paved highway, the US team can capture this area early on using their fast-moving Growler ITVs. In this game mode, the Checkpoint produces no vehicles for either team.
So it’s important that defenders move vehicles to this position from their base or nearby control points. The flag here is situated within the Checkpoint facility, along the east side of the highway.
Given the open nature of the area, this spot is best captured by tanks. However, infantry can capture and contest the flag from within the concrete structure to the north of the flagpole.
But this structure can be completely demolished, denying infantry suitable cover and concealment. Still, there are plenty of hiding spots outside, though none of them offer the protection of the concrete building.
C: FOREST
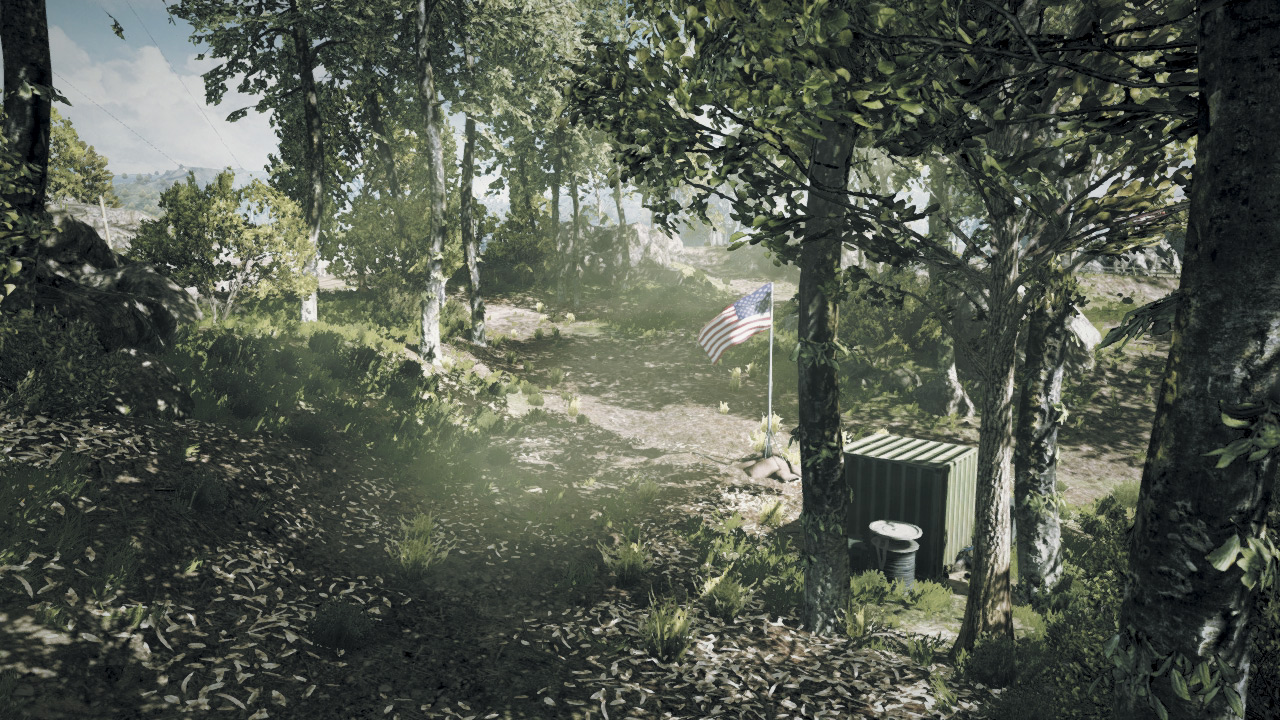
The Forest (C) control point provides no vehicles to either team. But don’t let that deter your team from capturing and defending this critical central location. Holding this area gives your team a spawn point in the middle of the map, which is ideal for launching raids on the Antenna (A), Checkpoint (B), Hilltop (D), or Gas Station (E).
Given the uneven terrain and lack of road access, this control point is best attacked and defended by infantry. Tanks are particularly vulnerable to ambush here, so try to move in on foot when possible.
The trees (while still standing) offer decent concealment from air attacks and the massive boulders offer great cover. When defending, attacks can come from any direction, originating from the surrounding control points.
So constantly monitor the status of the surrounding control points and watch for attackers approaching from the enemy-held points, particularly from the nearby Hilltop (D) or Antenna (A).
There is very little cover near the flag, so watch the control point from a distance, using the surrounding foliage to conceal your position. Defenders here can easily pick off attackers loitering near the flag.
D: HILLTOP
Control Point Assets
| US Control | RU Control | Respawn Time |
|---|---|---|
| 9M133 Kornet Launcher (2) | 9M133 Kornet Launcher (2) | 30 sec. |
Regardless of which team you’re on, taking the high ground of the Hilltop (D) should always be a priority. The RU team has the best chance of reaching this location early due to its relative close proximity to their base.
However, US troops can make a claim here, too, by bailing out of jets or helicopters in the early moments of a match. While the control point offers very little in the way of assets, it has a great view of the surrounding terrain, making it a popular sniping perch for recon soldiers.
If it’s well defended, the Hilltop is also a tough nut to crack. The rocky cliff side to the east is completely impassable, which forces attacking units to approach the flag from the two dirt roads to the east.
Both of these roads can be mined or booby-trapped with C4 to deter attacks by enemy vehicles. The flag itself sits atop the hill and can be captured or contested within the garage-like structure to the east.
However, this concrete building will not last long under a sustained attack by tanks, jets, and helicopters. So be prepared to create your own concealment by deploying smoke. Due to its central location, defending this control point is a full-time job.
So make sure at least one squad stays here and actively defends at all times.
E: GAS STATION
Control Point Assets
| US Control | RU Control | Respawn Time |
|---|---|---|
| — | VDV Buggy (1) | 40 sec. |
| — | T-90A (1) | 60 sec. |
| M220 TOW Launcher | M220 TOW Launcher | 30 sec. |
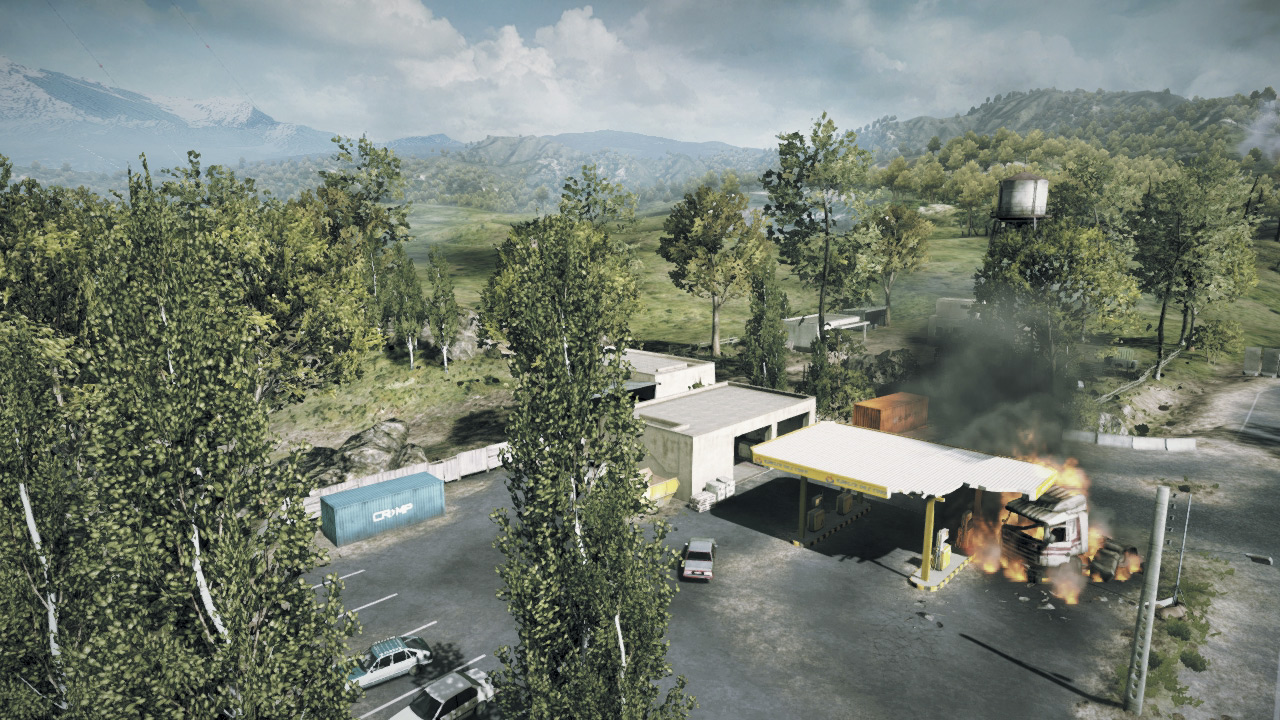
The Gas Station (E) serves as the RU team’s forward base, providing them with a VDV Buggy and T-90A closer to the map’s central control points. Given its close proximity to the RU Base, the RU team has the best chance of maintaining control of this location throughout the match.
Still, the US team should attempt to capture the Gas Station to deny the RU team these vehicles. The flag is located near the roadway, not far from the flaming wreck of a truck.
The fiery wreck emits a black cloud of smoke that helps conceal ground units from air attack. The gas pumps here are explosive, so keep your distance during firefights. If you’re defending here, consider destroying all the pumps to make your job a little safer—or wait until attackers get near the pumps, then detonate them.
Refuge can be sought in the Gas Station building, where you can either capture or contest the flag.