
Battlefield 3 Premium Guide Battlefields Rush
Operation Riverside
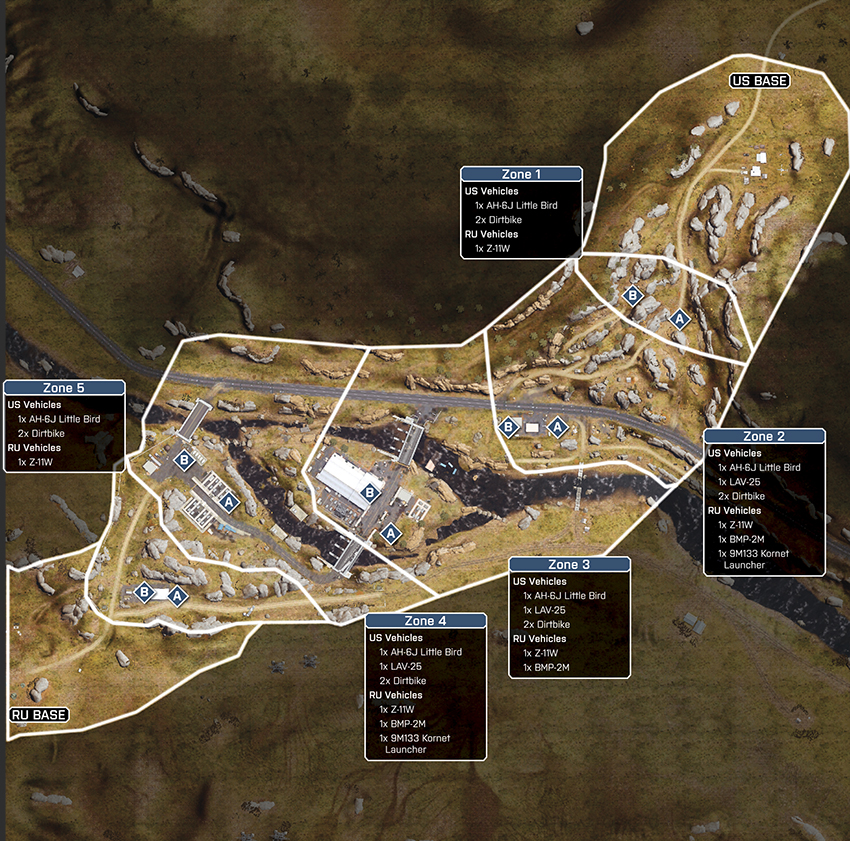
The Rush battle on Operation Riverside begins with a heated battle in the hills to the northwest. The varied terrain and flanking opportunities presented on this map ensure that both teams are in for a fierce battle, as they fight to gain inches across this sprawling landscape. Each team will retain access to a scout helicopter throughout the course of the battle, and efficient use of these aircraft can quickly turn the tide. Throughout the conflict, the RU team will be limited in their vehicle resources, a fact that the US team is sure to exploit. Given the terrain, the RU team can exploit the hillsides to gain an advantage, but once again, they will have to ensure that their helicopter keeps an eye on the location of the US team’s vehicles. Both teams can benefit from engineers that are well-versed in the use of anti-aircraft rockets to keep the sky clear of prying eyes that can alert the enemy to their positions.
Zone 1: Woods
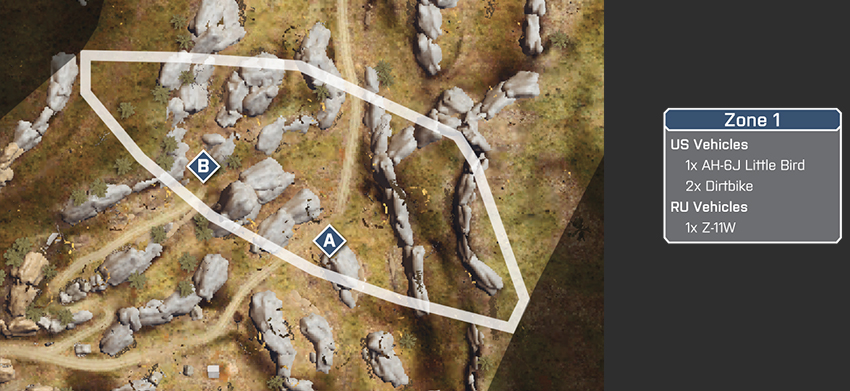
US Deployment
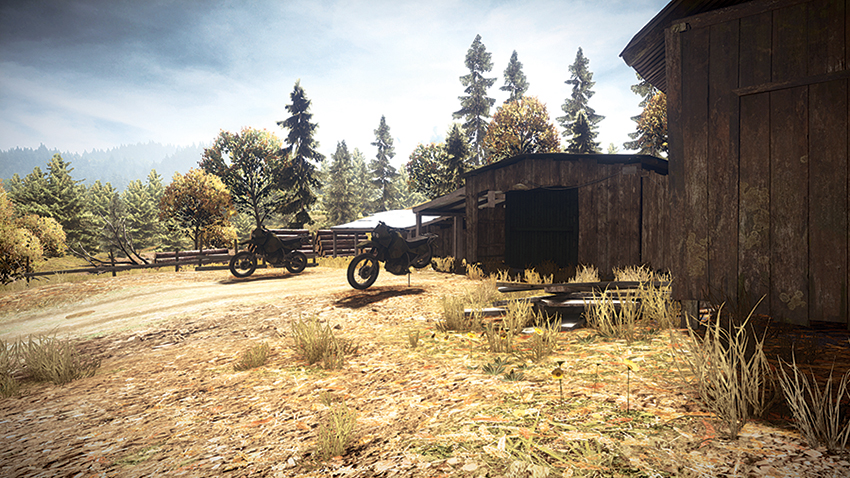
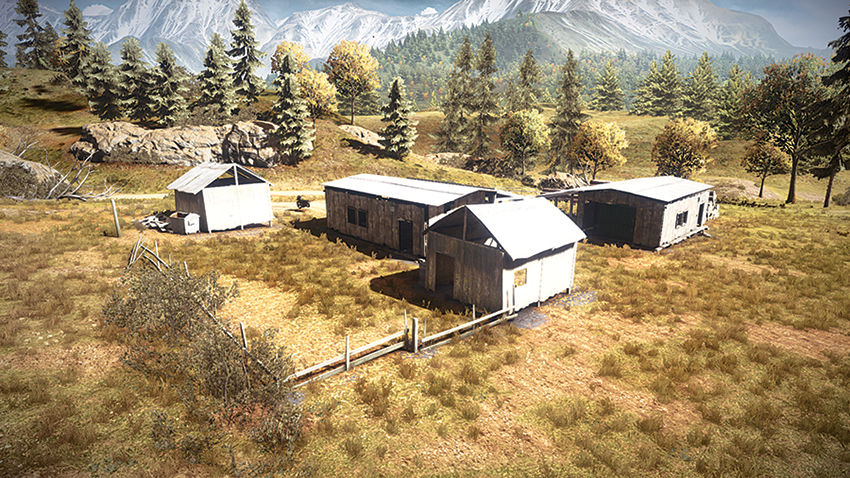
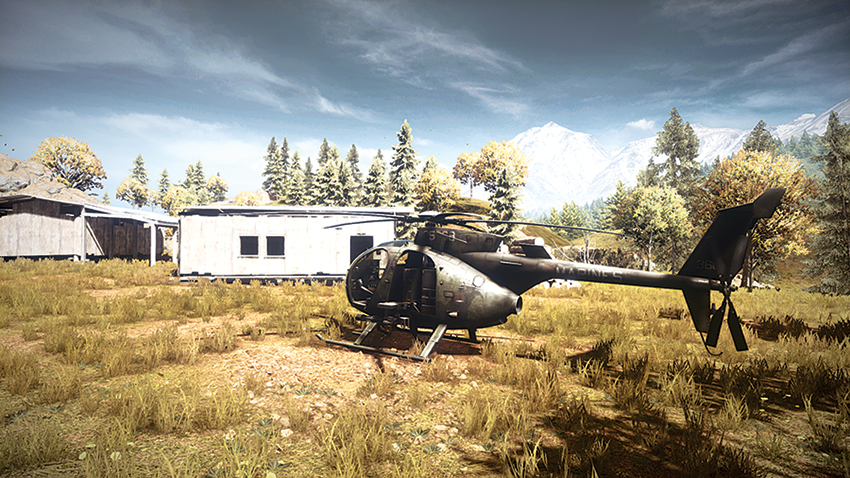
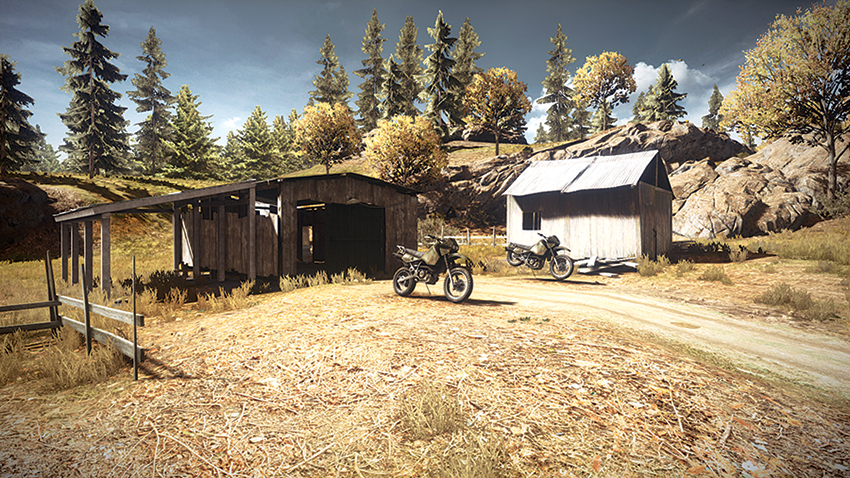
From the moment of deployment, the US team has an immediate advantage. Located uphill and northeast of the RU team with two dirtbikes, the US team can quickly proceed south and capture the two M-COMs that are located among the wooded hillside. By this time, the AH-6J Little Bird should be in the air to hold back RU soldiers that are attempting their hike uphill to guard the M-COMs. The speed of the dirtbikes means that a passenger can be dropped off at the M-COMs to secure them, while the dirtbike continues downhill to approach from behind the RU soldiers that are encroaching upon the M-COM sites. The US team should take note that the RU forces will be deploying closer to the position of M-COM Station A and are likely to meet heavier resistance at this location. Attacking M-COM Station B first will splinter the RU forces, though, as they will be dividing their forces to manage the onslaught. Use this opportunity to bombard the hillside with the AH-6J Little Bird and force the RU team to take cover under suppression.
RU Deployment
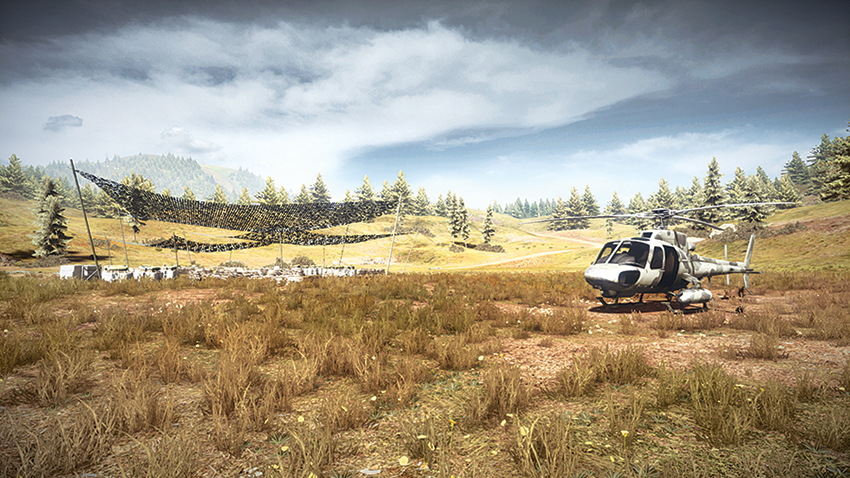
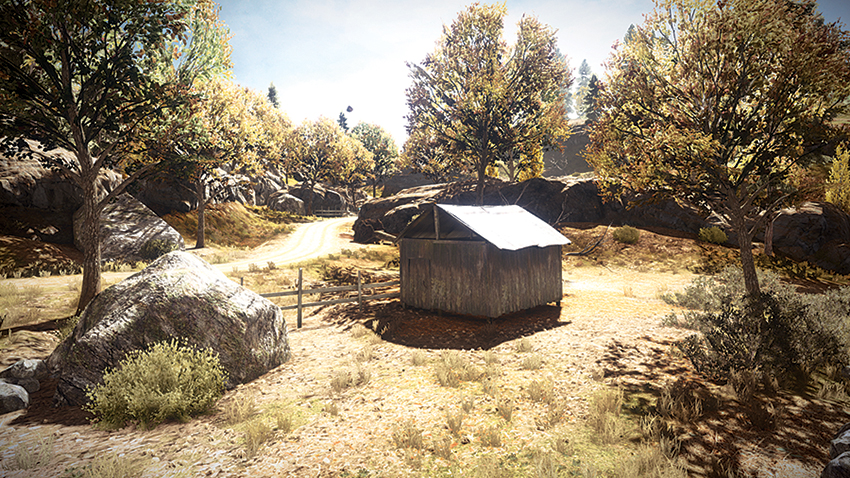
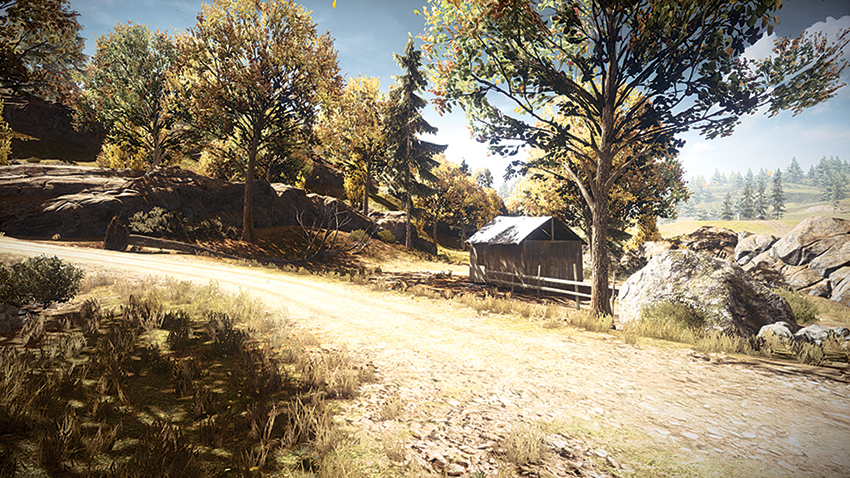
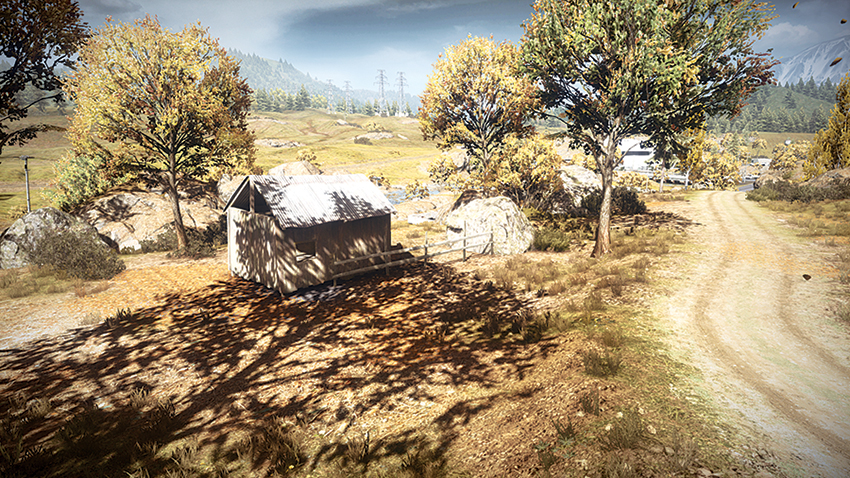
From the onset of the battle, the RU team is at a disadvantage. The only deployment vehicles afforded the team at this stage in the battle is the Z-11W, which deploys from the southwest corner of the map. Although the deployment site is near the M-COM stations, the team would benefit from focusing its infantry units on M-COM Station A, placing mines or claymores early on to provide defense to the site. Once the Z-11W is within range, the helicopter should focus its attention on protecting M-COM Station B, which is slightly northwest of M-COM Station A. The helicopter should be focusing its fire on M-COM Station B to suppress enemy units that are attempting to destroy it. Now, while this is going on, the RU team should make its engineers take down the US team’s helicopter and clear the sky for their Z-11W to police the area. While it’s risky to focus all of the infantry’s attention on M-COM Station A, remember that only one M-COM is needed to hold back the enemy, and it’s not worth having the team spread thin between both objectives and possibly overwhelmed this early in the round.
M-COM Station A
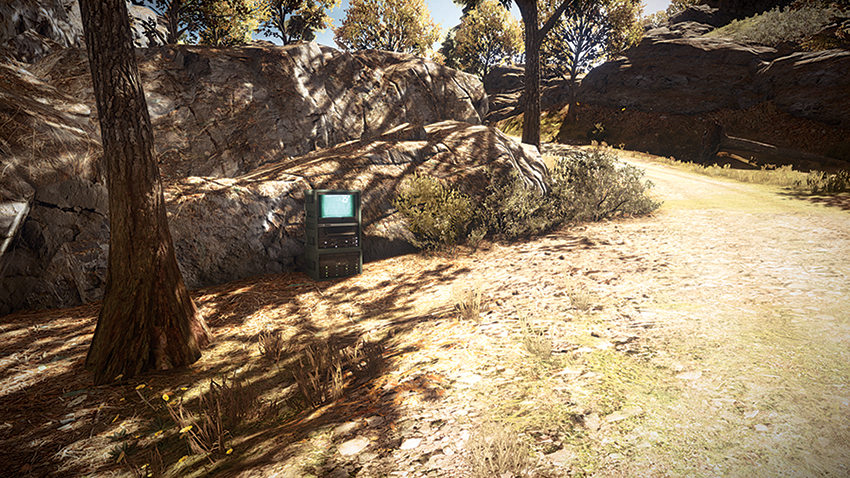
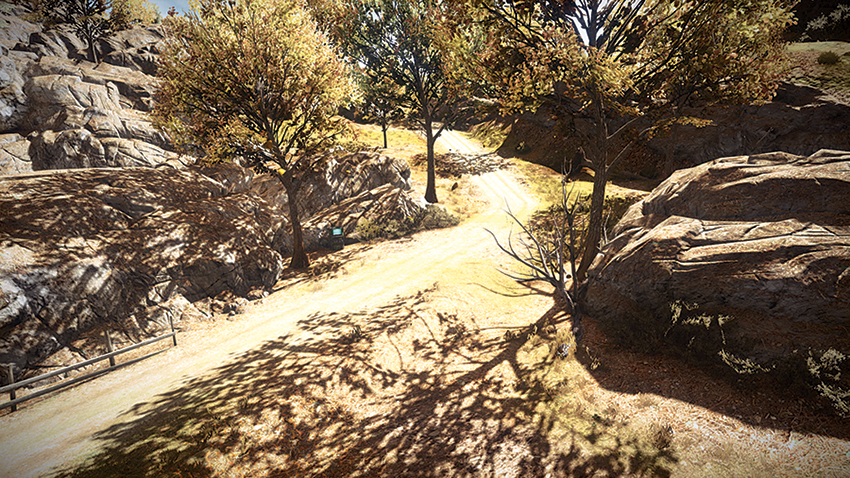
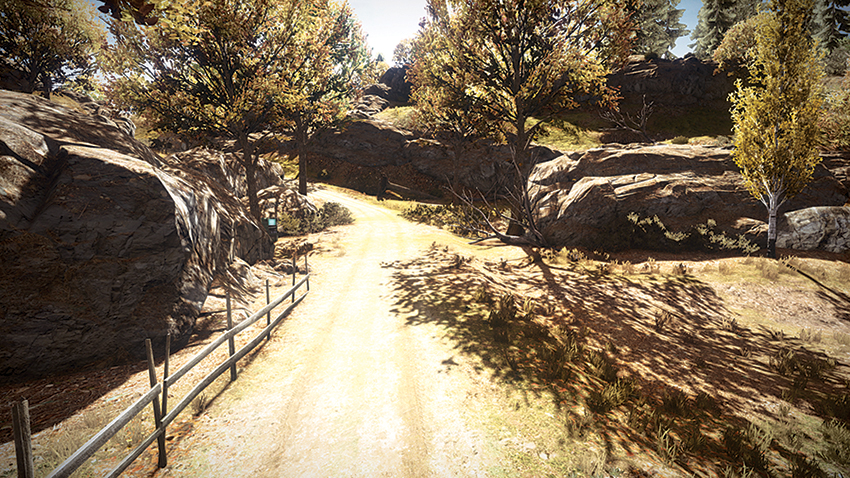
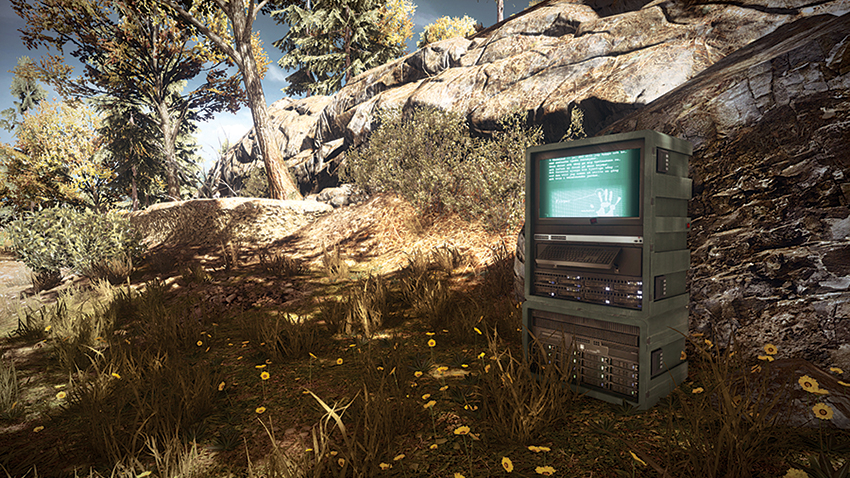
M-COM Station A is located in the Woods alongside the east path. This area is heavily concealed by trees, making it difficult to see from the air. US attackers will be likely to attack this station first though, considering that it is a straight shot from their deployment. Given the lack of cover to both teams, the RU defenders will benefit from taking elevated positions atop the rocks that flank this area, as well as make use of claymores to control the site and destroy the hopes of any would–be attackers that enter the area. With this in mind, the US team should not be careless in approaching this area, as it becomes a killing field that strips away tickets quickly.
M-COM Station B
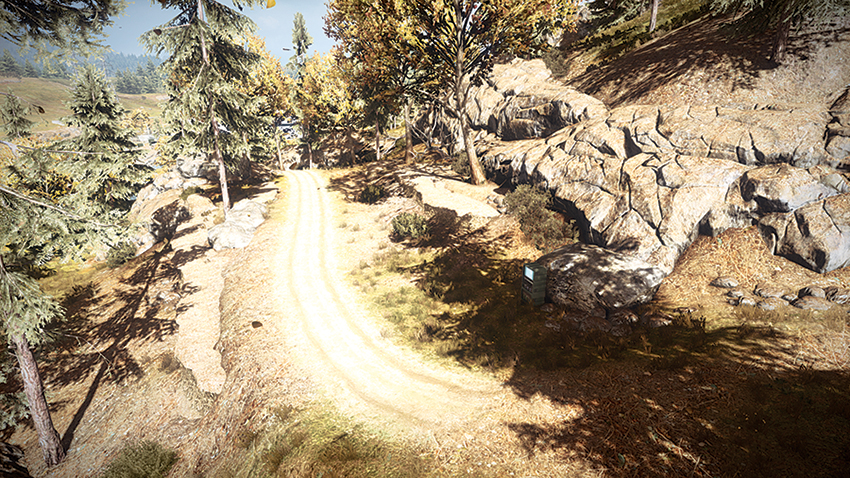
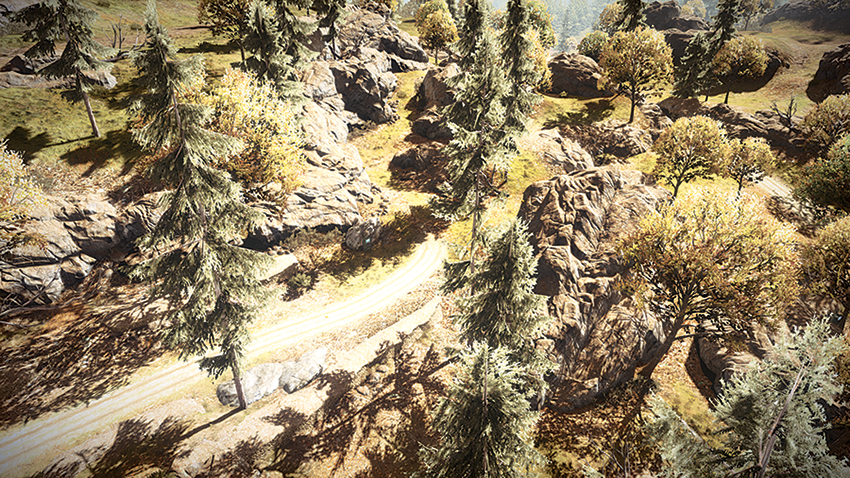
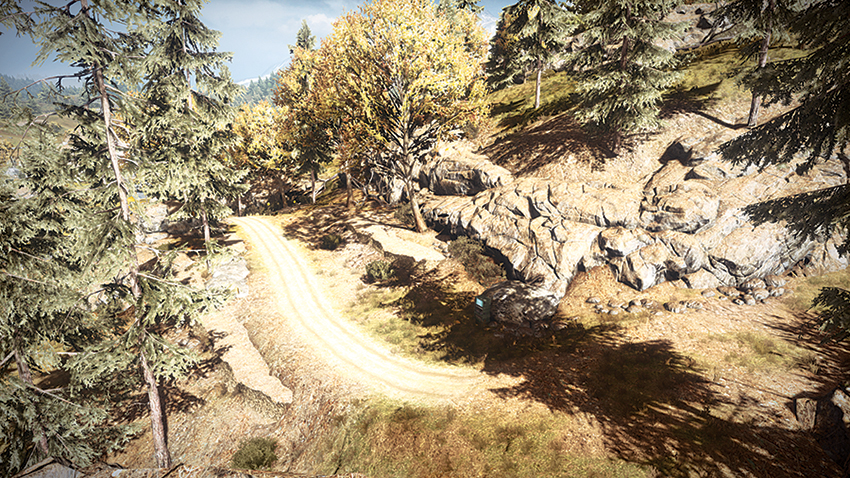
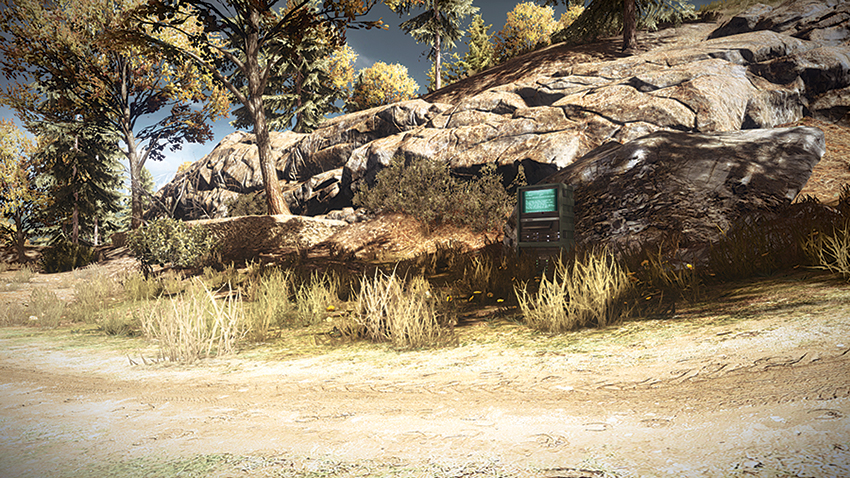
M-COM Station B is located northwest of M-COM Station A. Both teams can benefit by allowing an experienced helicopter pilot to patrol and monitor the road on which M-COM Station B is situated for hostiles. Considering the slight uphill climb to access the area, RU defenders will be accessing this area from the southwest. This can be dangerous for US attackers that are attempting to plant a charge, as they are left vulnerable to fire at both M-COM Station A and B from these elevated positions. Defenders should make use of grenades and explosives when staving off attacks to this site, as the only option to take cover here is to fall back. For serious attackers though, the AH-6J Little Bird can be a powerful asset for controlling the approach of defenders making their way uphill. T-UGS motion sensors can benefit both teams greatly here, as the rocky hillside can be difficult to monitor via sight lines.
Zone 2: Gas Station
US Deployment
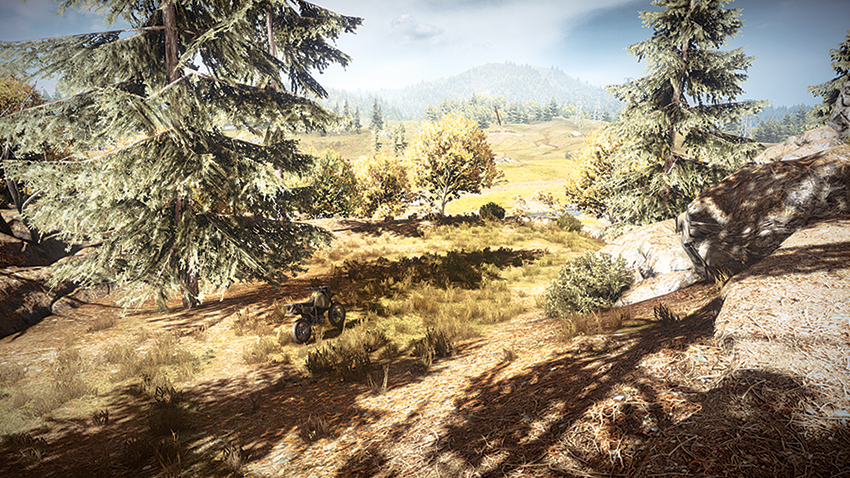
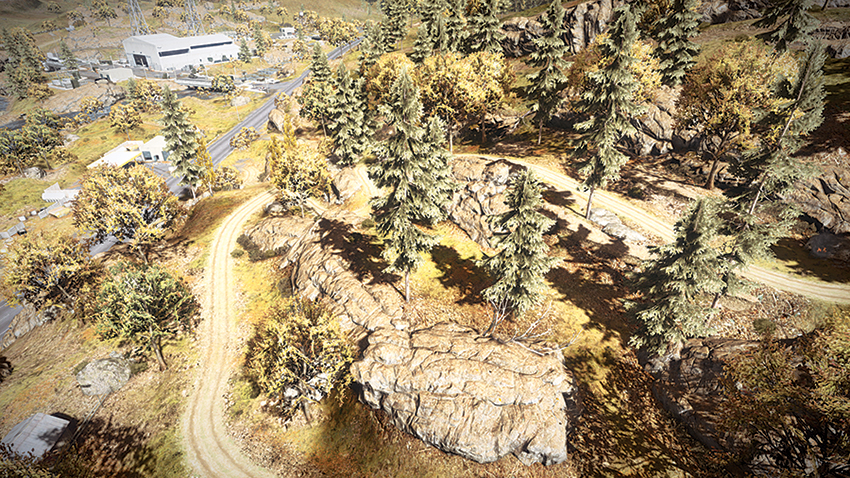
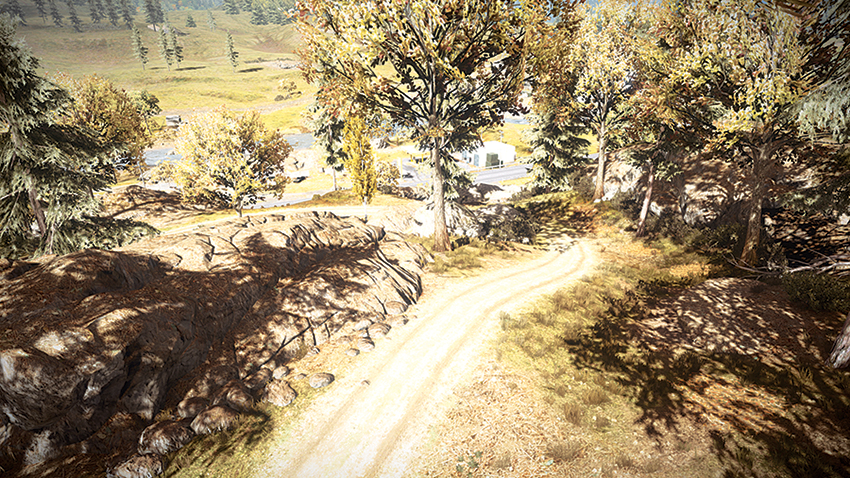
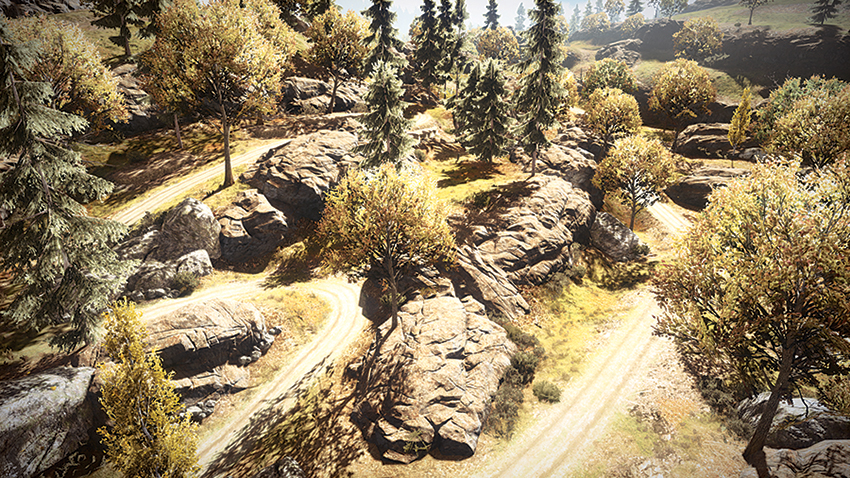
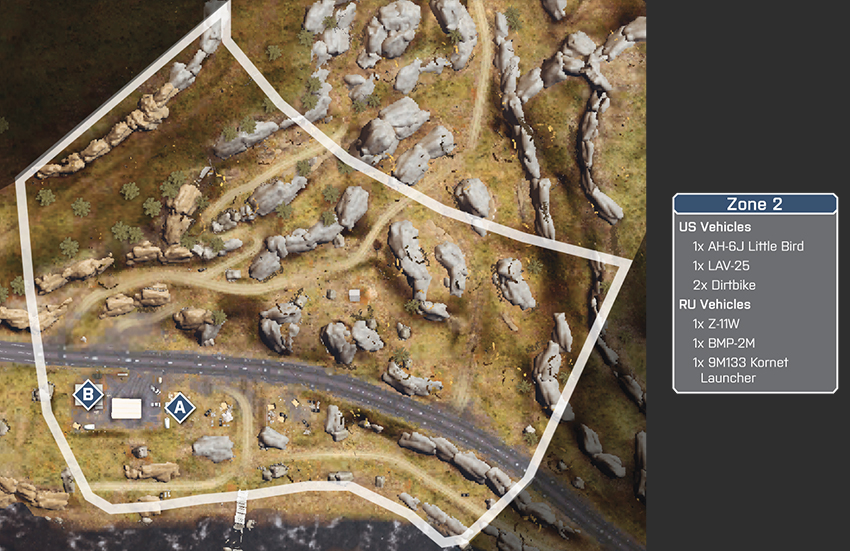
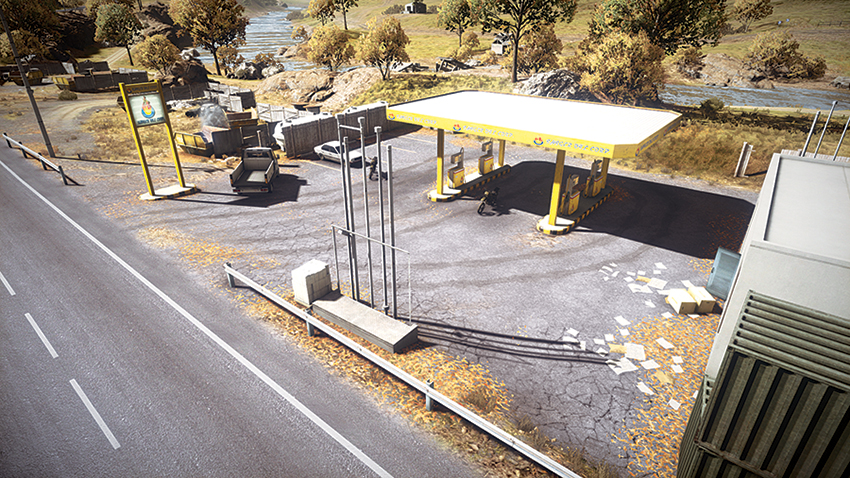
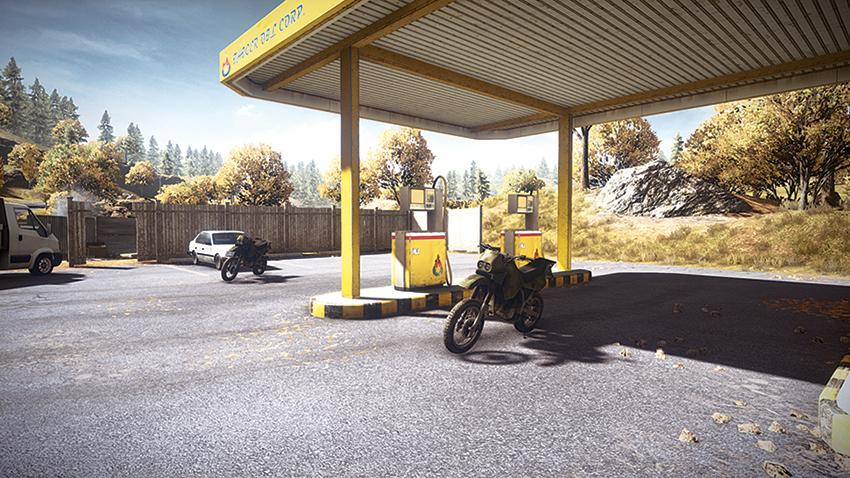
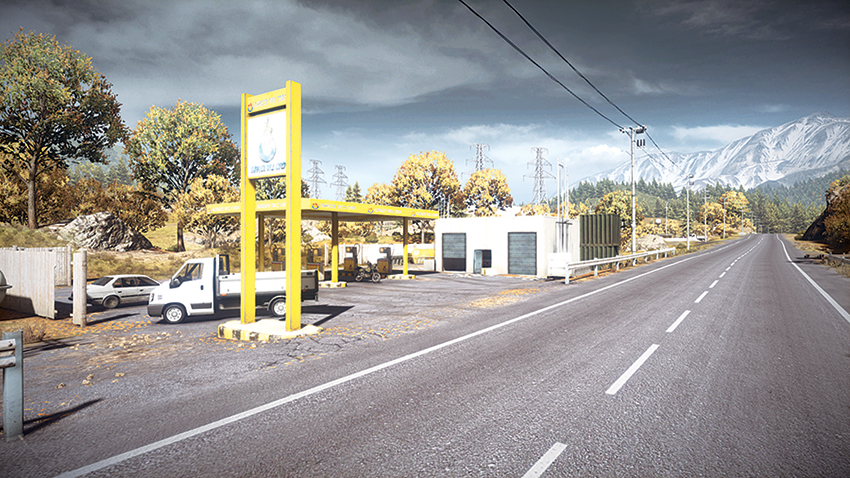
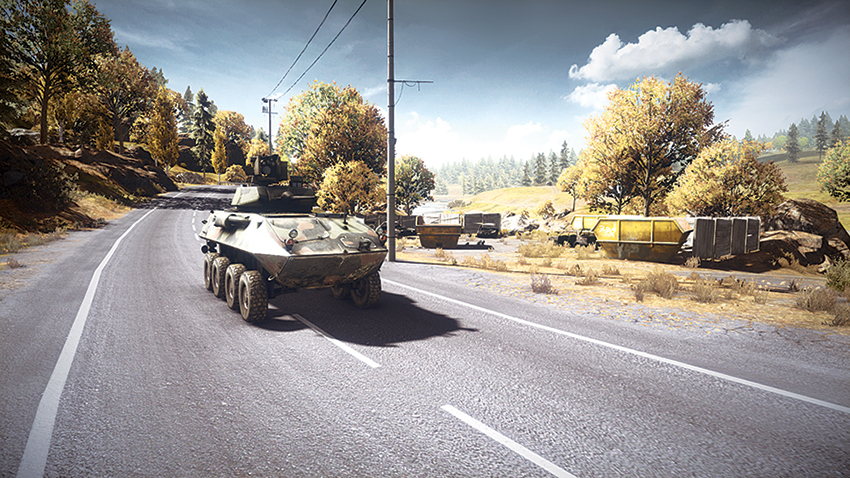
Deploying from the Woods northeast of the Gas Station, the US team should expect heavy resistance as they make their way downhill. Because M-COM Station A is the most exposed, the attackers should position their LAV-25 to the east of the Gas Station to provide suppressive fire for dirtbikes to gain quick access to the area and secure the charge. Expect crafty defenders to attempt to guard the M-COM Stations from the south, as the river provides a direct path to take a position from which to snipe at oncoming attackers that are making their approach from the northern hills. Keeping this in mind, positioning recon soldiers on the hills can provide cover for infantry as they attempt to enter the Gas Station itself and plant the charge on M-COM Station B, which is located inside the Gas Station itself.
RU Deployment
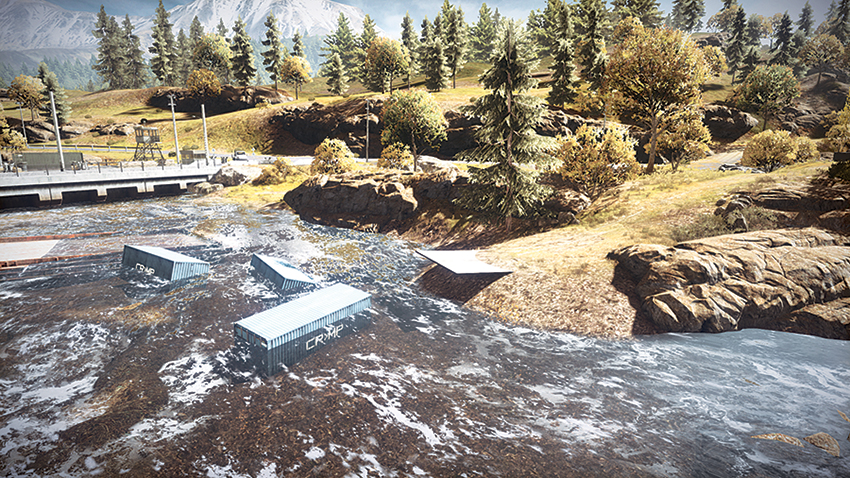
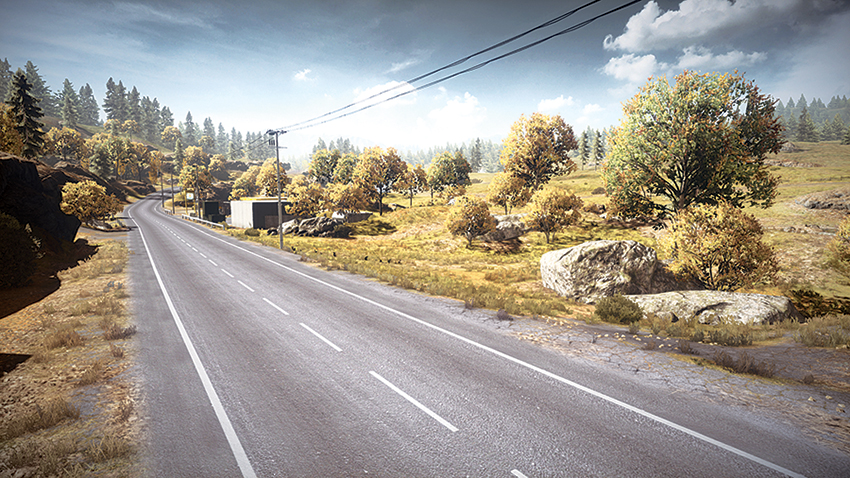
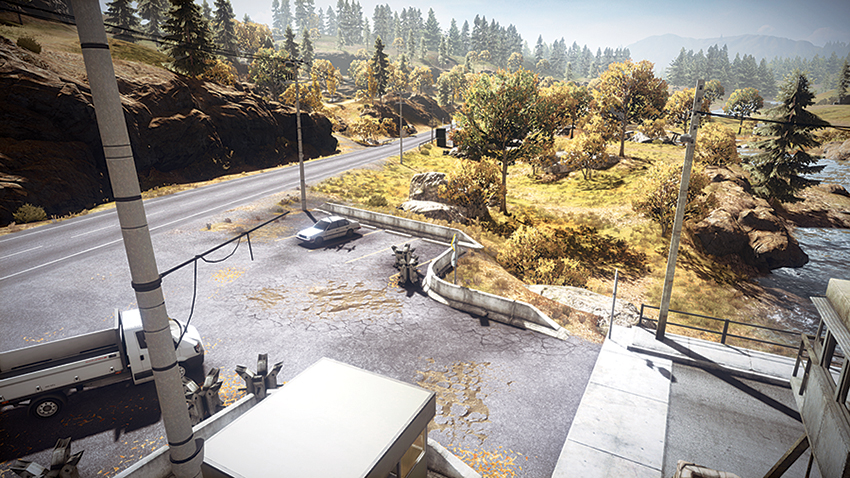
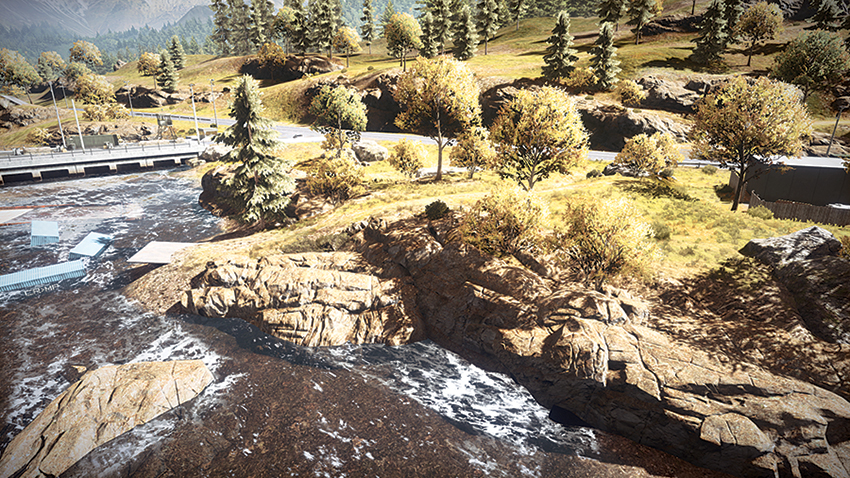
Deploying from the west, the RU team has a chance to defend the M-COM Stations at the Gas Station from the nearby 9M133 Kornet Launcher. While effective against large vehicles, it can also be used to control the hillside that the attackers will be approaching from. Instead of defending the location from the road itself, enter through the south side of the Gas Station and make use of T-UGS motion sensors to monitor activity near M-COM Station A, which is east of the station and exposed. Not only will placing a T-UGS near the M-COM provide coverage of this exposed station, but it will also provide a warning that attackers are attempting to cross the Gas Station pump area to plant a charge on M-COM Station B. Due to its concealment within the building, M-COM Station B can be effectively guarded through the use of claymores; just be sure to plant one near the car inside of the Gas Station to create a larger explosion to kill attackers that may be grouping inside.
M-COM Station A
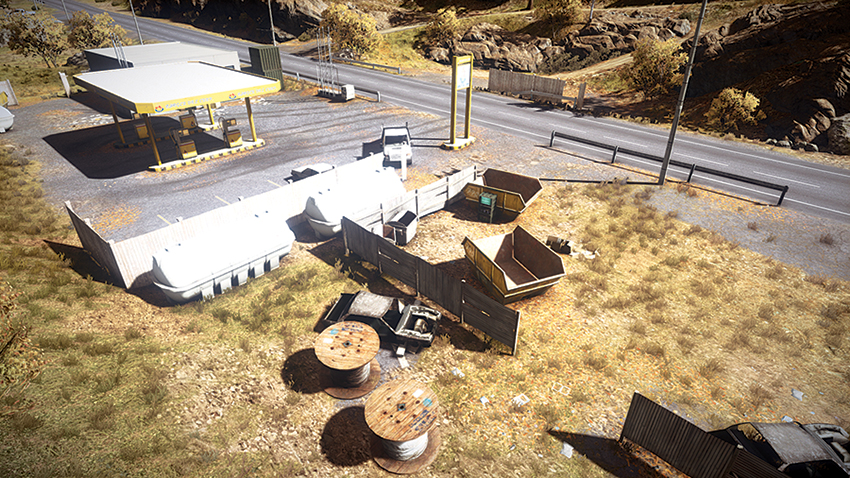
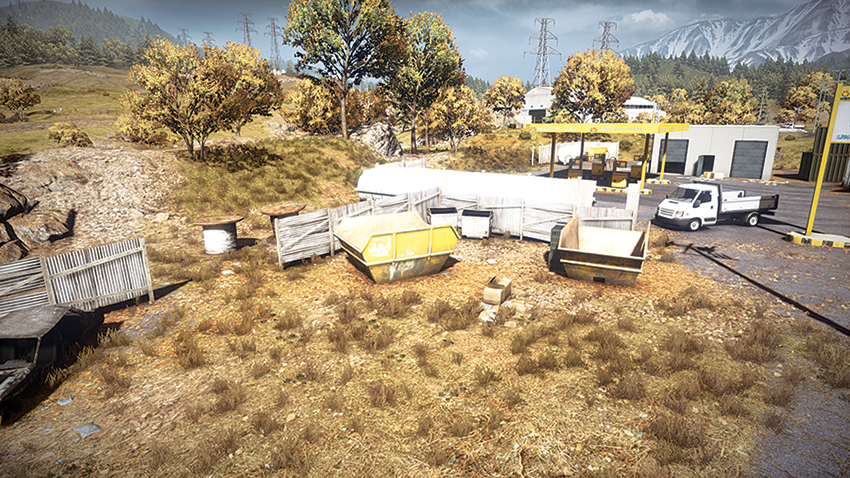
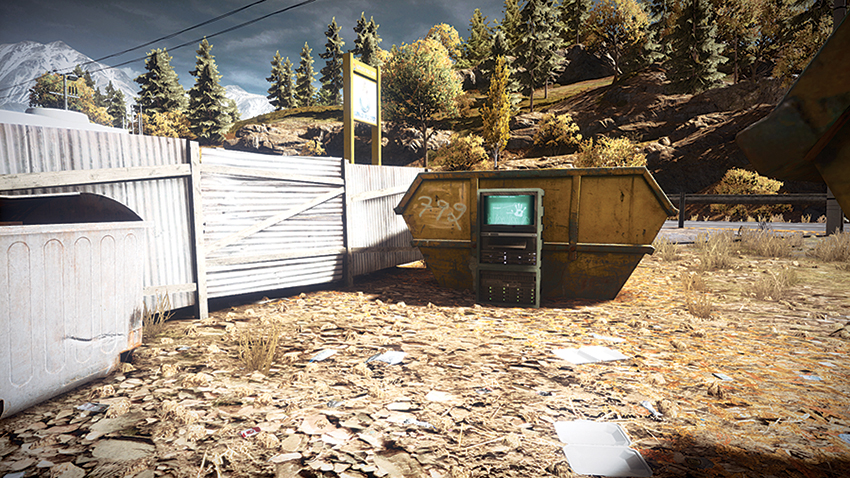
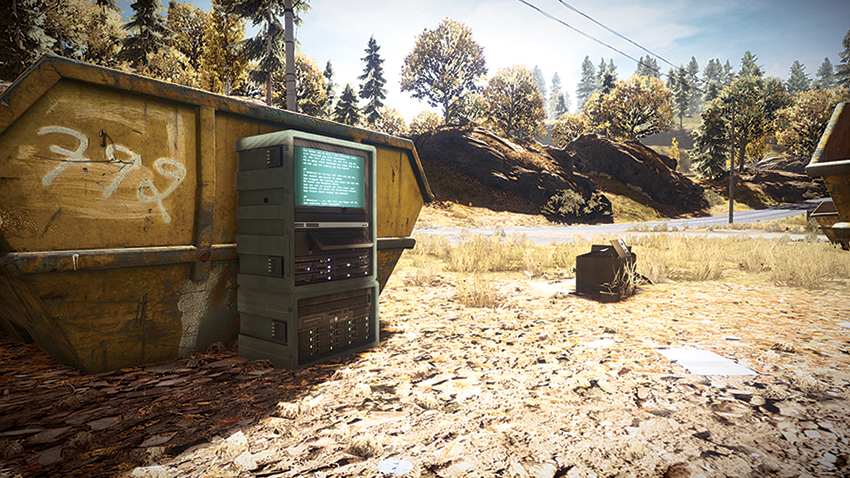
M-COM Station A is located to the east of the Gas Station near a yellow dumpster. This M-COM Station is particularly open to assault given the fencing that conceals it from the Gas Station itself. Attackers should not take it for granted that this will be an easy plant and destroy, though, as the wooden fence providing concealment is likely to be destroyed quickly by the BMP-2M and their own LAV-25 as cannon fire rips through the area. Defenders will benefit from placing a T-UGS motion sensor near the area and approaching from the river to the south. Attackers can effectively clear the area from the rocky hills to the north, as well as spot defenders camping nearby. If the fence has been torn down, defenders can also use the relative safety of the south gas station wall to fire on attackers approaching the area.
M-COM Station B
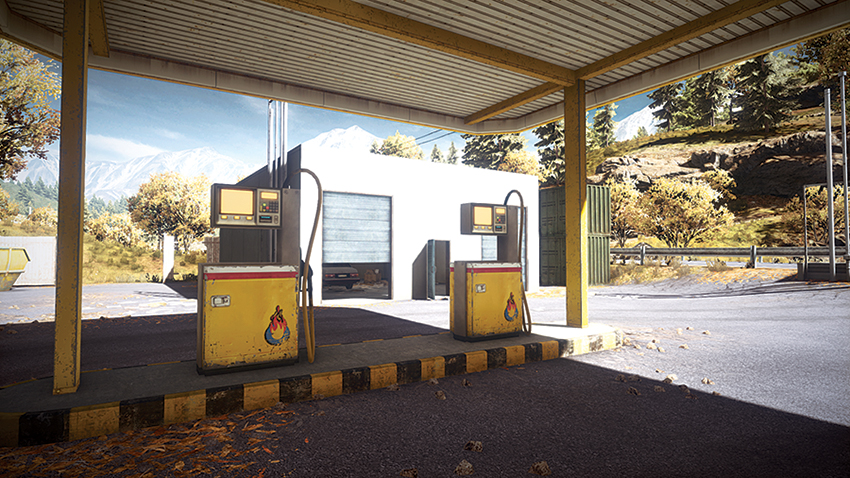
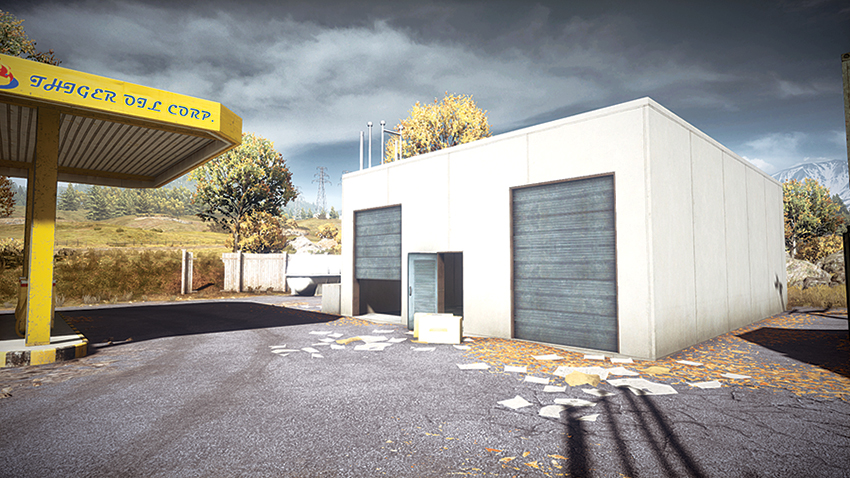
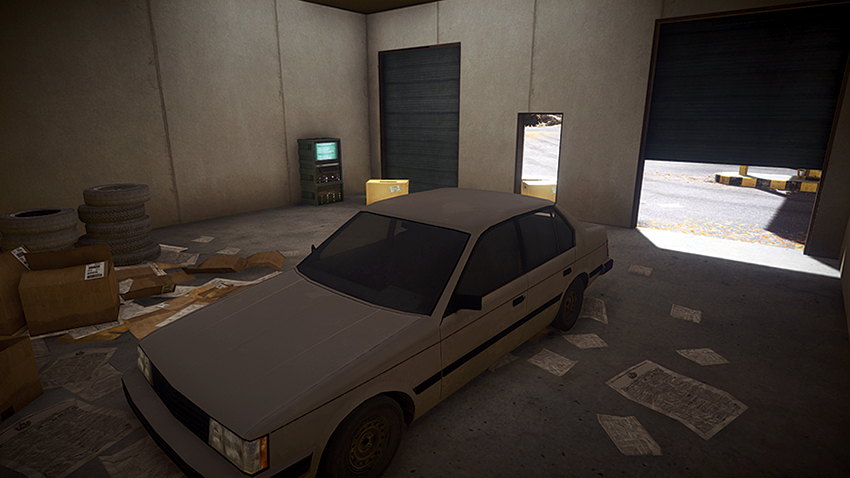
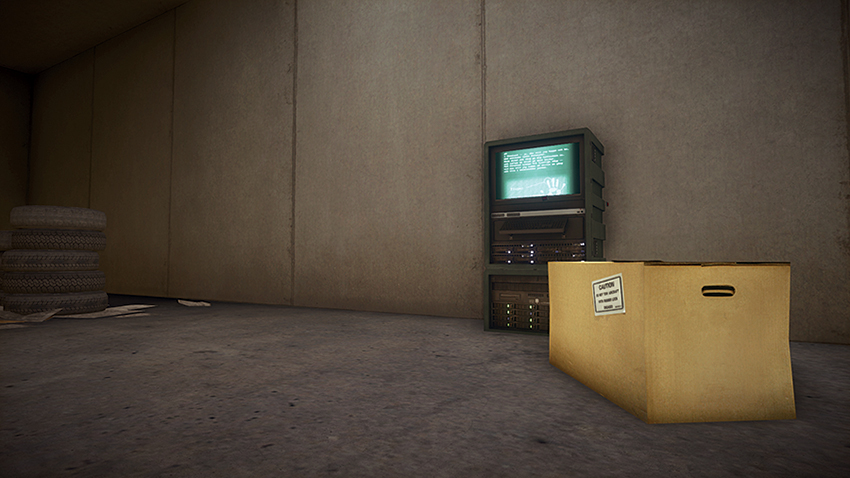
Located inside of the Gas Station, M-COM Station B is a difficult one to attack to say the least. Attackers would benefit from using the LAV-25 to provide suppressive fire on the site as their infantry close in on the building itself. Defenders should expect dirtbike riding attackers to try to attempt to enter the Gas Station building on their vehicle at breakneck speeds. Should attackers attempt brute-force methods like this, placing mines near the entrance to the building can cut these attacks short. Attackers should keep in mind that keeping their LAV-25 on the road will leave it vulnerable to attacks from the 9M133 Kornet Launcher on the north side of the building. To prevent infantry resistance, attackers would be wise to make use of recon soldiers positioned on the rocky hillside to snipe defenders that approach the front side of the building. Defenders should keep this tactic in mind when coming out into the open around the Gas Station.
Zone 3: Warehouse
US Deployment
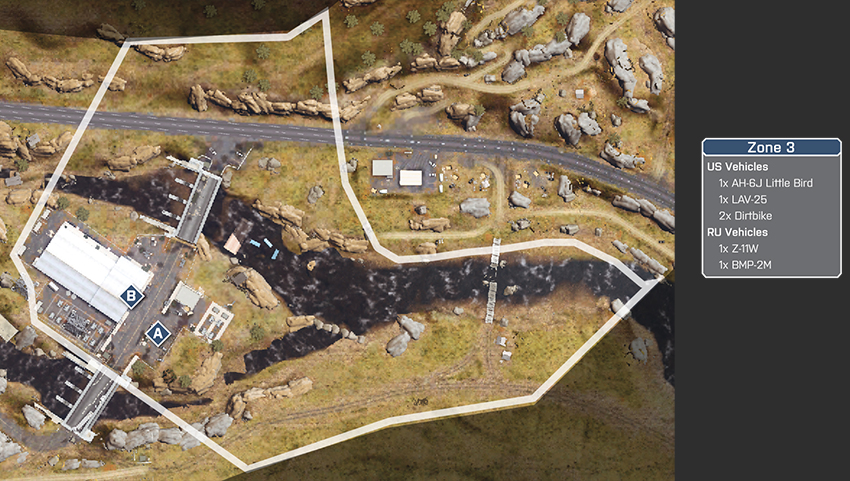
At this stage of the battle, the US team deploys from the Gas Station. The M-COM Stations are located within the gated compound of the Warehouse to the southwest. It is best to allow the LAV-25 to spearhead the attack into the compound, as long as the bridge is not loaded with mines. Infantry units should cross the river and approach from the southern tip of the island the Warehouse is situated upon. Entry from this area provides an opportunity to place a charge on the relatively exposed M-COM Station A, but keep in mind that defenders will be inside the Warehouse near M-COM Station B and will be fiercely guarding the area from afar. Make use of the AH-6J Little Bird to provide suppressive fire through the large Warehouse door to prevent being accosted by defenders while securing this close-quarter-combat-prone area.
RU Deployment
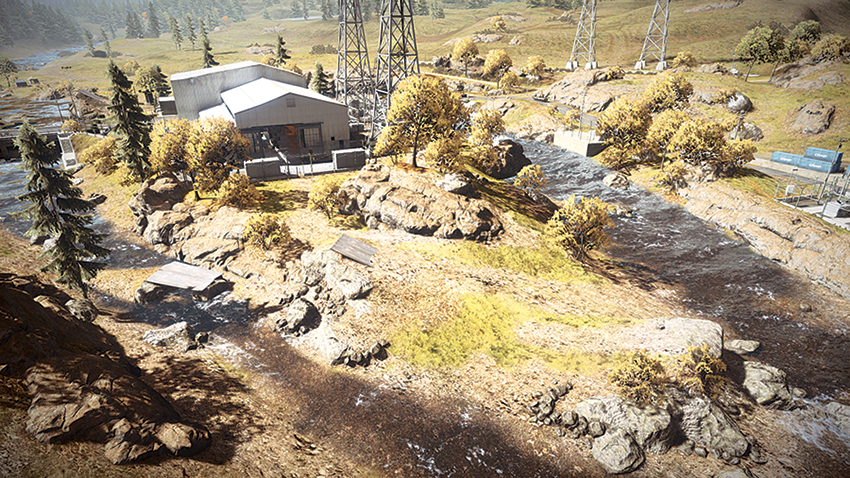
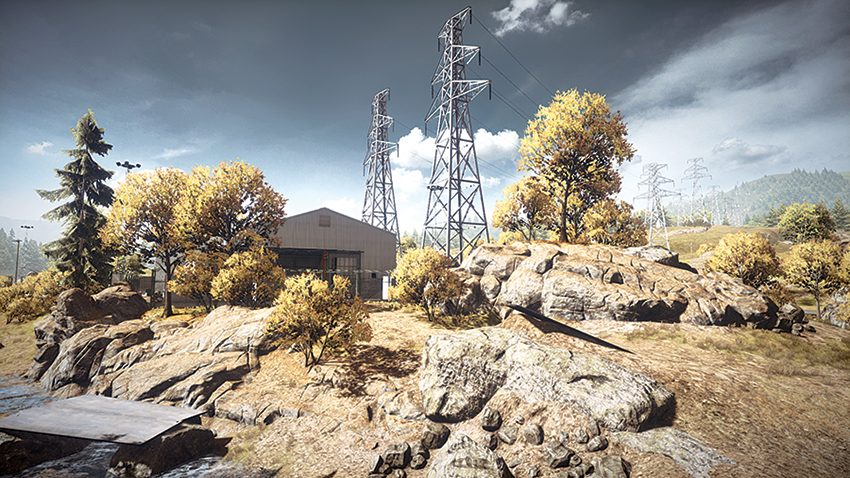
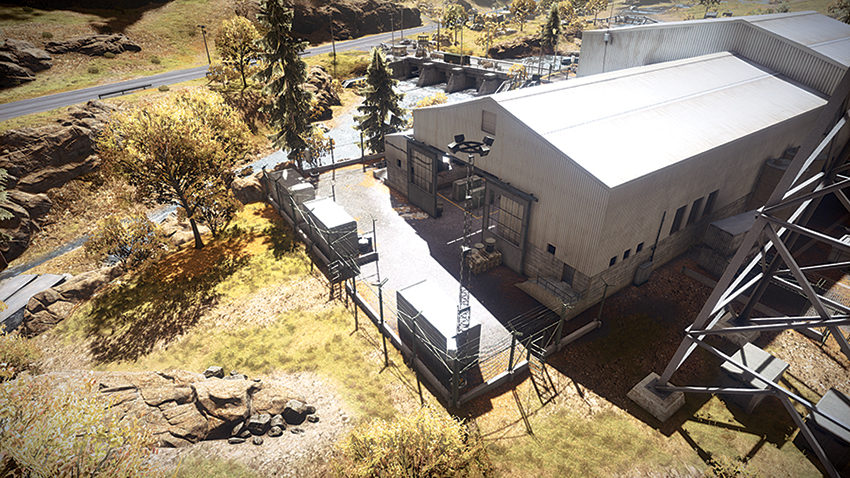
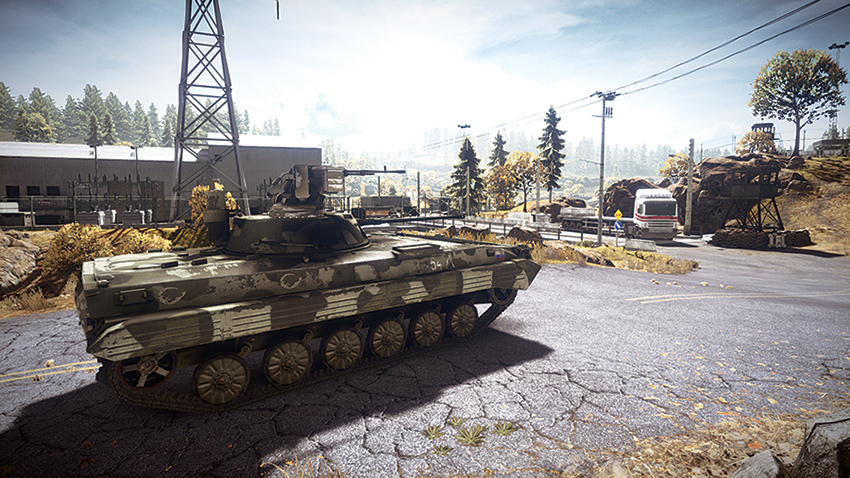
Deploying from the north side of the warehouse, the RU team can be at a slight disadvantage if they do not proceed to the south end of the Warehouse in a timely manner. To quickly establish a presence, the BMP-2M should approach the Warehouse and begin providing suppressive fire from the southern Warehouse gate to ensure that no attackers gain entry to the Warehouse and compromise M-COM Station B. As infantry units make their way through the Warehouse, the Z-11W should enter the airspace and provide cover fire to prevent the enemy from crossing the bridge from the north. Once defenders have made their way to the east side of the Warehouse, infantry should maintain a position from within the building, engaging hostiles as they enter the large hangar area. From this vantage point, M-COM Station A can be protected as well, given its relatively exposed position.
M-COM Station A
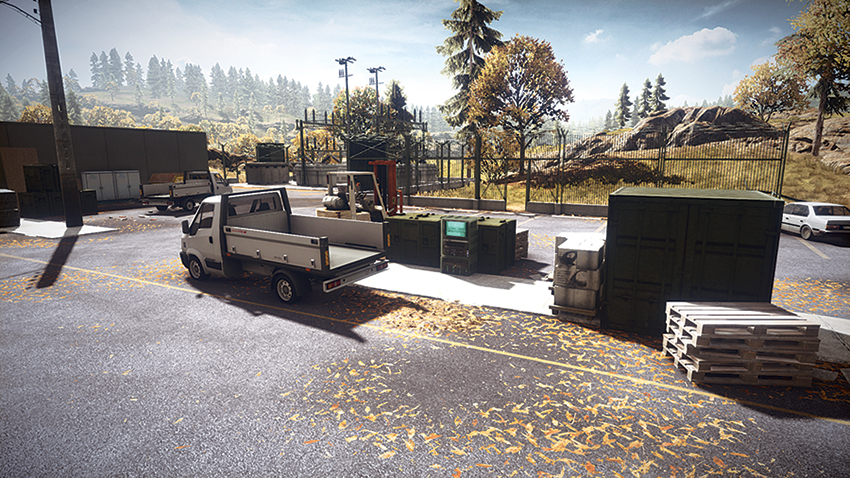
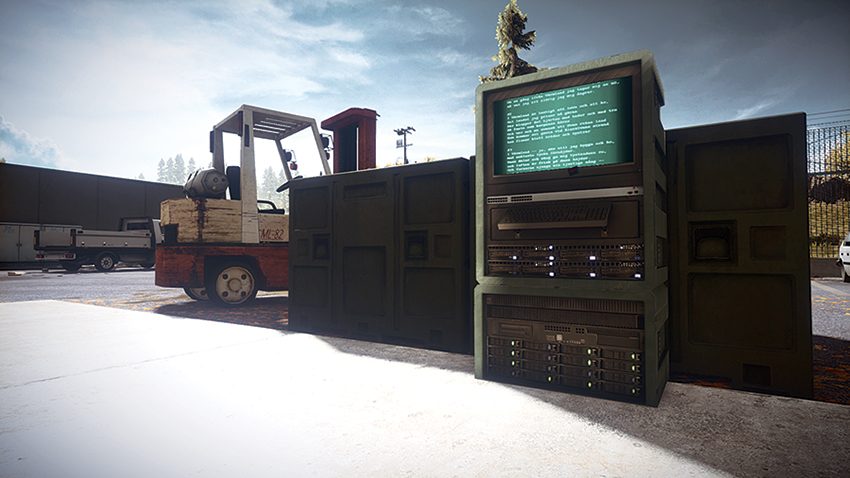
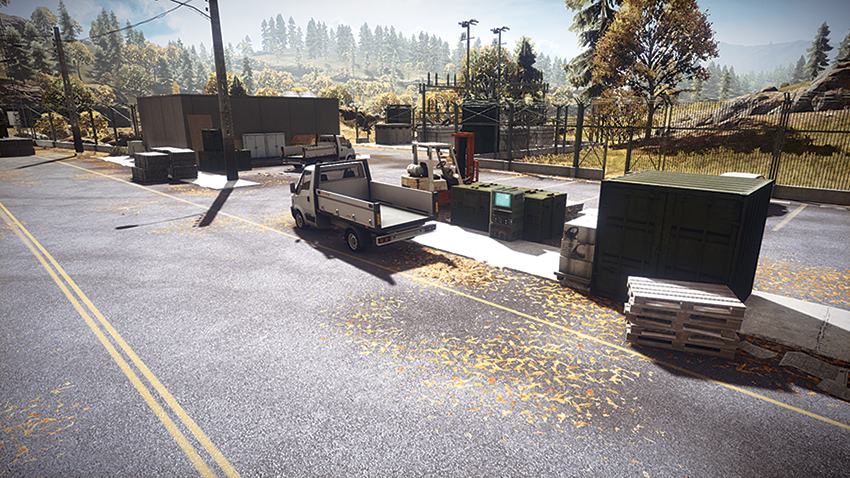
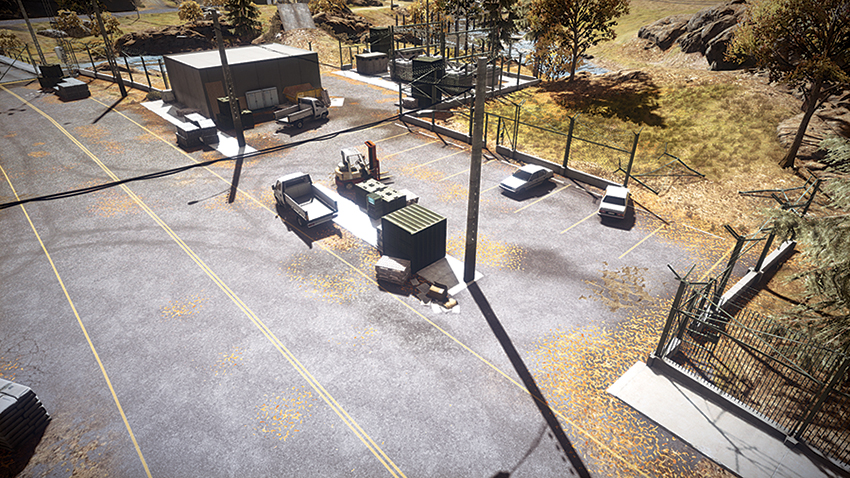
M-COM Station A, located within the lot on the east side of the Warehouse, is relatively exposed—aside from the white truck parked near it. For attackers, this truck provides little to no reprieve from the bombardment they can expect from the defenders’ BMP-2M, and infantry are sure to post up within the Warehouse itself. Attackers should approach the M-COM from the south, with squad members providing suppressive fire as one teammate engages in planting the charge on the M-COM itself. Defenders should take advantage of this vulnerable M-COM and pick off attackers as they approach to plant a charge. Critical to defending this station is preventing the enemy IFV from entering the Warehouse lot, as the attackers will be able to use the vehicle as cover to attack the M-COM.
M-COM Station B
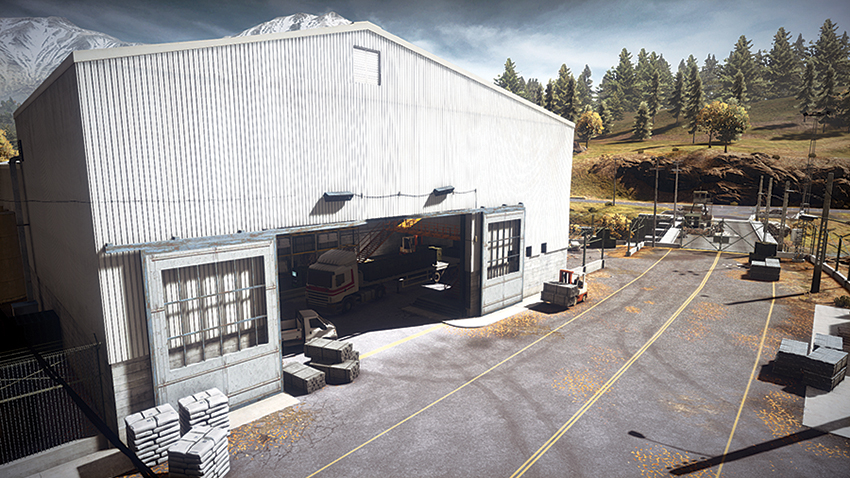
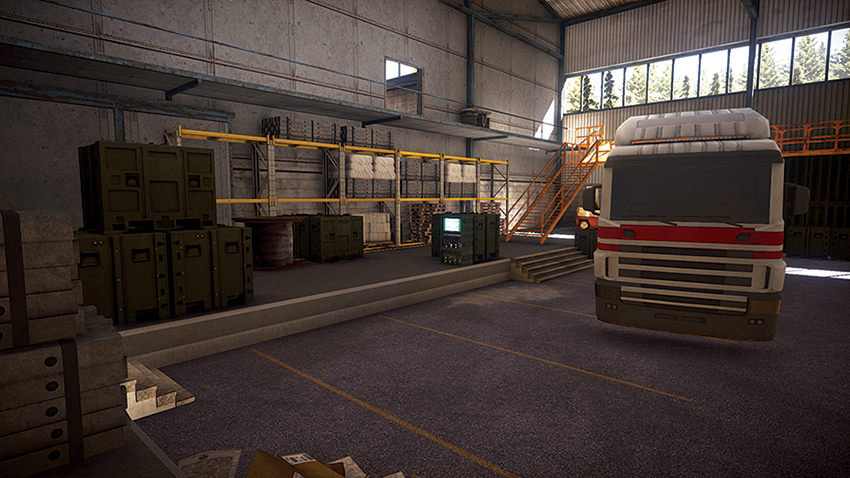
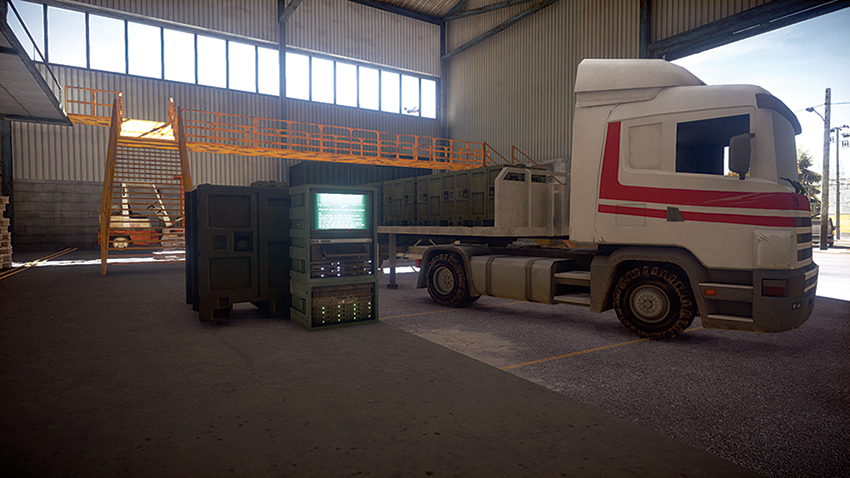
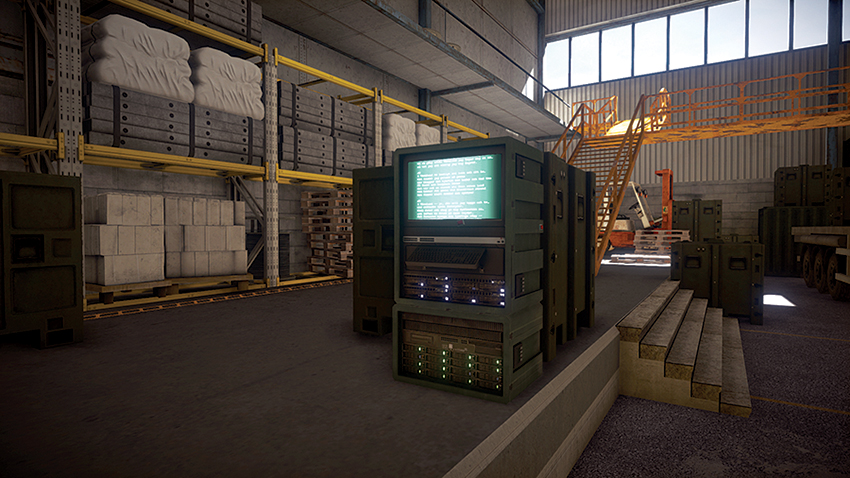
Because M-COM Station B is located within the Warehouse hangar it poses a bit of risk for attackers engaging the objective. They should expect heavy resistance from defenders entrenched within the hangar, and expect to be flanked by hostiles that have taken position on the catwalks overlooking the M-COM. Defenders should keep in mind that attackers may try to approach from behind them by making use of the stairs located within the server room to the west. So, should they attempt to take a defensive position on the high ground, planting claymores at the entrances to the hangar along the catwalk is a very useful defensive strategy. For the overzealous attacker, if the LAV-25 can successfully enter the hangar, it can quickly overwhelm the defenders within this small space. Of course, the defenders can also swarm the vulnerable IFV and destroy it through the use of explosives or well–placed mines.
Zone 4: Power Station
US Deployment
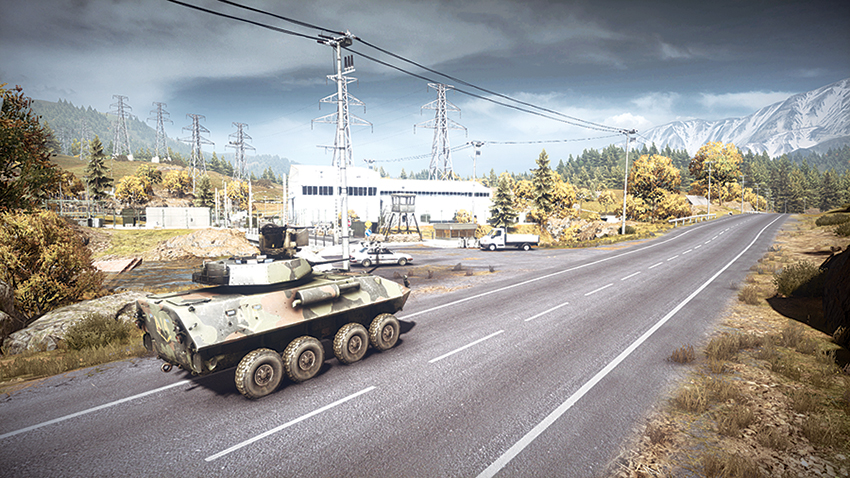
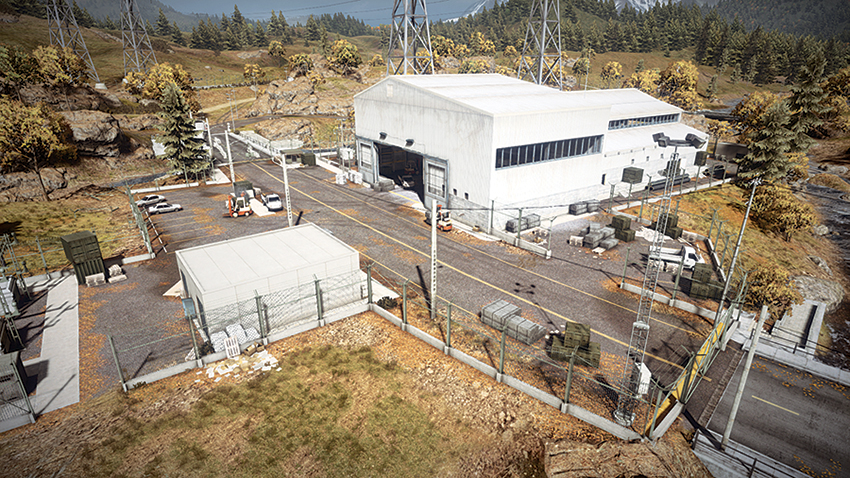
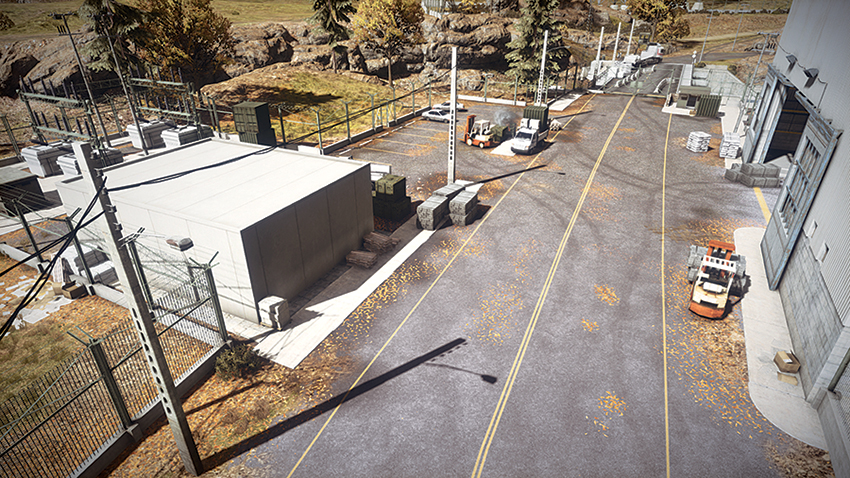
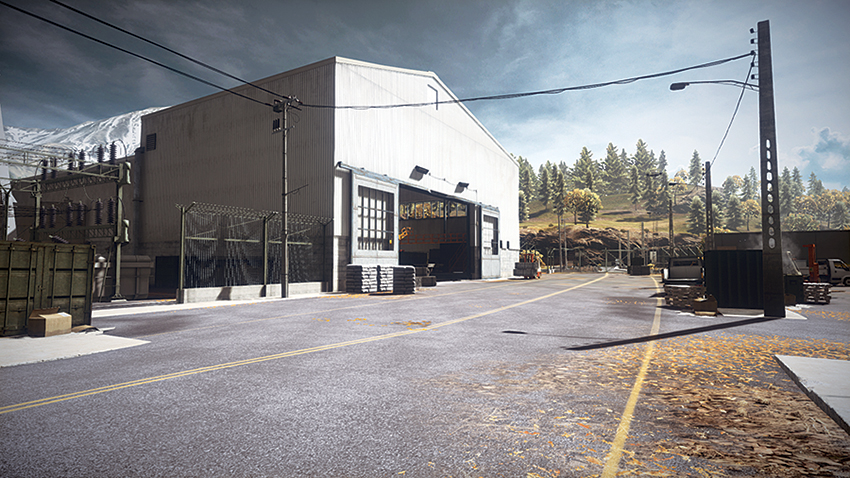
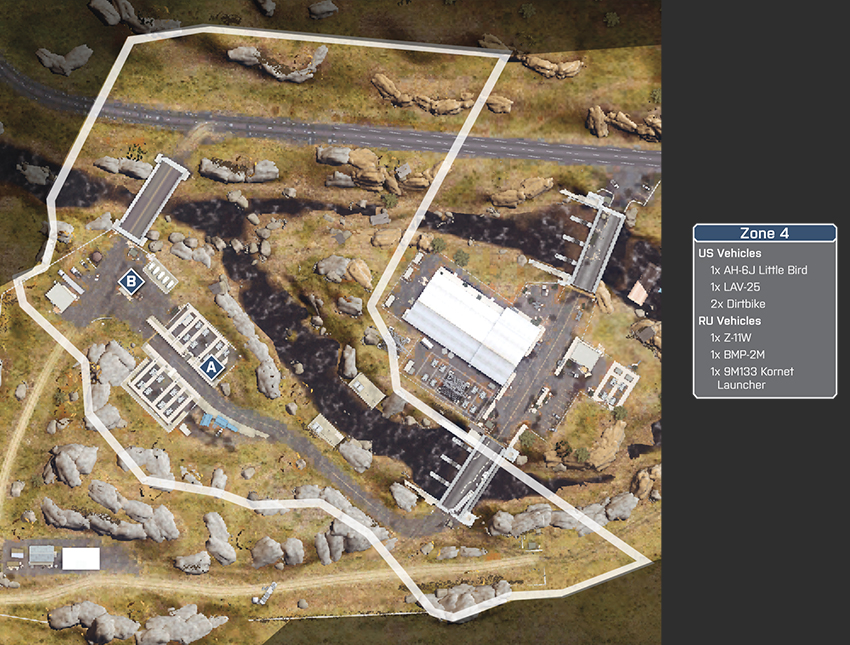
Deploying from the Warehouse, the US team has a straight path that runs through the Power Station and the lot west of it. Both of these areas have an M-COM Station to attack, but expect such a direct approach to be met with heavy resistance. Continuing south from the Warehouse is a road that runs to the west and approaches the M-COMs from the rear. The only downside to this approach is that it runs right through the RU team’s deployment area. Dividing the US team’s forces to attack directly from the Power Station and sending some to the south can provide the opportunity to sneak up on the RU team by using the rocky hill north of the Outpost area. Once in this elevated position, the RU team will be forced to pull back from the Power Station itself and retreat to the lot where M-COM Station B is or sustain heavy losses. Once M-COM Station A has be successfully destroyed, the US team should focus the attention of the AH-6J Little Bird to policing the area around M-COM Station B, allowing attackers to plant a charge.
RU Deployment
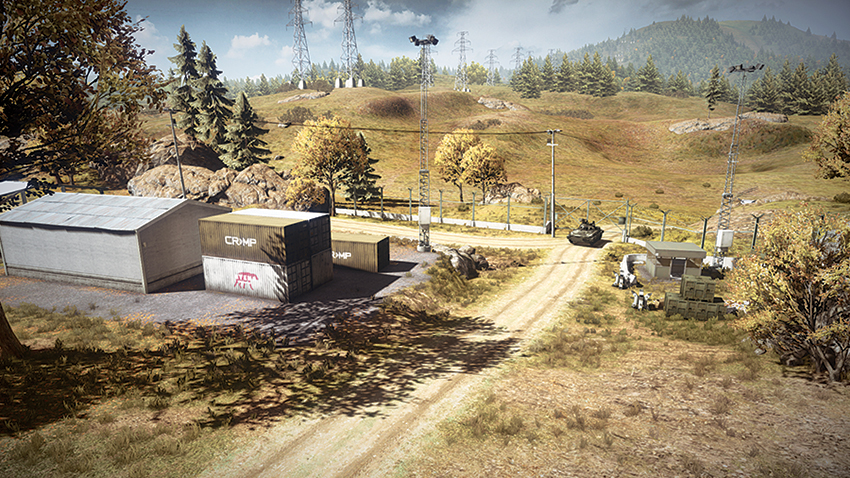
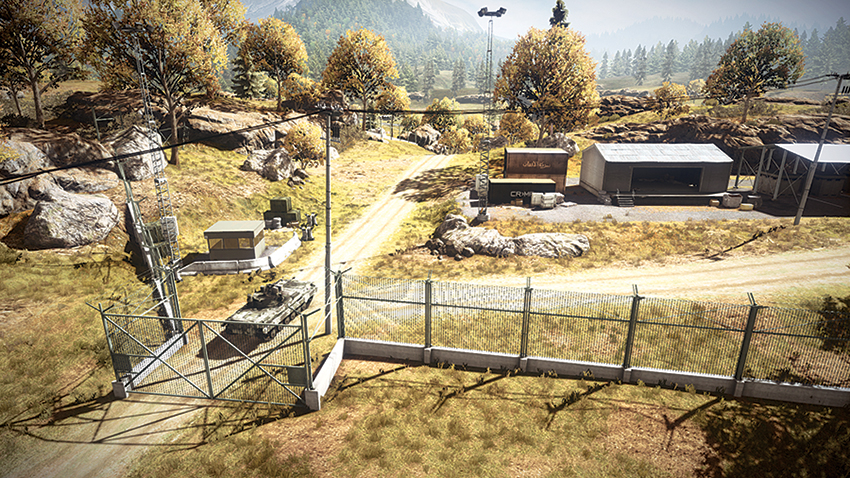
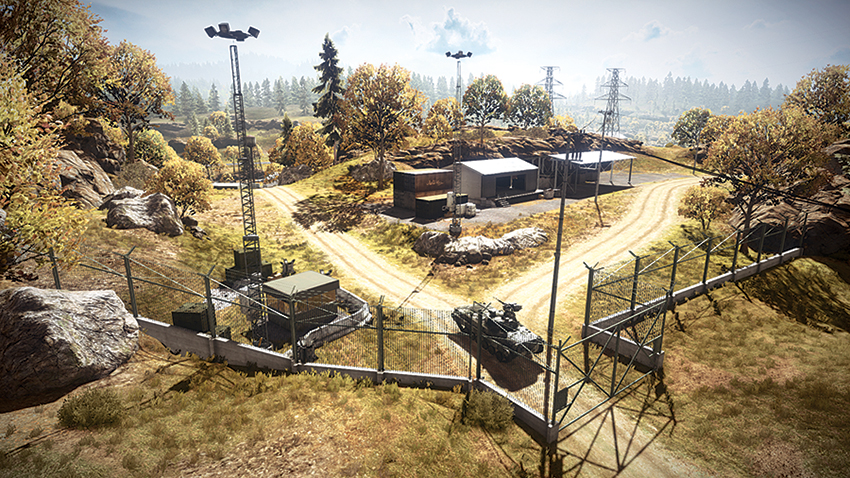
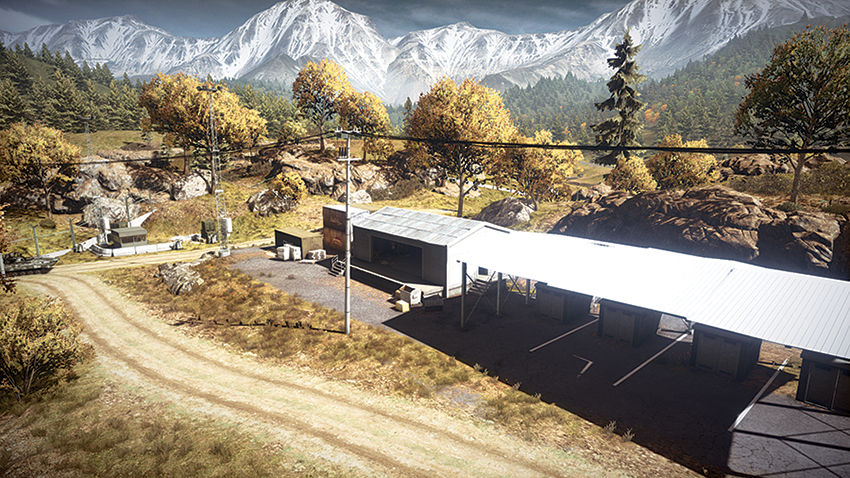
Making their approach south from the Outpost area, the RU team will benefit to have the Z-11W providing cover over the Power Station, where M-COM Station A is located, until infantry can arrive on site. If the attacker’s IFV has a chance to break through the Power Station area and approach the lot where M-COM Station B is located, this point of the battle can quickly be handed over to the US team. One benefit that the RU team has here is the BMP-2M, which if positioned near M-COM Station B can provide suppressive fire toward the Power Station and the southern ridge, should the US team attempt to exploit this area and the power transformers here for cover. To raise a successful defense here, the deployment of mines and claymores is definitely necessary to put a stop to the rush of US forces through the Power Station and the road to the south which provides US forces with an opportunity to flank from the Outpost.
M-COM Station A
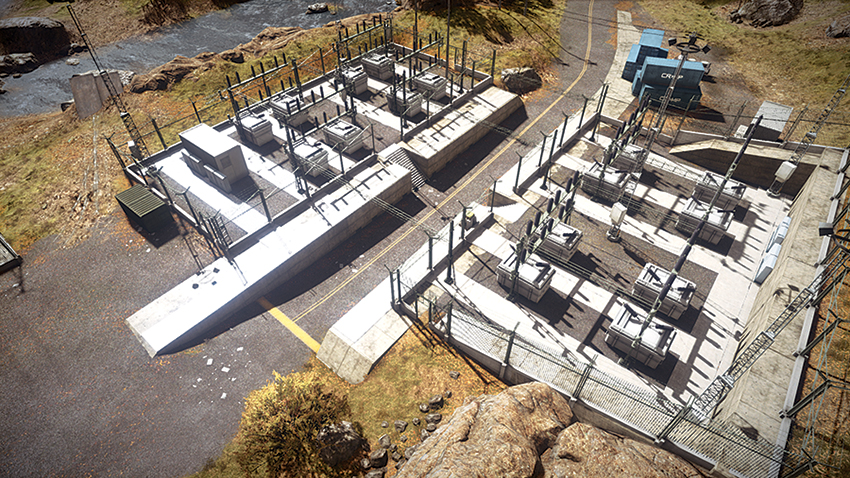
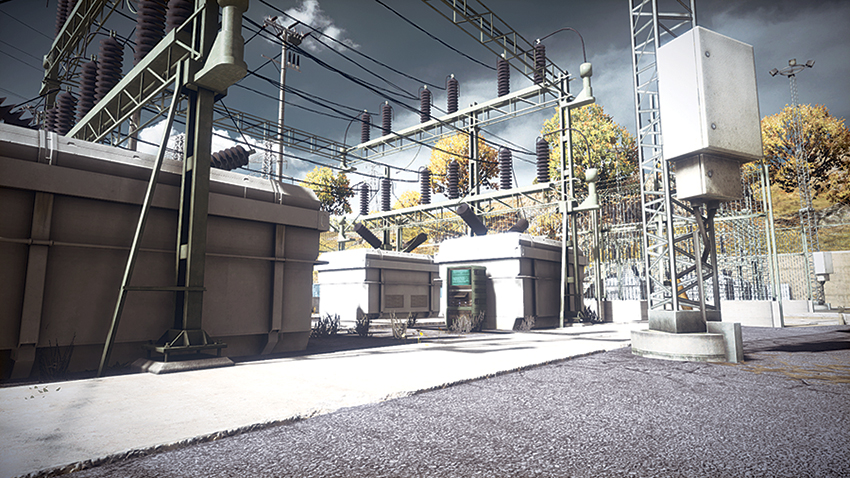
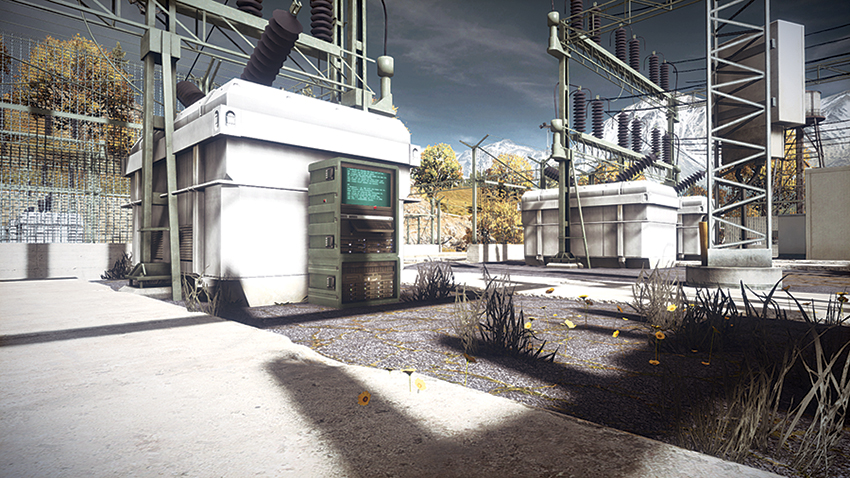
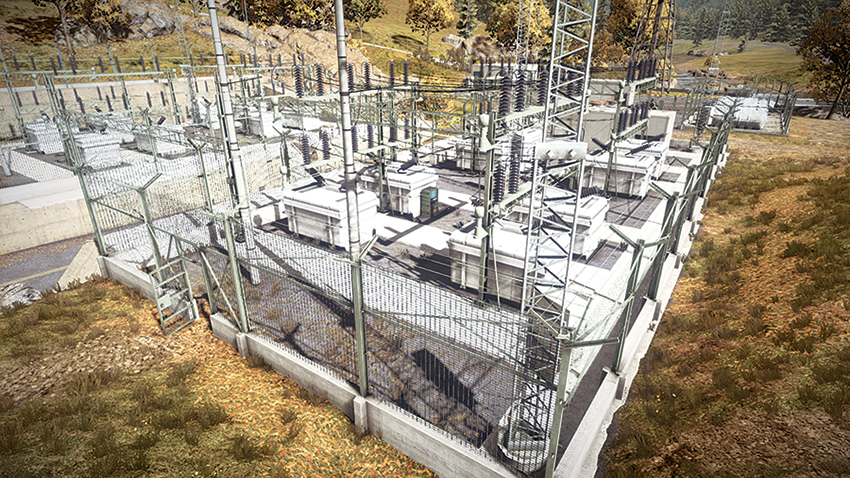
Located on the north side of the Power Station, M-COM Station A is positioned to be attacked from the river and the road leading from the Warehouse. One disadvantage to an IFV crossing through by way of this road is that once within the channel between the two halves of the Power Station, it is difficult to turn around or make a quick escape, leaving any vehicle susceptible to C4 attack or other explosives. Dirtbikes on the other hand, provide the attackers with a swift platform to drop off soldiers and proceed to M-COM Station B, which is to the west of the Power Station. Defenders should focus on taking position on top of the ridge to the south, which provides them with an elevated position to monitor the approach of attackers. Placement of mines on the western end of the Power Station is useful in preventing any kind of vehicle from safely proceeding through the narrow channel as well. Attackers also can make an easy path by breaking through the chain link on the east side of the Power Station, as opposed to entering the channel and making their way up the stairway, which is particularly vulnerable to sniper fire.
M-COM Station B
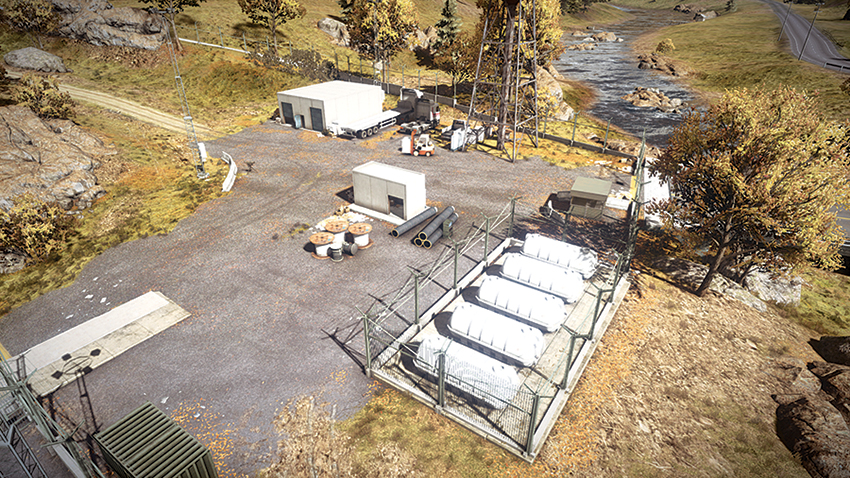
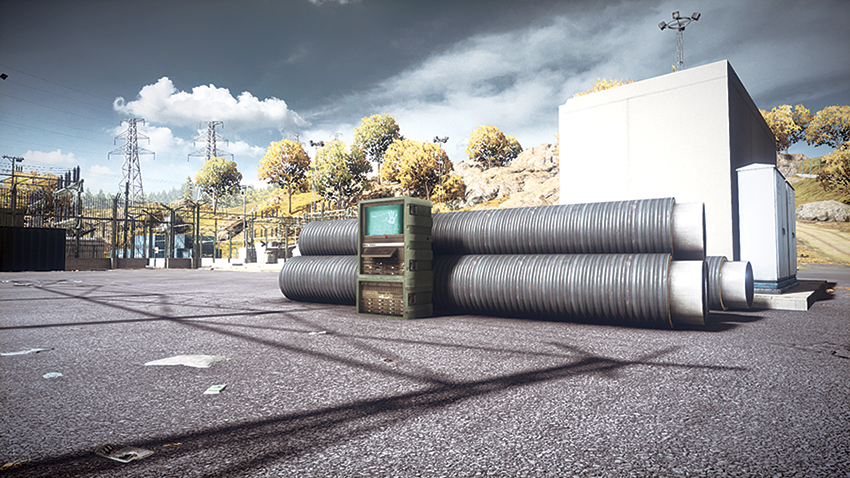
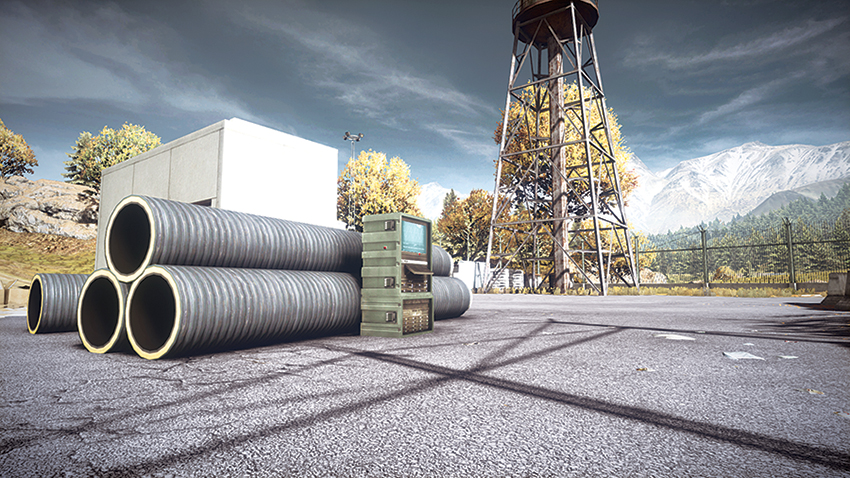
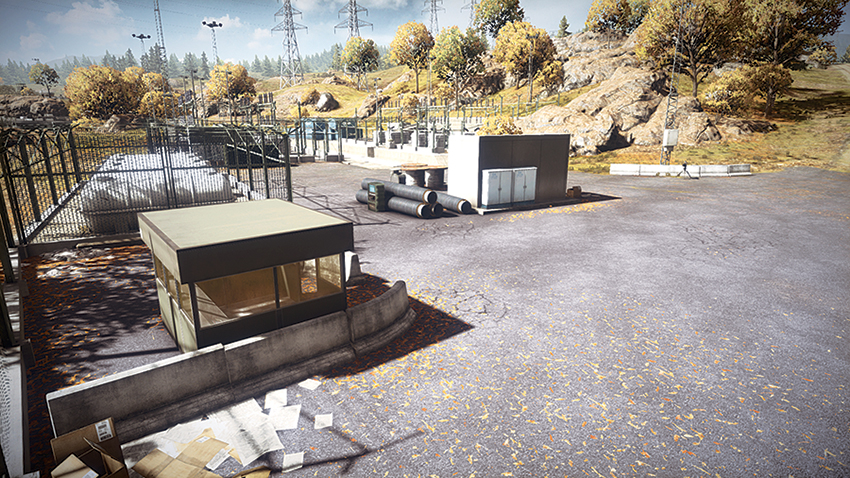
M-COM Station B, positioned due west of the Power Station, is relatively exposed near some large pipes and a small building. Attackers, while able to approach the site from the east, will find less resistance when approaching from the north via the river. Defenders should make use of the Z-11W to patrol the bridge to the northwest and the river, as these areas are particularly vulnerable to a dirtbike assault. One tactic that defenders could implement is to use the BMP-2M to destroy the nearby building and prevent cover for enemies that approach the site, but this also eliminates the cover for allies as well. Defenders can also use the ridge to the south as a position for snipers to maintain a sight line to the objective, spotting attackers for their team as they approach the M-COM.
Zone 5: Outpost
US Deployment
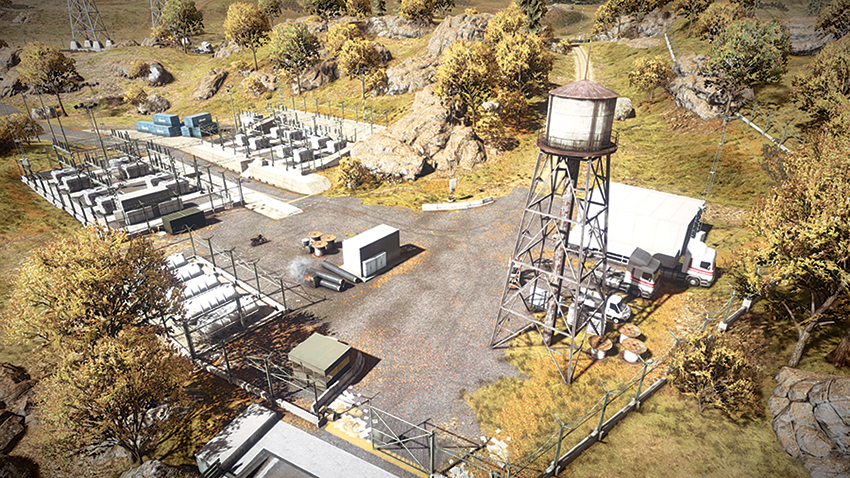
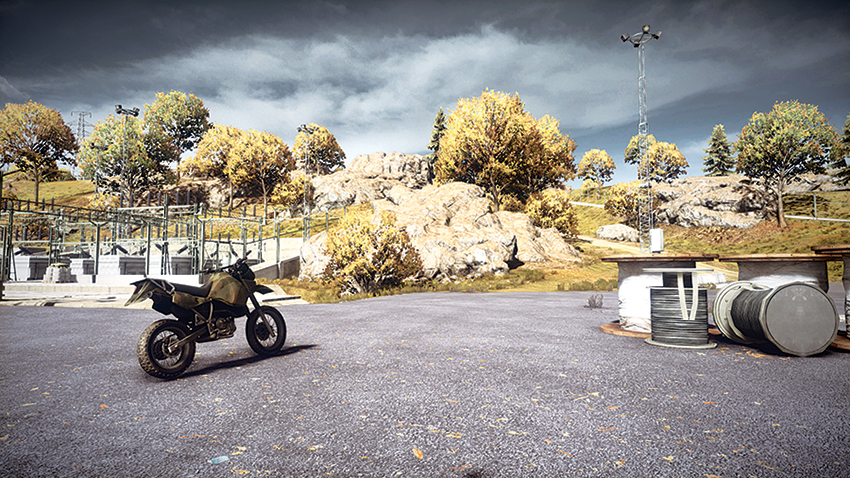
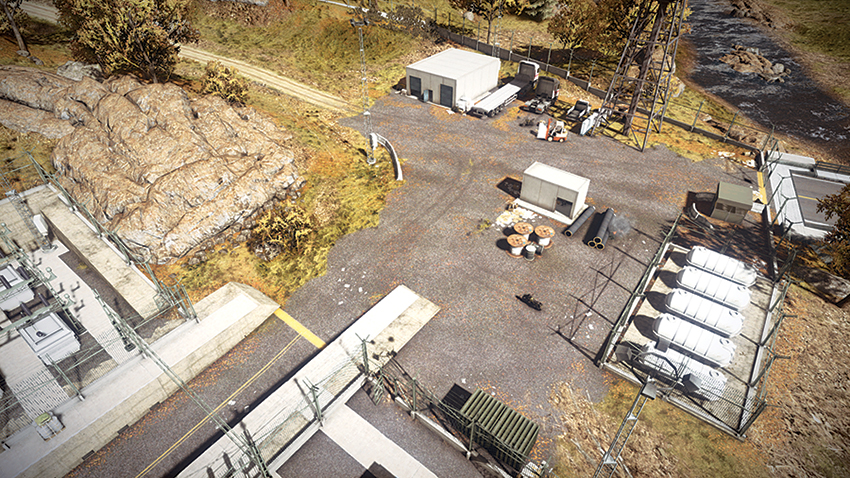
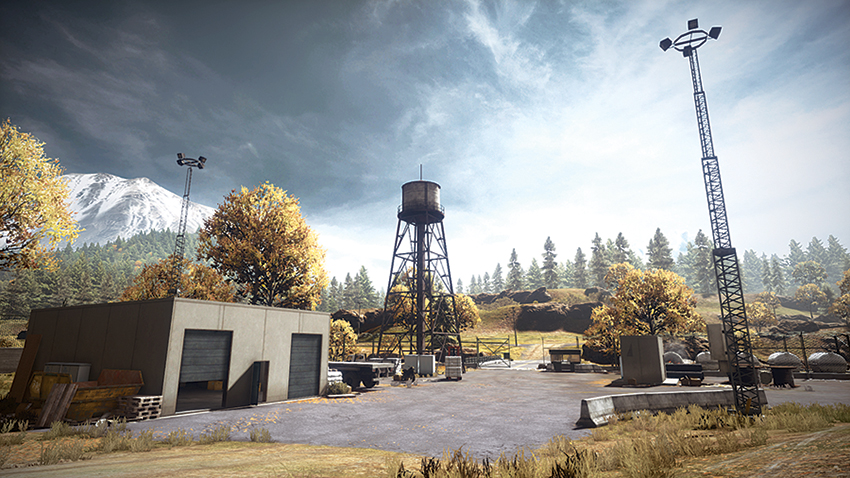
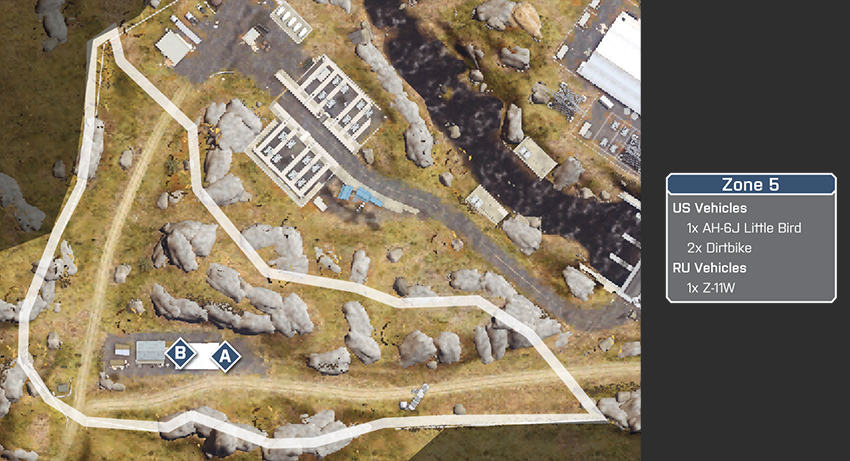
Deploying from the Power Station, this last stage of the battle can be won by overwhelming the enemy through the road running south to the Outpost, but at the risk of a high amount of casualties that will deplete tickets quickly. While this is an effective tactic against an RU team with lack of experience, expect a more skilled team to maintain a strong defense at this point in the battle. The AH-6J Little Bird should be used to eliminate any threats that take position along the ridge south of the deployment area, clearing the path for an assault by way of this ridge. Another point of attack should be the road that runs south from the Warehouse. Although a bit of doubling-back is needed to access this road, dirtbikes can quickly make it to this point and engage the enemy from the east, where they likely have turned a blind eye.
RU Deployment
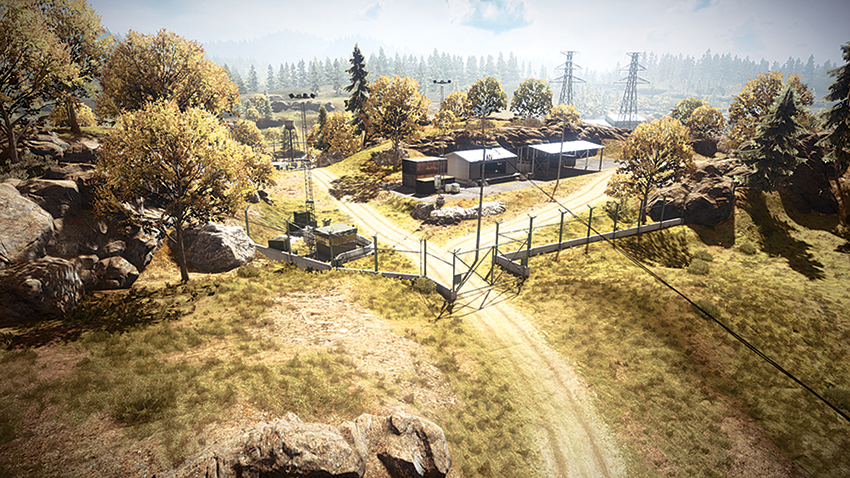
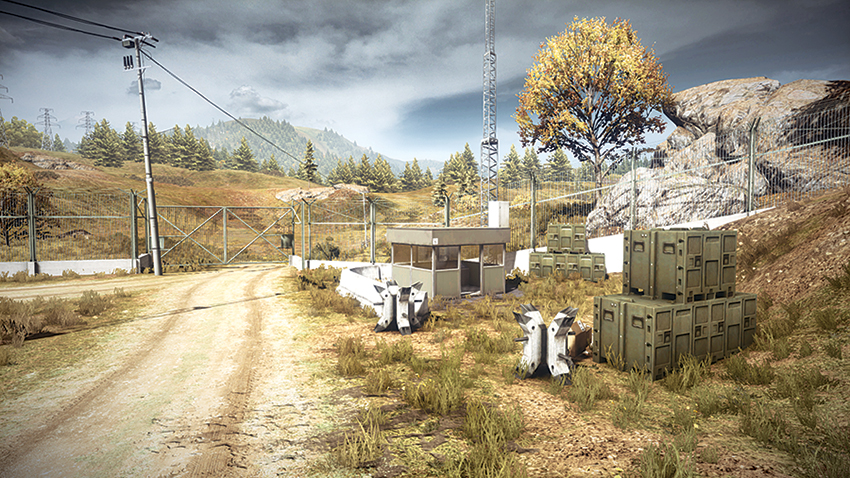
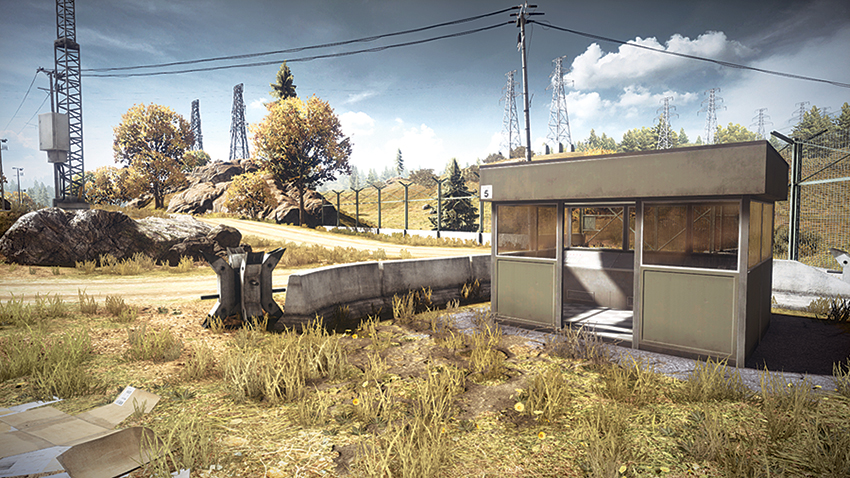
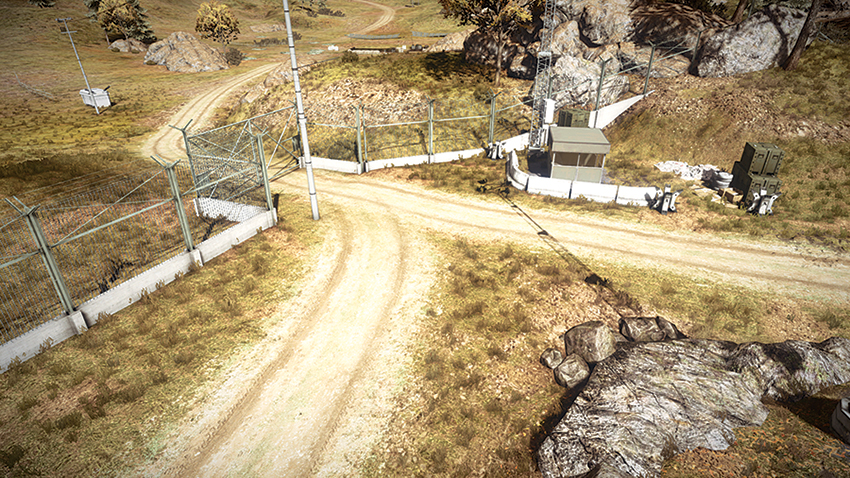
At this point of the battle, holding back the attackers at all costs is imperative. With the M-COM Stations positioned relatively close to each other, guarding them is easily accomplished by making use of the Z-11W, which can maintain distance while gunning down any opposition that approaches the objectives. Without an IFV, though, the battle will be held by infantry units. Early placement of claymores near the objectives can help push back forces that approach them as well. Defenders should be careful to watch the ridge to the north of the Outpost as well as the road to the east, should enemy units attempt to get the jump on them. The first M-COM to be attacked will likely be M-COM Station B, given its position inside the Outpost building, which can be approached from the north relatively undetected. Be sure that this area is fortified with claymores to prevent an unwelcome surprise, should an attacking squad take hold here.
M-COM Station A
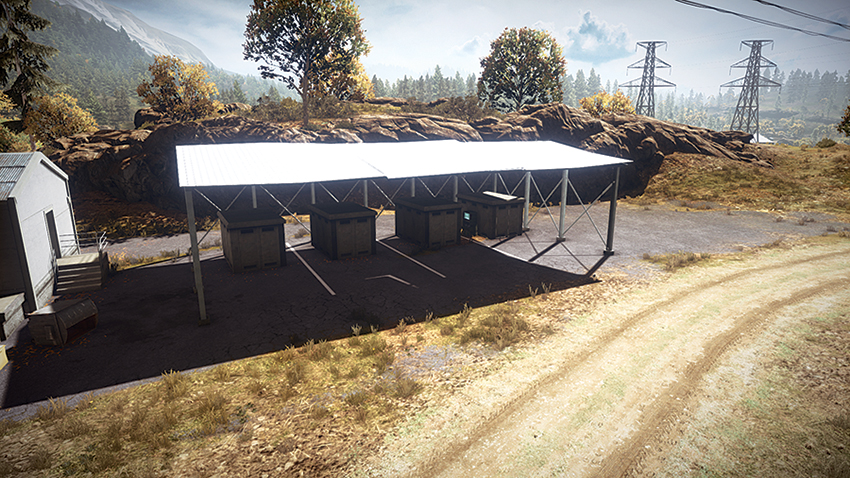
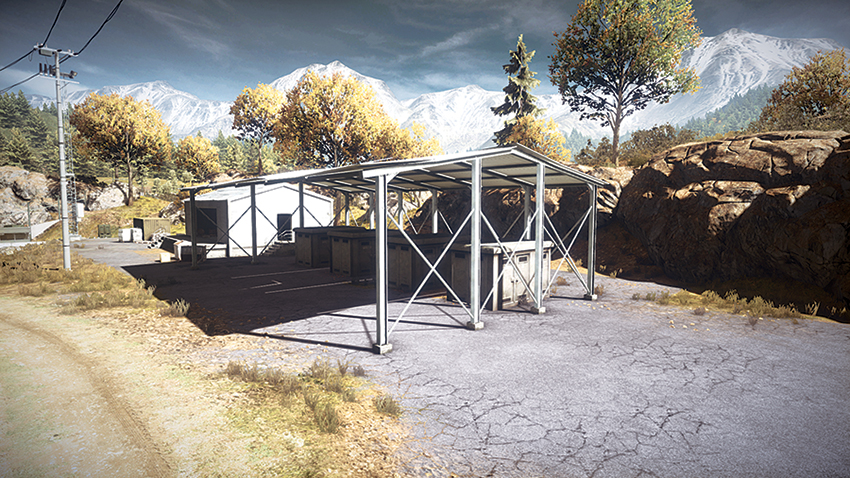
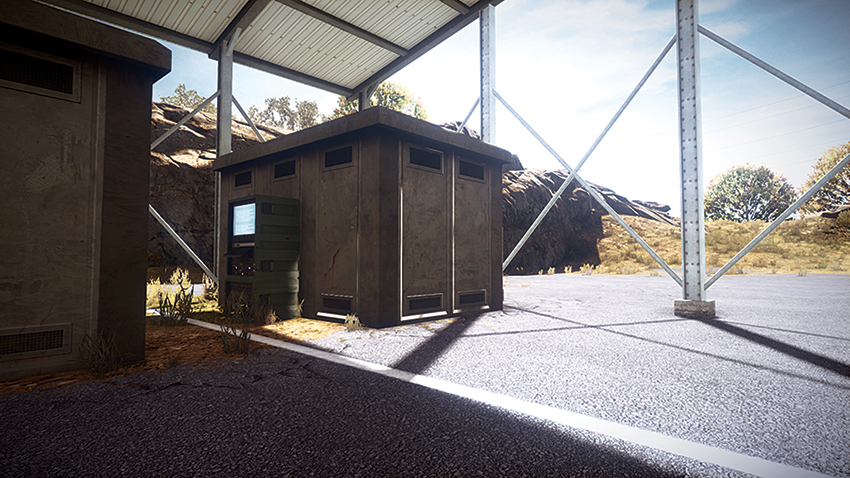
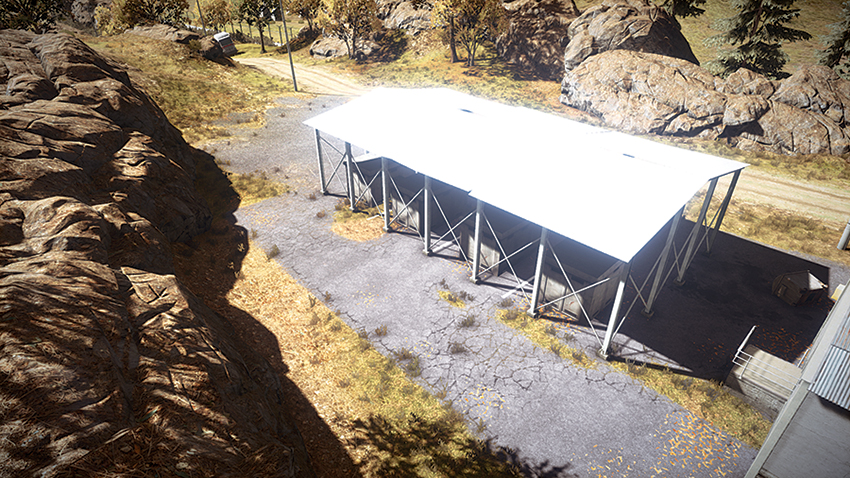
Located between containers under an aluminum shelter, M-COM Station A is particularly vulnerable to attack from the east by way of the road. Attackers looking to gain the advantage by taking this approach should be aware of the position of the RU team’s helicopter, which can easily observe them and pose an immediate threat given the area’s exposure. Defenders can effectively protect the site through the use of claymores near the station, as attackers approaching the station to arm a charge will be under heavy fire when doing so. The greatest danger to the defending team here is attackers that are making their approach by way of the ridge to the north, as they will be concealed by the large building to the west and the containers around where the M-COM Station is positioned. One good tactic that attackers can use here is to be dropped off by a dirtbike as the driver continues onward, as most defenders are likely to not notice the dropped of passenger and will attempt to stop the dirtbike itself.
M-COM Station B
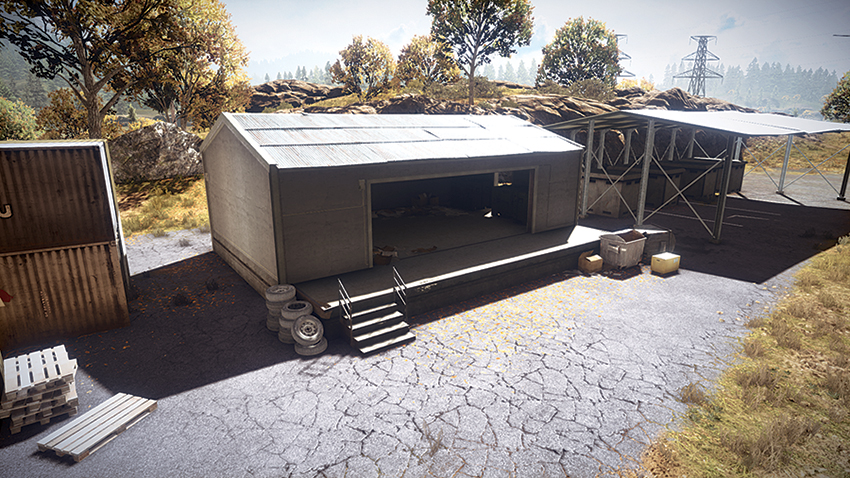
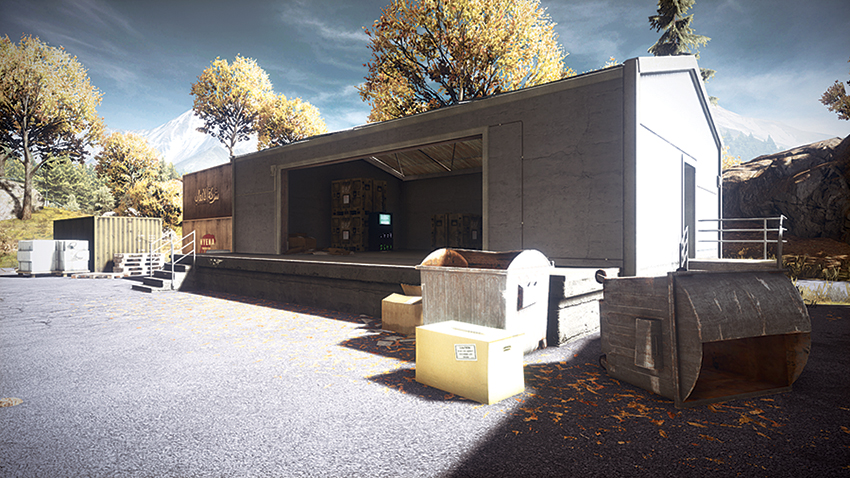
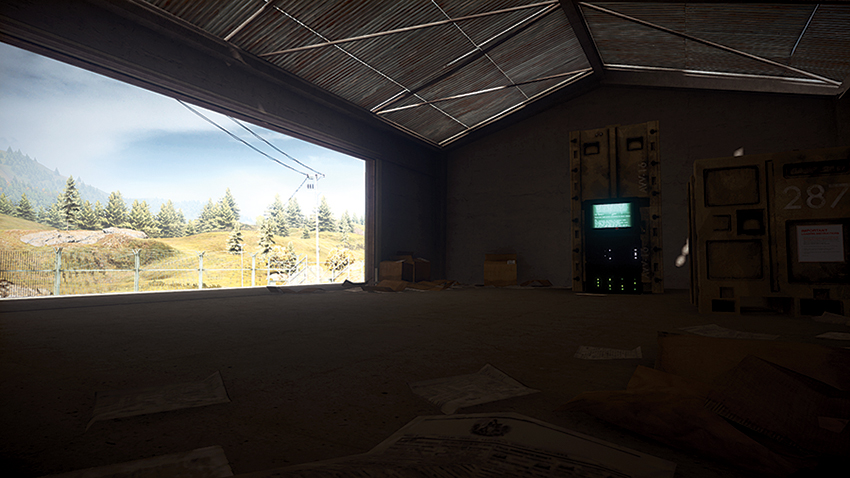
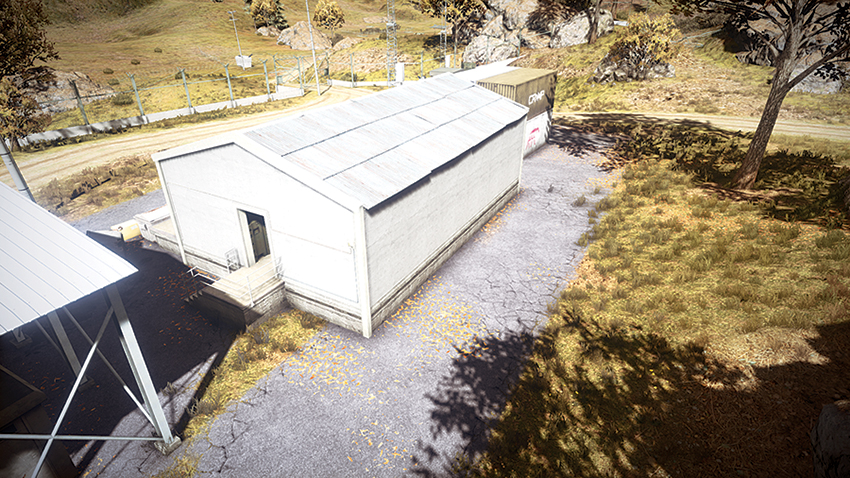
Set within the building at the Outpost, M-COM Station B is not an easily accessible objective. For attackers, the difficulty in approaching this objective will be that although the north side of the building offers cover but if approaching the door on the east side, they can expect defenders to be on guard inside of the structure. Attackers looking to enter the building to plant a charge would be wise to use grenades to clear the room prior to entry, as well as making use of the AH-6J Little Bird to provide cover fire as squads attempt to attack the objective. Defenders should make use of the tight quarters where the M-COM is housed by using claymores, as well as grenades to defend the objective without having to engage in a direct firefight. Another advantage that defenders can make use of is the rocky ridge to the south of the outpost, where snipers can effectively cover the M-COM Station, making the attackers’ approach difficult.