
Battlefield 3 Premium Guide Battlefields Conquest 64
Grand Bazaar
Given the large number of players, this is a relatively compact map. So prepare to rub elbows with plenty of teammates and enemies. This is largely an infantry battle, but don’t neglect the firepower offered by the few vehicles available.
The machine gun turrets mounted on each vehicle have a zoom option so gunners can accurately engage targets at long range. This allows the vehicles to completely dominate the city streets—zones infantry should avoid completely or cross while at running at a full sprint.
With five control points on the map, your team needs to hold at least three flags to initiate a drain on the opposing team’s ticket count.
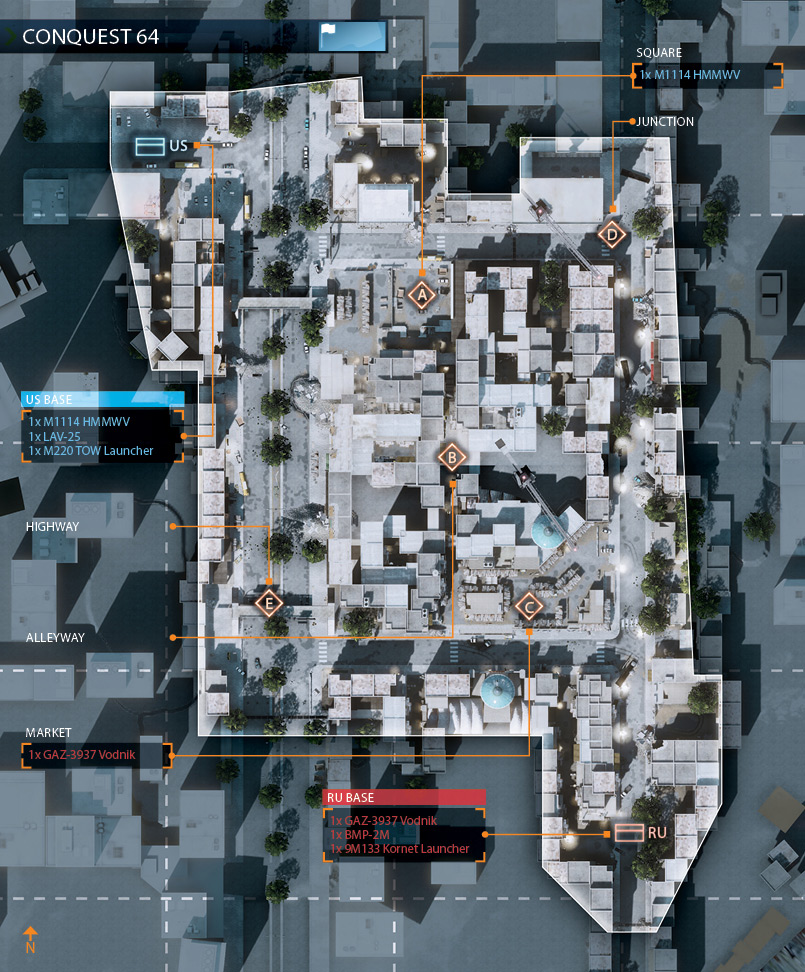
When possible, avoid the meat grinder Alleyway (C) control point in the center of the map and try to control those on the perimeter of the map like the Junction (D) and Highway (E) control points. With some dedicated defenders, the Square (A) and Market (C) can be locked rather easily, too.
But the tactical situation is always fluid on this map, so constantly monitor the control of the flags and look for opportunities to capture those points left unguarded by the opposing team.
US BASE
Base Assets
| Name | Quantity | Respawn Time |
|---|---|---|
| M1114 HMMWV | 1 | 30 sec. |
| LAV-25 | 1 | 60 sec. |
| M220 TOW Launcher | 1 | 30 sec. |
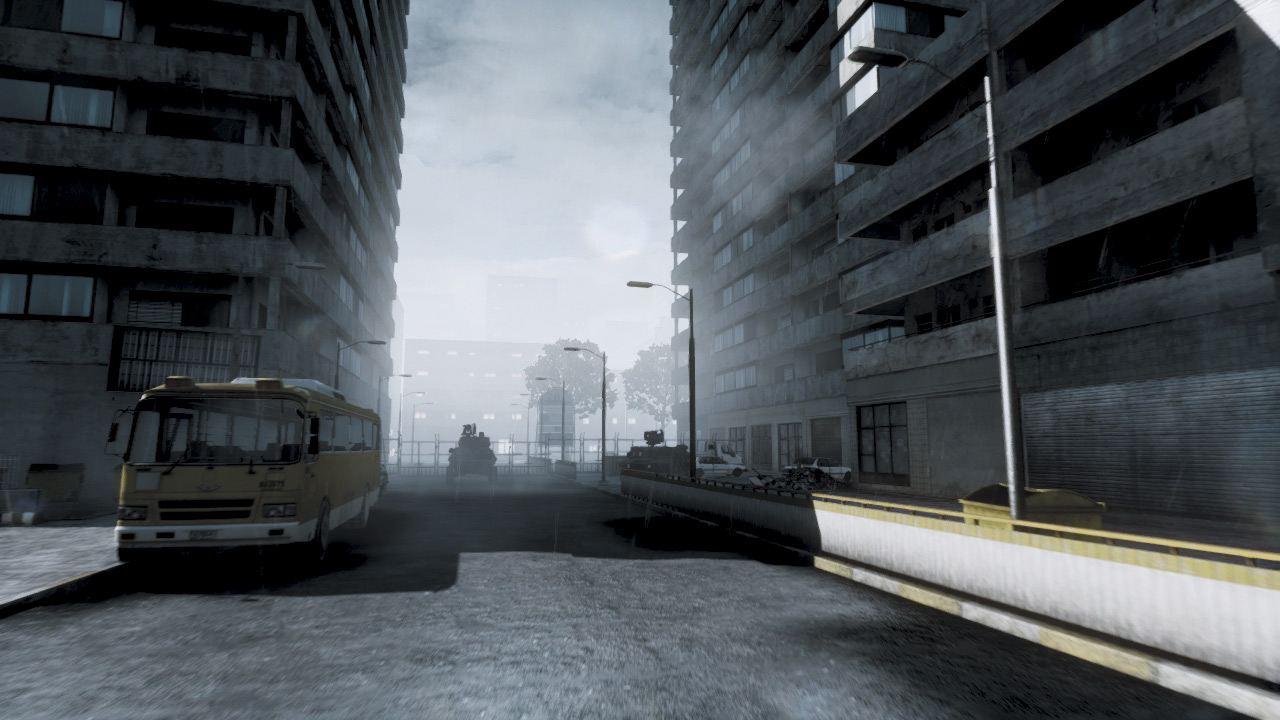
The US Base is located in the northwest corner of the map. This dead-end street is more of a deployment area than a base, as it spawns only a HMMWV and an LAV-25.
The lack of vehicles at this base should prepare you for what is mostly a infantry battle in this urban center. Early on US troops should make a push for the nearby Square (A) control point while the HMMWV and LAV-25 assault the Highway (E) and Junction (D) control points.
While the adjacent streets are safe to cross at the beginning of a match, it’s best to deploy from one of the central control points later on. The streets offer long sight lines for enemy snipers, and they may be waiting for you to enter the intersection just east of the base.
So unless there are vehicles available, avoid spawning at the US Base once a match gets underway. There is an alley just south of the deployment area that offers a relatively safe way to travel south on foot.
This is a good way to make the approach to the Highway (E) control point.
RU BASE
Base Assets
| Name | Quantity | Respawn Time |
|---|---|---|
| GAZ-3937 Vodnik | 1 | 30 sec. |
| BMP-2M | 1 | 60 sec. |
| 9M133 Kornet Launcher | 1 | 30 sec. |
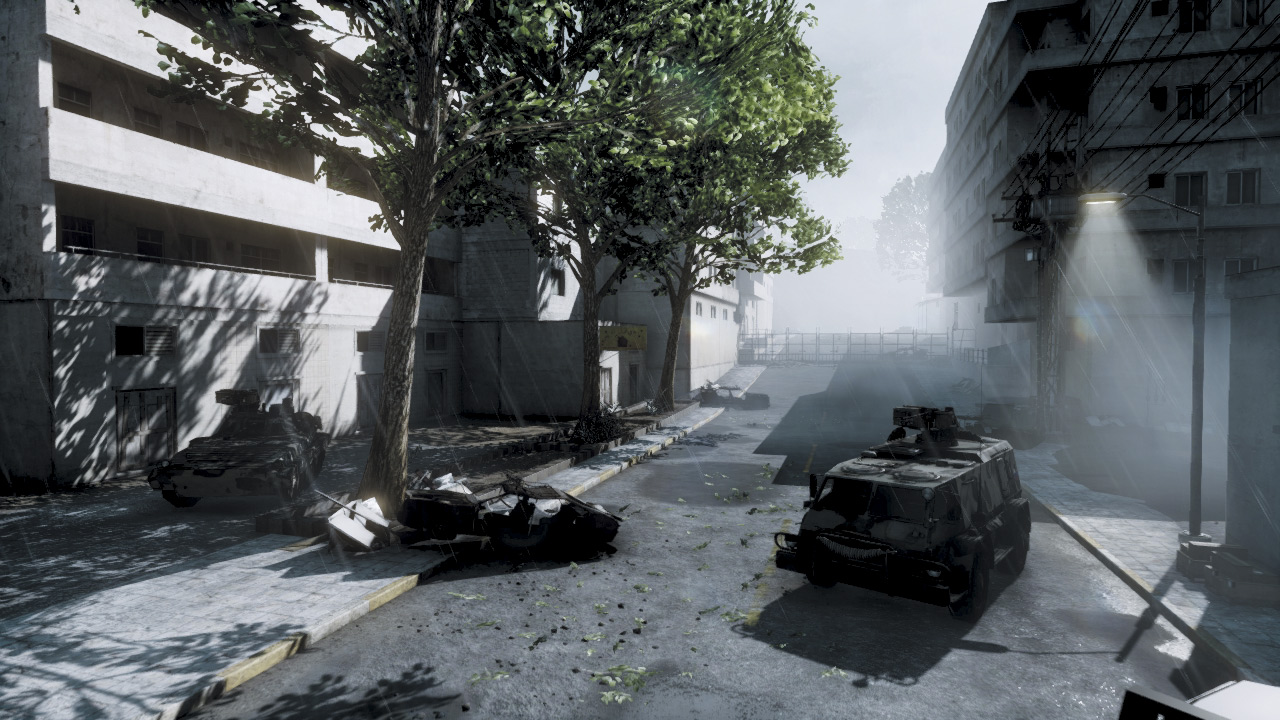
The RU team starts in the southeast corner of the map. Like the US Base, the RU Base only spawns a couple of vehicles.
Both the Vodnik and BMP-2M should be used early on to rush the Highway (E) and Junction (D) control points while RU infantry secure the nearby Market (C).
The eastern street, running north and south, provides a clear sight line into the RU Base. So infantry spawning here should be prepared to take fire from long range while exiting the base.
It’s much safer to utilize the alleyway to the west of the base when attempting to reach the Market (C) or Highway (E) control points on foot. However, once a control point is held by the RU team, it’s best to spawn away from the base.
This will put you (and your squad) closer to the action while keeping you safe from enemy snipers scanning for prey on the city streets.
A: SQUARE
Control Point Assets
| US Control | RU Control | Respawn Time |
|---|---|---|
| M1114 HMMWV (1) | — | 30 sec. |
The Square (A) is located only a few meters from the US Base and is the northernmost point in the central city block. As a result, the US team has a good chance of capturing this control point early on.
However, the Square is closely linked to the other two control points in the center of the map, which gives the RU team a good chance of wresting it away from US control, especially if they hold the Alleyway (B) and Market (C) to the south.
So if the US team holds this position, they should expect RU attackers to approach from the Alleyway (B) to the south. But if the RU team holds the Square, they can most likely expect attacks to originate from the US Base to the northeast.
The Junction (D) control point is also another possible staging area for attacks. So constantly monitor the ever-changing battlefield situation and adjust your defensive tactics accordingly.
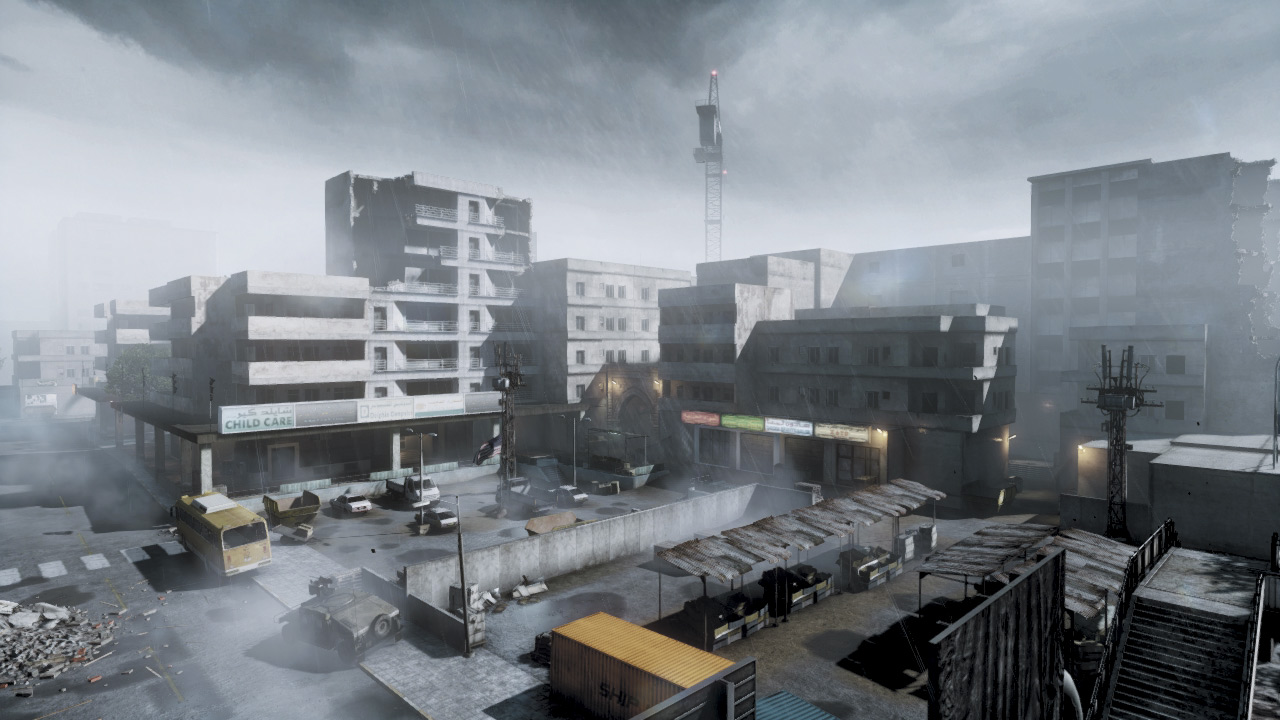
The HMMWV spawned here is a huge defensive asset—use its machine gun turret to cut down enemy troops advancing along the northern street. The flag here is positioned in the center of a parking lot.
Instead of taking cover near the explosive vehicles, consider hiding near one of the yellow dumpsters while capturing or contesting the flag.
If you’re attacking this point from the west, the concrete wall on the western edge of the square can be destroyed and you can create new entry points.
b: ALLEYWAY
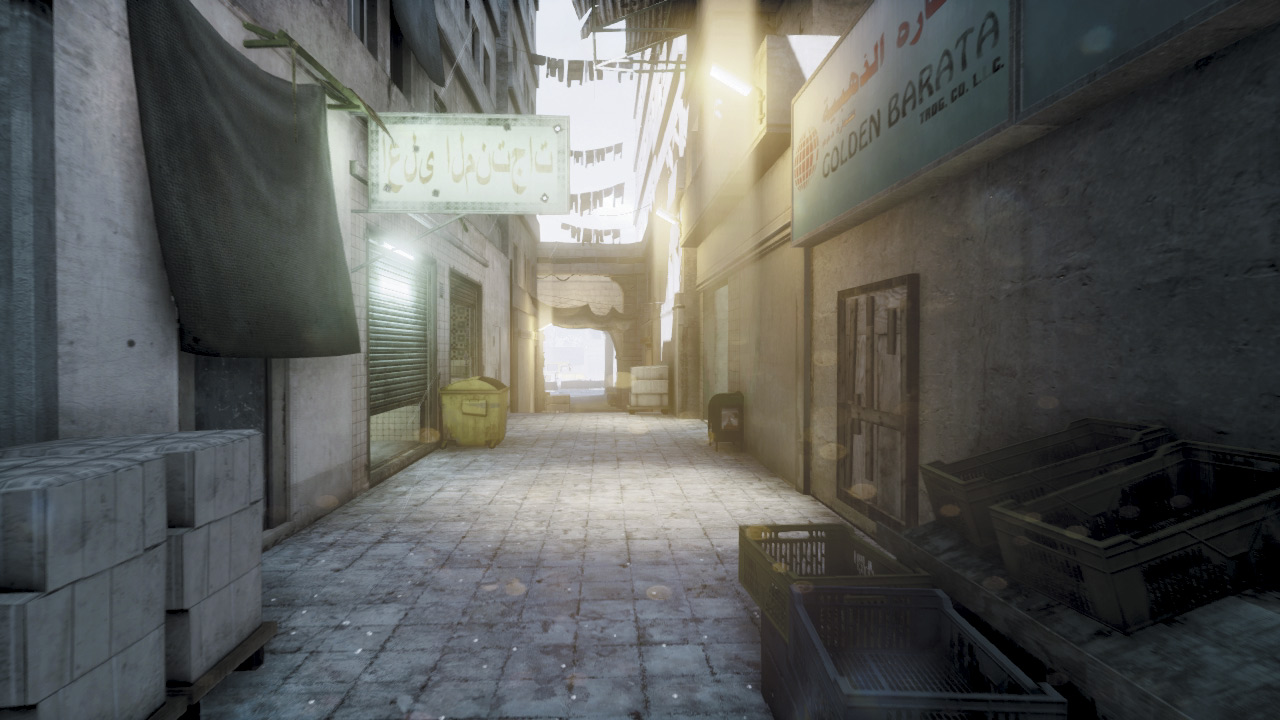
Sitting at the dead center of the city block, the Alleyway (B) is the most contentious control point on the map. Flanked by the Square (A) to the north and the Market (C) to the south, expect heavy action here throughout the duration of the match.
The Alleyway is too narrow for vehicles to enter, so this is a control point that must be completely captured or contested by infantry. The flag sits at the center of this narrow passage, which makes it a dangerous location for attackers and defenders alike.
When attempting to capture or contest the flag, always seek cover in one of the stalls to the east or west. This allows you to stay within the flag’s capture radius without exposing yourself to fire from the north or south ends of the Alleyway.
These alcoves also come in handy when defending the control point because you can ambush attackers. With little cover, attackers must largely rely on smoke to conceal their advance on this position.
Otherwise they’re open to both long- and close-range attacks. It’s usually safer to secure both the Square (A) and Market (C) before closing in on this control point.
C: MARKET
Control Point Assets
| US Control | RU Control | Respawn Time |
|---|---|---|
| — | GAZ-3937 Vodnik (1) | 30 sec. |
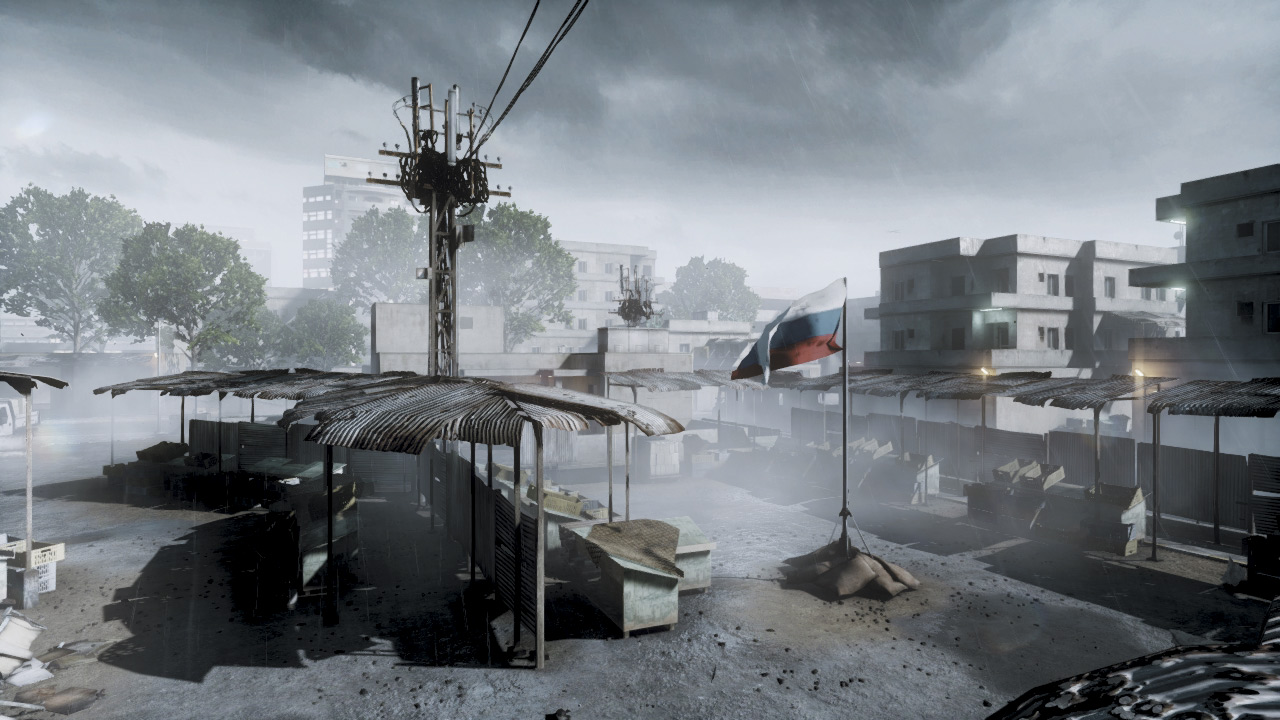
The Market (C) is the southernmost control point in the central city block, and that puts it within the RU team’s sphere of influence. Capturing it gives the RU team a foothold in the map’s center, allowing them to stage attacks on the nearby Alleyway (B) and Square (A).
The flag here sits in the center of an abandoned marketplace. The stalls offer decent cover and concealment for infantry attempting to capture or contest the flag.
The Market sits on a raised platform, which prevents vehicles from entering. However, vehicles can provide fire support from the streets to the south and east.
The Vodnik spawning here for the RU team is great for covering the nearby streets as well as pinning down attackers attempting to convert the flag.
Heavy machine gun fire can tear through the light cover of the fruit stalls, so never assume you’re safe. If held by the RU team, most attacks originate from the Alleyway (B) to the north or the Highway (E) control point to the west.
But if the US team manages to hold this control point, they can expect stiff resistance coming from the RU Base to the southeast. There are a couple of balconies on the north side of the Market that are ideal for defending this location from above.
However, attackers that manage to sneak in and take cover among the fruit stands may be hard to spot from a distance. It requires a more close-quarters approach to defense—use a shotgun!
D: JUNCTION
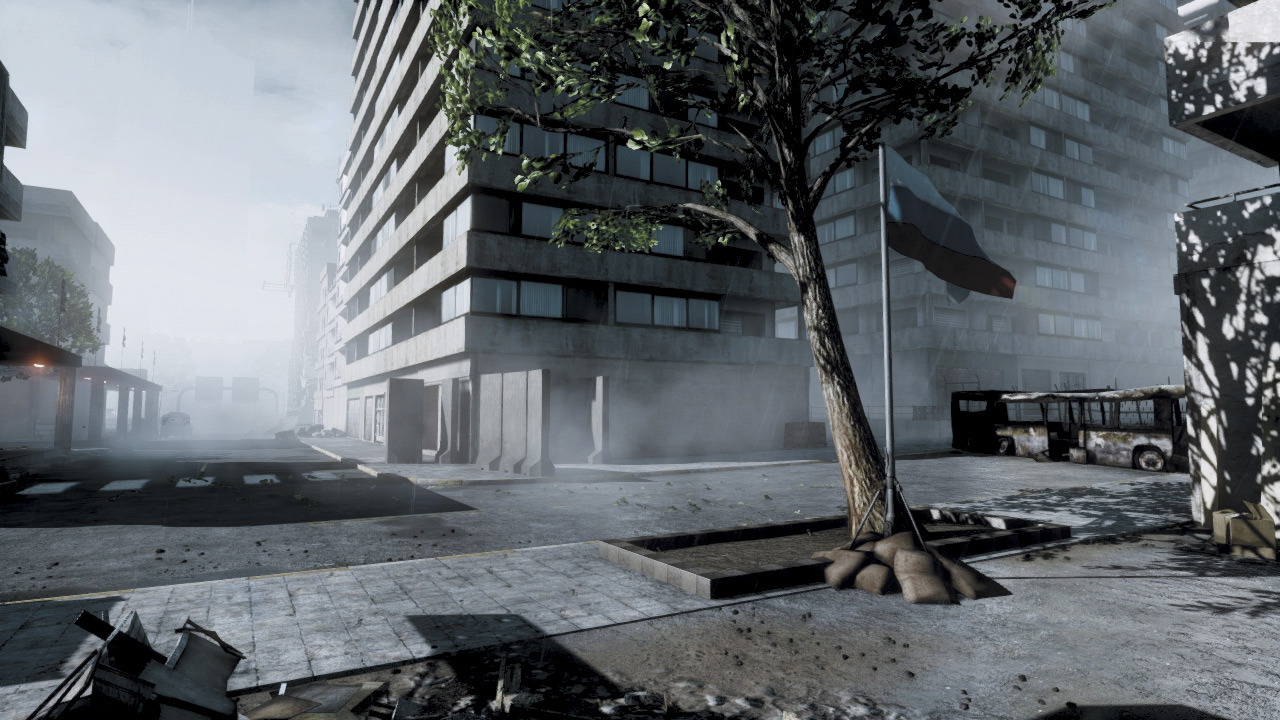
Located in the northeast corner of the map, the Junction (D) control point is somewhat isolated from the heated action found in the central city block.
Don’t forget about this control point. Located approximately equidistant from the bases, both teams have a good chance of taking this flag early on. Once captured, don’t neglect to defend it.
Tucked in the northeast corner, it’s relatively easy to lock down. The flag sits in a small courtyard exposed only to the street to the west and a covered alleyway to the south.
Attacks advancing along the two nearby streets are easy to spot and counter. So if you’re looking to sneak into this control point, take the alley to the south.
The alley is covered and parallels the easternmost street, so you can avoid getting picked off by snipers searching the streets for easy targets. However, defenders can booby-trap this narrow passage with Claymores or C4, so watch your step!
E: HIGHWAY
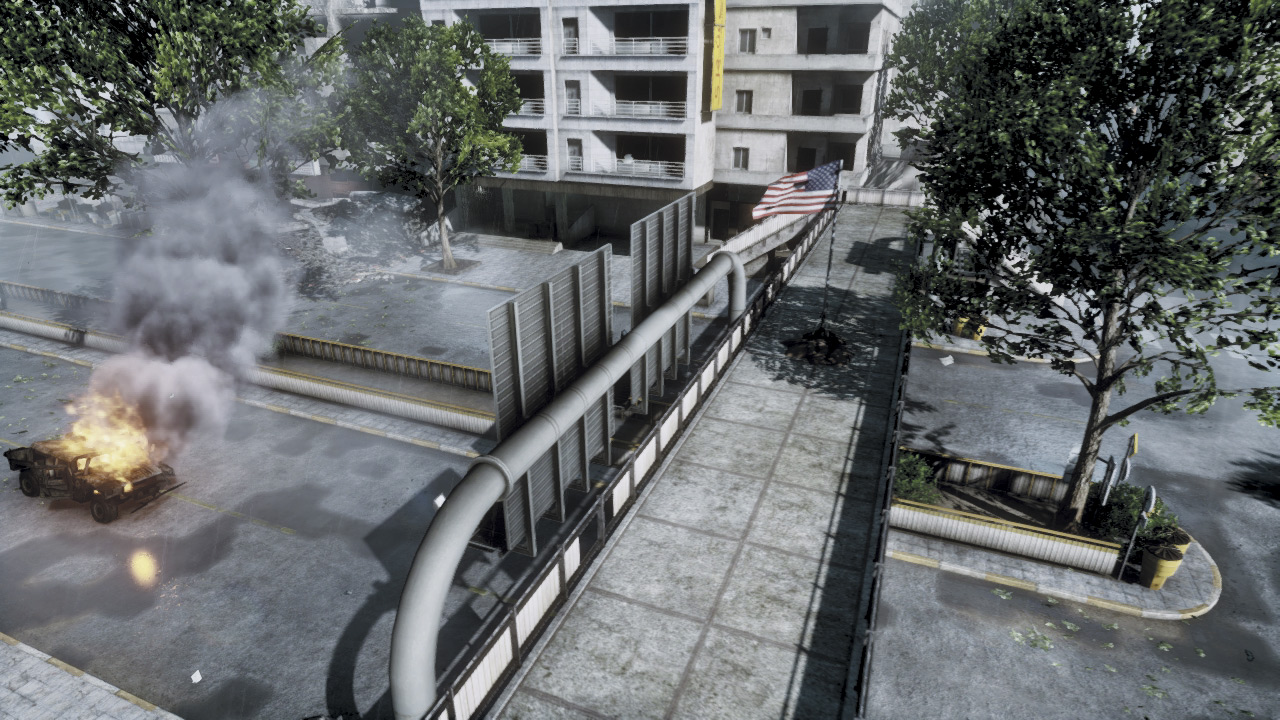
This footbridge above the western road serves as the Highway (E) control point. The flag is located at the center of the footbridge but you don’t have to be on the bridge to capture or contest it.
Vehicles near the bridge or infantry below it can still capture the flag. However, the bridge itself offers the best cover. Stairways on the east and west sides of the bridge allow infantry to approach the flag pole.
Remain prone while near the flag, using the steel plates beneath the handrail for cover. If you stand on the bridge you’ll silhouette yourself, making you vulnerable to attack by snipers posted at either end of the street.
Given its relative close proximity to their base, the US team should try to maintain control of this point throughout the match. The control point serves as great staging area for launching raids against the Market (C) and Alleyway (B).