
Battlefield 3 Premium Guide Battlefields Conquest 64
Kharg Island
With 64 players and over a dozen vehicles on the map at any given time, this battle is downright chaotic. So do your best to stay focused on the big picture as tanks rumble across the landscape and jets streak overhead.
There are five control points on this map. Your team must hold at least three flags to begin bleeding the opposing team’s ticket count.
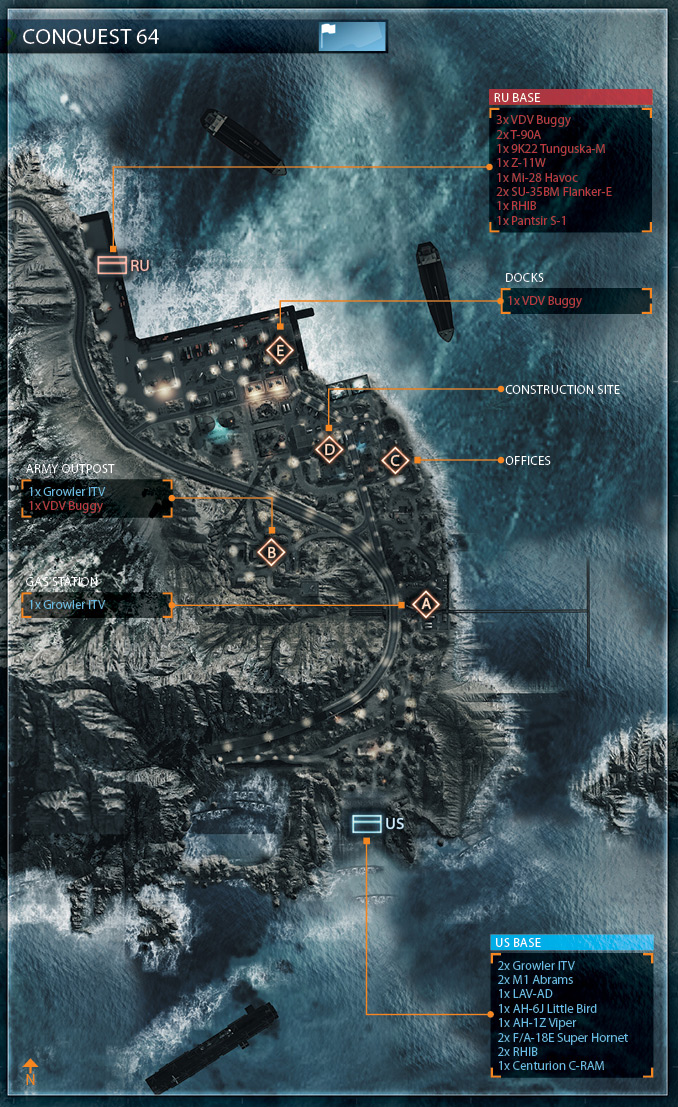
The action here is extremely fluid and requires careful team coordination. The best way to go about this is by assigning each squad a single control point to attack and defend throughout the duration of the match.
This helps ensure that captured control points are defended at all times. So before the match starts, call out which control point your squad will cover to help guarantee that each squad covers a different flag.
The central control points like the Offices (C) and Construction Site (D) may require the full-time attention of two squads each. In a full 64-player match, you have the manpower to defend each control point with at least one squad, so don’t let the enemy score easy captures.
Rid your team of the bad habits and defend each control point. To maintain a constant presence at their assigned control point, squads should deploy a Radio Beacon nearby so they have a spawn point whether they hold the flag or not.
US BASE
Base Assets
| Name | Quantity | Respawn Time |
|---|---|---|
| Growler ITV | 2 | 10 sec. |
| M1 Abrams | 2 | 20 sec. |
| LAV-AD | 1 | 60 sec. |
| AH-6J Little Bird | 1 | 90 sec. |
| AH-1Z Viper | 1 | 90 sec. |
| F/A-18E Super Hornet | 2 | 40 sec. |
| RHIB | 2 | 10 sec. |
| Centurion C-RAM | 1 | — |
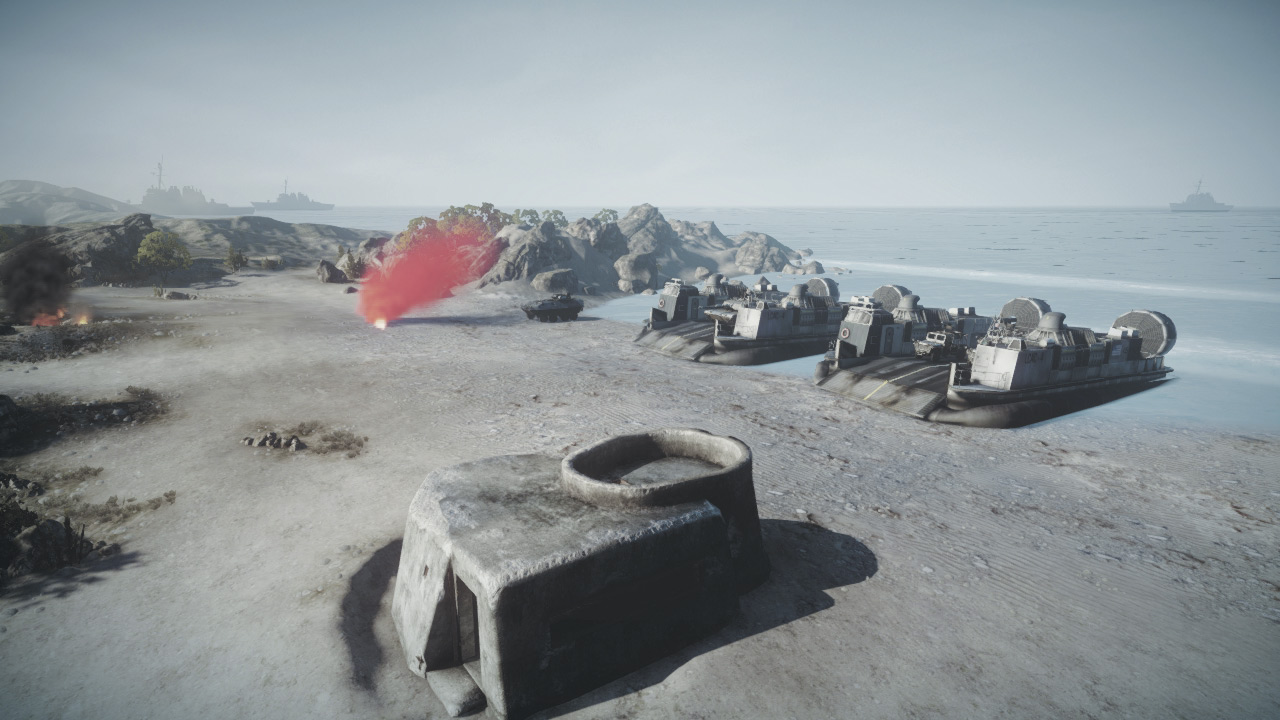
The US Base is spread across two locations, so be careful where you choose to spawn. All of the ground vehicles spawn on the beach, which is on the southern shoreline of the island.
The US team also gets an RHIB at the beach; it can make sneaky ocean attacks on the coastal control points to the north. All the air assets, a RHIB, and the Centurion C-RAM spawn on the aircraft carrier south of the beach.
If you want to fly, spawn directly into the Super Hornets, Viper, or Little Bird. Otherwise you’ll appear belowdecks and have to take the second RHIB to shore.
At the start of a round, make a quick move to capture the Gas Station (A) and Army Outpost (B) with the ground vehicles. Pilots may want to ditch their aircraft to capture the Offices (C) or Construction Site (D), too.
Capturing four control points early on can pay off in the long run. However, getting teammates to the map’s center takes communication and coordination, so don’t leave the base in an empty vehicle—always offer squad and teammates a ride.
Otherwise, it’s a very long hike to the nearest control point.
RU BASE
Base Assets
| Name | Quantity | Respawn Time |
|---|---|---|
| VDV Buggy | 3 | 10 sec. |
| T-90A | 2 | 20 sec. |
| 9K22 Tunguska-M | 1 | 40 sec. |
| Z-11W | 1 | 90 sec. |
| Mi-28 Havoc | 1 | 90 sec. |
| SU-35BM Flanker-E | 2 | 40 sec. |
| RHIB | 1 | 10 sec. |
| Pantsir S-1 | 1 | — |
Like the US Base, there are two different spawn locations for the RU team. The bulk of their ground vehicles (and one RHIB) are located on a dock on the northeastern coast of the island.
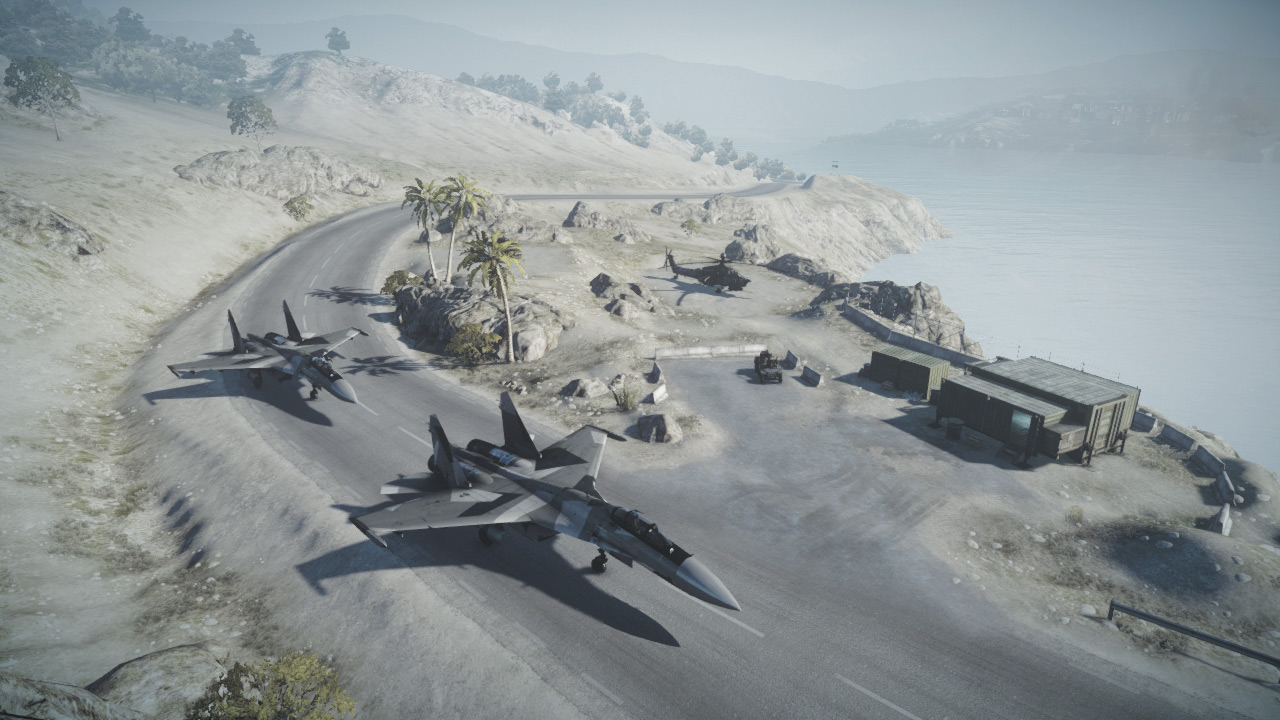
Even infantry spawning here will have no problem reaching the nearby Docks (E) control point. The RU team’s air assets (and one VDV Buggy) spawn along the main coastal highway to the northeast.
Spawn directly into the helicopters or jets for guaranteed access. If you don’t get in the choppers or jets, you can always take the VDV Buggy to the front lines. The RU team is well positioned to take at least three control points early on.
But speed is essential, so communicate with teammates to ensure that the vehicles are utilized to their full potential to reach the Docks (E), Construction Site (D) and Offices (C) control points early on.
Work together to capture and secure these points early to initiate a drain on the US team’s ticket count. From that point, the RU team can go on defense.
But very few vehicles are produced by the control points so don’t forget to move ground vehicles forward to aid the defensive efforts around each control point.
A: GAS STATION
Control Point Assets
| US Control | RU Control | Respawn Time |
|---|---|---|
| Growler ITV (1) | — | 10 sec. |
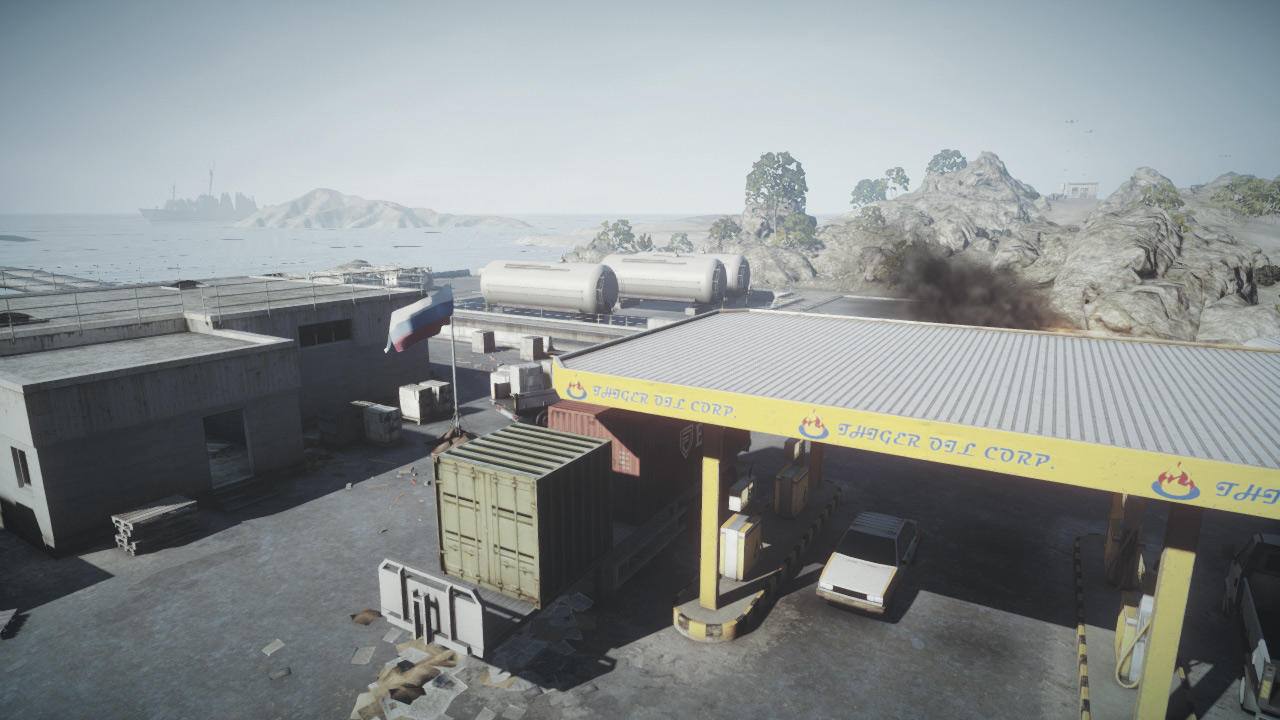
Located only a few hundred meters north of the US Base, the Gas Station (A) is likely to stay under US control for the duration of the match.
While the control point supplies the US with only an extra Growler ITV, simply having a spawn point within striking distance of the nearby Army Outpost (B) and Offices (C) is well worth the effort it takes to hold this flag.
Otherwise, US troops spawning back at the US Base have a long journey ahead of them. However, all the explosive gas pumps, fuel tanks, and vehicles make it a relatively dangerous place to loiter.
When capturing or contesting the flag, always seek cover in the concrete building just east of the flagpole.This will keep you relatively safe from strafing runs by enemy aircraft as well as any secondary explosions.
While the road to the west is the most obvious route to this control point, it can also be accessed from the sea to the east. Use a RHIB to sneak in from the coast and establish a foothold on the east side of the Gas Station.
B: ARMY OUTPOST
Control Point Assets
| US Control | RU Control | Respawn Time |
|---|---|---|
| Growler ITV (1) | VDV Buggy (1) | 10 sec. |
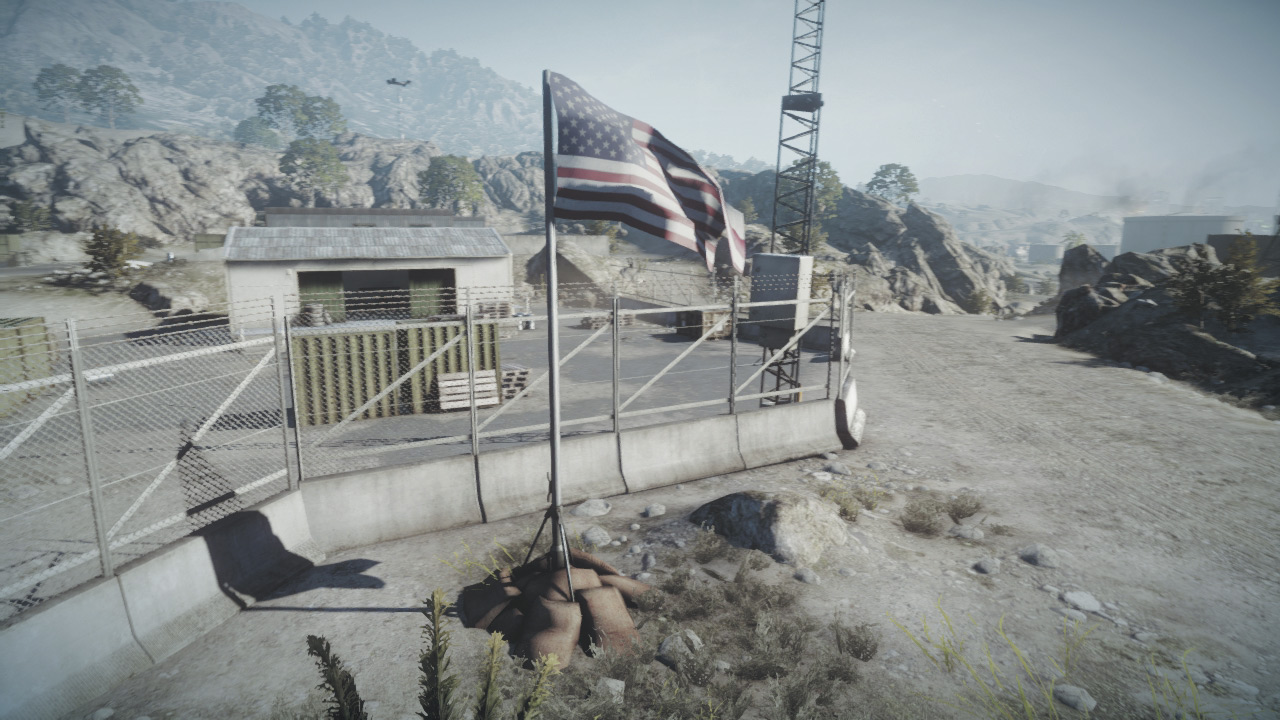
As the most inland control point, it’s easy to forget about the Army Outpost (B) in the hills to the west.
Despite it’s relatively remote location, this control point is just as crucial as any other on the map because it provides a spawn point as well as a Growler ITV for the US team and a VDV Buggy for the RU team.
This semi-fortified outpost is easily accessed via the two dirt roads branching off the main highway. The flag is located right next to the dirt road, making it easy for vehicles to capture.
But take a more cautious approach if the flag is held by the opposing team. The surrounding buildings, guard towers, and elevated rocks to the west provide excellent overwatch positions, allowing defenders to covertly pick-off attackers from long range.
There isn’t much cover near the flagpole, so utilize smoke to conceal your position while attempting to convert the flag. Once held, the Army Outpost serves as a great staging area for attacks on the central control points like the Construction Site (D) Offices (C).
C: OFFICES
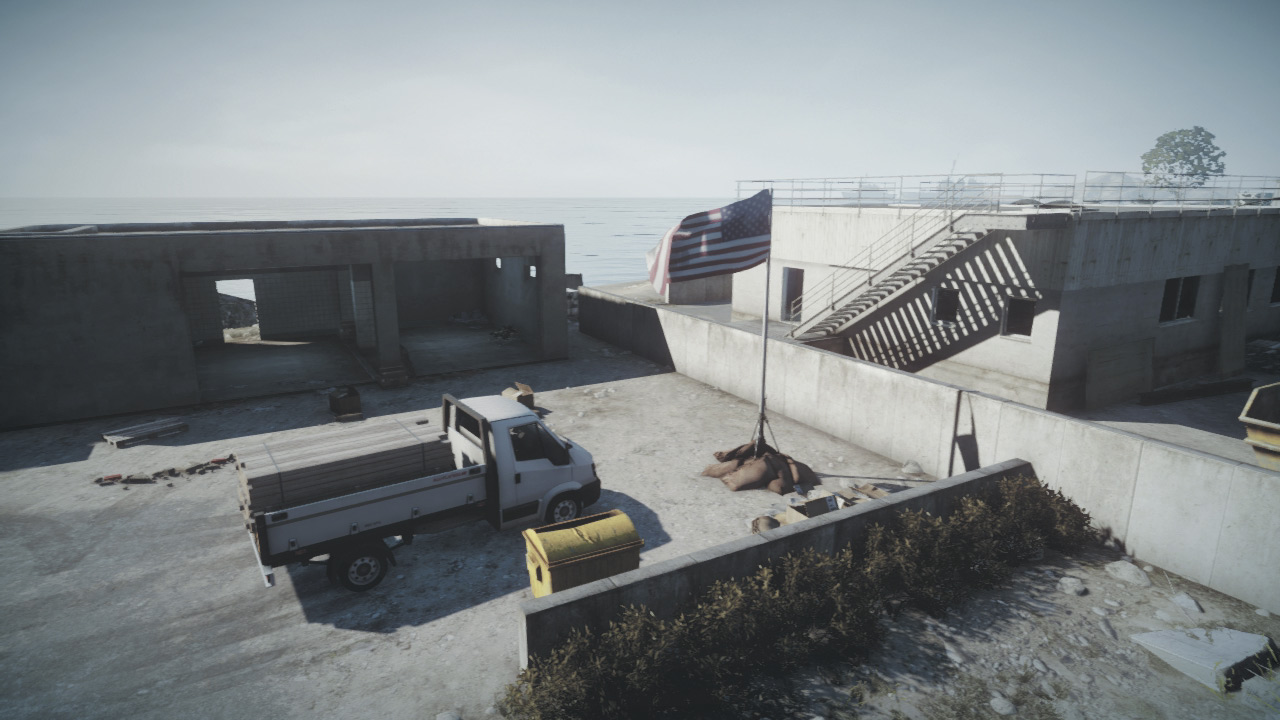
Although the Offices spawn no vehicles for either team, as a central control point it’s likely to see plenty of action throughout the battle. Given its location near the center of the map, this control point is really up for grabs at the start of a round.
Both teams should consider rushing this location early on with their fastest vehicles. Capturing it first may mean ditching a jet or chopper. The flag sits out in the open, not far from the road to the west.
While capturing or contesting this point, scatter around the flag’s capture radius, preferably taking cover in the nearby buildings. Like the Gas Station (A), this control point sits on the coast, so it is good candidate for amphibious assaults.
The road access also makes it easy to capture in any ground vehicle. Defenders here have a relatively easy time watching the flag from a distance.
The partially constructed three-story buildings across the street to the west offer excellent views of the flag. But defenders posted here might not be able to spot infantry hiding in the nearby buildings.
So regular sweeps of the buildings are necessary to prevent covert captures. Or simply level the buildings and surrounding concrete walls to deny attackers a hiding spot within the flag’s capture radius.
If playing a match with a full complement of 64 players, don’t leave this flag undefended. Defending here is a full-time job that never gets dull, especially when playing on a full server.
D: CONSTRUCTION SITE
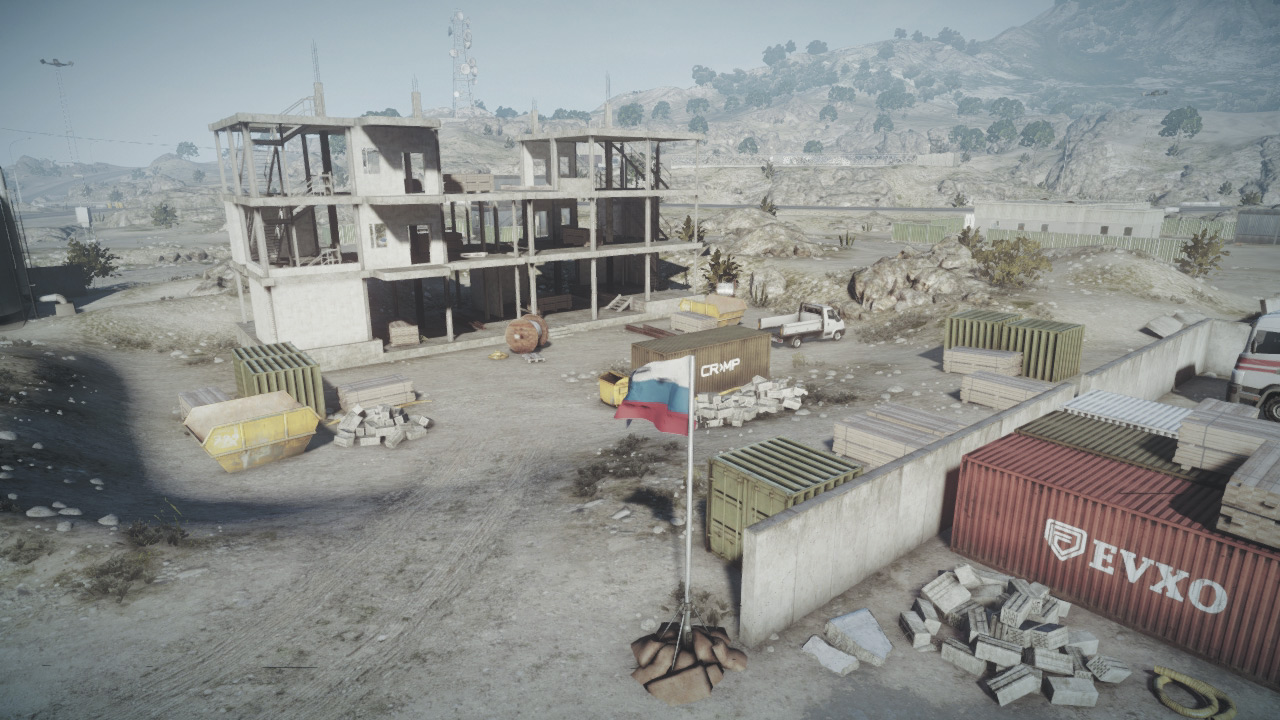
Like the Offices (C), the Construction Site (D) is another central control point likely to see heavy action. If captured and properly defended, this flag can be a tough one to wrestle away from a determined team.
Because it is surrounded by tall buildings and other structures, defenders here have an easy time watching the flag from a distance. Therefore, always approach this flag with caution and be ready to take cover.
Tanks have a relatively easy time rushing the flag’s capture radius and converting the flag. However, tanks (and any other vehicles) should be prepared for the presence of mines and C4 placed near the flagpole.
Defenders determined to hold on to this position should place a Radio Beacon in or near the large warehouse to the west.
Therefore, even if the opposing team converts the flag, your squad will still have a spawn point at the Construction Site, which allows for a quick counteroffensive.
The Construction Site spawns no vehicles for either team so be sure to reinforce it with ground assets brought up from your team’s base.
This is often a frontline control point, so the more firepower you can bring here, the more likely your team is to hold this flag. Constantly monitor the ever-changing tactical situation.
Be ready to defend attacks coming from the nearby Offices (C) to the west, the Docks (E) to the north, and the Army Outpost (B) to the south. In a large match, it may take two squads to adequately lock down this flag.
E: DOCKS
Control Point Assets
| US Control | RU Control | Respawn Time |
|---|---|---|
| — | VDV Buggy (1) | 10 sec. |
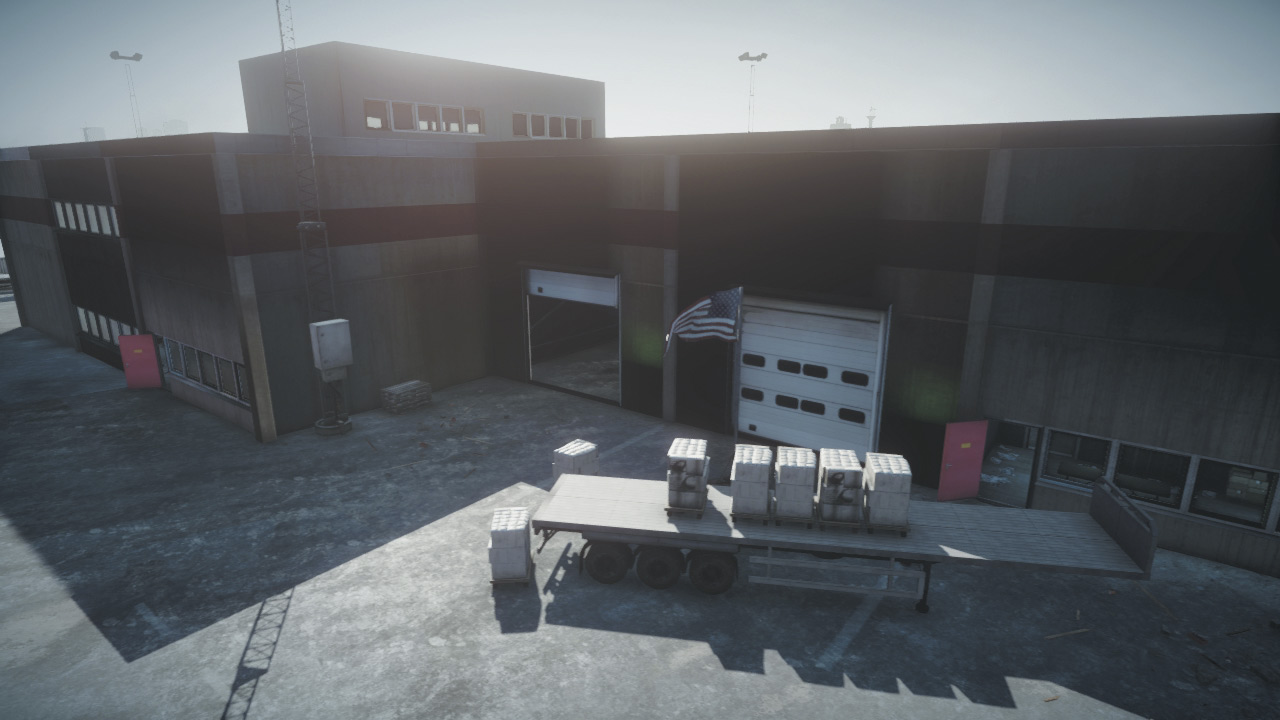
The Docks (E) are a short distance from the RU Base, which gives the RU team the best chance of capturing this control point and holding it for the duration of the match.
The Docks spawn one VDV Buggy for the RU team and it is ideal for launching high-speed raids on the nearby Construction Site (D) and Offices (C) control points.
The flag is located on the west side of a large warehouse. Vehicles parked near the flag or infantry hiding in the warehouse can capture or contest this point.
So instead of simply watching the flag from one angle, defenders must rely on regular patrols to counter potential sneak attacks coming from the warehouse.
One popular avenue of attack is from the ocean to the east. Attackers can dock RHIBs near one of the ladders to the north or east and infiltrate the warehouse to covertly convert the flag.
Defenders posted on the warehouse roof have a good view of the surrounding area and can spot attacks coming from the sea—but always stay prone to avoid silhouetting yourself.
The large collection of shipping containers to the west offers plenty of hiding spots. This is a good place for both attackers and defenders to place Radio Beacons, which help guarantee a spawn point at this location regardless of which team holds the flag.