
Battlefield 3 Premium Guide Battlefields Rush
Caspian Border
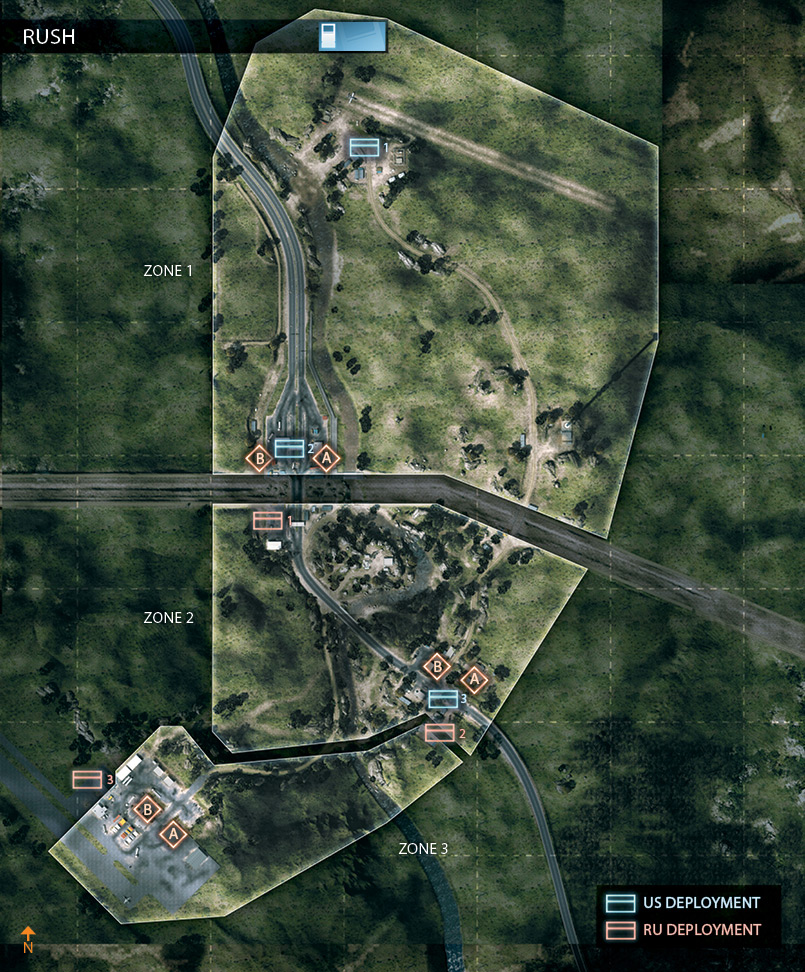
In this Rush battle, the US attackers strive to push back the RU defenders through three zones, destroying two M-COM stations at each location. If you like Rush matches with a variety of vehicles, this is the map for you.
Both teams have a variety of air and ground units at their disposal, making each match a chaotic scramble for domination. The RU team starts by defending the Checkpoint area before eventually falling back to the Gas Station and Depot to the south.
With only three areas to defend, winning as the RU team requires teamwork and a mastery of the few vehicles offered to hold each zone.
ZONE 1: CHECKPOINT
M-COM Station A
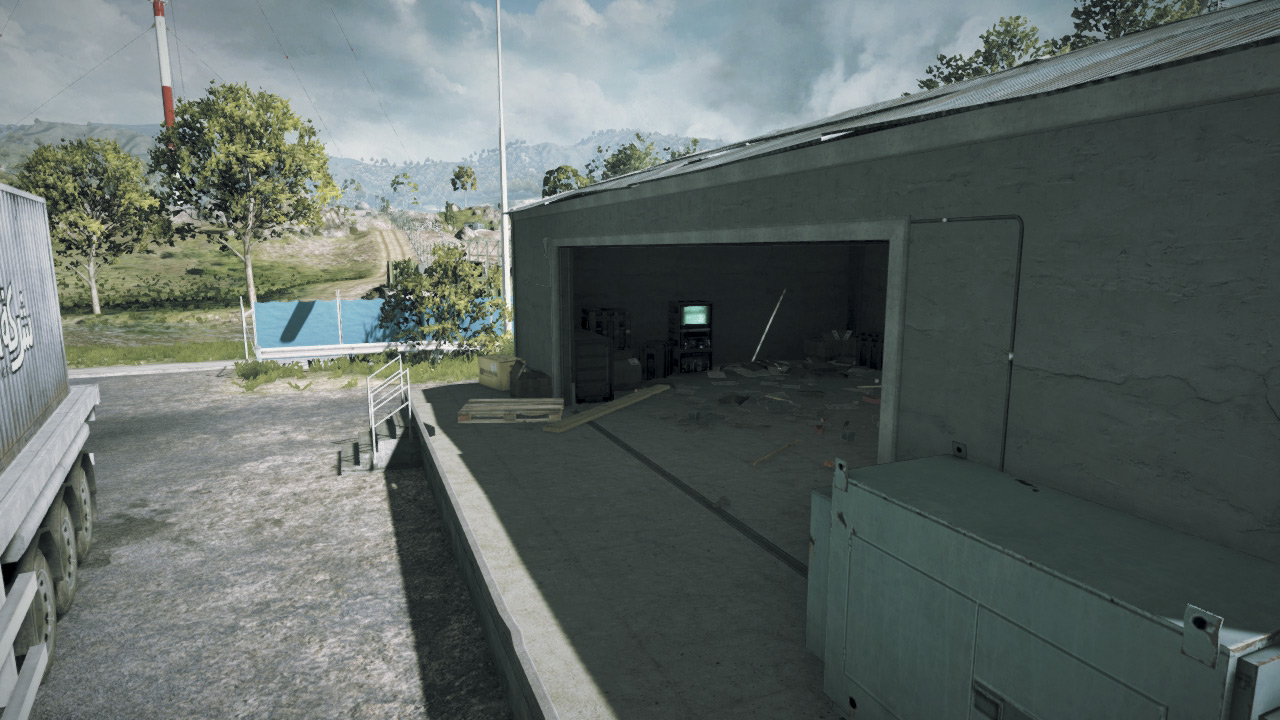
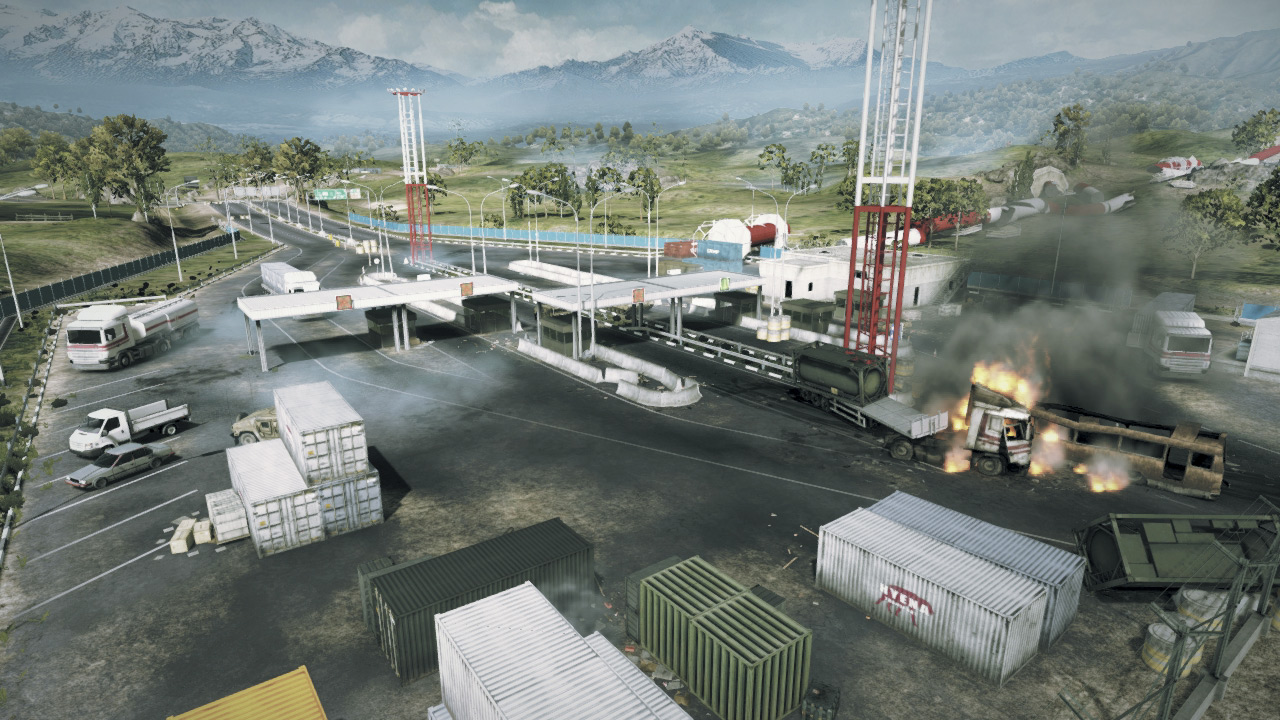
M-COM Station A is located in a small building in the southeast corner of the Checkpoint facility. Initially there are two entrances into the building, but more can be made by blasting holes in the walls with explosive munitions.
Destroying the walls of the building may actually benefit the RU defenders most, as it opens new sight lines so the M-COM Station can be covered from the south and east.
The M-COM Station A is not far from the RU Deployment area so US attackers should establish a defensive perimeter around the building before attempting to arm the station.
M-COM Station B
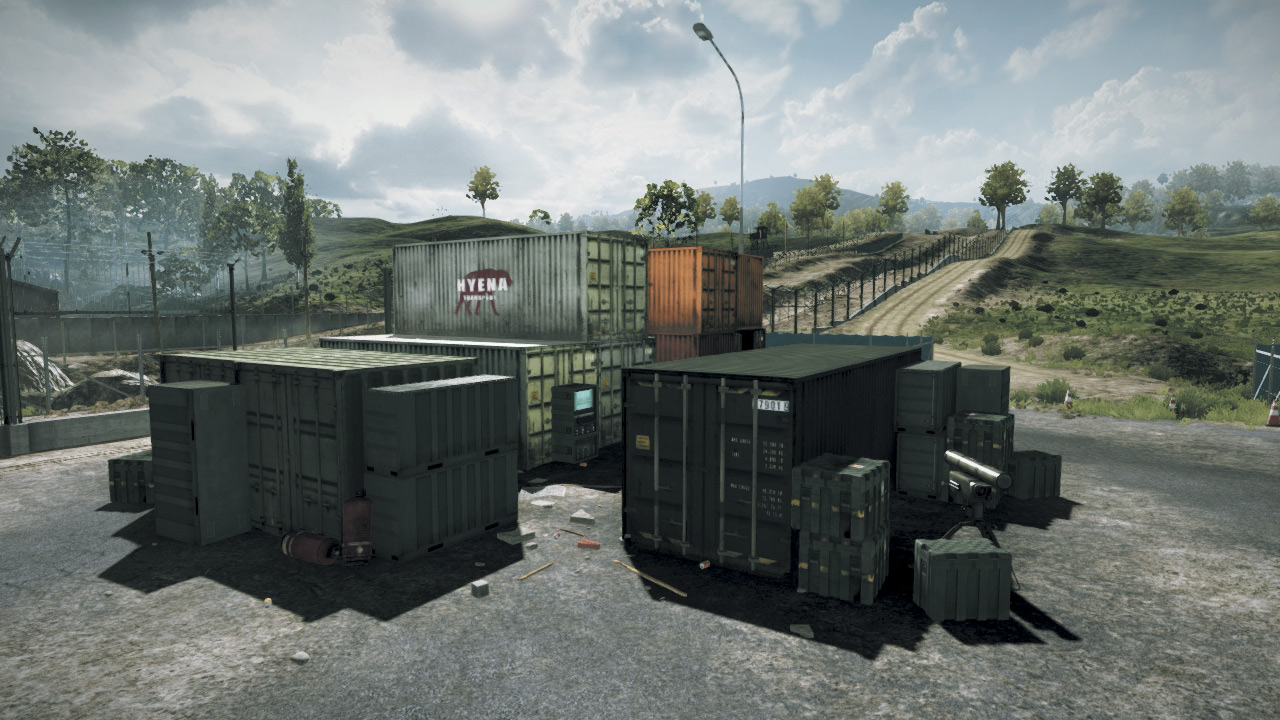
This M-COM station is safely nestled among a cluster of shipping containers in the southwest corner of the checkpoint facility. The shipping containers cannot be destroyed, thereby offering excellent cover for those attempting to arm or disarm the charge on the M-COM station.
The area to the west offers the best distant sight line on the objective. Both the attackers and defenders can use this area to cover the objective from long range. However, defenders will want to keep some troops loitering among the shipping containers, greeting attackers with deadly shotgun blasts as they attempt to set their charge.
US DEPLOYMENT
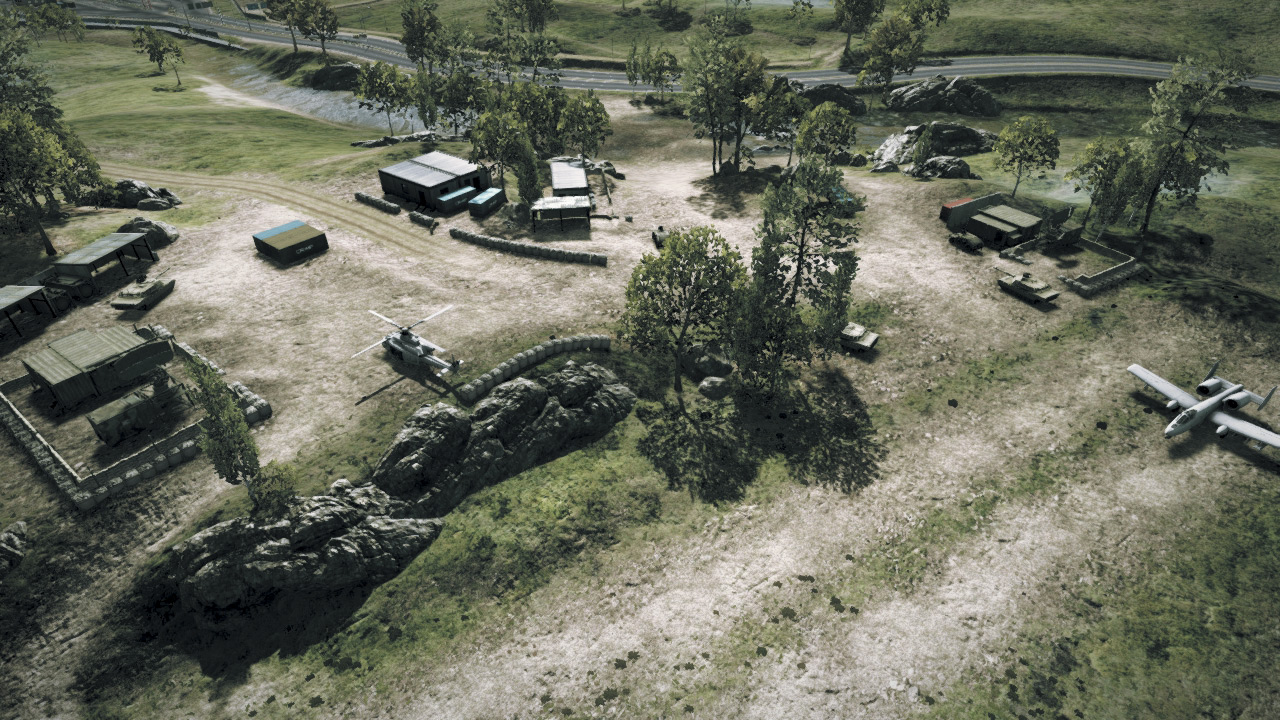
Deployment Area Assets
| Name | Quantity | Respawn Time |
|---|---|---|
| M1114 HMMWV | 2 | 20 sec. |
| M1 Abrams | 3 | 30 sec. |
| UH-1Y Venom | 1 | 90 sec. |
| A-10 Thunderbolt | 1 | 40 sec. |
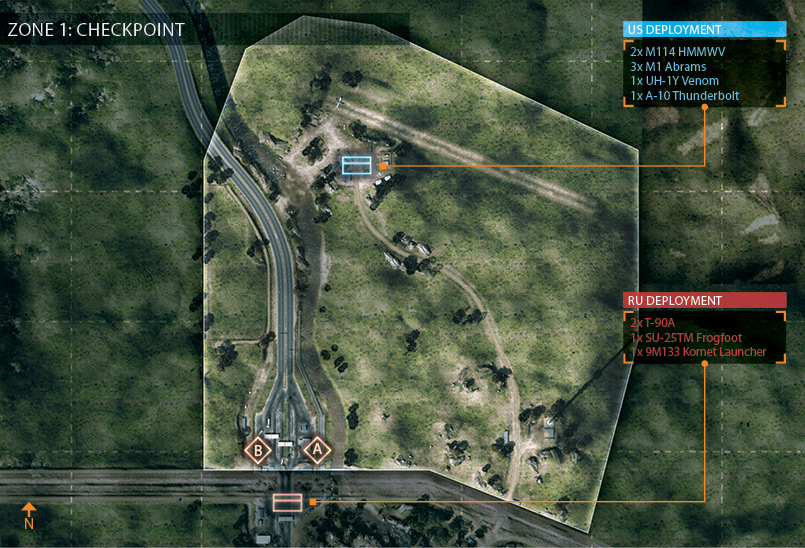
The US team begins with plenty of vehicles useful for traveling the distance to the Checkpoint area, where the first two M-COM stations are located. While the M1114 HMMWV are great for transporting teammates, consider bailing out before you get too close to the Checkpoint, where you’re likely to face incoming fire from RU tanks and AT missile launchers.
The M1 Abrams tanks and aircraft are ideal for distracting the RU defenders while infantry assault at close range in an attempt to arm the M-COM stations. The deployment area lacks AA defense, so engineers armed with Stingers are your best chance at downing the RU team’s pesky SU-25TM.
RU DEPLOYMENT
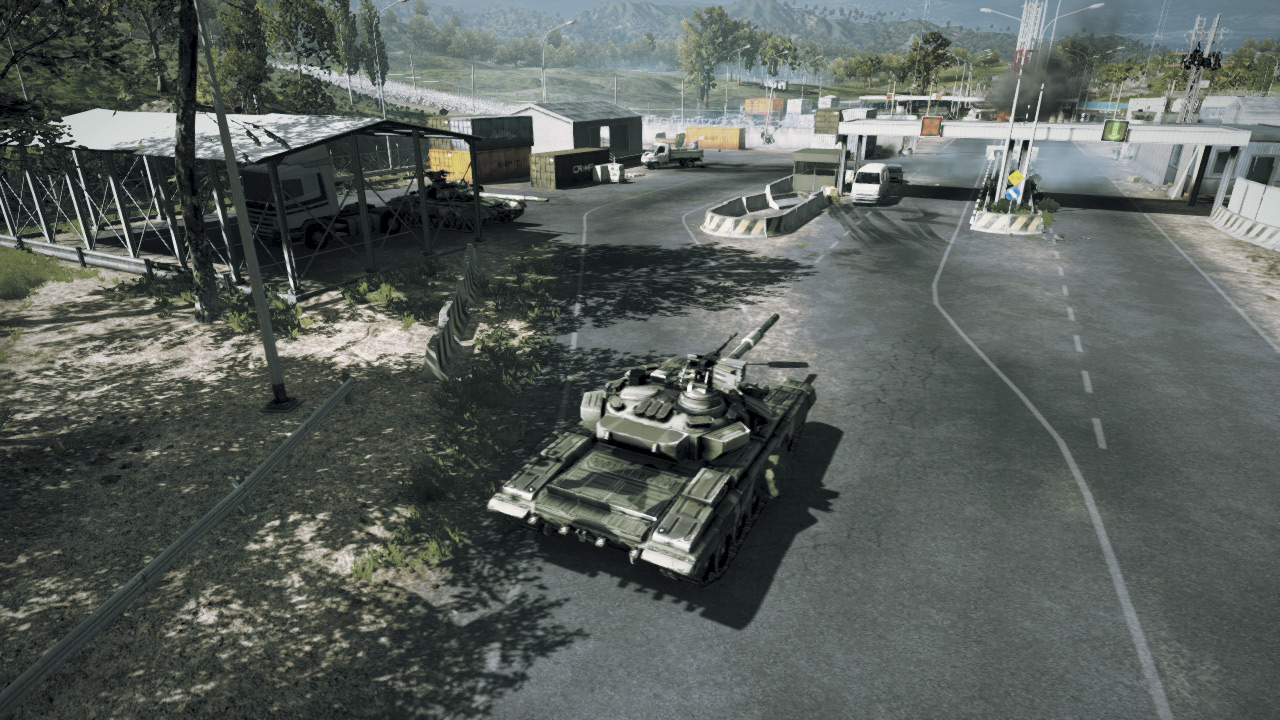
Deployment Area Assets
| Name | Quantity | Respawn Time |
|---|---|---|
| T-90A | 2 | 60 sec. |
| SU-25TM Frogfoot | 1 | 40 sec. |
| 9M133 Kornet Launcher | 2 | 30 sec. |
The RU team deploys just south of the Checkpoint, which allows them to quickly establish rudimentary defensive positions before the US team attacks. The US team attacks with three tanks versus the two T-90As supplied by the RU deployment area.
Outgunned, the RU team must rely on engineers armed with anti-tank weapons in addition to their tanks to help even the odds. While the SU-25TM is primarily a ground attack aircraft, it is more effective here by attacking the US aircraft.
Shooting down the A-10 and UH-1Y is key to holding out here. When not suppressing the US team’s air power, the SU-25TM should make frequent strafing runs on the US tanks.
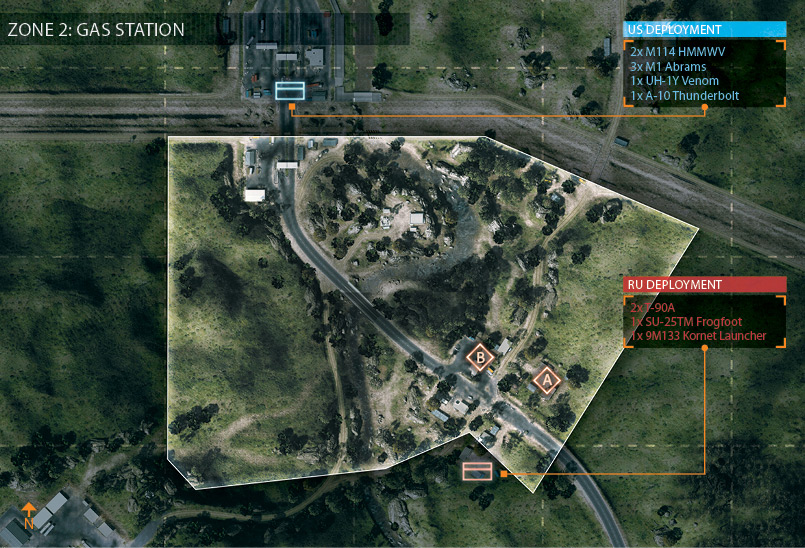
ZONE 2: GAS STATION
M-COM Station A
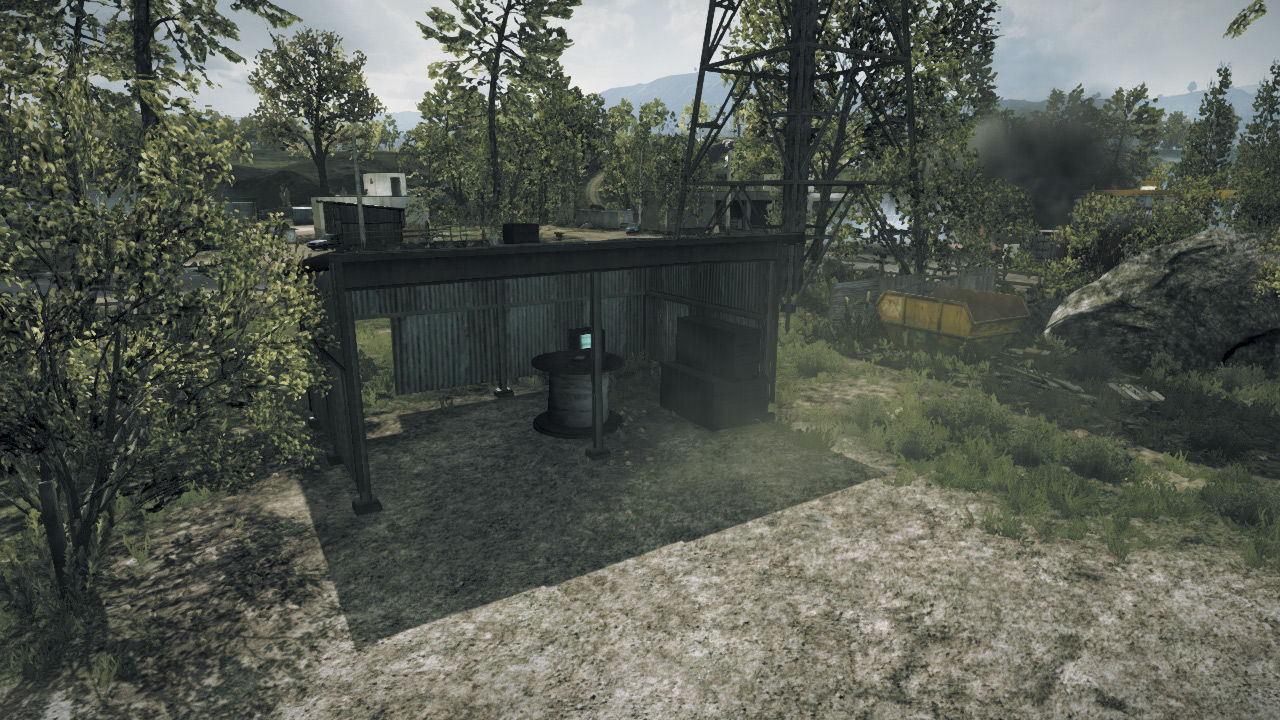
This M-COM station is located to the east of the Gas Station and housed within a metal shed. The shed opens onto a small courtyard flanked by a few other structures. The RU defenders can cover the M-COM station from within these nearby buildings, stealthily picking off any US attackers who get close.
Therefore, the US team may want to deploy at least one M1 Abrams to this location when attacking. The nearby buildings can be demolished with explosive munitions, thereby denying the defenders a suitable hiding spot.
The shed itself provides very little cover or protection for those arming or disarming the charge. So smoke is vital when loitering near the M-COM station.
M-COM Station B
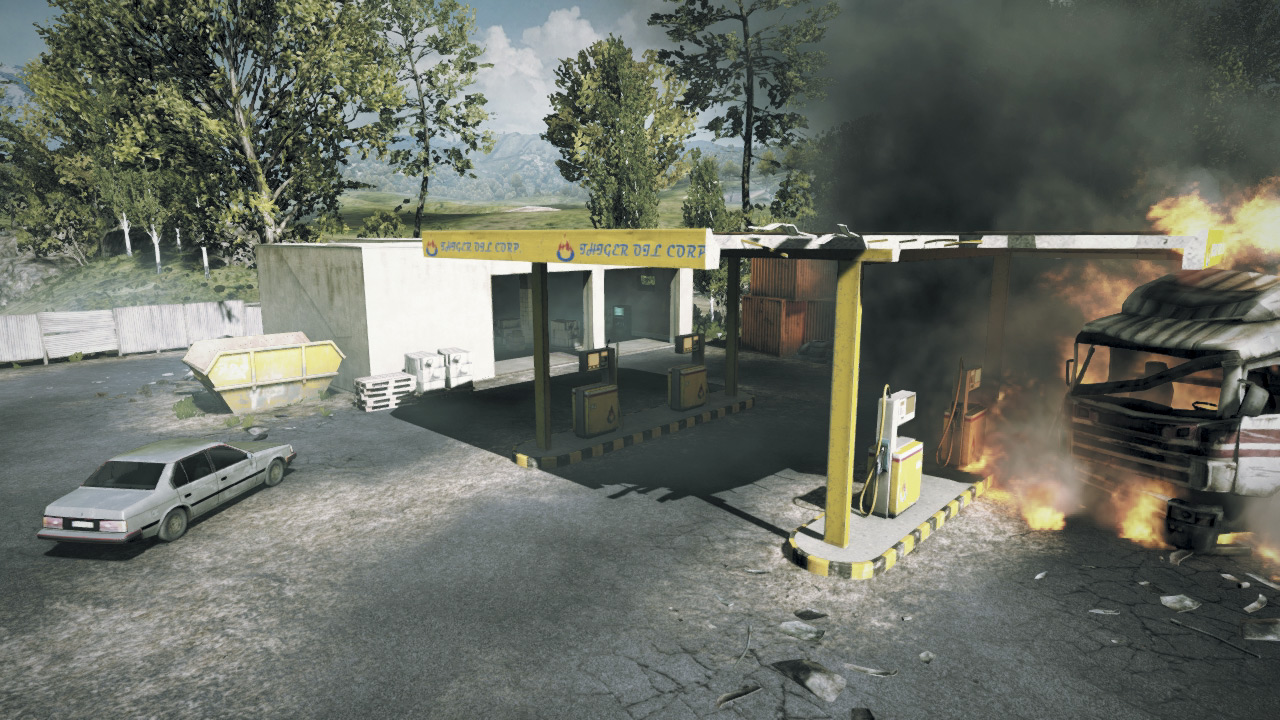
M-COM Station B is located within the Gas Station’s garage, sitting along the eastern exterior wall. The US attackers will most likely attack this location first, as it’s closer to their deployment area.
While it’s important for the RU defenders to cover the road to prevent vehicle attacks, it’s equally important to establish security along the northern side of the Gas Station to prevent US infantry from sneaking into the garage through the back door.
But once rockets, tank shells, and other explosive ordnance start flying, doorways become irrelevant as the Gas Station walls crumble. In such instances, the attackers need to rely on smoke to reach the M-COM station without being cut down by the RU team.
Close support from tanks and aircraft is essential when planting the charge here.
US DEPLOYMENT
Deployment Area
| Name | Quantity | Respawn Time |
|---|---|---|
| M1114 HMMWV | 2 | 20 sec. |
| M1 Abrams | 3 | 30 sec. |
| UH-1Y Venom | 1 | 90 sec. |
| A-10 Thunderbolt | 1 | 40 sec. |
After eliminating the first two M-COM stations, the US ground forces deploy from the Checkpoint. The A-10 and UH-1Y still deploy at the previous base. While the RU team has been pushed back to the Gas Station, always be prepared for residual pockets of resistance. There may be RU troops hiding in the building or among the shipping containers, waiting to score easy kills or steal freshly spawned US vehicles to claim for their own team. When moving out, utilize the main highway to reach the Gas Station quickly. However, be prepared for ambushes and watch for mines and other booby traps waiting for you along the road.
RU DEPLOYMENT
Deployment Area Assets
| Name | Quantity | Respawn Time |
|---|---|---|
| T-90A | 2 | 60 sec. |
| SU-25TM Frogfoot | 1 | 40 sec. |
| 9M133 Kornet Launcher | 2 | 30 sec. |
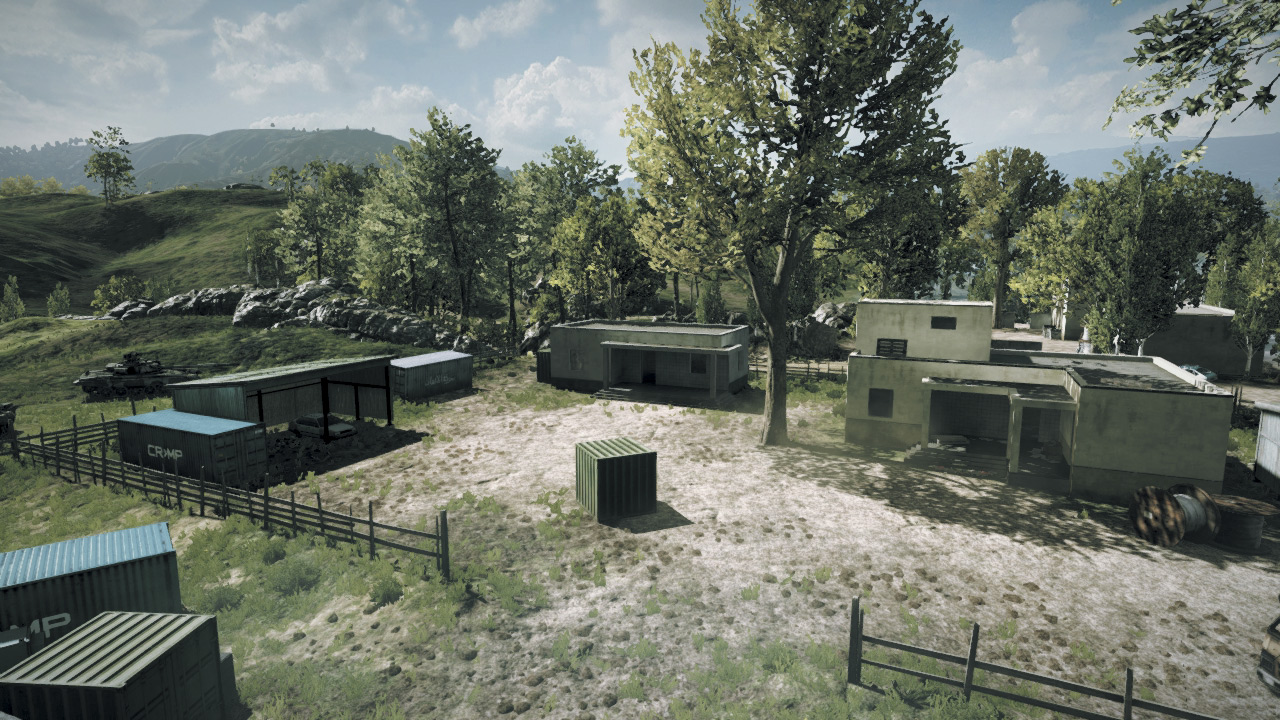
While the RU team deploys in this area just south of the Gas Station, it’s important to spread out early and form a defensive barrier to the west. Most attacks come along the highway, making it a critical choke point the RU team can utilize to score some easy kills.
Place mines and C4 along the roadway while troops assume the high ground on the Hilltop to the north. In addition to the two 9M133 Kornet Launchers near the Gas Station, there are also a couple near the Hilltop, which are ideal for taking out US vehicles.
However, don’t focus your entire defensive effort on the highway. US troops can sneak in through a variety of directions, as well as parachute down from their UH-1Y, so be sure to keep some troops within close proximity to each M-COM station.
ZONE 3: DEPOT
M-COM Station A
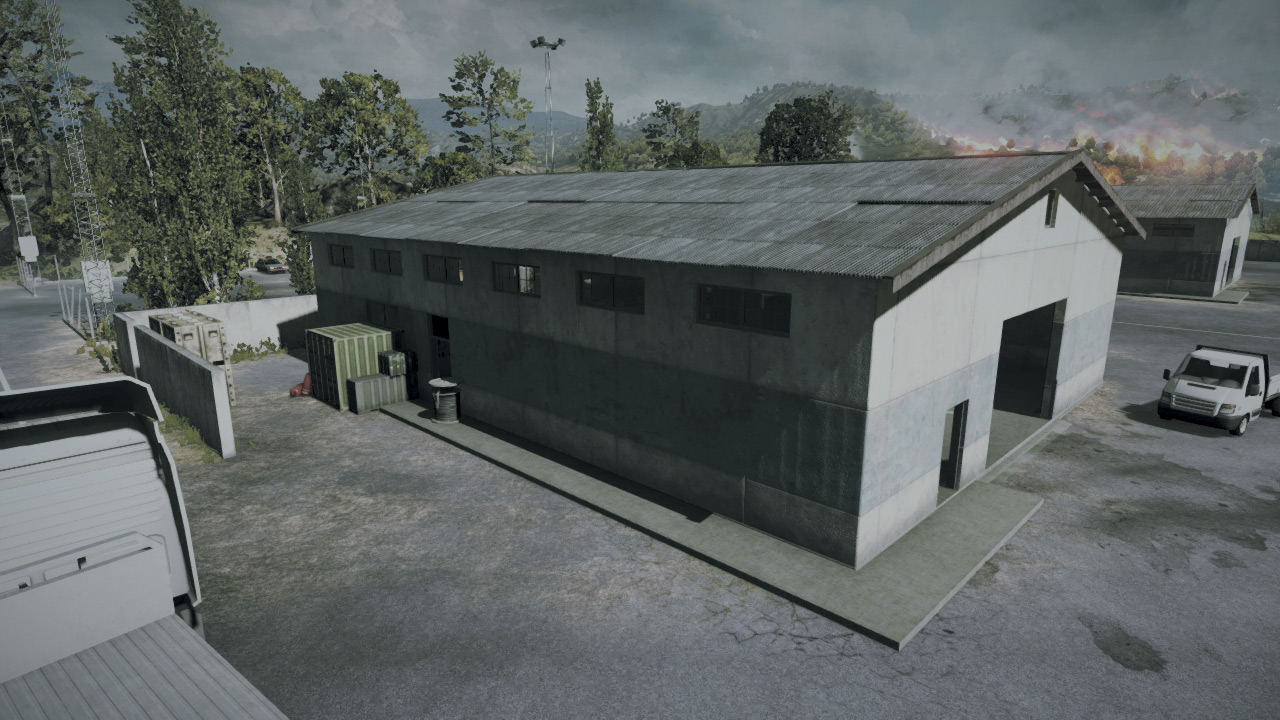
Located in a warehouse just south of the Depot’s main gate, this M-COM station is farthest from the RU deployment area, making it somewhat vulnerable to US attack.
By deploying Radio Beacons around the warehouse, the US team can apply consistent pressure against this M-COM station. But the RU defenders can play the same game, placing their own Radio Beacons nearby to avoid the long hike from the RU deployment area to the northwest.
There are multiple entry points into the warehouse, so the RU defenders are best off hiding inside and ambushing the US troops as they try to plant the charge. When playing as the US, it’s highly advisable to sweep the warehouse interior before even thinking about planting a charge.
M-COM Station B
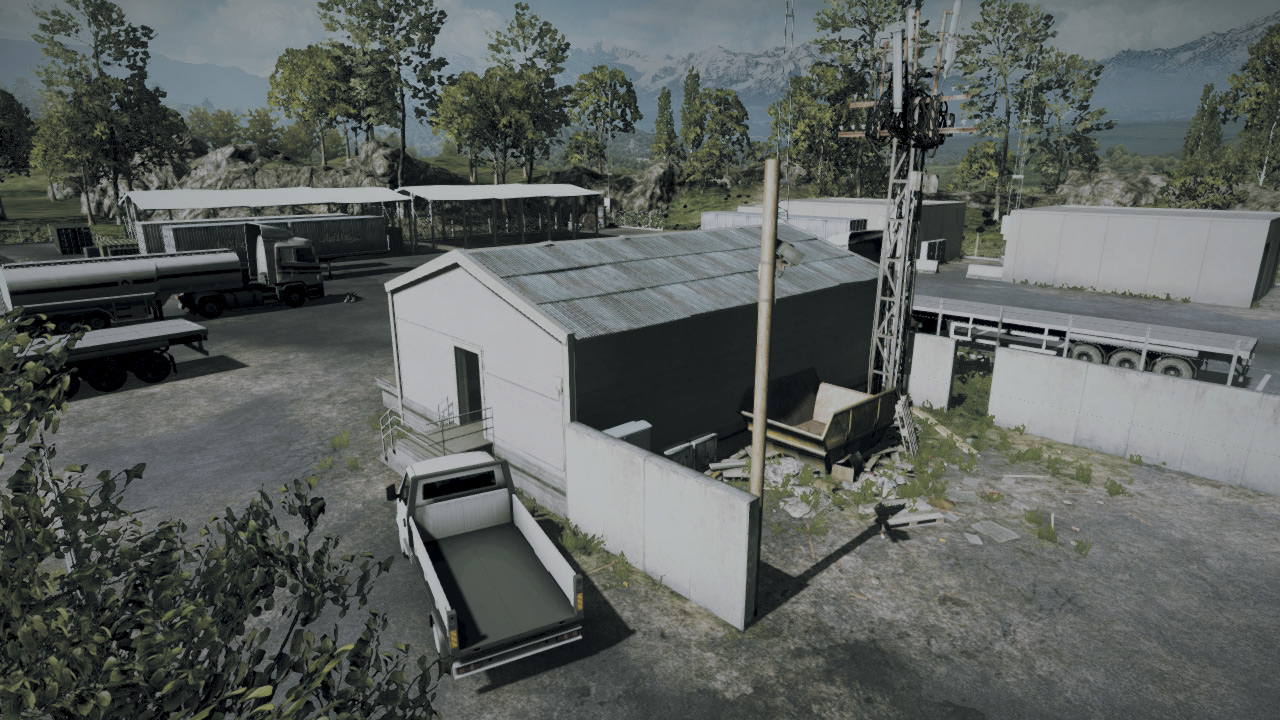
This M-COM station is housed in a small building on the northeastern edge of the Depot, not far from the RU deployment area. The US team is advised to attack this location first. Otherwise it’s tough to approach if the entire RU team is spawning nearby and focused on defending this last M-COM station.
The walls of the structure provide cover and concealment for the attackers so the RU team is well served by knocking out the walls with explosive munitions.
Without the walls and ceiling to protect them, the attackers are completely exposed while setting the charge and must rely on smoke for concealment.
But if they do manage to set the charge, it is the RU team who must approach the M-COM station and disarm it. So think carefully before taking out the walls—it cuts both ways.
US DEPLOYMENT
Deployment Area Assets
| Name | Quantity | Respawn Time |
|---|---|---|
| M1114 HMMWV | 2 | 20 sec. |
| M1 Abrams | 3 | 30 sec. |
| UH-1Y Venom | 1 | 90 sec. |
| A-10 Thunderbolt | 1 | 40 sec. |
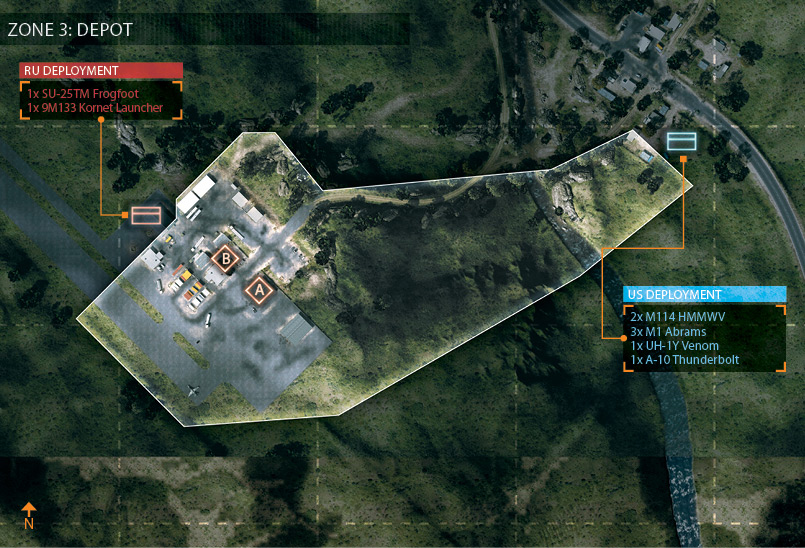
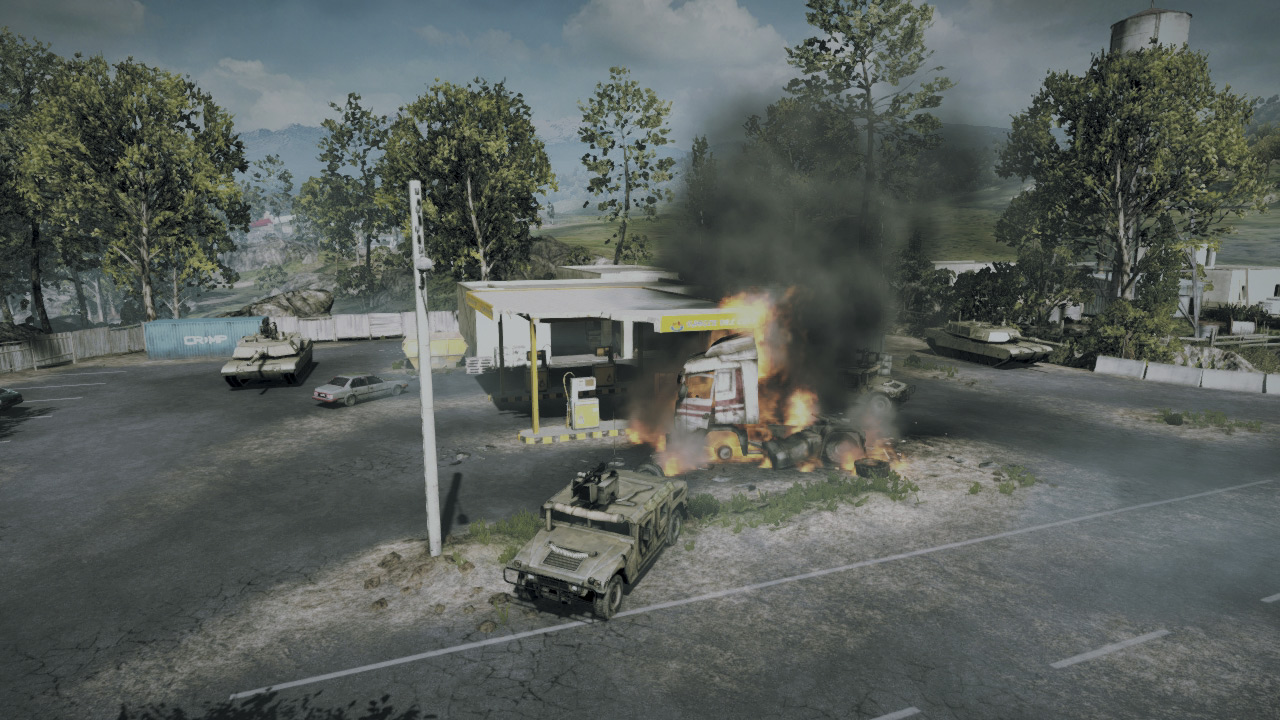
This is the final deployment area for the US team located only a few hundred meters from the Depot where the RU team makes their last stand. As at the Checkpoint, US ground vehicles now appear at the Gas Station, primed for the final assault.
The UH-1Y and A-10 still spawn at the first US base far to the north. The narrow dirt road to the west leads directly to the depot and is the main path available to ground vehicles.
However, this route is most likely defended by RU troops eager to stage ambushes. While vehicles are still important during this assault, approaching the Depot on foot is far less treacherous, allowing for greater concealment among the trees.
Plant some Radio Beacons around the Depot and spawn continuously to apply pressure on the final M-COM stations.
RU DEPLOYMENT
Deployment Area Assets
| Name | Quantity | Respawn Time |
|---|---|---|
| SU-25TM Frogfoot | 1 | 40 sec. |
| 9M133 Kornet Launcher | 2 | 30 sec. |
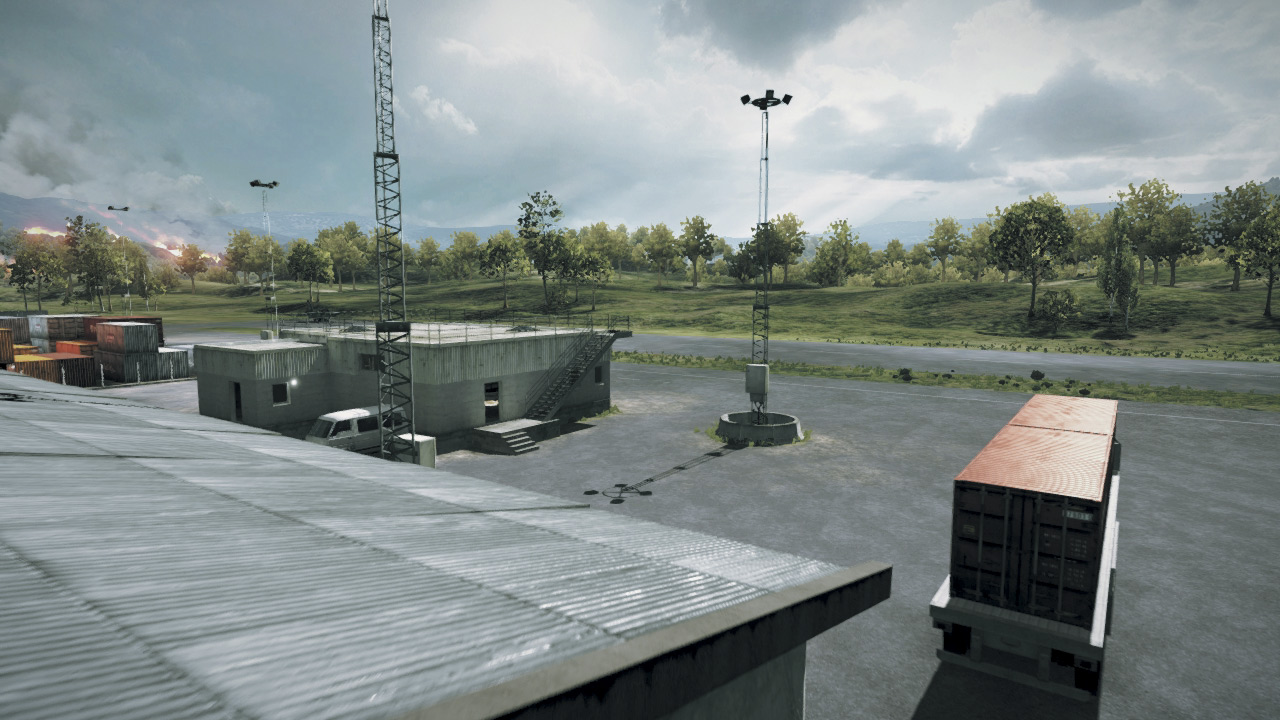
This is the final base for the RU team. To make matters worse, no tanks are available for the final defense. So the RU team must rely heavily on engineers to mine the dirt road to the east to halt incoming US vehicles.
RU ground units spawn in the northwest corner of the Depot, which puts them only a few meters away from the final M-COM stations. It’s important to establish a solid line of defense on the northeast side of the facility.
The dirt road leading to the depot is a critical choke point the defenders should take advantage of. However, make sure at least one squad stays behind and watches over the two M-COM stations, as US troops will eventually look for ways to avoid the traversing the dirt road.
Get the SU-25TM in the air and use it to shoot down the US UH-1Y—this helicopter poses a serious threat, potentially dropping US troops into the Depot via parachute.