
Battlefield 3 Premium Guide Multiplayer Co-Op Mission 1: Operation Exodus
Operation Exodus
A number of high valued POWs are being detained at a US camp. A recent earthquake has weakened the camp’s defensive perimeter and made it vul-nerable to PLR attacks.
An evacuate order of the camp has been given. You and a handful of marines are assigned to defend the camp until all personnel have pulled out.
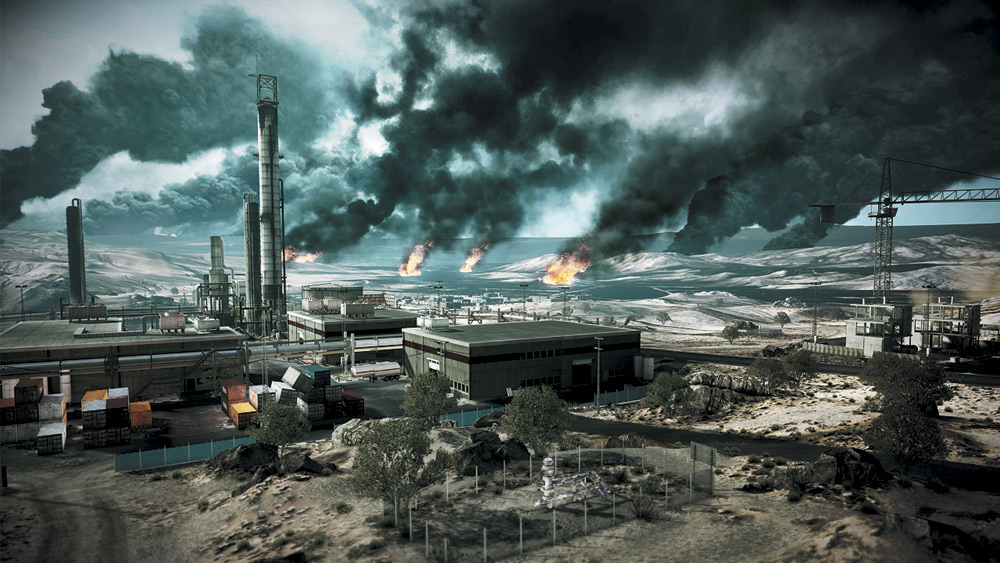
The enemy has gotten wind of the camp’s weakened condition and the PLR are poised to take full advantage of the situation. Reports of a large invasion force moving in on the camp’s position from all sides has pushed tensions to the breaking point for the small detachment tasked with the camp’s defense.
History is filled with examples of numerically inferior forces triumphing over their adversaries through superior strategy and tactics; these are the moments where a soldier’s training is put to the ultimate test.
With the support of five Humvees armed with .50 cal machine guns, hold back the enemy surge set to converge this critical urban junction until the extraction choppers arrive.
TAKE UP POSITION AT THE WALK BRIDGE
Once the mission begins, all available units are called to scramble toward the walk bridge that spans the north section of the broad thoroughfare. While the Humvees hold position to the south, your squad moves to the front lines to meet the inbound hostiles.
Once you reach the bridge, take a defensive position around the bridge at street level and prepare for the troop onslaught swarming through the far end of the street.
The walk bridge may seem like a good spot to hold position, with its elevated perspective and sandbag barriers installed along the railing. However, the metal sheets placed in front of these barriers only offer a brief tactical advantage.
After the metal sheets are gunned down, you are only safe from enemy fire while prone behind the sandbags.
Peeking in and out in this state to attack is difficult and can allow multiple enemies can advance under the bridge out of your line of sight. Keep them at bay before they reach and engage the Humvees.
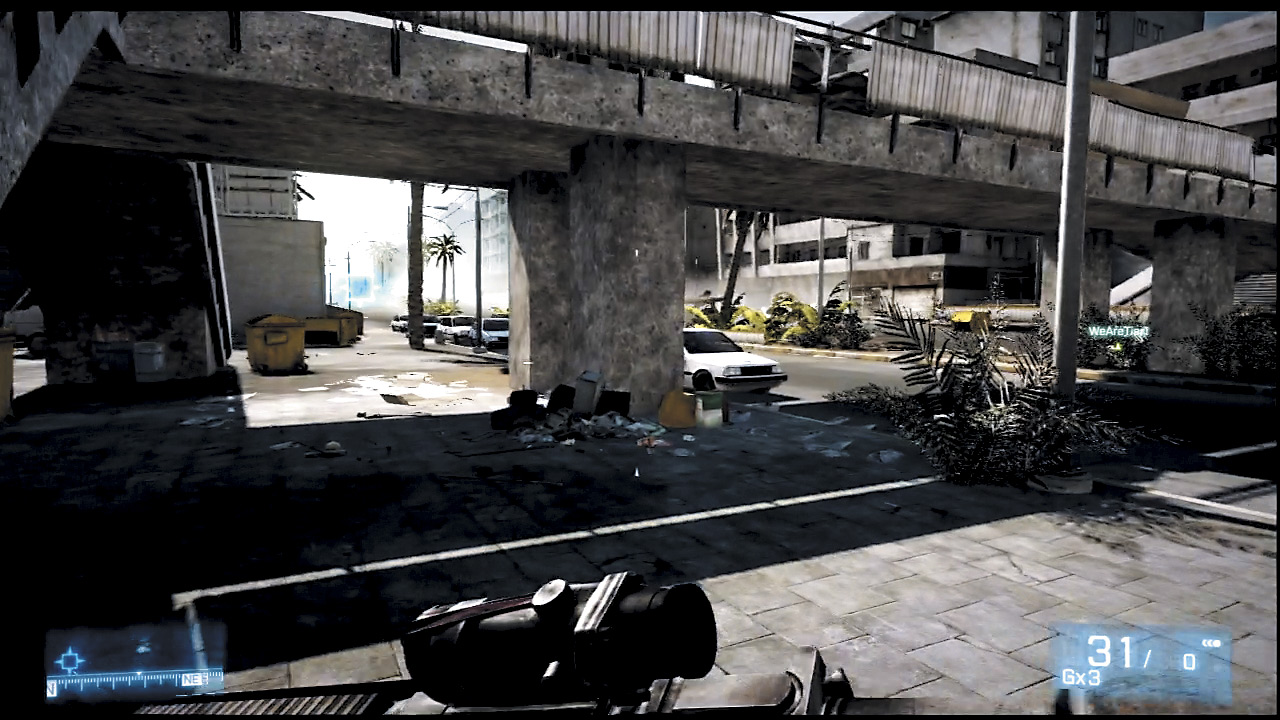
The bridge columns under the walkway offer superior cover and more mobility for your squad. This area is close to the Ammo Crate, both columns are close enough for you to support to any overwhelmed squad member and the position can halt the PLR’s progress on both sides of the street.
HOLD THE DEFENSIVE LINE
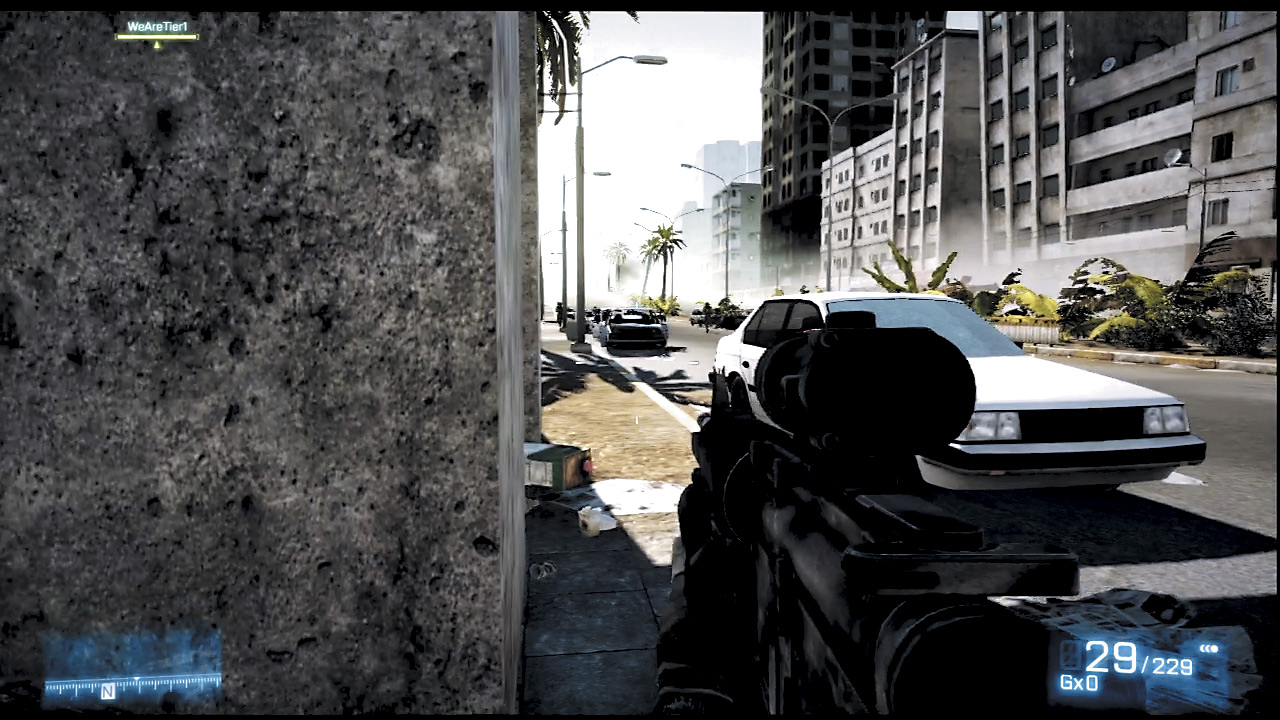
Once in position, look down your iron sights past the smoke and haze to the northern horizon. Be patient and aim carefully at the first wave coming over the rise in the road.
Try to take them down while they charge in and look for cover behind the cars parked along the street.
Although the targets are harder to tag from far away, don’t pass up this opportunity to clear them out while they are still out in the open. Cover both sides of the street, but anticipate the bulk of the invaders to charge in from the street’s left side.
The right side of the street has fewer parked cars and enemies eventually run out of cover as your teammate covering that side funnels them over to the left side of the street. After gunning down several waves of PLR forces, a low rumble shakes the street.
It is not an aftershock, but a BMP moving in to take out the Humvees.
[ ACHIEVEMENT | TROPHY ]
Achievement/Trophy Tip: Car Lover
The Humvees play a critical role in maintaining a last line of defense for the camp Keep the Humvees for the duration of the mission and earn the first co-op Achievement/Trophy.
Unless you are a glutton for punishment, take note that each co-op Achievement/Trophy can be had on Easy difficulty.
The Humvees’ .50 caliber gunners can mow down most of the troops that make it past your lines, but they are in no position to take down the troops sporting RPGs and the BMPs that periodically roll down the street.
Acquiring and prioritizing these major threats are the key to success. The RPGs always position themselves on the high ground—perched on the top floors of a building. Scan the area for these heavy troops and make killing them priority number one once they are spotted.
When confronting the BMPs, grab a mine or claymore from an Ammo Crate and place them along the vehicle routes detailed below before the regular troops arrive. These explosives won’t destroy BMPs outright, requiring you to use your equipped Javelin to permanaently scrap them.
Be sure you are safe from any remaining PLR troops or BMP turrets before trying to get a lock on the vehicle. Take your shot cautiously since you’ll have to wait a full five seconds to reload a fresh missile.
There is barely a moment to think after clearing the north side of the street. Scouts report more hostiles moving through the rubble-filled alley, west of the walk bridge.
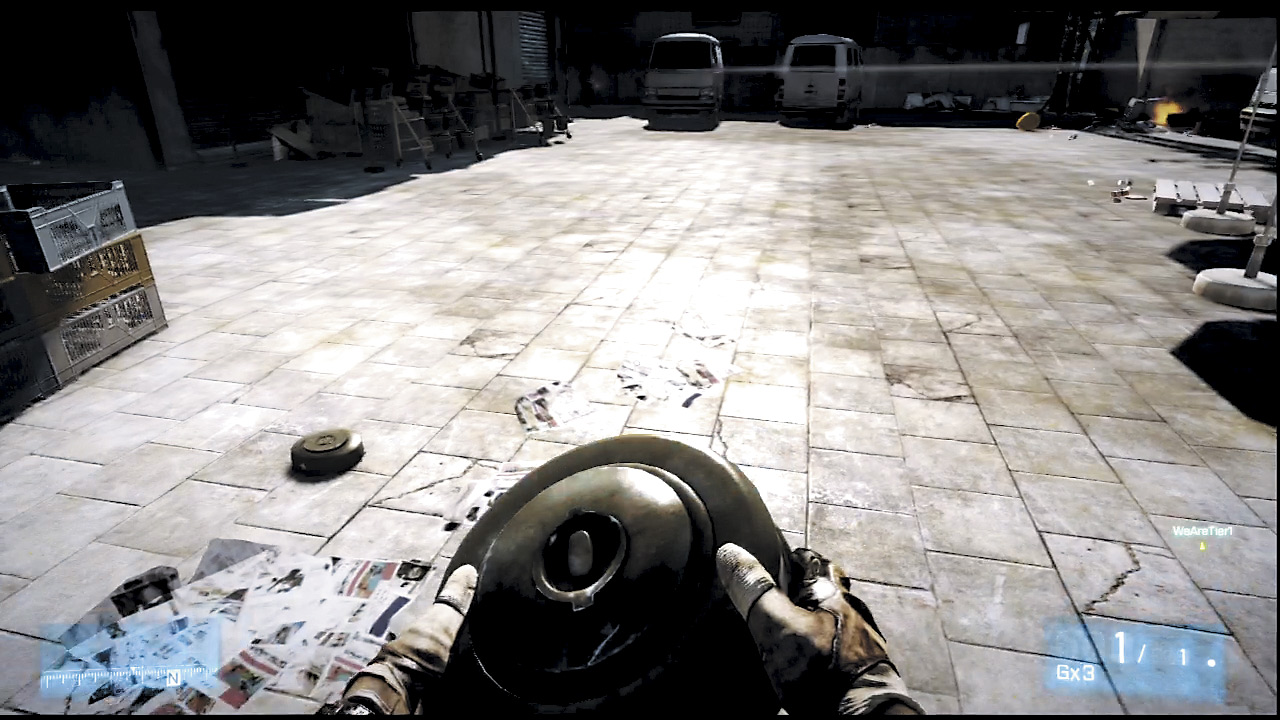
Grab a mine from the Ammo Crate and place it at the mouth of the alley in anticipation of later threats. Find a secure spot to stop all the soldiers advancing into the small market next to the walk bridge. There is good cover near either wall under the bridge stairway, or stay put at the nearby bridge column.
Watch out for the RPGs camping on the top floor of the northwest building—both you and the Humvees are wide open to attack from the high ground. They are tricky to take down but you don’t have much choice unless you’re willing to expose the Humvees to considerable damage.
Luckily, the proximity of this alley to the Humvees gives their gunners a chance to provide covering fire, allowing you to easily flank the hostiles.
As you weed out the last of the gunmen, the mine placed earlier goes off and signals a BMP’s arrival through that narrow alley. Immediately switch to the Javelin and blow up the infantry fighting vehicle before it travels out of the market.
If it clears the market stalls, it will almost certainly will blow up one of your Humvees. Annihilating the BMP leaves both the north and west ends of the street clear, but the fight is far from over.
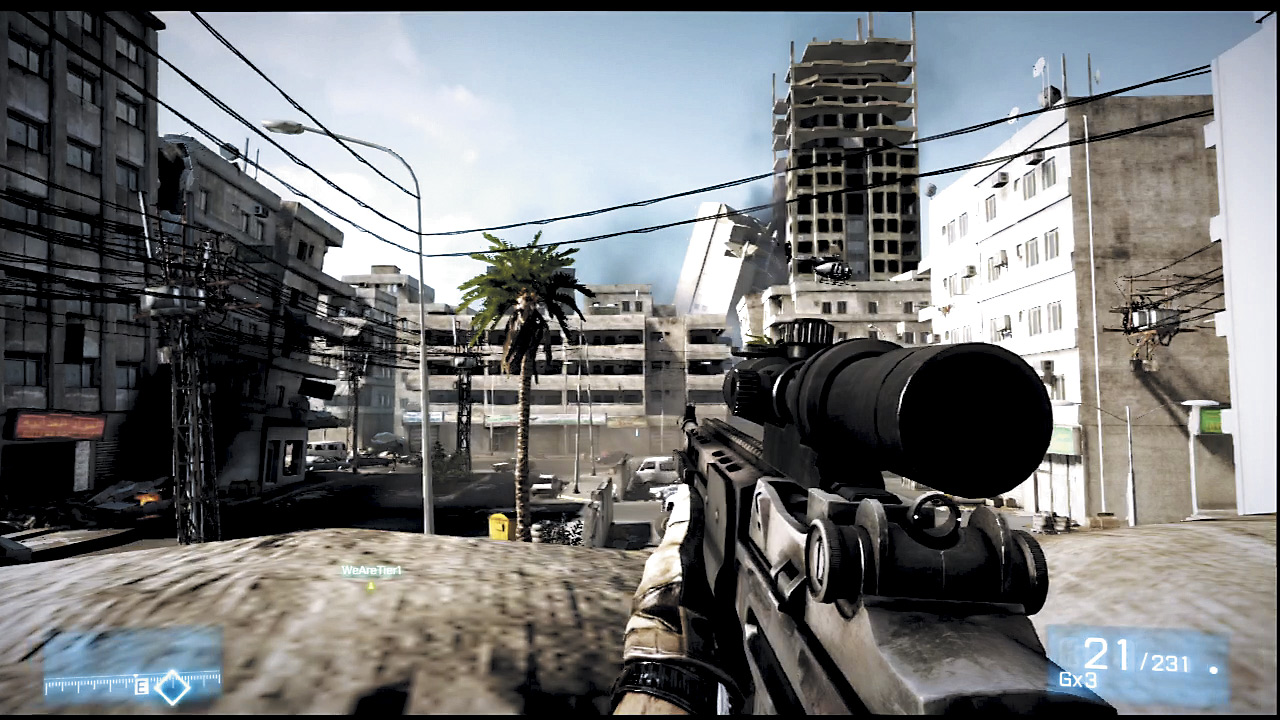
REINFORCE THE EAST PERIMETER
Replenish your weapons ammo at the Ammo Crate before following the Humvees to the east side perimeter. It’s hard to shake an ominous feeling while repositioning as several aftershocks rock the area. To prepare for the incoming heavy vehicles that precedes the regular PLR troops, grab a mine or claymore.
They can be acquired from one of two Ammo Crates, either on the roof of a nearby buildings or inside the open garage door inside the building on the right. After setting the explosives, seek out an optimal defensive position and get ready for the PLRs last—albeit largest—attack battalion.
The scouts from the chopper above inform your team that several squads are about to pour out of the other end of the street. Opposition forces arrive in the area from the left corner of the intersection. From this location, they either charge forward from cover to cover as they inch their way to the Humvees, or hang back and dig into defensive positions behind the row of parked cars at the end of the street.
Your teammate covering the street level can strafe behind the white car and spot targets from either side. Aggressively unloading bullets on the encroaching enemies successfully draws the majority of PLR attention and eases enemy pressure on the sniper’s high perch. This allows the sniper to easily pick off any soldiers out of his teammate’s view without fearing for his safety.
After several squads are mowed down, the action shifts to an alleyway to the right of the cars. From the high ground, keep an eye out for these troops and warn your teammate of the approaching hostiles. Your partner on the ground should shift position in order to keep the white car between him and the PLR soldiers.
Things get cooking as the troops continue to flood the area. While your teammate is busy with the troops trying to flank his position, scan the roof and top balconies of the buildings directly facing you. RPG units are hiding along the concrete lips of the buildings, waiting for a chance to fire a rocket at you or your teammate. Catch them in the act as they pop up to aim their rockets and nail them with a quick head shot.
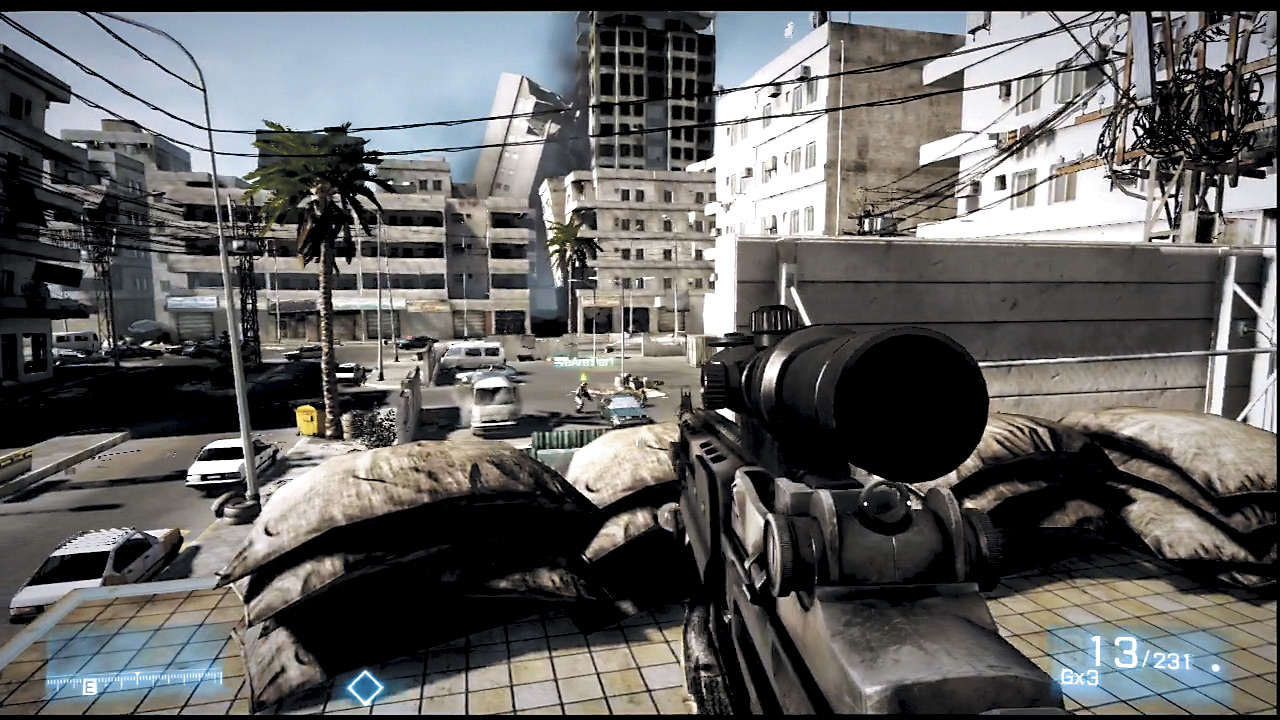
Once the majority of the PLR troops are taken care of, the enemy battalion is reinforced with a final BMP that drives down the street toward the Humvees in a last ditch attempt to break through the convoy to the camp. Switch to the Javelin for the last time and fire and unleash multiple missile payloads at the Russian vehicle until it is immobilized.
With the last heavy vehicle disposed of, return to the cross street behind the Humvees and board the transport helicopters for extraction from this hostile area.